Home>Articles>How To Connect A Laundry Sink And Washing Machine To The Same Drain
Articles
How To Connect A Laundry Sink And Washing Machine To The Same Drain
Modified: October 19, 2024
Learn how to connect a laundry sink and washing machine to the same drain with this helpful article. Find step-by-step instructions and expert tips.
(Many of the links in this article redirect to a specific reviewed product. Your purchase of these products through affiliate links helps to generate commission for Storables.com, at no extra cost. Learn more)
Introduction
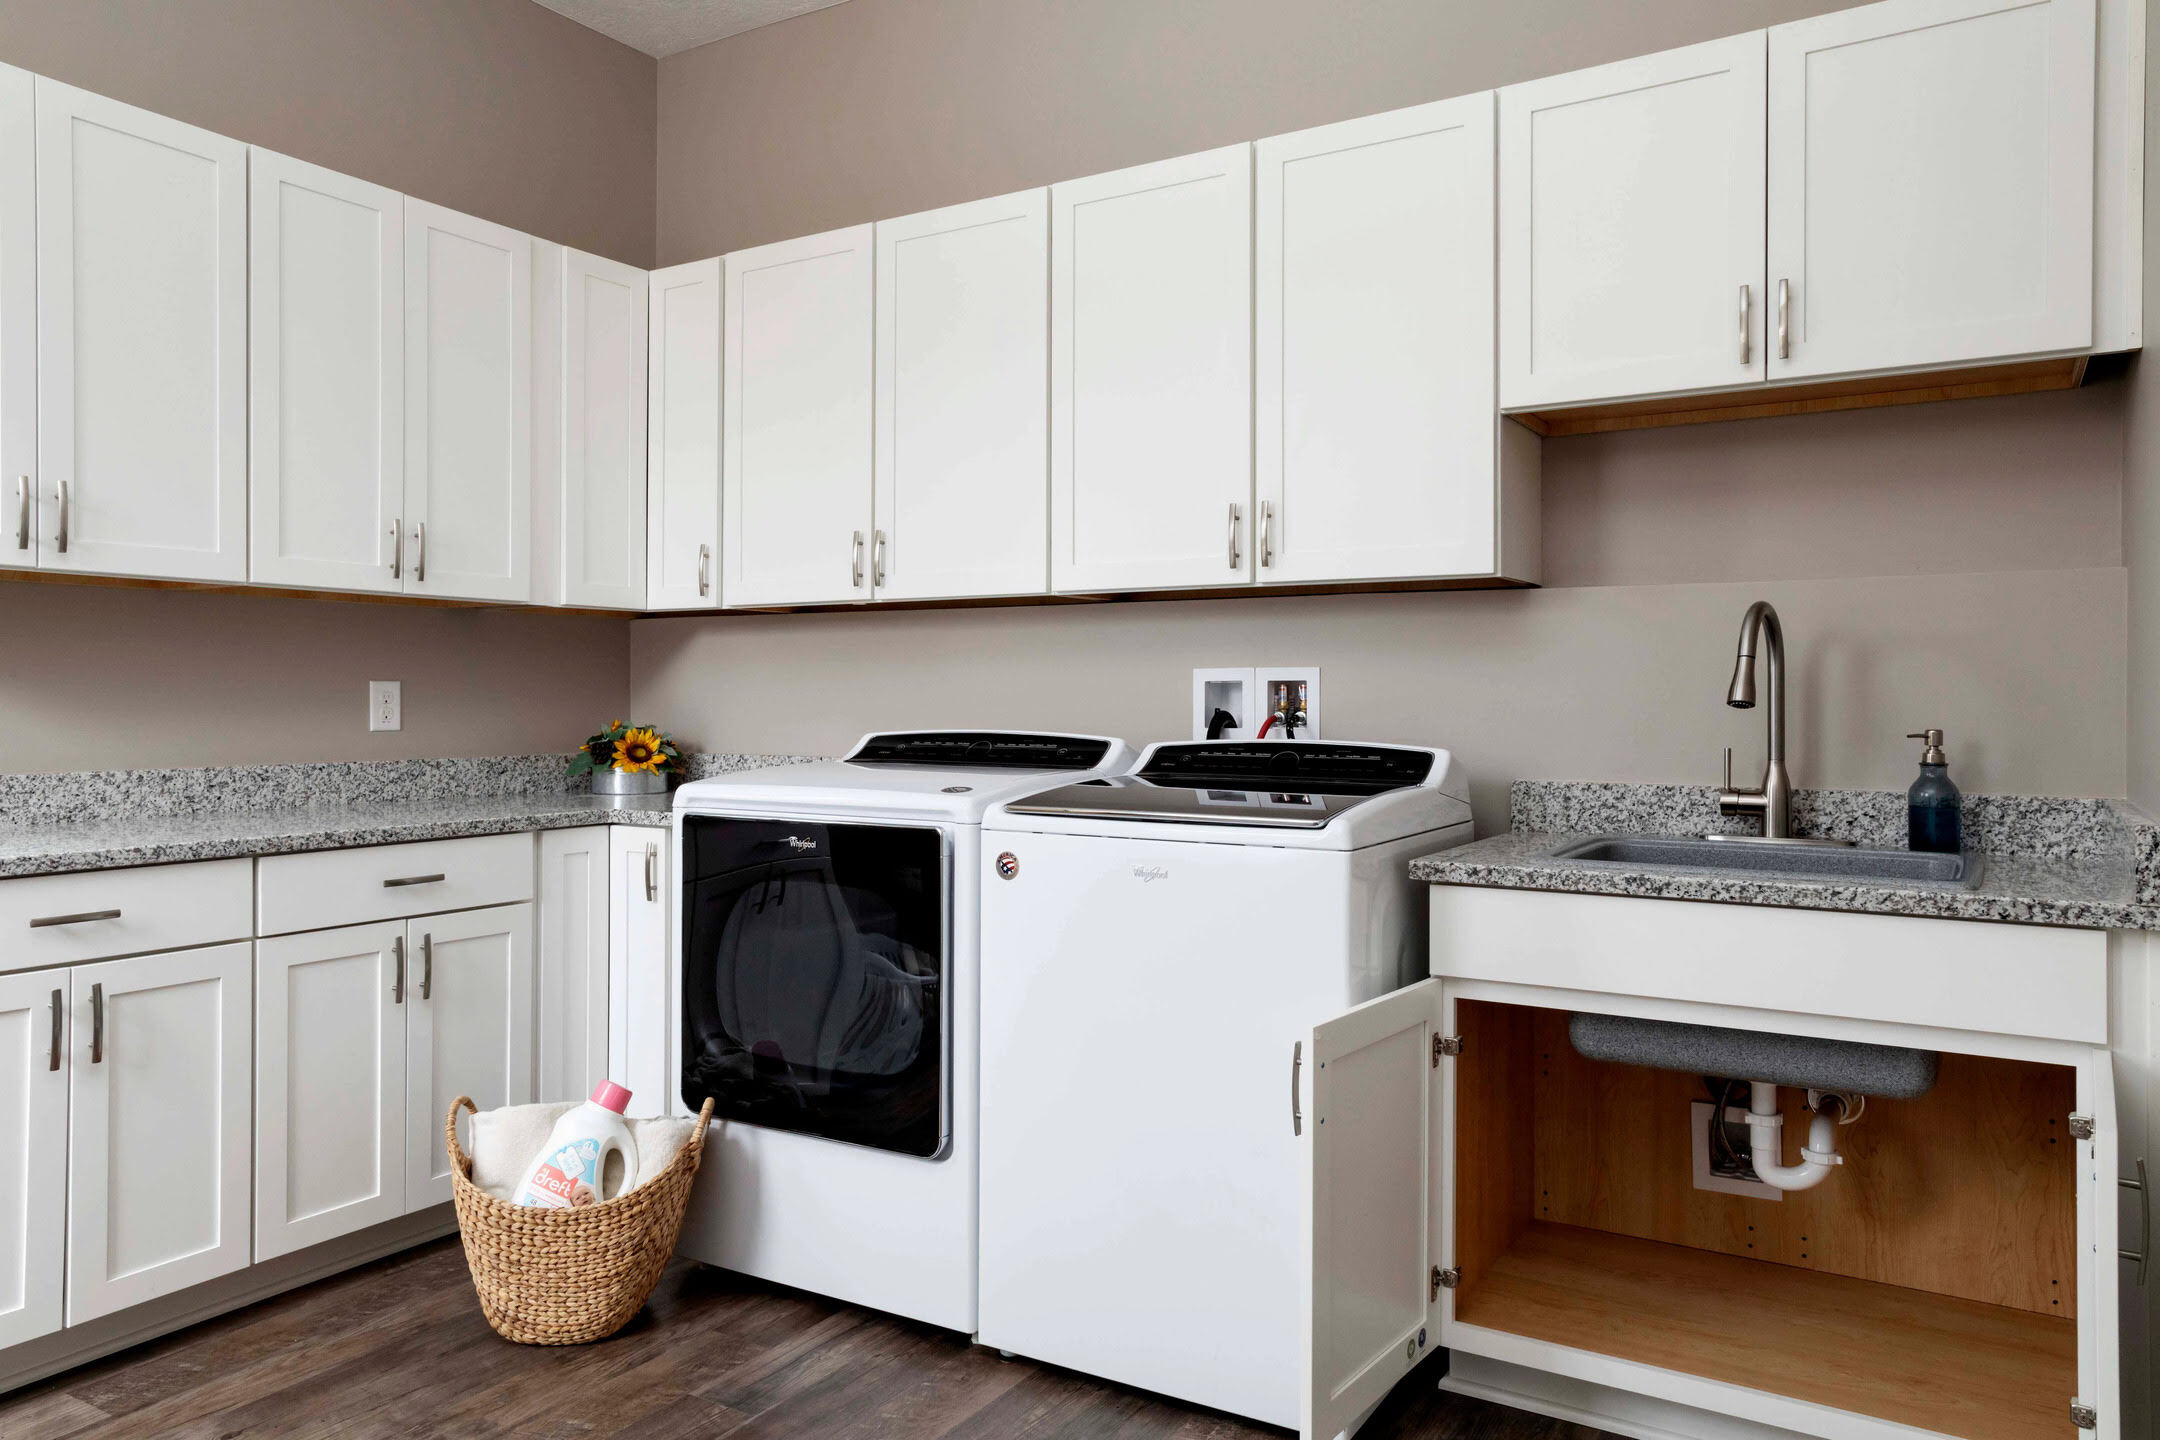
Having a laundry sink and a washing machine in your home can be incredibly convenient. However, connecting both appliances to the same drain can pose a challenge. Fortunately, with the right materials and a bit of know-how, you can successfully connect a laundry sink and washing machine to the same drain, ensuring efficient drainage and preventing any plumbing issues.
In this guide, we will walk you through the step-by-step process of connecting a laundry sink and a washing machine to the same drain. From identifying the drainpipe to installing the necessary fittings and connecting the drains, you will gain the knowledge necessary to complete this task with confidence.
Before we dive into the details, let’s take a look at the materials you will need:
- A Y-fitting
- PVC drainpipe
- PVC couplings
- PVC primer and cement
- Plumber’s tape
- Sink and washing machine drain hoses
- Adjustable wrench
- Hacksaw or PVC cutter
Key Takeaways:
- Connecting a laundry sink and washing machine to the same drain is achievable with the right materials and steps. From identifying the drainpipe to testing the system, this guide provides a comprehensive DIY approach.
- By following the step-by-step process outlined in this guide, you can ensure efficient drainage and prevent plumbing issues when connecting a laundry sink and washing machine to the same drain.
Read more: How To Connect A Washing Machine To A Sink
Necessary Materials
Before you can begin connecting your laundry sink and washing machine to the same drain, you will need to gather a few essential materials. Having these items on hand will ensure that you can complete the task efficiently and effectively. Here are the materials you will need:
- A Y-fitting: This fitting will serve as the main connection point for both the sink drain and the washing machine drain. It is shaped like a “Y,” with one inlet and two outlets.
- PVC drainpipe: You will need a length of PVC drainpipe to connect the Y-fitting to the main drainpipe. Make sure to measure the necessary length based on the distance between the Y-fitting and the main drainpipe.
- PVC couplings: These connectors will be used to join the sections of PVC drainpipe together. Make sure to choose couplings that are compatible with the diameter of your drainpipe.
- PVC primer and cement: These products are necessary for securely bonding the PVC pipes and fittings together. The primer prepares the surfaces for bonding, while the cement creates a strong and watertight seal.
- Plumber’s tape: Also known as Teflon tape, plumber’s tape is used to create a tight seal between threaded connections. Wrap it around the threads before screwing the pipes or fittings together to prevent leaks.
- Sink and washing machine drain hoses: These hoses will connect the sink and washing machine to the Y-fitting. Ensure that the hoses are the correct length and have the necessary connectors for a secure fit.
- Adjustable wrench: This tool will be used to tighten and loosen nuts and bolts during the installation process. It is essential for ensuring a secure and leak-free connection.
- Hacksaw or PVC cutter: Depending on the length of the drainpipe and any required modifications, you may need a saw or a PVC cutter to trim the PVC pipes to the appropriate length.
Gathering these materials before starting the installation process will save you time and reduce the risk of running into delays. Once you have everything you need, you can proceed to the next step: identifying the drainpipe.
Step 1: Identify the Drainpipe
The first step in connecting a laundry sink and a washing machine to the same drain is to identify the location of the main drainpipe. This is the pipe that carries waste water from various fixtures in your home to the sewer or septic system. Identifying the drainpipe is crucial to ensure that you connect your sink and washing machine to the correct point in the plumbing system. Here’s how to do it:
- Locate the existing drainpipe: Commonly, the main drainpipe can be found in the basement or crawl space of your home. Look for a large, vertical pipe that is connected to other drainage pipes from sinks, toilets, and showers.
- Measure the distance from the drainpipe: Once you have located the drainpipe, measure the distance from where you want to install your laundry sink and washing machine. This measurement will help you determine the length of the PVC drainpipe required for the connection.
- Consider the slope: Take note of the slope of the drainpipe. It should have a slight downward angle to allow for proper drainage. Ensure that your connections will maintain this slope and avoid any sharp bends that could impede the flow of water.
- Check for access points: Look for any existing access points on the drainpipe, such as cleanouts or vent pipes. These may need to be taken into account when planning your installation.
By accurately identifying the drainpipe and understanding its location and slope, you will be better equipped to plan and execute the connection of your laundry sink and washing machine. With this information in hand, you can move on to the next step: installing the Y-fitting.
Step 2: Install the Y-fitting
After identifying the drainpipe, the next step in connecting a laundry sink and a washing machine to the same drain is to install the Y-fitting. The Y-fitting serves as the main connection point for both the sink drain and the washing machine drain. Here’s how you can install it:
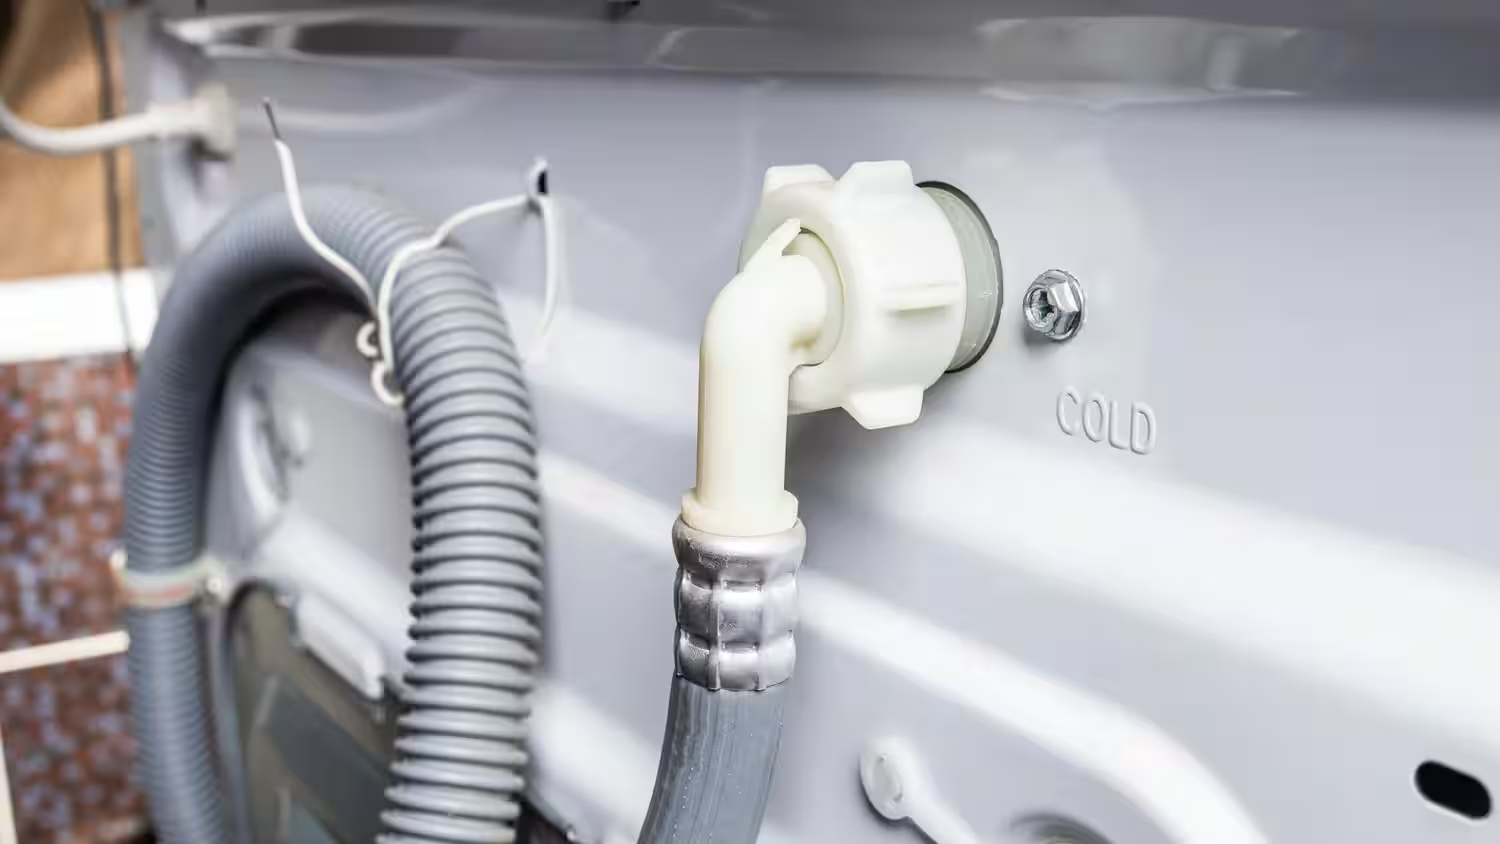
- Turn off the water supply: Before starting any plumbing work, it is important to turn off the water supply to prevent any accidental leaks or flooding.
- Prepare the drainpipe: Using a hacksaw or PVC cutter, cut a section of the drainpipe that will accommodate the Y-fitting. Make sure to measure carefully and use a straight cut to ensure a proper fit.
- Apply primer and cement: Apply PVC primer to the outside of the drainpipe and the inside of the Y-fitting. Allow the primer to dry for a few seconds, then apply PVC cement to both surfaces. Join the Y-fitting and the drainpipe together and hold them in place for a few seconds to ensure a secure bond.
- Position the Y-fitting: Once the primer and cement have set, position the Y-fitting in the desired location on the drainpipe. Ensure that the Y-fitting is facing in the correct direction for the connections you will make later.
- Tighten the compression nuts: Secure the Y-fitting to the drainpipe by tightening the compression nuts. Use an adjustable wrench to tighten the nuts snugly, but be careful not to overtighten and risk damaging the fittings or causing leaks.
- Check for proper alignment: Verify that the Y-fitting is properly aligned with the drainpipe and is positioned at the correct height. This will ensure that the sink and washing machine drains will flow directly into the Y-fitting.
By following these steps, you will successfully install the Y-fitting, which is the key component for connecting both the laundry sink and the washing machine drain. With the Y-fitting securely in place, you are now ready to move on to the next step: connecting the sink drain.
Make sure to install a standpipe for the washing machine and connect the laundry sink to the same drain line. Use a p-trap for the sink and ensure proper venting to prevent drainage issues.
Step 3: Connect the Sink Drain
Once the Y-fitting is installed, the next step in connecting a laundry sink and a washing machine to the same drain is to connect the sink drain. This involves connecting the sink’s drain pipe to one of the outlets on the Y-fitting. Here’s how you can do it:
- Measure and cut the sink drain pipe: Measure the distance between the sink drain and the Y-fitting outlet. Using a hacksaw or PVC cutter, cut a section of the drain pipe to match this measurement. Make sure to make a straight, clean cut.
- Prepare the sink drain pipe: With the sink drain pipe cut to the appropriate length, use sandpaper or a pipe cleaner to clean the inside and outside surfaces of the pipe. This will ensure a smooth and secure connection.
- Apply primer and cement: Apply PVC primer to the outside of the sink drain pipe and the inside of the Y-fitting outlet. Allow the primer to dry for a few seconds, then apply PVC cement to both surfaces. Connect the sink drain pipe to the Y-fitting outlet and hold them together for a few seconds to allow the cement to set.
- Tighten the compression nut: Use an adjustable wrench to tighten the compression nut on the sink drain pipe and ensure a secure connection with the Y-fitting. Be careful not to overtighten and risk damaging the fittings.
- Check for leaks: Once the sink drain is connected, turn on the water supply and check for any signs of leaks. Run water down the sink drain and observe the connections for any water escaping. If there are any leaks, tighten the compression nuts slightly until the leaks stop.
By following these steps, you will successfully connect the sink drain to the Y-fitting. This will allow the waste water from the sink to flow into the same drain as the washing machine. With the sink drain connected, you are now ready to move on to the next step: connecting the washing machine drain.
Read more: How To Connect A Washing Machine Drain Hose
Step 4: Connect the Washing Machine Drain
After connecting the sink drain, the next step in connecting a laundry sink and a washing machine to the same drain is to connect the washing machine drain. This involves connecting the washing machine’s drain hose to the remaining outlet on the Y-fitting. Here’s how you can do it:
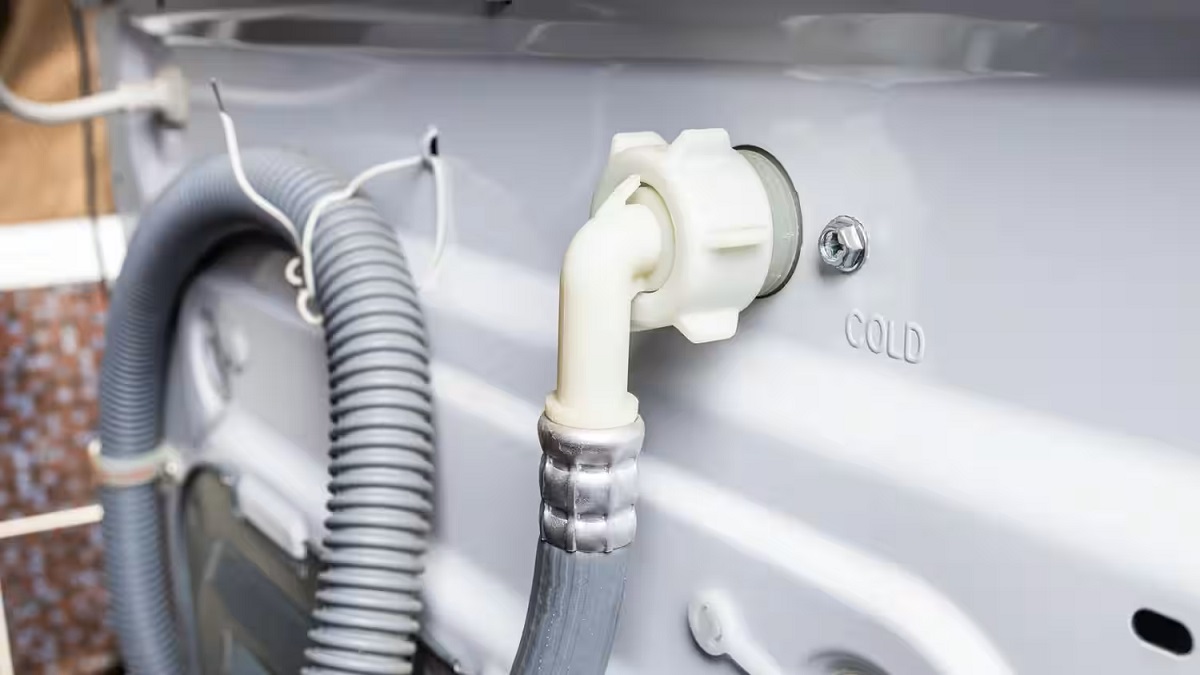
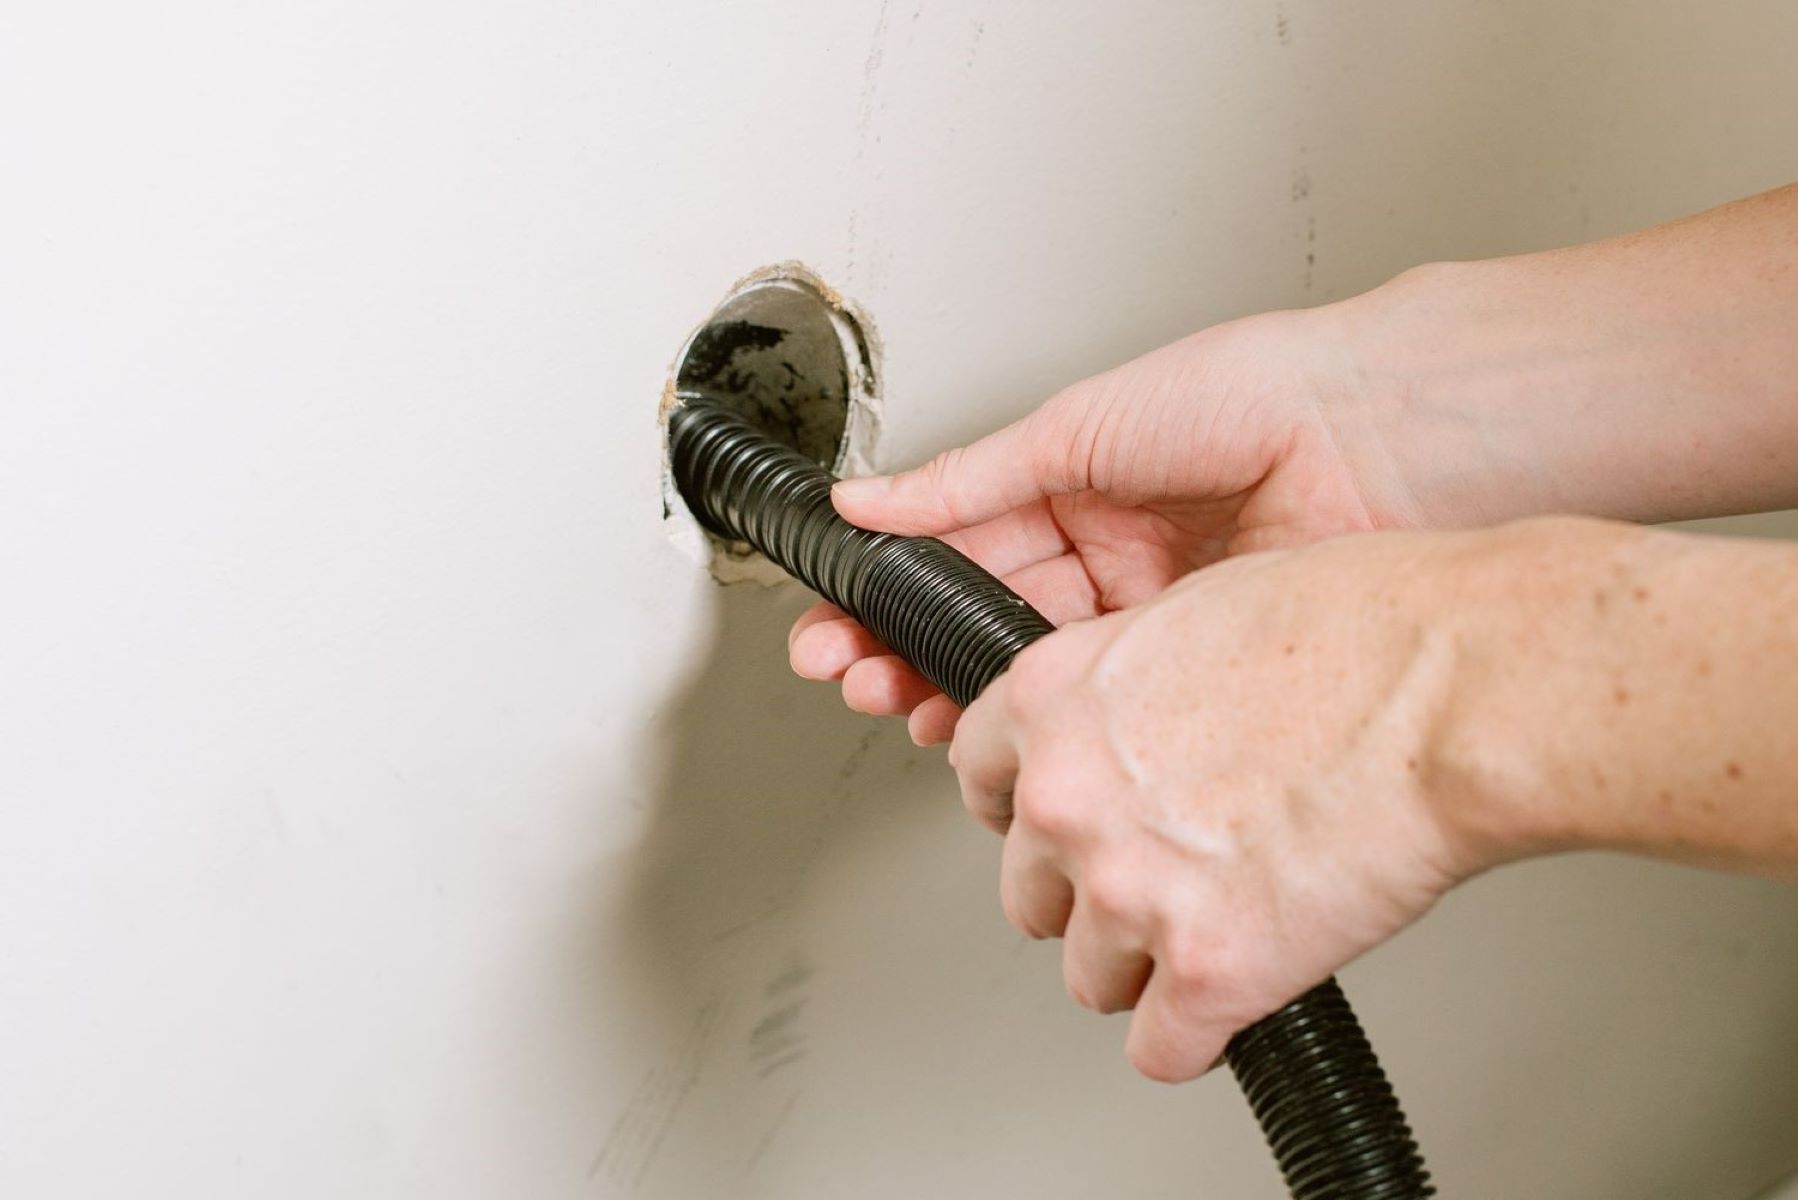
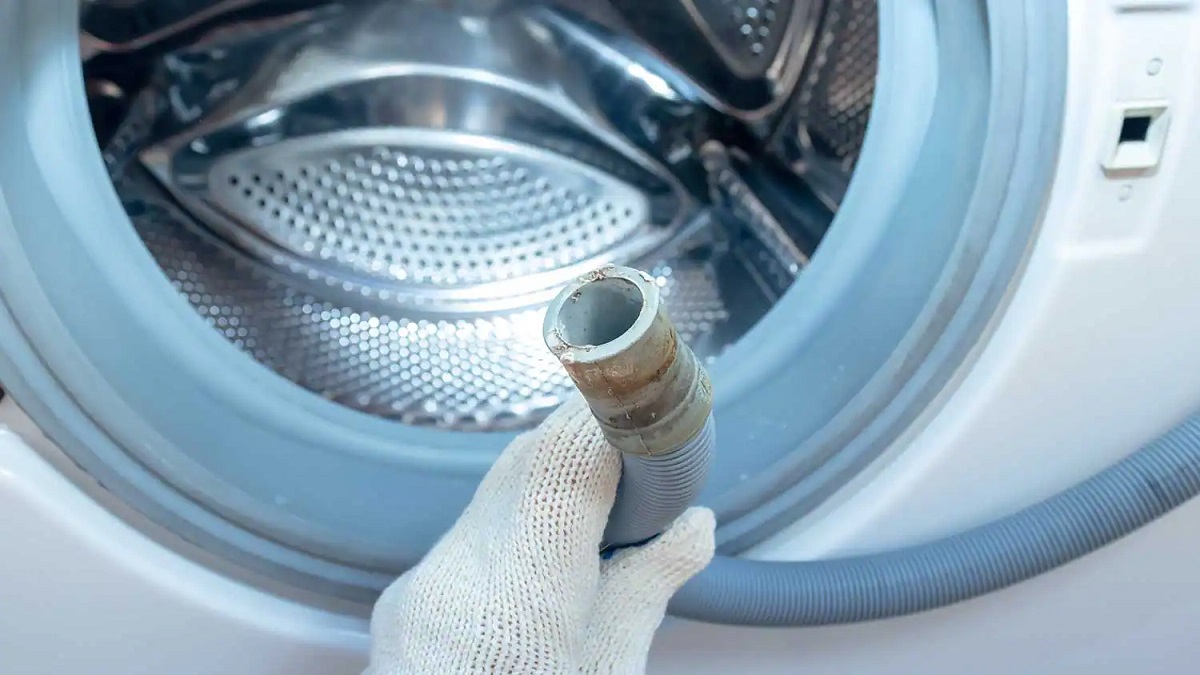
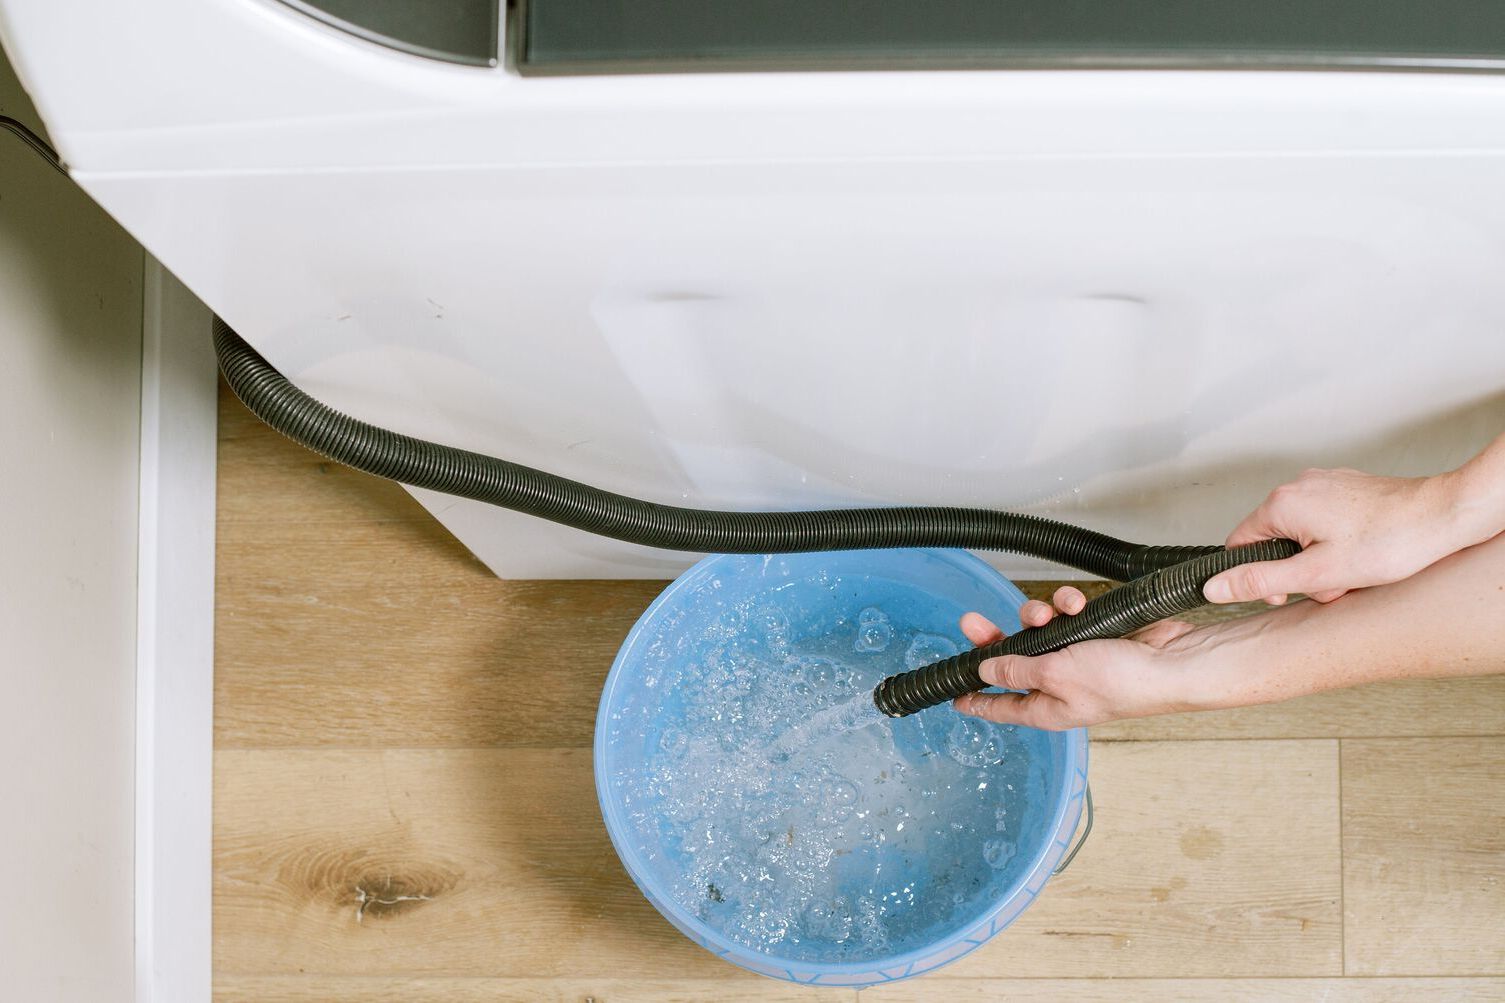
- Locate the washing machine drain hose: Find the drain hose that is attached to the back of your washing machine. This hose is typically made of flexible plastic and is used to drain the water from the machine.
- Position the washing machine: Move the washing machine close to the sink and Y-fitting so that you can easily connect the drain hose.
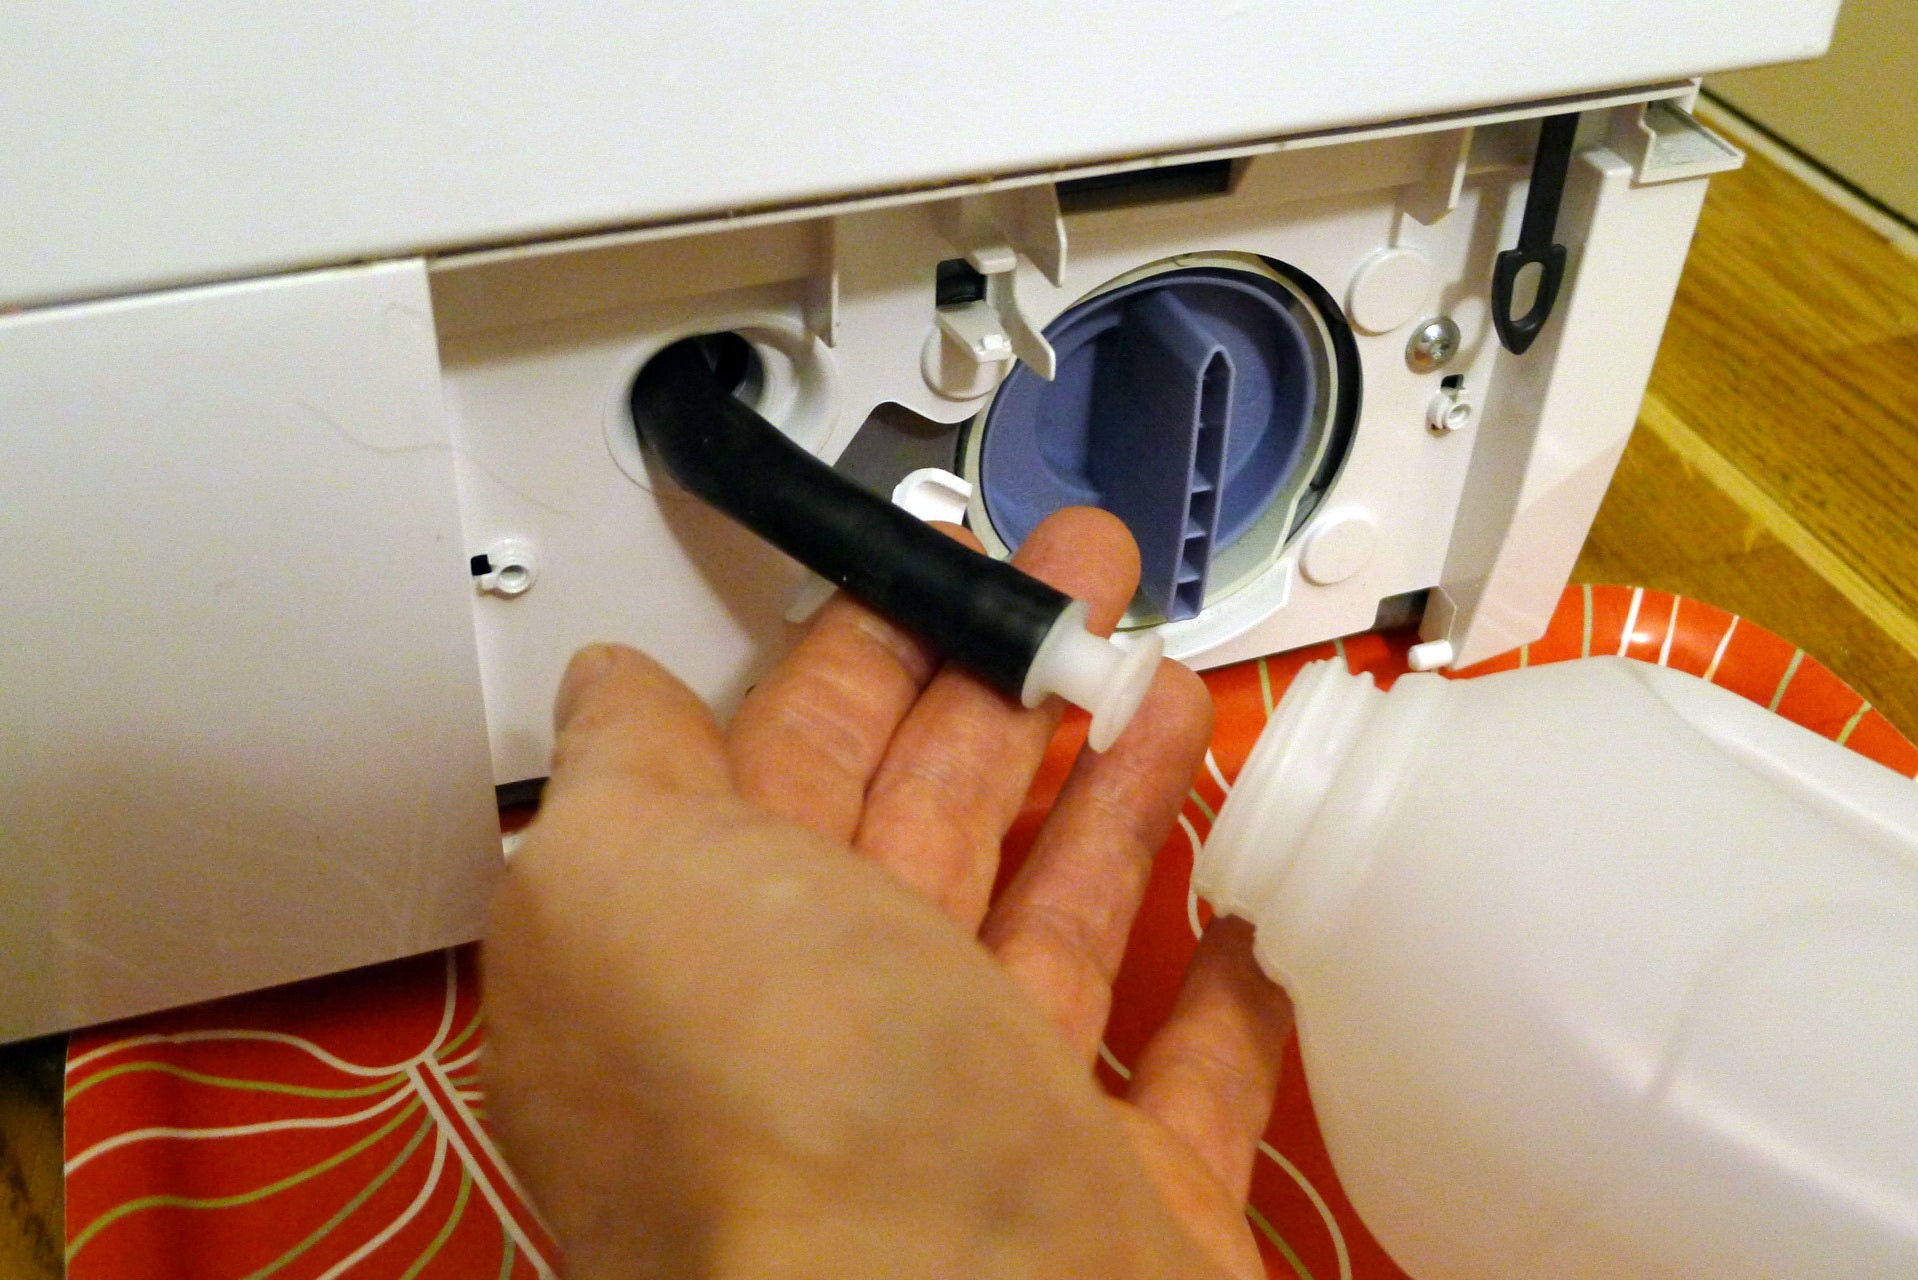
- Attach the drain hose to the Y-fitting: Insert the end of the washing machine drain hose into the open outlet on the Y-fitting. Make sure it is inserted securely to prevent leaks. If necessary, use a hose clamp to secure the connection.
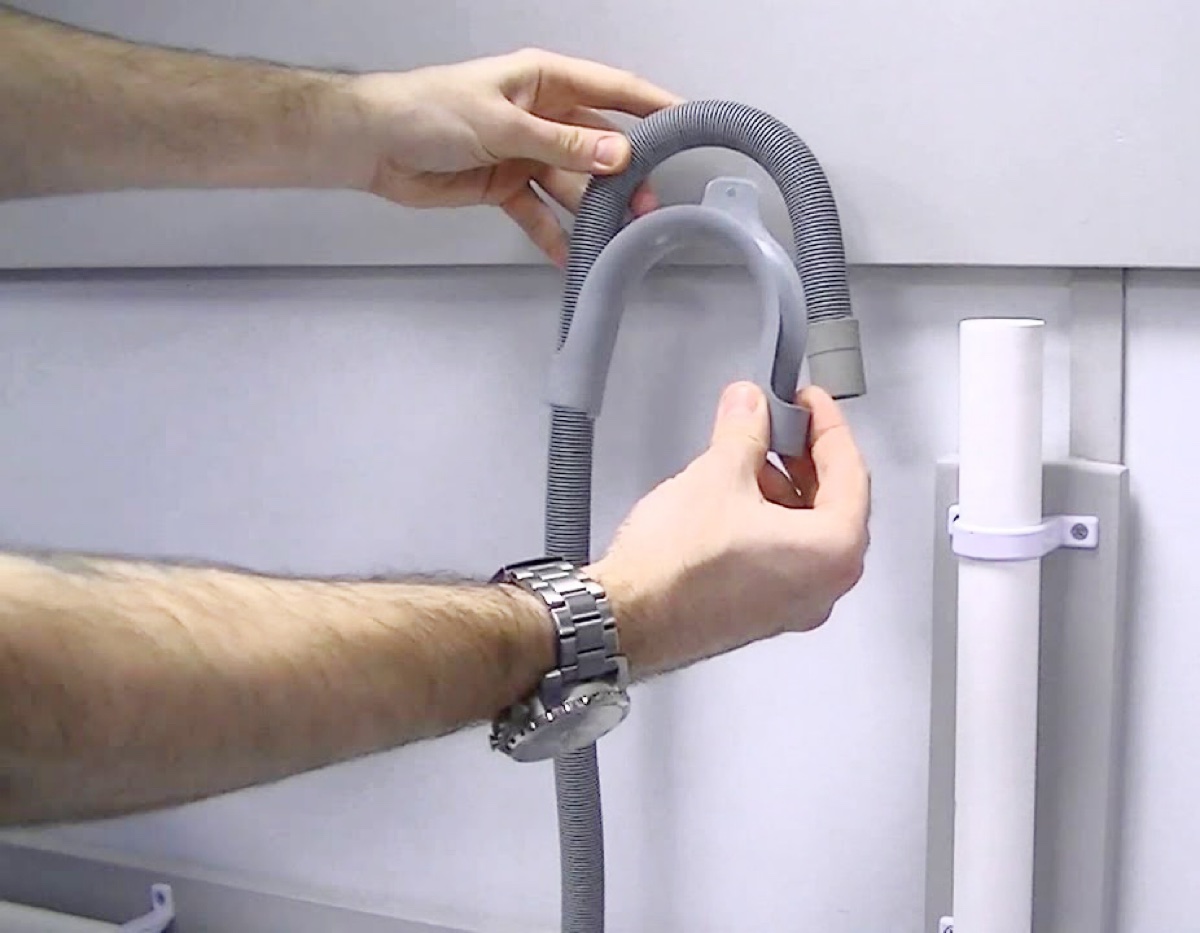
- Elevate the drain hose: The washing machine drain hose should be elevated above the drainpipe level to prevent backflow. Secure the hose in place using a hook or clip attached to the wall or cabinet.
- Check for leaks: Once the washing machine drain hose is connected, turn on the water supply and run a short cycle to test for any leaks. Watch for any water escaping from the connections. If there are any leaks, adjust the hose or tighten the connection as needed.
- Ensure proper drainage: Confirm that the washing machine drain hose is draining properly into the sink or drainpipe. Check for any blockages or restrictions that may impede the flow of water.
By following these steps, you will successfully connect the washing machine drain to the Y-fitting, allowing the wastewater from both the sink and the washing machine to flow into the same drainage system. With the washing machine drain connected, you have completed the necessary connections for both appliances. The final step is to test the system and ensure it is functioning correctly.
Step 5: Test the System
After connecting both the sink drain and the washing machine drain to the Y-fitting, the final step in connecting a laundry sink and a washing machine to the same drain is to test the system. Testing the system will ensure that everything is functioning properly and that there are no leaks or drainage issues. Here’s how you can do it:
- Turn on the water supply: Ensure that the water supply to both the sink and the washing machine is turned on.
- Run water in the sink: Open the faucet in the sink and allow water to flow down the drain. Observe the sink drain and the connection to the Y-fitting for any signs of leaks. If there are no leaks, the sink drain is working correctly.
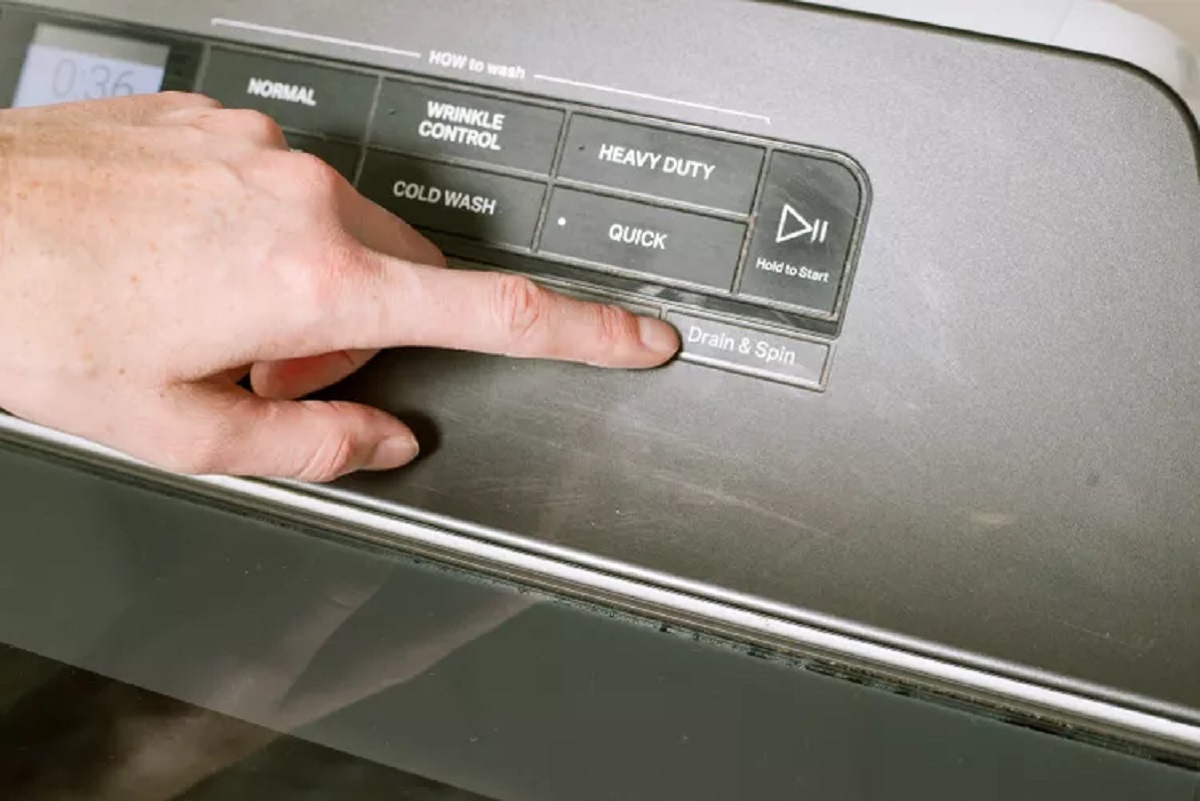
- Start a washing machine cycle: Run a washing machine cycle to test the drainage. Allow the machine to fill with water and then drain it. Watch the washing machine drain hose and the connection to the Y-fitting for any leaks or drainage issues.
- Observe proper drainage: As the washing machine drains, ensure that the water flows smoothly through the sink drain and into the main drainpipe. Look for any signs of blockages or slow drainage.
- Check for leaks: Throughout the testing process, keep an eye out for any leaks at the connections or fittings. Tighten any loose connections if necessary.
- Make any adjustments: If you encounter any issues during the testing process, such as leaks or poor drainage, make the necessary adjustments. This may involve tightening connections, repositioning the drain hose, or clearing any blockages.
By thoroughly testing the system, you can ensure that both the laundry sink and the washing machine are properly connected to the same drain and that everything is functioning as it should. Addressing any issues during the testing phase will help prevent future plumbing problems. Once you are satisfied with the performance of the system and there are no leaks or drainage issues, you have successfully completed the process of connecting a laundry sink and a washing machine to the same drain.
Conclusion
Connecting a laundry sink and a washing machine to the same drain can greatly improve the functionality and convenience of your home. By following the step-by-step process outlined in this guide, you can successfully complete this task and ensure efficient drainage without any plumbing issues.
Throughout the installation process, it is important to gather all the necessary materials and take proper measurements to ensure a secure and watertight connection. From identifying the drainpipe to installing the Y-fitting, connecting the sink drain, connecting the washing machine drain, and testing the system, each step plays a vital role in the overall success of the project.
Remember to take precautions by turning off the water supply before beginning any plumbing work and to check for leaks during the testing phase. This will help you address any issues and make necessary adjustments to ensure the system is working properly.
By connecting your laundry sink and washing machine to the same drain, you can maximize the functionality of your laundry area and create a more efficient and organized space. Whether you are tackling this project as a DIY enthusiast or seeking professional assistance, the information provided in this guide will serve as a valuable resource.
With the sink and washing machine seamlessly connected to the same drain, you can now enjoy the convenience and ease of doing laundry and utilizing your laundry sink without any concerns about drainage or plumbing problems. So, roll up your sleeves, gather your materials, and embark on this project to enhance the functionality of your laundry area.
Now that you've mastered connecting both your laundry sink and washing machine to a single drain, why not upgrade your setup with the latest in sink designs? Our next guide reviews options that combine functionality with style, ensuring your laundry room is both practical and aesthetically pleasing. Whether updating old fixtures or planning a full renovation, finding the perfect laundry sink can transform this work area into a more efficient space.
Frequently Asked Questions about How To Connect A Laundry Sink And Washing Machine To The Same Drain
Was this page helpful?
At Storables.com, we guarantee accurate and reliable information. Our content, validated by Expert Board Contributors, is crafted following stringent Editorial Policies. We're committed to providing you with well-researched, expert-backed insights for all your informational needs.


0 thoughts on “How To Connect A Laundry Sink And Washing Machine To The Same Drain”