Home>Articles>How To Remove American Standard Bathroom Sink Drain Stopper
Articles
How To Remove American Standard Bathroom Sink Drain Stopper
Modified: October 19, 2024
Learn how to remove a bathroom sink drain stopper from your American Standard sink with these step-by-step articles.
(Many of the links in this article redirect to a specific reviewed product. Your purchase of these products through affiliate links helps to generate commission for Storables.com, at no extra cost. Learn more)
Introduction
Removing a bathroom sink drain stopper can be a frustrating task, especially if you’re not familiar with the process. However, with the right tools and a little bit of know-how, you can easily remove a drain stopper from an American Standard bathroom sink. Whether you’re looking to clean the drain or replace a faulty stopper, this step-by-step guide will walk you through the process to successfully remove the stopper without causing any damage.
The stopper mechanism is a crucial component of the bathroom sink drain, as it helps to prevent water from draining out and allows you to fill the sink for various purposes. Over time, the stopper can accumulate debris and grime, causing it to become ineffective or get stuck. By removing and cleaning the drain stopper, you can restore proper drainage and ensure that your bathroom sink functions optimally.
This article will provide you with a detailed guide on how to remove a bathroom sink drain stopper from an American Standard sink. We’ll discuss the tools and materials you’ll need, step-by-step instructions on the removal process, and some additional tips to make the task even easier. So let’s dive in and get started!
Key Takeaways:
- Easily remove and clean an American Standard bathroom sink drain stopper using simple tools and step-by-step instructions, restoring optimal functionality and promoting a hygienic environment.
- Regular maintenance and cleaning of the drain stopper and opening are essential to prevent clogs and ensure efficient drainage, enhancing the longevity and performance of your American Standard bathroom sink.
Tools and Materials Needed
Before you begin removing the bathroom sink drain stopper, it’s important to gather the necessary tools and materials. Having everything prepared in advance will make the process smoother and more efficient. Here’s a list of what you’ll need:
- Adjustable wrench or pliers: These tools will help you loosen and tighten various components of the drain stopper mechanism.
- Screwdriver: Depending on the type of stopper you have, you may need a flathead or Phillips screwdriver to remove screws or fasteners.
- Bucket or container: To collect any water or debris that may spill out during the removal process.
- Cleaning gloves: It’s always a good idea to protect your hands when working with dirty or potentially sharp objects.
- Old toothbrush or small brush: This will be useful for scrubbing and cleaning the drain opening and other components.
- Cloth or paper towels: To wipe down and dry the sink and drain area after removing the stopper.
- Tape or marker: This will help you mark the position of the pivot rod and other components to ensure proper reassembly.
- Optional: Drain cleaner or vinegar and baking soda mixture for cleaning the drain.
Make sure you have all these tools and materials readily available before you start the removal process. Having them on hand will save you time and prevent any unnecessary interruptions during the project.
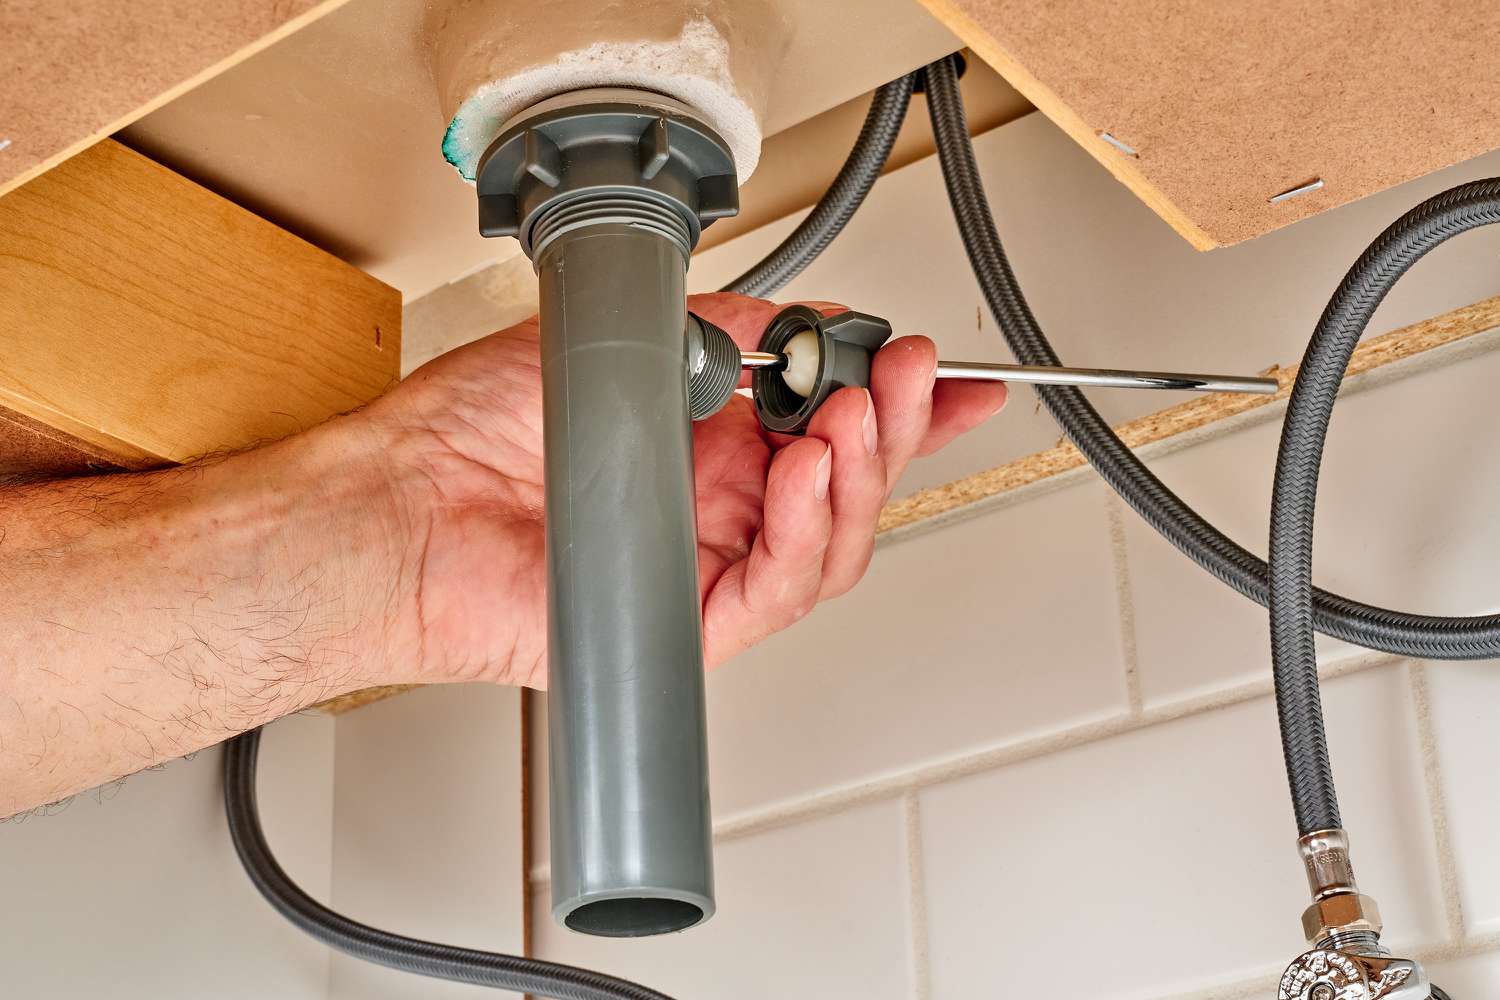
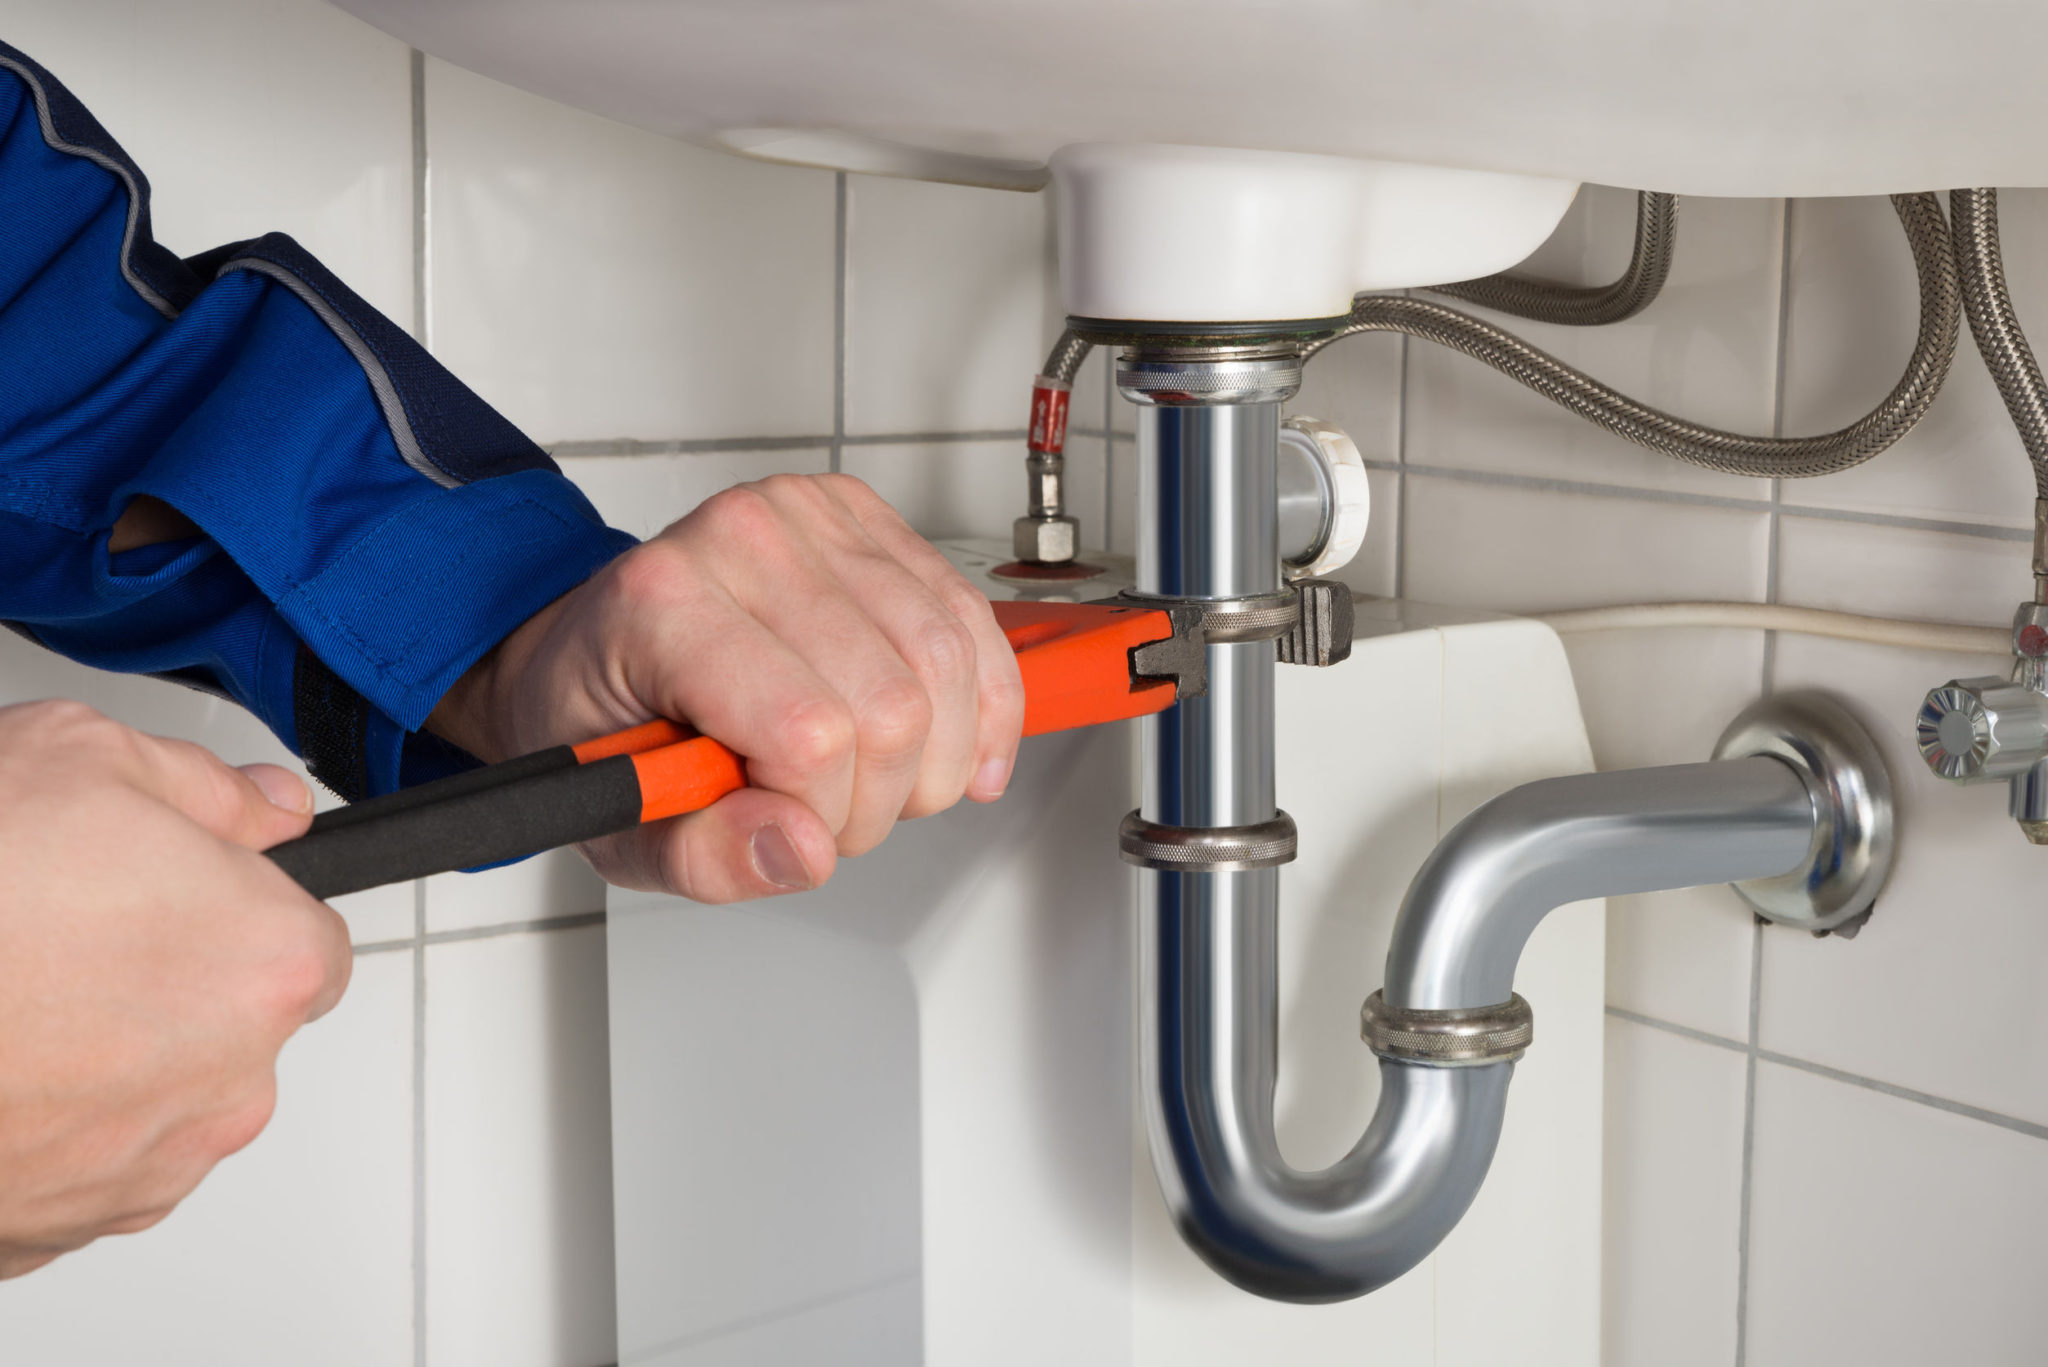
Step 1: Locate the Stopper Mechanism
The first step in removing the bathroom sink drain stopper is to locate the stopper mechanism. This is the part of the drain that controls the up and down movement of the stopper, allowing you to open and close the drain as needed.
To locate the stopper mechanism, you’ll need to access the area underneath the sink. Follow these steps:
- Clear out any items stored under the sink to create space to work.
- Put on your cleaning gloves to protect your hands.
- Use an adjustable wrench or pliers to loosen and remove the nut that connects the trap to the drain pipe. Be prepared for some water to drain out, so place a bucket or container underneath to catch any spills.
- Once the nut is loosened, carefully remove the trap and any remaining water.
- With the trap removed, you should now have a clear view of the stopper mechanism.
Take a moment to inspect the stopper mechanism and familiarize yourself with its components. This will make it easier to understand and follow the next steps.
Note: The process may slightly vary depending on the specific American Standard sink model you have. However, the general steps for locating the stopper mechanism should be similar.
Now that you’ve successfully located the stopper mechanism, you’re ready to move on to the next step: removing the pivot rod.
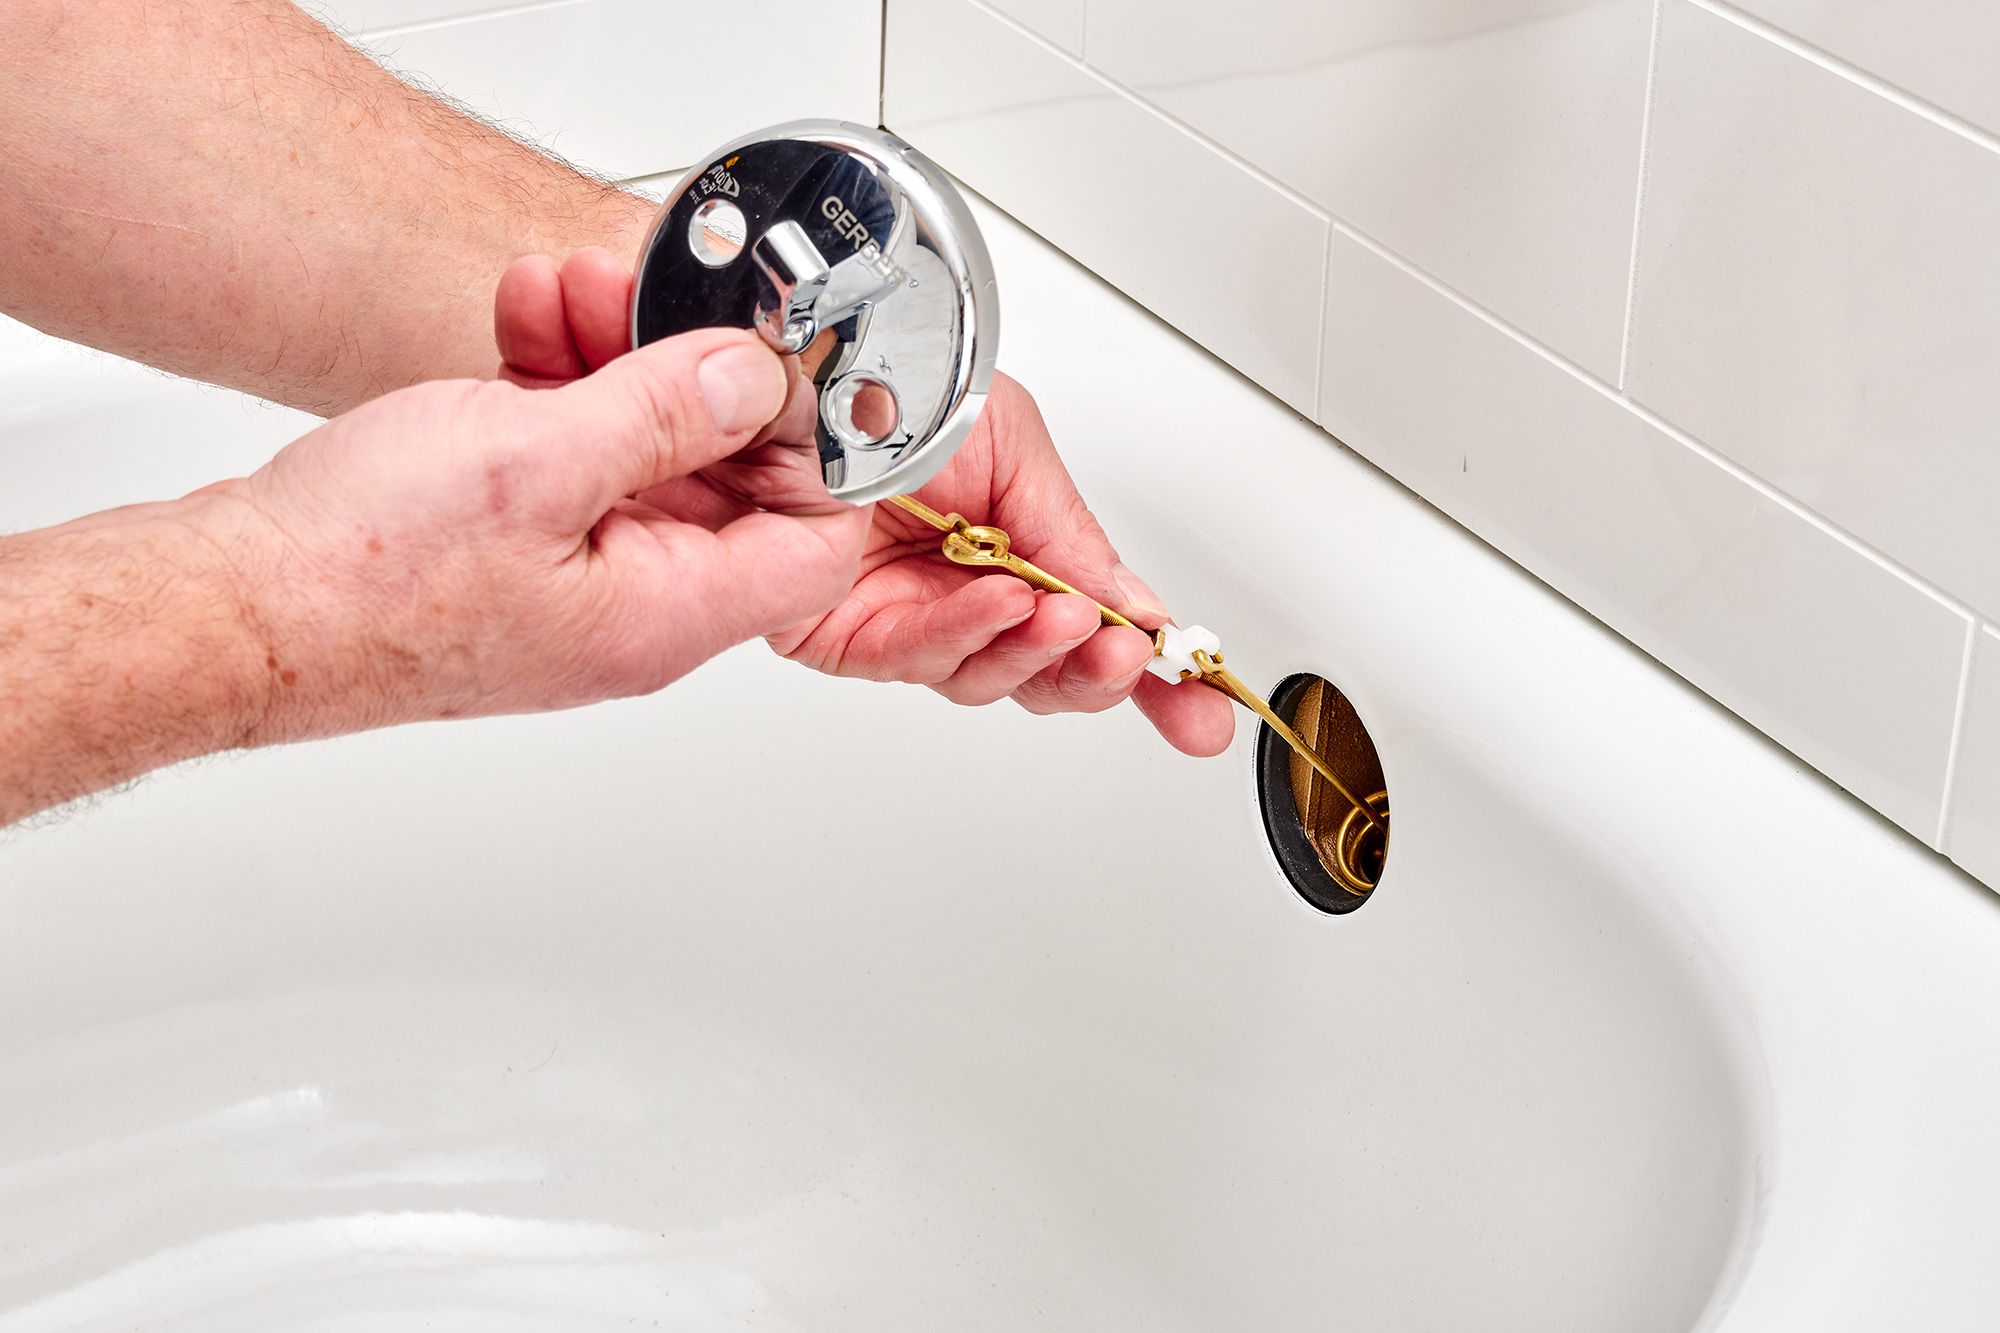
Step 2: Remove the Pivot Rod
After locating the stopper mechanism in your American Standard bathroom sink, the next step is to remove the pivot rod. The pivot rod is the metal rod that connects the stopper to the linkage assembly and allows the stopper to move up and down.
- Start by identifying the pivot rod. It is located near the back of the sink, under the stopper mechanism.
- Using an adjustable wrench or pliers, loosen the nut that secures the pivot rod to the bottom of the sink.
- Once the nut is loose, carefully pull the pivot rod out from the back of the drain assembly.
- As you remove the pivot rod, pay attention to how it’s positioned and take note of its length. This will help you during the reassembly process.
Removing the pivot rod may require a bit of maneuvering due to limited space under the sink. Be patient and take your time to avoid damaging any components.
It’s important to mention that some American Standard sink models may have a spring clip or retaining clip holding the pivot rod in place. If your sink has a clip, you may need to remove it first before you can take out the pivot rod. Refer to your sink’s user manual or consult a professional if you encounter any difficulties.
With the pivot rod successfully removed, you’re now ready to proceed to the next step of removing the bathroom sink drain stopper.
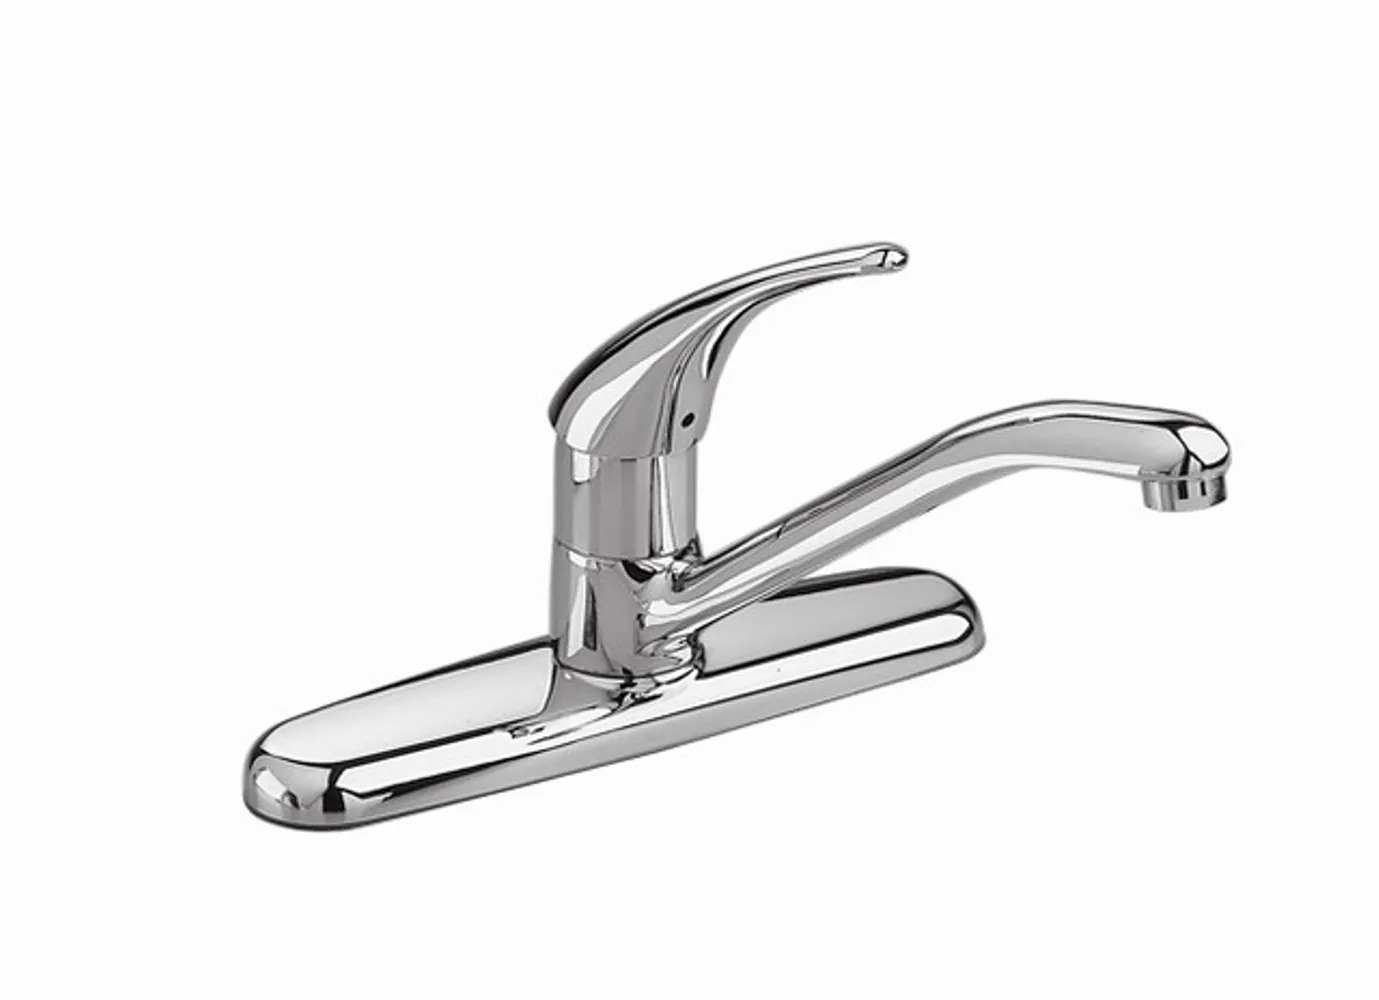
To remove the bathroom sink drain stopper on an American Standard sink, look for a small setscrew on the back of the drain plug. Use a screwdriver to loosen the setscrew and then the stopper should lift out easily.
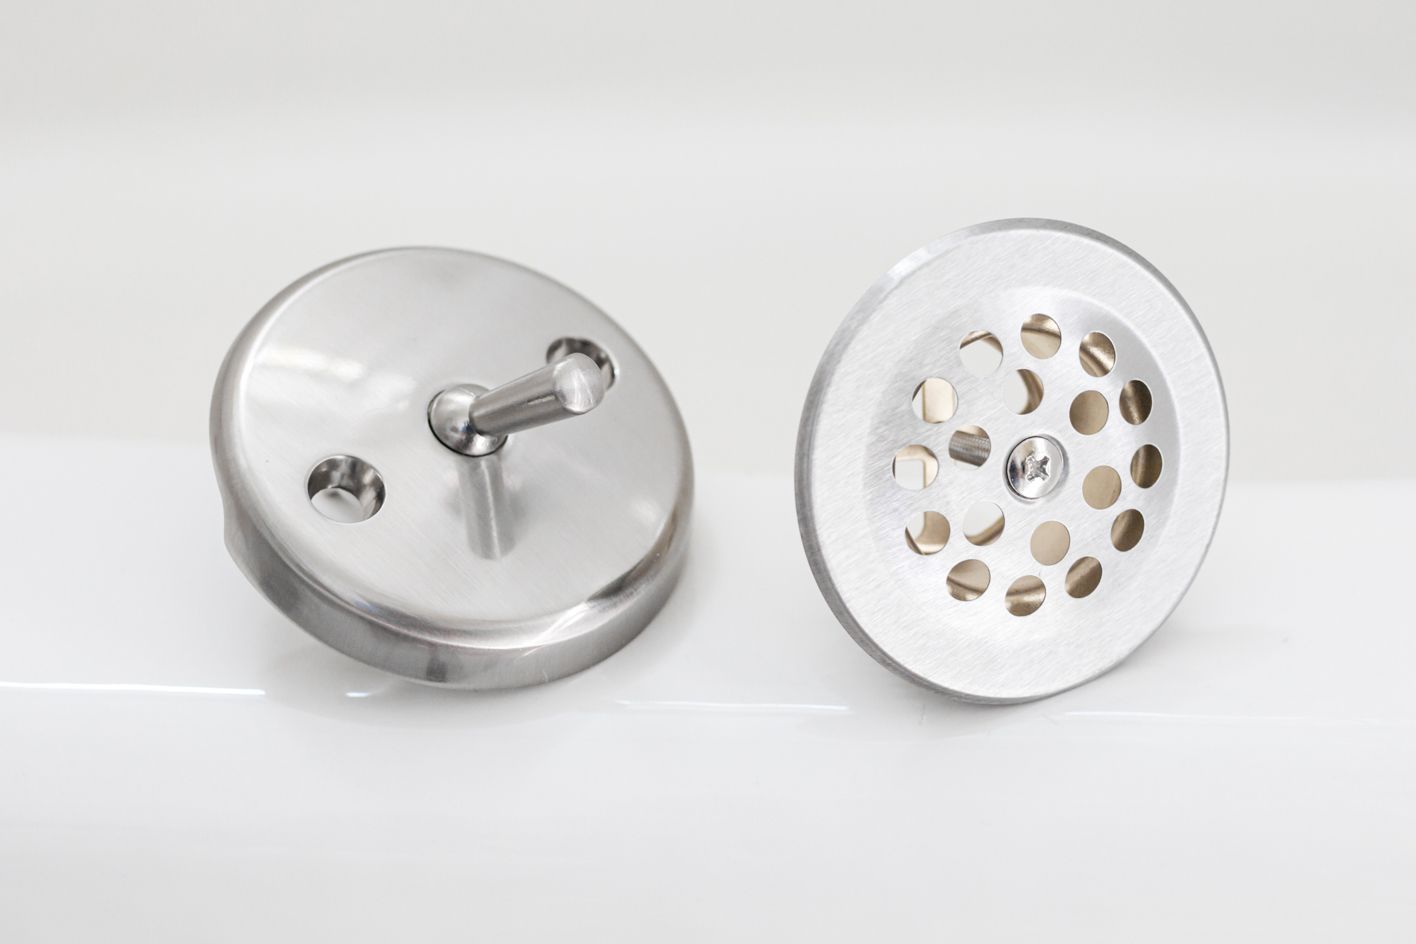
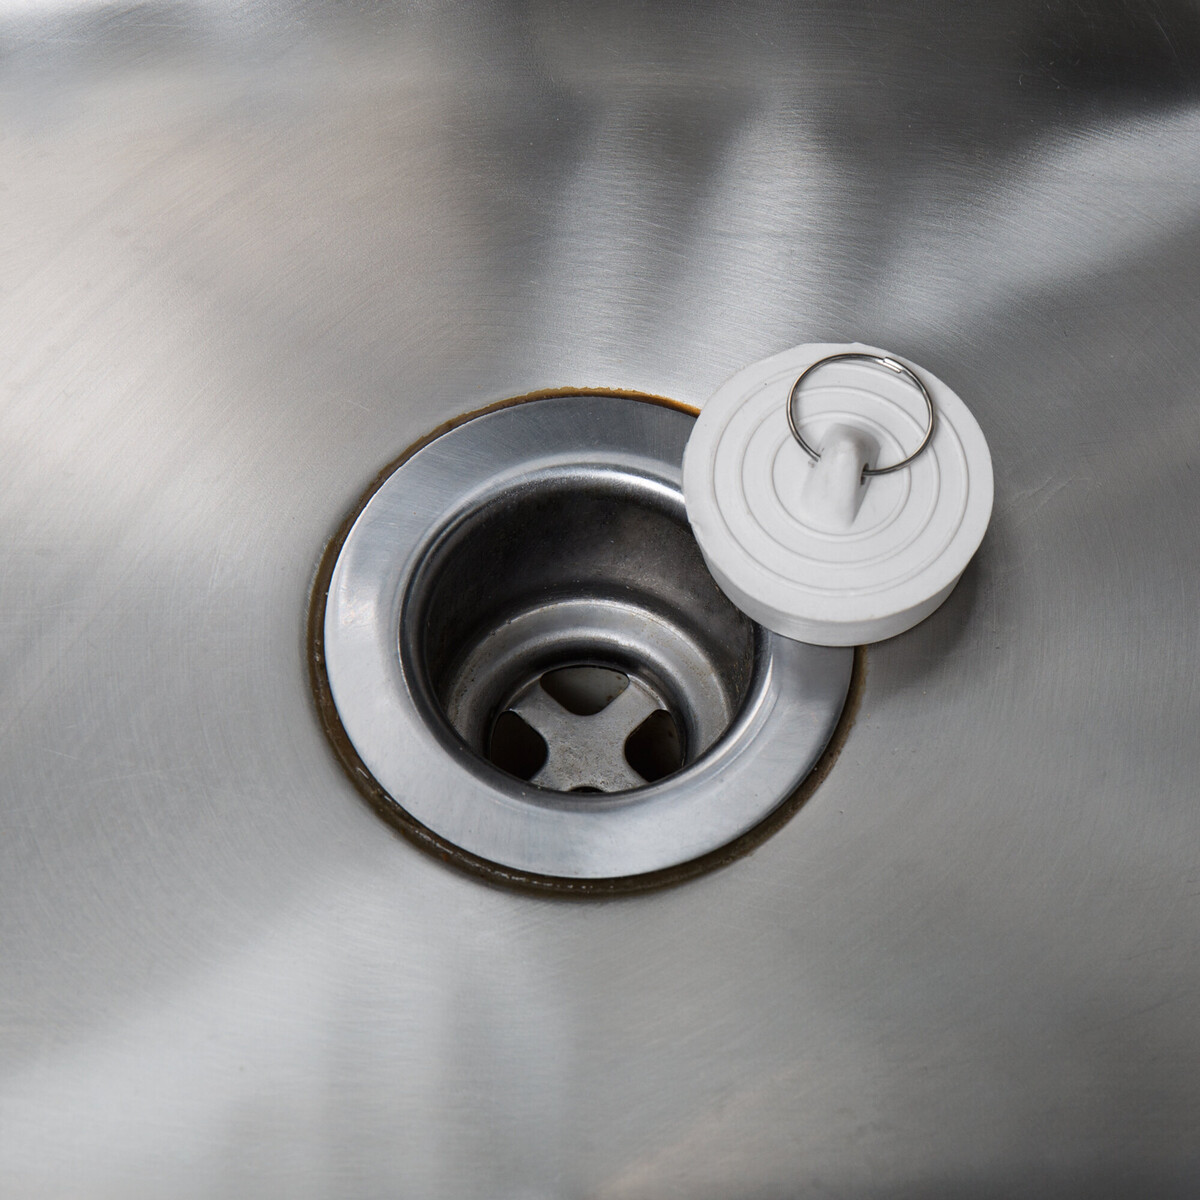
Step 3: Remove the Stopper
Now that you’ve removed the pivot rod, it’s time to remove the actual stopper from your American Standard bathroom sink drain. The stopper is the part that seals the drain and prevents water from flowing down the pipe. Follow these steps to remove it:
- Inspect the stopper to determine the type and method of removal. There are generally three types of stoppers: pop-up stoppers, lift-and-turn stoppers, and toe-touch stoppers. Each type may require a slightly different approach to remove it.
- If you have a pop-up stopper, start by lifting the stopper all the way up. You may need to twist it counterclockwise or push it down slightly to unlock it from the drain assembly.
- For a lift-and-turn stopper, twist it counterclockwise until it becomes loose and can be lifted out of the drain.
- In the case of a toe-touch stopper, simply pull it straight out of the drain.
- Once you’ve determined the type of stopper and unlocked it, gently pull it out of the drain opening. If it’s stuck or difficult to remove, you can use a pair of pliers or grip gloves for better grip.
As you remove the stopper, be cautious not to damage any components or scratch the sink surface. Take your time and apply a gentle force as needed.
If you encounter any difficulties or the stopper doesn’t come out easily, it’s possible that debris or buildup has caused it to become stuck. In such cases, you may need to clean the drain opening and use a lubricant like WD-40 to loosen the stopper before attempting to remove it again.
With the stopper successfully removed, you’re now ready to move on to the next step: cleaning the drain opening.
Step 4: Clean the Drain Opening
After removing the stopper from your American Standard bathroom sink, it’s important to thoroughly clean the drain opening to remove any debris, grime, or buildup that may have accumulated over time. Follow these steps to clean the drain opening:
- Start by using a cloth or paper towel to wipe away any visible dirt or residue around the drain opening.
- If there is any hair or larger debris visible, use a pair of tweezers or needle-nose pliers to carefully remove it. Be cautious not to push the debris further down the drain.
- Next, prepare a mixture of hot water and mild dish soap in a bucket or basin.
- Dip an old toothbrush or small brush into the soapy water and scrub the inside of the drain opening. Pay attention to the walls and edges to remove any stubborn residue.
- For tougher stains or buildup, you can use a mixture of vinegar and baking soda. Sprinkle baking soda into the drain opening, then pour vinegar over it. Allow the mixture to fizz and work its way into the drain for several minutes before scrubbing with the toothbrush.
- Rinse the drain opening thoroughly with hot water to wash away any soap or cleaning solution residue.
- Use a clean cloth or paper towel to dry the drain opening and surrounding area.
Cleaning the drain opening not only ensures optimal draining but also helps maintain a hygienic and pleasant bathroom environment. Regular cleaning of the drain opening can prevent clogs and unpleasant odors.
With the drain opening cleaned and free of debris, you’re ready to move on to the final step: reassembling the stopper mechanism.
Step 5: Reassemble the Stopper Mechanism
After cleaning the drain opening of your American Standard bathroom sink, it’s time to reassemble the stopper mechanism to restore proper functionality. Follow these steps to reassemble the components:
- Start by placing the cleaned stopper back into the drain opening. Ensure it fits securely and sits flush with the sink surface.
- Next, insert the pivot rod back into the opening at the back of the drain assembly. Align it with the hole in the stopper.
- Tighten the nut on the pivot rod underneath the sink. Use an adjustable wrench or pliers to secure it firmly, but avoid overtightening.
- Check the movement of the stopper by lifting and lowering it. Make sure it operates smoothly and seals the drain properly when closed.
- Take a moment to confirm that the pivot rod is in the correct position and aligned with the rest of the components. Use tape or a marker to mark its position for future reference.
- If you had removed any retaining clips or spring clips during the removal process, ensure they are properly reinstalled in their original position.
Double-check that all the components are securely fastened and there are no loose or dangling parts. This ensures that the stopper mechanism operates correctly and doesn’t cause any leaks or issues.
Finally, test the functionality of the stopper by filling the sink with water and checking for any leaks or drainage problems. If everything is working properly, you have successfully reassembled the stopper mechanism of your American Standard bathroom sink drain.
Congratulations! You have completed the process of removing the bathroom sink drain stopper and cleaning the drain opening. By following these steps, you have not only restored proper functionality but also improved the overall cleanliness and hygiene of your sink.
Remember, regular maintenance and cleaning of the drain stopper and drain opening can help prevent clogs and keep your bathroom sink in optimal condition.
If you encounter any complications during the removal or reassembly process, it’s always advisable to consult a professional plumber for assistance.
Conclusion
Removing a bathroom sink drain stopper from an American Standard sink may seem like a daunting task, but with the right tools and knowledge, it can be a straightforward process. By following the step-by-step guide provided in this article, you can successfully remove the stopper, clean the drain opening, and reassemble the stopper mechanism.
Regular maintenance and cleaning of the drain stopper and drain opening are essential to ensure optimal functionality and prevent clogs. By removing accumulated debris and grime, you can promote proper drainage and eliminate unpleasant odors in your bathroom.
Remember to gather all the necessary tools and materials before starting the removal process and take your time to avoid damaging any components. Mark the positions of the pivot rod and other parts during disassembly to aid in reassembly.
If you encounter any difficulties or if the stopper is stuck, you can use lubricants or consult a professional plumber for assistance. They have the expertise and specialized tools to handle complex situations.
By maintaining a clean and functional bathroom sink drain, you can enjoy a hygienic and efficient sink for years to come. Don’t hesitate to tackle this DIY project and take pride in your ability to enhance the functionality of your American Standard bathroom sink.
Thank you for reading this guide, and we hope it has been helpful in guiding you through the process of removing the bathroom sink drain stopper from your American Standard sink. Happy plumbing!
Now that you've mastered removing your sink drain stopper, why not tackle a bigger project like updating your entire bathroom? Our next guide breaks down how long a typical bathroom makeover lasts, helping you plan and execute your renovation seamlessly. Whether you're sprucing up for comfort or boosting home value, knowing what to expect makes the process smoother.
Frequently Asked Questions about How To Remove American Standard Bathroom Sink Drain Stopper
Was this page helpful?
At Storables.com, we guarantee accurate and reliable information. Our content, validated by Expert Board Contributors, is crafted following stringent Editorial Policies. We're committed to providing you with well-researched, expert-backed insights for all your informational needs.


0 thoughts on “How To Remove American Standard Bathroom Sink Drain Stopper”