Articles
How To Cover Countertops In A Rental
Modified: January 18, 2024
Learn how to cover countertops in a rental with these helpful articles. Discover budget-friendly options and temporary solutions to transform your space.
(Many of the links in this article redirect to a specific reviewed product. Your purchase of these products through affiliate links helps to generate commission for Storables.com, at no extra cost. Learn more)
Introduction
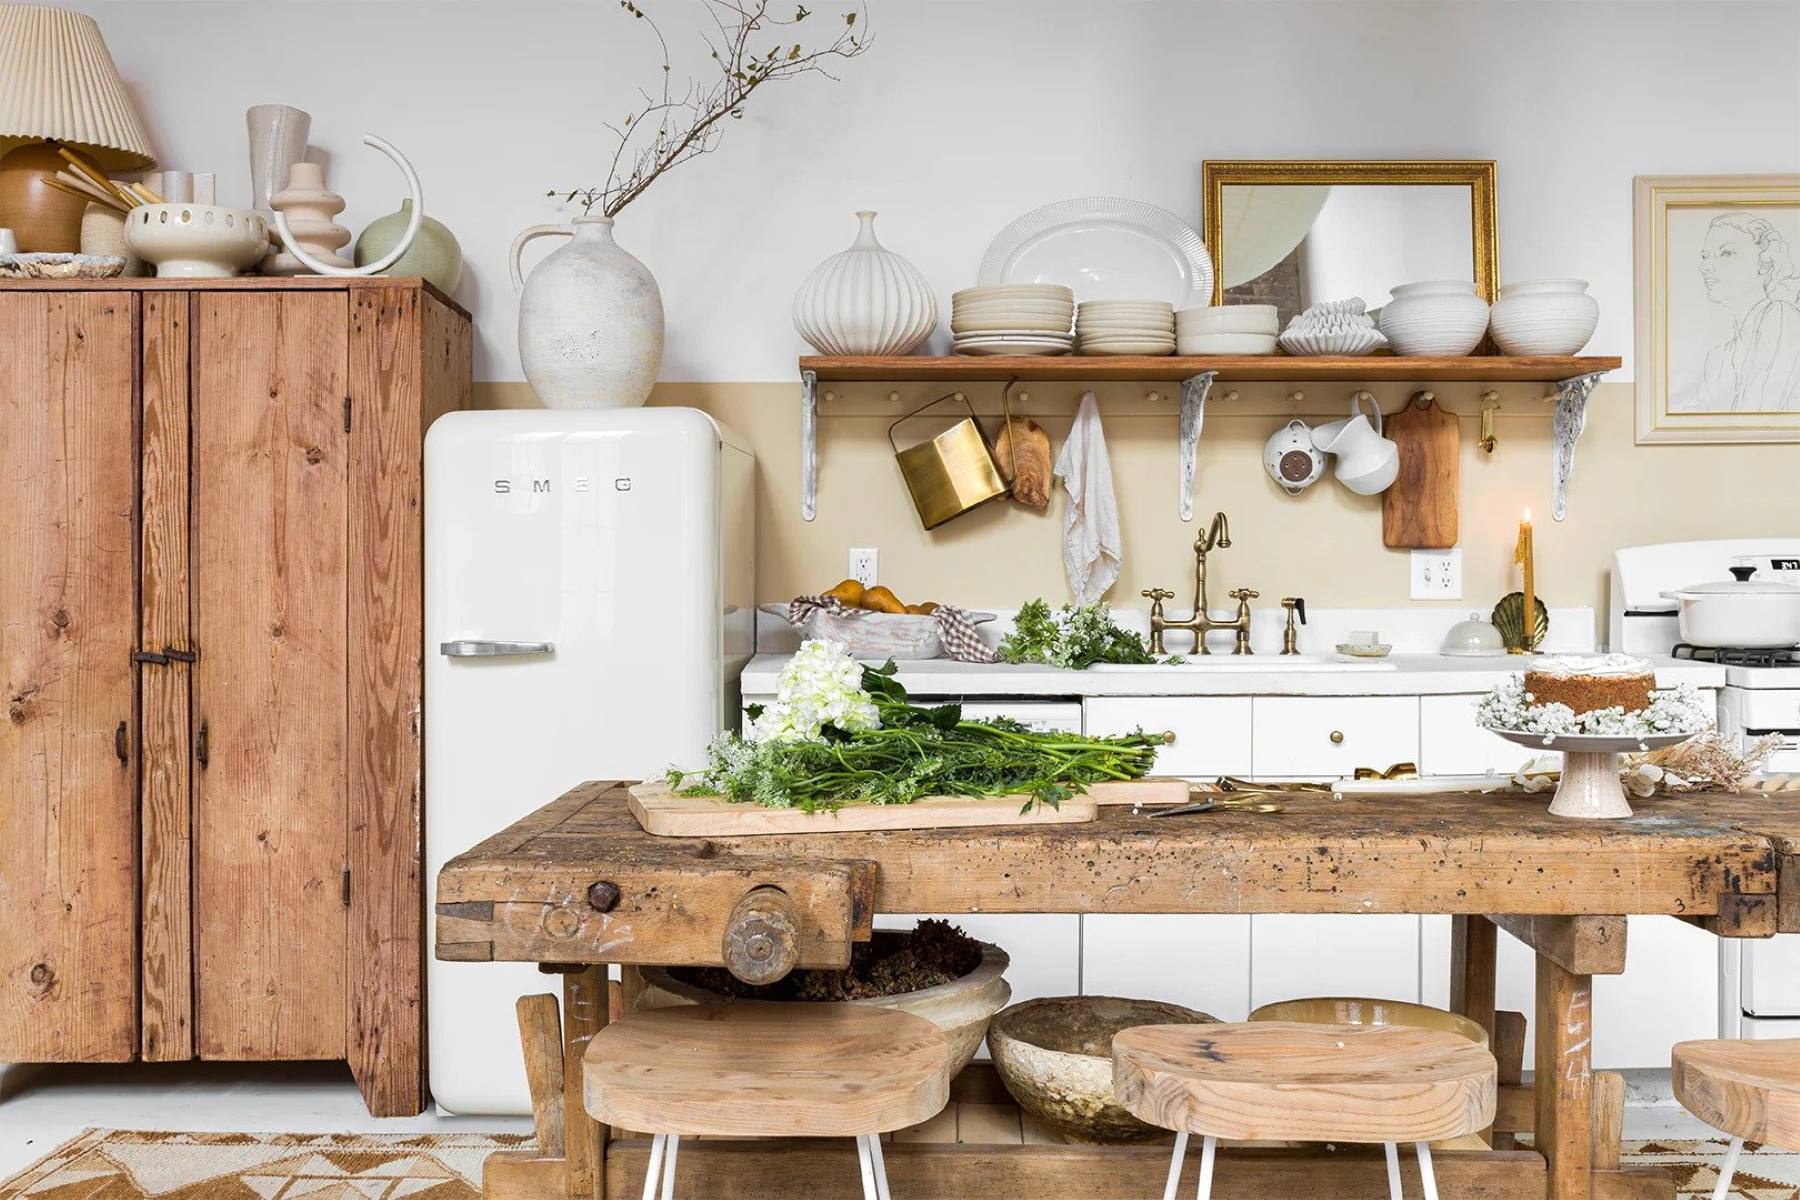
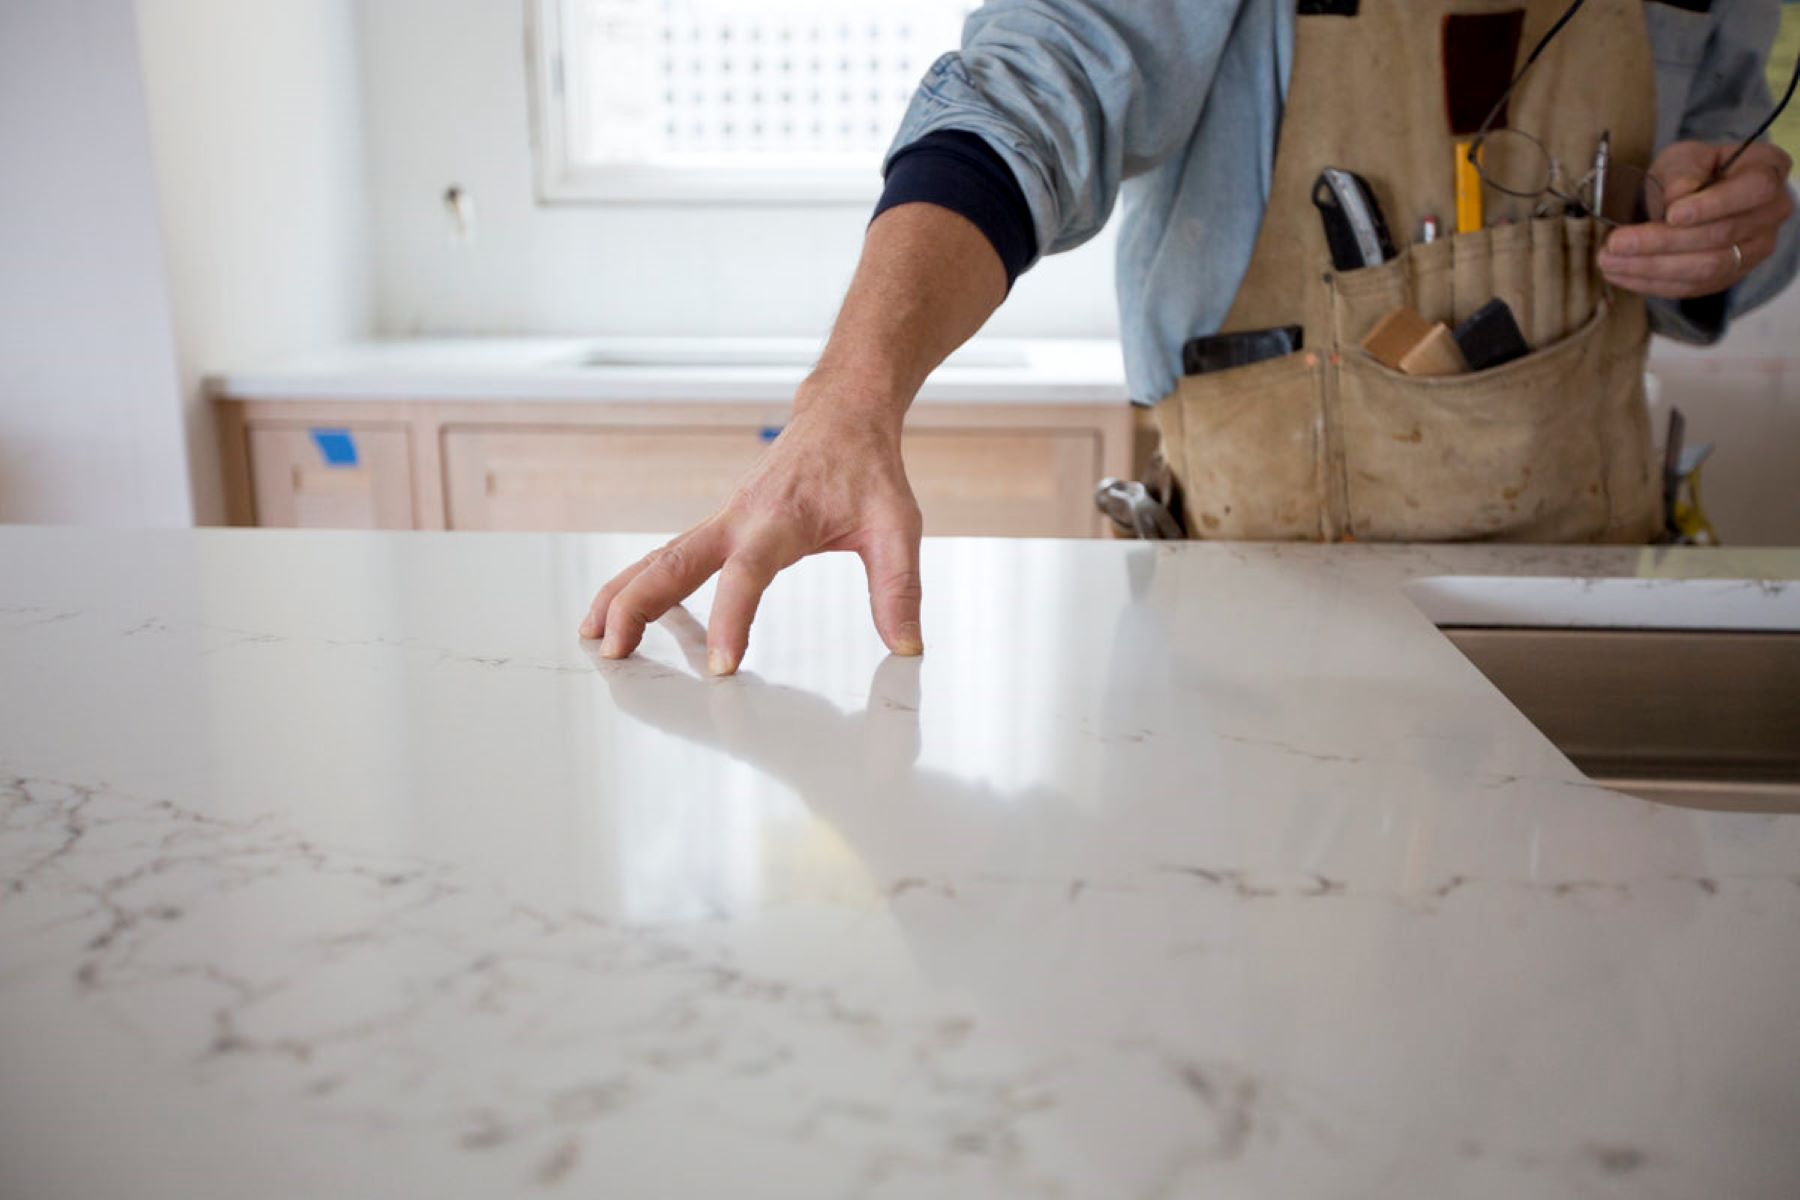
When you’re living in a rental property, you may not have the freedom to make permanent changes to the space. This can be particularly challenging when it comes to the kitchen countertops, as they play a crucial role in both functionality and aesthetics. However, there are plenty of creative solutions that allow you to cover countertops in a rental without causing any damage or violating your lease agreement.
In this article, we will explore various temporary options that can help you transform the look of your kitchen countertops, giving you the freedom to personalize your space without risking your security deposit. Whether you’re looking to hide unsightly stains, outdated patterns, or simply want to switch up the style, these solutions will give you the flexibility you need in a rental kitchen.
Before getting into the options, it’s important to note that prior to making any modifications, it’s always a good idea to check with your landlord or property manager to ensure that these temporary solutions are acceptable. This will not only help you avoid any potential conflicts but also give you peace of mind while experimenting with different countertop coverings.
Now, let’s dive into some of the most popular and practical ways to cover countertops in a rental!
Key Takeaways:
- Transform your rental kitchen countertops with temporary solutions like adhesive film, contact paper, cutting boards, and fabric. Personalize your space without damaging the original countertops or violating your lease agreement.
- Utilize removable tiles, vinyl decals, or temporary paint to revamp your rental kitchen countertops. Enjoy a customized look while maintaining the flexibility to revert back to the original surface when needed.
Read more: How To Cover Kitchen Tile Countertops
Preparation
Before you begin covering your countertops in a rental, it’s important to prepare the surface properly. This will ensure that the temporary solutions adhere well and stay in place without causing any damage or leaving residue behind when you eventually remove them. Follow these steps to prepare your countertops:
- Clean the countertops: Start by thoroughly cleaning the countertops to remove any dirt, grease, or residue. Use a gentle cleanser and a non-abrasive sponge or cloth to avoid scratching the surface.
- Dry the countertops: Once you’ve cleaned the countertops, make sure they are completely dry before applying any temporary coverings. Moisture can prevent adhesive materials from sticking properly, so allow ample drying time.
- Repair any damage: If there are any chips, cracks, or holes in the countertops, take the time to repair them using an appropriate filler. Smooth out the repaired areas and let them dry completely before proceeding.
- Remove any existing coverings: If your countertops already have a temporary covering, such as contact paper or adhesive tiles, peel them off carefully and clean any residue left behind. Make sure the surface is smooth and free of any remnants from the old covering.
- Measure the countertops: Before selecting your temporary covering, measure the dimensions of your countertops accurately. This will help you determine the amount of material or covering you will need to cover the entire surface area.
By following these preparation steps, you’ll create a clean and smooth surface for your temporary countertop coverings. This will ensure the best results and help prolong the lifespan of your chosen solution. Now that your countertops are ready, let’s explore some of the temporary options you can use to transform their appearance!
Option 1: Temporary Solutions
If you’re looking for a quick and easy way to cover your countertops in a rental, there are several temporary solutions available that can completely transform the look of your kitchen. These solutions are designed to be removable and leave no residue behind, making them ideal for renters. Here are a few popular options:
- Removable adhesive film: This is a versatile and affordable option that allows you to completely change the appearance of your countertops. Available in various colors, patterns, and textures, removable adhesive film can be easily applied and removed without causing any damage. Simply measure your countertops, cut the film to size, and carefully adhere it to the surface.
- Temporary countertop covers: There are specially designed countertop covers available that can be easily applied and removed, allowing you to switch up the look whenever you desire. These covers are made from heat-resistant materials and provide a durable and waterproof surface. They come in different colors and designs to suit your taste.
- Disposable countertop liners: Another option is to use disposable countertop liners. These are adhesive-backed paper or plastic sheets that can be easily applied to the surface. They are available in a wide range of colors and patterns, allowing you to customize the look of your countertops. When you’re ready for a change, simply peel off the liner and replace it with a new one.
These temporary solutions give you the flexibility to update your kitchen countertops without making any permanent changes. They are easily removable, leaving your countertops in their original condition once you’re ready to move out. However, it’s important to note that these options may not be as durable as other alternatives, so they are best suited for lighter use and temporary transformations.
Now that you know about some of the temporary solutions available, let’s explore another option to cover your countertops: removable adhesive contact paper.
Option 2: Removable Adhesive Contact Paper
Removable adhesive contact paper is a popular choice for covering countertops in a rental. This self-adhesive material is available in a wide range of colors, patterns, and textures, allowing you to easily customize the look of your kitchen countertops. Here’s how you can use removable adhesive contact paper to transform your rental countertops:
- Choose the right contact paper: Select a contact paper that suits your style and complements the overall aesthetic of your kitchen. Whether you prefer a marble look, a rustic wood grain, or a vibrant pattern, there are countless options to choose from.
- Measure and cut: Measure the dimensions of your countertops accurately and cut the contact paper to fit. It’s best to cut slightly larger than needed, as you can always trim the excess later.
- Clean and dry the countertops: As mentioned earlier, make sure your countertops are thoroughly cleaned and dried before applying the contact paper. This will ensure better adhesion and a smoother application.
- Peel and stick: Starting from one end, slowly peel off the backing of the contact paper and carefully apply it to the countertop surface. Use a squeegee or a credit card to smooth out any air bubbles or wrinkles as you go along.
- Trim the edges: Once the contact paper is fully adhered to the countertops, use a sharp utility knife or scissors to trim off any excess paper, ensuring clean and precise edges.
- Seal the edges (optional): To provide extra durability and prevent the edges from peeling up, you can apply a clear adhesive sealer along the edges of the contact paper. This will help protect the paper from moisture and prolong its lifespan.
Removable adhesive contact paper is not only a budget-friendly option but also offers versatility in terms of style and design. Whether you want to create a modern, sleek look or a cozy, rustic vibe, contact paper can help you achieve your desired aesthetic. Plus, it offers easy removal without leaving any residue, allowing you to revert to the original countertops when needed.
However, it’s important to note that contact paper may not be as heat or water-resistant as other materials, so it’s advisable to use cutting boards and trivets to protect the surface from hot pans and wet dishes. Additionally, avoid using abrasive cleaners that can damage or peel the contact paper.
Now that you know how to use removable adhesive contact paper to cover your countertops, let’s explore another creative option: using cutting boards or placemats.
Option 3: Use Cutting Boards or Placemats
If you prefer a non-adhesive and easily removable solution to cover your rental countertops, utilizing cutting boards or placemats can be a practical and stylish option. Here’s how you can incorporate them into your kitchen space:
- Select the right cutting boards or placemats: Look for cutting boards or placemats that fit the dimensions of your countertops and create a cohesive look with your kitchen decor. You can choose from a wide variety of materials, such as wood, bamboo, plastic, or silicone, depending on your preferences and the style you want to achieve.
- Arrange the cutting boards or placemats: Place the cutting boards or placemats on the countertop surface, arranging them in a visually pleasing manner. You can choose to cover the entire countertop or strategically place them in areas that need the most coverage or add a decorative touch.
- Secure the cutting boards or placemats (optional): To prevent the cutting boards or placemats from shifting or sliding during daily use, you can use non-slip shelf liners or adhesive strips underneath them. This will ensure stability and keep them securely in place.
- Switch them out for a fresh look: One of the advantages of using cutting boards or placemats is the ability to easily change them whenever you want. If you get tired of the current design or want to switch up the color scheme, simply replace them with new ones to instantly transform the appearance of your countertops.
Using cutting boards or placemats not only adds a decorative touch to your kitchen but also serves a functional purpose. They provide a protective surface for food preparation and help prevent damage to your rental countertops. Additionally, they are easy to clean and maintain, allowing you to keep your kitchen space fresh and inviting.
Keep in mind that while cutting boards and placemats offer versatility and protection, they may not cover the entire surface of your countertops. If you’re looking for a more comprehensive solution, you may want to combine this option with other temporary coverings, such as adhesive contact paper or removable tiles.
Now that you’ve explored using cutting boards or placemats to cover your countertops, let’s move on to another creative option: vinyl decals or stickers.
Read more: What Can You Cover Countertops With
Option 4: Vinyl Decals or Stickers
When it comes to adding a touch of creativity and personalization to your rental countertops, vinyl decals or stickers offer a fun and customizable solution. These self-adhesive decorations can be easily applied and removed, allowing you to change the look of your countertops without any permanent alterations. Here’s how you can use vinyl decals or stickers to cover your rental countertops:
- Choose your desired design: Vinyl decals or stickers come in a wide range of designs, patterns, and sizes. Whether you prefer a floral motif, geometric shapes, or inspirational quotes, there are countless options available to suit your style.
- Measure and outline: Measure the dimensions of your countertops and plan where you want to place the vinyl decals or stickers. You can create a cohesive design by arranging them in a specific pattern or randomly for a more whimsical look.
- Clean and dry the countertops: Just like with other temporary coverings, it’s crucial to clean and dry your countertops before applying vinyl decals or stickers. This will ensure better adhesion and a clean surface for the decorations.
- Peel and stick: Carefully peel off the backing of the vinyl decals or stickers and adhere them to the countertop surface according to your planned design. Smooth out any air bubbles or wrinkles with a credit card or your fingers to ensure a smooth and even application.
- Position and reposition: One of the benefits of using vinyl decals or stickers is their repositionable nature. If you’re not satisfied with the initial placement, you can easily remove and reposition them until you achieve the desired look.
- Remove and replace: When you’re ready for a change, simply peel off the vinyl decals or stickers from your countertops. They should come off easily without leaving any residue. If there are any stubborn adhesive remnants, gently remove them using a mild adhesive remover.
Vinyl decals or stickers provide a great opportunity to express your personal style and add a unique touch to your rental kitchen. They are a budget-friendly and versatile option, allowing you to easily customize the look of your countertops without breaking the bank.
However, keep in mind that vinyl decals or stickers may not withstand heavy use or frequent exposure to moisture. It’s best to use them in areas of the countertops that are less prone to spills and high-traffic activities. Additionally, avoid using abrasive cleaners or harsh chemicals on the decals or stickers to prevent damage.
Now that you’ve discovered another creative option to cover your countertops with vinyl decals or stickers, let’s explore using fabric or linens for a softer and more cozy look.
Consider using removable adhesive vinyl or contact paper to cover countertops in a rental. These materials are easy to apply, come in a variety of designs, and can be easily removed without damaging the original countertop.
Option 5: Cover with Fabric or Linens
If you’re looking to add a touch of texture and warmth to your rental countertops, covering them with fabric or linens is a stylish and versatile option. This option not only allows you to personalize your kitchen space but also provides a protective layer for your countertops. Here’s how you can use fabric or linens to cover your rental countertops:
- Select the right fabric or linens: Choose fabric or linens that fit your desired style and are suitable for kitchen use. Cotton, linen, or polyester blends are good options as they are durable and easy to clean. Consider selecting fabrics in patterns or colors that complement your kitchen decor.
- Measure and cut: Measure the dimensions of your countertops and cut the fabric or linens to fit. Leave a slight overhang on the edges for a neat and polished look.
- Secure the fabric or linens: Place the fabric or linens on the countertop surface and smooth them out. You can secure them in place using double-sided adhesive tape or non-slip shelf liners cut to fit the dimensions of the countertops.
- Protect the fabric or linens: To protect the fabric or linens from spills and stains, consider applying a clear waterproof sealant over the surface. This will create a barrier against liquid absorption and make cleaning easier.
- Change and wash as needed: One of the advantages of using fabric or linens to cover your countertops is the ability to easily change them whenever you desire. Simply remove and replace with a fresh set to switch up the look. Make sure to wash the fabric or linens regularly to keep them clean and hygienic.
Using fabric or linens to cover your countertops adds a cozy and personalized touch to your rental kitchen. It allows you to incorporate different colors, patterns, and textures, allowing for endless options to match your style. Additionally, fabric or linens provide a layer of protection against scratches and can be easily removed and washed when needed.
However, it’s important to note that fabric or linens are more susceptible to wear and stains compared to other options. To maintain their appearance and longevity, it’s advisable to use cutting boards and trivets to protect the fabric from hot pans and sharp objects. Additionally, promptly clean up any spills or stains to prevent them from setting in.
Now that you’ve learned about covering your countertops with fabric or linens, let’s explore another option: utilizing tray or tray inserts.
Option 6: Utilize Tray or Tray Inserts
Using a tray or tray inserts is a practical and visually appealing option for covering your rental countertops. This option not only adds a touch of organization to your kitchen but also provides an easy way to protect the surface from spills and scratches. Here’s how you can utilize trays or tray inserts to cover your countertops:
- Select the right tray: Choose a tray that fits the dimensions of your countertops and complements your kitchen style. Opt for a tray made of durable and easy-to-clean materials such as wood, plastic, or metal.
- Arrange the tray: Place the tray on your countertop surface and arrange it in a way that adds visual interest and functionality. You can use the tray to hold commonly used items like jars, utensils, and cooking essentials, keeping them organized and easily accessible.
- Add tray inserts: For an added touch of design and protection, consider using tray inserts. These can be made of various materials such as rubber, silicone, or cork, and can sit inside the tray to provide a non-slip surface and prevent items from sliding around.
- Customize with decor: Enhance the look of your tray by incorporating decorative elements such as small vases with flowers, candles, or kitchen-themed accessories. These personal touches can elevate the overall aesthetic of your rental kitchen.
- Change as desired: One of the benefits of utilizing trays or tray inserts is the ease of changing them to suit your preferences. If you want to switch up the style or simply refresh the look, you can easily replace the tray or swap out the inserts for a new design.
Using trays or tray inserts not only adds a layer of protection to your rental countertops but also helps keep your kitchen organized and visually appealing. The versatility and adaptability of this option allow you to easily incorporate different styles and themes into your kitchen space.
Keep in mind that while trays can provide a level of protection against spills and scratches, it’s always a good idea to use cutting boards and trivets for additional protection. Also, regularly clean the tray and wipe down the countertops to maintain a clean and inviting kitchen environment.
Now that you’ve explored utilizing trays or tray inserts to cover your countertops, let’s move on to another option: applying temporary paint.
Option 7: Apply Temporary Paint
If you’re looking for a more transformative option to cover your rental countertops, applying temporary paint is a great way to completely change the look and feel of your kitchen. Temporary paint is a removable solution that allows you to customize the color and style of your countertops without the permanence of traditional paint. Here’s how you can apply temporary paint to cover your rental countertops:
- Choose the right temporary paint: Look for temporary paint specifically designed for countertops. These paints are typically water-based, easy to apply, and offer a durable and washable finish. Select a color that suits your personal style and complements your kitchen decor.
- Prepare the surface: Thoroughly clean and dry your countertops to ensure a smooth and clean surface for the paint. Remove any debris, grease, or stains using a gentle cleanser and a non-abrasive sponge or cloth.
- Mask off areas: Use painter’s tape to carefully mask off any areas you don’t want to paint, such as the edges or backsplash. This will ensure clean lines and prevent accidental paint spills on adjacent surfaces.
- Apply the paint: Following the manufacturer’s instructions, apply the temporary paint evenly to the countertop surface using a foam roller or brush. Start from one end and work your way across, applying multiple thin coats for better coverage. Allow each coat to dry completely before applying the next.
- Seal the paint: Once the paint has dried, apply a clear, non-toxic sealer specifically formulated for countertop surfaces. This will provide an additional layer of protection, making the paint more resistant to stains and scratches.
- Enjoy the new look: Once the paint and sealer are fully cured, you can enjoy your newly transformed countertops. Decorate the space with complementary colors and accessories to enhance the overall aesthetic of your kitchen.
Temporary paint offers a versatile and cost-effective solution for covering your rental countertops. It allows you to completely change the color and style of your countertops without the commitment of permanent paint. When the time comes to move out, you can easily remove the paint without causing damage to the original surface.
However, keep in mind that temporary paint may not be as durable as permanent paint. To maintain the longevity of the painted surface, it’s advisable to use cutting boards and trivets to prevent direct contact with hot pans and sharp objects. Additionally, avoid using abrasive cleaners that can damage or fade the paint.
Now that you’ve learned about applying temporary paint as an option to cover your countertops, let’s explore the final option: installing removable tiles or panels.
Read more: How To Design A Modern Rental House
Option 8: Install Removable Tiles or Panels
If you’re looking for a more durable and transformative option to cover your rental countertops, installing removable tiles or panels can be an excellent choice. Removable tiles or panels provide a stylish and functional solution that can completely revamp the look of your kitchen. Here’s how you can install removable tiles or panels to cover your rental countertops:
- Select the right tiles or panels: Choose removable tiles or panels that are specifically designed for countertops. These are usually made of materials like vinyl, acrylic, or laminate, which are durable and resistant to moisture and heat. Select tiles or panels that match your desired style and complement your kitchen decor.
- Measure and cut: Measure the dimensions of your countertops accurately and mark the measurements on the tiles or panels. Use a utility knife or a saw to cut them to the appropriate size, ensuring a snug fit on the countertop surface.
- Clean and dry the countertops: Clean your countertops thoroughly and ensure they are completely dry before installing the tiles or panels. This will help ensure better adhesion and prevent any debris or moisture from getting trapped underneath.
- Apply adhesive or use a peel-and-stick backing: Depending on the type of tiles or panels you have, you may need to apply an adhesive to the back or use ones with a peel-and-stick backing. Follow the manufacturer’s instructions for the specific product you’re using, ensuring proper and even application.
- Place and press the tiles or panels: Carefully place the tiles or panels onto the countertop surface, starting from one end and working your way across. Press them down firmly to ensure proper adhesion and eliminate any air bubbles or gaps.
- Trim and finish: Once all the tiles or panels are in place, use a utility knife or a saw to trim any excess material and create clean edges. Smooth out any rough edges using sandpaper or a file, and clean off any adhesive residue with a gentle cleaner.
Installing removable tiles or panels offers a more long-term solution for covering your rental countertops. Since they are designed specifically for counters, they provide a sturdy and durable surface that can withstand daily use and regular maintenance.
Keep in mind that some removable tiles or panels may require additional care to maintain their appearance. Follow the manufacturer’s recommendations for cleaning and maintenance, and avoid using abrasive cleaners or harsh chemicals that can damage or fade the surface.
Remember to check with your landlord or property manager before installing removable tiles or panels, as some rental agreements may have restrictions on making alterations. However, many removable options can be easily taken off without causing permanent damage, making them an ideal choice for renters looking to spruce up their kitchen countertops.
Now that you’ve explored the various options for covering your rental countertops, you have the knowledge to choose the solution that best suits your style and needs. Whether it’s using temporary paint, vinyl decals, fabric, or other creative methods, you can transform your kitchen space and make it truly feel like your own.
Conclusion
When you’re living in a rental property, covering the countertops can be a challenge, as you want to personalize your space without making any permanent changes. Thankfully, there are plenty of creative and temporary options available to help you transform the look of your countertops and make your rental kitchen feel like home.
In this article, we explored various solutions for covering countertops in a rental. From temporary adhesive contact paper and vinyl decals to utilizing cutting boards, fabric, trays, and removable tiles, there are options to suit every style and preference. Each option offers its own unique benefits, allowing you to customize the look of your countertops while protecting them from stains and scratches.
Before undertaking any countertop coverings, it’s important to communicate with your landlord or property manager to ensure compliance with your lease agreement. This will help you avoid any conflicts or potential damage to the property.
Remember to prioritize proper preparation and cleaning of the countertops before applying any temporary coverings to ensure optimal adhesion and longevity of the materials. Additionally, take care to follow the manufacturer’s instructions for each product and practice proper maintenance to keep your countertops looking their best.
With the numerous options available, you can easily update the look of your rental kitchen and make it a reflection of your personal style and taste. Whether you prefer a sleek and modern aesthetic, a cozy and rustic vibe, or something in between, there’s a solution that will suit your needs.
By utilizing temporary countertop coverings, you can enjoy a fresh and customized kitchen space without the worry of damaging the countertops or violating your lease agreement. Take the time to explore the different options, get creative with your choices, and have fun transforming your rental kitchen into a space that feels uniquely yours.
Remember, the beauty of these temporary solutions is that you can easily revert back to the original countertops when it’s time to move out, leaving no trace behind. So go ahead and experiment, and enjoy the process of making your rental kitchen a place you love to spend time in.
Frequently Asked Questions about How To Cover Countertops In A Rental
Was this page helpful?
At Storables.com, we guarantee accurate and reliable information. Our content, validated by Expert Board Contributors, is crafted following stringent Editorial Policies. We're committed to providing you with well-researched, expert-backed insights for all your informational needs.


0 thoughts on “How To Cover Countertops In A Rental”