Articles
How To Cover Laminate Countertops With Tile
Modified: December 7, 2023
Learn how to transform your laminate countertops with tile in this informative article. Discover step-by-step instructions and expert tips.
(Many of the links in this article redirect to a specific reviewed product. Your purchase of these products through affiliate links helps to generate commission for Storables.com, at no extra cost. Learn more)
Introduction
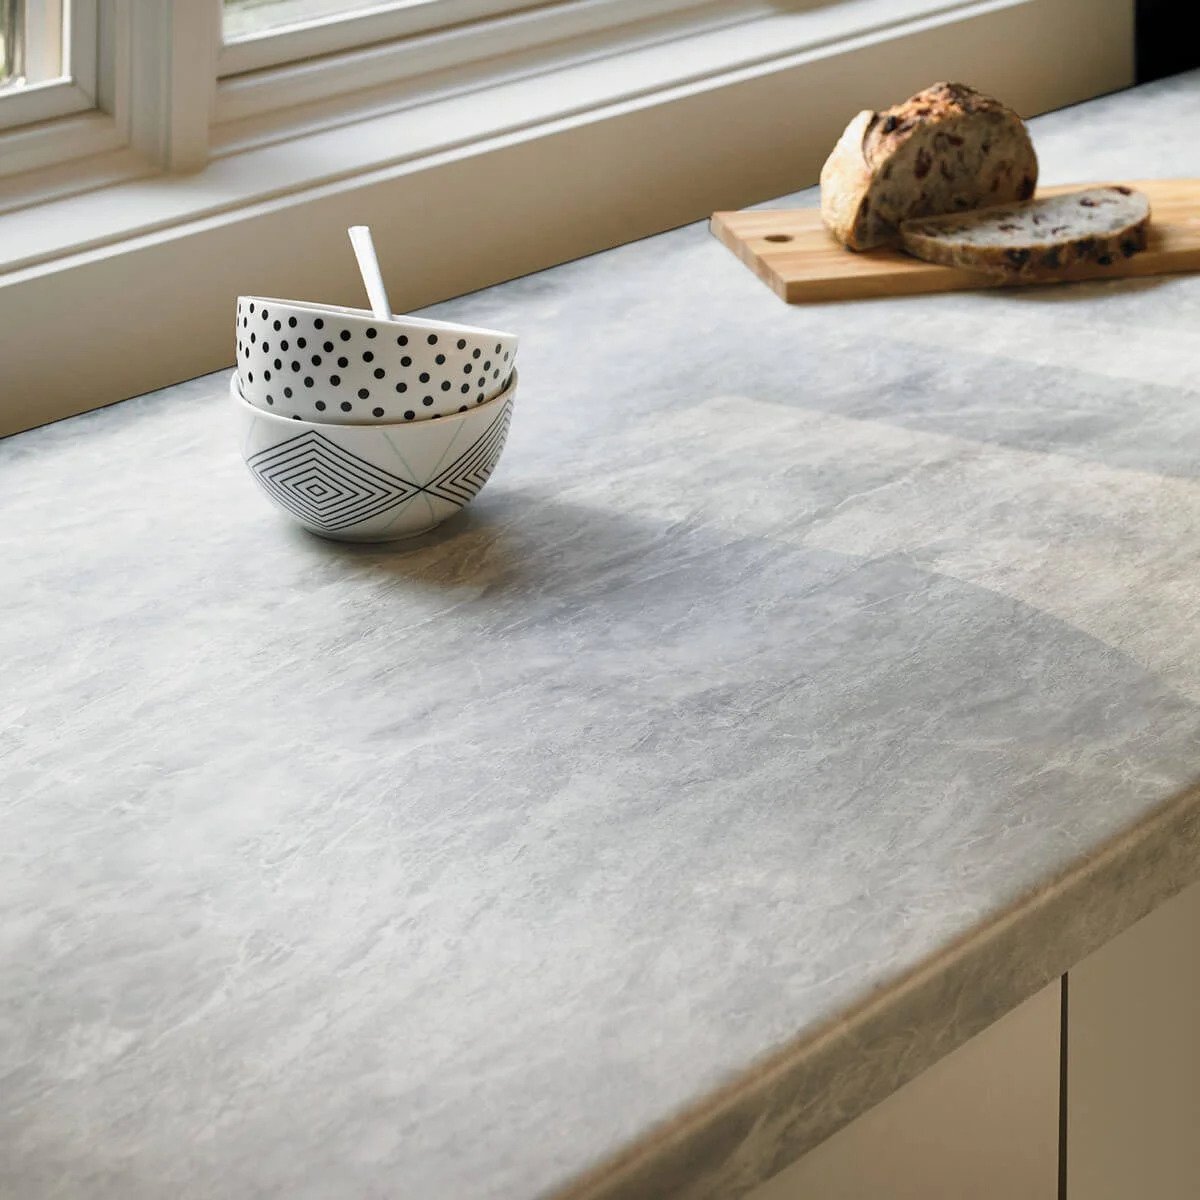
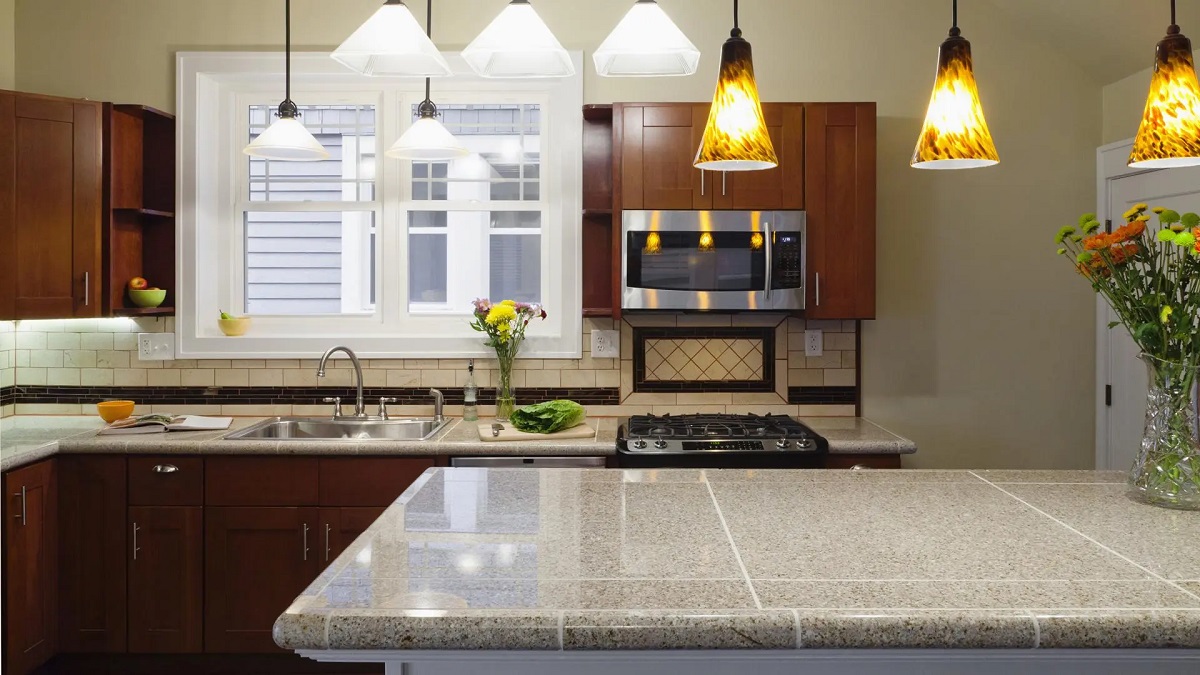
In this article, we will explore a step-by-step guide on how to cover laminate countertops with tile. If you have outdated or damaged laminate countertops in your kitchen or bathroom, this DIY project can provide a budget-friendly and stylish solution. By following these instructions and utilizing the right materials, you can transform the look of your countertops and give them a fresh, new appearance.
Replacing laminate countertops with expensive alternatives like granite or quartz can be a costly endeavor. However, covering them with tile offers a more affordable option that allows you to customize the design to your liking. Tile countertops are not only visually appealing but also durable and easy to clean, making them a practical choice for any household.
Before we dive into the steps, let’s have a look at the materials you will need for this project:
Key Takeaways:
- Transform outdated laminate countertops into stylish, durable surfaces with a budget-friendly DIY tile installation, adding value and personal flair to your kitchen or bathroom.
- Achieve professional-looking results by meticulously preparing the surface, measuring and cutting tiles, and applying adhesive and grout with precision and attention to detail.
Read more: How To Cover Kitchen Tile Countertops
Materials Needed
Before starting the project, gather the following materials:
- Tile: Choose the type and style of tile that suits your preferences and complements your existing kitchen or bathroom decor. Ceramic or porcelain tiles are popular choices for countertops due to their durability and easy maintenance.
- Adhesive: Use a high-quality adhesive specifically designed for tile installation. Look for a product that is compatible with both your chosen tile material and the laminate surface.
- Grout: Select a grout color that matches or complements your tile. Ensure that the grout is suitable for countertop use and offers stain resistance.
- Trowel: A notched trowel will be needed to evenly spread the adhesive onto the laminate surface.
- Saw: Depending on the size and shape of your countertops, you may need a wet saw or a tile cutter to trim the tiles to fit properly.
- Grout Float: This tool helps you apply and smooth the grout between the tiles.
- Sponge and Bucket: Use a sponge and bucket filled with water for cleaning excess adhesive and grout.
- Level: Make sure to have a level on hand to ensure that the tiles are being installed in a straight and even manner.
- Measuring Tape and Pencil: These tools will be essential for measuring and marking the areas where the tiles will be placed.
- Protective Gear: Wear goggles and gloves to protect yourself during the tile installation process.
Gather all of these materials before beginning the project to ensure a smooth and efficient process from start to finish.
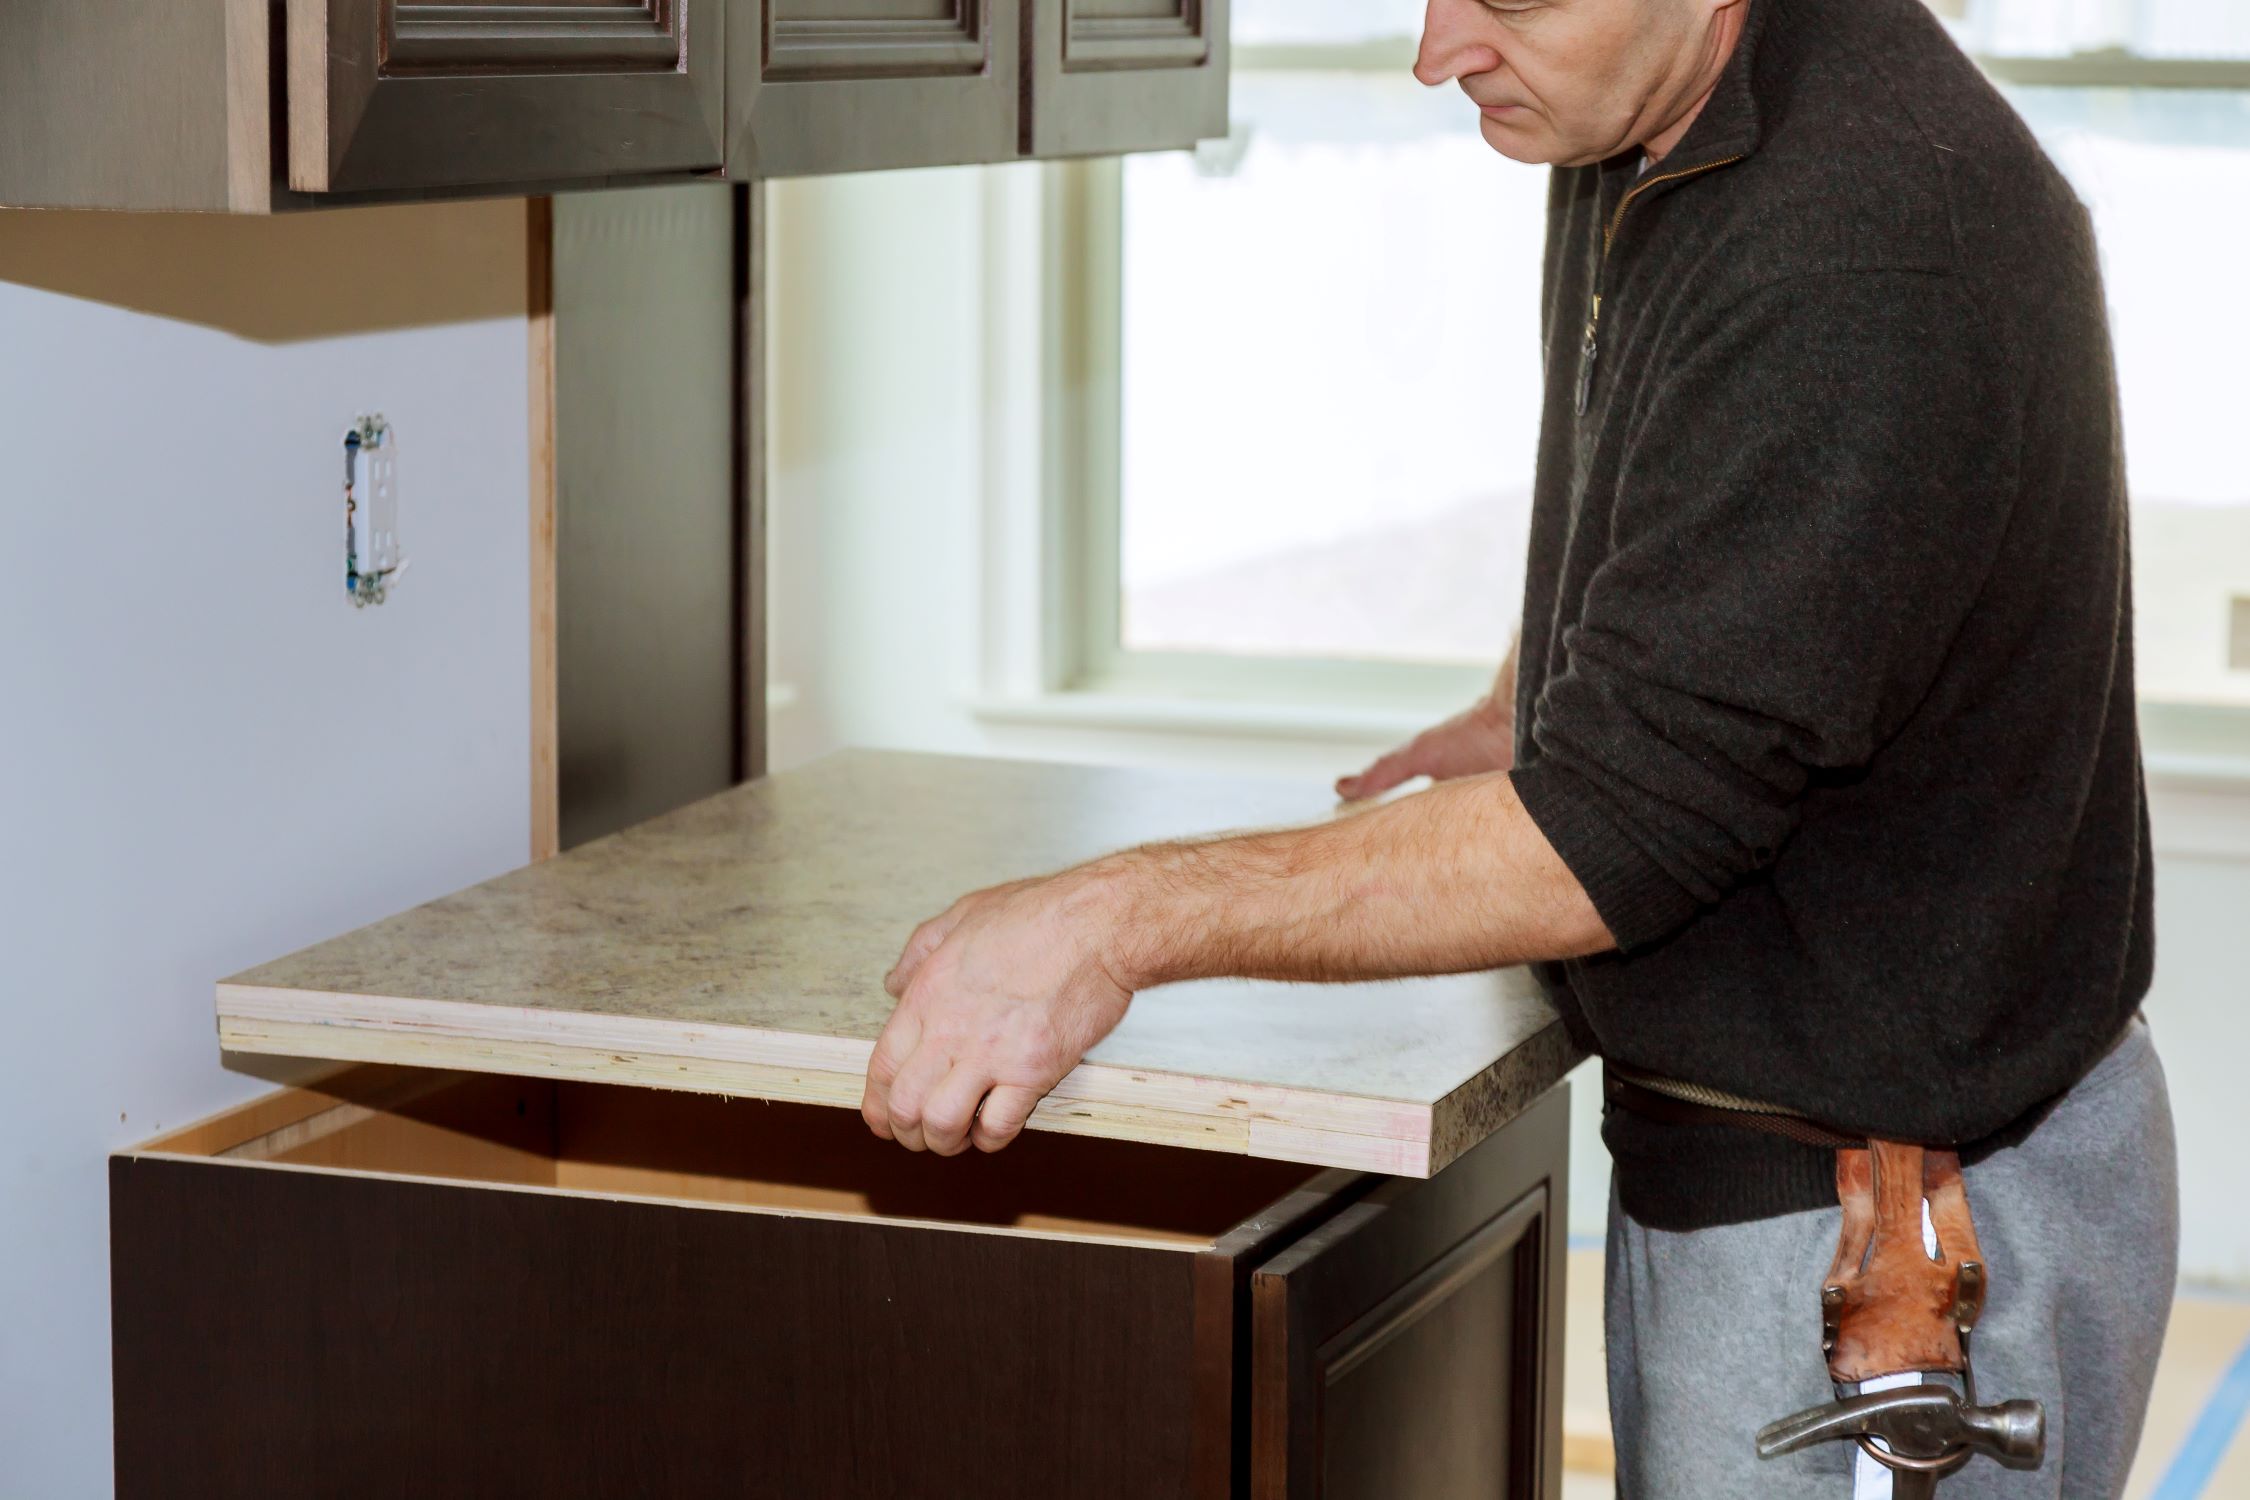
Step 1: Prepare the Countertop
The first step in covering laminate countertops with tile is to properly prepare the surface. Follow these instructions to ensure a solid foundation for your tile installation:
- Clean the laminate surface: Start by thoroughly cleaning the laminate countertop. Remove any dirt, grease, or debris using a mild cleaner and a soft cloth. Ensure that the surface is completely free of any residue before proceeding.
- Sand the surface: Use a fine-grit sandpaper to roughen up the laminate surface slightly. This step helps the adhesive bond better to the countertop. Be sure to wipe away any dust left behind from sanding.
- Fill any cracks or gaps: Inspect the countertop for any cracks or gaps and fill them with a suitable filler. Smooth out the filler with a putty knife and allow it to dry completely. Sand down any excess filler until the surface is even and smooth.
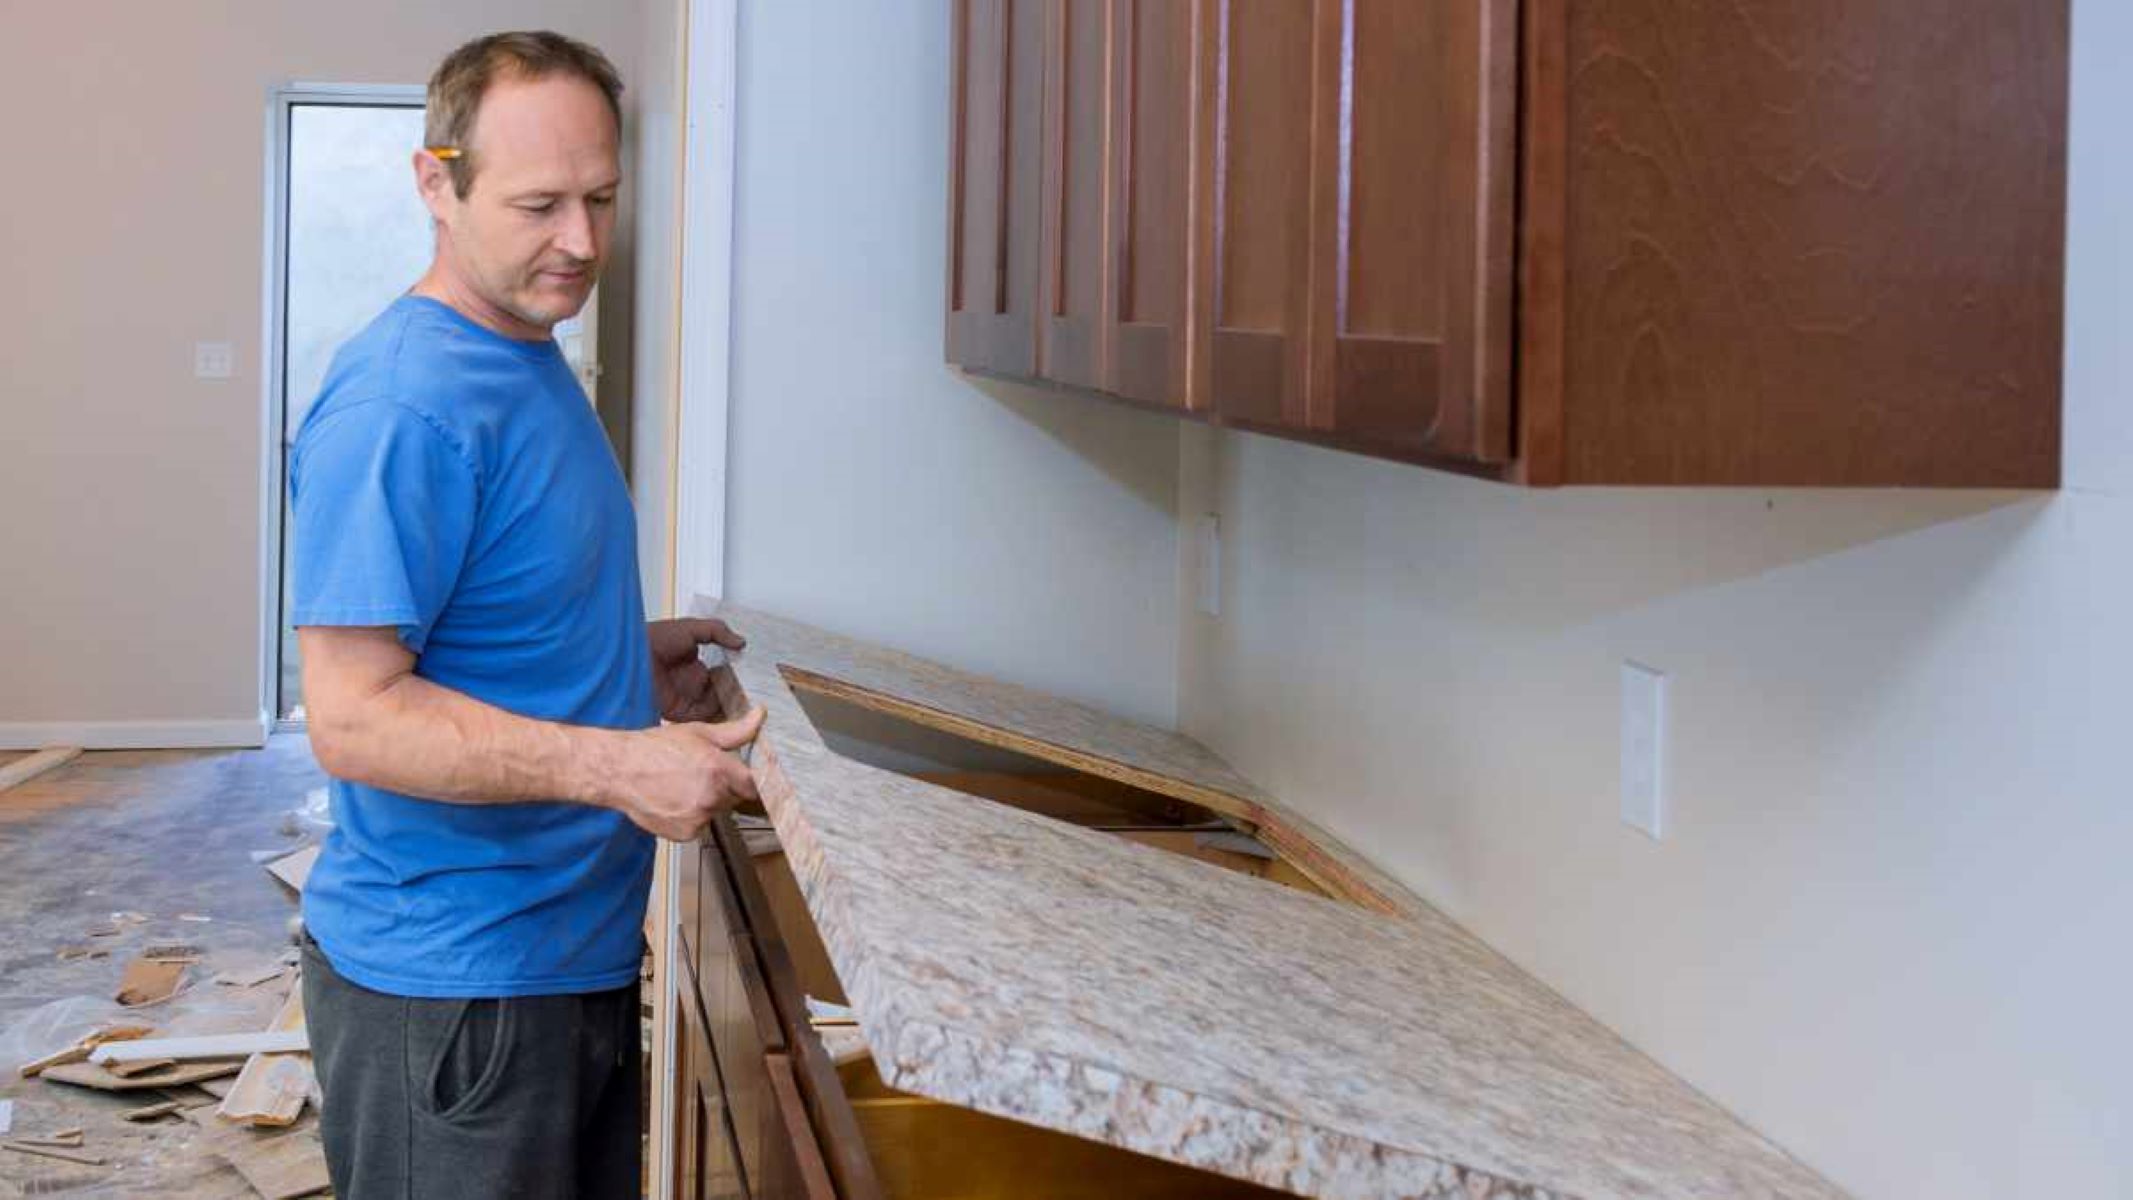
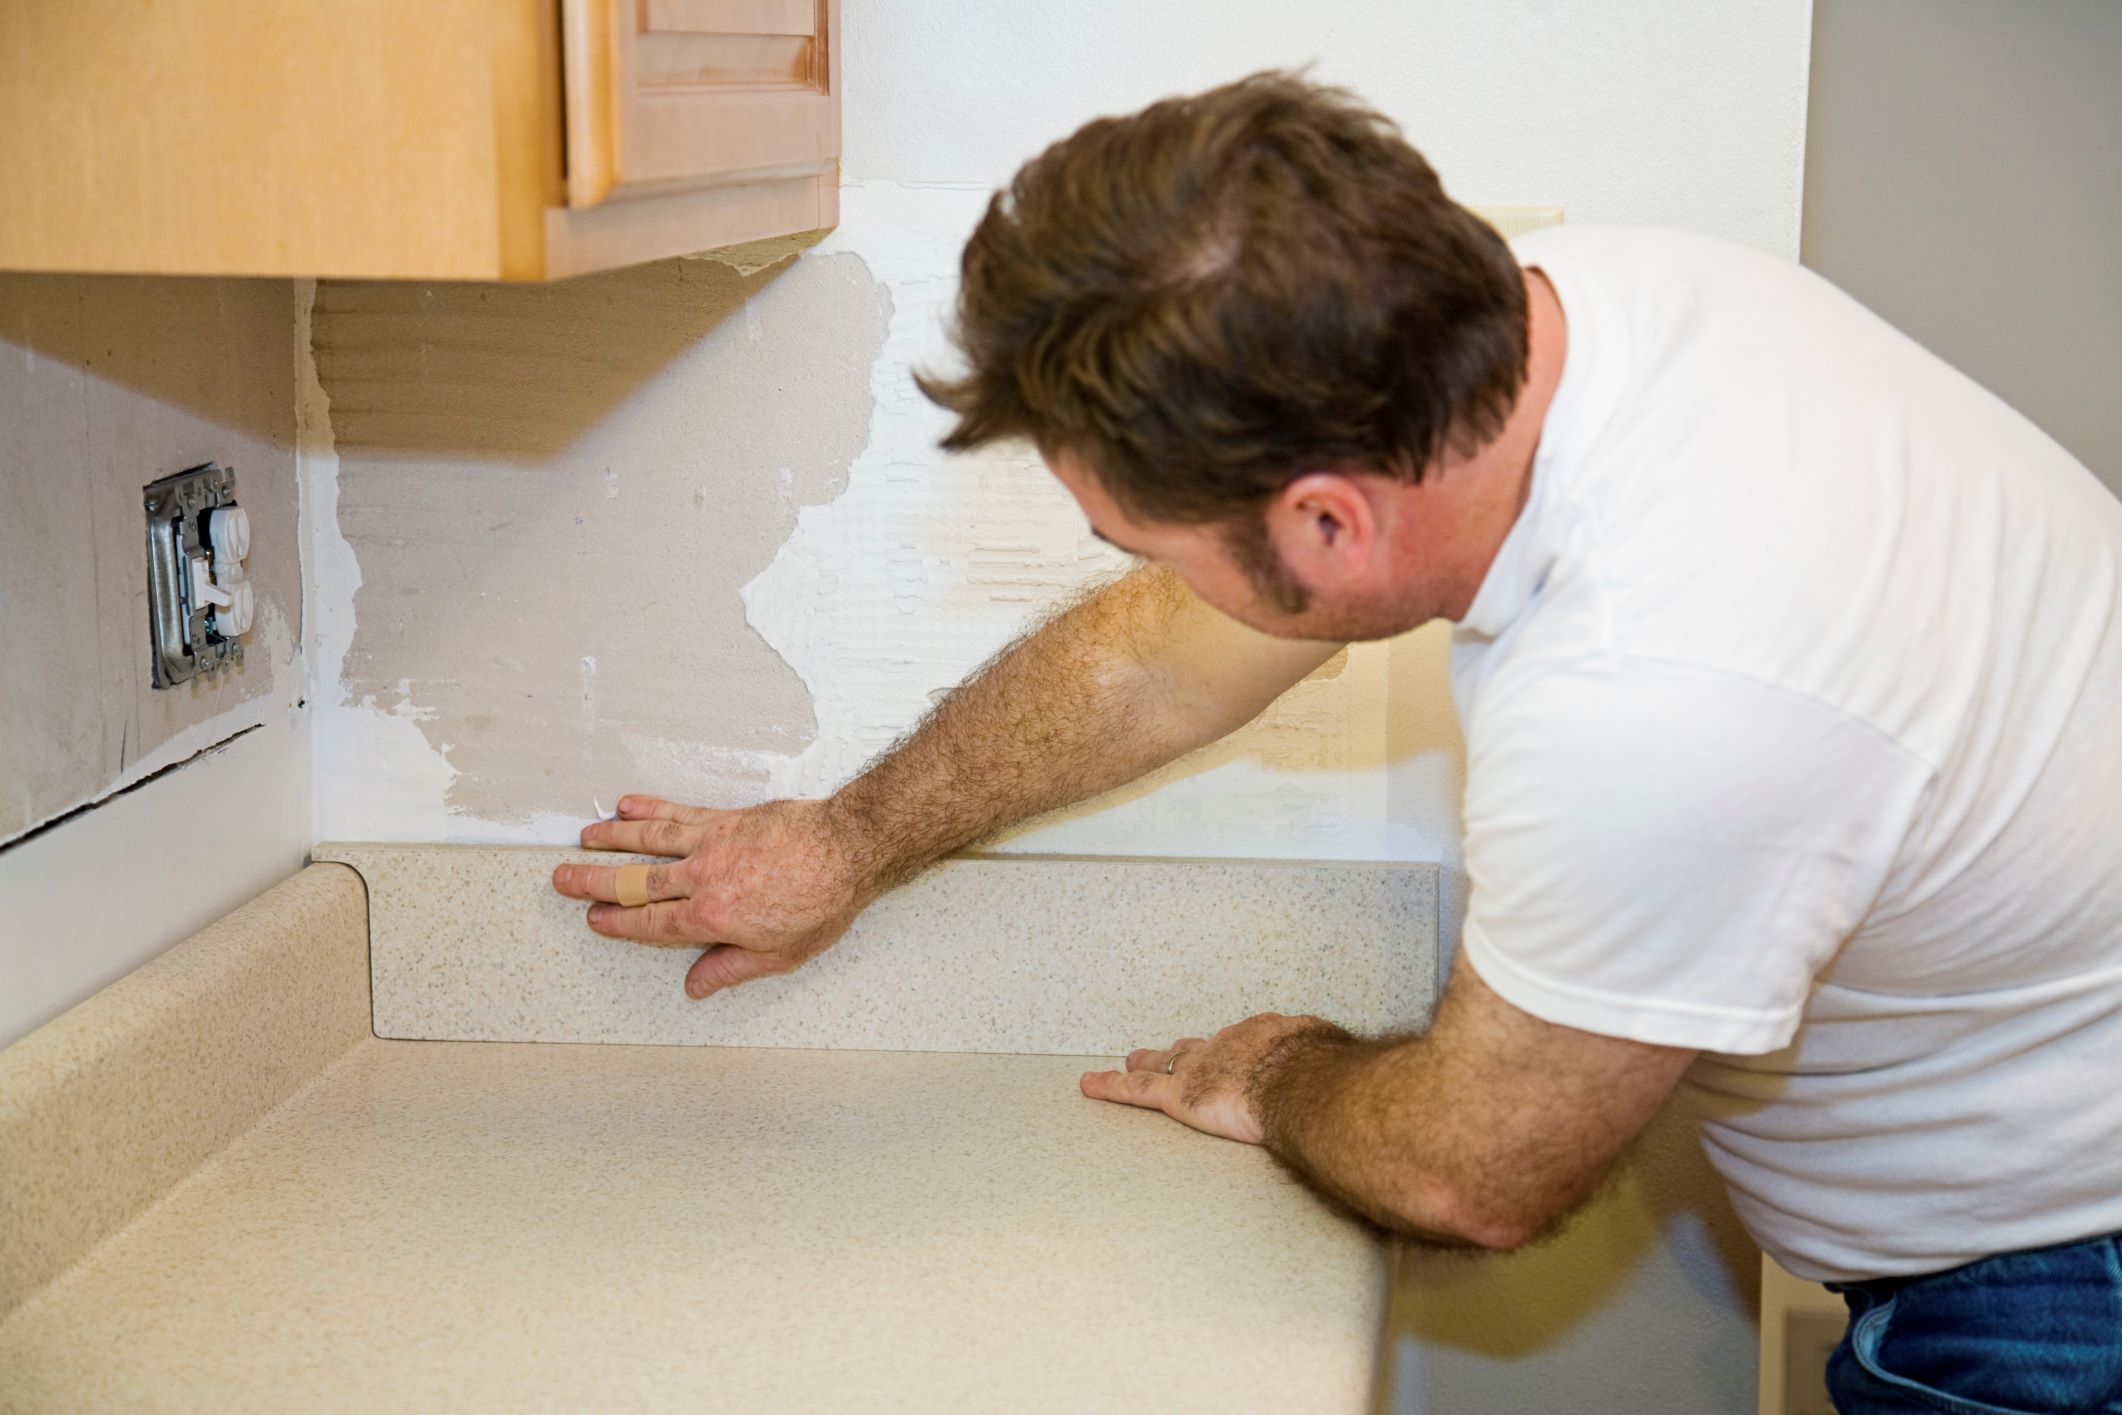
- Remove edges and trim: If your laminate countertop has any edges or trim, decide whether you want to remove or keep them. Removing the edges and trim will result in a cleaner and more seamless tile installation. Use a pry bar and a hammer to carefully remove them, being cautious not to damage the laminate surface.
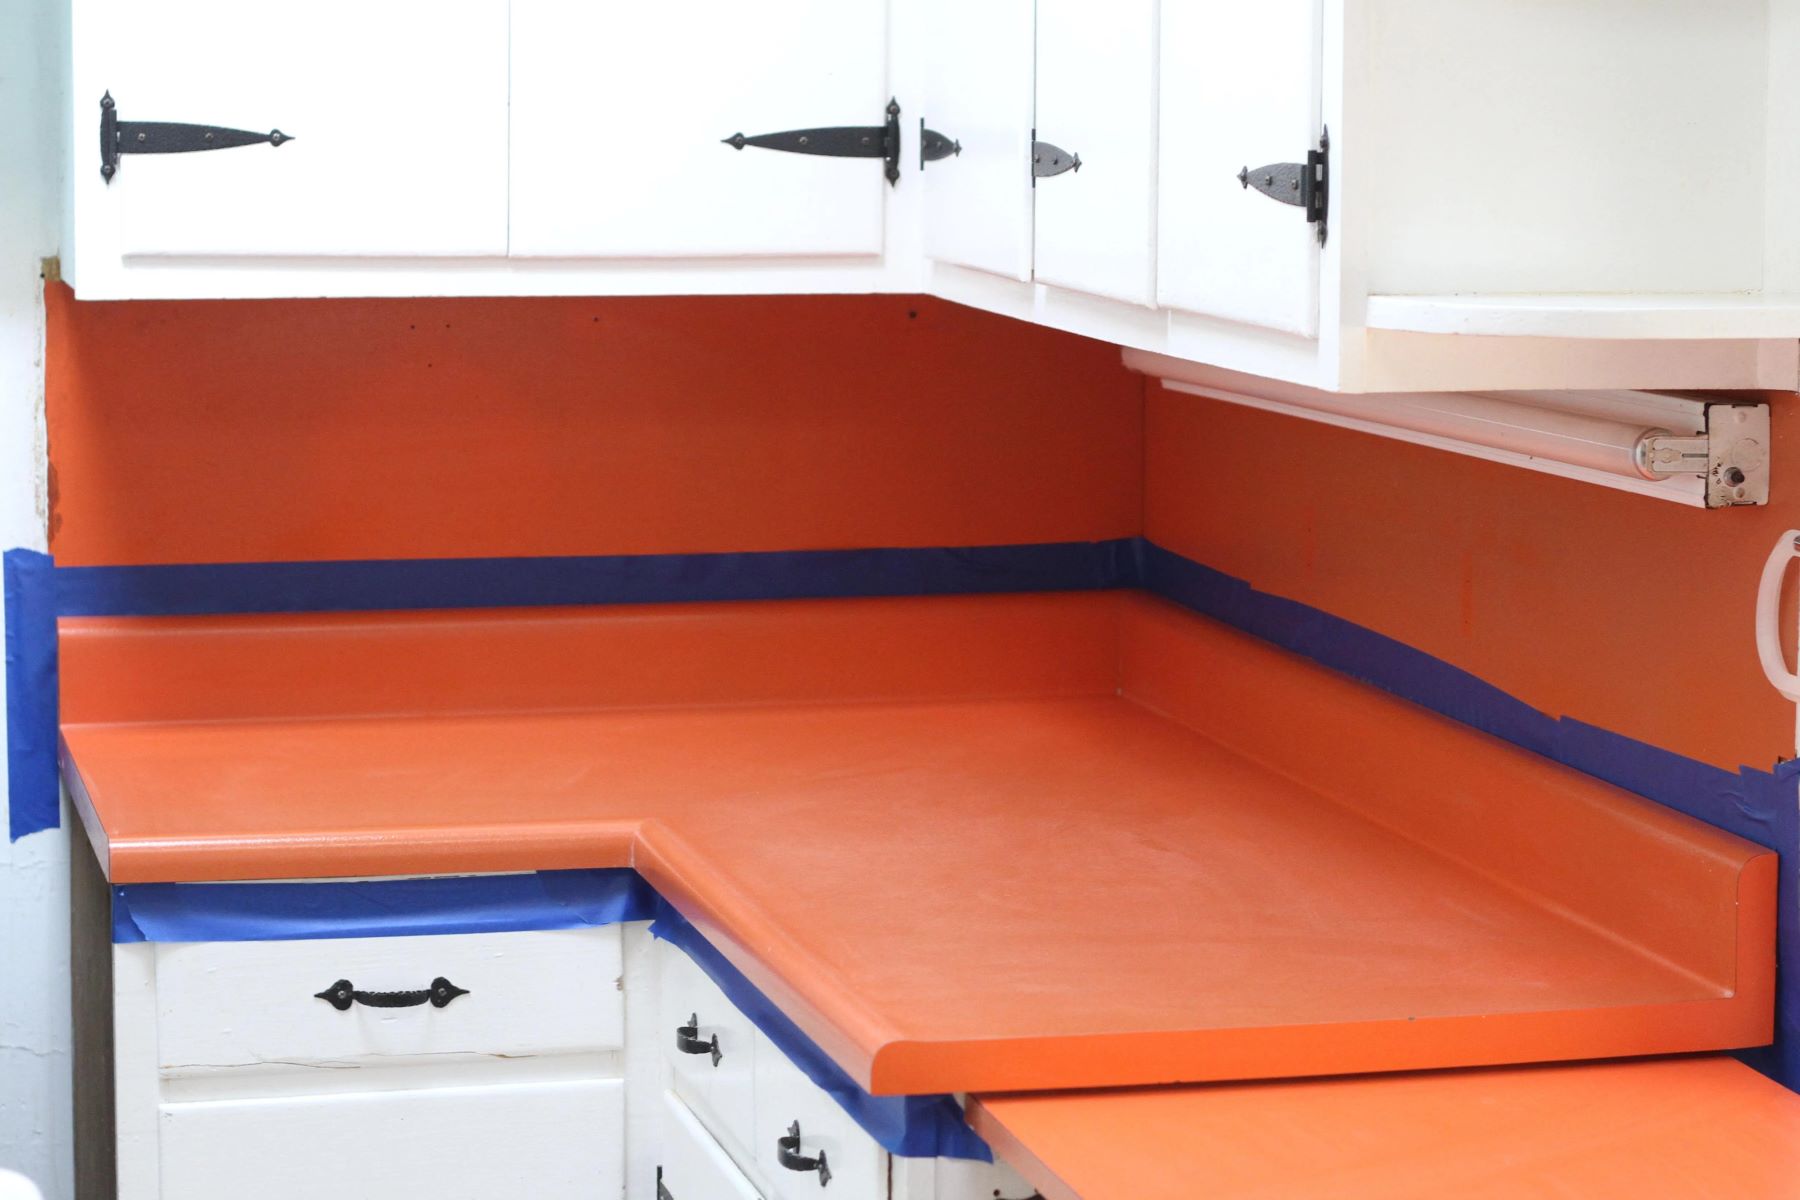
- Protect surrounding areas: Before applying the adhesive, protect the surrounding areas such as walls and cabinets by covering them with plastic sheets or painter’s tape. This precautionary step will prevent any accidental damage or excess adhesive from staining adjacent surfaces.
By properly preparing the laminate countertop, you will ensure that the tile installation adheres securely and creates a professional-looking finish. Take your time with this step to achieve the best results.
Step 2: Measure and Cut the Tiles
Once the laminate countertop is prepared, it’s time to measure and cut the tiles that will cover the surface. Follow these guidelines to achieve accurate measurements and precise cuts:
- Measure the countertop: Use a measuring tape to determine the dimensions of the countertop. Measure the length, width, and any irregular shapes or cutouts if applicable. It’s important to account for any gaps or spacing between tiles for grouting.
- Calculate the tile layout: Plan the tile layout by considering the size and shape of the tiles you have chosen. Determine whether you will need full tiles or if any cuts will be required to fit them properly on the countertop. This step will help you visualize the final result and prevent any surprises during the installation.
- Mark the tiles: Use a pencil and a straight edge to mark the tiles that need to be cut. Measure and mark the dimensions according to your planned layout. Double-check your measurements to ensure accuracy before making any cuts.
- Cut the tiles: Depending on the type of tile and the complexity of the cuts, you may need a wet saw, a tile cutter, or other appropriate tools. Follow the manufacturer’s instructions and use the necessary safety precautions when cutting the tiles. Take your time and make smooth, precise cuts to achieve the desired fit.
- Check the fit: After cutting the tiles, dry-fit them onto the countertop to ensure they fit properly. Make any necessary adjustments or recuts if needed. Pay attention to the spacing between tiles to maintain a consistent and symmetrical look.
- Number the tiles: To keep track of the placement of each tile, consider numbering them on the back with a pencil. This will make the installation process smoother and minimize confusion.
Accurate measurements and precise cuts are crucial for a successful tile installation. Take your time with this step to ensure that the tiles fit perfectly on the countertop and create the desired aesthetic.
Step 3: Apply Adhesive
With the tiles measured and cut to fit the countertop, the next step is to apply adhesive to secure them in place. Follow these instructions to apply the adhesive correctly:
- Choose the right adhesive: Select an adhesive that is suitable for both your tile material and the laminate surface. Read the manufacturer’s instructions to ensure compatibility and optimal bonding.
- Mix the adhesive (if necessary): Some types of adhesive may require mixing before application. Follow the manufacturer’s instructions to prepare the adhesive mixture correctly. Use a mixing paddle or a trowel to blend the components thoroughly.
- Apply the adhesive: Using a notched trowel, spread a thin and even layer of adhesive onto the prepared laminate surface. Work in small sections to ensure that the adhesive does not dry before you lay the tiles.
- Spread the adhesive consistently: Use the notched side of the trowel to create ridges in the adhesive. This will help create a stronger bond with the tiles and ensure proper adhesion. Apply enough adhesive to cover the area where each tile will be placed.
- Avoid excessive adhesive: While it’s important to have sufficient adhesive, avoid applying too much as it can seep through the grout lines and make the installation messy. Follow the manufacturer’s recommendations for the appropriate thickness of adhesive.
By applying the adhesive correctly, you will create a strong bond between the tiles and the laminate countertop. Take your time and work in small sections to ensure that the adhesive remains workable throughout the installation process.
When covering laminate countertops with tile, make sure to thoroughly clean and roughen the surface before applying a bonding primer to ensure the tiles adhere properly.
Read more: How To Update Laminate Countertops
Step 4: Lay the Tiles
With the adhesive applied, it’s time to lay the tiles onto the countertop surface. Follow these steps to ensure a proper and even installation:
- Start in a corner: Begin in one corner of the countertop and work your way across. This will allow you to have a uniform and symmetrical layout.
- Press the tiles into the adhesive: Place the first tile onto the adhesive, pressing it firmly into place. Use a slight twisting motion to ensure a good bond. Continue adding tiles one by one, working in small sections at a time.
- Apply gentle pressure: As you lay each tile, apply gentle and even pressure to ensure a flush and level surface. Use a level to double-check that the tiles are aligned and sitting flat.
- Use tile spacers: Insert tile spacers between each tile to maintain even spacing and allow room for grout. The size of the spacers will depend on your desired grout line thickness. Follow the package instructions for proper placement.
- Check for straight lines: Periodically check that your rows of tiles are running in straight lines. Adjust as necessary to maintain a consistent pattern and avoid any noticeable deviations.
- Continue laying tiles: Repeat the process of applying adhesive and laying tiles until the entire countertop surface is covered. Cut any tiles as needed to fit around edges, corners, or irregular shapes.
Take your time during this step to ensure that the tiles are properly positioned and aligned. The goal is to create a smooth and cohesive surface that will serve as a beautiful and functional countertop.
Step 5: Grout the Tiles
After the tiles are in place, the next step is to grout the gaps between them. Grouting not only adds a finishing touch to the tile installation but also helps to secure the tiles in place. Follow these steps to grout the tiles:
- Choose the right grout: Select a grout color that complements your tile and desired aesthetic. Consider factors such as stain resistance and ease of application when choosing the grout product.
- Mix the grout: Follow the manufacturer’s instructions to mix the grout to the proper consistency. Use a mixing paddle and a bucket to create a smooth paste-like mixture.
- Apply the grout: Using a grout float, spread the grout diagonally across the tiles, ensuring that it fills the gaps completely. Work in small sections at a time to prevent the grout from drying too quickly.
- Remove excess grout: After applying the grout, use a damp sponge to gently wipe away the excess from the tiles’ surfaces. Rinse the sponge frequently and continue wiping until the tiles are clean and the grout lines are smooth and even.
- Allow the grout to set: Follow the grout manufacturer’s instructions for the recommended setting time. Avoid walking on or disturbing the newly grouted tiles until the grout is fully cured.
- Seal the grout (optional): Depending on the type of grout you used, you may want to consider applying a grout sealer to protect it from stains and moisture. Follow the manufacturer’s instructions for proper application and drying time.
Grouting is an important step in the tile installation process as it provides stability and a finished look to your countertops. Take your time and ensure that the grout is applied evenly and cleaned thoroughly for the best results.
Step 6: Clean and Seal the Grout
Once the grout has fully set and cured, it’s time to clean and seal it to enhance its durability and appearance. Follow these steps to properly clean and seal the grout:
- Clean the grout lines: Start by thoroughly cleaning the grout lines using a grout cleaner or a mixture of water and vinegar. Scrub the grout lines with a brush or a sponge to remove any dirt, grime, or residue. Rinse the tiles and grout lines with clean water and allow them to dry completely.
- Inspect the grout: Inspect the grout lines for any cracks, chips, or areas that may need repair. Use a grout repair product to fix any damaged areas and ensure that the grout lines are in good condition before proceeding.
- Apply the grout sealer: Choose a grout sealer that is suitable for your type of grout and follows the manufacturer’s instructions for application. Use a small brush or a sponge to evenly apply the sealer onto the grout lines, making sure to cover the entire surface. Allow the sealer to penetrate and dry as recommended by the manufacturer.
- Clean the excess sealer: After the sealer has dried, use a clean cloth or sponge to wipe away any excess sealer from the tiles’ surfaces. Be careful not to disturb the newly sealed grout lines. Check for any spots or streaks and remove them promptly.
- Allow the grout sealer to cure: The grout sealer may require some time to fully cure and provide maximum protection. Follow the manufacturer’s instructions regarding drying and curing times before subjecting the countertop to regular use.
Cleaning and sealing the grout is essential for maintaining its longevity and preventing stains or discoloration. Regular maintenance and resealing at recommended intervals will help extend the lifespan of your tiled countertop.
Step 7: Finishing Touches
With the tiles installed, grouted, and sealed, you’re almost finished with the transformation of your laminate countertops. Here are some final touches to complete the project:
- Remove protective coverings: If you added any protective coverings to nearby surfaces during the tile installation process, carefully remove them now. Take care to avoid damaging the new tiles or disturbing the grout.
- Reinstall edges and trim (optional): If you removed any edges or trim from the countertop before tiling, you can now reinstall them for a finished look. Secure them carefully and ensure that they align properly with the new tile surface.
- Clean and polish the tiles: Give your new tile countertop a thorough cleaning. Use a mild cleaner and a soft cloth or sponge to wipe down the tiles and remove any residual grout or adhesive. Once clean, you can use a tile polish to enhance their shine and luster.
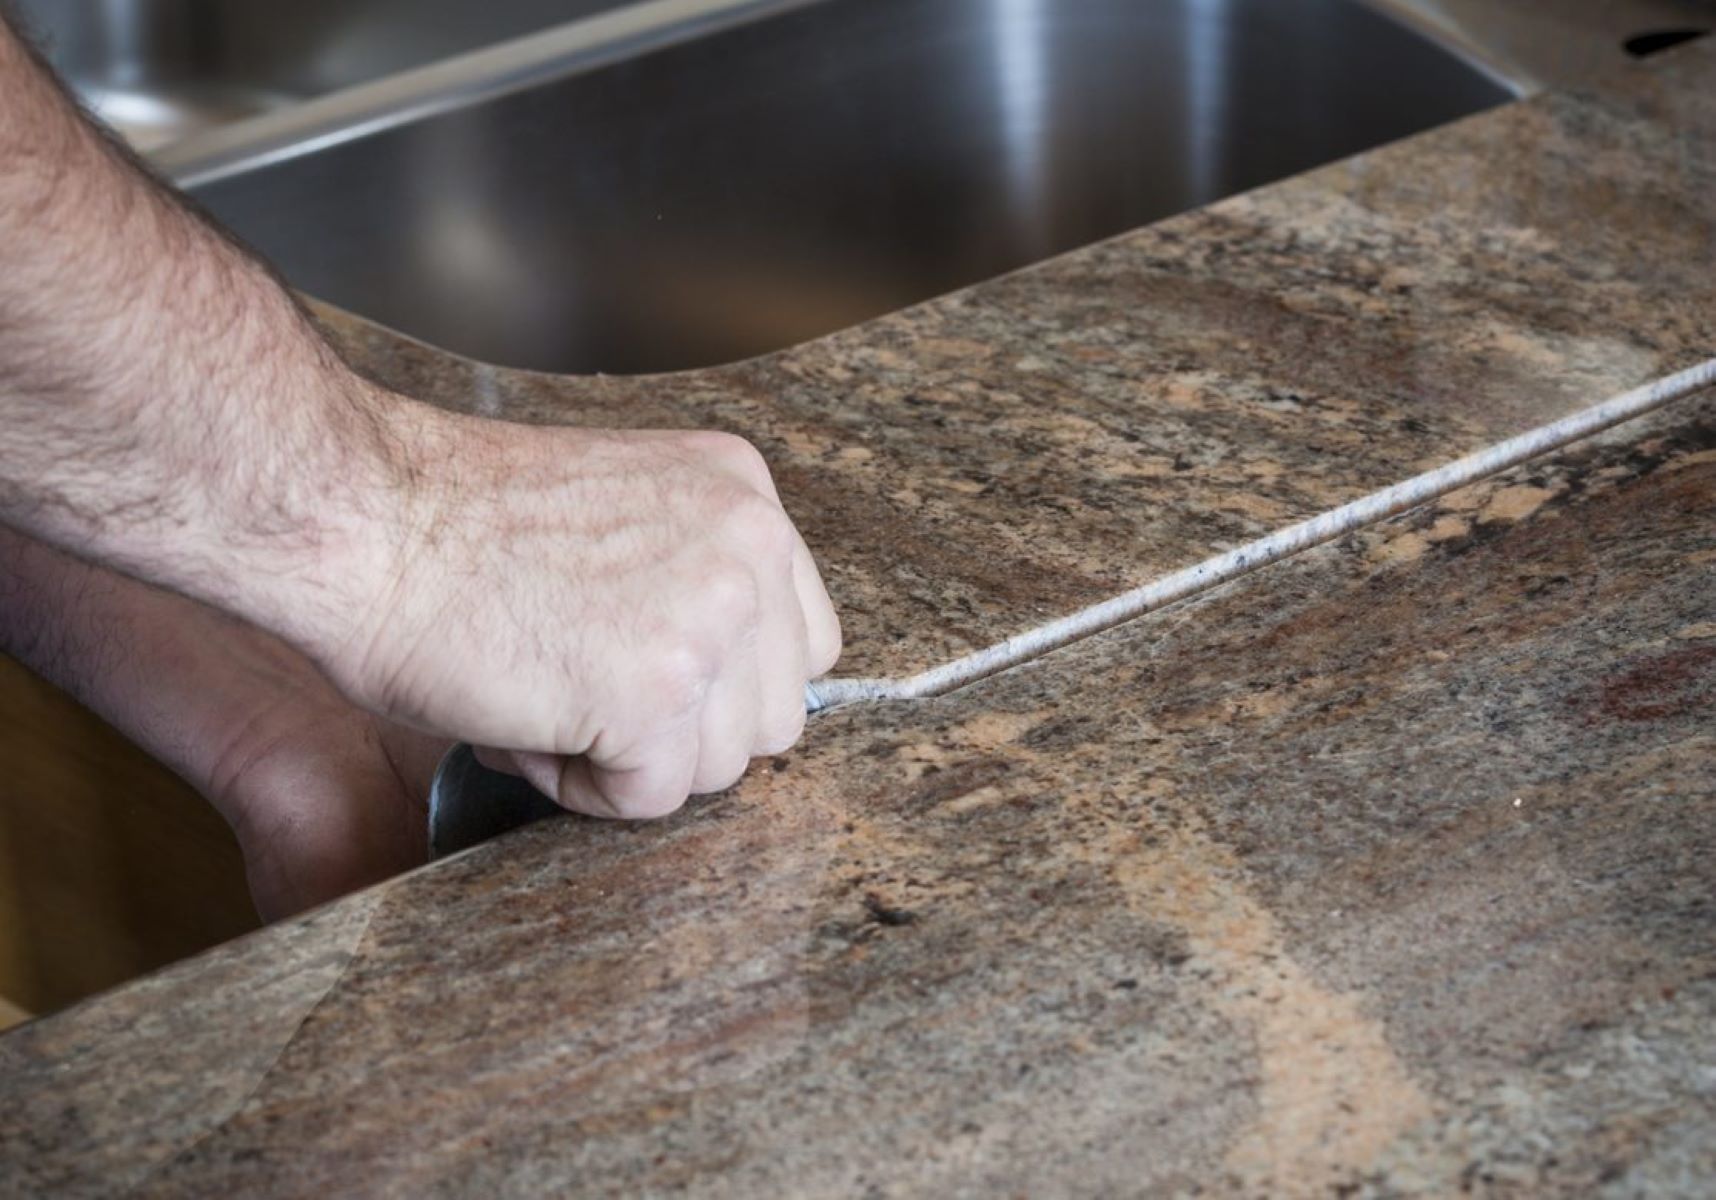
- Add caulk (if necessary): Inspect the areas where the countertop meets walls, backsplash, or any other surfaces. If there are gaps or spaces, apply a bead of caulk to seal and create a clean transition between the countertop and surrounding areas.
- Enjoy your transformed countertop: Step back and admire your newly tiled countertop. Appreciate the hard work you put into this DIY project and enjoy the fresh, updated look it brings to your kitchen or bathroom.
By paying attention to these final touches, you can ensure that your tiled countertop looks polished, clean, and cohesive with the overall design of your space. Take pride in your revamped laminate countertops and enjoy the beauty and functionality they bring to your home.
Read more: How To Put Laminate On Countertops
Conclusion
Covering laminate countertops with tile is a fantastic DIY project that can completely transform the look and feel of your kitchen or bathroom. By following the step-by-step guide outlined in this article, you can achieve a stunning and professional-looking result.
From preparing the countertop surface to measuring, cutting, and installing the tiles, each step is crucial to ensure a successful outcome. Applying the adhesive correctly, laying the tiles evenly, and grouting with precision are key to achieving a durable and visually pleasing tiled countertop.
Remember to take your time, pay attention to details, and follow the manufacturer’s instructions for the materials you use. Cleaning and sealing the grout will not only protect it but also enhance the appearance of your tiled countertop.
By completing the finishing touches, such as reinstalling edges and trim and ensuring a clean and polished surface, you can take pride in your work and enjoy the beauty and functionality of your newly transformed countertops.
Whether you’re looking to update an outdated laminate countertop or simply want to add a personal touch to your kitchen or bathroom, covering your laminate countertops with tile is a cost-effective and rewarding solution. With a little time, effort, and creativity, you can create a space that reflects your style and adds value to your home.
So, roll up your sleeves, gather the materials, and get started on your tile installation journey. With patience and determination, you’ll be rewarded with a stunning new countertop that you can enjoy for years to come.
Frequently Asked Questions about How To Cover Laminate Countertops With Tile
Was this page helpful?
At Storables.com, we guarantee accurate and reliable information. Our content, validated by Expert Board Contributors, is crafted following stringent Editorial Policies. We're committed to providing you with well-researched, expert-backed insights for all your informational needs.


0 thoughts on “How To Cover Laminate Countertops With Tile”