Articles
How To Cover Ugly Countertops
Modified: January 5, 2024
Discover articles on how to easily cover up unsightly countertops and transform your kitchen or bathroom into a stunning space.
(Many of the links in this article redirect to a specific reviewed product. Your purchase of these products through affiliate links helps to generate commission for Storables.com, at no extra cost. Learn more)
Introduction
Having an ugly countertop can be a real eyesore and can significantly impact the overall aesthetic appeal of your kitchen or bathroom. Whether it’s a dated design, scratches, stains, or just wear and tear over time, it’s natural to want to find a solution to cover up those unattractive countertops. The good news is that there are several options available to transform the look of your countertops without breaking the bank.
In this article, we will explore different methods to cover up ugly countertops, ranging from temporary solutions to more permanent options. Whether you’re a DIY enthusiast or prefer to hire professionals, there’s a solution for every budget and skill level. So, let’s dive in and discover the best ways to turn your drab countertops into a stunning focal point in your space.
Key Takeaways:
- Assess the current condition of your countertops before covering them up. Consider the material, damage level, surface texture, and size/shape to choose the best cover-up solution for a long-lasting and visually appealing result.
- Temporary cover-up solutions like contact paper, tile stickers, or fabric/vinyl tablecloths offer a quick and budget-friendly way to refresh the appearance of your countertops while planning for a more permanent upgrade in the future.
Read more: How To Cover Ugly Fireplace
Assessing the Current Condition
Before embarking on any countertop cover-up project, it’s essential to assess the current condition of your countertops. This will help determine the best course of action and ensure the longevity of your new countertop covering. Here are a few factors to consider during the assessment phase:
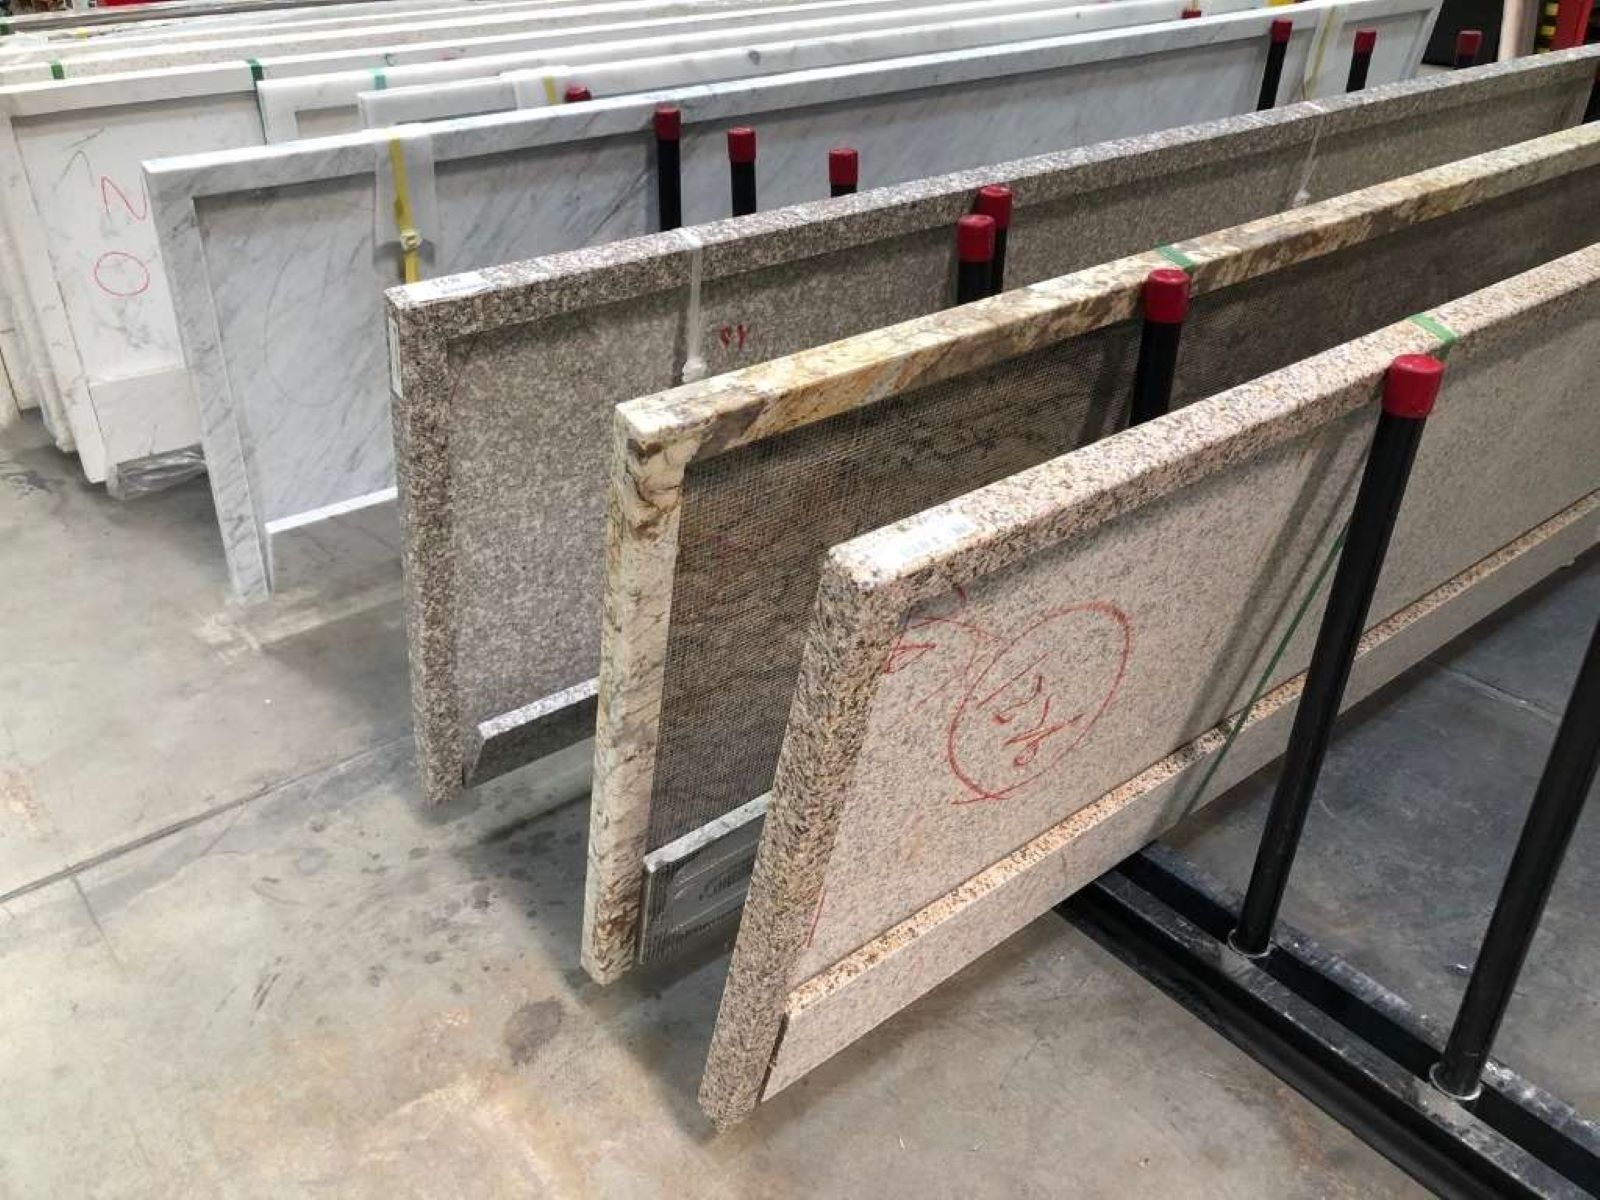
- Material: Identify the material of your existing countertop. Common materials include laminate, granite, quartz, or tile. Different cover-up options may work better with certain materials, so it’s important to know what you’re dealing with.
- Damage Level: Determine the extent of damage or wear on your countertops. Are there deep scratches, chips, or stubborn stains that need to be addressed? Understanding the condition will help decide if repairs are necessary before proceeding with the cover-up.
- Surface Preparation: Take note of the current surface texture or finish. Is it smooth, rough, or textured? Some cover-up options may require specific surface preparation techniques, such as sanding or priming, to ensure proper adhesion.
- Size and Shape: Measure the dimensions of your countertops and take note of any unusual shapes or angles. This information will help you select the right materials and plan the installation process accordingly.
By conducting a thorough assessment, you’ll be able to identify any potential challenges and determine the most suitable cover-up solution for your specific countertop condition. This step is crucial in creating a long-lasting and visually appealing result.
Cleaning and Repairing
Once you’ve assessed the current condition of your countertops, it’s time to clean and repair any damage before proceeding with the cover-up. Here are some steps to follow in this process:
- Clean the Surface: Use a gentle cleaner or a mixture of mild soap and warm water to clean the countertop surface thoroughly. Remove any dirt, grease, or stains. Avoid using abrasive cleaners that could further damage the countertop.
- Repair Chips and Scratches: For minor chips and scratches, you can try using a filler or repair kit specifically designed for your countertop material. Follow the manufacturer’s instructions to achieve a smooth and seamless repair. If the damage is extensive, consider consulting a professional for repairs.
- Remove Stubborn Stains: For tough stains, try using a mixture of baking soda and water to create a paste. Apply the paste to the stained area, let it sit for a few minutes, and then gently scrub with a soft cloth or sponge. Rinse thoroughly and repeat if necessary.
- Smooth Out Rough Surfaces: If your countertop has a rough or textured surface, consider sanding it lightly to create a smoother base. Use a fine-grit sandpaper and be cautious not to remove too much of the existing surface.
- Prime the Surface: Depending on the cover-up option you choose, you may need to apply a primer to ensure proper adhesion. Consult the instructions provided with your chosen cover-up material for specific priming requirements.
Cleaning and repairing your countertops will not only improve the overall appearance but also ensure a solid foundation for your chosen cover-up solution. Take your time in this step to achieve the best results possible.
Temporary Cover-Up Solutions
If you’re looking for a quick and budget-friendly way to cover up your ugly countertops, temporary solutions can provide a temporary fix while you plan for a more permanent remodeling project. Here are a few temporary cover-up options to consider:
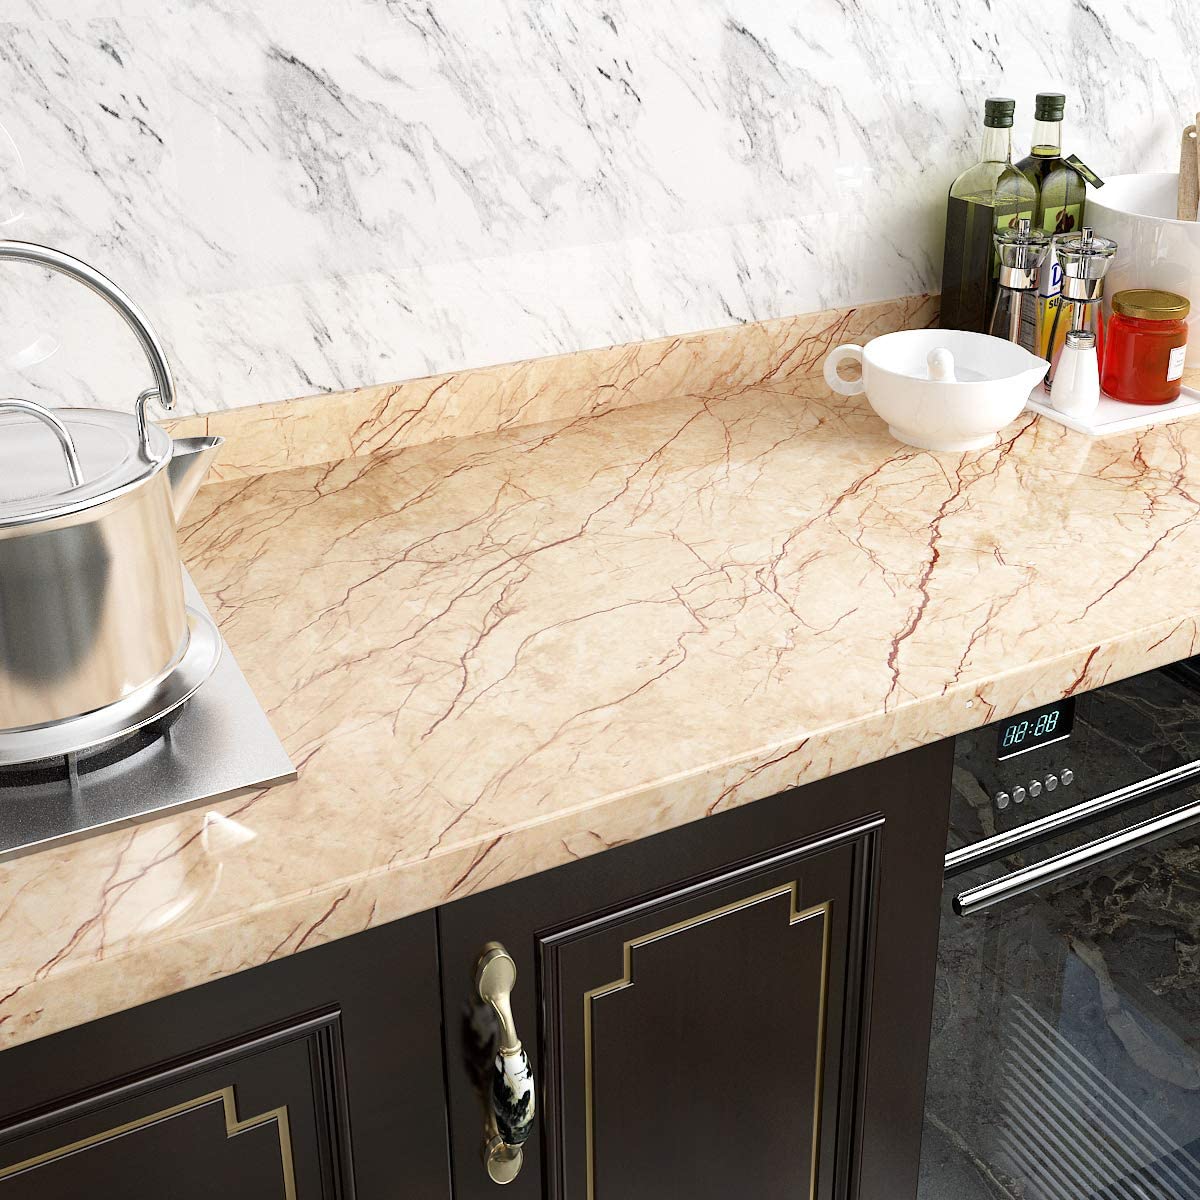
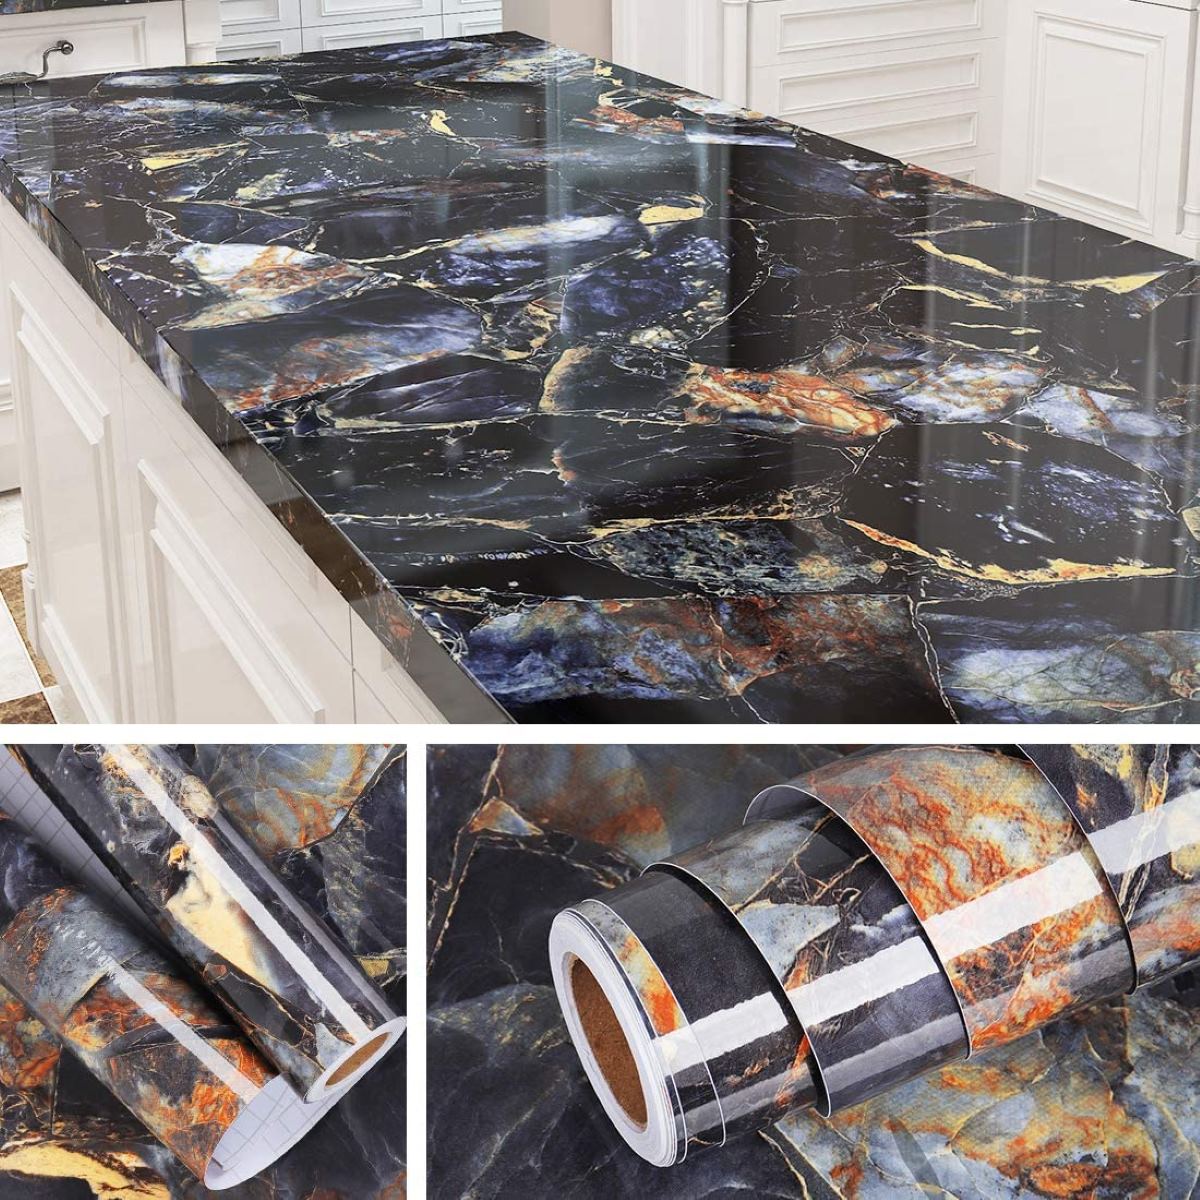
- Countertop Contact Paper: Contact paper is an adhesive-backed vinyl that comes in a variety of colors, patterns, and designs. It offers a quick and affordable way to transform the look of your countertops. Simply measure and cut the contact paper to fit your surfaces, peel off the backing, and stick it onto the countertop. It’s important to smooth out any air bubbles or imperfections for a seamless finish.
- Removable Tile Stickers: If you have tile countertops that are outdated or in poor condition, removable tile stickers can provide an instant facelift. These stickers come in various sizes and designs and are applied directly onto the tile surface. They are easy to remove without leaving any residue, making them a convenient and non-permanent solution.
- Fabric or Vinyl Tablecloth: Another temporary option is to use a fabric or vinyl tablecloth to cover your countertops. Simply measure the dimensions of your countertops, choose a pattern or color that matches your decor, and drape the tablecloth over the surface. Secure it with double-sided tape or fabric adhesive to prevent shifting. This option is simple, affordable, and easy to change whenever you desire a new look.
While temporary cover-up solutions may not offer the same durability and longevity as permanent options, they can be a great way to refresh the appearance of your countertops without the commitment or expense of a full renovation. Use these solutions to buy yourself some time while you plan for a more permanent upgrade in the future.
Consider using contact paper or adhesive vinyl to cover ugly countertops. These materials are affordable, easy to apply, and come in a variety of patterns and colors to suit your style.
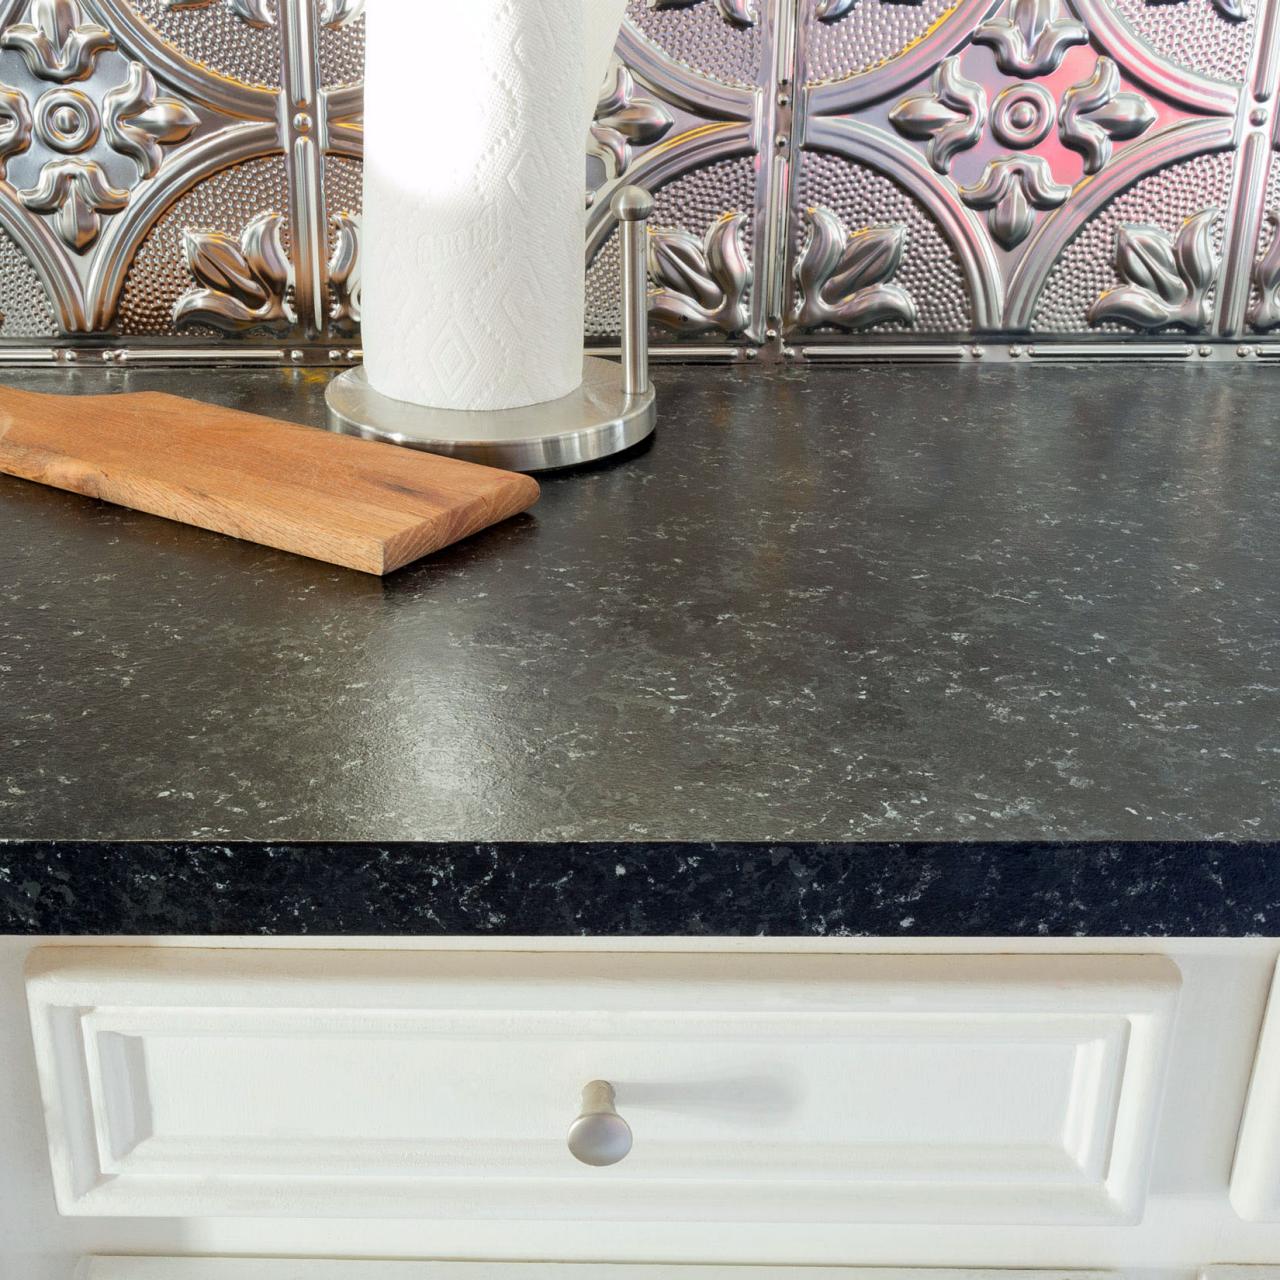
DIY Painting Option
If you’re willing to put in some time and effort, painting your countertops can be a cost-effective and transformative solution to cover up ugly surfaces. Here’s a step-by-step guide to help you achieve a professional-looking result:
- Clean and Prep: Start by thoroughly cleaning your countertops and removing any grease, dirt, or debris. Use a mild cleaner and a soft cloth or sponge. Once the surface is clean, lightly sand it to create a rough texture that will help the paint adhere better.
- Choose the Right Paint: Select a high-quality paint that is specifically designed for countertops. There are various types available, such as epoxy-based or acrylic-based paints. Consider the finish you want, whether it’s matte, satin, or glossy, and choose a color that complements your kitchen or bathroom decor.
- Prime the Surface: Apply a primer to create a smooth and even base for the paint. This step is crucial for better adhesion and a long-lasting finish. Follow the manufacturer’s instructions for the specific primer you choose.
- Paint in Layers: Start with a thin coat of paint and allow it to dry completely. Apply additional coats, allowing adequate drying time between each layer. Use a roller or brush to apply the paint evenly, ensuring there are no streaks or drips. For a more unique look, consider using stencils or tape to create patterns or designs.
- Seal the Surface: Once the paint is dry, apply a clear protective sealant to protect the painted surface from scratches and stains. Follow the instructions on the sealant for proper application and drying time.
- Maintain and Care: To ensure the longevity of your painted countertops, avoid cutting directly on the surface and use cutting boards. Clean spills immediately to prevent stains and use gentle cleaners that are safe for painted surfaces.
Keep in mind that painting your countertops is a semi-permanent solution, as the paint may wear over time and require touch-ups or a fresh coat in the future. However, with proper preparation and maintenance, this DIY option can significantly improve the appearance of your countertops without the hefty price tag of a complete replacement.
Read more: How To Cover Countertops In A Rental
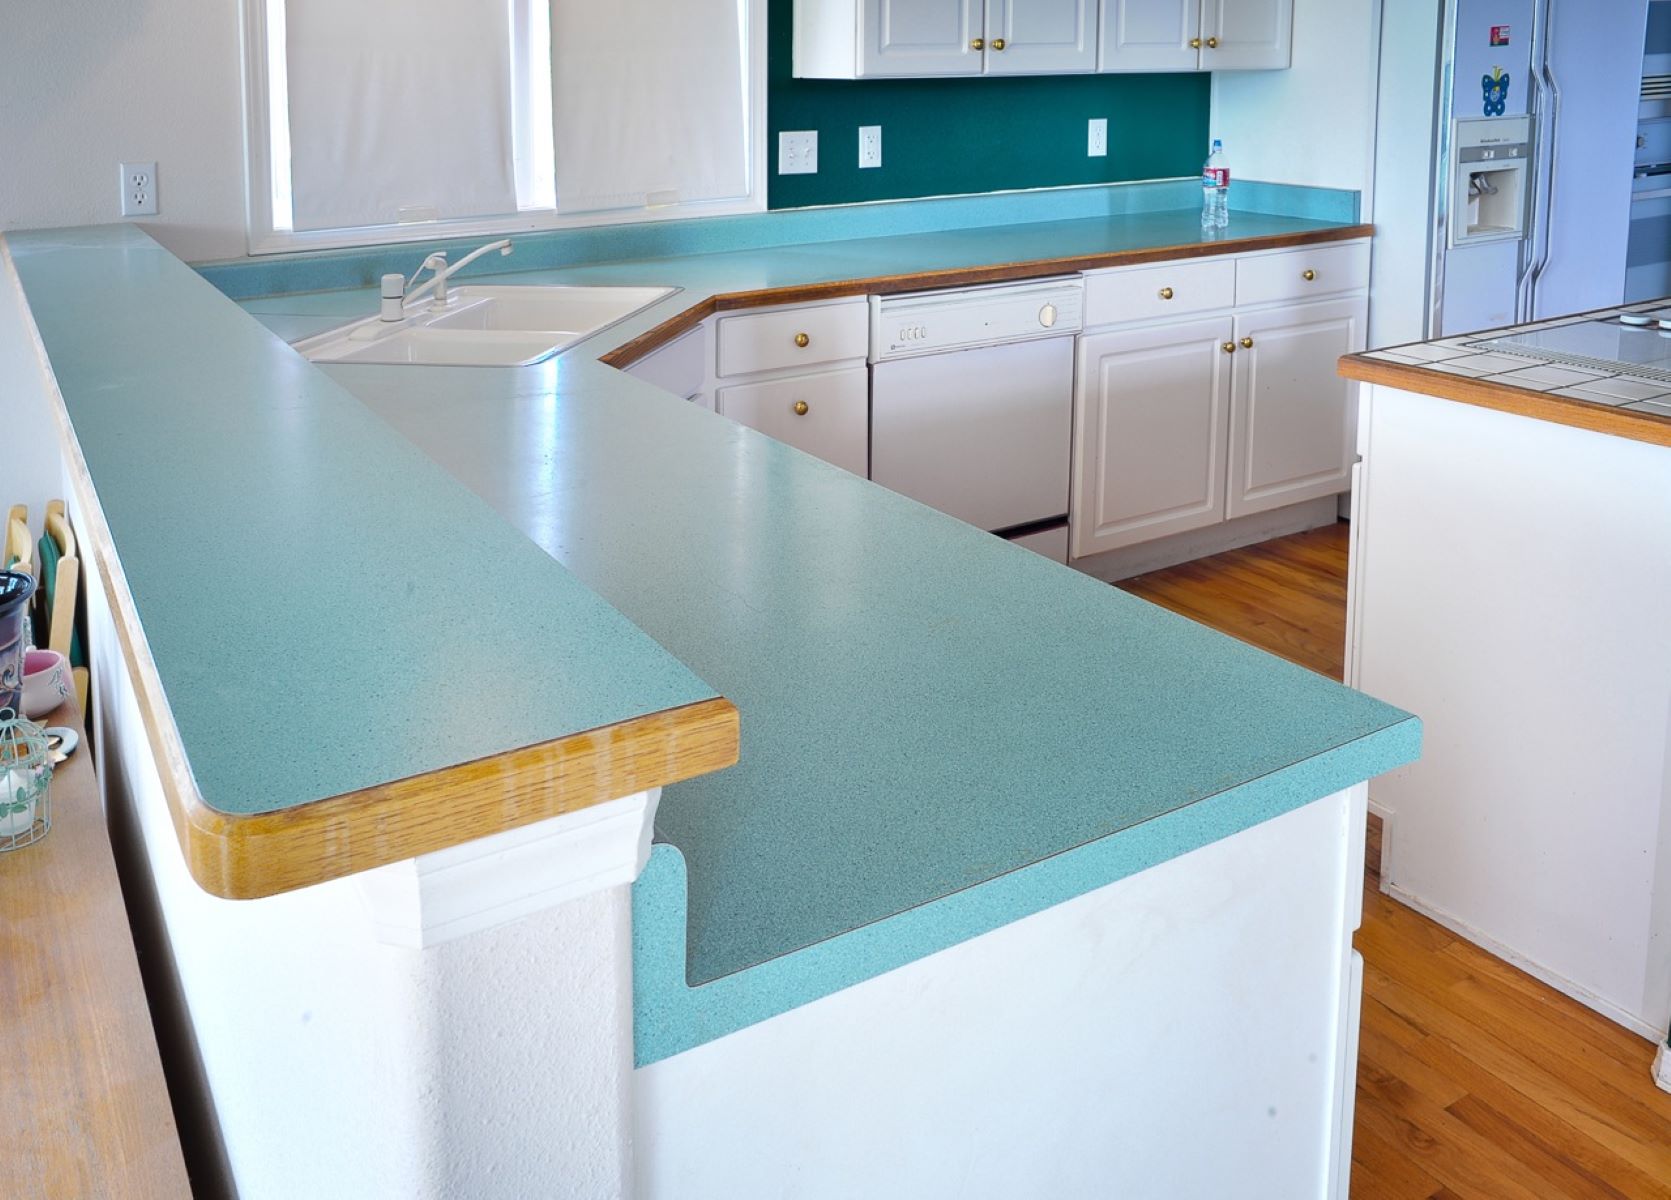
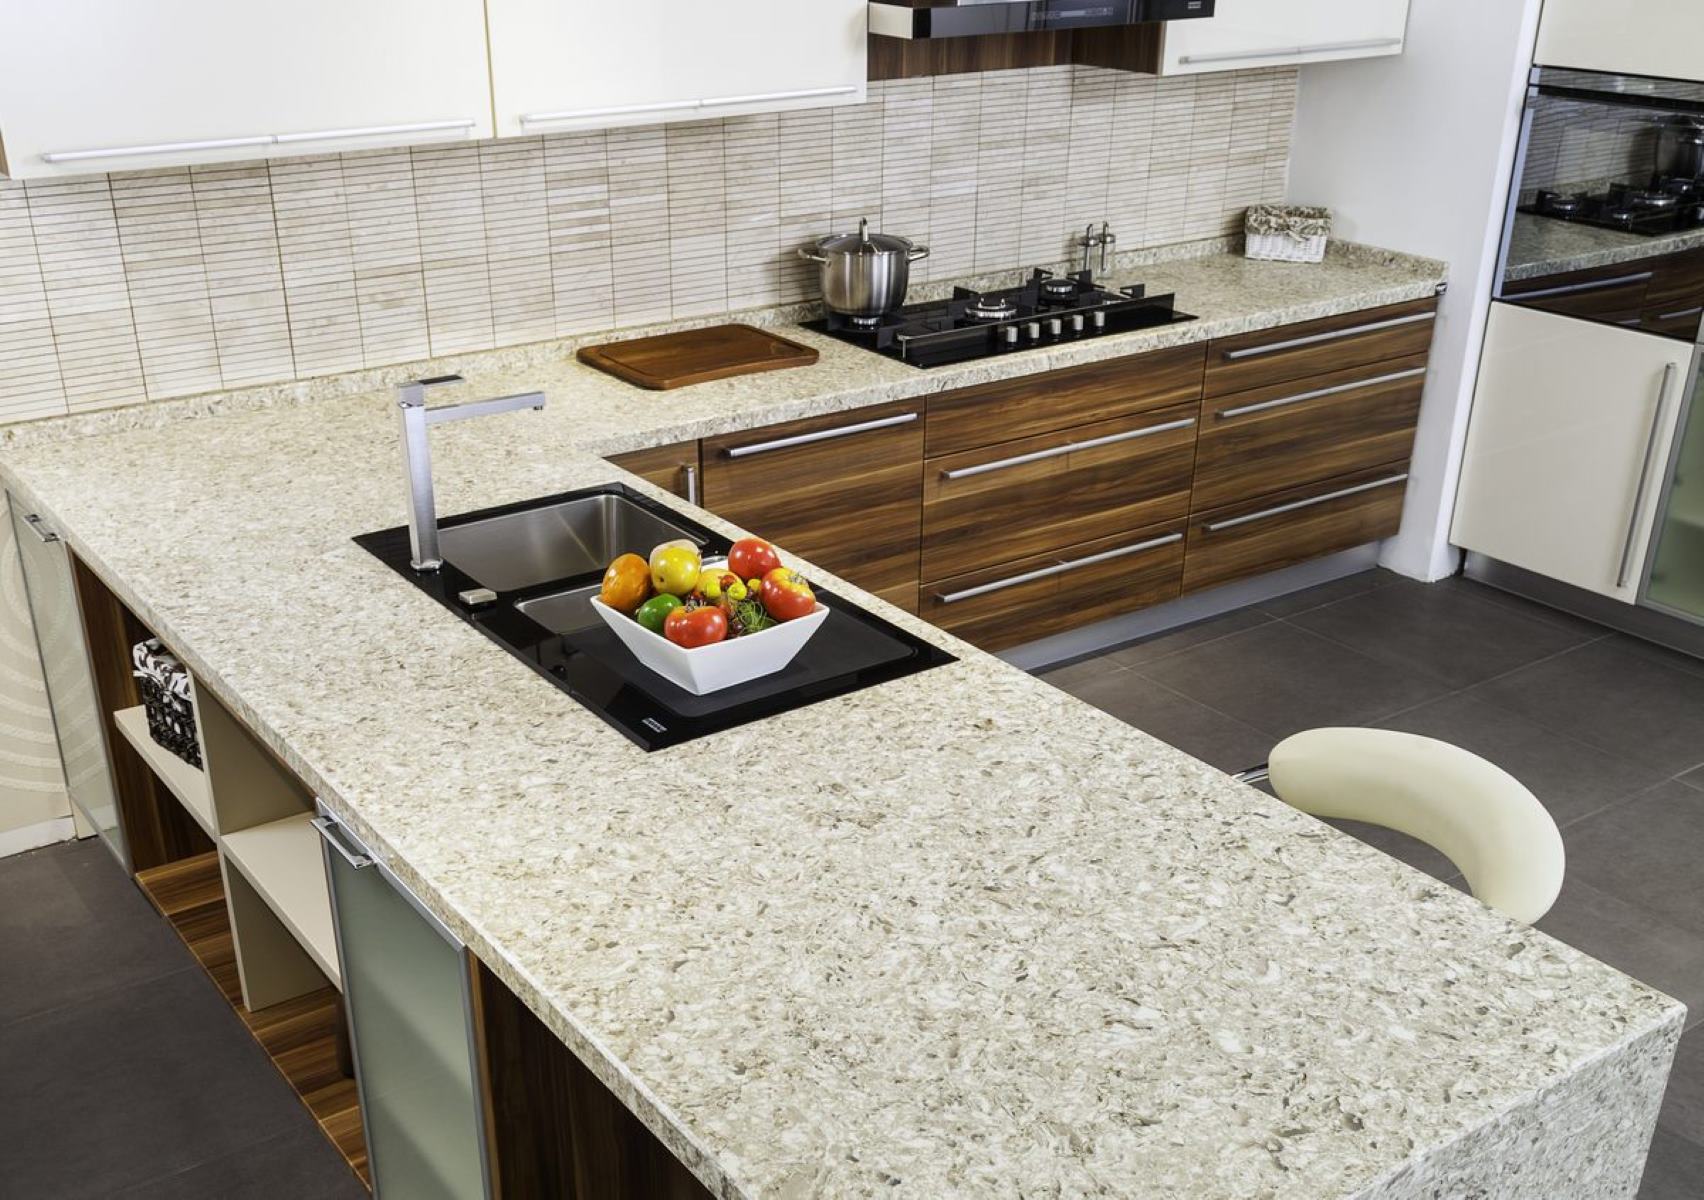
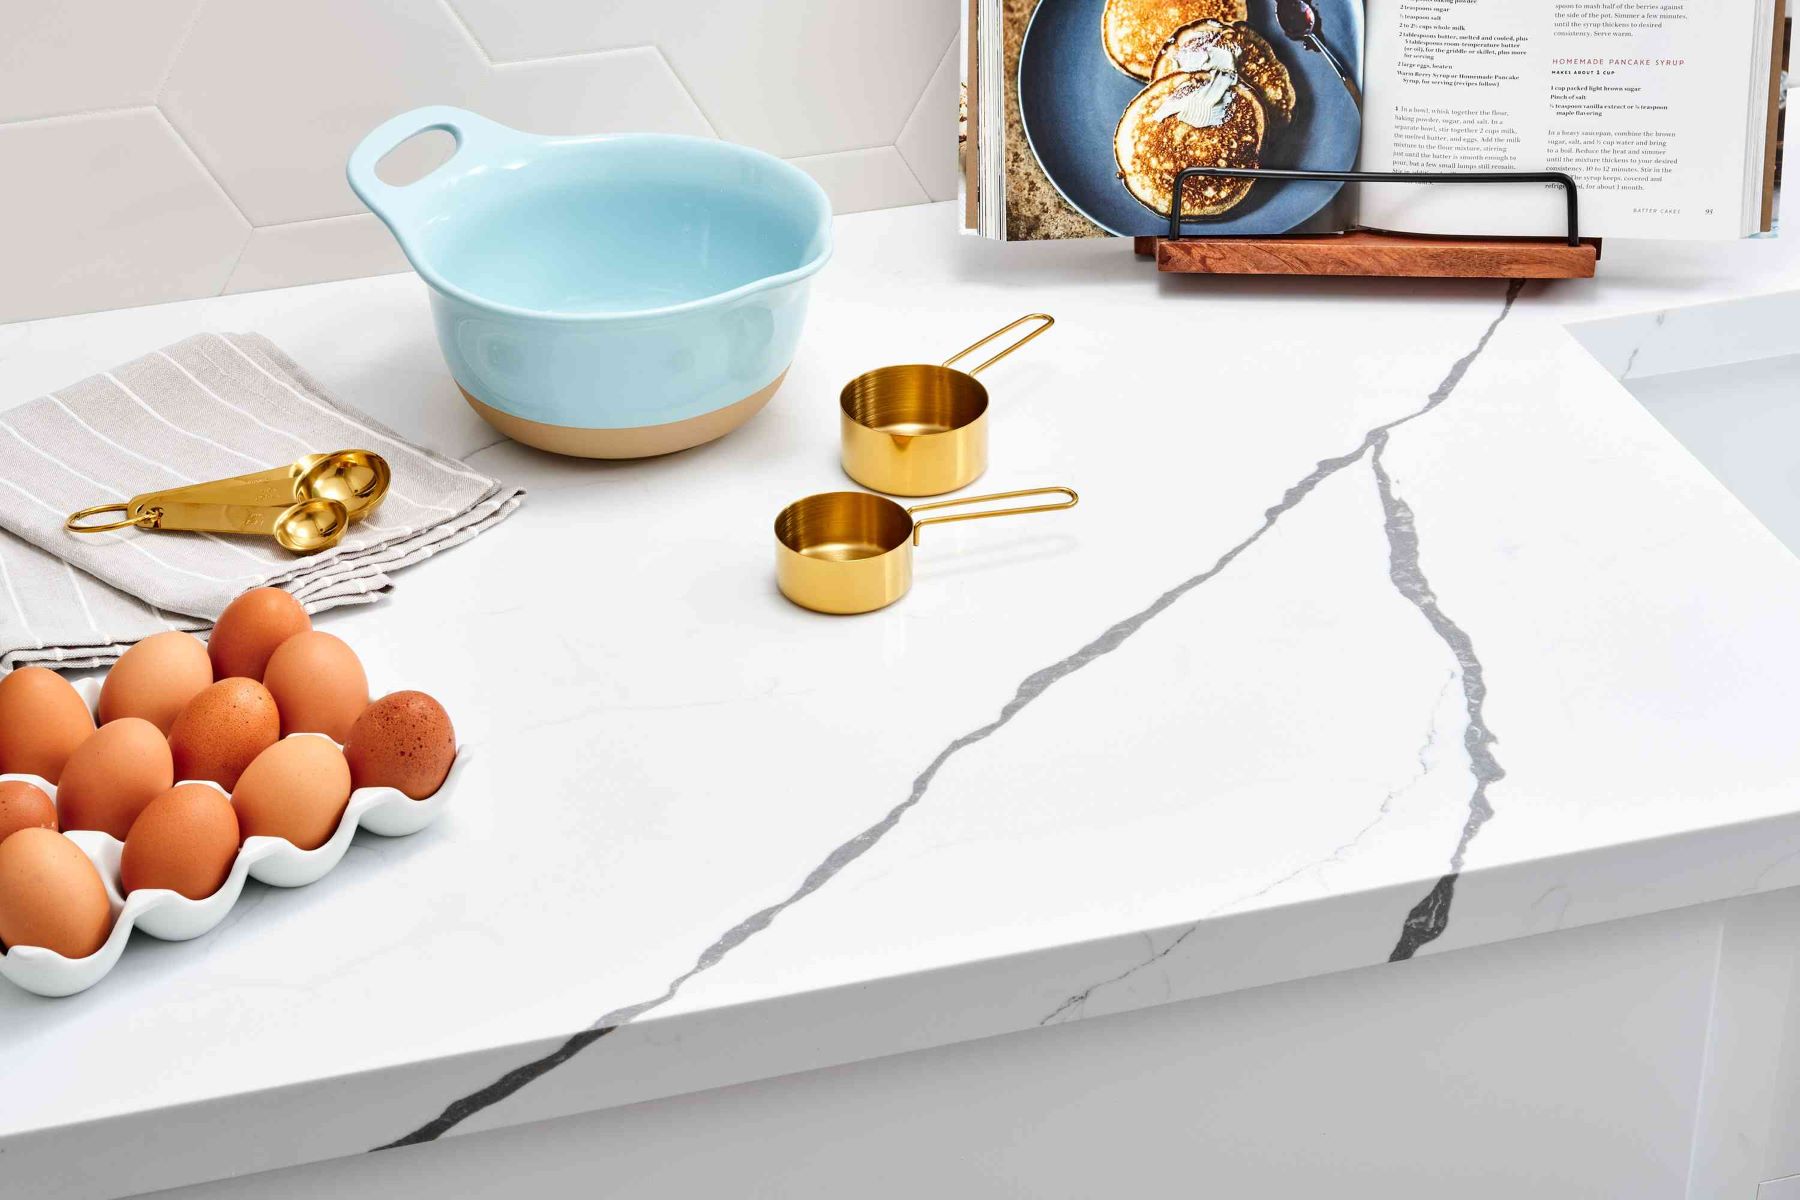
Installing New Countertop Overlays
If you’re looking for a more durable and long-lasting solution to cover up your ugly countertops, installing new countertop overlays can be a great option. These overlays are typically made of materials like laminate, quartz, or concrete, and are designed to be placed directly over your existing countertops. Here’s a step-by-step guide to installing new countertop overlays:
- Measure and Order: Measure the dimensions of your existing countertops accurately, including any cutouts for sinks or appliances. Use these measurements to order the appropriate size and shape of your desired countertop overlays.
- Clean and Prep: Clean your existing countertops thoroughly, removing any grease, dirt, or residue. Check for any damages or repairs that need to be addressed before installation.
- Apply Adhesive: Depending on the type of countertop overlay you choose, you may need to apply an adhesive. Follow the manufacturer’s instructions for the specific product and apply it evenly to the surface of your existing countertops.
- Install the Overlay: Carefully place the countertop overlay onto the adhesive, starting at one end and smoothing it down towards the other end. Make sure to align it properly and remove any air bubbles or imperfections as you go.
- Trim and Finish: Use a router or a saw to trim any excess material from the edges of the overlay. Once the trimming is done, sand the edges to achieve a smooth and seamless finish. Apply any necessary edge banding or trim to complete the look.
- Seal and Protect: Depending on the material of your countertop overlays, it’s important to seal them properly to protect against stains and water damage. Follow the manufacturer’s instructions for the specific sealer and apply it evenly over the surface.
Installing new countertop overlays can be a more labor-intensive option compared to temporary cover-ups or painting. However, it provides a more permanent solution that can completely transform the look and feel of your kitchen or bathroom. If you’re not confident in your DIY skills, it’s best to consult a professional for assistance to ensure a flawless installation.
Considerations for Hiring Professionals
While many countertop cover-up options can be done as DIY projects, hiring professionals can provide a hassle-free and expert-level result. If you’re considering hiring professionals for your countertop project, here are a few important considerations to keep in mind:
- Expertise and Experience: Look for professionals who have specialized experience in countertop installations or renovations. Check their portfolio or ask for references to ensure they have the necessary expertise to handle your specific project.
- Material and Design Options: Professionals can guide you through the various material options available for countertop cover-ups. They can help you choose the right material that suits your style, budget, and durability needs. They can also provide design recommendations to enhance the visual appeal of your space.
- Customization and Precision: If you have unique countertop dimensions, complex angles, or intricate details, hiring professionals ensures precise measurements and a customized fit. They have the tools and skills necessary to create a seamless and professional installation.
- Efficiency and Time-Saving: Professionals can complete the project in a more efficient manner, saving you time and effort. They have the necessary tools, equipment, and manpower to handle the job quickly and effectively.
- Warranty and Guarantees: Reputable professionals often provide warranties or guarantees for their work. This gives you peace of mind knowing that if any issues arise after the installation, they will be taken care of at no extra cost.
- Budget Considerations: While hiring professionals may come with a price, it’s essential to consider the long-term value and quality they can bring to the project. Obtain multiple quotes from different professionals and compare their services, reputation, and pricing before making a decision.
When hiring professionals, be sure to communicate your needs and expectations clearly. Discuss timelines, pricing, and any specific requirements you may have. This will help ensure a smooth and successful collaboration that results in beautifully covered countertops that exceed your expectations.
Conclusion
Covering up ugly countertops is an excellent way to transform the look and feel of your kitchen or bathroom without undergoing a major renovation. Whether you choose a temporary solution, embark on a DIY painting project, or hire professionals for a more permanent countertop overlay installation, there are options available for every budget and skill level.
Assessing the current condition of your countertops is crucial before deciding on a cover-up option. Cleaning and repairing any damages will ensure a solid foundation for the new surface. Temporary cover-up solutions like countertop contact paper, removable tile stickers, or fabric/vinyl tablecloths offer a quick and affordable way to refresh the appearance of your countertops.
For a more durable and long-lasting solution, consider a DIY painting project. By following the necessary steps of cleaning, priming, painting, and sealing, you can achieve a professional-looking result. Alternatively, hiring professionals to install new countertop overlays can provide a customized and precise fit, saving you time and effort.
When deciding to hire professionals, consider their expertise, experience, material options, customization capabilities, and budget considerations. Be sure to communicate your needs and expectations clearly to ensure a successful collaboration.
In conclusion, covering up ugly countertops allows you to breathe new life into your space and create a fresh and visually appealing look. Whether you opt for a temporary solution, a DIY painting project, or professional installation, the end result will be countertops that you can be proud of.
Frequently Asked Questions about How To Cover Ugly Countertops
Was this page helpful?
At Storables.com, we guarantee accurate and reliable information. Our content, validated by Expert Board Contributors, is crafted following stringent Editorial Policies. We're committed to providing you with well-researched, expert-backed insights for all your informational needs.

0 thoughts on “How To Cover Ugly Countertops”