Home>Home Appliances>Lighting Appliances>How To Install A Ceiling Light In A Rental Apartment
Lighting Appliances
How To Install A Ceiling Light In A Rental Apartment
Modified: August 27, 2024
Learn how to install a ceiling light in a rental apartment without damaging the property. Follow these simple steps for safe and easy lighting-appliances installation.
(Many of the links in this article redirect to a specific reviewed product. Your purchase of these products through affiliate links helps to generate commission for Storables.com, at no extra cost. Learn more)
Introduction
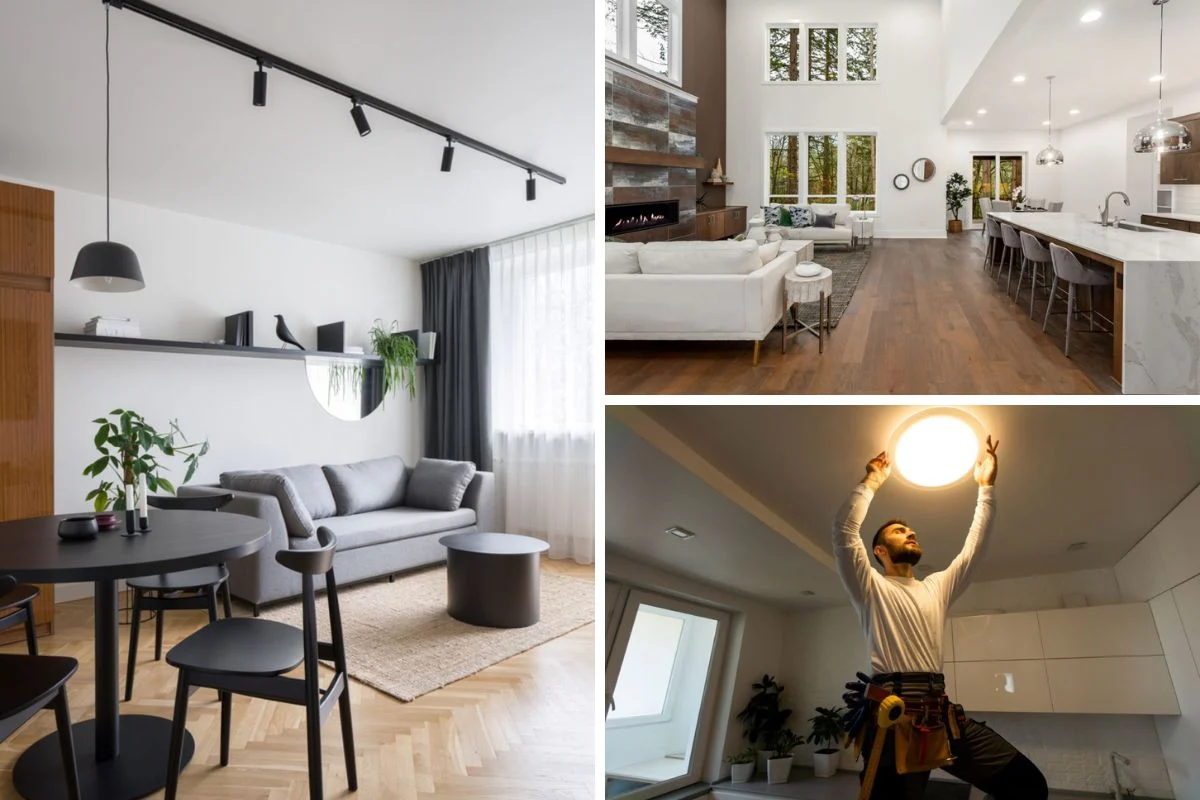
Installing a ceiling light in a rental apartment can significantly enhance the ambiance and functionality of the space. Whether you're looking to upgrade the existing lighting fixture or add a new one, this process can be a rewarding and relatively straightforward DIY project. By following the steps outlined in this guide, you can illuminate your living space with a personal touch, all while adhering to the rules and regulations of your rental agreement.
When it comes to lighting, the right fixture can transform a room, creating a warm and inviting atmosphere. Whether you're aiming for a cozy, intimate setting or a bright, well-lit space, the type of ceiling light you choose can make a significant impact. From elegant chandeliers to modern pendant lights, the options are endless, allowing you to tailor the lighting to your personal style and the functional needs of the room.
However, before diving into the installation process, it's crucial to consider the practical aspects of working on a rental property. As a tenant, it's essential to review your lease agreement and seek permission from your landlord or property manager before making any alterations to the apartment. While some landlords may be open to tenants making minor modifications, others may have specific guidelines or restrictions in place. By communicating openly and obtaining the necessary approvals, you can proceed with the installation process with confidence and peace of mind.
Additionally, understanding the basics of electrical work and safety precautions is fundamental before embarking on this project. While installing a ceiling light is generally considered a manageable task, it's essential to prioritize safety and follow proper procedures to avoid any potential hazards. By taking the time to familiarize yourself with the necessary tools, materials, and techniques, you can approach the installation process with the knowledge and preparation needed to complete the project successfully.
In the following steps, we will guide you through the process of installing a ceiling light in your rental apartment, providing clear instructions and tips to help you achieve a professional-looking result. With careful planning, attention to detail, and a focus on safety, you can elevate the ambiance of your living space and enjoy the benefits of a well-lit and stylishly illuminated room.
Key Takeaways:
- Elevate your rental apartment with a personal touch by installing a stylish ceiling light, but always get landlord approval and prioritize safety.
- Gather the right tools, turn off the power, and follow step-by-step instructions to successfully install a new ceiling light in your rental apartment.
Read more: How To Install An LED Ceiling Light
Step 1: Gather the necessary tools and materials
Before embarking on the installation of a ceiling light in your rental apartment, it's essential to gather all the required tools and materials to ensure a smooth and efficient process. Having the right equipment at hand will not only streamline the installation but also contribute to a safer and more professional outcome. Here's a comprehensive list of the tools and materials you'll need:
Tools:
- Screwdriver Set: A set of screwdrivers, including both flathead and Phillips head, will be essential for removing the existing light fixture and securing the new one in place.
- Wire Strippers: These will be necessary for stripping the insulation from the electrical wires, preparing them for connection to the new ceiling light.
- Voltage Tester: Prior to working on the electrical connections, a voltage tester will help ensure that the power is safely turned off, preventing any potential electrical hazards.
- Ladder or Step Stool: Depending on the height of the ceiling, a sturdy ladder or step stool will facilitate safe and convenient access to the light fixture.
- Pliers: A pair of pliers will be useful for twisting and securing wire connections, ensuring a reliable and stable electrical connection.
- Wire Nuts: These small, insulated connectors will be essential for joining and securing the electrical wires during the installation process.
- Circuit Finder: This tool can help identify the correct circuit breaker to ensure that the power is effectively turned off before beginning the installation.
Materials:
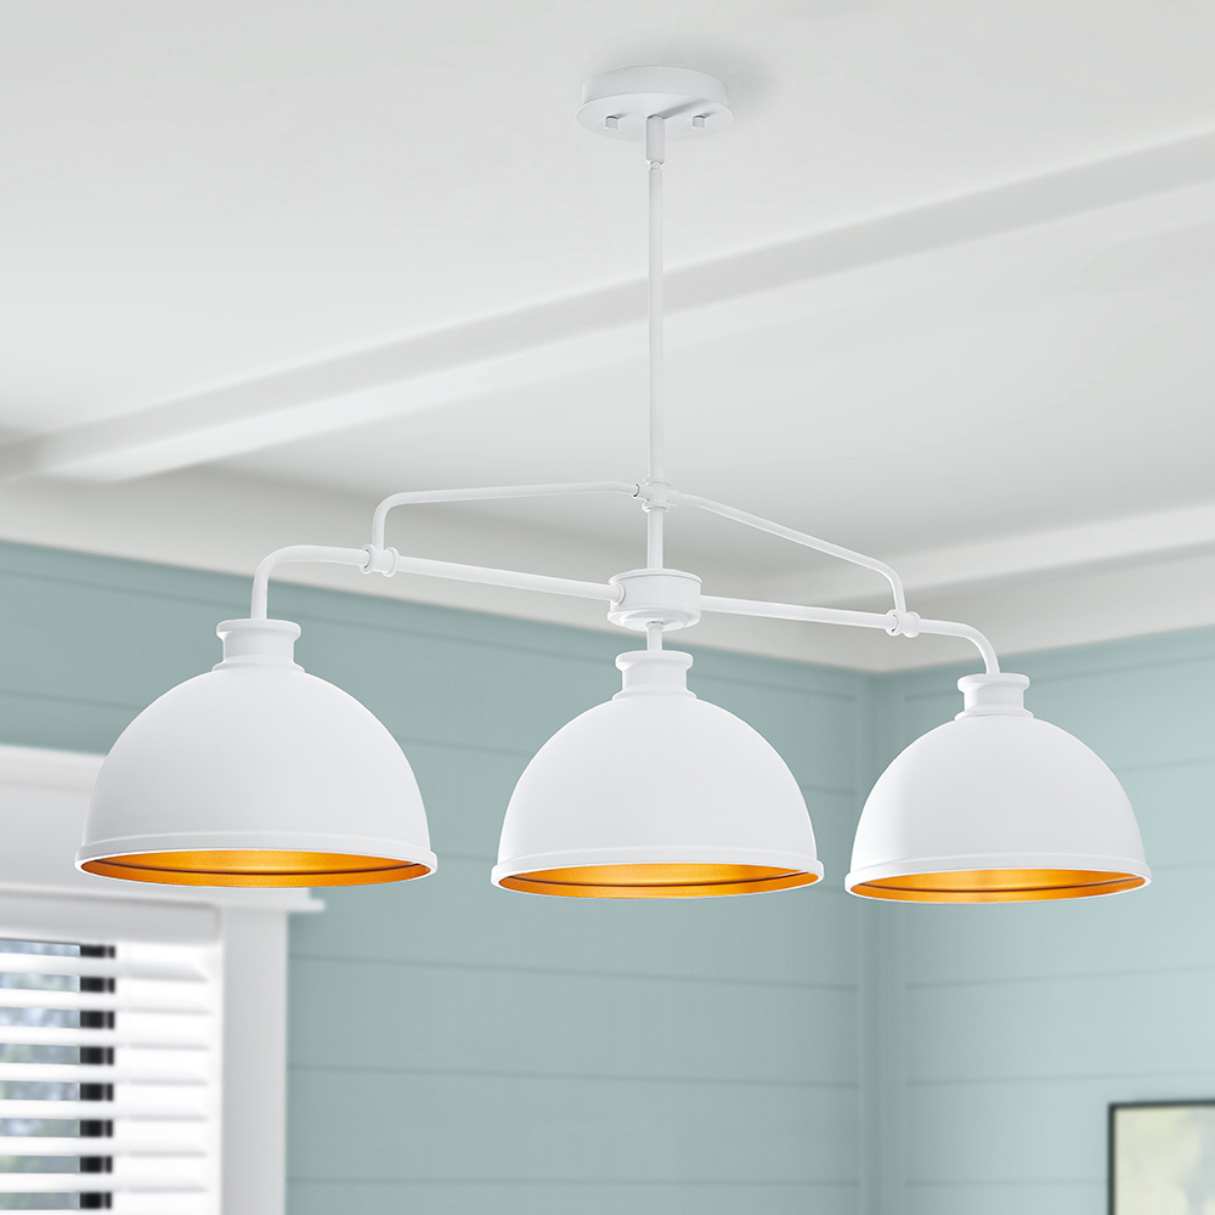
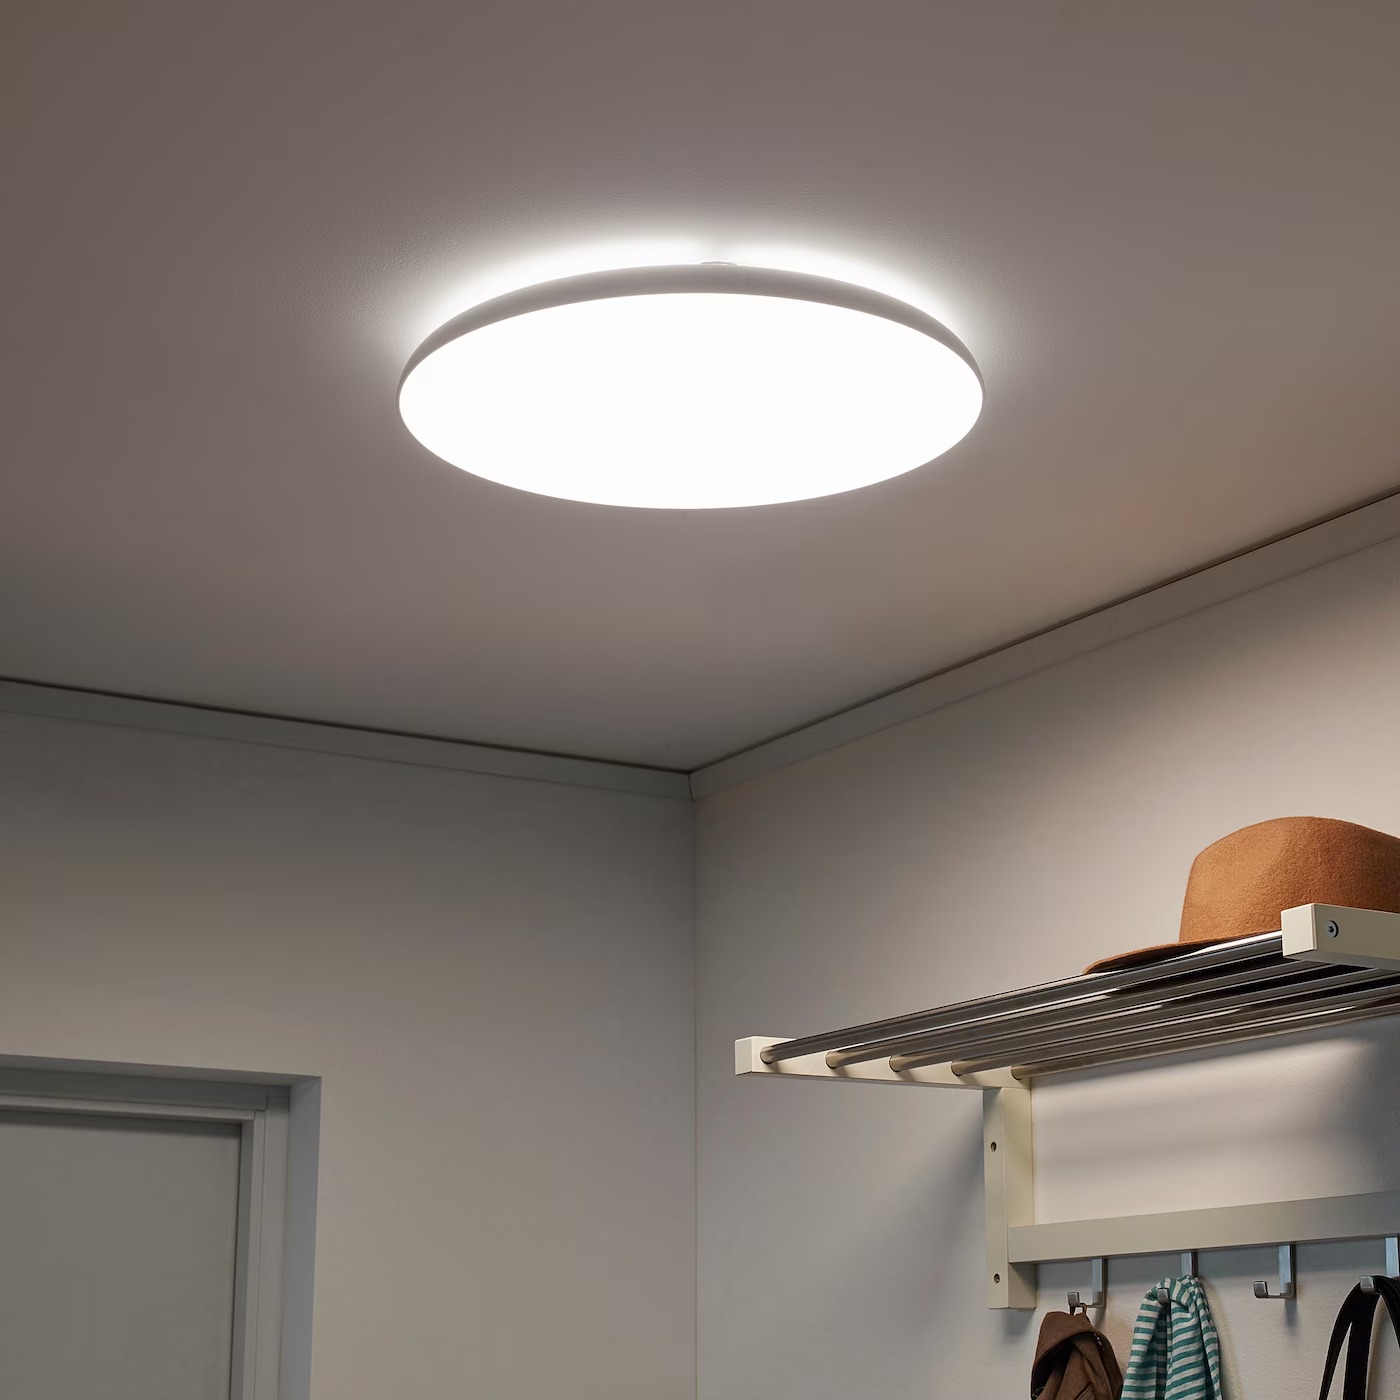
- Ceiling Light Fixture: Select a ceiling light fixture that complements the style and ambiance of your apartment. Whether it's a sleek pendant light, a classic chandelier, or a modern flush mount, choose a fixture that aligns with your aesthetic preferences.
- Light Bulbs: Depending on the type of ceiling light fixture you've chosen, ensure that you have the appropriate light bulbs on hand. Opt for energy-efficient LED bulbs for long-lasting and cost-effective illumination.
- Electrical Tape: This will be used to secure and insulate wire connections, providing an added layer of safety and protection.
- Wire Connectors: These connectors will be essential for joining and securing the electrical wires, ensuring a reliable and safe connection between the fixture and the electrical supply.
- Safety Glasses: Prioritize safety by wearing protective eyewear throughout the installation process to shield your eyes from any potential debris or hazards.
- Gloves: A pair of work gloves will provide added protection and grip while handling the light fixture and working with electrical components.
By ensuring that you have all the necessary tools and materials at your disposal, you can approach the installation process with confidence and preparedness, setting the stage for a successful and rewarding DIY project.
Step 2: Turn off the power
Before proceeding with the installation of your new ceiling light, it is crucial to prioritize safety by turning off the power to the existing light fixture. This step is fundamental in preventing potential electrical hazards and ensuring a secure working environment. Here's a detailed guide on how to safely turn off the power:
-
Locate the Circuit Breaker: Begin by identifying the circuit breaker panel in your apartment. This panel houses the circuit breakers or fuses that control the flow of electricity to different areas of the property. It is typically located in a utility room, garage, or hallway.
-
Switch Off the Correct Circuit: Carefully review the labeling on the circuit breaker panel to identify the breaker that controls the power supply to the existing light fixture. In some cases, the breakers may be labeled according to specific rooms or areas of the apartment. Once you've identified the correct breaker, switch it to the "off" position.
-
Use a Voltage Tester: To ensure that the power has been effectively turned off, use a voltage tester to check the electrical connections at the light fixture. This handheld device can detect the presence of electrical current, providing a reliable indication of whether the power supply has been successfully disconnected.
-
Confirm the Power Shutdown: After switching off the circuit breaker, double-check the light switch associated with the fixture to verify that the power has been cut off. Attempt to turn the light on to confirm that it no longer illuminates. This additional step provides an extra layer of assurance that the power supply has been safely deactivated.
By following these steps to turn off the power, you can create a secure working environment for the subsequent stages of the installation process. Prioritizing safety at this stage is essential in preventing electrical accidents and ensuring a smooth and trouble-free installation experience. Remember to proceed with caution and avoid working on the electrical components until you are certain that the power has been effectively turned off.
With the power safely turned off, you are now ready to proceed to the next step of removing the old light fixture and preparing for the installation of your new ceiling light.
Read more: How To Install A Hanging Ceiling Light
Step 3: Remove the old light fixture
With the power safely turned off, it's time to remove the old light fixture from the ceiling. This step involves careful disassembly and detachment of the existing fixture, preparing the space for the installation of the new ceiling light. Here's a detailed guide on how to remove the old light fixture:
-
Remove the Fixture Cover: Start by removing any cover or decorative elements that conceal the electrical components and mounting hardware of the existing light fixture. In most cases, these covers are secured in place with screws or clips. Use a screwdriver to loosen and remove the fasteners, allowing you to access the internal components of the fixture.
-
Disconnect the Wiring: Once the cover is removed, you'll have access to the electrical wiring and connections. Carefully disconnect the wires by unscrewing the wire nuts that secure them in place. It's essential to take note of the wire colors and their respective connections, as this will be crucial when installing the new ceiling light.
-
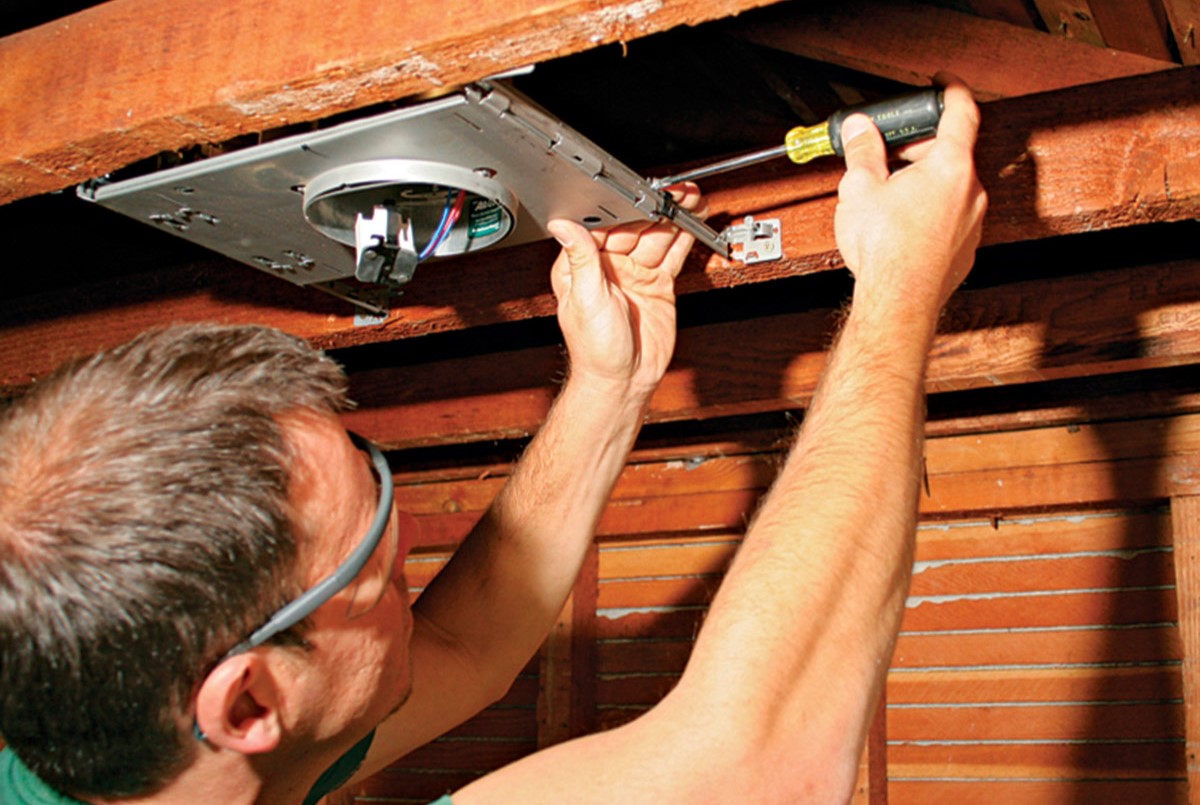
Remove the Mounting Hardware: With the wiring disconnected, proceed to remove the mounting hardware that secures the old light fixture to the ceiling. This typically involves unscrewing the screws or bolts that hold the fixture in place. As you remove the hardware, be sure to provide adequate support for the fixture to prevent it from falling.
-
Detach the Fixture: Once the mounting hardware is removed, carefully detach the old light fixture from the ceiling. Depending on the type of fixture, it may have hooks, screws, or other attachment points that need to be disengaged. Exercise caution and ensure a firm grip on the fixture as you detach it from the ceiling.
-
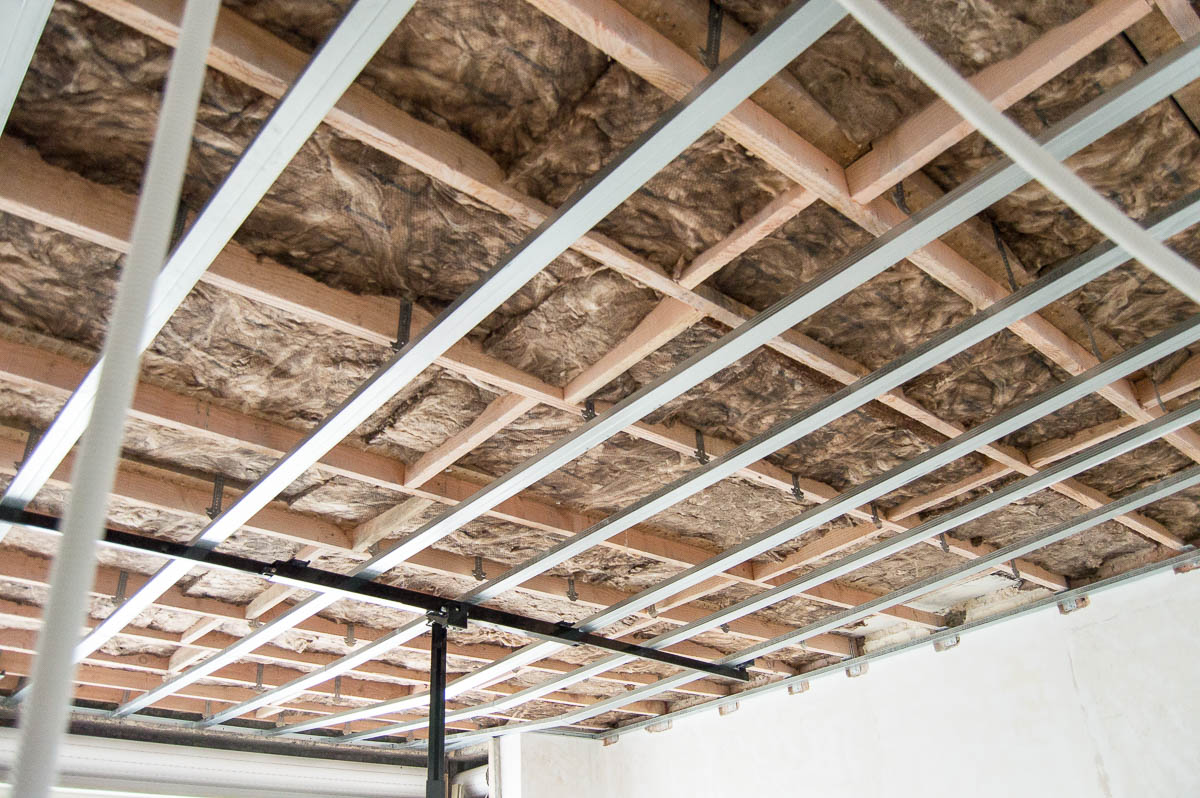
Inspect the Wiring and Ceiling Box: After removing the old fixture, take a moment to inspect the exposed wiring and the ceiling box. Look for any signs of damage, wear, or corrosion that may require attention before installing the new ceiling light. If necessary, make any repairs or adjustments to ensure a secure and reliable electrical connection for the new fixture.
By following these steps to remove the old light fixture, you can effectively clear the space and prepare for the installation of your new ceiling light. With the old fixture safely removed, you are now ready to proceed to the next step of installing the new ceiling light, bringing fresh illumination and style to your rental apartment.
Step 4: Install the new ceiling light
With the old light fixture removed and the power safely turned off, you are now ready to install your new ceiling light. This step involves mounting the new fixture, connecting the electrical wiring, and ensuring a secure and stable installation. Here's a detailed guide on how to install the new ceiling light in your rental apartment:
-
Mounting the Fixture: Begin by securing the mounting bracket or plate provided with the new ceiling light to the electrical box in the ceiling. Depending on the type of fixture, the mounting process may vary. Ensure that the bracket is firmly attached and aligned with the electrical box, providing a stable foundation for the new light fixture.
-
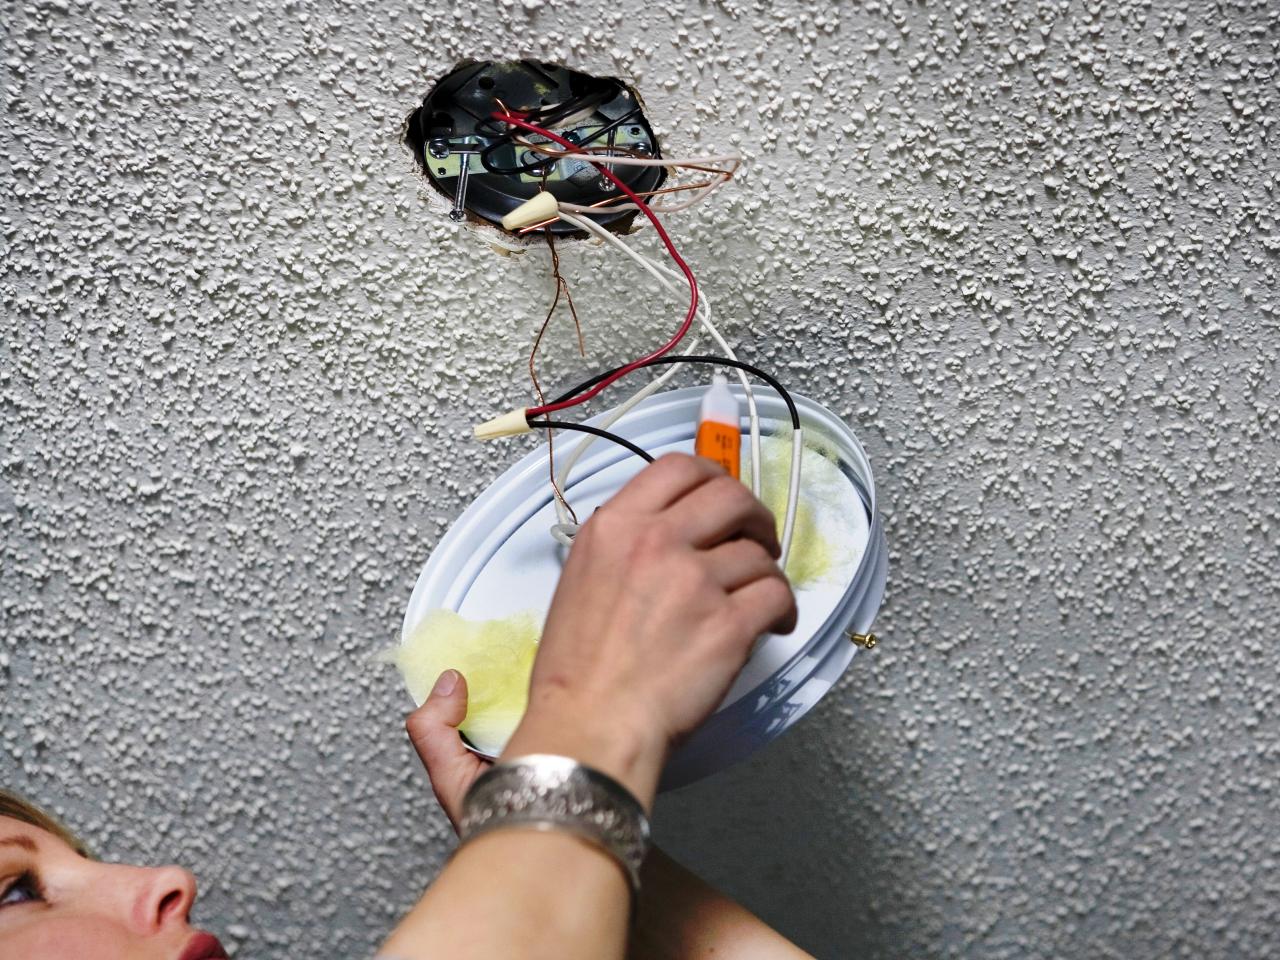
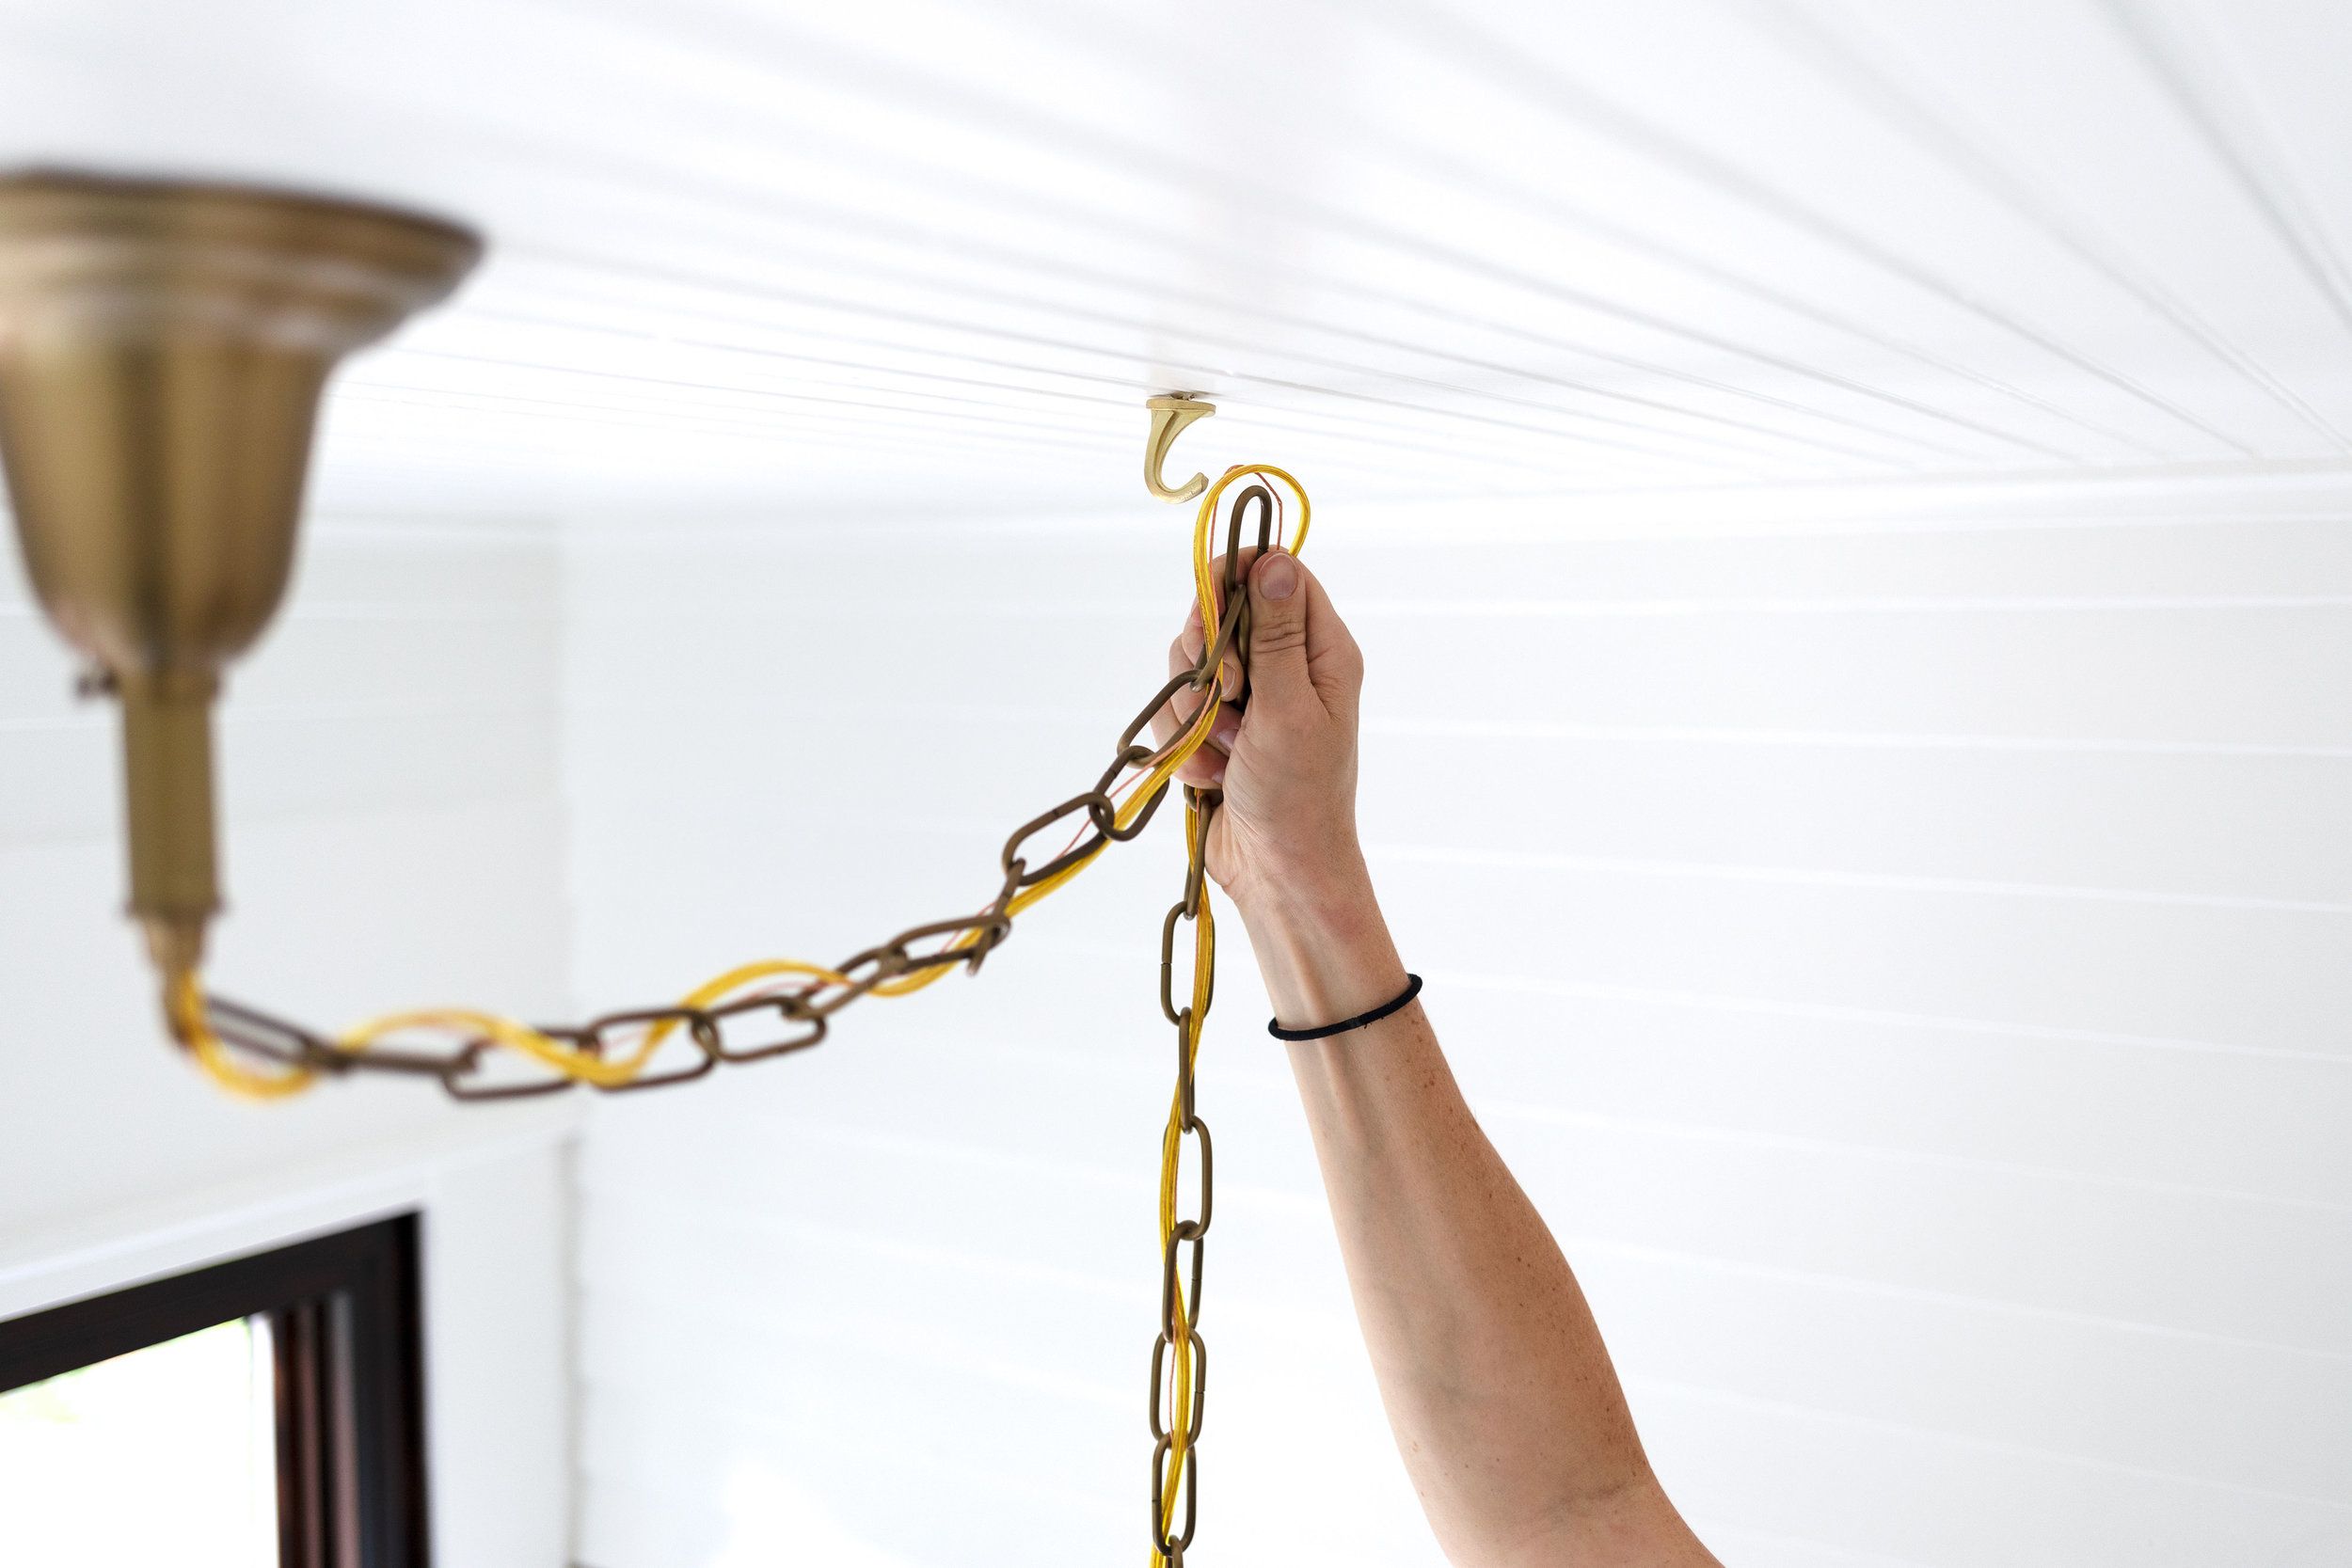
Connect the Wiring: Carefully feed the electrical wiring from the new fixture through the center of the mounting bracket. Match the corresponding wires from the fixture to the house wiring, ensuring that the color-coded wires are correctly aligned. Typically, this involves connecting the black (hot) wire to the black wire, the white (neutral) wire to the white wire, and the green or bare wire (ground) to the bare or green wire. Secure the connections with wire nuts, ensuring a snug and reliable fit.
-
Secure the Fixture: Once the wiring is connected, carefully tuck the wires into the electrical box, ensuring that they are neatly arranged and do not interfere with the installation of the fixture. Align the fixture with the mounting bracket and secure it in place using the provided screws or hardware. Follow the manufacturer's instructions for the specific fixture to ensure a secure and flush installation.
-
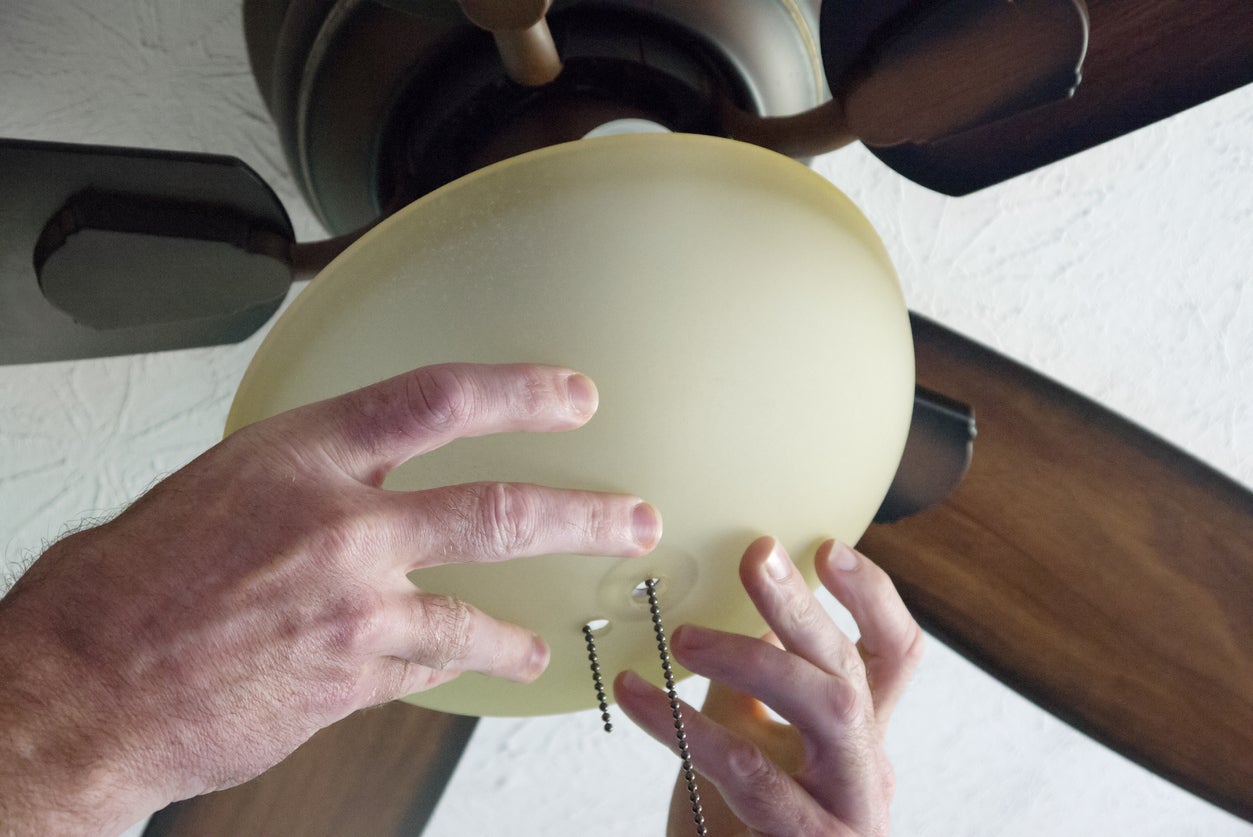
Attach the Cover or Canopy: If the new ceiling light includes a cover or canopy, carefully position it over the fixture and secure it in place according to the manufacturer's instructions. This step adds a finishing touch to the installation, concealing the electrical components and providing a polished appearance to the fixture.
-
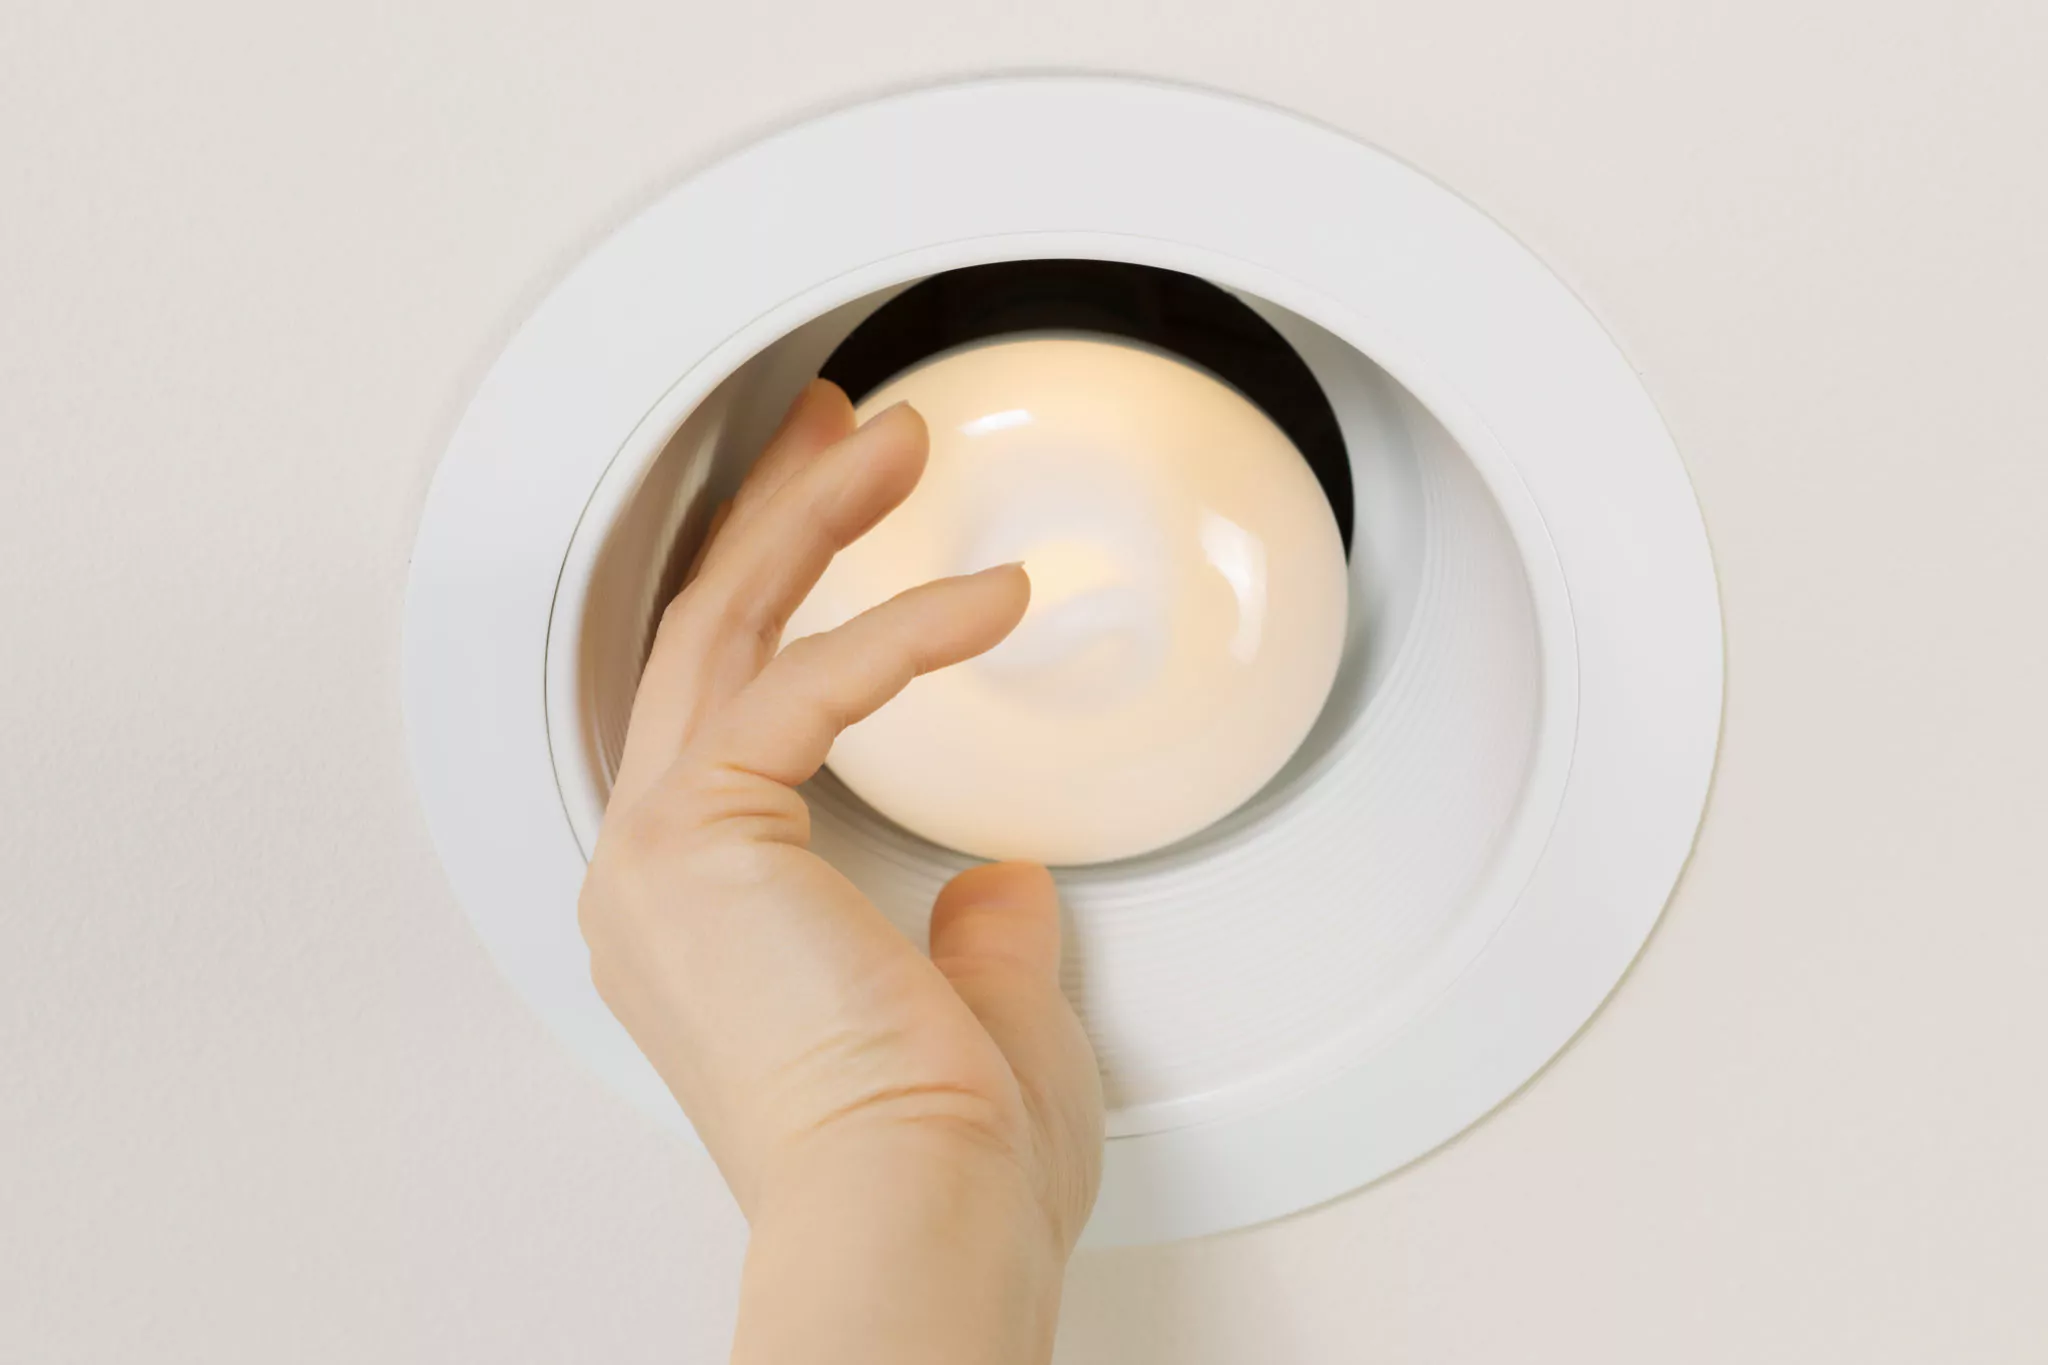
Install Light Bulbs: With the fixture securely mounted, insert the appropriate light bulbs into the sockets as specified by the manufacturer. Ensure that the bulbs are compatible with the fixture and are securely seated to provide optimal illumination.
-
Double-Check Connections: Before proceeding, double-check all the electrical connections and ensure that they are secure and properly insulated. Tug gently on the wires to confirm that they are firmly connected and will not come loose during use.
By following these steps to install the new ceiling light, you can effectively complete the installation process and enjoy the enhanced illumination and aesthetic appeal it brings to your rental apartment. With the new fixture in place, you are now ready to proceed to the final step of testing the light and ensuring that it functions as intended.
Before installing a ceiling light in a rental apartment, make sure to get permission from your landlord. Use a swag light kit to avoid hardwiring and damage to the ceiling.
Step 5: Turn the power back on and test the light
After successfully installing the new ceiling light, the final step is to restore power and test the functionality of the fixture. This critical phase ensures that the electrical connections are secure, and the newly installed light operates as intended. Here's a detailed guide on how to turn the power back on and test the light:
-
Restore the Power: Return to the circuit breaker panel and locate the breaker that controls the power supply to the newly installed ceiling light. Carefully switch the breaker to the "on" position, restoring the electrical supply to the fixture. Take note of any indicators or sounds that may signal the reactivation of power.
-
Test the Light Switch: Once the power is restored, test the light switch associated with the new ceiling light. Flip the switch to the "on" position and observe the fixture for any signs of illumination. Verify that the light functions as expected, emitting a steady and consistent glow.
-
Check for Proper Operation: With the light turned on, assess the brightness and quality of the illumination. Ensure that the bulbs are functioning correctly and that the light evenly disperses throughout the room. Take a moment to appreciate the ambiance and visual impact of the new ceiling light.
-
Inspect for Flickering or Issues: While the light is illuminated, carefully observe for any flickering or irregularities in its operation. Flickering may indicate loose connections or compatibility issues with the bulbs. If any issues are detected, promptly turn off the power and inspect the connections to address the problem.
-
Evaluate the Surrounding Area: As the light illuminates the room, assess the overall impact on the surrounding space. Observe how the new fixture enhances the ambiance and functionality of the area, providing a fresh and inviting atmosphere.
-
Ensure Proper Switching: Test the light switch again to confirm that it effectively controls the on/off function of the ceiling light. Verify that the switch operates smoothly and consistently, allowing you to control the illumination as needed.
By following these steps to turn the power back on and test the light, you can ensure that the installation has been completed successfully, and the new ceiling light functions optimally. With the power restored and the fixture tested, you can now enjoy the enhanced lighting and aesthetic appeal it brings to your rental apartment.
Conclusion
In conclusion, the process of installing a ceiling light in a rental apartment offers a rewarding opportunity to enhance the ambiance and functionality of the living space. By following the outlined steps and guidelines, tenants can embark on this DIY project with confidence, creating a well-lit and stylish environment while adhering to safety protocols and rental regulations.
The journey begins with gathering the necessary tools and materials, ensuring that everything required for the installation is readily available. From screwdrivers and wire strippers to wire nuts and safety glasses, having the right equipment at hand sets the stage for a smooth and efficient installation process.
Prioritizing safety is paramount, and turning off the power to the existing light fixture is a crucial step in creating a secure working environment. By carefully identifying the correct circuit breaker, using a voltage tester, and confirming the power shutdown, tenants can proceed with confidence, knowing that the electrical hazards have been effectively mitigated.
The subsequent steps involve the removal of the old light fixture and the installation of the new ceiling light. From disconnecting the wiring and removing the mounting hardware to mounting the new fixture, connecting the wiring, and testing the light, each phase contributes to the successful completion of the installation process.
Upon restoring power and testing the functionality of the new ceiling light, tenants can revel in the transformative impact of the installation, enjoying the enhanced illumination and visual appeal it brings to their rental apartment. The carefully chosen fixture, whether a sleek pendant light, a classic chandelier, or a modern flush mount, can significantly influence the ambiance of the space, creating a warm and inviting atmosphere tailored to personal style and functional needs.
By communicating openly with landlords or property managers and obtaining the necessary approvals, tenants can navigate the installation process with confidence and peace of mind, ensuring compliance with rental agreements and regulations. Additionally, prioritizing safety and following proper procedures throughout the installation journey is essential in creating a secure and enjoyable living environment.
In essence, the installation of a ceiling light in a rental apartment is not only a practical endeavor but also a creative opportunity to personalize and elevate the living space. With careful planning, attention to detail, and a focus on safety, tenants can embark on this DIY project, transforming their rental apartment into a well-lit and stylish sanctuary tailored to their unique preferences and lifestyle.
Frequently Asked Questions about How To Install A Ceiling Light In A Rental Apartment
Was this page helpful?
At Storables.com, we guarantee accurate and reliable information. Our content, validated by Expert Board Contributors, is crafted following stringent Editorial Policies. We're committed to providing you with well-researched, expert-backed insights for all your informational needs.


0 thoughts on “How To Install A Ceiling Light In A Rental Apartment”