Articles
How To Create Labels For Candles
Modified: January 9, 2024
Learn how to create beautiful labels for your candles with these articles. Enhance the packaging of your products and attract more customers with our easy-to-follow tutorials.
(Many of the links in this article redirect to a specific reviewed product. Your purchase of these products through affiliate links helps to generate commission for Storables.com, at no extra cost. Learn more)
Introduction
Welcome to our guide on how to create beautiful labels for your candles. A well-designed label can elevate the branding of your candles and catch the attention of customers. Whether you are a hobbyist candle maker or a small business owner, creating professional-looking labels is an essential part of marketing your products.
In this article, we will provide step-by-step instructions on how to create labels for your candles. From choosing the right design to applying the labels, we will cover everything you need to know to make your candles stand out on store shelves or online marketplaces.
Creating labels for your candles allows you to showcase your creativity and connect with your target audience. A thoughtfully designed label can convey the style, scent, and essence of your candles, enticing potential customers to choose your product over others.
Before we delve into the process, it’s important to gather the necessary materials to create your labels. Let’s take a look at the materials you will need for this project.
Key Takeaways:
- Creating professional candle labels involves choosing the right design, selecting suitable materials, and ensuring accurate printing and application. Attention to detail and creativity are essential for captivating customers and elevating brand identity.
- The process of labeling candles extends beyond design and printing to include thoughtful finishing touches. Adding ribbons, hang tags, and coordinating accessories enhances the overall presentation, creating a cohesive and memorable brand experience for customers.
Read more: How To Label Candles
Materials Needed
To create labels for your candles, you will need the following materials:
- Label design software or graphic design program
- Computer or laptop
- Printer
- Label paper or sticker sheets
- Scissors or paper trimmer
- Double-sided adhesive or glue
- Candles
- Candle packaging or containers
- Optional: Clear packaging tape
The label design software or graphic design program will allow you to create customized labels using your own images, fonts, and colors. You can choose from a variety of software options, such as Adobe Photoshop, Illustrator, Canva, or even free programs like GIMP or Inkscape.
A computer or laptop is essential for designing your labels and printing them. Make sure your computer is up to date and has the necessary software installed.
For printing your labels, you will need a printer. It’s recommended to use a color printer to ensure the vibrant and accurate representation of your label designs.
Label paper or sticker sheets are crucial for printing your labels. These adhesive sheets come in different sizes, finishes, and formats, such as glossy, matte, or transparent. Choose the type of label paper that suits your design and the look you want to achieve.
To trim your labels, you will need scissors or a paper trimmer. A paper trimmer is more precise and efficient, especially if you plan to make multiple labels.
Double-sided adhesive or glue will be used to attach the labels to your candles. Depending on your preference and the type of candle packaging or container you have, you can choose between adhesive or glue.
Lastly, you will need candles to apply your labels to. Whether you have handmade candles or store-bought ones, make sure they are clean and ready for labeling.
Optional: Clear packaging tape can be used to protect the labels on your candles from smudging or water damage. This is especially useful if your candles will be exposed to moisture or if you want an extra layer of protection for your labels.
Now that you have gathered all the necessary materials, let’s move on to the next step: choosing your label design!
Step 1: Choose Your Label Design
The first step in creating labels for your candles is to choose a design that reflects the style and essence of your brand. Your label design should align with the overall aesthetic of your candles and appeal to your target market.
Here are a few tips to help you choose the perfect label design:
- Know your brand: Before selecting a label design, it’s important to have a clear understanding of your brand identity. Consider the unique selling points of your candles and the message you want to convey through your packaging. Are you targeting a specific demographic or focusing on a particular niche? Understanding your brand’s personality will guide you in choosing a label design that resonates with your target audience.
- Research and inspiration: Look for inspiration in candle packaging and labels from other candle makers or similar industries. Browse online marketplaces, visit local stores, or attend trade shows to explore various label designs and packaging styles. Take note of elements that catch your eye and consider how you can adapt them to create a unique and eye-catching label for your own candles.
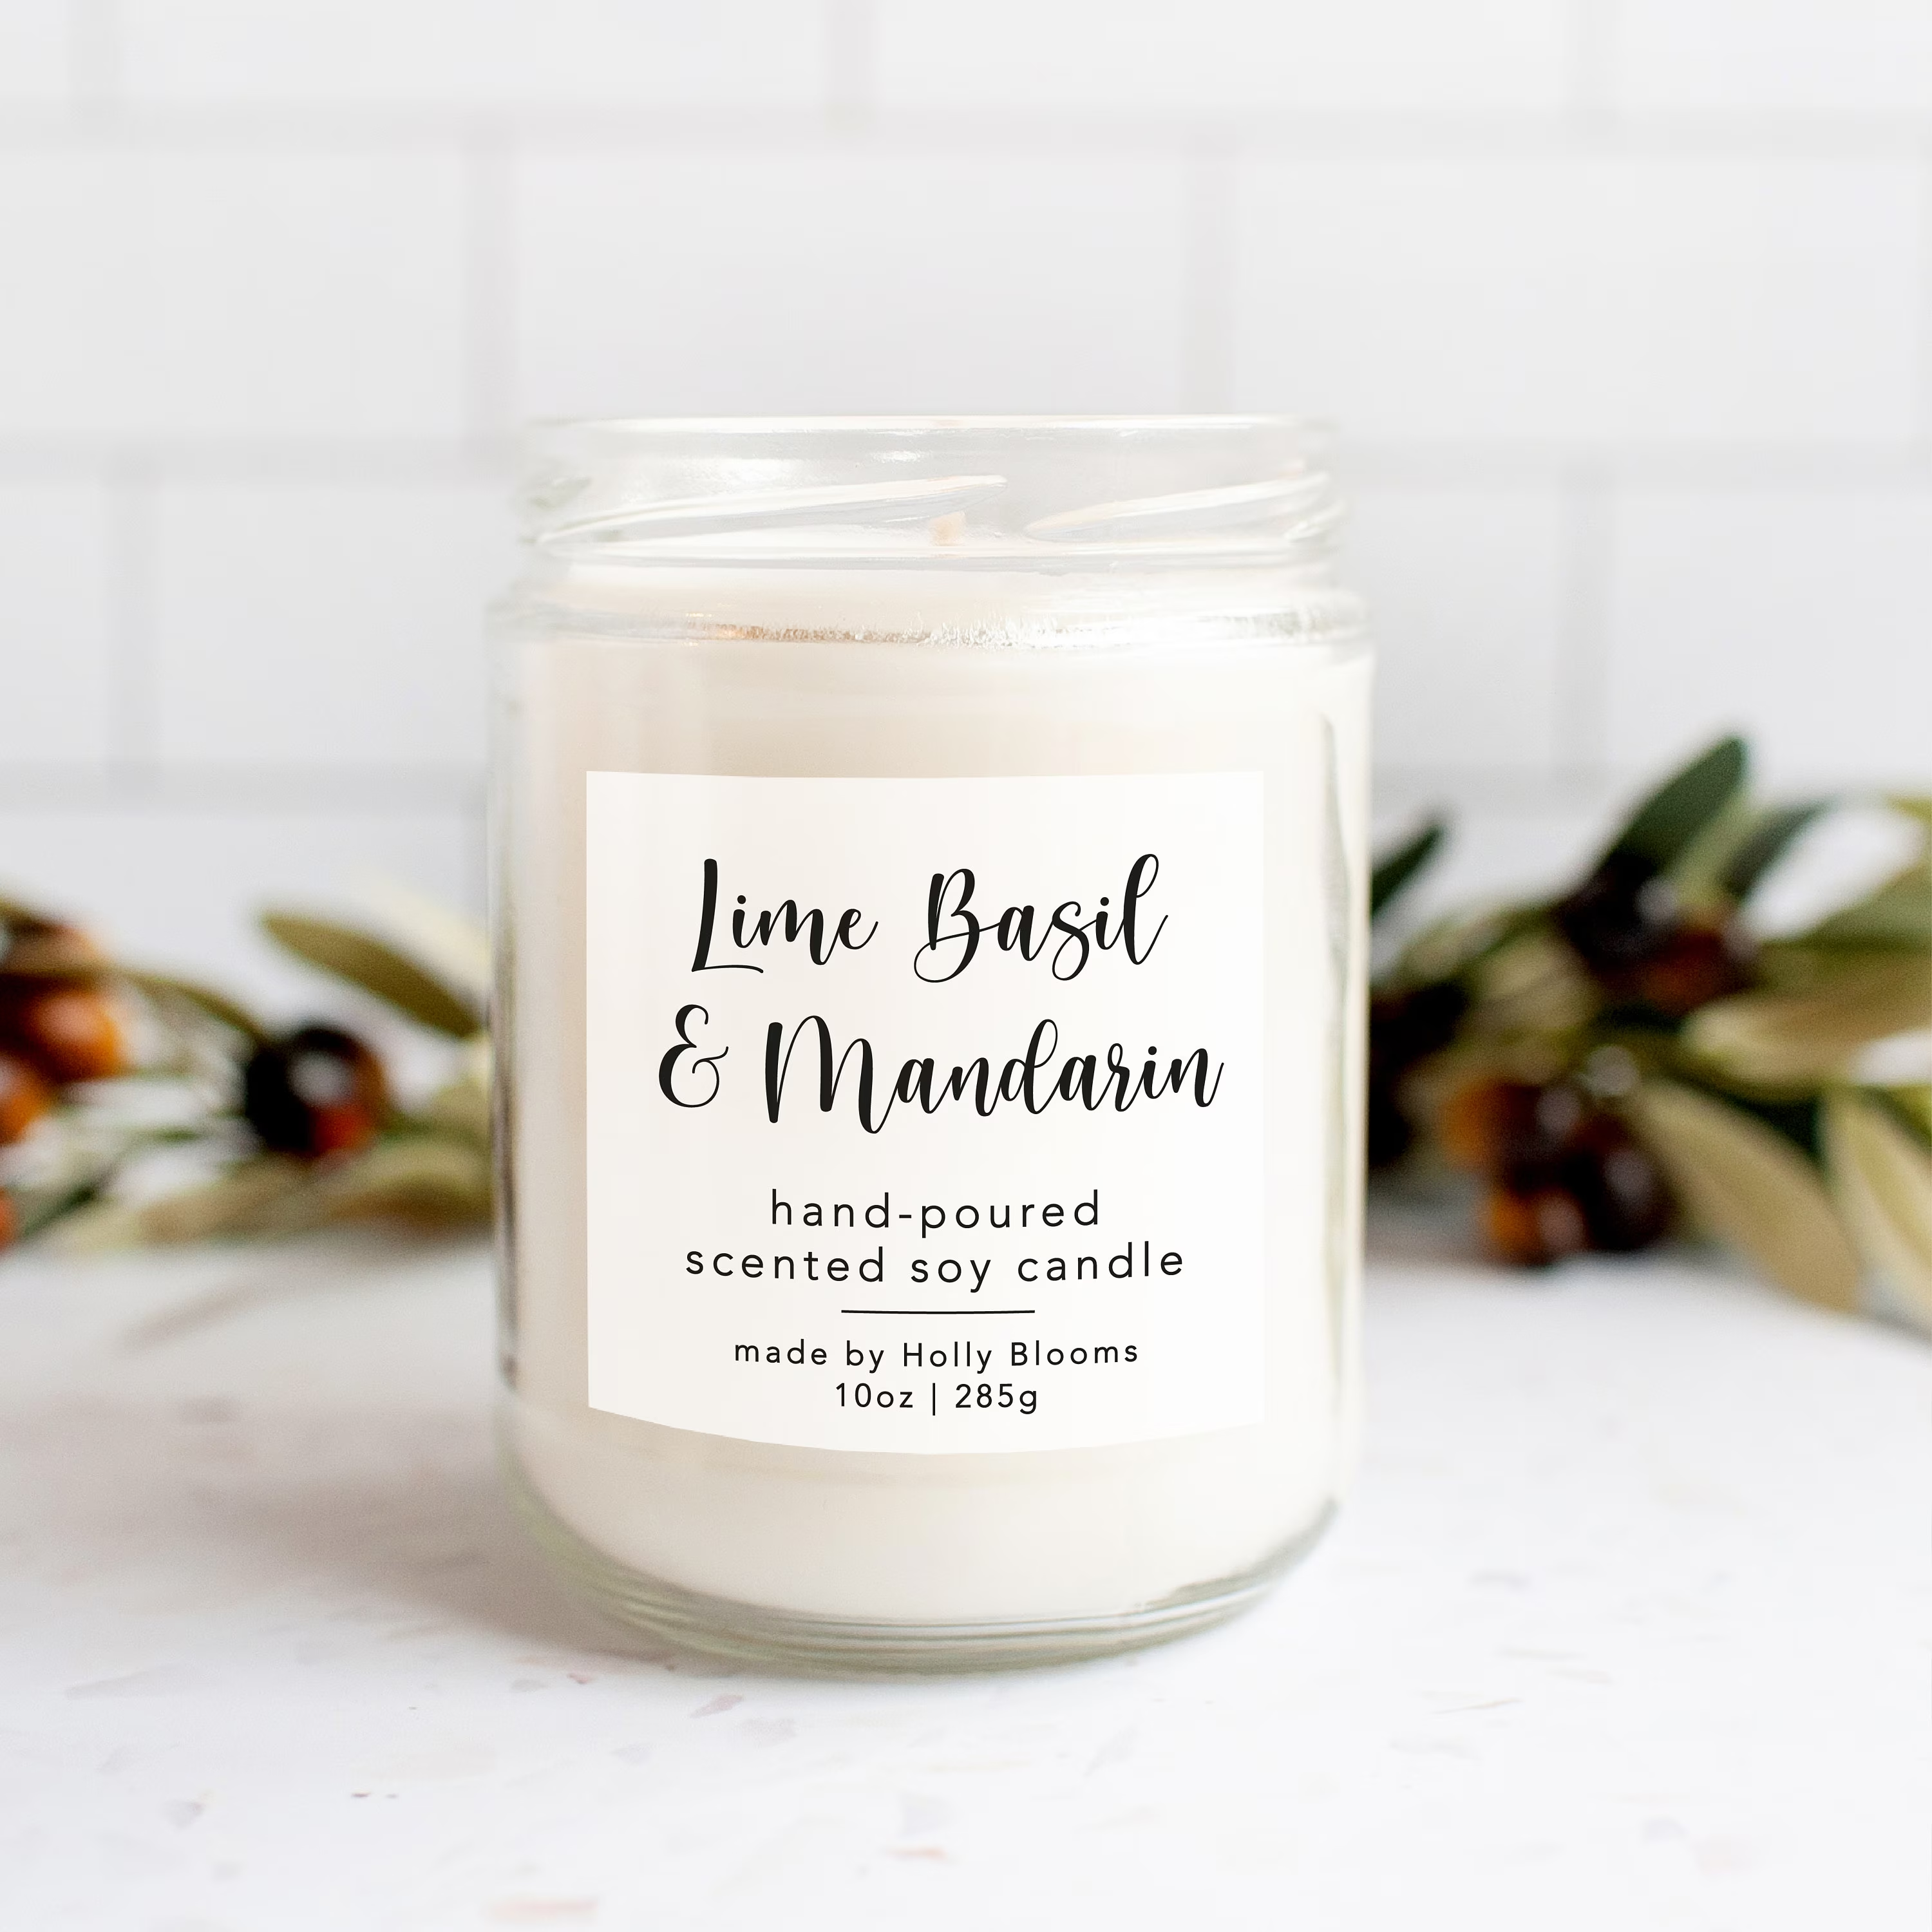
- Consider your candle containers: Take into account the shape, size, and material of your candle containers. Your label design should complement and enhance the overall aesthetic of your candle packaging. Whether you have glass jars, tin containers, or unique vessels, ensure that your label design fits seamlessly on the surface of your containers.
- Balance between simplicity and creativity: Your label design should strike a balance between simplicity and creativity. While it’s important to stand out and grab attention, an overly cluttered or complicated design may confuse potential customers. Opt for clean and visually appealing designs that communicate key information about your candles, such as the fragrance, ingredients, and brand name.
- Typography and imagery: Choose fonts and images that reflect the mood and style of your candles. Play around with different typography styles to find a combination that is easy to read and complements your label design. Consider incorporating relevant imagery, such as floral motifs for botanical candles or minimalist illustrations for modern and sleek designs.
Once you have a clear idea of your label design, you can move on to the next step: selecting the label material. Remember, your label is the face of your candles, so take your time to choose a design that truly represents your brand and attracts customers.
Step 2: Select Label Material
Choosing the right label material is essential to create professional-looking labels for your candles. The material you select should not only complement your label design but also be durable and suitable for the packaging and environment in which your candles will be displayed.
Here are a few factors to consider when selecting label material:
- Label Paper: Label paper is a versatile and commonly used option for candle labels. It comes in various finishes, such as matte, glossy, or semi-gloss, allowing you to achieve different looks. Matte labels provide a elegant and understated finish, while glossy labels offer a sleek and eye-catching appearance. Consider the overall aesthetic of your candles and choose a label paper that complements their style.
- Adhesive: The adhesive on the label paper is what holds your labels in place on the candle packaging. Ensure that the adhesive is strong enough to stick securely to the container and withstand any handling or transportation. Depending on your preference, you can choose labels with permanent adhesive or removable adhesive if you want the flexibility to reposition or remove the labels without leaving residue.
- Waterproof Labels: If your candles are likely to come into contact with moisture or be exposed to water, consider using waterproof label materials. Waterproof labels are resistant to water, oil, and dirt, ensuring that your labels remain intact and legible even in challenging conditions. This can be particularly useful if you sell candles that are meant for outdoor or bathroom use.
- Transparent Labels: If you want your label design to seamlessly blend with the candle packaging or container, transparent labels are an excellent choice. These labels allow the color and texture of the container to show through, creating a more cohesive and professional look. Transparent labels work well for candles with decorative or patterned containers.
- Label Size: Consider the size of your labels in relation to your candle packaging. Ensure that the label size is neither too small nor too large for the containers. It’s a good idea to measure the available space on your candle containers and select an appropriate label size that allows your design to shine without overwhelming the packaging.
Take your time to explore different label materials and consider the specific needs of your candle packaging and target customers. The right label material will enhance the overall look and durability of your labels, making a lasting impression on potential buyers.
Next, we will move on to Step 3: determining the label size for your candles. Stay tuned!
Step 3: Determine Label Size
Once you have chosen your label material, the next step is to determine the appropriate size for your candle labels. The label size should be proportionate to your candle packaging and provide enough space to showcase your label design while including essential information.
Here are some guidelines to help you determine the ideal label size:
- Measure your candle packaging: Use a ruler or measuring tape to measure the available space on your candle containers. Take into account both the width and height of the area where you want to place your labels. Consider any curves or irregular shapes that may affect the label placement.
- Label shape: Decide on the shape of your labels based on your branding and the aesthetics of your candle packaging. Common label shapes include squares, rectangles, circles, and ovals. You can also opt for custom shapes to create a unique and memorable look.
- Label content: Determine the essential information you want to include on your labels, such as the candle name, scent, ingredients, and any legal or safety requirements. Make sure there is enough space on the label to accommodate this information without it appearing cluttered or unreadable.
- Design elements: Consider the design elements of your label, such as logos, images, and decorative elements. Ensure that the label size provides enough room for these elements to be showcased prominently and without being cut off or distorted.
- Industry standards: Research common label sizes used in the candle industry or similar product categories. This can give you a baseline to work with and help your labels appear more professional and familiar to customers.
- Testing: Before finalizing the label size, print a test sheet and physically place it on your candle packaging to see how it fits and looks. Make any necessary adjustments to the size or design to ensure a perfect fit.
Taking the time to determine the right label size will ensure that your labels appear cohesive, well-proportioned, and visually appealing on your candle packaging. It allows you to create a polished and professional look that will catch the attention of potential customers.
Now that you have determined the label size, you are ready to move on to the exciting part – designing your candle labels! In the next step, we will guide you through the process of designing your labels. Keep reading!
When creating labels for candles, be sure to include important information such as the candle’s scent, burn time, and safety instructions. Use high-quality materials and consider hiring a professional designer for a polished look.
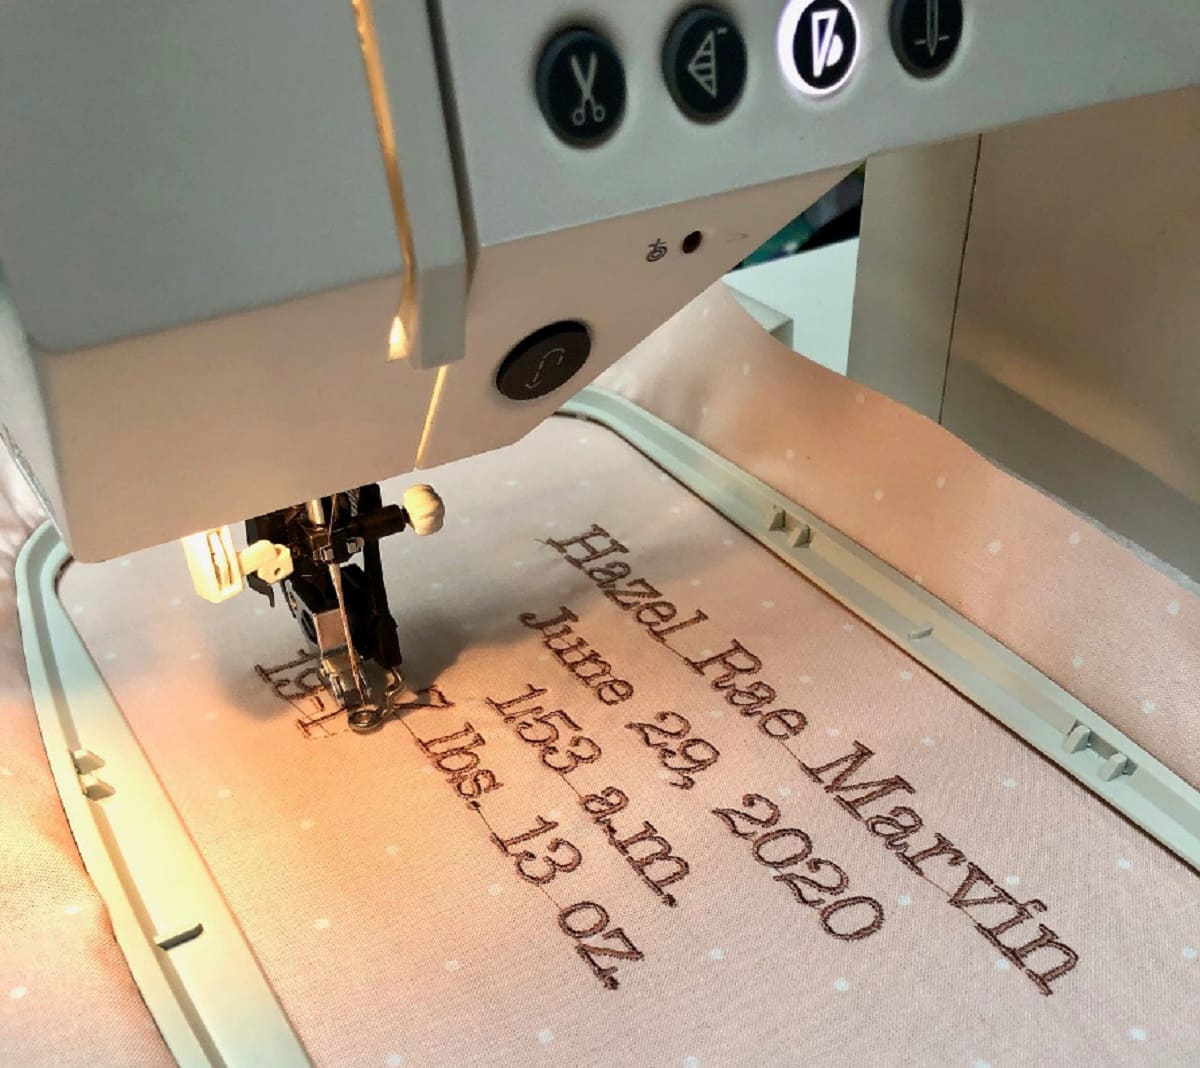
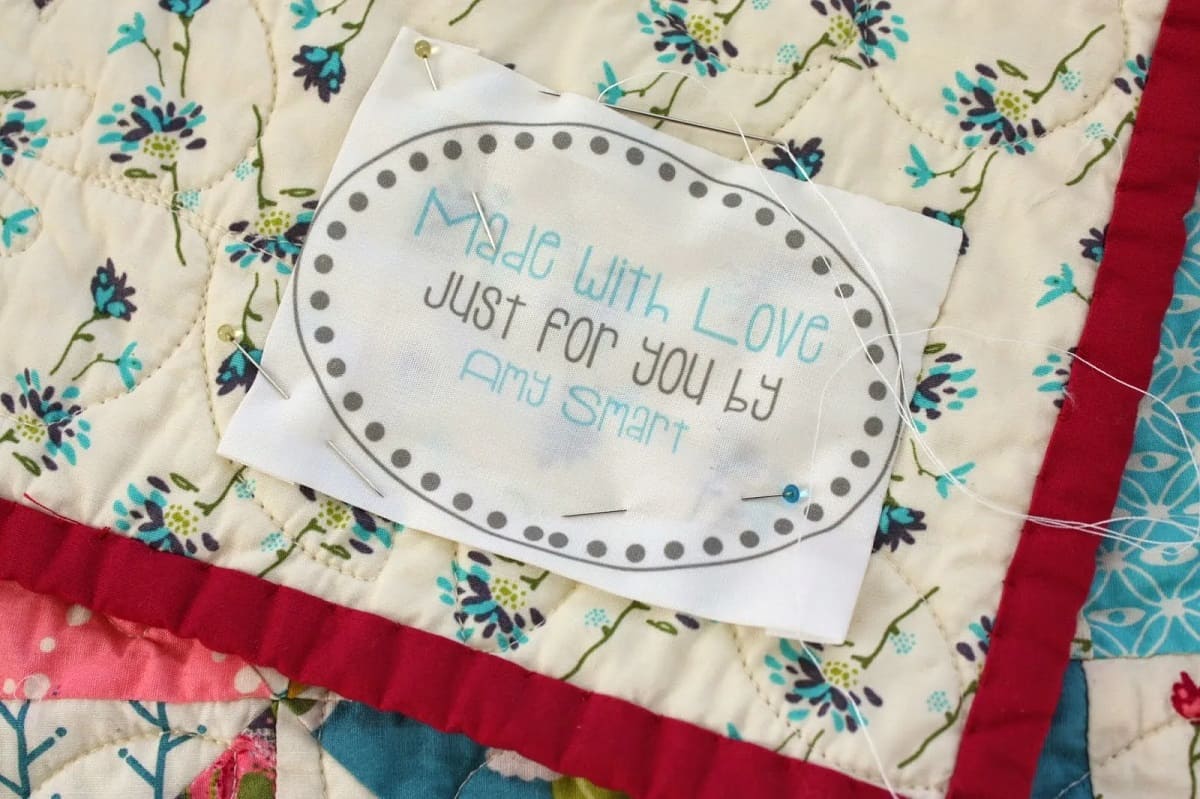
Read more: How To Make A Label For A Quilt
Step 4: Designing Your Label
Designing your candle label is an opportunity to showcase your creativity and make a lasting impression on customers. A well-designed label will not only attract attention but also communicate essential information about your candles and your brand. Follow these steps to create a captivating label design:
- Choose a design software: Select a graphic design program or label design software that you are comfortable using. Popular options include Adobe Photoshop, Illustrator, Canva, or even free programs like GIMP or Inkscape. These tools offer a range of design features and templates to help you create professional-looking labels.
- Consider your brand style: Ensure that your label design aligns with your brand’s personality and the overall aesthetic of your candles. Take into account your target audience and the emotions you want your label to evoke. Whether your candles have a luxurious, minimalist, rustic, or vibrant vibe, your label design should reflect these characteristics.
- Include essential information: Decide on the essential information that needs to be on your label. This can include your brand name or logo, candle name, scent description, ingredients, safety instructions, and any certifications or awards. Organize the information in a clear and visually appealing way, making sure it is easily readable.
- Select typography: Choose fonts that complement your label design and align with your brand’s style. Consider legibility and readability, especially for small font sizes. Incorporate different font styles for headings, subheadings, and body text to create visual hierarchy.
- Add images or graphics: Include relevant images or graphics that enhance your label design. This may include illustrations, decorative elements, or product images. Use high-quality images that are visually appealing and align with your candle’s theme.
- Play with colors: Select a color palette that complements your candle’s branding and evokes the desired emotions. Consider the psychology of colors and their impact on consumer perception. Experiment with different color combinations to create a visually striking label.
- Design for different label sizes: If you plan to create labels in different sizes, ensure that your design is adaptable and can be scaled to fit various label dimensions while maintaining a consistent look and feel.
- Get feedback: Share your label design with friends, family, or fellow candle makers to get feedback. They can provide valuable insights and suggestions for improving your design.
Remember, your label design should not only be visually appealing but also effectively communicate the unique selling points of your candles. It should capture the attention of potential customers and inspire them to choose your product over others.
Once your label design is complete, you are ready for the next step – printing your labels. Stay tuned for our guide on how to print your beautifully designed labels for your candles!
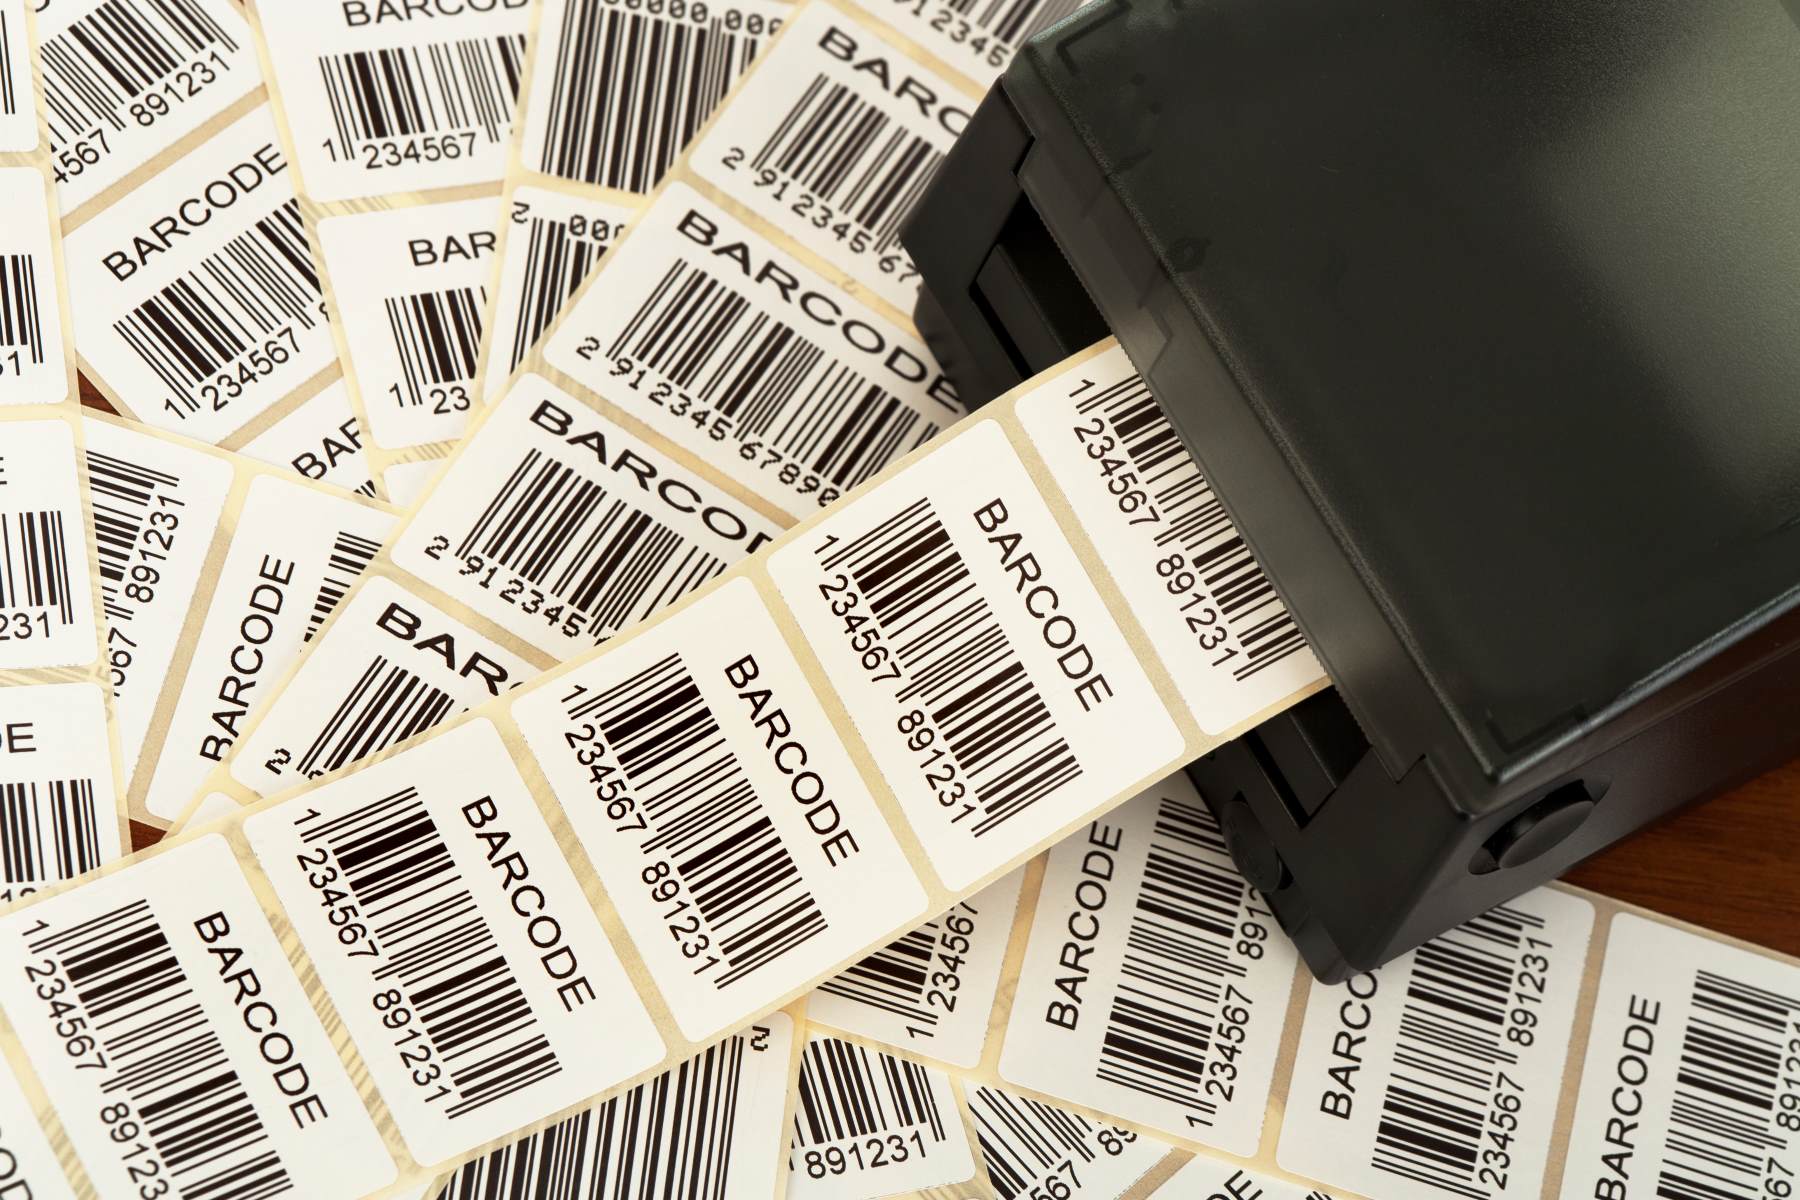
Step 5: Printing Your Labels
Once you have designed your candle labels, it’s time to bring them to life by printing them. Printing your labels requires attention to detail and the right equipment to ensure professional-looking results. Follow these steps to successfully print your labels:
- Check your printer: Ensure that your printer is in good working condition and has enough ink or toner. It’s recommended to use a color printer to accurately reproduce the colors and details of your labels.
- Load your label paper: Follow the instructions provided by the label paper manufacturer to load the paper into your printer. Ensure that the paper is properly aligned to prevent any printing errors or misalignments.
- Print a test sheet: Before printing a bulk quantity of labels, print a test sheet to ensure that the design, colors, and alignment are as expected. Make any necessary adjustments to your design or printer settings before proceeding.
- Print in batches: If you are printing a large number of labels, it’s advisable to print them in batches to maintain consistency and avoid wasting paper or ink. This also allows you to check each batch for quality and make any necessary adjustments if needed.
- Allow time for drying: After printing, give your labels sufficient time to dry. This prevents smudging or smearing when handling or applying them to your candles.
- Inspect your labels: Once the labels are dry, inspect them closely for any printing errors, smudges, or imperfections. Remove any labels that did not print correctly and reprint them as needed.
- Trim your labels: Using scissors or a paper trimmer, carefully cut out each label along the designated edges. Take your time to ensure clean and uniform cuts.
- Consider finishing options: Depending on your preference and the level of protection you desire for your labels, you may consider adding a finishing touch. This could include laminating the labels, using a clear packaging tape to protect them from smudging, or opting for a label paper with a protective coating.
Printing your labels accurately and professionally is essential for creating a polished and visually appealing product. By paying attention to printer settings, paper alignment, and inspection, you can ensure that your labels accurately represent your candle brand.
In the next step, we will guide you through the process of applying your printed labels to your candles. Stay tuned!
Step 6: Applying Labels to Candles
Now that you have printed and trimmed your candle labels, it’s time to apply them to your candles. Properly applying the labels is important to ensure they adhere securely and look professional. Follow these steps to effectively apply your labels:
- Clean the surface: Before applying the labels, clean the surface of your candles to remove any dust, dirt, or residue. Use a soft cloth or lint-free wipe to gently clean the area where you will be placing the label.
- Position the label: Carefully position the label on the desired area of your candle. Take your time to align the label accurately and ensure it is straight and centered. You can use a ruler or a guide to help with placement if needed.
- Apply pressure: Once you have positioned the label, press down firmly on the label, starting from the center and working your way out towards the edges. This will help the label adhere securely to the surface of the candle and minimize any air bubbles or wrinkles.
- Smooth out any wrinkles or air bubbles: If you notice any wrinkles or air bubbles on the label, gently smooth them out with your fingers or a soft cloth. Start from the center and smooth outward to avoid damaging the label or disturbing its placement.
- Allow time to set: After applying the label, allow it some time to set and adhere properly to the candle’s surface. This will ensure that the label stays in place and withstands handling or transportation.
- Check for adhesion: After the labels have set, check each candle to ensure that the labels are securely attached. Give them a gentle tug to make sure they are not peeling or coming off. If any labels appear loose or not fully adhered, apply additional pressure or reapply with a fresh label.
- Optional: Consider a clear protective coating: If you want to provide an extra layer of protection to your labels, you can consider applying a clear protective coating. This could be in the form of a clear adhesive or a clear packaging tape carefully applied over the label surface. This will help protect the labels from wear and tear.
By following these steps and paying attention to detail, you can ensure that your labels are securely applied to your candles and present a professional and polished look.
In the next and final step, we will discuss some finishing touches you can add to your labeled candles to enhance their overall presentation. Stay tuned!
Step 7: Finishing Touches
Once you have successfully applied the labels to your candles, it’s time to add some finishing touches to enhance their overall presentation. These final details can make a significant impact on the overall appeal and professionalism of your labeled candles. Consider the following finishing touches:
- Add ribbon or twine: Tie a ribbon or twine around the neck or base of your candle to add a decorative touch. This can enhance the visual appeal and create a more gift-worthy appearance.
- Include a hang tag: Attach a hang tag to the packaging or container of your candle. The hang tag can include additional information, such as a personal message, instructions, or a special offer. This can add a personalized touch and make your candles stand out from the competition.
- Seal the packaging: Consider using a sticker or seal to secure the packaging of your candles. This not only adds a professional look but also gives the impression of a well-packaged and high-quality product.
- Label the lid: If your candle packaging has a lid, consider adding a label to the top of the lid. This ensures that your branding is visible even when the candle is not in use and adds an extra element of design and aesthetic appeal.
- Coordinate with accessories: If you sell candles in sets or with accompanying accessories, make sure to coordinate the design of the labels with the other elements. This creates a cohesive and visually pleasing presentation.
- Create a cohesive brand experience: Consider the overall customer experience when designing your labels and adding finishing touches. Make sure that the branding and design of your labels align with your website, packaging materials, and other marketing materials. This consistent branding helps create a memorable and cohesive brand experience for customers.
- Quality control: Before finalizing your labeled candles for sale or distribution, conduct a thorough quality control check. Inspect each candle for any labeling issues, misalignments, or defects. This ensures that only high-quality, well-presented candles reach your customers.
By paying attention to these finishing touches, you can elevate the overall presentation of your labeled candles. These additional details not only make your candles visually appealing but also enhance the perceived value and customer experience.
With Step 7 completed, you have successfully gone through the entire process of creating labels for your candles. By following this guide, you have the tools and knowledge to design and apply professional and captivating labels that will make your candles shine in the marketplace. Best of luck with your candle labeling journey!
If you have any further questions or need additional guidance, feel free to reach out. Happy candle making!
Read more: How To Use A Label Printer
Conclusion
Congratulations! You have reached the end of our comprehensive guide on how to create labels for your candles. We have covered every step of the process, from choosing the label design to applying the finishing touches to your labeled candles. By following this guide, you now have the knowledge and tools to create professional and visually appealing labels that will elevate the branding of your candles.
Creating labels for your candles goes beyond simply adding a name or logo. It is an opportunity to showcase your creativity, connect with your target audience, and make a lasting impression on potential customers. A well-designed label can communicate the style, scent, and essence of your candles, ultimately influencing purchasing decisions.
Throughout this guide, we discussed the importance of selecting the right label design that aligns with your brand and appeals to your target market. We also explored the various label materials available and highlighted the significance of choosing materials that are durable and suitable for your candle packaging. Additionally, we dove into determining the appropriate label size, designing your labels, and successfully printing and applying them to your candles.
We shared tips on adding finishing touches to your labeled candles, including ribbon or twine, hang tags, packaging seals, and coordinating accessories. These final details help create a cohesive and visually appealing presentation, leaving a positive and lasting impression on customers.
Remember, while designing and applying labels to your candles is important, it is equally crucial to maintain a consistent and cohesive brand experience. Ensure that your label design aligns with your website, packaging materials, and other marketing elements to create a memorable and recognizable brand identity.
Now that you have completed this guide, it’s time to put your newfound knowledge into practice. Get creative, experiment with different designs, and enjoy the process of creating beautiful labels for your candles. Remember, your labels are a reflection of your brand, so take pride in ensuring they are of the highest quality.
If you ever need a refresher or have any further questions, feel free to revisit this guide or reach out for assistance. We wish you success in your candle making journey and hope that your beautifully labeled candles bring joy and happiness to your customers.
Happy labeling!
Frequently Asked Questions about How To Create Labels For Candles
Was this page helpful?
At Storables.com, we guarantee accurate and reliable information. Our content, validated by Expert Board Contributors, is crafted following stringent Editorial Policies. We're committed to providing you with well-researched, expert-backed insights for all your informational needs.

0 thoughts on “How To Create Labels For Candles”