
Articles
How To Make A Label For A Quilt
Modified: August 28, 2024
Learn how to create a custom label for your quilt with our informative articles. Enhance your quilting projects and add a personal touch.
(Many of the links in this article redirect to a specific reviewed product. Your purchase of these products through affiliate links helps to generate commission for Storables.com, at no extra cost. Learn more)
Introduction
In the world of quilting, creating a label for your quilt is an important finishing touch. A quilt label not only adds a personal touch to your creation but also serves as a permanent record of the quilt’s maker and any significant details. Whether you’re designing a label for a quilt that you’ve made as a gift or for your own cherished quilt, this article will guide you through the process step-by-step.
Creating a quilt label is an opportunity to express your creativity and add a unique flair to your quilt. It’s a chance to showcase your personal style through the design and font choice for the label. Additionally, a well-designed and strategically placed label can also serve as a helpful identifier in case your quilt ever gets lost or misplaced.
To make a label for a quilt, you’ll need a few basic materials and some creativity. In this article, we’ll outline the necessary steps and provide tips for creating a personalized quilt label that will complement your quilt and stand the test of time.
Key Takeaways:
- Personalize your quilt with a custom label that reflects your style and creativity. Add embellishments for a unique touch and ensure it’s securely attached for a lasting finish.
- Make your quilt label stand out by carefully designing, preparing, and attaching it. Add a personal signature and care instructions for a thoughtful finishing touch.
Materials Needed
Before you begin creating a label for your quilt, gather the following materials:
- Fabric: Choose a sturdy fabric that will withstand washing and handling. Consider using a fabric that complements the overall design and color scheme of your quilt.
- Thread: Select a thread color that will either blend in or stand out, depending on your preference and the design of your label.
- Scissors: Make sure you have a sharp pair of fabric scissors to easily cut through the fabric.
- Sewing Machine or Needle and Thread: Depending on your preferred method, have either a sewing machine or needle and thread ready for attaching the label to your quilt.
- Fabric Marker or Pencil: Use a fabric marker or pencil to transfer your design onto the fabric.
- Iron and Ironing Board: You’ll need an iron and ironing board to properly press the fabric and remove any wrinkles before attaching the label.
- Embellishments (optional): If you want to add decorative elements to your label, gather any embellishments such as fabric paints, embroidery floss, or buttons.
Having all of these materials on hand will ensure a smooth and efficient labeling process. Now that you have everything ready, let’s dive into the step-by-step guide on how to design and attach the label to your quilt.
Step 1: Designing the Label
The first step in creating a label for your quilt is to design it. Take some time to consider what information you want to include on the label and how you want it to look. Here are a few things to consider:
- Quilt Information: Decide what details you want to include on the label. This may include the quilt’s name, your name or initials, the date it was completed, and any additional information that is meaningful to you.
- Font and Layout: Choose a font that is legible and suits the style of your quilt. Experiment with different fonts and layouts before settling on a final design. Consider whether you want the text to be aligned horizontally or vertically on the label.
- Graphics or Symbols: Think about whether you want to include any graphics or symbols on the label. This could be a small picture or motif that represents the quilt’s theme or a personal symbol that has significance to you.
Once you have a clear idea of how you want your label to look, you can either create a digital design using graphic design software or sketch it out on paper. Make sure to leave enough space for the text and any additional embellishments you may want to add later.
Designing the label allows you to add a personal touch to your quilt and make it truly unique. Once you’re satisfied with the design, you can move on to the next step, which is gathering the necessary supplies.
Step 2: Gathering the Necessary Supplies
Now that you have your label design ready, it’s time to gather the necessary supplies to bring your design to life. Here’s what you’ll need:
- Fabric: Choose a fabric that matches the style and color scheme of your quilt. Make sure it is a durable fabric that can withstand washing and handling.
- Fabric Marker or Pencil: Use a fabric marker or pencil to transfer your design onto the fabric. Make sure the marker or pencil is specific for fabric and won’t wash away easily.
- Scissors: Have a pair of fabric scissors ready to cut out your label neatly.
- Iron and Ironing Board: You’ll need an iron and ironing board to press the fabric and remove any wrinkles before attaching the label.
- Sewing Machine or Needle and Thread: Depending on your preferred method, have either a sewing machine or needle and thread ready for attaching the label to your quilt.
- Embellishments (optional): If you want to add decorative elements to your label, gather any embellishments such as fabric paints, embroidery floss, or buttons.
Make sure you have all the supplies readily available before you start working on your label. This will help you work efficiently and avoid any interruptions during the process.
Once you have gathered all the necessary supplies, you can move on to the next step, which is preparing the fabric for the label.
Step 3: Preparing the Fabric
Before you transfer your label design onto the fabric, it’s important to prepare the fabric to ensure a clean and professional-looking label. Follow these steps to prepare the fabric:
- Wash and Press the Fabric: Start by washing and drying the fabric according to the manufacturer’s instructions. This will help eliminate any residual chemicals and shrinkage. After washing, iron the fabric to ensure it is smooth and free from wrinkles.
- Cut the Fabric to Size: Determine the size of your label based on your design and cut a piece of fabric accordingly. Leave a small border around the design to allow for seam allowance.
- Stabilize the Fabric: If the fabric you’re using is thin or prone to stretching, consider stabilizing it with fusible interfacing or lightweight interfacing. This will provide structure and prevent the fabric from puckering or stretching during the labeling process.
By taking the time to prepare the fabric, you’ll ensure that your label looks neat and professional when it’s attached to your quilt. Once the fabric is prepared, you can move on to the next step, which is transferring the design onto the fabric.
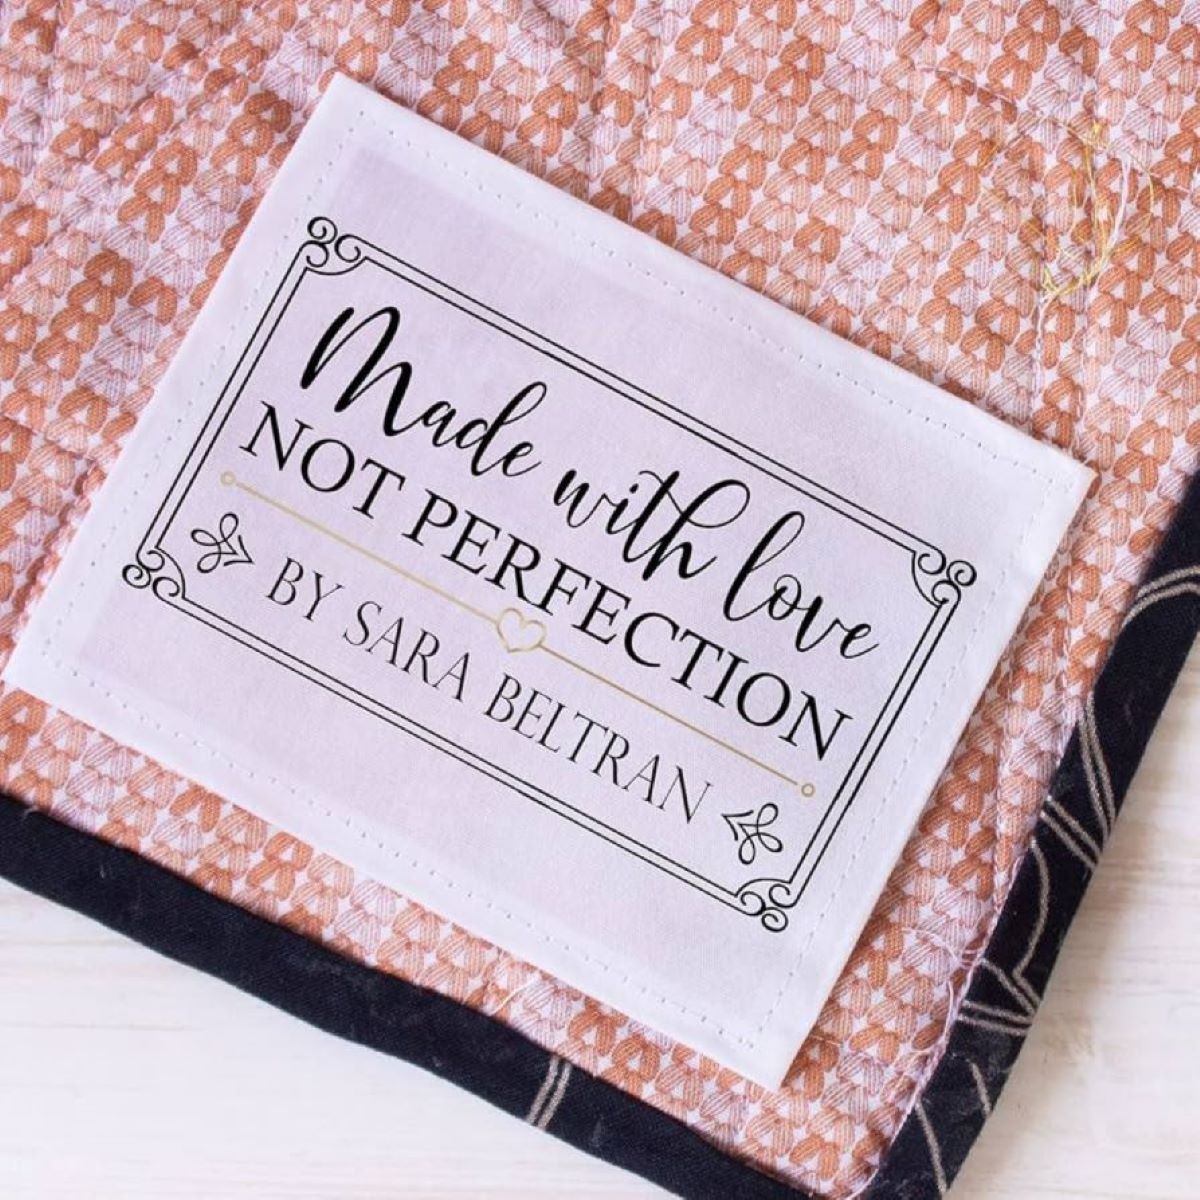
When making a label for a quilt, be sure to include the quilt maker’s name, the date it was made, and any other relevant information such as the quilt’s name or the occasion it was made for. Use a fabric pen or embroidery to ensure the label is durable and long-lasting.
Read more: What To Write On A Quilt Label
Step 4: Transferring the Design onto the Fabric
Now that you have your fabric prepared, it’s time to transfer your label design onto the fabric. Follow these steps to transfer the design:
- Place the Fabric on a Flat Surface: Lay the fabric on a flat surface like a table or cutting mat. Make sure it is smooth and free from any wrinkles.
- Position the Design: Place your label design on top of the fabric and make sure it is centered and aligned to your liking.
- Transfer the Design: Use a fabric marker or pencil to carefully trace the design onto the fabric. Take your time and be gentle to avoid any smudging or mistakes. If you’re using a fabric marker, make sure it is a color that will be visible on the fabric.
- Double Check and Adjust: After tracing the design, double-check to ensure that all the details and letters are accurately transferred onto the fabric. If something is not aligned or clear, you can make adjustments by erasing or retracing the lines.
Once you’ve transferred the design onto the fabric, let it dry for a few minutes to avoid smudging. Take a moment to admire your work and make sure you’re happy with the result. If everything looks good, you’re ready to move on to the next step, which is adding embellishments to the label (if desired).
Step 5: Adding Embellishments (Optional)
If you want to add some extra flair and personalization to your quilt label, this step is where you can get creative with embellishments. Adding embellishments is optional but can enhance the overall aesthetic of your label. Here are some ideas to consider:
- Fabric Paints: Use fabric paints to add color, texture, or highlights to your label. You can paint directly on the fabric within the design or create patterns or borders around the label.
- Embroidery: Consider adding embroidery stitches to your label. You can use embroidery floss to outline the design or add decorative stitches for a unique touch.
- Buttons or Beads: Sewing small buttons or beads onto your label can add dimension and visual interest. You can strategically place them within the design or around the edges for a decorative touch.
- Ribbon or Lace: Adding a strip of ribbon or a delicate lace trim to your label can give it an elegant and charming touch. Simply sew it along the edges or incorporate it as part of the design.
Choose embellishments that align with your quilt’s theme or your personal style. Be mindful not to overcrowd the label or make it too bulky, as it may affect how it lays on the quilt. Remember, the goal is to enhance the design, not overpower it.
Once you’re satisfied with the embellishments, let them dry properly before proceeding to the next step, which is sewing the label onto your quilt.
Step 6: Sewing the Label onto the Quilt
Now that you have your quilt label designed, prepared, and embellished (if desired), it’s time to attach it to your quilt. Follow these steps to securely sew the label onto your quilt:
- Position the Label: Decide where you want to place the label on your quilt. It’s common to position it at one corner, on the back side of the quilt. You can center it or place it in a corner, depending on your preference.
- Pin or Baste the Label: Use straight pins or basting stitches to hold the label in place on the quilt. Make sure it is centered and secure before proceeding to the next step.
- Choose your Sewing Method: Depending on your preference and the look you want to achieve, you can either hand sew the label using a needle and thread or use a sewing machine with a straight stitch.
- Start Sewing: Begin sewing around the edges of the label, leaving a small seam allowance. Make sure to backstitch at the beginning and end to secure the stitches. If you’re using a sewing machine, sew slowly and carefully around the label.
- Trim any Excess Threads: After sewing the label onto the quilt, trim any excess threads for a clean finish.
Take your time when sewing the label to ensure it is securely attached. The stitches should be neat and even. If you’re hand sewing, you can use a slip stitch or a whipstitch to secure the label. If you’re using a sewing machine, adjust the stitch length and tension to ensure a smooth finish.
Once the label is sewn onto the quilt, give it a gentle tug to make sure it is securely attached. Your quilt is now complete with a personalized label!
Now, all that’s left is the final step – the finishing touches!
Step 7: Finishing Touches
Congratulations! Your quilt label is now attached to your beautiful quilt. However, there are a few final touches you can add to make your label even more special:
- Press the Label: After sewing the label onto the quilt, carefully press it with a hot iron to ensure that it lies flat and smooth.
- Sign or Initial the Label: If you haven’t already included your signature or initials in the design, take a moment to sign or initial the label using a permanent fabric marker or embroidery thread. This adds a personal touch and helps to identify you as the creator of the quilt.
- Add Care Instructions: Consider adding care instructions on the label. This can be especially helpful if you’re giving the quilt as a gift. Include details on how to properly care for and wash the quilt.
- Secure the Threads: Check the backside of your quilt to ensure that all the loose threads from sewing the label are securely tied and trimmed. This will give your quilt a polished and professional look.
- Take a Picture: Capture a photo of your quilt with the label proudly displayed. This will serve as a visual record of your creation and allow you to share it with others.
By adding these finishing touches, you’ll ensure that your quilt label is not only informative but also adds a personal and artistic touch to your quilt. It will be a lasting testament to your creativity and hard work.
Now that you have completed all the steps, stand back and admire your quilt. Your personalized label adds an extra layer of meaning and history to your creation. Whether you’re keeping it for yourself or giving it as a gift, your quilt is now complete with a beautiful, custom-made label.
Well done! Enjoy your quilt and the memories it holds.
Frequently Asked Questions about How To Make A Label For A Quilt
Was this page helpful?
At Storables.com, we guarantee accurate and reliable information. Our content, validated by Expert Board Contributors, is crafted following stringent Editorial Policies. We're committed to providing you with well-researched, expert-backed insights for all your informational needs.


0 thoughts on “How To Make A Label For A Quilt”