Articles
How To Crimp Gutters
Modified: October 18, 2024
Learn the step-by-step process of how to crimp gutters with our informative articles. Get expert tips and advice to achieve perfect gutter crimps.
(Many of the links in this article redirect to a specific reviewed product. Your purchase of these products through affiliate links helps to generate commission for Storables.com, at no extra cost. Learn more)
Introduction
Welcome to the world of gutter crimping! Gutters play a crucial role in maintaining the integrity of your home’s structure by channeling rainwater away from the foundation. However, simply installing gutters is not enough. To ensure the optimal performance of your gutters, crimping is a necessary step.
Crimping is the process of bending and securing the gutters together at the seams. This creates a watertight connection that prevents any leaks or water damage. Properly crimped gutters not only protect your home from water infiltration but also enhance the overall aesthetics of your exteriors.
In this article, we will guide you through the step-by-step process of how to crimp gutters like a pro. Whether you are a seasoned DIYer or a beginner looking to tackle their first gutter project, this comprehensive guide will provide you with the knowledge and confidence to get the job done right.
Before we dive into the crimping process, let’s take a quick look at the tools and materials you will need.
Key Takeaways:
- Properly crimped gutters are essential for preventing water damage and enhancing the aesthetics of your home. Follow the step-by-step guide to ensure a secure and watertight gutter system.
- Regular testing and maintenance of your gutters are crucial for efficient water drainage and long-term protection of your home. Stay proactive in keeping your gutters in optimal condition.
Read more: How Far Should Gutters Extend Past The Roof
Necessary Tools and Materials
Before you start crimping your gutters, it’s important to gather all the necessary tools and materials. Here’s a list of what you’ll need:
- Gutter sections – Make sure you have enough gutter sections to cover the desired length. Choose a material that suits your needs, such as aluminum, vinyl, or steel.
- Gutter connectors – These are used to connect the gutter sections together at the seams. They come in various shapes and sizes, so make sure to choose the ones that are compatible with your gutter system.
- Gutter screws or rivets – These are used to secure the gutter connectors to the gutter sections. Opt for corrosion-resistant screws or rivets to ensure durability.
- Gutter crimping tool – This is the essential tool for crimping gutters. There are different types of crimping tools available, such as hand-operated crimpers and power crimpers. Choose one that suits your preference and budget.
- Tape measure – Accurate measurements are crucial for a proper gutter installation. A tape measure will help you measure the lengths of the gutters accurately.
- Hacksaw or tin snips – These tools are used to cut the gutters to the desired lengths. A hacksaw works well for aluminum and steel gutters, while tin snips are suitable for vinyl gutters.
- Pencil or marker – Use a pencil or marker to mark the measurements on the gutters before cutting or crimping them.
- Safety goggles and gloves – It’s essential to protect your eyes and hands while working with tools and materials.
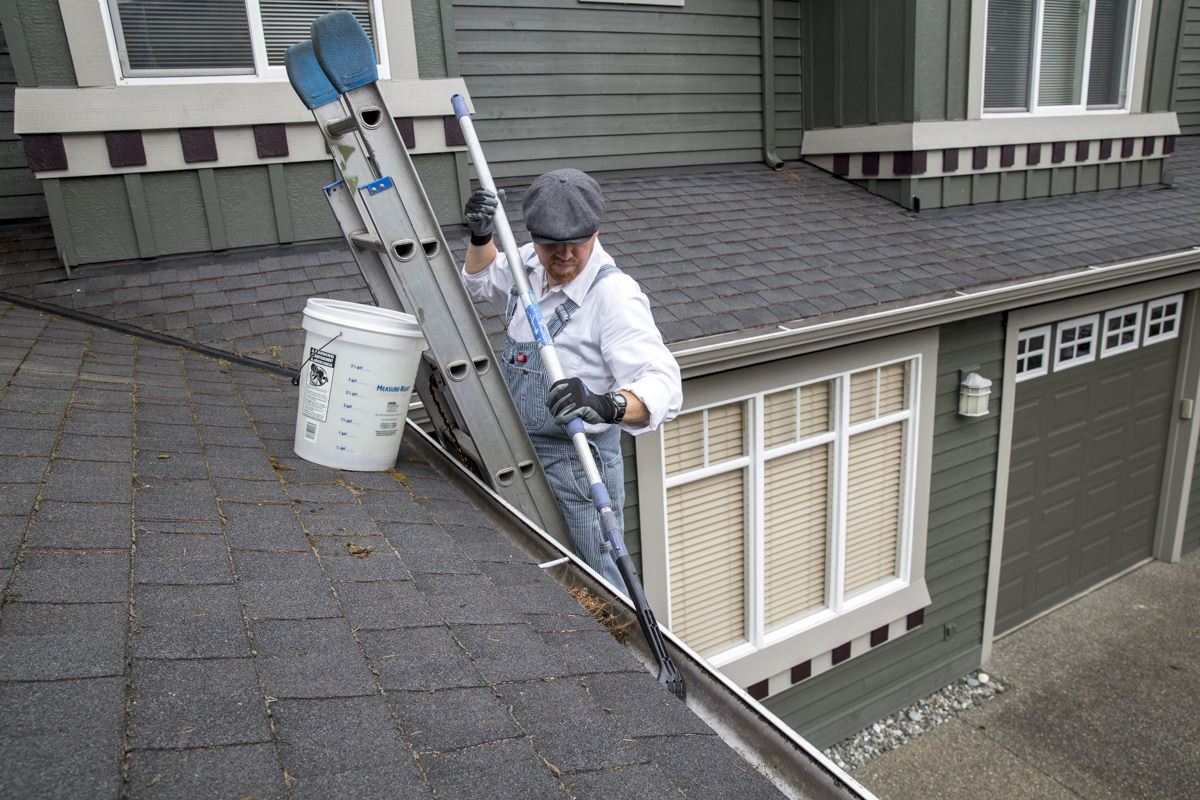
- Ladder or scaffolding – Depending on the height of your gutters, you may need a ladder or scaffolding to access and work on them safely.
Once you have gathered all the necessary tools and materials, you are ready to move on to the next step: measuring and marking the gutter lengths.
Step 1: Measure and Mark the Gutter Lengths
The first step in the gutter crimping process is to measure and mark the gutter lengths. Accurate measurements are essential to ensure a proper fit and seamless installation. Here’s how to do it:
- Start by positioning yourself at the beginning of the gutter run. Use a tape measure to measure the length of the area where the gutter will be installed.
- Take note of any angles or corners in the gutter run. These areas will require additional measurements and adjustments.
- Using a pencil or marker, mark the measured length on the gutter section. Make sure to mark both ends of the gutter for precise cutting and crimping.
- If you have any corners or angles in the gutter run, measure the distance from the end of the gutter section to the angle or corner. Mark this measurement on the gutter section as well.
- Repeat this process for each gutter section in the run, making sure to mark the measurements accurately.
It’s important to allow some overlap between the gutter sections to ensure a secure and watertight connection. Typically, a 1-inch overlap is sufficient, but check the manufacturer’s instructions for specific recommendations.
Once you have measured and marked all the gutter lengths, you are ready to move on to the next step: cutting the gutters to size.
Step 2: Cut the Gutters to Size
After measuring and marking the gutter lengths, the next step is to cut the gutters to the desired sizes. Properly sized gutters ensure a seamless and professional-looking installation. Follow these steps to cut your gutters accurately:
- Using a hacksaw or tin snips, place the gutter section on a stable surface.
- Align the marked measurement on the gutter with the edge of the surface.
- If using a hacksaw, firmly hold the gutter section in place with one hand and saw through the marked line with the other hand. Apply steady and even pressure to ensure a clean cut.
- If using tin snips, insert the blades into the marked line and use long, smooth cuts to trim the gutter section to the desired length.
- Repeat this process for each marked measurement on the gutter sections.
Ensure that your cuts are straight and clean to ensure a proper fit when crimping and connecting the gutters. If needed, use a file or sandpaper to smooth any rough edges or burrs.
It’s always a good idea to double-check your measurements before cutting to avoid any mistakes. Remember, it’s easier to trim a gutter section that is slightly too long than to replace one that is too short.
Now that you have cut the gutters to size, you are ready to move on to the next step: prepping the gutters for crimping.
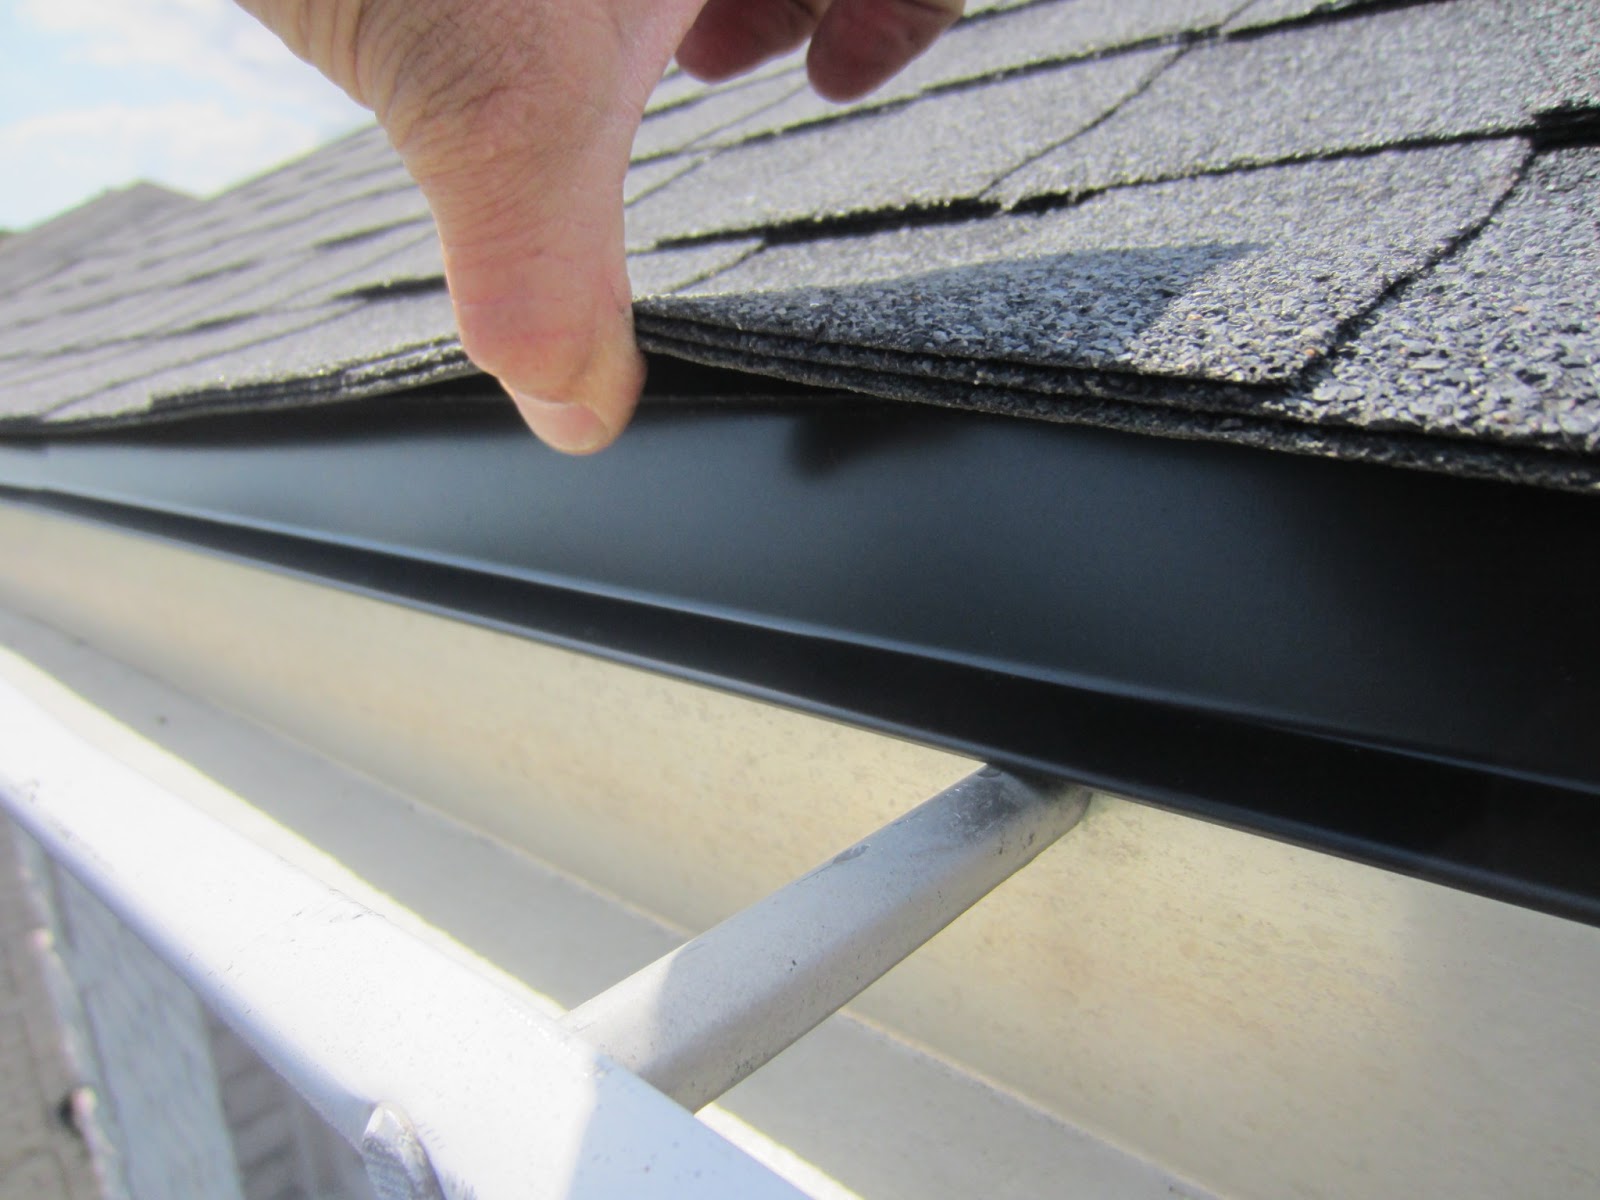
Step 3: Prepping the Gutters for Crimping
Before you begin crimping the gutters, it’s important to properly prep them to ensure a successful crimping process. This step involves cleaning, aligning, and shaping the gutter sections for optimal results. Here’s how to prep the gutters for crimping:
- Inspect the gutter sections for any dirt, debris, or corrosion. Use a brush or a cloth to clean the surfaces thoroughly.
- Check the alignment of the gutter sections. They should be straight and even to ensure a seamless connection. If any sections appear misaligned or bent, gently reshape them using your hands or a mallet.
- Ensure that the edges of the gutter sections are smooth and free from burrs or roughness. Use a file or sandpaper to smoothen any rough edges.
- Inspect the inside of the gutter sections for any obstructions, such as leaves or debris. Clean out any debris to ensure proper water flow.
- Double-check the measurements and markings on the gutter sections to ensure accuracy. If any markings have faded or become unclear during the preparation process, remark them to prevent any confusion during crimping.
- If using a sectional gutter system, ensure that the gutter connectors are clean and in good condition. Replace any damaged connectors before proceeding with crimping.
By properly prepping the gutters, you ensure that the crimping process goes smoothly and results in a secure and tight seam. Taking the time to clean, align, and shape the gutter sections will help prevent any issues during installation and promote better drainage.
Now that the gutters are prepped and ready, let’s move on to the main event: crimping the gutters!
When crimping gutters, make sure to use a high-quality crimping tool to ensure a tight and secure connection. Properly crimped gutters will prevent leaks and ensure the longevity of your gutter system.
Read more: How To Pitch Gutters
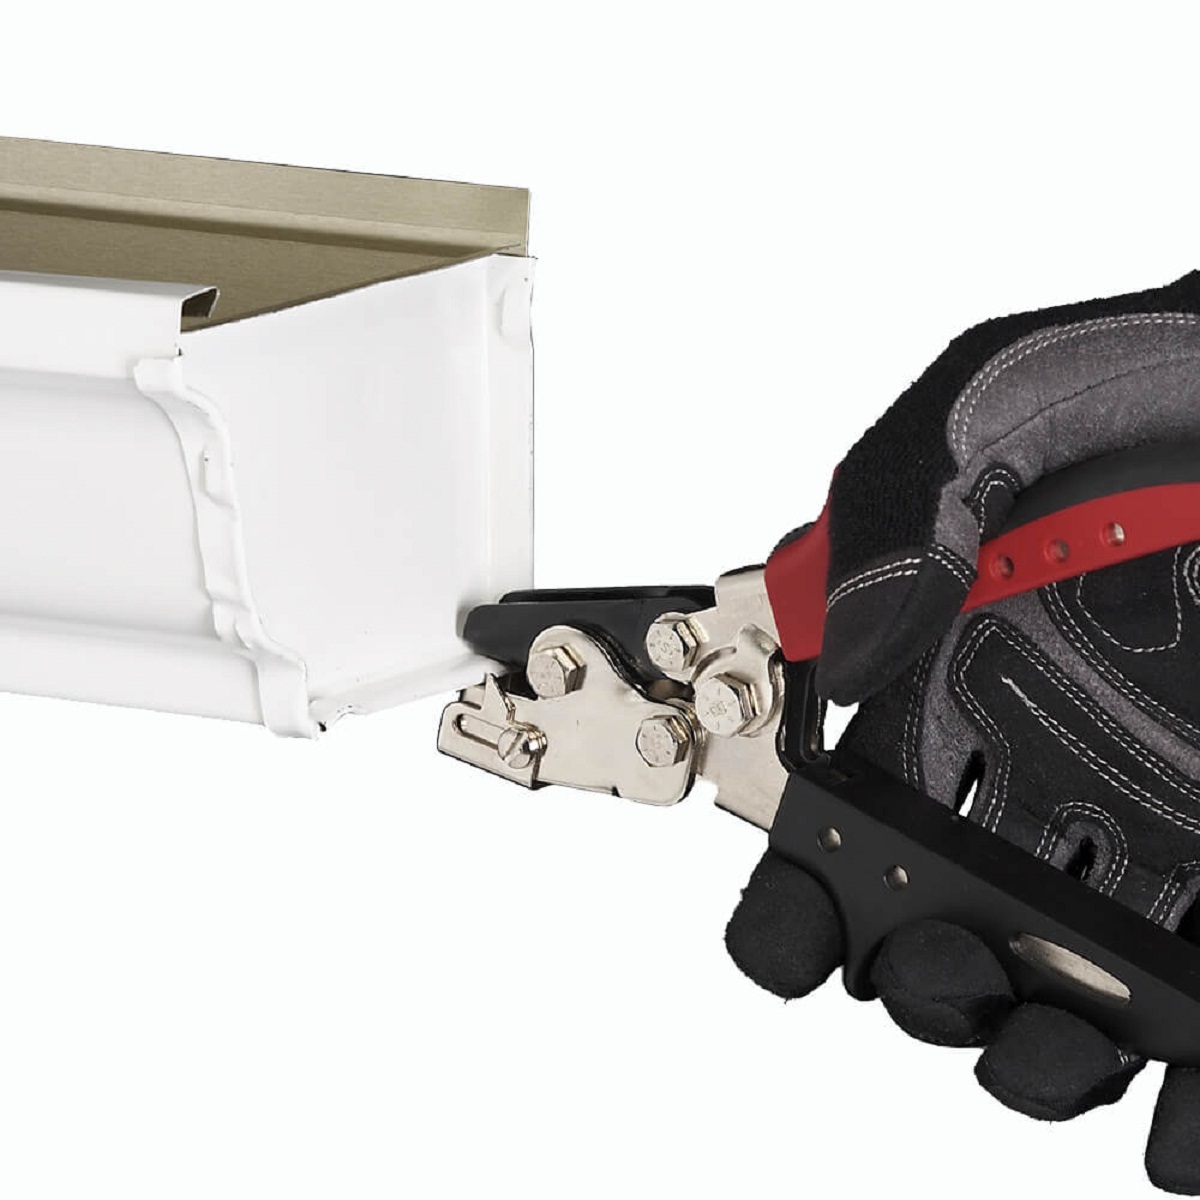
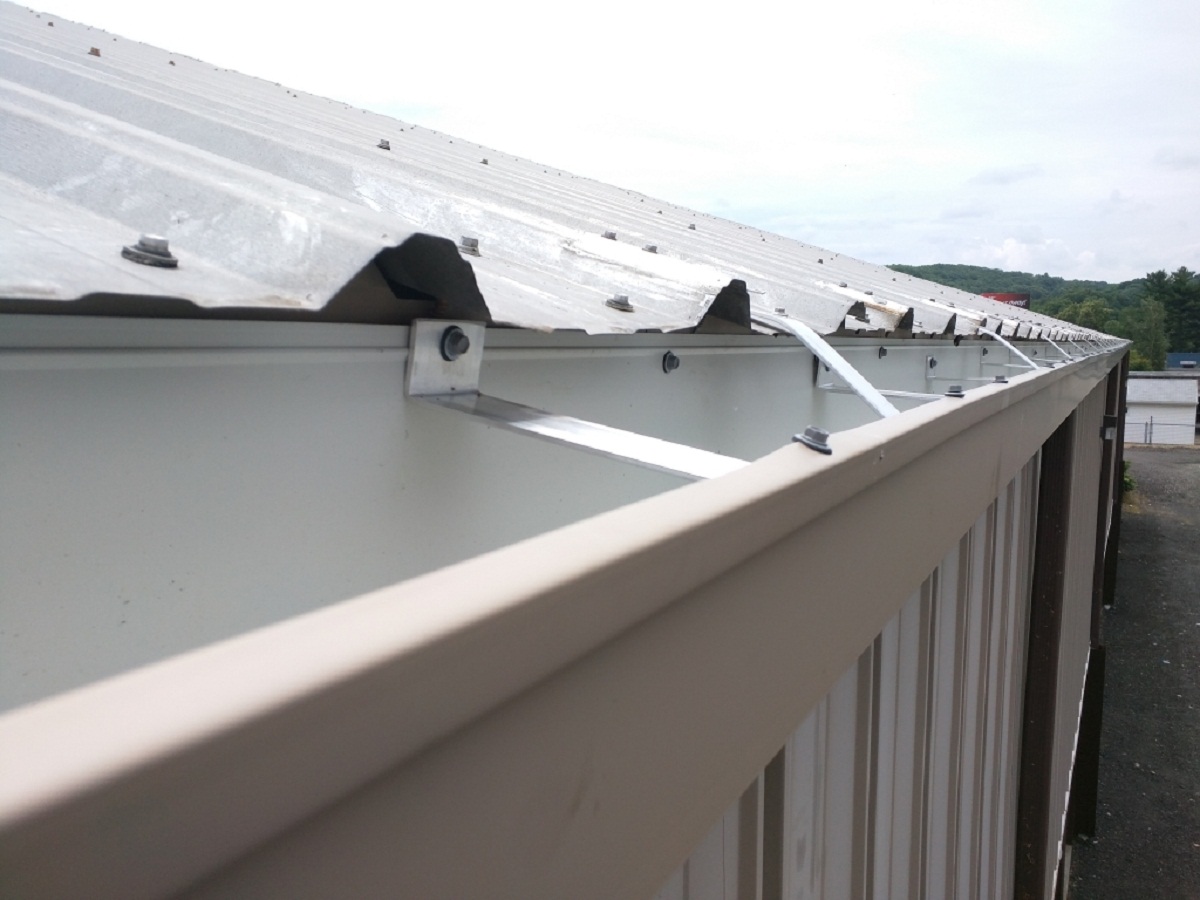
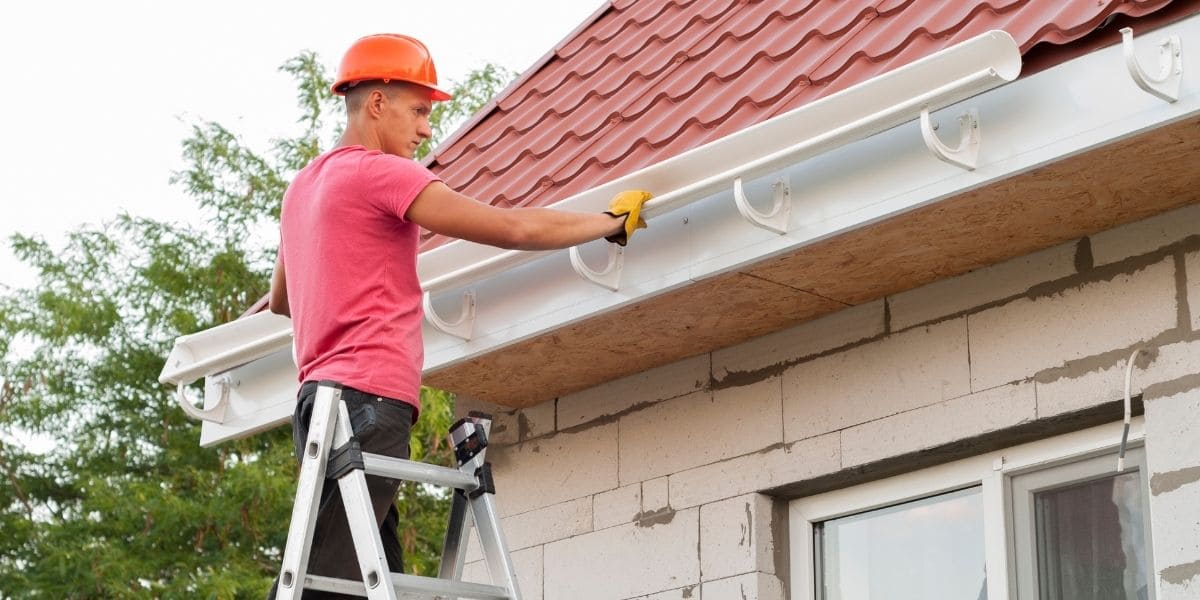
Step 4: Crimping the Gutters
Now it’s time for the main event – crimping the gutters! This step involves using a gutter crimping tool to create a secure and watertight connection between the gutter sections. Follow these steps to crimp the gutters:
- Position yourself at one end of the gutter run, with the first gutter section in front of you.
- Hold the crimping tool in one hand and place the jaws of the tool over the edge of the gutter section where the crimp will be made. Make sure the jaws are aligned with the seam between the gutter and the gutter connector.
- Apply firm and even pressure on the crimping tool to create the crimp. The tool will bend the edges of the gutter and the gutter connector together, forming a secure connection.
- Repeat this process at regular intervals along the length of the gutter section, typically every 12 to 18 inches. This will ensure that the gutters are securely joined together.
- Move on to the next gutter section and repeat the crimping process. Ensure that the crimps overlap with the previous section’s crimps to create a continuous and watertight seam.
- If using a sectional gutter system, insert the gutter connectors into the pre-crimped edges of the gutter sections. Use the crimping tool to secure the connectors in place by creating crimps on both sides of the connector.
As you crimp the gutters, periodically check the alignment and tightness of the connection. Make any necessary adjustments and ensure that the gutters are straight and level.
Remember to follow the manufacturer’s instructions for using your specific crimping tool. Different tools may have slight variations in operation, so it’s important to familiarize yourself with the tool before starting the crimping process.
Congratulations! You have successfully crimped the gutters, creating a secure and watertight connection. Now, it’s time to move on to the next step: connecting and securing the gutters.
Step 5: Connecting and Securing the Gutters
With the gutters crimped and the connections in place, it’s time to move on to connecting and securing the gutters. This step ensures that the gutters are properly joined together and will stay in place during heavy rainfall and strong winds. Follow these steps to connect and secure the gutters:
- If using a sectional gutter system, align the pre-crimped edges of the gutter sections with the gutter connectors. Make sure they fit snugly together.
- Insert gutter screws or rivets through the holes in the gutter connectors and into the gutter sections. Use a drill or a rivet gun to secure them in place. Space the screws or rivets evenly along the length of the connection.
- If using a seamless gutter system, align the pre-crimped edges of the gutters and use a gutter sealing compound or silicone sealant to seal the connection. Apply the sealant to the inside of the gutter section along the seam and press the edges together firmly.
- Double-check the alignment and tightness of the connections. Make any adjustments as needed to ensure a secure and proper fit.
- Repeat this process for each connection along the gutter run, ensuring that all gutters are securely joined together.
- Once all the connections are secure, inspect the entire gutter system for any gaps or areas that may need additional sealing. Apply a waterproof sealant to any potential areas of water leakage.
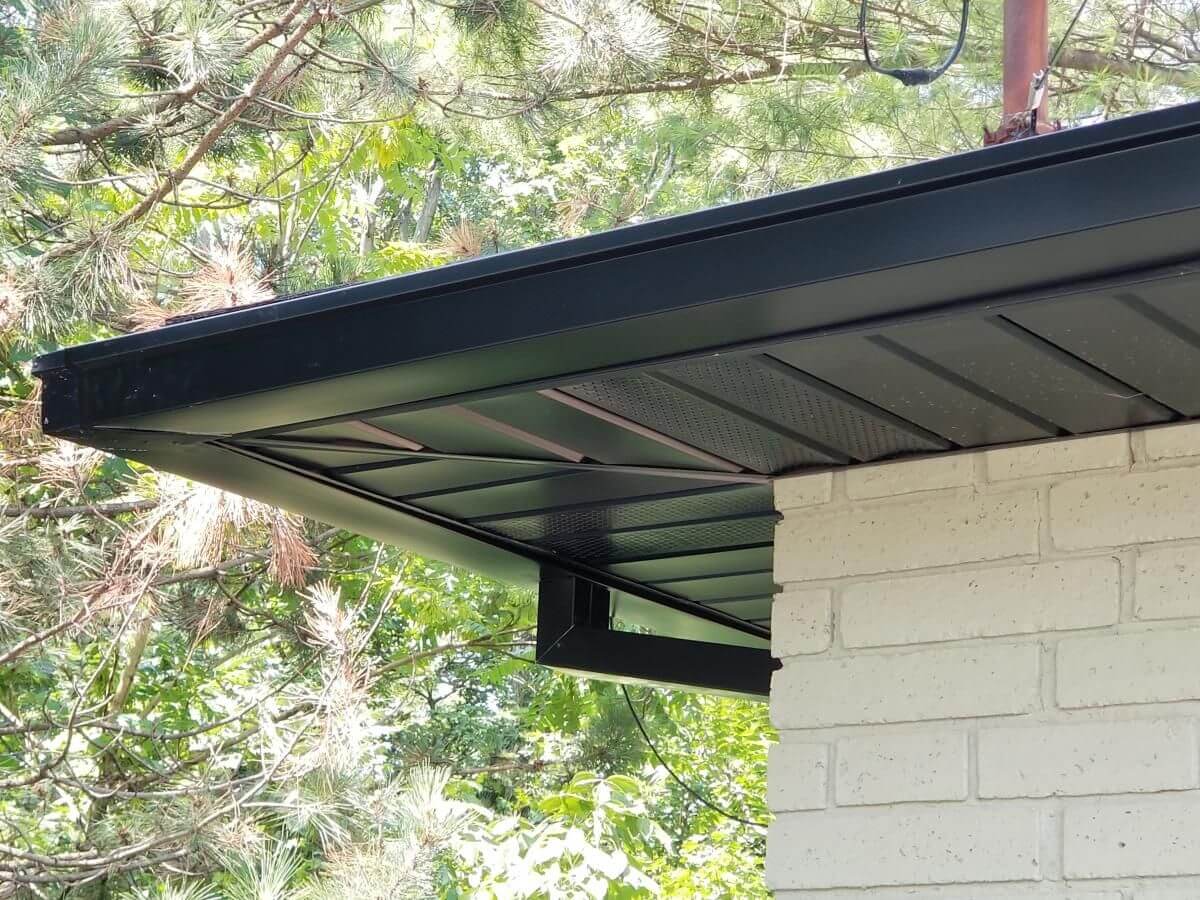
Additionally, consider installing gutter hangers or brackets to provide extra support and stability to the gutter system. These will help prevent sagging and ensure proper water flow.
By connecting and securing the gutters properly, you ensure that they stay in place and function effectively in diverting rainwater away from your home. Now, the final step: testing for proper drainage.
Step 6: Testing for Proper Drainage
After completing the installation and securing of your gutters, it’s crucial to test them to ensure proper drainage. This step will validate that the gutters effectively channel water away from your home, preventing any potential water damage. Here’s how to test for proper drainage:
- Observe the gutters during a rainfall. Check if the water flows smoothly through the gutters without any overflow or blockages.
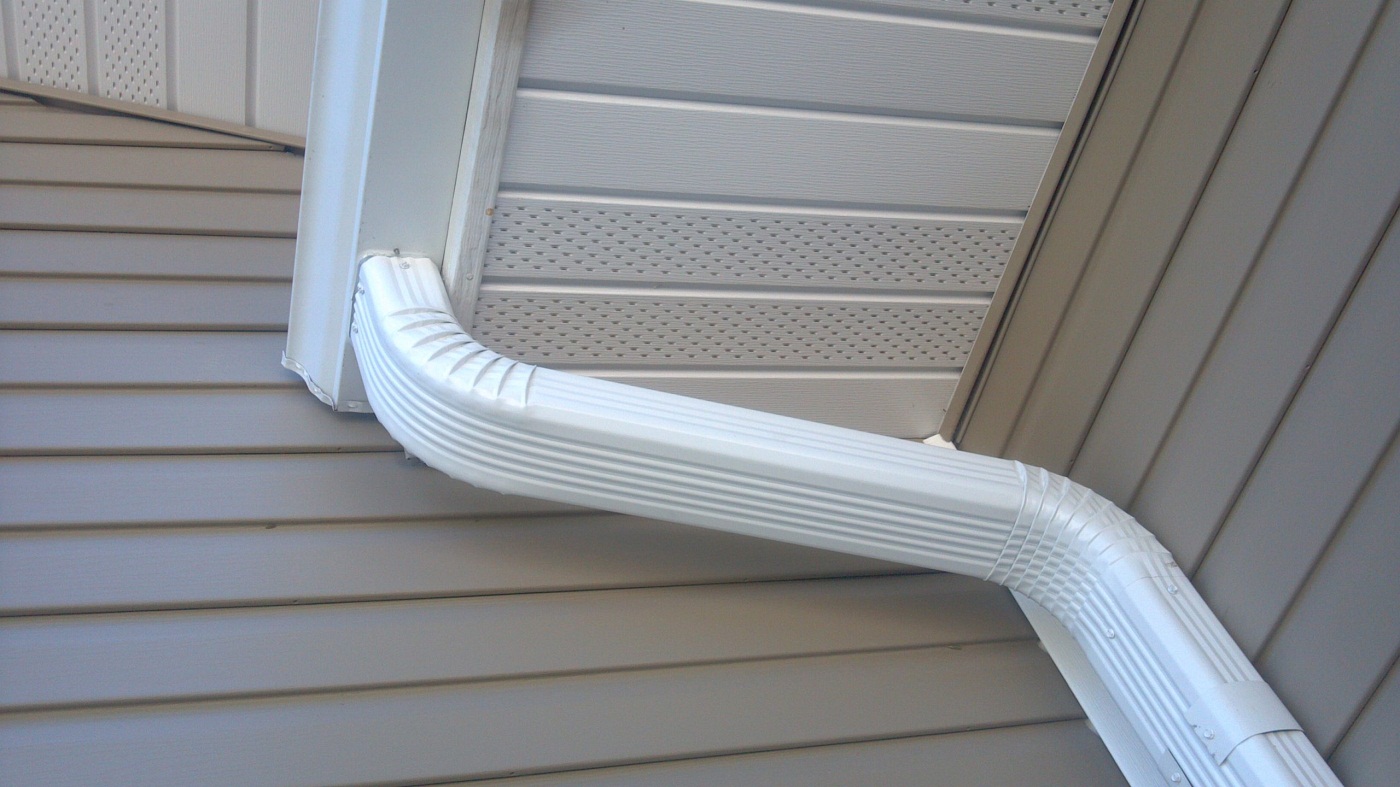
- Inspect the downspouts to ensure that water is being directed away from the foundation of your home. Look for any signs of water pooling or irregular flow.
- Walk around your home and inspect the ground near the downspouts. Make sure there are no areas of standing water or excessive moisture.
- If you notice any issues during the testing, such as overflowing gutters or inadequate drainage, troubleshoot the problem. It could be due to a clogged downspout, improper gutter slope, or other factors. Make the necessary adjustments or seek professional assistance to rectify the issue.
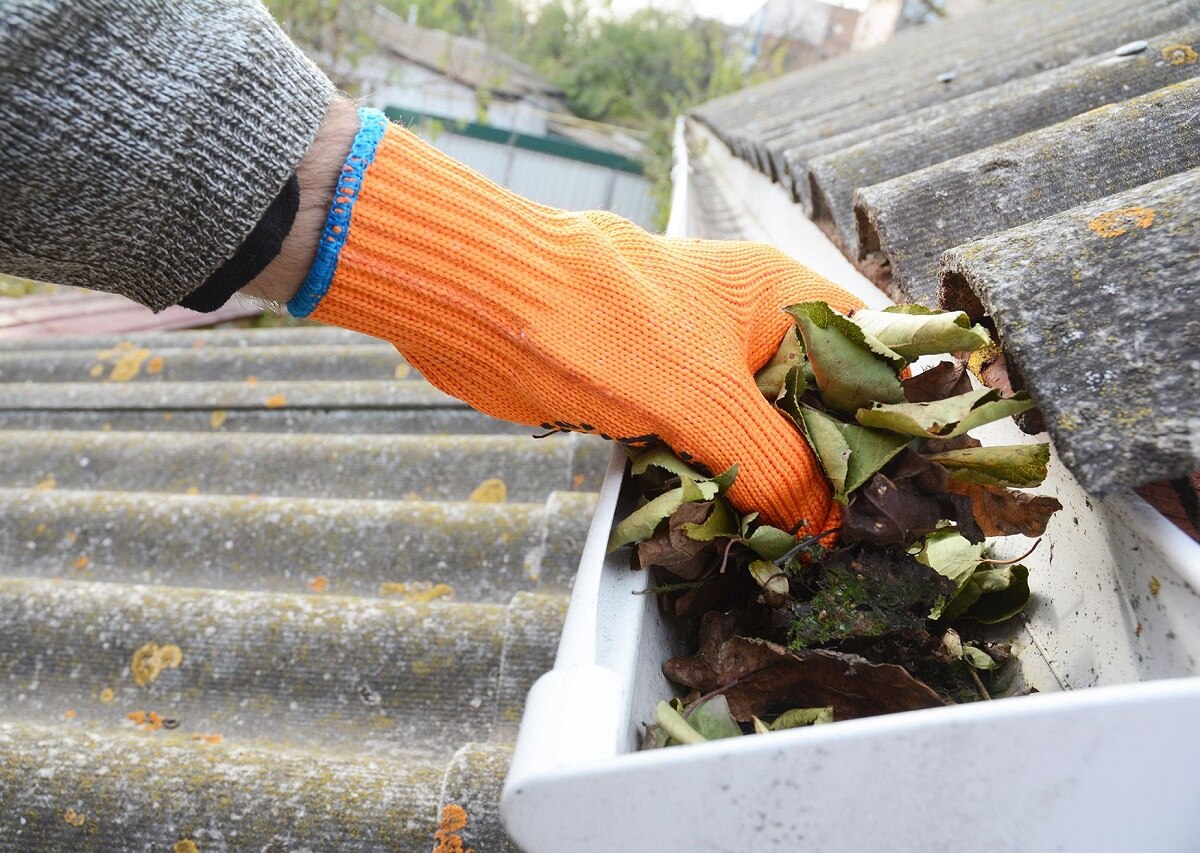
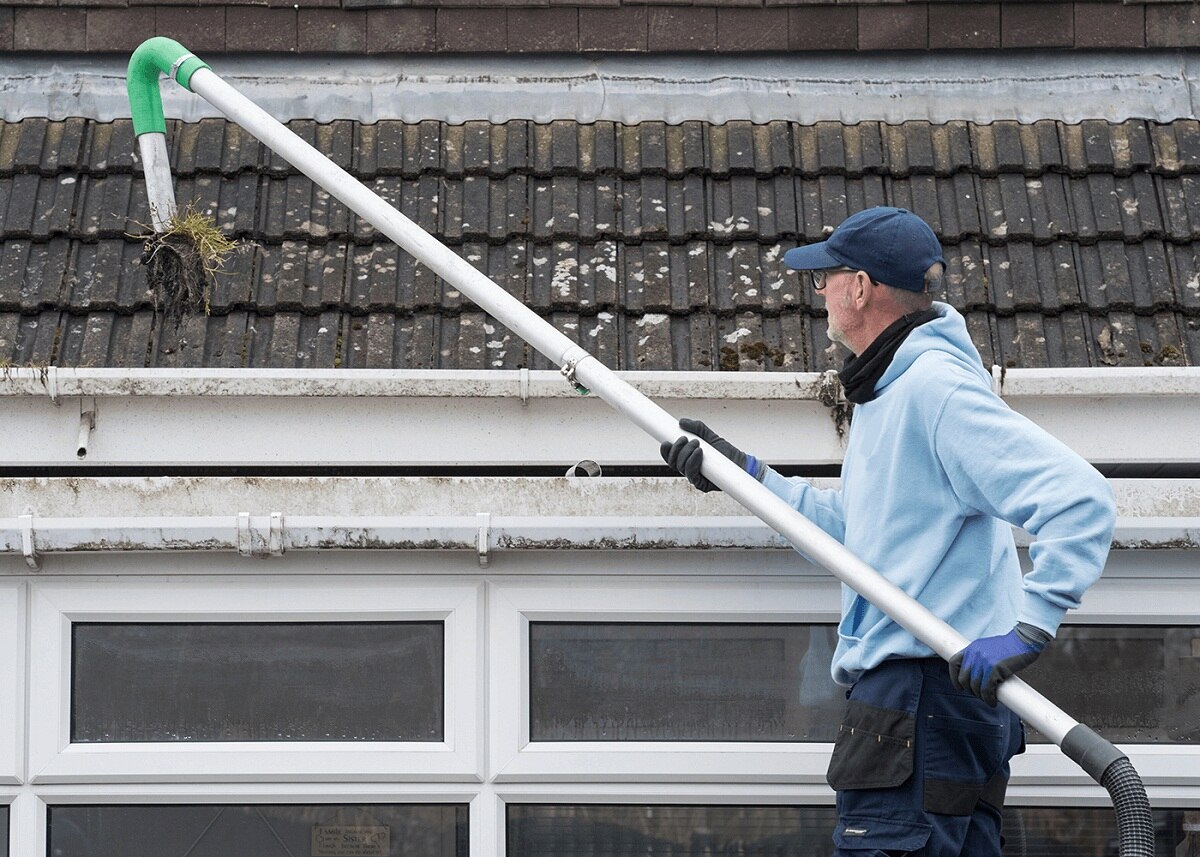
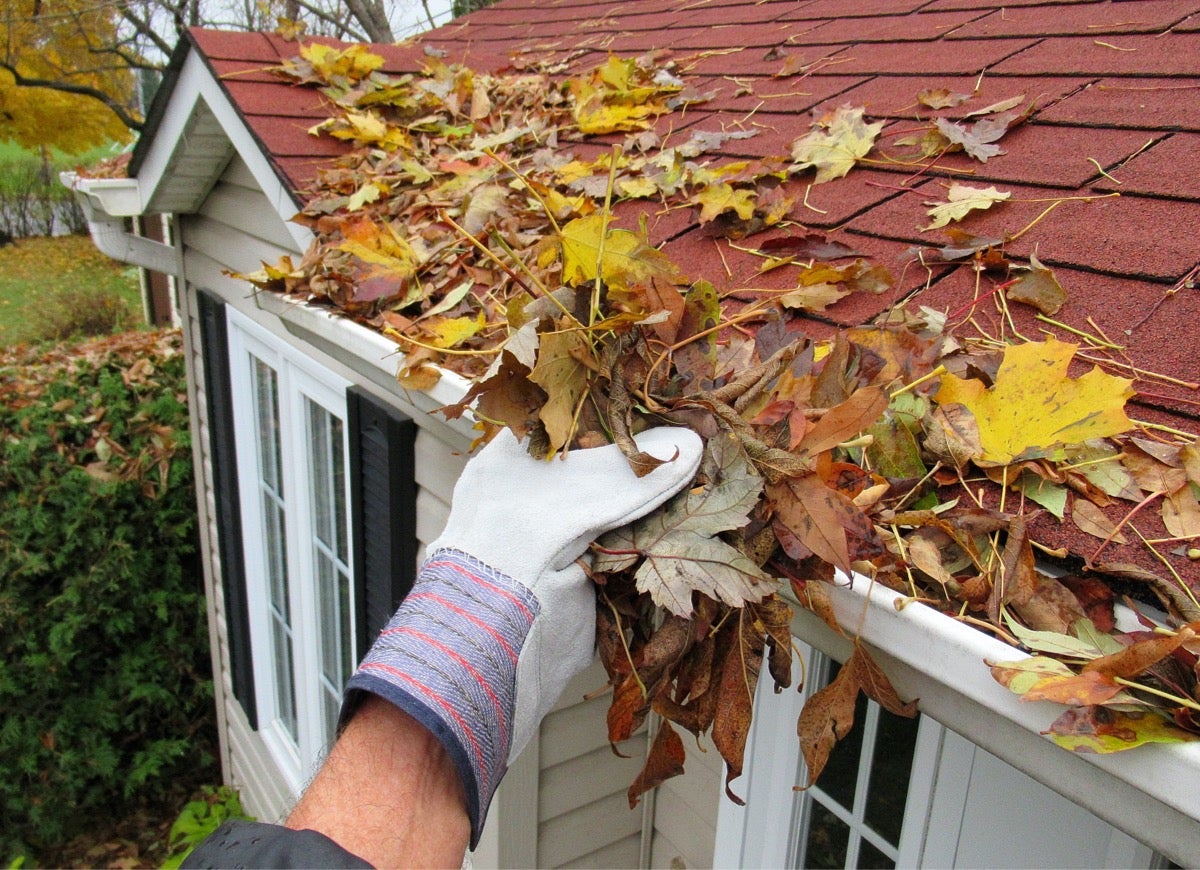
- Perform periodic maintenance on your gutters to ensure their continued functionality. Clear any debris or leaves that may accumulate in the gutters and downspouts, as this can hinder proper water flow.
Regularly testing and maintaining your gutters will help you catch and resolve any issues early on, preventing potential damage to your home’s foundation or landscaping. It’s essential to keep an eye on your gutters, especially during heavy rains or storms.
Congratulations! By following all the steps in this guide, you have successfully crimped and installed your gutters, ensuring efficient water drainage from your roof. Properly installed and maintained gutters will protect your home and foundation for years to come.
Remember to consult the manufacturer’s instructions and guidelines specific to your gutter system for any additional recommendations or considerations.
Thank you for using this comprehensive guide. Happy gutter crimping!
Conclusion
Crimping gutters is an essential step in ensuring the durability, functionality, and aesthetic appeal of your gutter system. By properly crimping the gutters, you create secure connections that prevent leaks and water damage, giving you peace of mind during heavy rainfall.
In this guide, we have walked you through the step-by-step process of how to crimp gutters effectively. We started with measuring and marking the gutter lengths, followed by cutting the gutters to size. We then prepped the gutters for crimping, ensuring they were clean, aligned, and in proper shape. Next, we covered the crimping process itself, using the right tools and techniques to create secure and watertight seams. We then moved on to connecting and securing the gutters, adding screws, rivets, or sealant to ensure a stable and leak-free gutter system. Finally, we emphasized the importance of testing for proper drainage and performing regular maintenance to keep your gutters in optimal condition.
Remember, an effectively crimped and installed gutter system not only protects your home from water damage but also enhances its overall appearance. By following the steps outlined in this guide and implementing proper maintenance practices, you can enjoy the benefits of a well-functioning gutter system for years to come.
We hope this guide has provided you with the knowledge and confidence to tackle your gutter crimping project. Should you encounter any challenges or feel unsure about any step, don’t hesitate to seek professional assistance. Your home and foundation deserve the best protection, and properly crimped gutters play a crucial role in achieving that.
Thank you for joining us on this gutter crimping journey. Happy crimping, and may your gutters flow smoothly, rain or shine!
Frequently Asked Questions about How To Crimp Gutters
Was this page helpful?
At Storables.com, we guarantee accurate and reliable information. Our content, validated by Expert Board Contributors, is crafted following stringent Editorial Policies. We're committed to providing you with well-researched, expert-backed insights for all your informational needs.

0 thoughts on “How To Crimp Gutters”