Articles
How To Attach Gutters Together
Modified: October 19, 2024
Learn how to properly attach gutters together with step-by-step instructions in this informative article. Discover effective techniques and tips to ensure a secure and leak-free gutter system.
(Many of the links in this article redirect to a specific reviewed product. Your purchase of these products through affiliate links helps to generate commission for Storables.com, at no extra cost. Learn more)
Introduction
Gutters are an essential part of any home’s drainage system as they help to redirect rainwater away from the foundation and prevent water damage. However, there may come a time when you need to attach gutters together, either during installation or as part of a repair or maintenance project.
Whether you’re a DIY enthusiast or a homeowner looking to tackle this task yourself, this article will guide you through the process of attaching gutters together. By following these steps, you can ensure a proper and secure connection that will effectively channel water and protect your home.
Before we dive into the nitty-gritty details, let’s take a look at the different types of gutters available and the tools and materials you’ll need for this project.
Key Takeaways:
- Properly measuring, cutting, and connecting gutters with sealant, screws, and downspouts is crucial for effective water diversion and home protection. Regular maintenance ensures long-term functionality and structural integrity.
- Prioritize safety and proper equipment when attaching gutters. Regular maintenance and inspection are essential for long-term effectiveness. Ensure proper water flow and address any issues promptly.
Read more: How To Splice Gutters Together
Types of Gutters
When it comes to gutters, there are several types to choose from, each with its own unique features and benefits. Understanding the different types of gutters available will help you make an informed decision when selecting the best option for your home.
- Sectional Gutters: Sectional gutters are made up of individual pieces that are joined together to create a continuous gutter system. They are typically made of aluminum, vinyl, or steel and are available in various lengths and styles. Sectional gutters are relatively easy to install and are a popular choice for DIY projects.
- Seamless Gutters: Seamless gutters are made from a single piece of material that is custom-cut to fit the length of your roofline. The absence of seams reduces the risk of leaks and improves the overall durability of the gutter system. Seamless gutters are usually made of aluminum and require professional installation.
- Half-Round Gutters: Half-round gutters have a rounded shape instead of the traditional rectangular shape. They are often made of aluminum or copper and provide a classic, elegant look to homes. Half-round gutters require special hangers and brackets for installation.
- Box Gutters: Box gutters, also known as square gutters, have a box-like shape with one open side. They are commonly used on commercial buildings or larger residential properties. Box gutters require professional installation due to their complex design.
- Vinyl Gutters: Vinyl gutters are lightweight and affordable, making them a popular choice for budget-conscious homeowners. They are easy to install and require minimal maintenance. However, it’s important to note that vinyl gutters may not be as durable as other materials and may fade or become brittle over time.
Each type of gutter has its own advantages and disadvantages, so consider factors such as your budget, the climate in your area, and the architectural style of your home when choosing the right gutter type.
Tools and Materials Needed
Before you begin attaching gutters together, it’s important to gather all the necessary tools and materials. Having everything on hand will help streamline the process and ensure a successful installation. Here is a list of the tools and materials you will need:
- Tape Measure: A tape measure will be essential for accurately measuring the length of gutters and downspouts.
- Hacksaw or Tin Snips: You will need a hacksaw or tin snips to cut the gutters and downspouts to the correct size.
- Screws or Rivets: Screws or rivets are used to securely attach the gutters and downspouts together. Choose ones made of stainless steel or galvanized steel for durability.
- Drill: A drill with the appropriate drill bits will be needed to create pilot holes for screws or rivets.
- Gutter Connectors: Gutter connectors are used to join sections of gutter together. They come in various shapes and sizes, so choose connectors that are compatible with your gutter type.
- Miter or Striping Tool: If you need to connect gutters at corners or angles, a miter or striping tool will help create precise and secure connections.
- Sealant: A high-quality gutter sealant is essential for preventing leaks at the joints. Look for a sealant that is specifically designed for gutter installation.
- Ladder: A sturdy ladder will be needed to access the gutters and safely work at heights. Make sure the ladder is in good condition and placed on a stable surface.
- Gloves and Safety Glasses: It’s important to protect your hands and eyes while working on gutter installations. Wear gloves and safety glasses to avoid injuries.
By having these tools and materials ready before you start the project, you can ensure a smooth and efficient installation process. Make sure to double-check that you have everything you need to avoid any delays or interruptions during the gutter attachment process.
Step 1: Measure and Mark
Before attaching gutters together, it’s crucial to accurately measure and mark where the connections will be made. This step ensures that the gutters will align correctly and provide optimal water flow. Here’s how to measure and mark the gutters:
- Measure the Length: Begin by measuring the length of the gutter section where you will be making the connection. Use a tape measure to get an accurate measurement. Make a note of the length for reference.
- Mark the Connection Points: Once you have the measurement, mark the connection points on both gutter sections. To do this, place the gutters in the desired position and use a pencil or marker to make a small mark at the ends where they will join together.
- Consider the Slope: Take into account the slope of the gutter when marking the connection points. Gutters should have a slight downward slope to ensure proper water flow towards the downspout. Make sure the connection points are aligned with the slope to maintain the correct pitch.
- Mark the Downspout Placement: If you are attaching gutters to a downspout, mark the location where the downspout will be installed. This will help you accurately cut the hole for the downspout later on.
- Double-Check the Measurements: Before moving on to the next step, double-check your measurements to ensure accuracy. It’s better to catch any mistakes now rather than having to make adjustments later in the installation process.
Taking the time to measure and mark the gutters correctly will ensure a proper fit and alignment when attaching them together. Accurate measurements are crucial for maintaining the functionality and effectiveness of your gutter system in diverting water away from your home’s foundation.
Step 2: Cut Downspout Openings
If you are attaching gutters to a downspout, you will need to cut openings in the gutter sections to accommodate the downspout. This step allows for proper water flow and directs water away from your home’s foundation. Here’s how to cut downspout openings:
- Measure and Mark: Start by measuring the diameter of the downspout. Use a tape measure to determine the exact size. Then, mark the center of the downspout opening on the gutter section using a pencil or marker.
- Create a Starter Hole: With a drill and an appropriate drill bit, create a starter hole at the marked center point on the gutter section. Make sure the drill bit’s size matches the diameter of the starter hole you need for the downspout.
- Use Tin Snips or a Hacksaw: Now, using tin snips or a hacksaw, carefully cut along the marked line to create the downspout opening. Take your time and cut slowly to ensure a neat and precise cut. Smooth any rough edges with sandpaper or a file.
- Check the Fit: After cutting the downspout opening, check the fit by placing the downspout into the opening. Make any adjustments if needed to ensure a snug and secure fit.
- Repeat for Other Gutter Sections: If you need to attach multiple gutter sections to the downspout, repeat the same process of measuring, marking, and cutting the downspout openings for each section.
- Note: If you are using a downspout connector, follow the specific instructions provided with the connector. Some connectors may require different steps for attaching the downspout to the gutters.
By properly cutting the downspout openings in the gutter sections, you will ensure that water flows smoothly through the gutters and is directed away from your home. Take your time during this step to ensure accuracy and precision in creating the openings for a seamless installation.
Read more: How To Attach Picture Frames Together
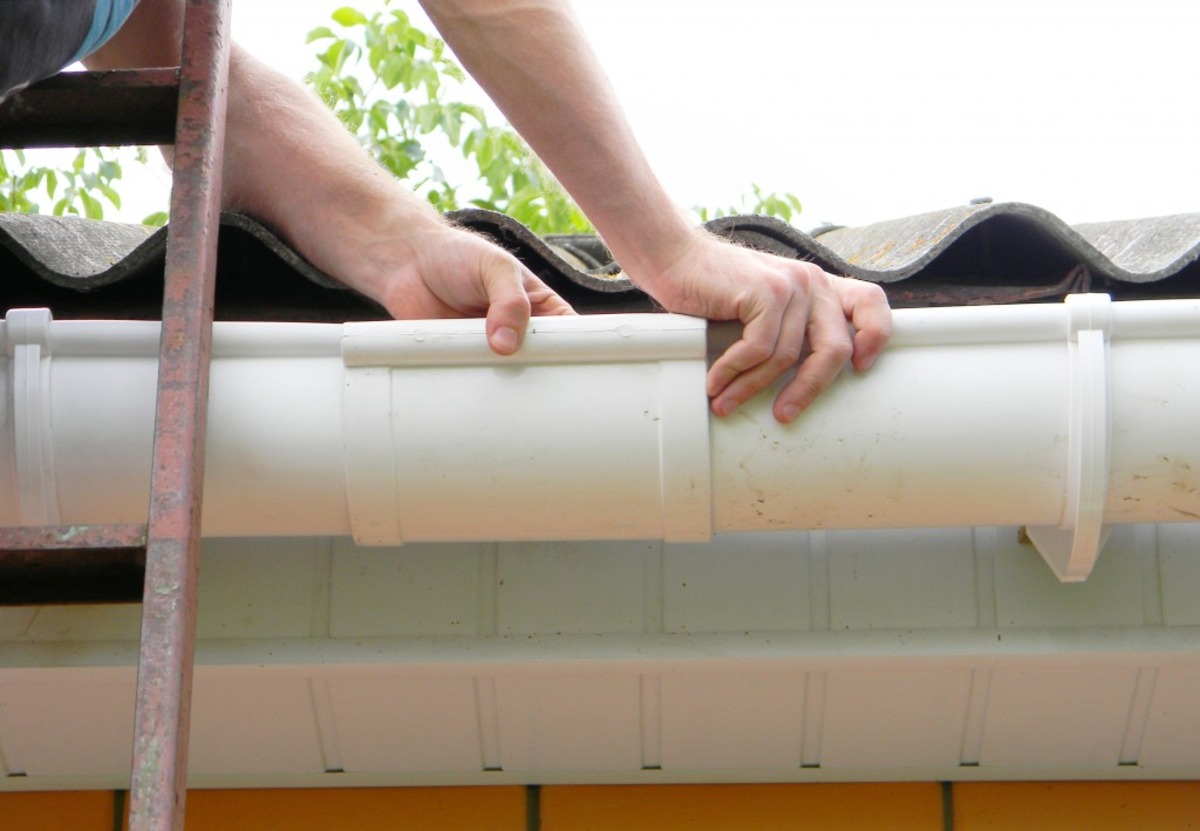
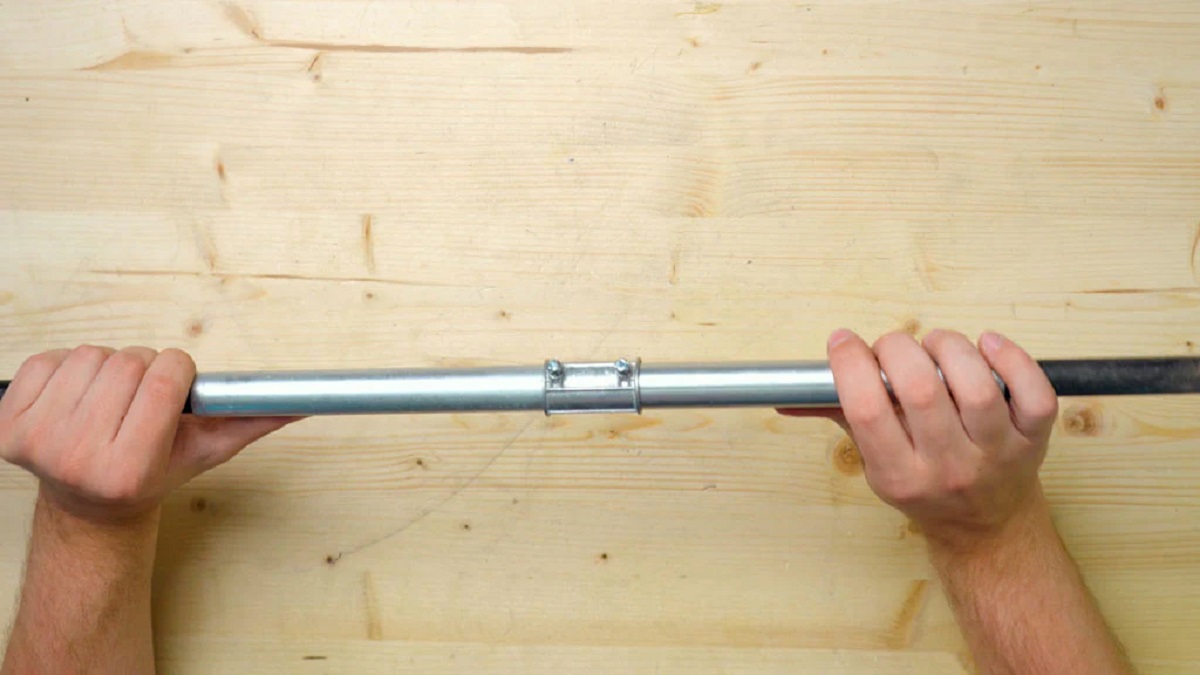
Step 3: Attach Gutters with Connectors
Now that you have measured, marked, and cut the necessary openings in the gutter sections, it’s time to attach the gutters together using connectors. These connectors will form a secure and watertight bond between the sections. Follow these steps to attach the gutters:
- Apply Sealant: Before connecting the gutter sections, apply a generous amount of gutter sealant to the inside of the connectors. This will help create a waterproof seal and prevent leaks. Make sure to spread the sealant evenly and cover the entire inner surface of the connectors.
- Insert the Connectors: Take the first gutter section and insert one end into the connector. Push the section all the way into the connector until it forms a tight fit. Repeat this process for the other end of the section, using a connector that matches the type and size of your gutters.
- Align the Gutters: Once both ends of the first gutter section are securely inserted into the connectors, align the section with the next gutter section. Ensure that the connection points match up and that the gutters are in the desired position.
- Connect the Sections: With the gutters properly aligned, push the second gutter section into the connectors, joining it with the first section. Apply gentle pressure to ensure a snug fit. Double-check that the gutters are securely connected and that there are no gaps between the sections.
- Repeat for Additional Sections: If you have more gutter sections to attach, repeat the process of applying sealant, inserting connectors, aligning, and connecting the sections until all the gutters are joined together.
- Check for Proper Alignment: After connecting the gutter sections, inspect the alignment to ensure that the gutters are straight and level. Adjust as necessary by gently twisting or repositioning the sections. Proper alignment will promote efficient water flow and prevent standing water in the gutters.
Attaching gutters with connectors is a crucial step in creating a functional and secure gutter system for your home. Take your time to ensure that the connections are properly sealed and that the gutters are aligned correctly for optimal performance.
When attaching gutters together, make sure to use the correct size and type of connectors for a secure and leak-free connection. It’s important to follow the manufacturer’s instructions for proper installation.
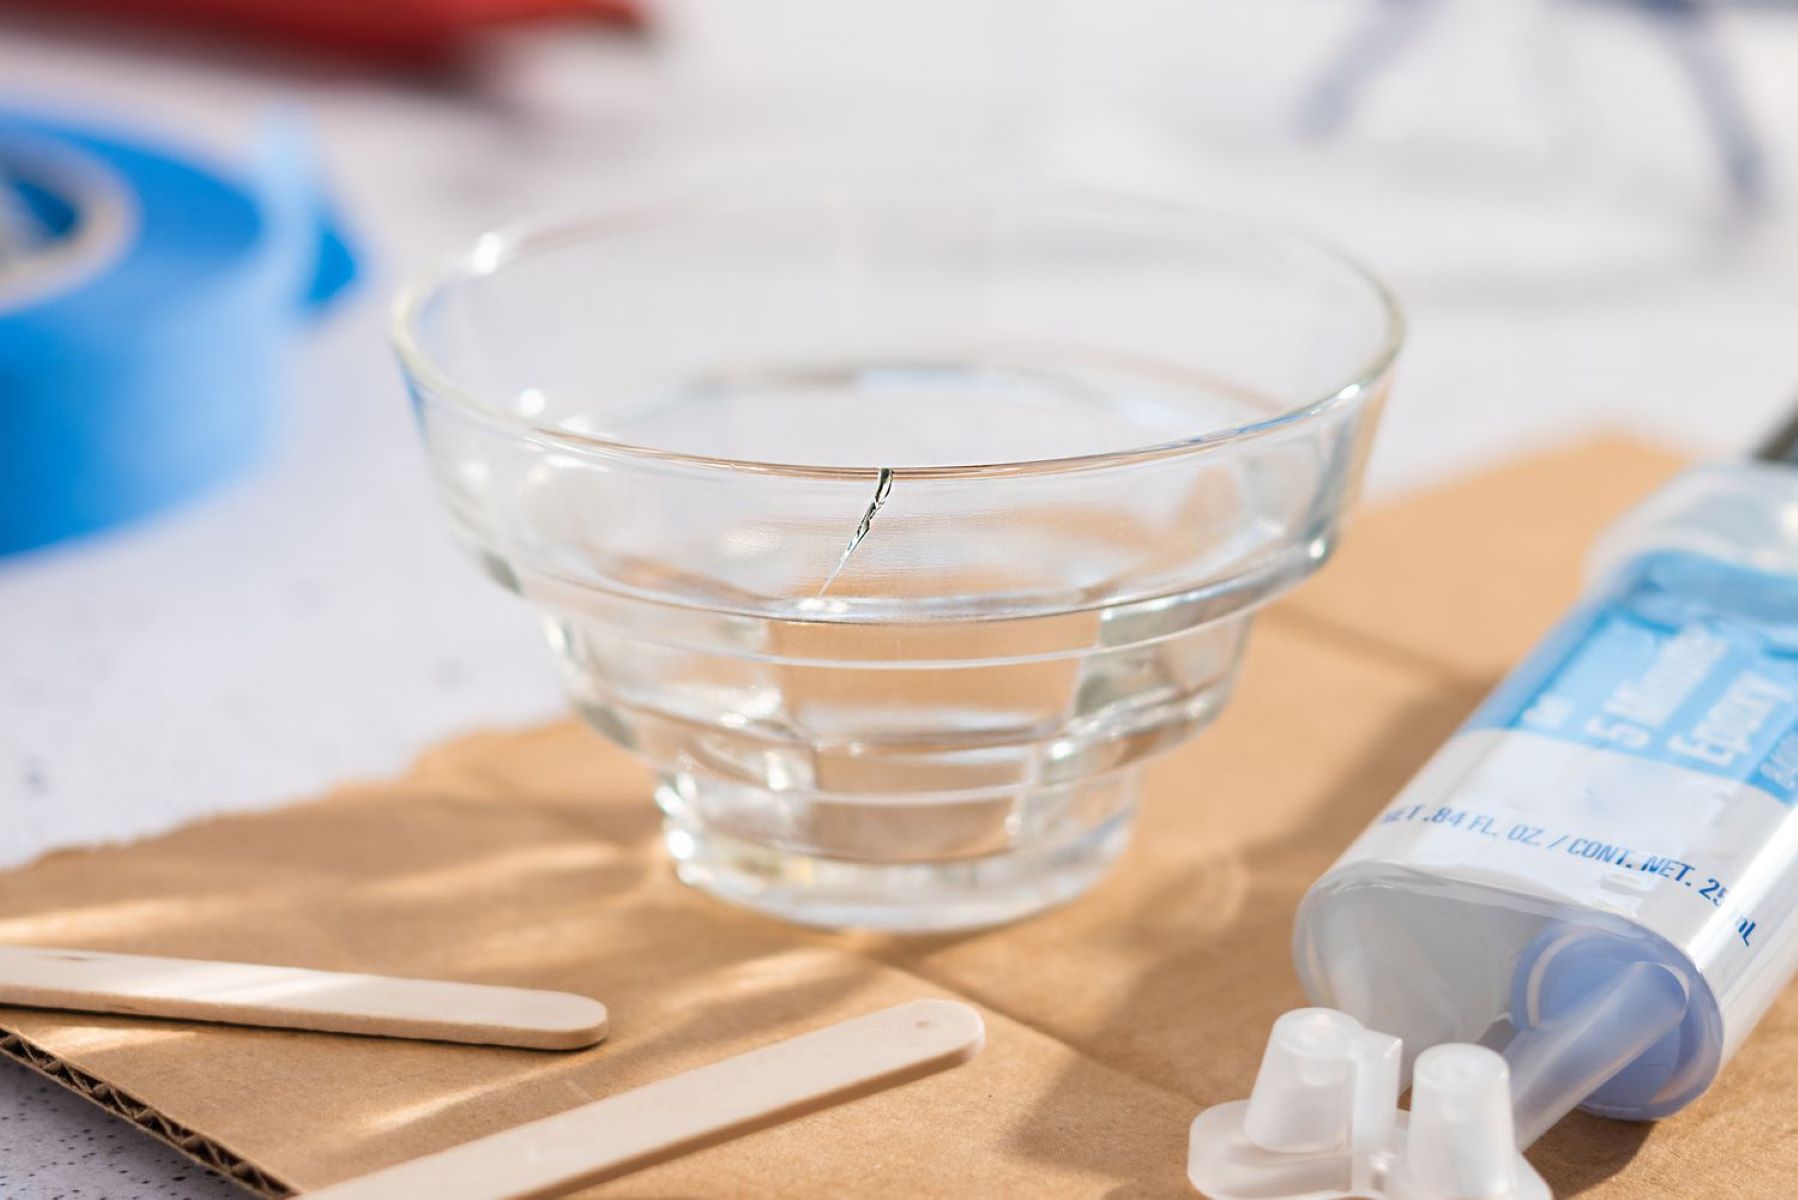
Step 4: Apply Sealant
Once the gutters are securely connected with connectors, it’s important to apply sealant to the joints. This step ensures that the connections are watertight and prevents any potential leaks. Follow these steps to apply sealant to the gutter joints:
- Clean the Joints: Before applying the sealant, make sure that the joints of the gutters are clean and free from any debris. Use a brush or cloth to remove dirt, dust, and excess sealant from the surfaces.
- Load the Sealant: Load the gutter sealant into a caulking gun, following the instructions provided by the manufacturer. Make sure the sealant is well-mixed and at the proper consistency for easy application.
- Apply the Sealant: Starting at one end of the gutter joint, apply a continuous bead of sealant along the inside and outside of the joint. Press the caulking gun’s trigger steadily to ensure a consistent and even application of the sealant. Continue applying sealant along the entire length of the joint.
- Smooth the Sealant: Once the sealant is applied, use a gloved finger or a caulk smoothing tool to smooth out the bead of sealant. This helps to ensure an even and professional-looking finish. Smooth the sealant gently but firmly to create a clean and neat joint.
- Remove Excess Sealant: If there is any excess sealant that has squeezed out from the joint, use a damp cloth or sponge to wipe it away before it dries. This will help create a cleaner appearance and prevent any hardened sealant from affecting the gutter’s functionality.
- Allow the Sealant to Cure: Leave the sealant to cure as per the manufacturer’s instructions. This will ensure that it forms a strong bond and creates a reliable seal. Avoid any water exposure or disturbance to the sealant during the curing process.
Applying sealant to the gutter joints is a crucial step in preventing leaks and maintaining the integrity of the gutter system. Taking the time to properly apply and smooth the sealant will help ensure a long-lasting and watertight connection between the gutter sections.
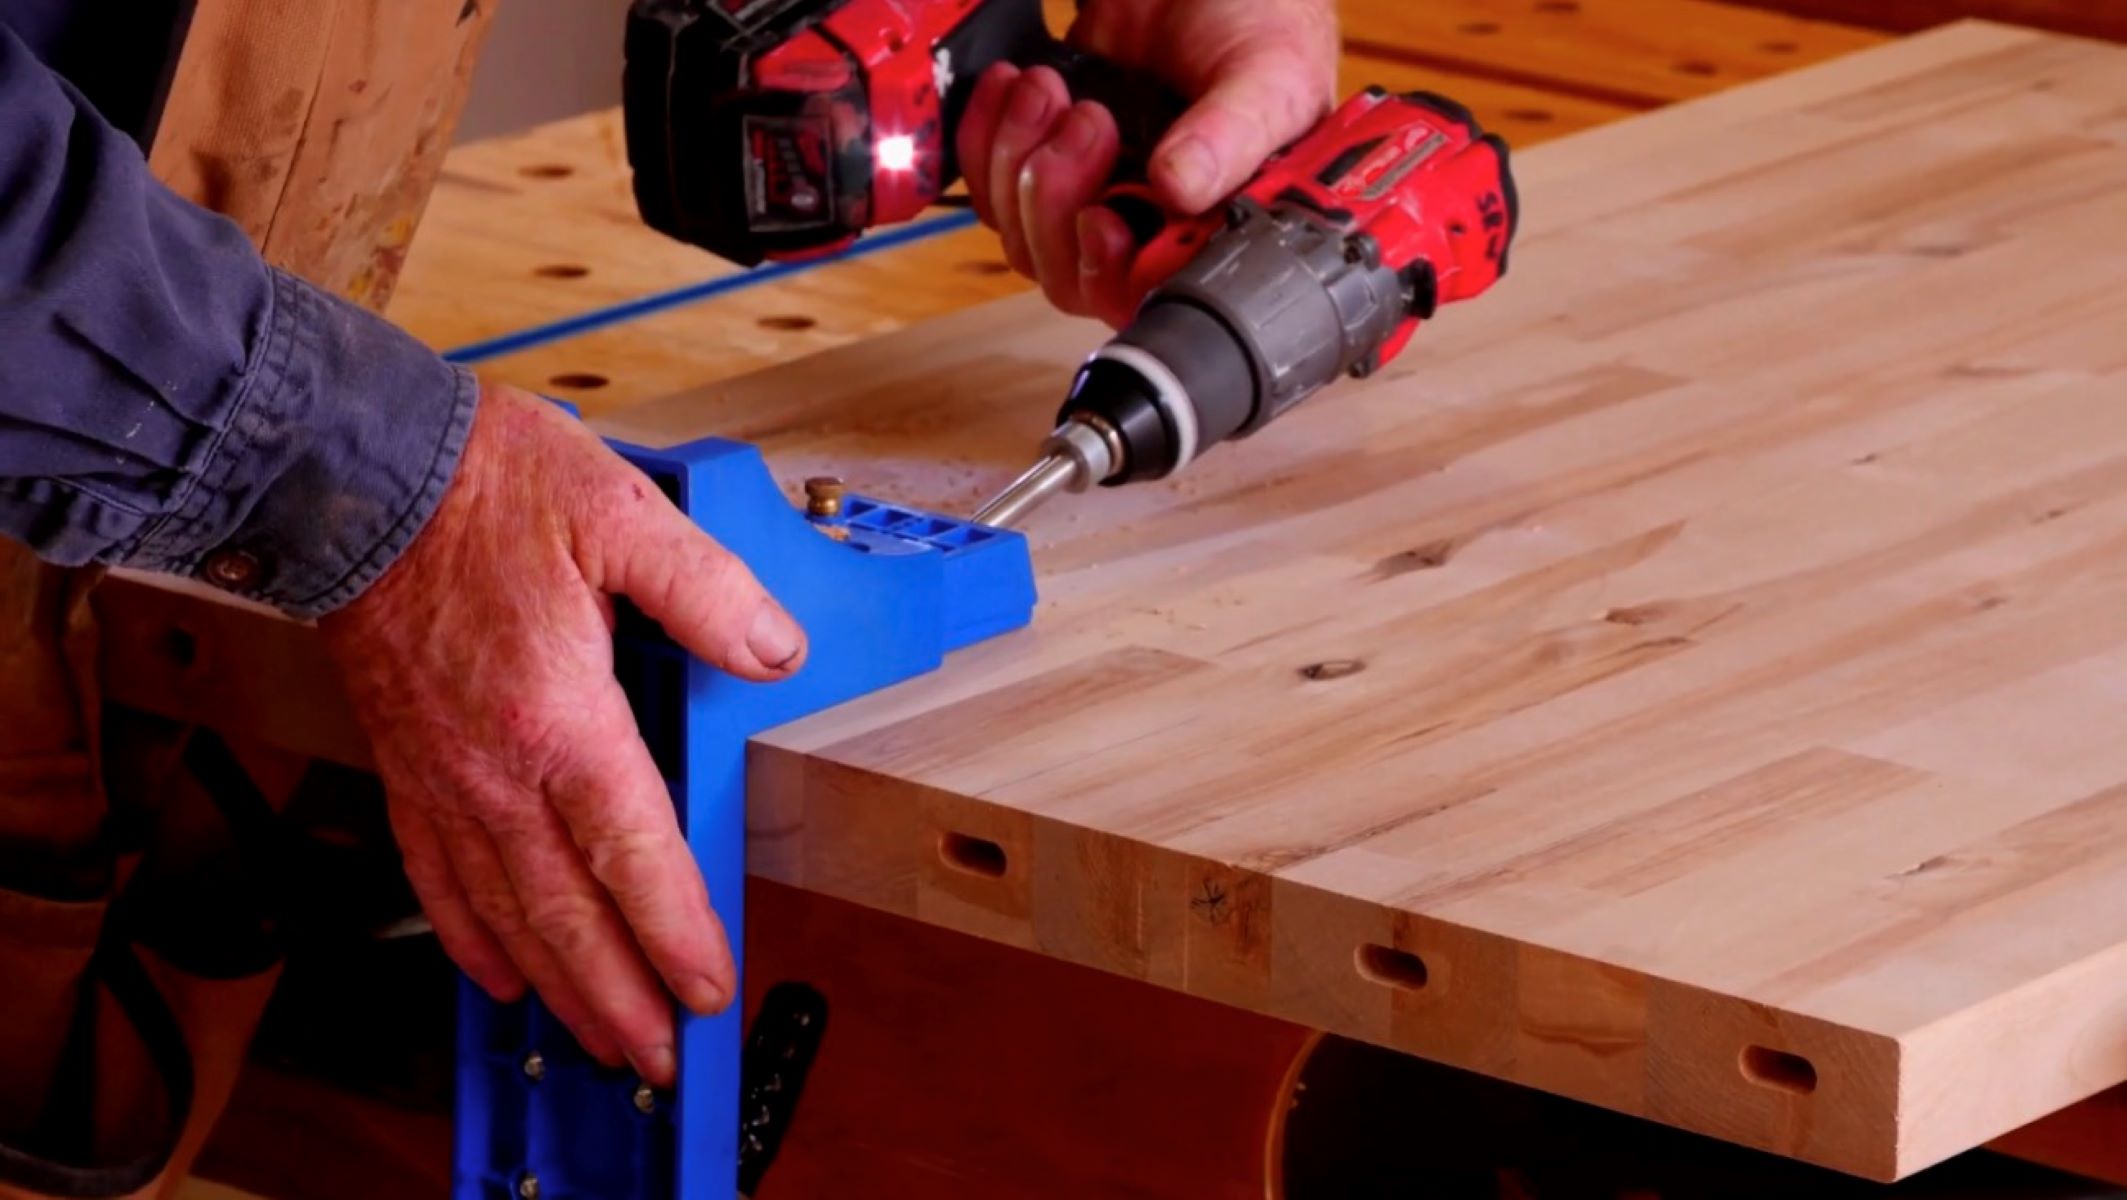
Step 5: Secure with Screws or Rivets
Once the gutters are connected and the sealant is applied, the next step is to secure the gutter sections together using screws or rivets. This ensures that the connections remain strong and stable even during heavy rainfall or strong winds. Follow these steps to secure the gutters:
- Prepare the Screws or Rivets: Choose the appropriate screws or rivets for your gutter material and ensure they are the correct size and length. Stainless steel or galvanized screws and rivets are recommended for their durability and resistance to rust.
- Create Pilot Holes: Use a drill with the appropriate drill bit size to create pilot holes at the marked locations on the gutter sections. These pilot holes will guide the screws or rivets during installation and prevent the gutters from cracking or splitting.
- Insert the Screws or Rivets: Insert the screws or rivets through the pilot holes and tighten them using a drill or rivet gun. Be careful not to overtighten as this can damage the gutters. Ensure that the connection is secure but still allows for a slight movement to accommodate expansion and contraction due to temperature changes.
- Repeat for Each Connection: Repeat the process of creating pilot holes and securing the gutters with screws or rivets for each connection point along the gutter system. Make sure to space the screws or rivets evenly to provide uniform support.
- Check the Stability: After securing the gutters with screws or rivets, check the stability of the connections by gently pulling on the gutter sections. They should remain firmly in place without any noticeable movement. If there is any instability, tighten the screws or rivets as needed.
- Note: If you are using a gutter hanger system, follow the manufacturer’s instructions for attaching the hangers and securing the gutters.
Securing the gutters with screws or rivets is essential for maintaining the stability and longevity of the gutter system. Taking the time to properly install and tighten the fasteners will ensure that the gutters can withstand the elements and effectively channel water away from your home.
Step 6: Install Downspouts
With the gutters securely connected and fastened, it’s time to install the downspouts. Downspouts act as the conduit for directing water from the gutters to the ground and away from the foundation of your home. Follow these steps to install the downspouts:
- Measure and Cut: Measure the required length of the downspout, taking into account any angles or bends necessary for proper drainage. Use a hacksaw or tin snips to cut the downspout to the appropriate size. Smooth any rough edges with sandpaper or a file.
- Attach Elbows or Bends: If your downspout needs to navigate around obstacles or change directions, you may need to attach elbows or bends. Connect these components to the downspout sections as needed, making sure they fit snugly together and align correctly with the gutter and the ground.
- Position the Downspout: Position the downspout against the wall of your home or the support structure you are using. Ensure that it is aligned with the outlet on the gutter and is angled slightly away from the foundation of your home to facilitate proper water drainage.
- Secure the Downspout: Using screws or brackets designed for downspout installation, secure the downspout to the wall or support structure. Make sure it is firmly attached to prevent any movement or instability.
- Connect the Sections: If your downspout consists of multiple sections, connect them together by inserting the smaller end of one section into the larger end of the previous section. Ensure a tight fit to prevent any water leakage.
- Apply Sealant: Apply sealant around the joints where the downspout sections connect to create a watertight seal. This will prevent any water from escaping through the joints and causing damage to your home’s exterior.
- Extend the Downspout: If necessary, extend the length of the downspout using extension pieces to direct water further away from your home’s foundation. Connect the extension pieces securely, making sure they align properly with the existing downspout.
- Test for Proper Water Flow: Once the downspout is installed, test it by running water through the gutters and downspout. Observe the water flow to ensure that it is consistently directed away from your home’s foundation. Make any adjustments as necessary to ensure proper drainage.
Installing the downspouts correctly is vital for effectively diverting water and preventing water damage to your home. Taking the time to properly measure, cut, and secure the downspouts will ensure a functional and efficient gutter system.
Step 7: Test for Proper Water Flow
After attaching the gutters together, applying sealant, securing with screws or rivets, and installing the downspouts, the final step is to test the gutter system for proper water flow. This step allows you to ensure that water is effectively being directed away from your home’s foundation. Follow these steps to test the water flow:
- Clear any Debris: Before testing the water flow, make sure that the gutters and downspouts are free from any debris such as leaves, twigs, or dirt. Use a gutter scoop or a garden hose to flush out any accumulated debris.
- Turn on the Water: With the gutters clear, turn on a garden hose and place it at the highest point of the gutter system. Allow water to flow through the gutters and downspouts.
- Observe the Water Flow: As the water flows through the gutters, carefully observe the downspouts and the ground where the water is being discharged. Ensure that water is flowing steadily and freely through the downspouts and away from your home’s foundation.
- Check for Blockages or Leaks: Keep an eye out for any blockages or leaks in the gutter system. Look for any areas where water may be overflowing or pooling. Check the joints and connection points for any signs of water leakage. Address any issues promptly to prevent further damage.
- Make Adjustments if Necessary: If you notice any areas of concern, such as inadequate water flow or leaks, make the necessary adjustments. This may involve repositioning the gutters, tightening the connections, or clearing any blockages within the system.
- Repeat the Test: After making any adjustments, repeat the water flow test to ensure that the issues have been resolved. Continue to monitor the gutters periodically to ensure that they are functioning properly and to address any maintenance needs.
Testing for proper water flow is a crucial step in ensuring the functionality of your gutter system. By observing the water flow, identifying any issues, and making necessary adjustments, you can protect your home from water damage and maintain the integrity of the gutter system.
Conclusion
Attaching gutters together is a vital step in creating a reliable and efficient gutter system for your home. By following the steps outlined in this article, you can successfully connect the gutters, ensure proper water flow, and protect your home from potential water damage.
Remember to start by measuring and marking the gutter sections, taking into account the slope and downspout placement. Cut the necessary downspout openings and attach the gutter sections using connectors. Apply sealant to create a watertight seal and secure the gutters with screws or rivets to ensure stability. Install the downspouts, making sure they are properly aligned and securely fastened. Finally, test the gutter system for proper water flow and make any necessary adjustments.
Throughout the process, it is important to prioritize safety. Use proper tools and equipment, such as ladders and protective gear, and exercise caution when working at heights.
Regular maintenance and inspection of the gutters are also essential to ensure their continued effectiveness. Clear debris, check for blockages, and address any leaks or issues promptly to prevent further damage.
By following these steps and taking proper care of your gutters, you can preserve the structural integrity of your home, prevent water damage, and maintain the functionality of your drainage system for years to come.
Frequently Asked Questions about How To Attach Gutters Together
Was this page helpful?
At Storables.com, we guarantee accurate and reliable information. Our content, validated by Expert Board Contributors, is crafted following stringent Editorial Policies. We're committed to providing you with well-researched, expert-backed insights for all your informational needs.


0 thoughts on “How To Attach Gutters Together”