Articles
How To Install Gutters On Angled Fascia
Modified: October 28, 2024
Learn how to install gutters on angled fascia with our informative articles. Get step-by-step instructions and expert tips for a seamless installation!
(Many of the links in this article redirect to a specific reviewed product. Your purchase of these products through affiliate links helps to generate commission for Storables.com, at no extra cost. Learn more)
Introduction
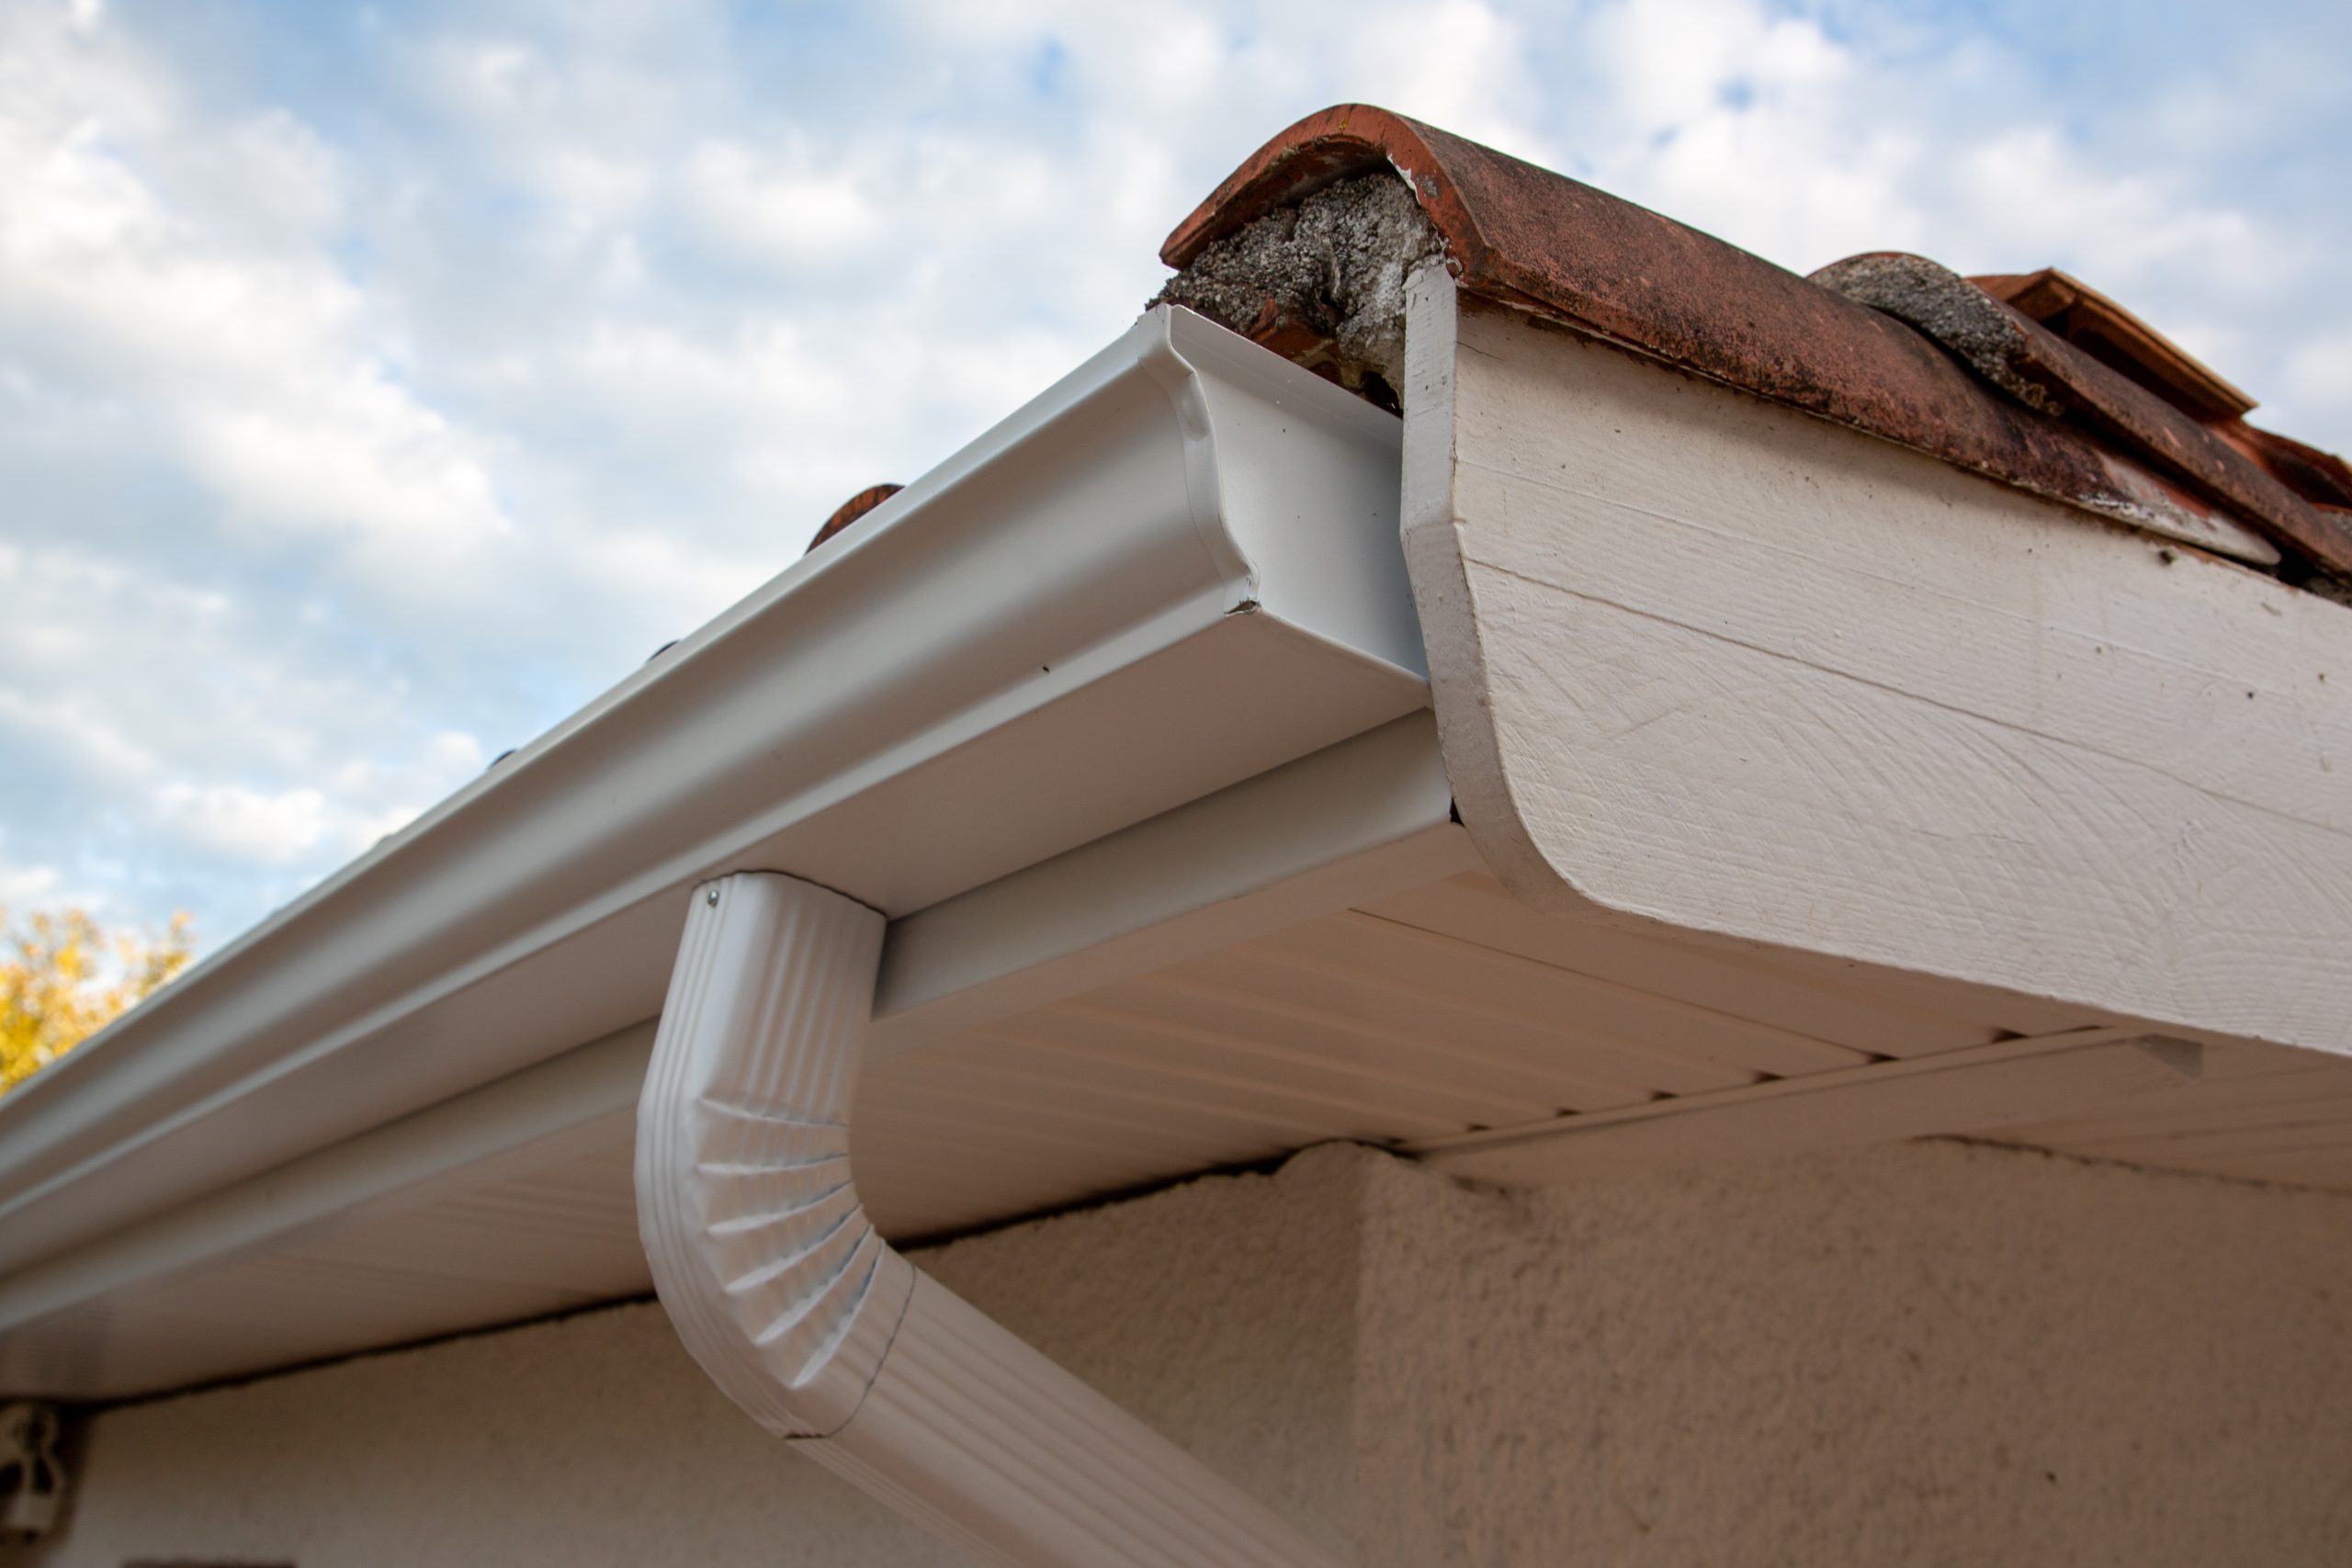
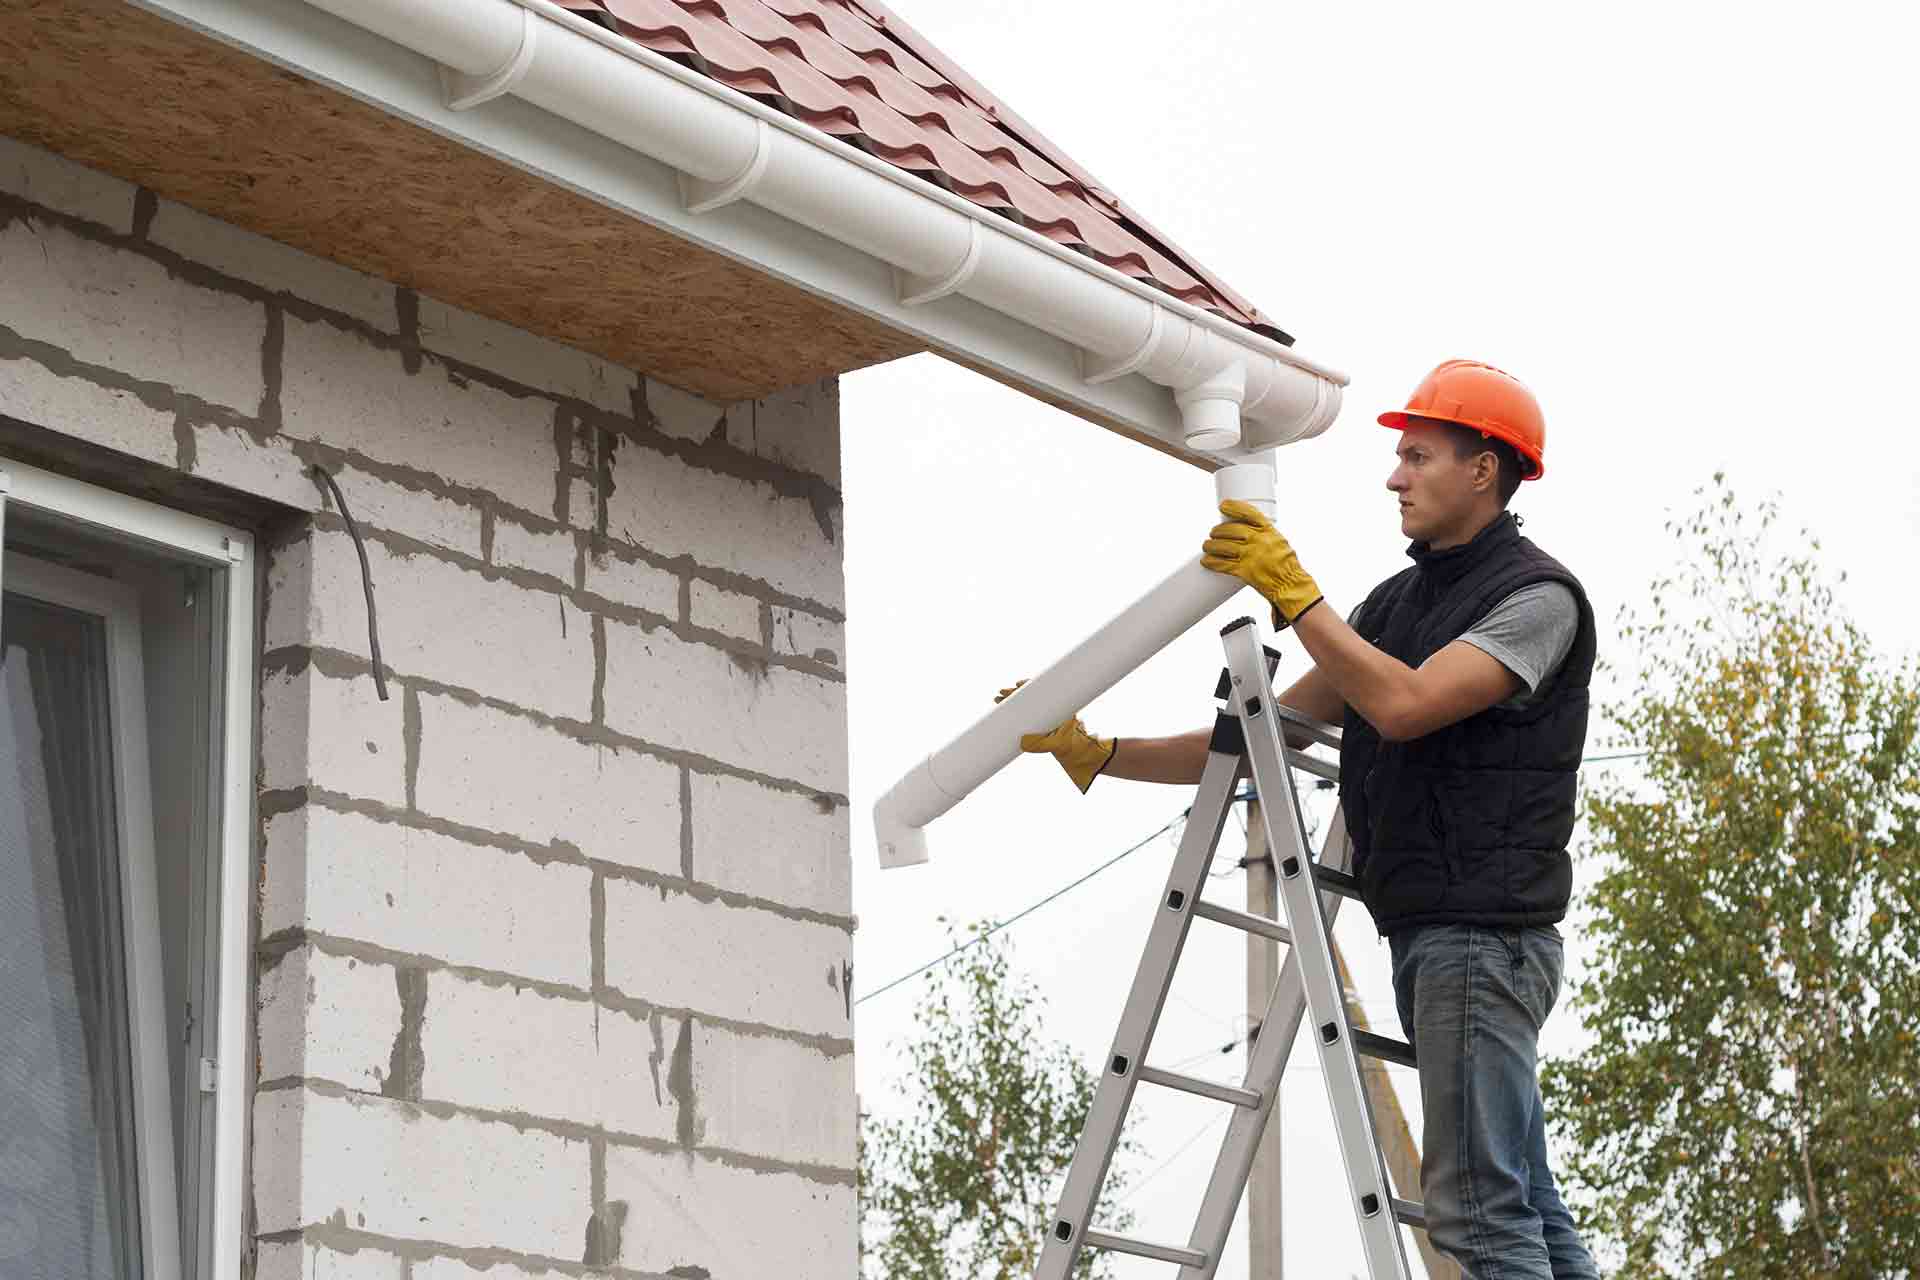
Installing gutters on angled fascia is an essential step in protecting your home from water damage. Gutters are designed to channel rainwater away from your roof and foundation, preventing issues such as roof leaks, basement flooding, and erosion. While installing gutters on a flat fascia is relatively straightforward, installing them on an angled fascia requires some additional steps and considerations. In this article, we will guide you through the process of installing gutters on angled fascia, giving you the knowledge and confidence to take on this project.
Before we dive into the installation process, it’s important to gather the necessary tools and materials. Having everything on hand will help streamline the installation and ensure a smooth workflow. Let’s take a look at what you’ll need:
Key Takeaways:
- Properly installing gutters on angled fascia involves precise measurements, thorough preparation of the fascia, and secure attachment of gutters and downspouts. This proactive approach protects your home from water damage and ensures optimal gutter functionality.
- Regular maintenance, including periodic inspections and cleaning, is essential for prolonging the life of your gutter system and preventing potential issues. By following the step-by-step guide, you can confidently tackle this important home improvement project and safeguard your home from water damage.
Read more: How To Install Gutters Without Fascia
Tools and Materials Needed
- Gutter sections
- Gutter mounting brackets
- Gutter screws
- Gutter end caps
- Downspouts
- Downspout brackets
- Measuring tape
- Pencil
- Gutters
- Ladder
- Caulk gun
- Hacksaw or tin snips
- Power drill
- Screwdriver
- Level
- Gutter sealant
- Safety goggles
- Gloves
- Dust mask
Now that we have all the necessary tools and materials, we can move on to the installation process.
Step 1: Measure and Determine Gutter Lengths
The first step in installing gutters on angled fascia is to accurately measure and determine the lengths of the gutter sections you’ll need. Start by measuring the length of the fascia where the gutters will be installed. Use a measuring tape and record the measurement.
Next, consider the slope of the fascia. Angled fascia requires special attention to ensure that the gutters are installed properly. Measure the slope by placing a level on the fascia and noting the angle.
Now that you have the measurements, it’s time to calculate the lengths of the gutter sections you’ll need. Determine the total length by subtracting the width of any corners or connectors from the overall measurement of the fascia. For angled fascia, you may need to make special adjustments to account for the slope.
Once you’ve determined the lengths of the gutter sections, purchase the appropriate size and number of gutter sections. Make sure to include any additional accessories needed, such as end caps or connectors.
Remember, accuracy is essential during this step to ensure a proper fit and functionality of the gutters. Take your time and double-check your measurements before moving on to the next step.
Step 2: Prepare the Fascia
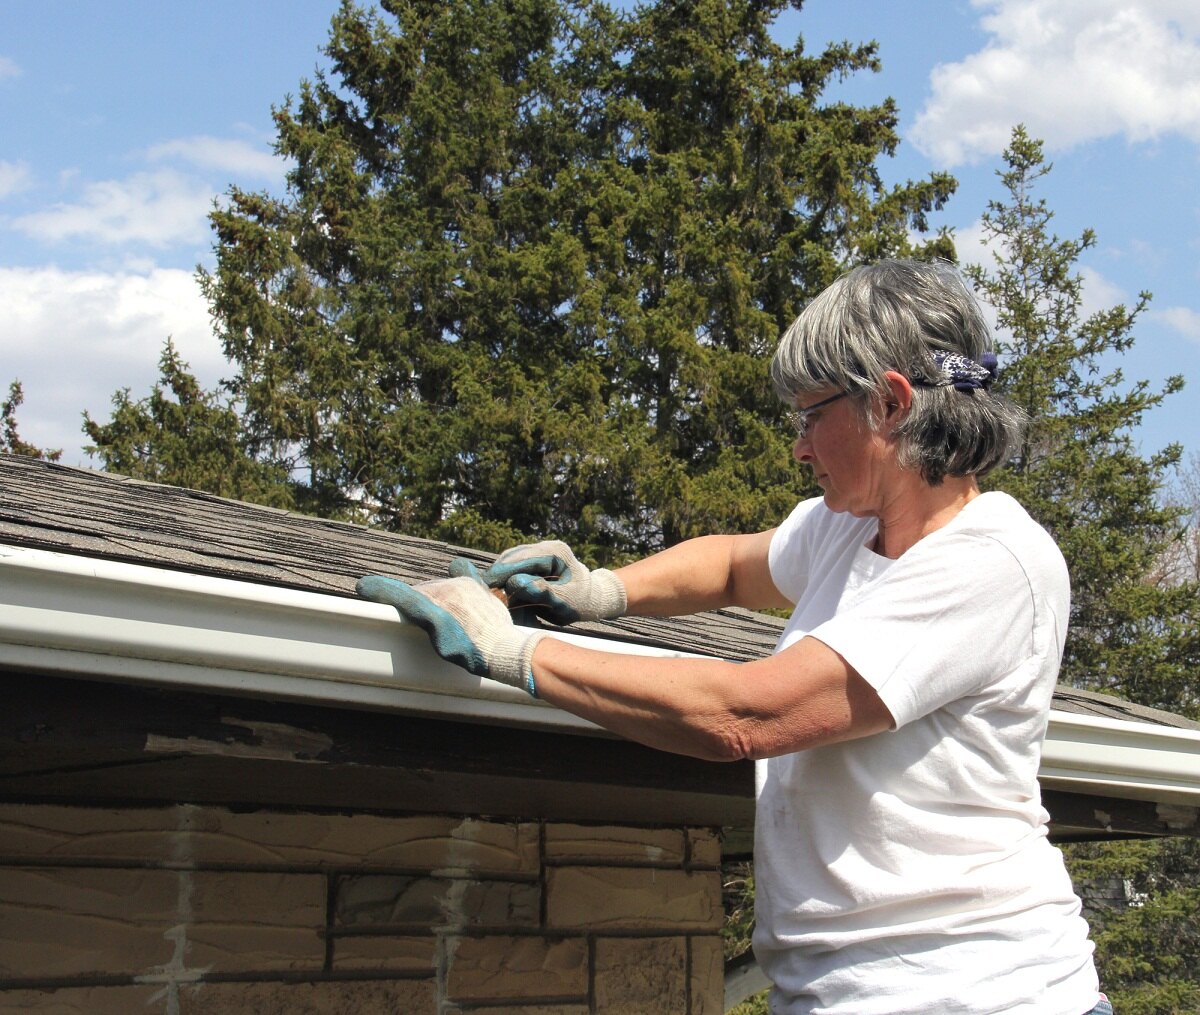
Preparing the fascia is an important step in installing gutters on angled fascia. This involves cleaning and inspecting the fascia to ensure a secure and stable installation.
Start by cleaning the fascia surface, removing any dirt, debris, or old paint. Use a stiff brush or scraper to remove any loose particles. It’s important to have a clean and smooth surface for the gutter mounting brackets to attach to.
Inspect the fascia for any signs of damage or rot. Replace any damaged sections before proceeding with the installation. This will help ensure the longevity and performance of your gutters.
Next, apply a layer of primer to the fascia. This will help create a better adhesive surface for the gutter mounting brackets. Follow the manufacturer’s instructions for the specific primer you’re using and allow it to dry fully.
If necessary, paint the fascia to match the exterior of your home. Choose a high-quality exterior paint that is resistant to moisture and UV rays. Apply the paint according to the manufacturer’s instructions and allow it to thoroughly dry before moving on to the next step.
Preparing the fascia properly will provide a solid foundation for the gutter installation and ensure a secure and long-lasting fit. Take the time to clean, inspect, and prepare the fascia before proceeding.
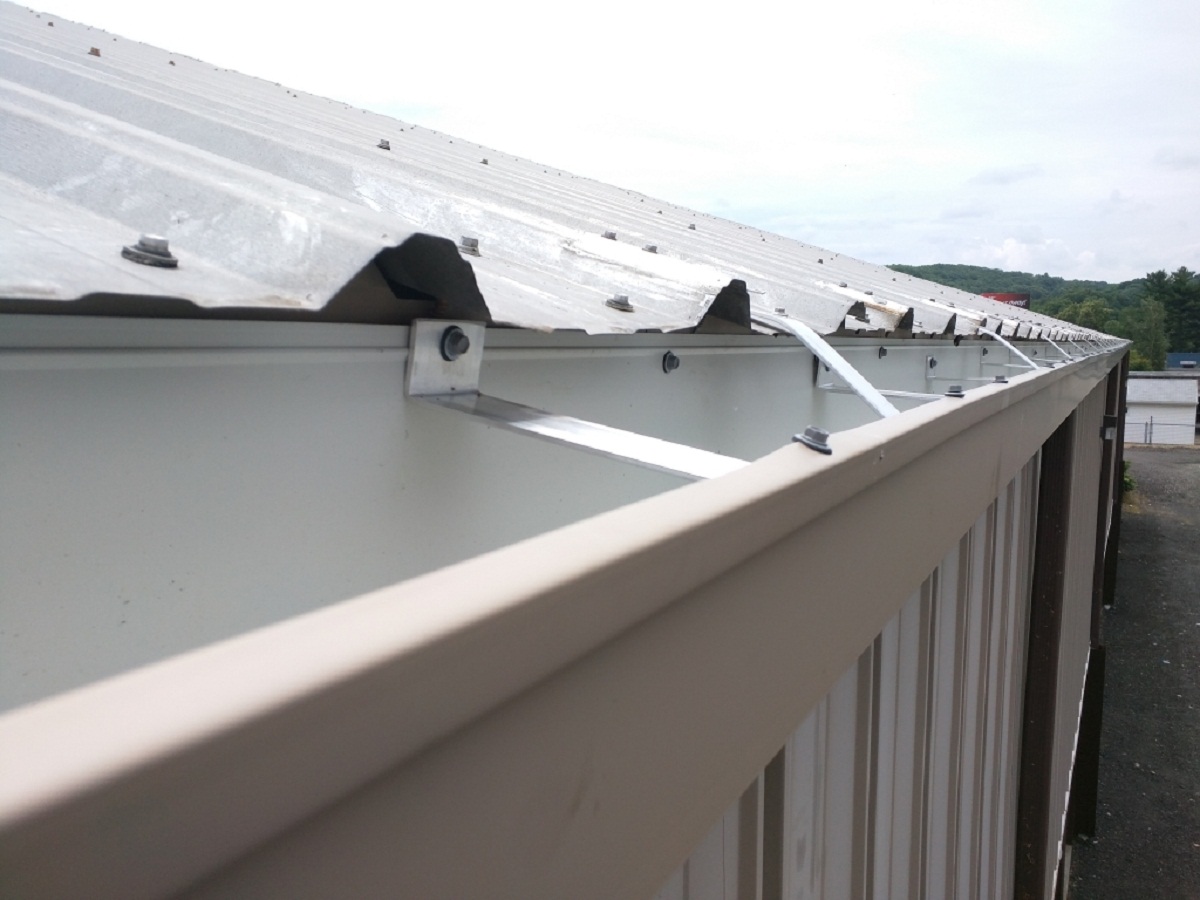
Step 3: Install the Gutter Mounting Brackets
Now that the fascia is clean and prepared, it’s time to install the gutter mounting brackets. These brackets provide the support and stability needed to hold the gutters in place.
Start by marking the locations where the brackets will be installed. Use a pencil or marker to make small marks along the fascia, evenly spacing them according to the manufacturer’s guidelines. Make sure to take into account any downspout locations or corners where brackets may need to be positioned.
Next, align the first bracket with one of the marks and use a power drill to screw it into place. Ensure that the bracket is level, as this will impact the proper drainage of the gutters. Repeat this process for the remaining brackets, making sure they are all level and securely attached.
For angled fascia, you may need to use adjustable brackets to accommodate the slope. These brackets allow you to adjust the gutter’s angle and maintain proper drainage. Follow the manufacturer’s instructions for installing adjustable brackets and ensure they are properly positioned.
Once all the brackets are installed, double-check their alignment and stability. Gently tug on the brackets to ensure they are securely attached to the fascia. If any brackets feel loose or unstable, remove and reinstall them to ensure a secure fit.
Installing the gutter mounting brackets correctly is crucial for the overall stability and functionality of the gutter system. Take your time and ensure that the brackets are level, securely attached, and properly positioned.
When installing gutters on angled fascia, make sure to use a flexible gutter material that can easily conform to the slope. Additionally, use longer screws to secure the gutter brackets to the fascia to ensure a secure installation.
Read more: How To Remove Gutters To Replace Fascia
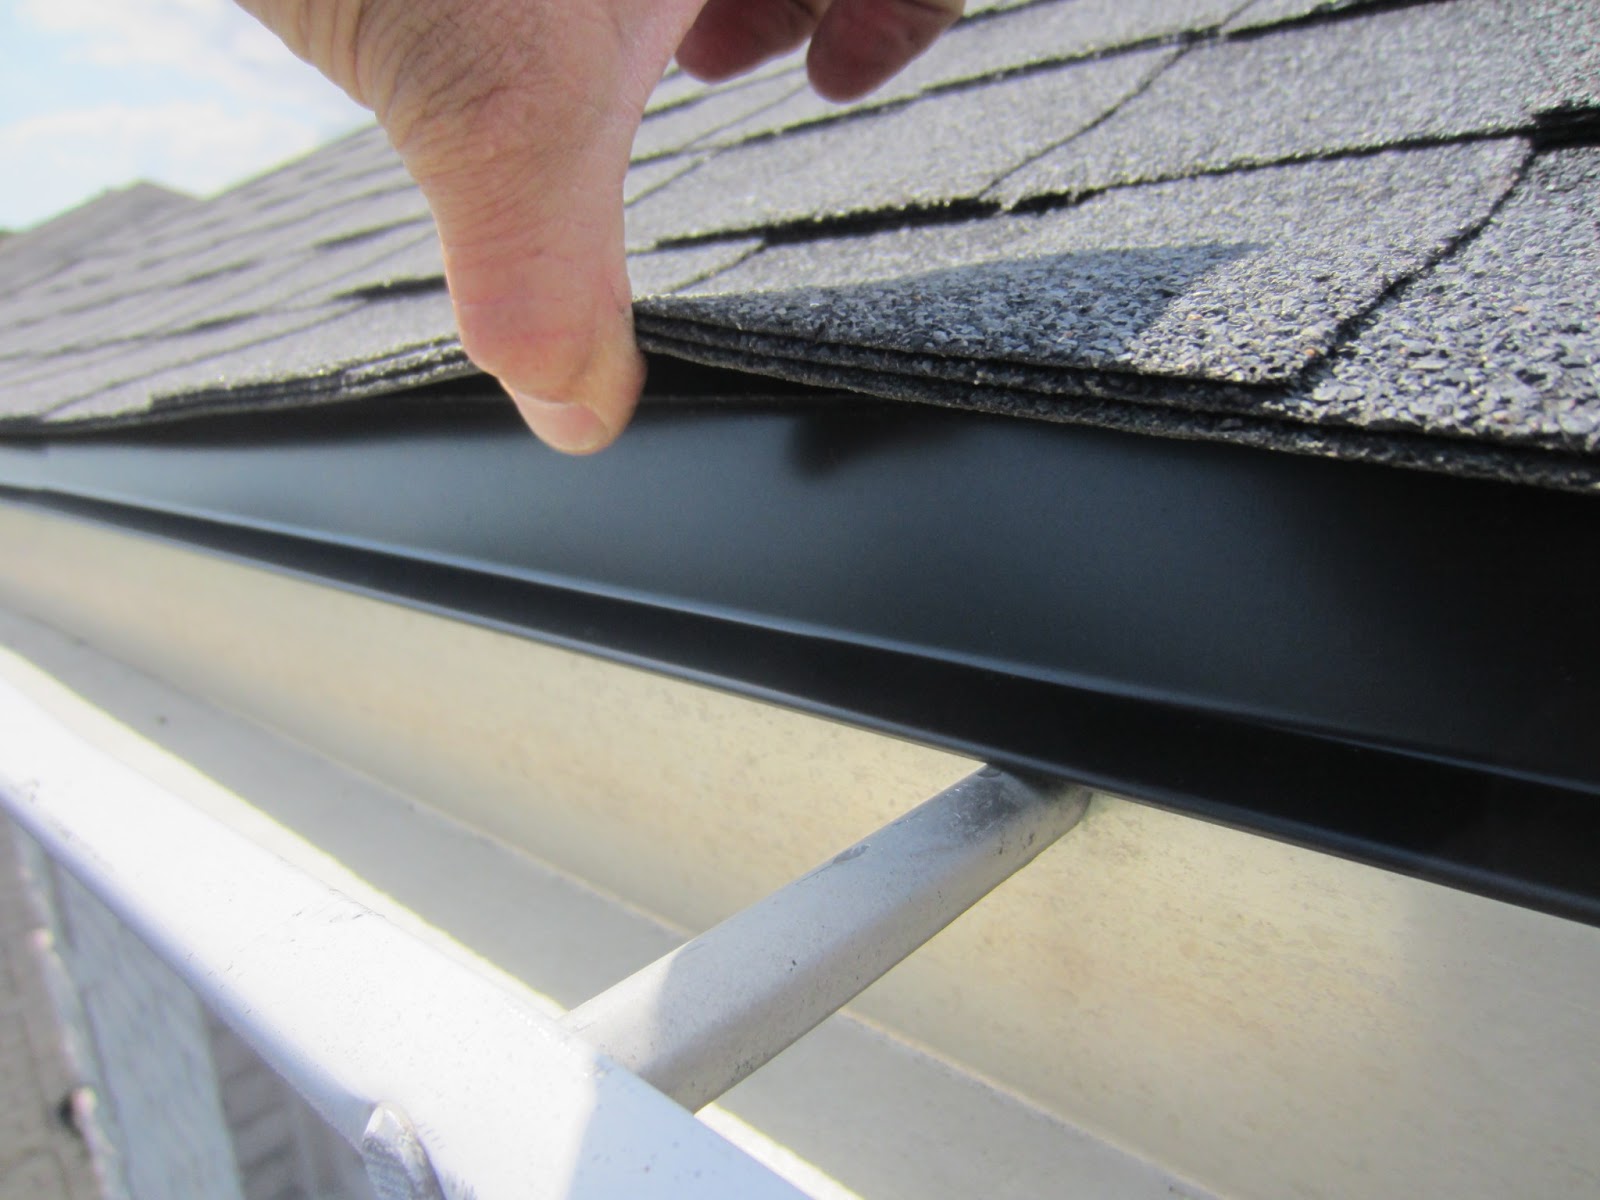
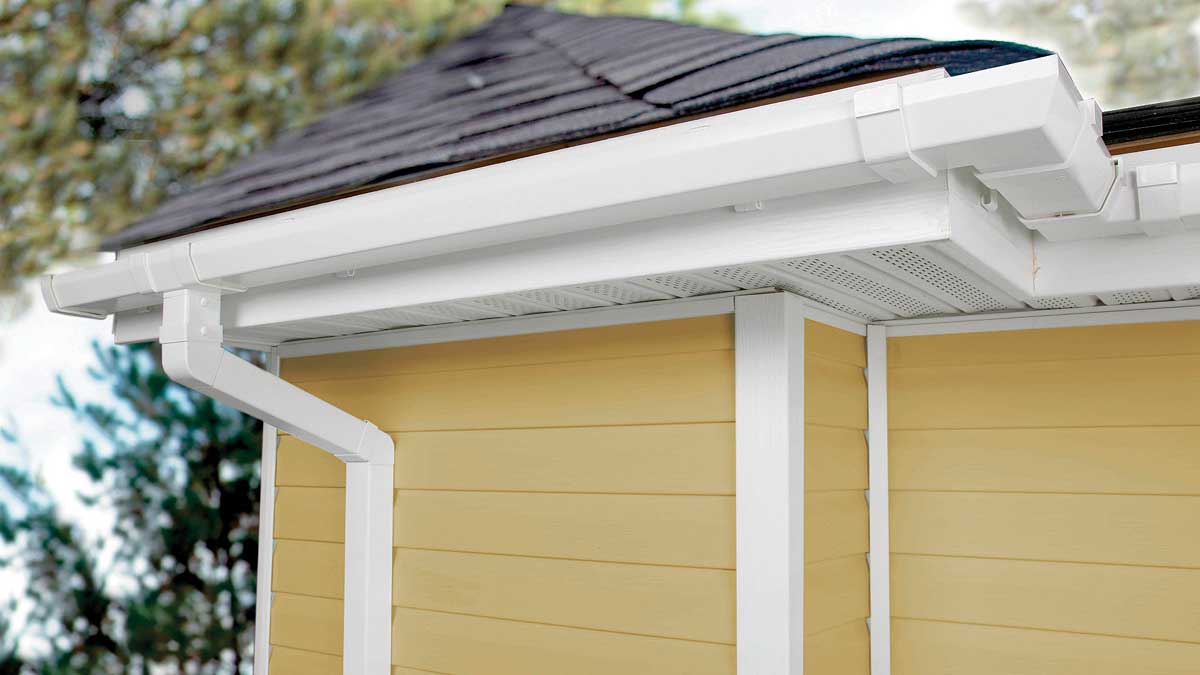
Step 4: Attach the Gutters
With the gutter mounting brackets in place, it’s time to attach the gutters themselves. Properly securing the gutters is essential for effective water drainage and to prevent them from sagging or detaching over time.
Start by positioning the first gutter section at one end of the fascia, aligning it with the first bracket. Gently slide the gutter into the bracket, making sure it is securely seated. Use gutter screws to fasten the gutter to the bracket, following the manufacturer’s instructions.
Continue attaching the rest of the gutter sections, overlapping them slightly as you go along. Connect the sections using connectors or joining pieces, following the manufacturer’s guidelines. Ensure a tight and secure fit to prevent any water leaks or overflow.
For angled fascia, it may be necessary to adjust the gutter sections to follow the slope. Use a level to ensure that the gutters maintain a slight downward slope towards the downspouts. This will allow for proper water flow and drainage.
Once all the gutter sections are attached, double-check their alignment and make any necessary adjustments. Ensure that they are level and securely fastened to the brackets. Test the stability of the gutters by gently tugging on them to ensure they are firmly in place.
Remember to install end caps on the gutter sections to prevent water from flowing out the ends. Place a small amount of gutter sealant inside the end cap and then firmly press it onto the end of the gutter section.
Attaching the gutters securely is crucial for their proper functioning and longevity. Take the time to align and fasten them correctly, ensuring a tight and stable fit.
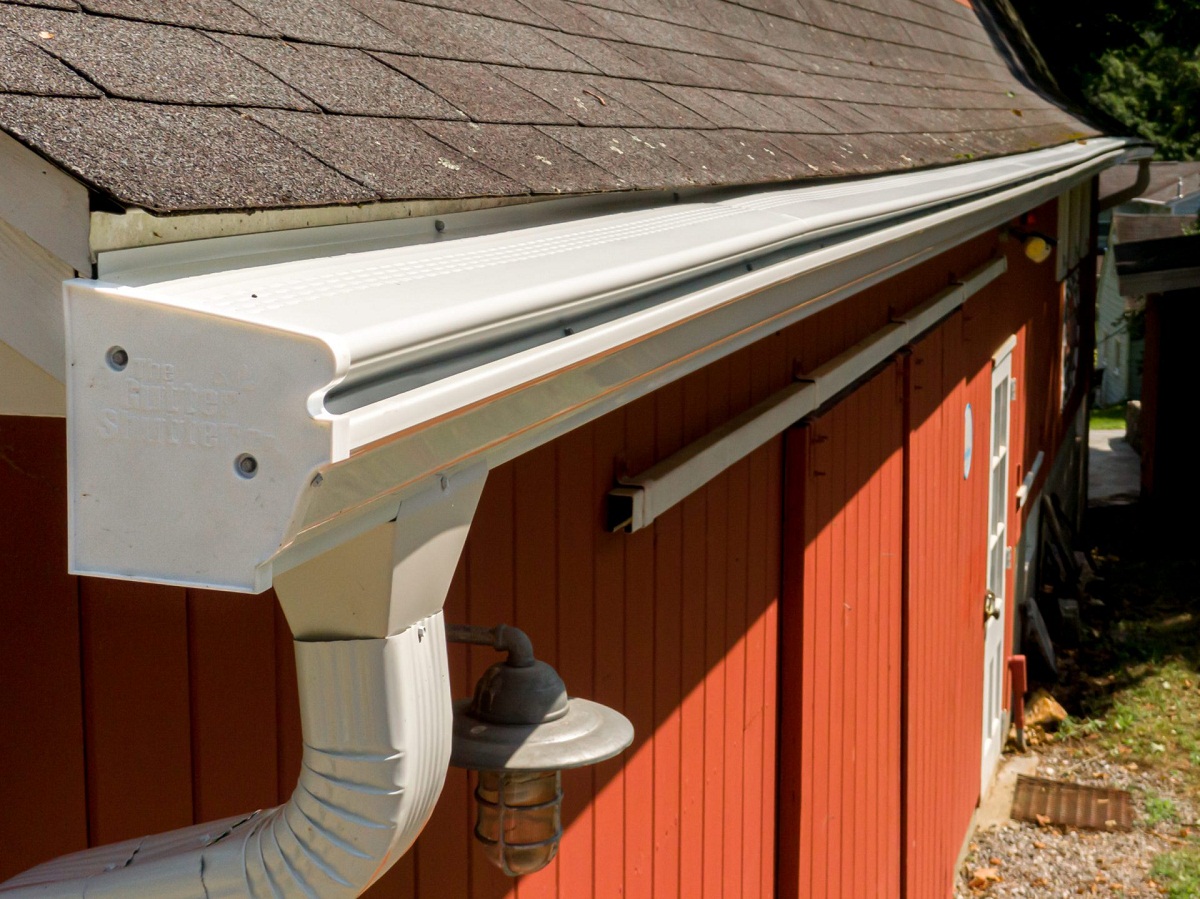
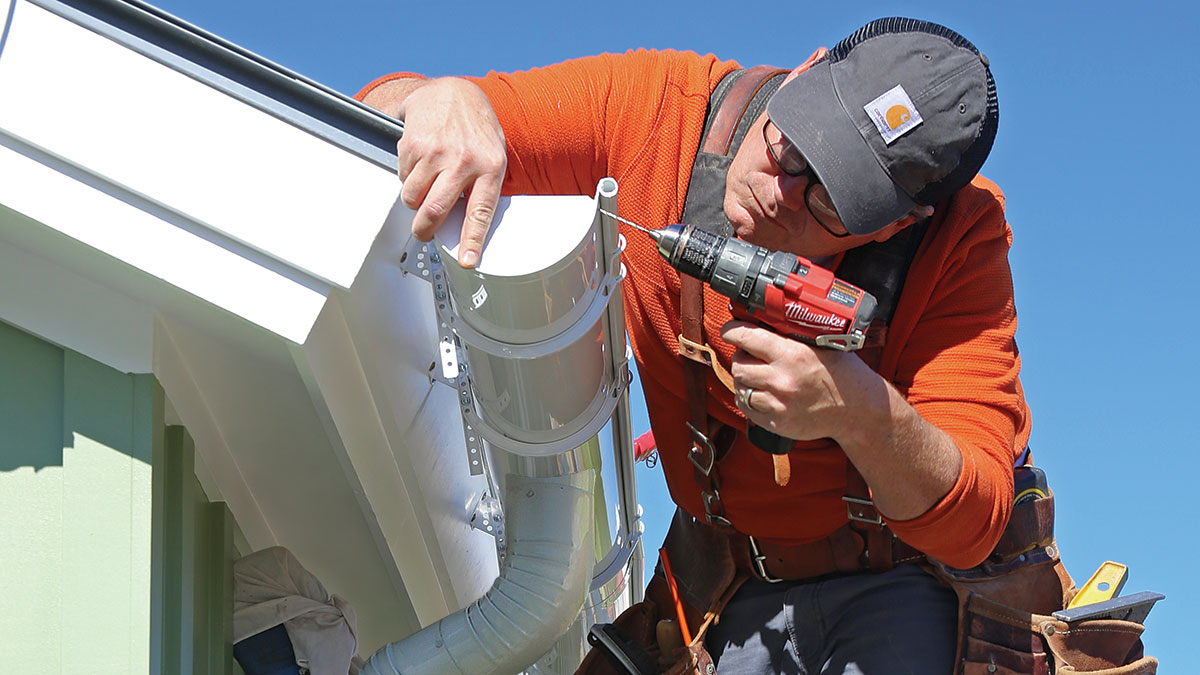
Step 5: Connect the Downspouts
Connecting the downspouts is the next crucial step in completing the gutter installation. Downspouts are responsible for directing the water from the gutters down to the ground and away from your home’s foundation.
Start by measuring and cutting the downspout sections to the desired length. Use a hacksaw or tin snips to make clean and precise cuts. Make sure to account for any elbows or bends needed to direct the downspout towards the desired drainage area.
Attach the downspout brackets to the run of the downspout according to the manufacturer’s instructions. These brackets provide support and stability to the downspout, preventing it from sagging or detaching.
Next, position the downspout section in place, connecting it to the outlet provided on the gutter. It’s important to ensure a snug fit between the downspout and the gutter outlet to prevent any leaks or water overflow.
Secure the downspout to the brackets using screws, making sure it is firmly attached and properly aligned. Test the stability by gently tugging on the downspout to ensure it is securely fastened.
If your downspout needs to be extended further away from the foundation, consider adding a downspout extension or a splash block. These accessories help to divert water away from your home and prevent erosion.
Once the downspouts are connected and secured, double-check their alignment and functionality. Ensure that water will flow smoothly from the gutters down to the downspouts and away from your home’s foundation.
Connecting the downspouts is a critical aspect of the gutter installation process, as it ensures proper water drainage and prevents water damage to your home. Take the time to measure, cut, and connect the downspouts correctly for optimal performance.
Step 6: Ensure Proper Slope and Test
After completing the installation of the gutters and downspouts, it’s important to ensure that the system is properly sloped and functioning correctly. This step will help guarantee effective water flow and prevent any potential issues.
Start by checking the slope of the gutters. Using a level, confirm that the gutters have a gradual downward slope towards the downspouts. This slope allows water to flow freely and prevents water from pooling or causing damage to the gutter system.
If you find that the gutters are not sloped correctly, make the necessary adjustments. You may need to loosen the gutter mounting brackets and reposition them slightly to achieve the proper slope. Use a level to guide you and ensure the correct alignment.
To test the functionality of the gutter system, pour a small amount of water into the gutters at one end. Observe the water flow as it moves through the gutters and down the downspouts. Check for any leaks, blockages, or overflow points.
If you notice any issues during the test, address them immediately. Check for loose connections, clogs, or misaligned sections. Make the necessary adjustments or repairs to ensure the system is functioning properly.
Once you are satisfied with the slope and functionality of the gutters, perform a final inspection. Take a close look at all the components, including the gutters, downspouts, brackets, and connections, to ensure they are secure and in good condition.
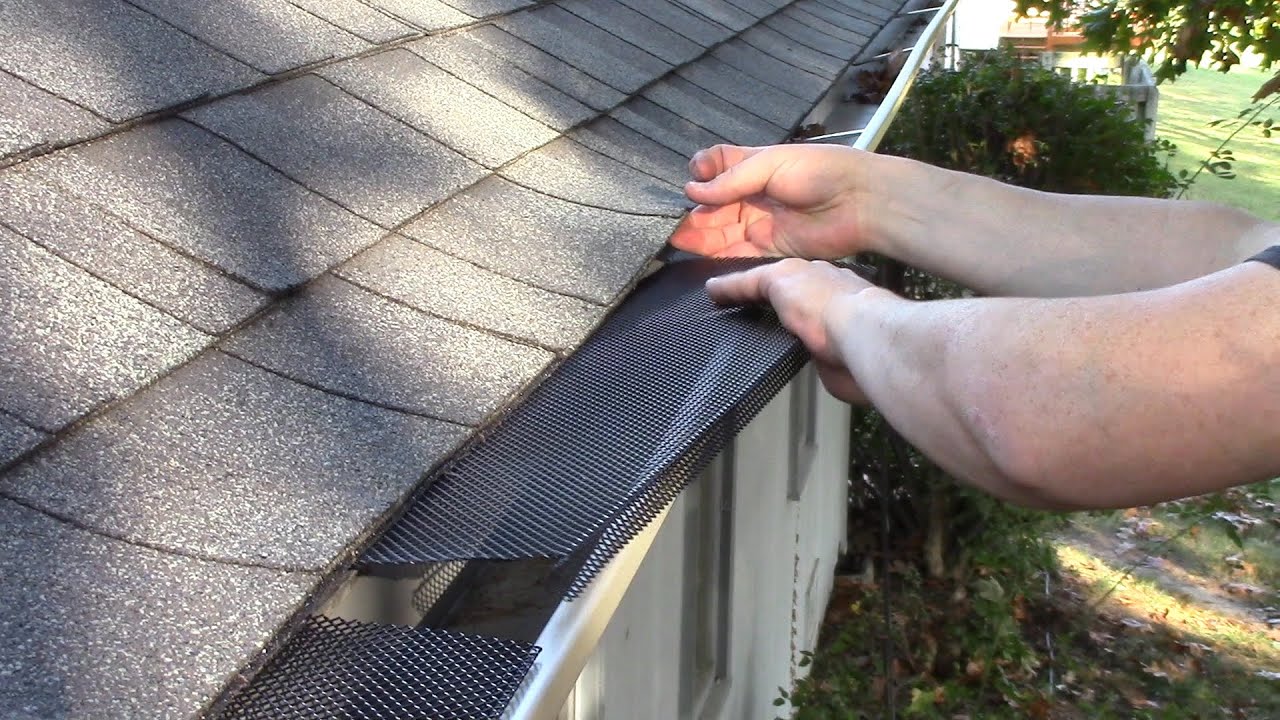
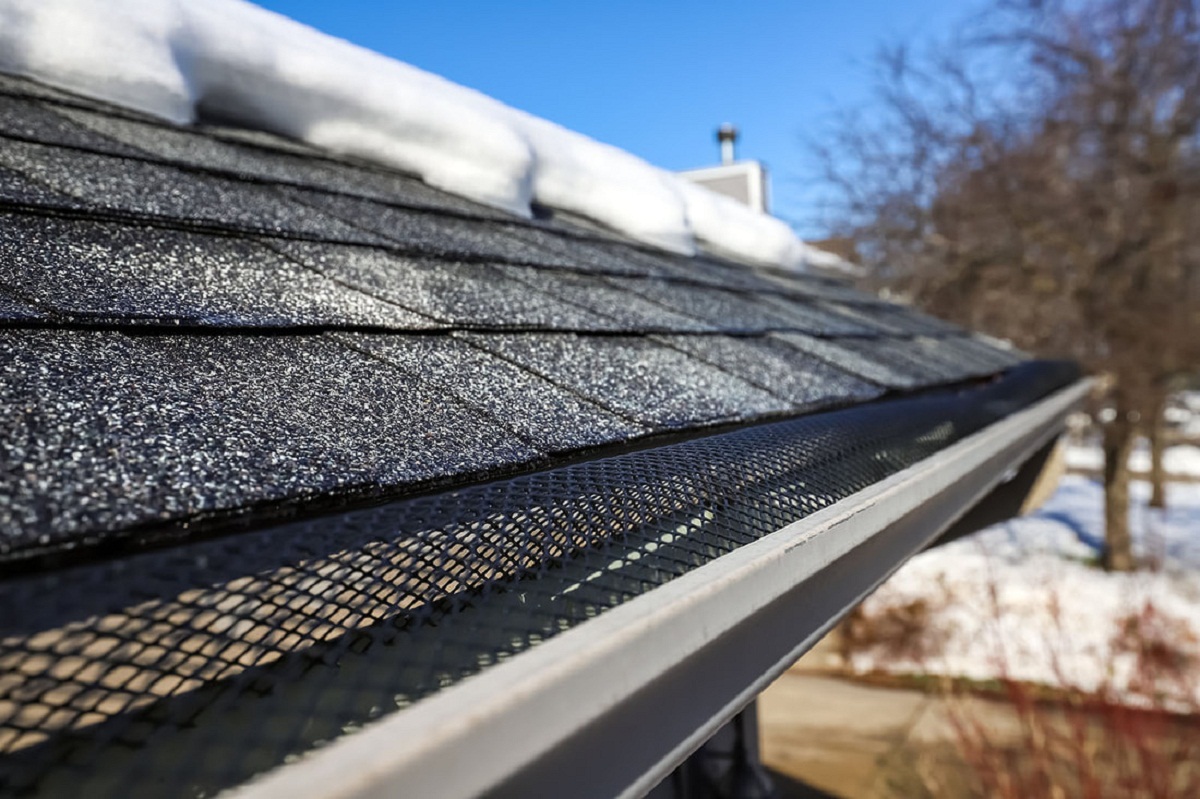
It’s also important to periodically inspect and clean your gutters throughout the year to keep them free from debris and maintain their effectiveness. Regular maintenance will prolong the life of your gutter system and prevent any potential problems.
Ensuring the proper slope and conducting a thorough test will give you peace of mind knowing that your gutters are installed correctly and functioning as intended. This step is essential in protecting your home from water damage and ensuring the longevity of your gutter system.
Conclusion
Congratulations! You have successfully installed gutters on angled fascia, taking an important step in protecting your home from water damage. By following the step-by-step guide outlined in this article, you have equipped yourself with the knowledge and skills to tackle this project with confidence.
Properly installed gutters on angled fascia will effectively channel rainwater away from your roof and foundation, preventing issues such as leaks, flooding, and erosion. The careful measurement and determination of gutter lengths, the preparation of the fascia, the installation of the gutter mounting brackets, the attachment of the gutters themselves, the connection of the downspouts, and the testing of the system’s functionality have all contributed to a robust and efficient gutter system.
Remember to periodically inspect and clean your gutters to ensure their optimal performance throughout the year. Regular maintenance will prevent clogs, promote proper water flow, and extend the lifespan of your gutters.
Installing gutters on angled fascia may seem like a daunting task, but with the right tools, materials, and knowledge, you can accomplish it with ease. Protecting your home from water damage should always be a priority, and installing gutters is a proactive and effective measure to achieve that goal.
Now that you have completed this project, you can enjoy the peace of mind knowing that your home is well-protected from the harmful effects of water. Rainy days will no longer be a cause for concern, as your gutters will efficiently redirect water away from your home, preserving its structure and integrity.
Thank you for taking the time to learn about installing gutters on angled fascia. We hope this guide has been helpful and will empower you to confidently take on future home improvement projects. Remember, a well-maintained gutter system is an investment in the longevity and well-being of your home.
Wondering who can handle your gutter installation needs? Our upcoming guide on "Who Installs Gutters" offers professional insights into selecting the right experts for this crucial task. Whether you're looking to upgrade your home's exterior or ensure proper rainwater management, understanding who to trust with your gutter installation is key. Dive into our detailed article for all the information you need on finding and choosing the best installation services available. Don't miss out on expert advice that could save you time and hassle!
Frequently Asked Questions about How To Install Gutters On Angled Fascia
Was this page helpful?
At Storables.com, we guarantee accurate and reliable information. Our content, validated by Expert Board Contributors, is crafted following stringent Editorial Policies. We're committed to providing you with well-researched, expert-backed insights for all your informational needs.


0 thoughts on “How To Install Gutters On Angled Fascia”