Articles
How To Install Gutters Yourself
Modified: October 28, 2024
Learn how to install gutters yourself with our comprehensive articles. Save money and enhance the value of your home by DIY-ing your gutter installation.
(Many of the links in this article redirect to a specific reviewed product. Your purchase of these products through affiliate links helps to generate commission for Storables.com, at no extra cost. Learn more)
Introduction
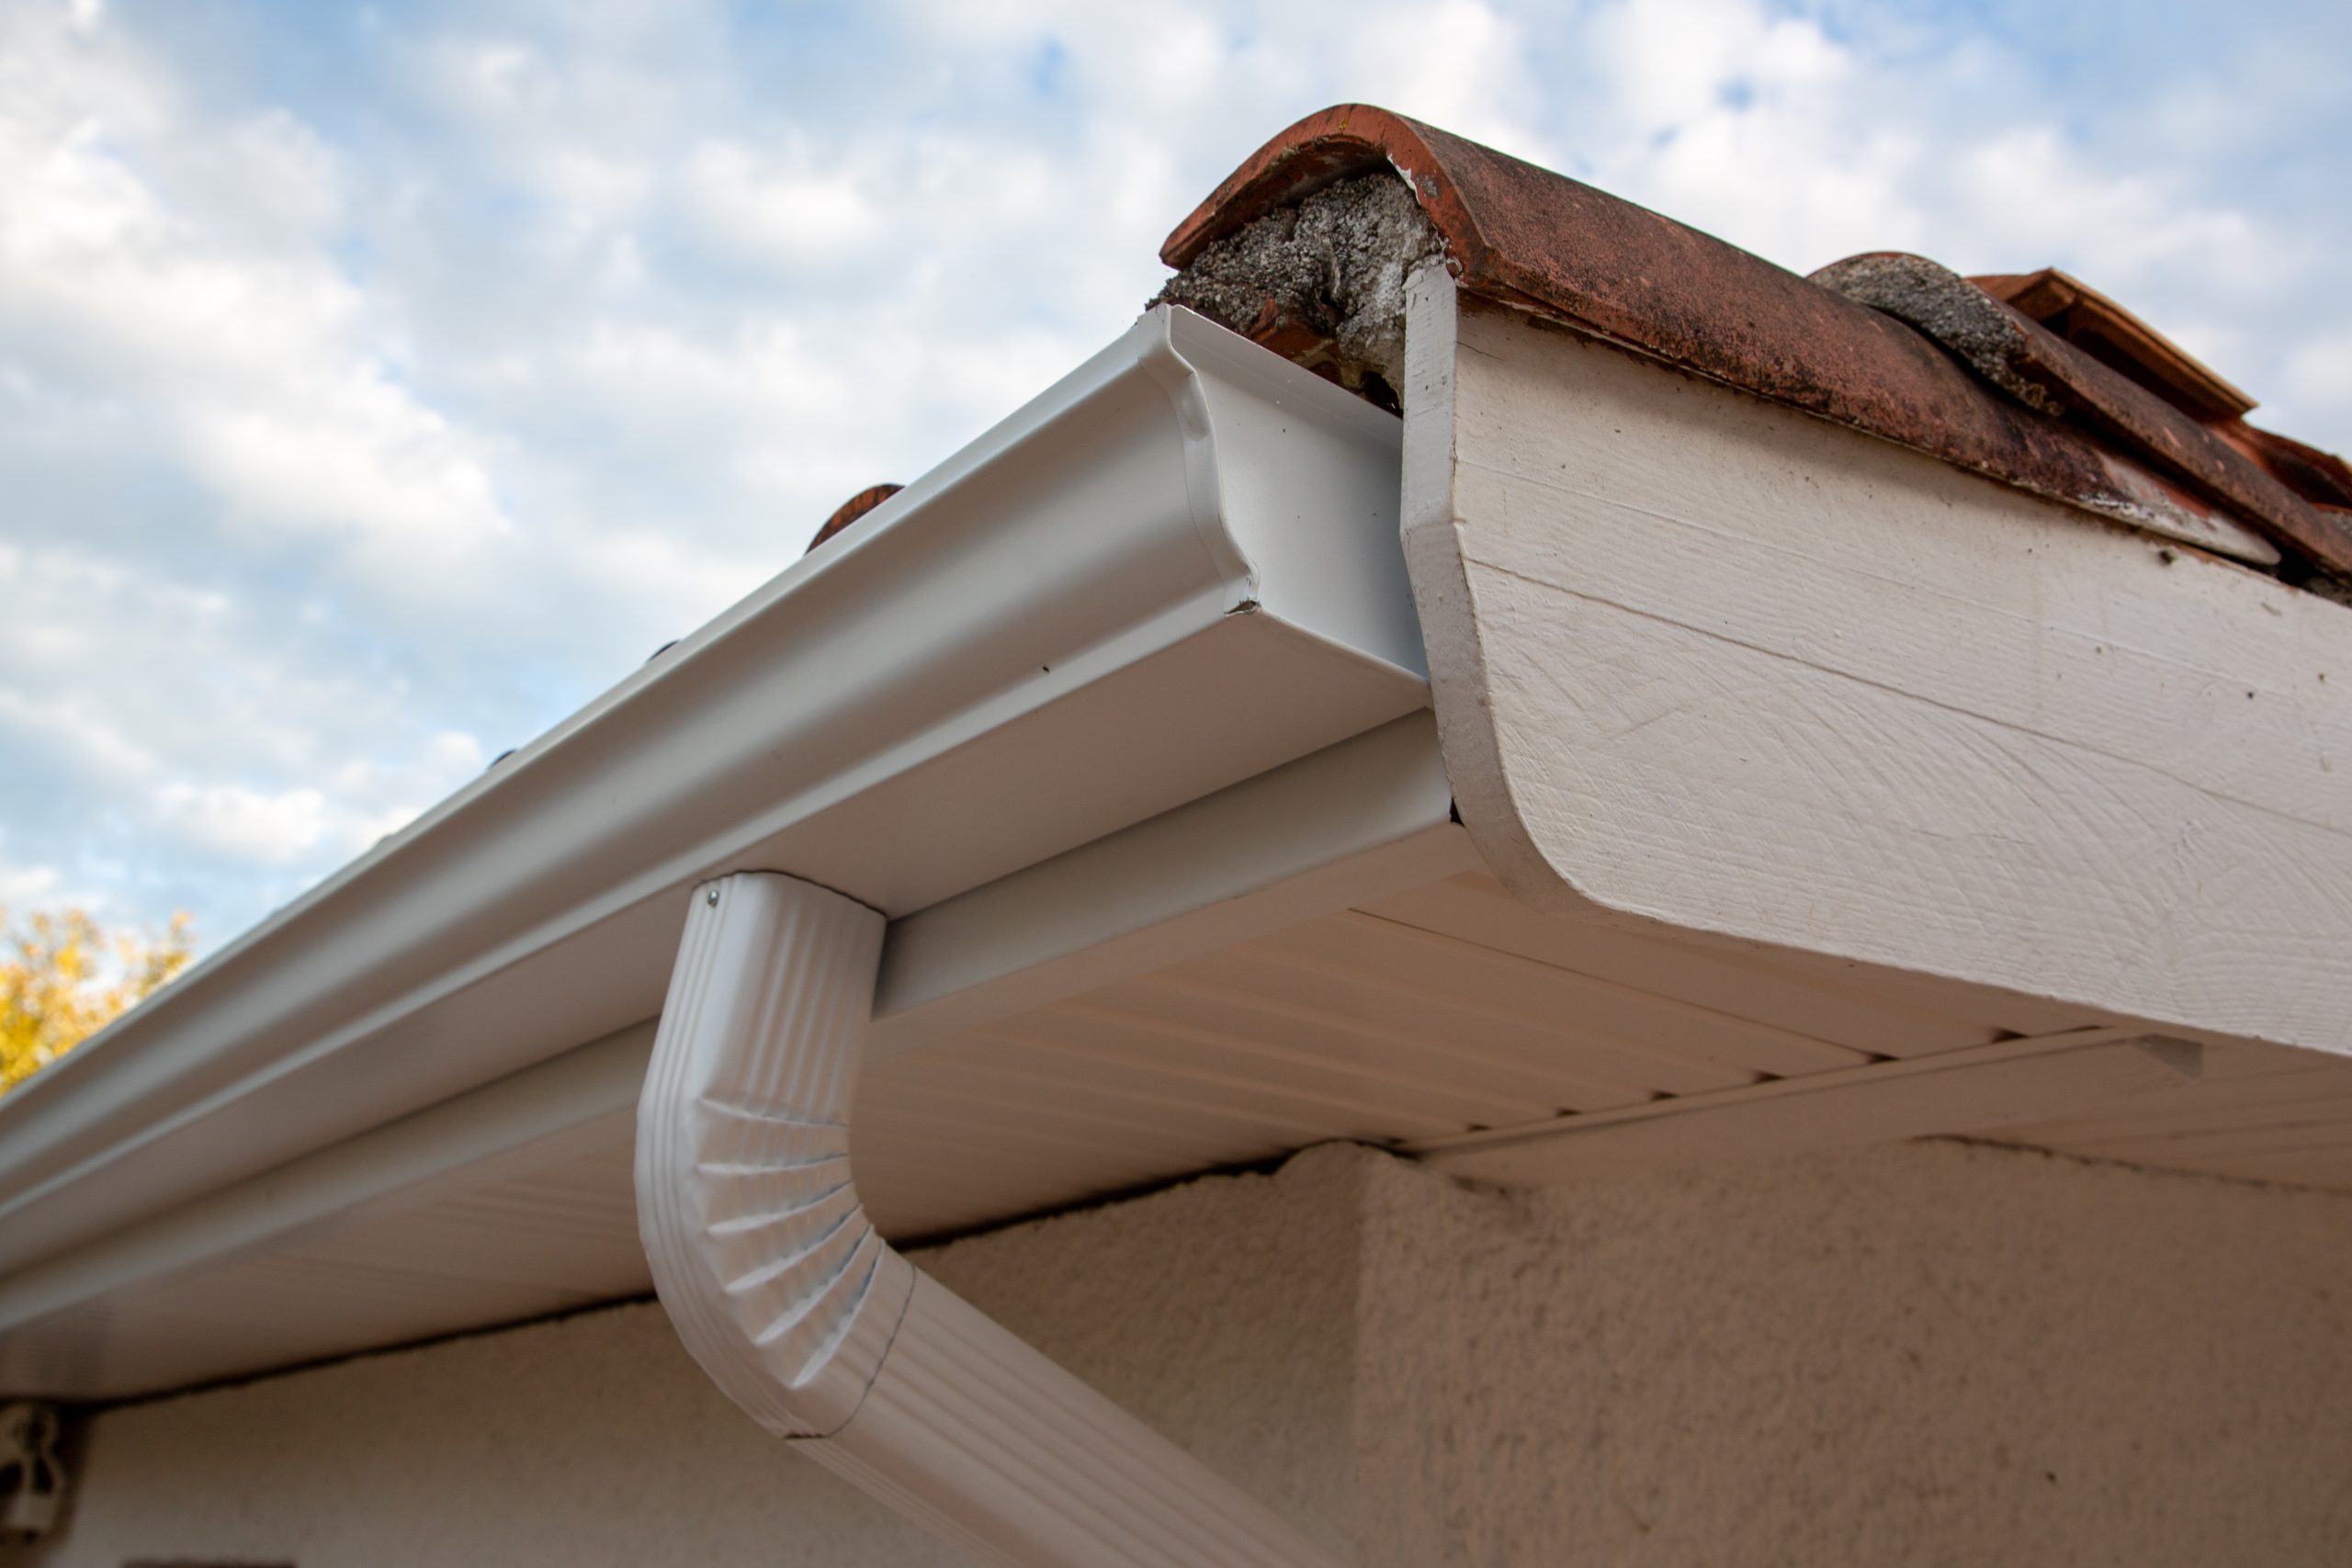
Installing gutters is an essential aspect of maintaining the structural integrity and longevity of your home. Gutters help to redirect rainwater away from the foundation, preventing basement flooding, erosion, and other water-related damage. While you may think that gutter installation is a job best left to the professionals, with the right tools and a bit of know-how, you can install gutters yourself.
In this article, we will provide you with a comprehensive guide on how to install gutters yourself. We will cover the materials and tools you will need, as well as the step-by-step process to ensure a successful installation. So, let’s dive right in and get started.
Key Takeaways:
- DIY Gutter Installation
You can save money and protect your home by installing gutters yourself. Just gather the right tools, measure accurately, and follow the step-by-step process for a successful DIY project. - Maintenance is Key
After installing your gutters, don’t forget to seal any leaks, inspect for proper alignment, and regularly clean them. Proper maintenance ensures your gutters effectively protect your home from water damage.
Read more: How To Install Corian Countertops Yourself
Gathering Materials and Tools
Before you begin the gutter installation process, it’s important to gather all the necessary materials and tools. Here’s a list of what you’ll need:
- Gutter sections
- End caps
- Downspouts and elbows
- Gutter hangers
- Gutter screws or nails
- Gutter caulking
- Measuring tape
- Pencil or marker
- Hacksaw or tin snips
- Gutter sealant
- Level
- Screwdriver or drill
- Ladder
- Safety glasses
- Gloves
Once you have all the materials and tools ready, you can proceed to the next steps.
Measuring and Marking
Accurate measurements are crucial for a successful gutter installation. Before you start cutting the gutter sections, you need to measure and mark where they will be installed. Here’s how to do it:
- Start by measuring the length of the area where the gutter will be installed. Use a measuring tape to get the exact measurement.
- Mark the high point of the gutter by determining the slope. The slope helps the water flow towards the downspouts. Generally, a slope of ¼ inch for every 10 feet of gutter length is recommended.
- Using a level, mark a straight line at the desired height for the gutter. This will serve as a reference point for installing the gutter hangers.
- Measure and mark the positions for the downspout openings. Ensure they are strategically placed to allow proper drainage.
- Using a pencil or marker, mark the positions for the gutter hangers. They should be spaced approximately every 24-36 inches along the length of the gutter.
Double-check your measurements and marks to ensure accuracy before proceeding to the next steps. Taking the time to measure and mark correctly will save you from unnecessary adjustments later on.
Cutting and Joining Gutters
Once you have measured and marked the gutter sections, it’s time to cut them to the appropriate length and join them together. Follow these steps:
- Using a hacksaw or tin snips, carefully cut the gutter sections according to your measurements. Make sure to wear safety glasses and gloves for protection.
- If you need to join multiple sections of gutter, use end caps to close off the ends of the gutters. Apply gutter sealant on the inside of the end caps and slide them onto the gutter ends.
- Next, overlap the gutter sections by at least 4 inches. Use gutter screws or nails to secure the overlapping sections together. Make sure the sections are aligned properly and tightly secured.
- If necessary, use gutter sealant to further seal the joints and prevent leaks.
Remember to take your time and double-check the measurements and alignment before cutting and joining the gutter sections. This will ensure a smooth and seamless gutter installation.
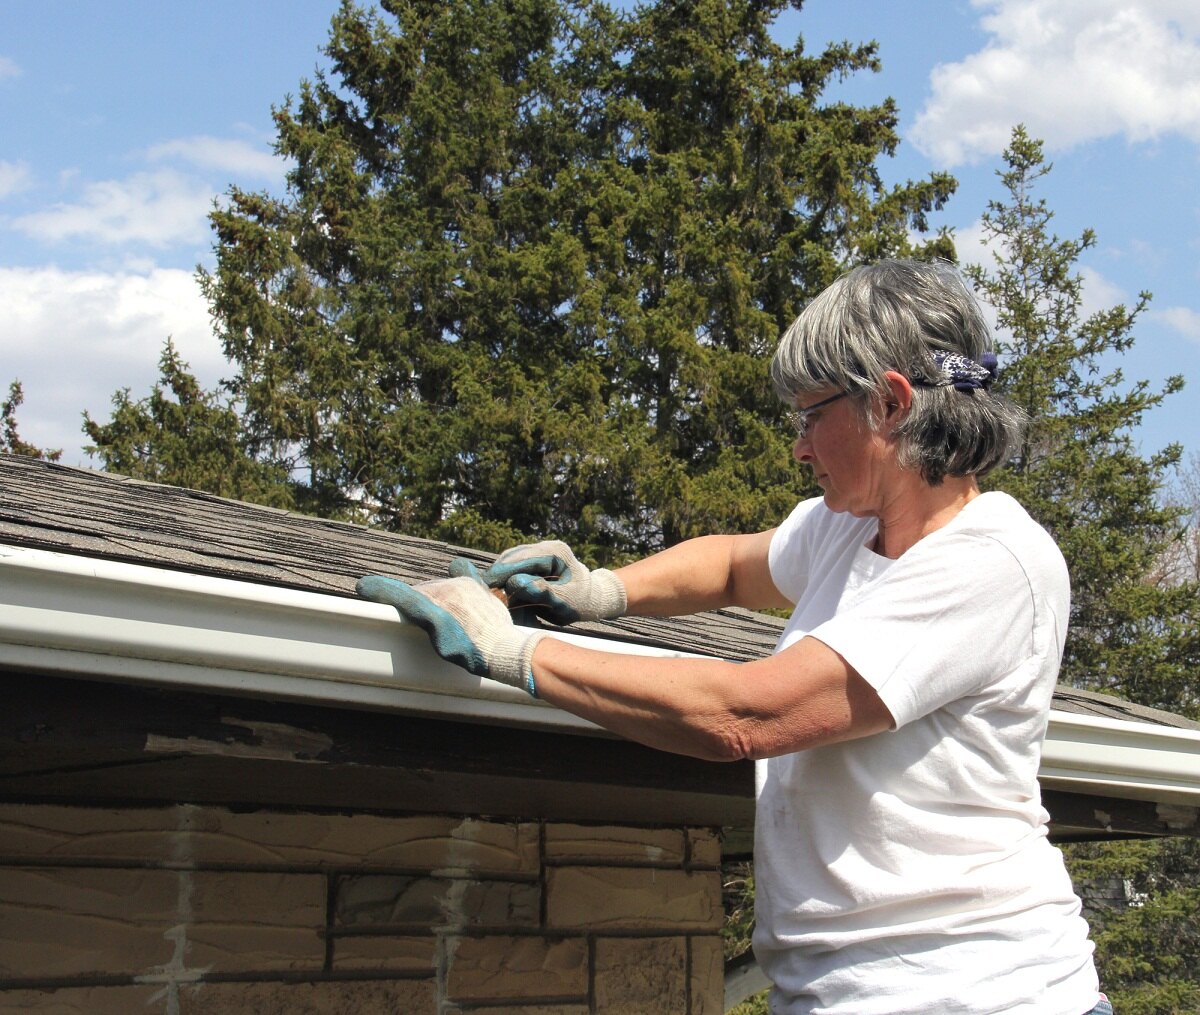
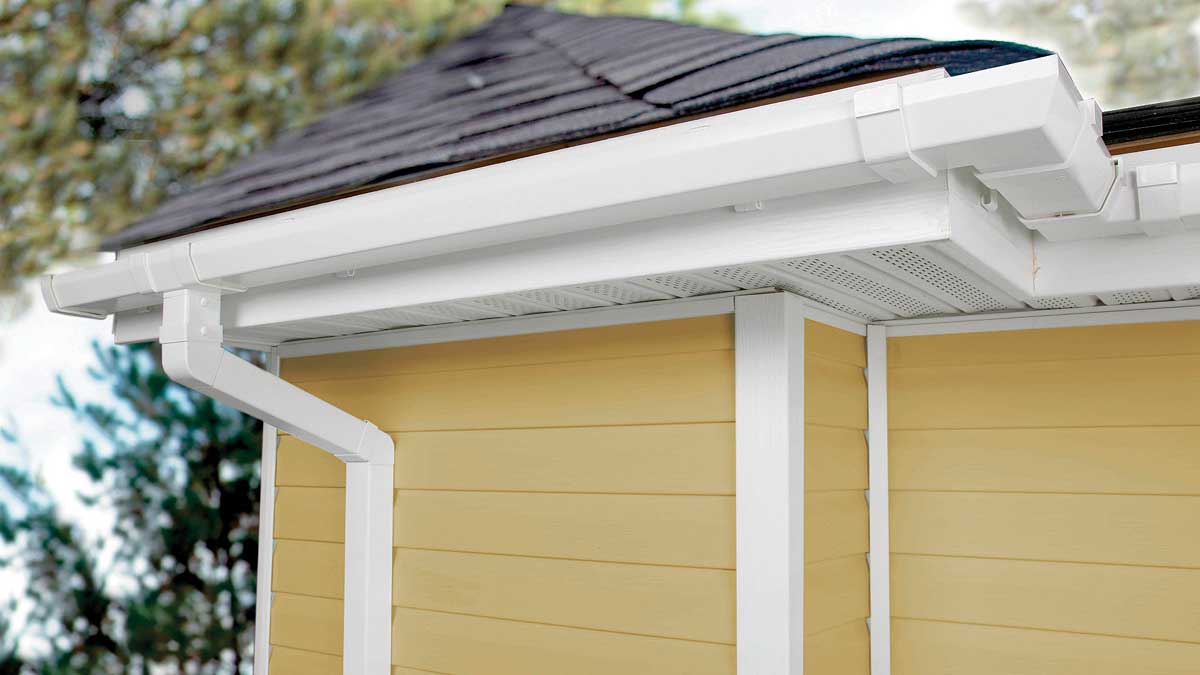
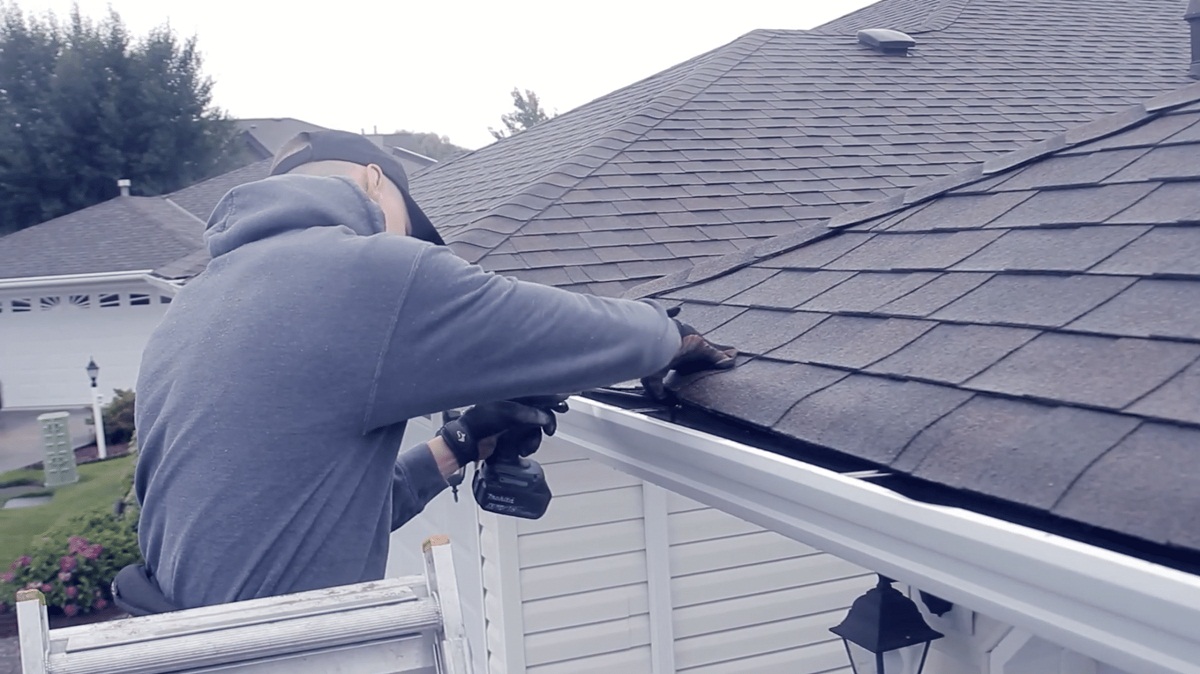
Attaching Gutters to the Fascia
Once you have cut and joined the gutter sections, it’s time to attach them to the fascia of your home. Here’s how you can do it:
- Position a gutter hanger at one end of the gutter section, aligning it with the marked line on the fascia. Make sure it is level.
- Using a drill or screwdriver, attach the gutter hanger to the fascia using screws or nails. Repeat this process for the remaining gutter hangers along the length of the gutter, spaced approximately every 24-36 inches.
- Hang the gutter section onto the hangers, ensuring it is level and aligned with the markings on the fascia.
- Secure the gutter section to the hangers using screws or nails, making sure it is firmly attached.
- Repeat this process for each gutter section, connecting them together using the overlapping technique mentioned earlier.
As you attach the gutters to the fascia, periodically check for proper alignment and levelness. This will ensure that the gutters will effectively redirect water away from your home’s foundation.
When installing gutters yourself, make sure to measure and plan carefully before starting. Proper measurements and planning will ensure that your gutters fit correctly and function effectively.
Read more: How To Install Attic Ladder By Yourself
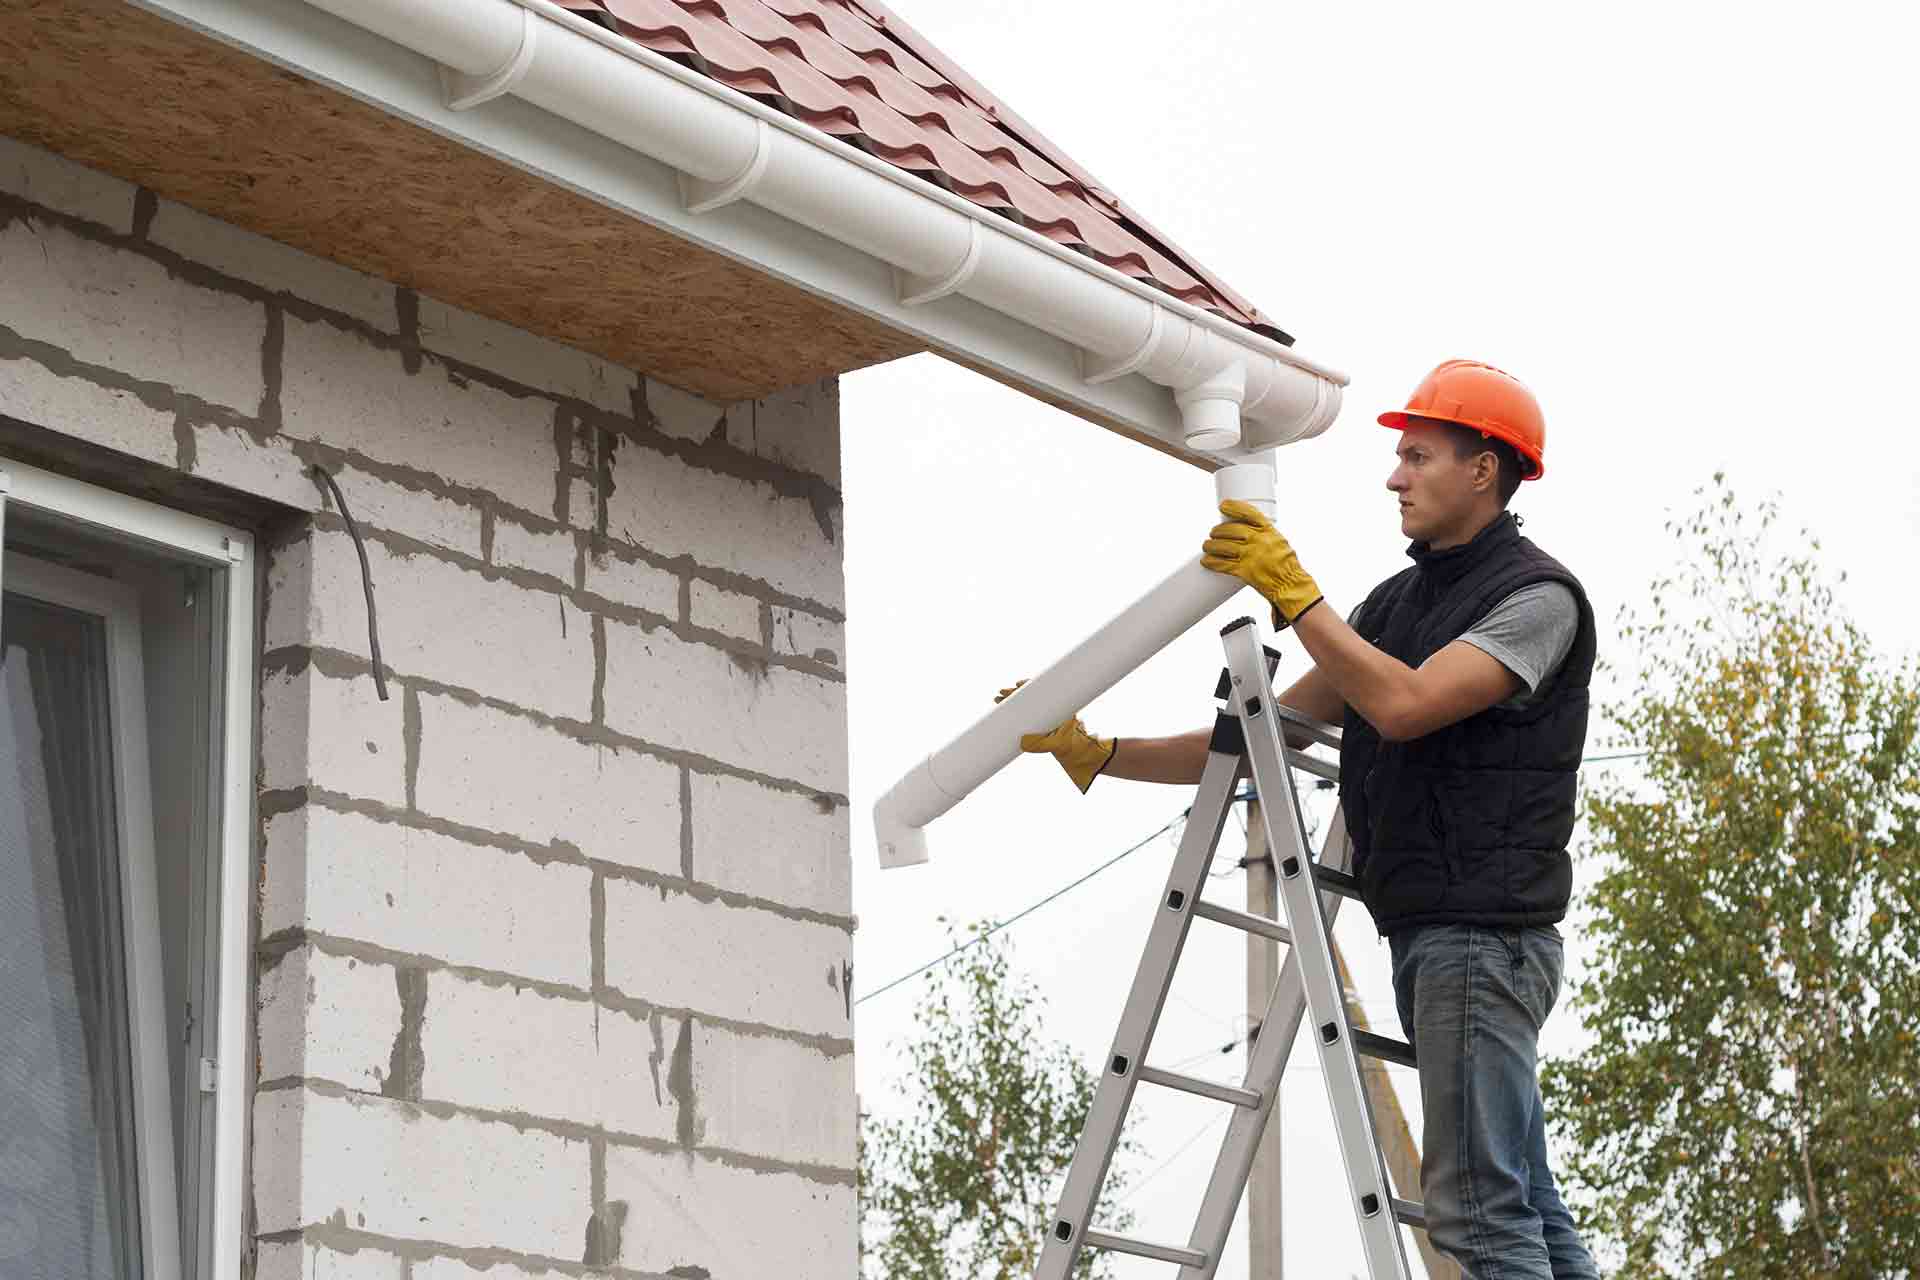
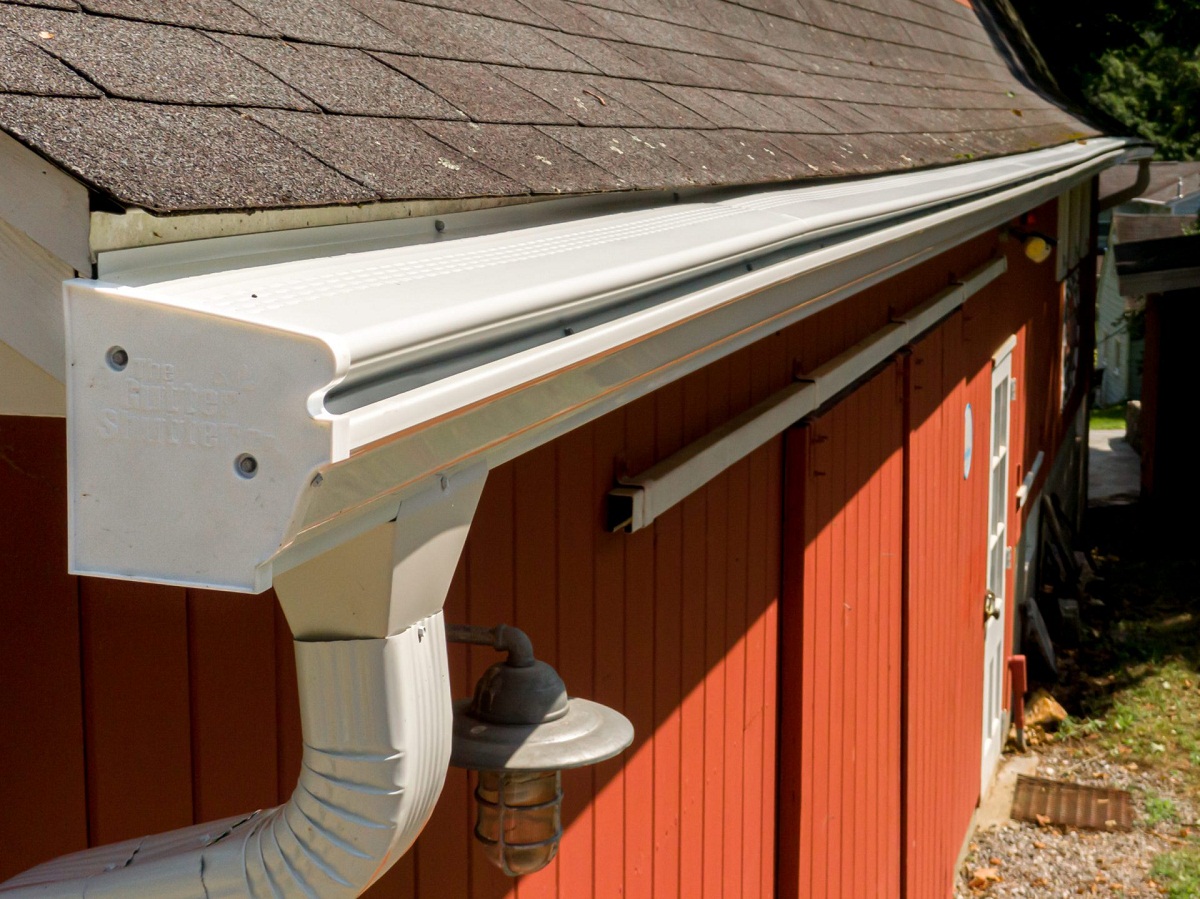
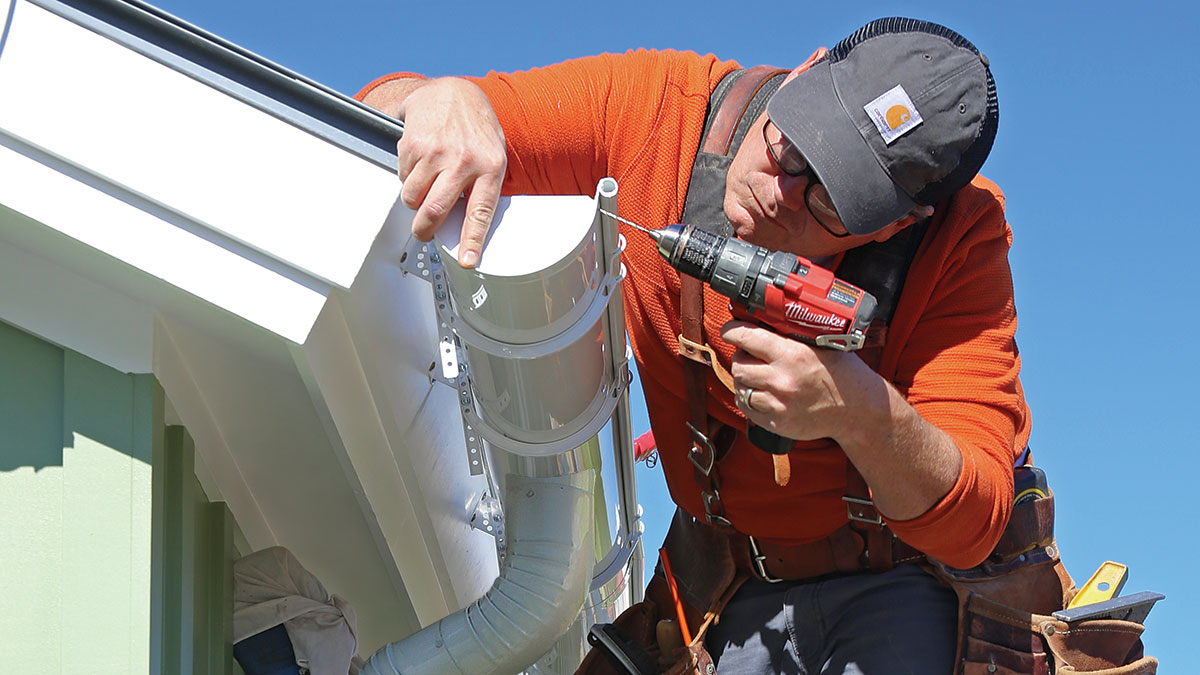
Installing Downspouts
Downspouts play a crucial role in directing water from the gutters to a safe drainage location. Here’s how you can install them:
- Measure and mark the desired location for the downspout opening on the gutter.
- Using a hole saw or tin snips, carefully cut a hole in the gutter at the marked location.
- Attach an elbow piece to the downspout outlet on the gutter. This will direct the water downward.
- Measure and mark the length of the downspout that will extend from the elbow to the ground.
- Cut the downspout to the appropriate length using a hacksaw or tin snips.
- Attach the downspout to the elbow and secure it using screws or clips.
- Install additional elbows and downspout sections as needed to direct the water away from the foundation of your home.
Ensure that the downspouts are securely attached and sloping away from the house to prevent water from pooling near the foundation. You may also consider using splash blocks or downspout extensions to further redirect the water away from your home.
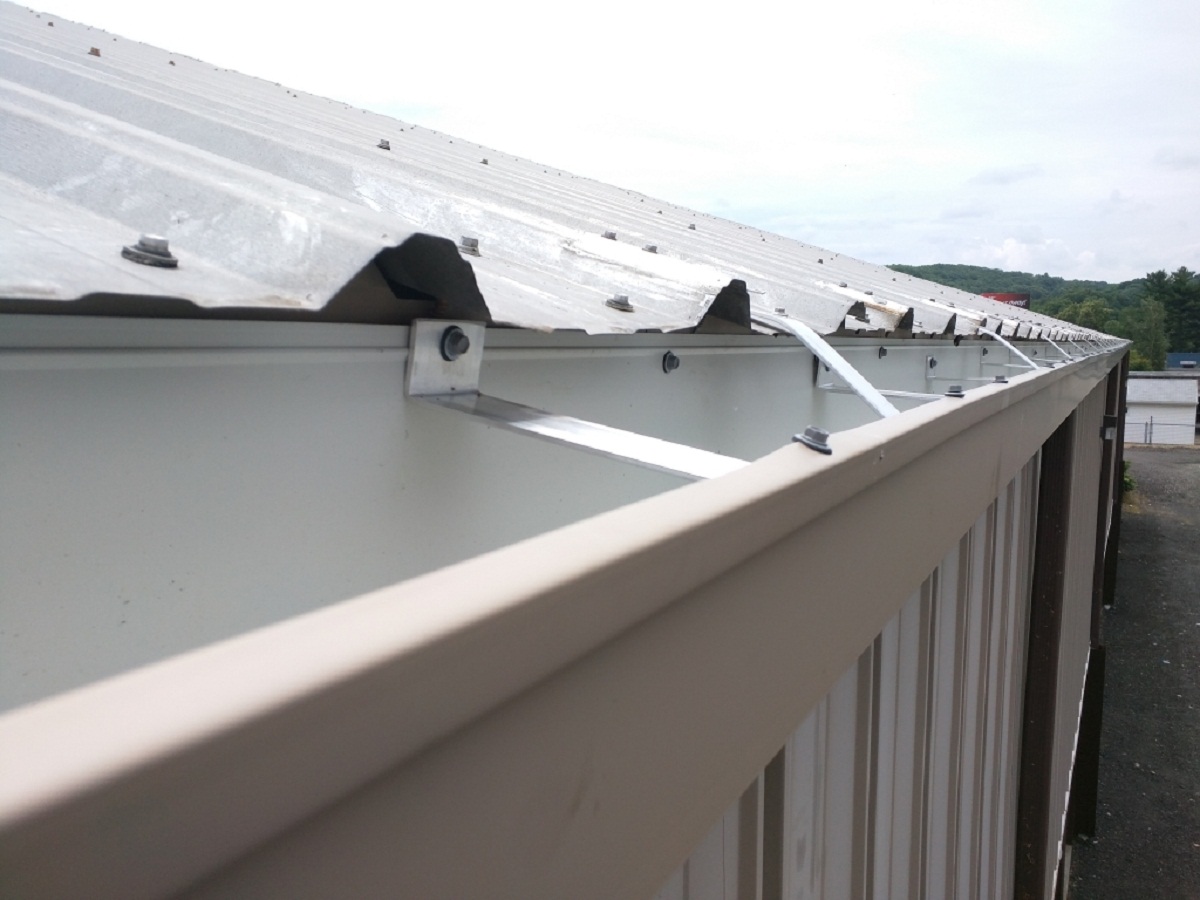
Proper Slope and Alignment
Ensuring the proper slope and alignment of your gutters is crucial for effective water drainage. Here’s what you need to do:
- Check the alignment of the gutter sections to ensure they are level and properly aligned with the markings on the fascia.
- Use a level to confirm that the gutter sections have a slight slope towards the downspouts. Aim for a slope of approximately ¼ inch for every 10 feet of gutter length.
- Make any necessary adjustments to the gutter hangers or downspout angles to achieve the correct slope.
- Check for any sagging or low spots in the gutters. Use additional gutter hangers or adjust the existing ones to provide adequate support and maintain a consistent slope.
It’s important to ensure that water can flow freely through the gutters and downspouts without obstructions or pooling. Proper slope and alignment will help prevent water from overflowing or causing damage to your home’s foundation.
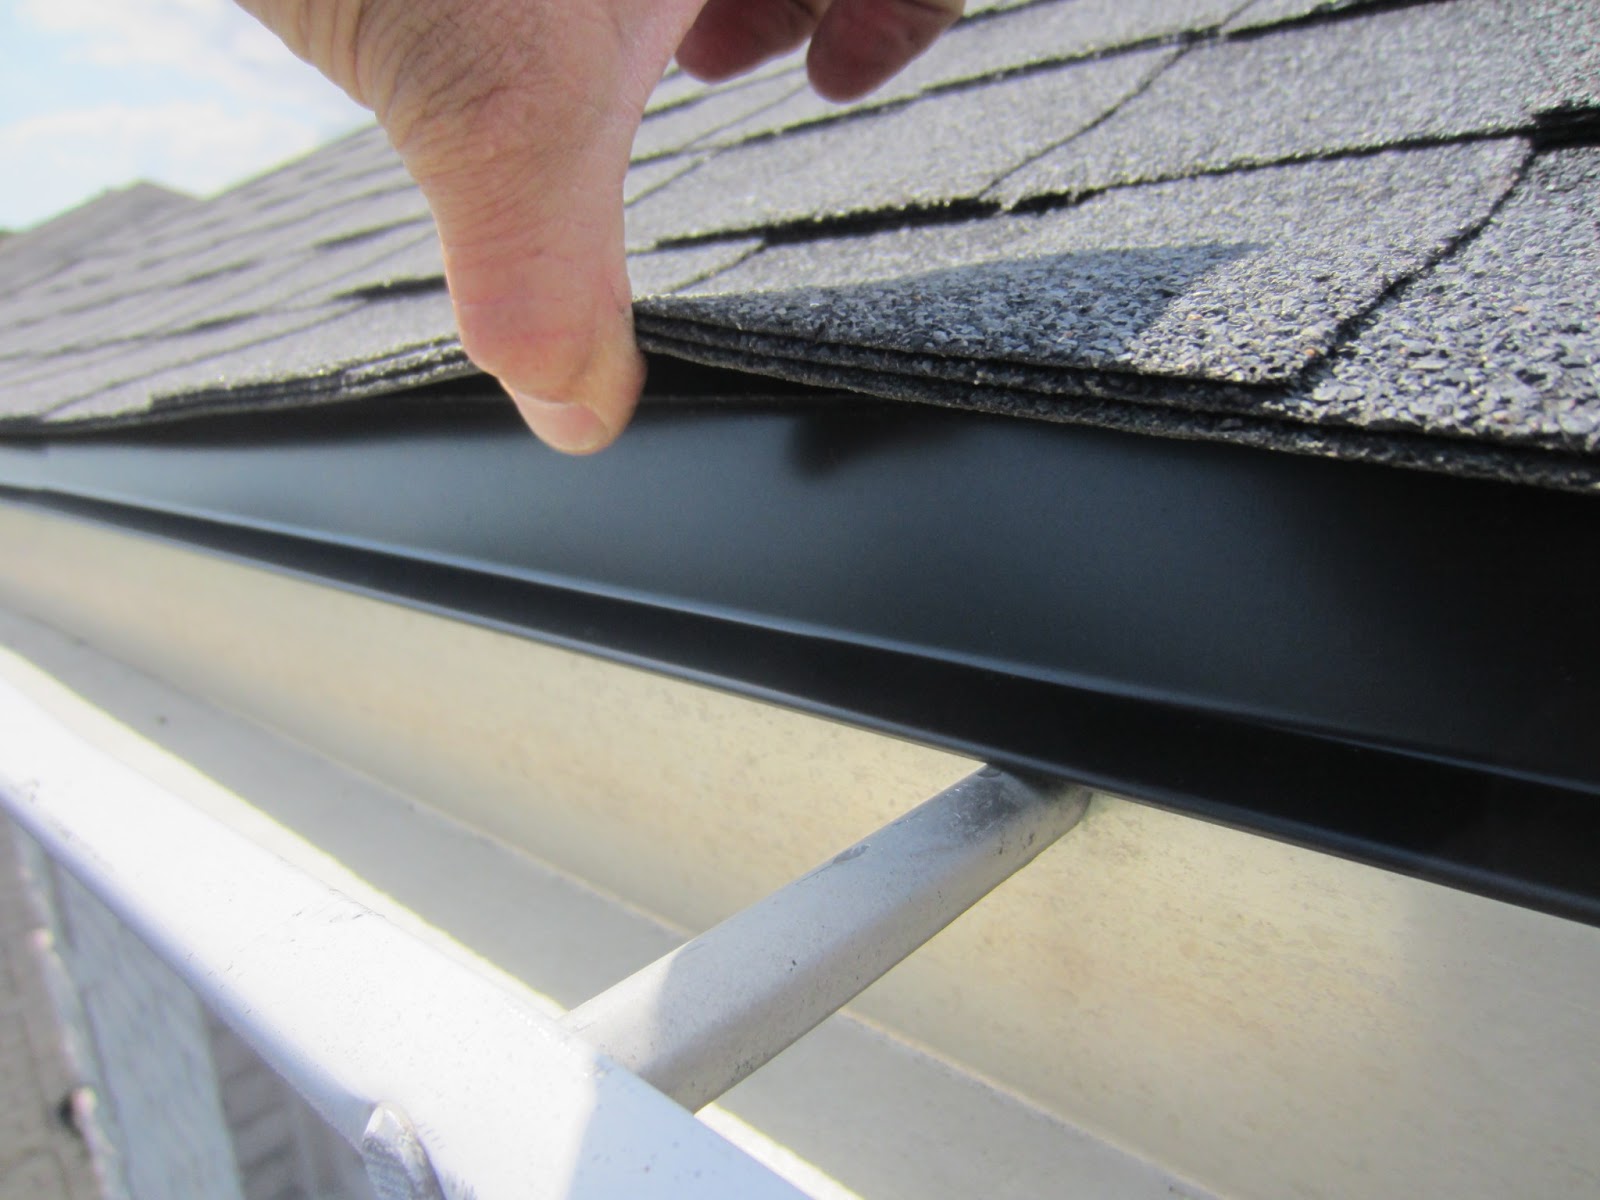
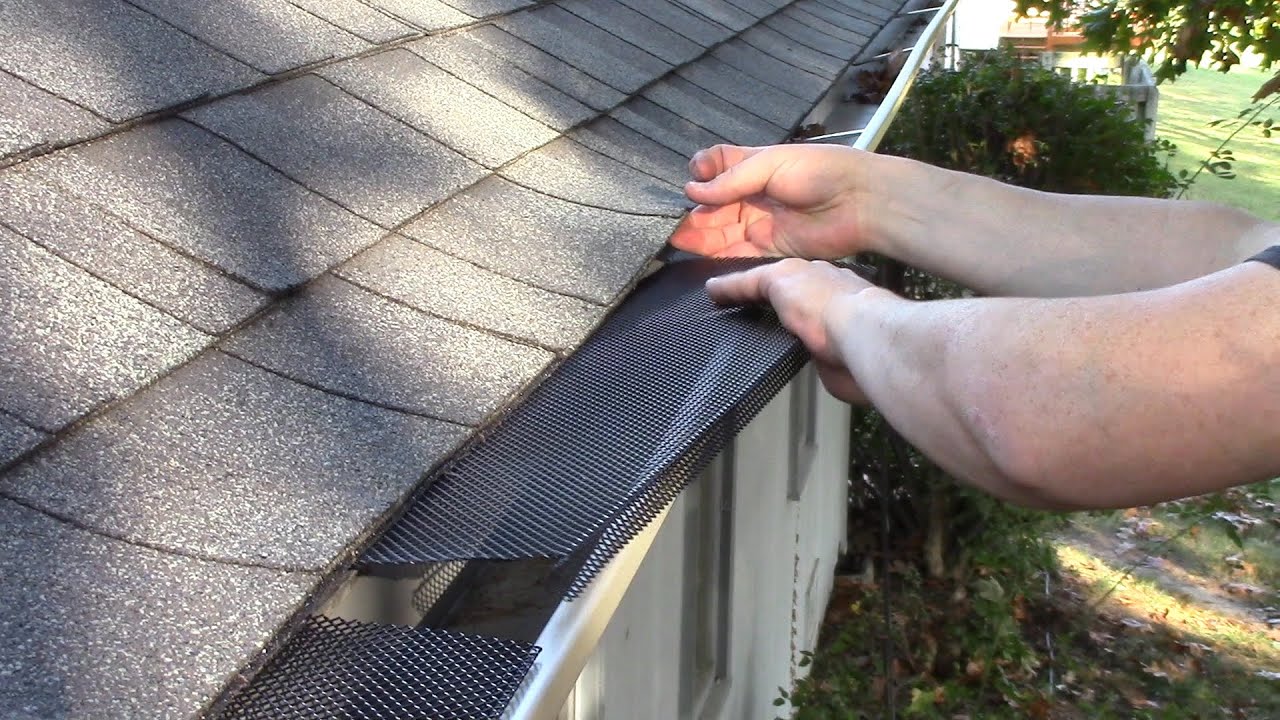
Sealing and Inspecting Gutters
After installing the gutters, it’s important to seal any potential leaks and thoroughly inspect the entire system. Follow these steps:
- Inspect all the seams and joints of the gutters for any signs of leaks or gaps.
- If you notice any leaks or gaps, apply gutter sealant to seal them properly. Ensure that the sealant is compatible with the gutter material.
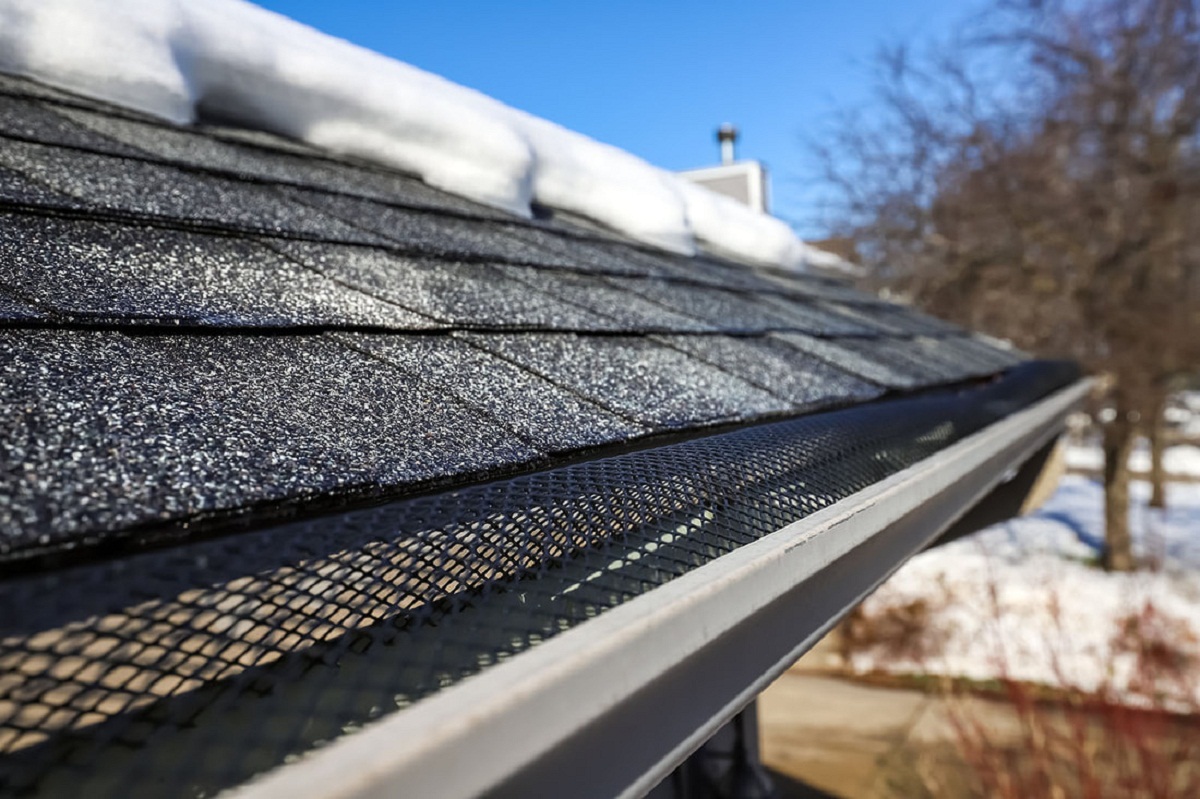
- Inspect the downspouts for any clogs or blockages. Clear any debris or obstructions that may hinder proper water flow.
- Run water through the gutters and downspouts to test their functionality. Check for any leaks or overflowing water.
- Inspect the entire gutter system for proper alignment, slope, and support. Adjust or reinforce any areas that may need attention.
- Perform a final inspection of the gutters to ensure that they are securely fastened and ready to withstand the elements.
Regularly maintain and clean your gutters to keep them functioning optimally. This includes removing debris, leaves, and other materials that can cause clogs or blockages.
By sealing and inspecting your gutters, you can ensure they are in top-notch condition and ready to protect your home from water damage.
Conclusion
Installing gutters yourself is a rewarding and cost-effective way to protect your home from water damage. With the right materials, tools, and a step-by-step approach, you can successfully install gutters and ensure they function properly.
Throughout this guide, we have covered the essential steps involved in gutter installation, from gathering materials and tools to sealing and inspecting the gutters. Taking the time to measure accurately, cut and join the gutter sections, and properly attach them to the fascia will result in a reliable gutter system that effectively redirects water away from your home.
Remember to maintain your gutters regularly by cleaning them and checking for any signs of damage or clogs. Proper slope, alignment, and sealing will ensure that your gutters can effectively protect your home’s foundation and prevent water-related issues.
While installing gutters yourself may require some time and effort, the peace of mind knowing that your home is safeguarded against water damage is truly invaluable. So, roll up your sleeves, gather your materials, and get started on installing your own gutters.
By following this comprehensive guide and utilizing your newfound knowledge, you’ll be well on your way to becoming a DIY gutter installation expert.
Frequently Asked Questions about How To Install Gutters Yourself
Was this page helpful?
At Storables.com, we guarantee accurate and reliable information. Our content, validated by Expert Board Contributors, is crafted following stringent Editorial Policies. We're committed to providing you with well-researched, expert-backed insights for all your informational needs.


0 thoughts on “How To Install Gutters Yourself”