Articles
How To Install Gutters On A Metal Building
Modified: October 18, 2024
Learn how to install gutters on a metal building with our informative articles. Get expert tips and step-by-step instructions for a successful installation.
(Many of the links in this article redirect to a specific reviewed product. Your purchase of these products through affiliate links helps to generate commission for Storables.com, at no extra cost. Learn more)
Introduction
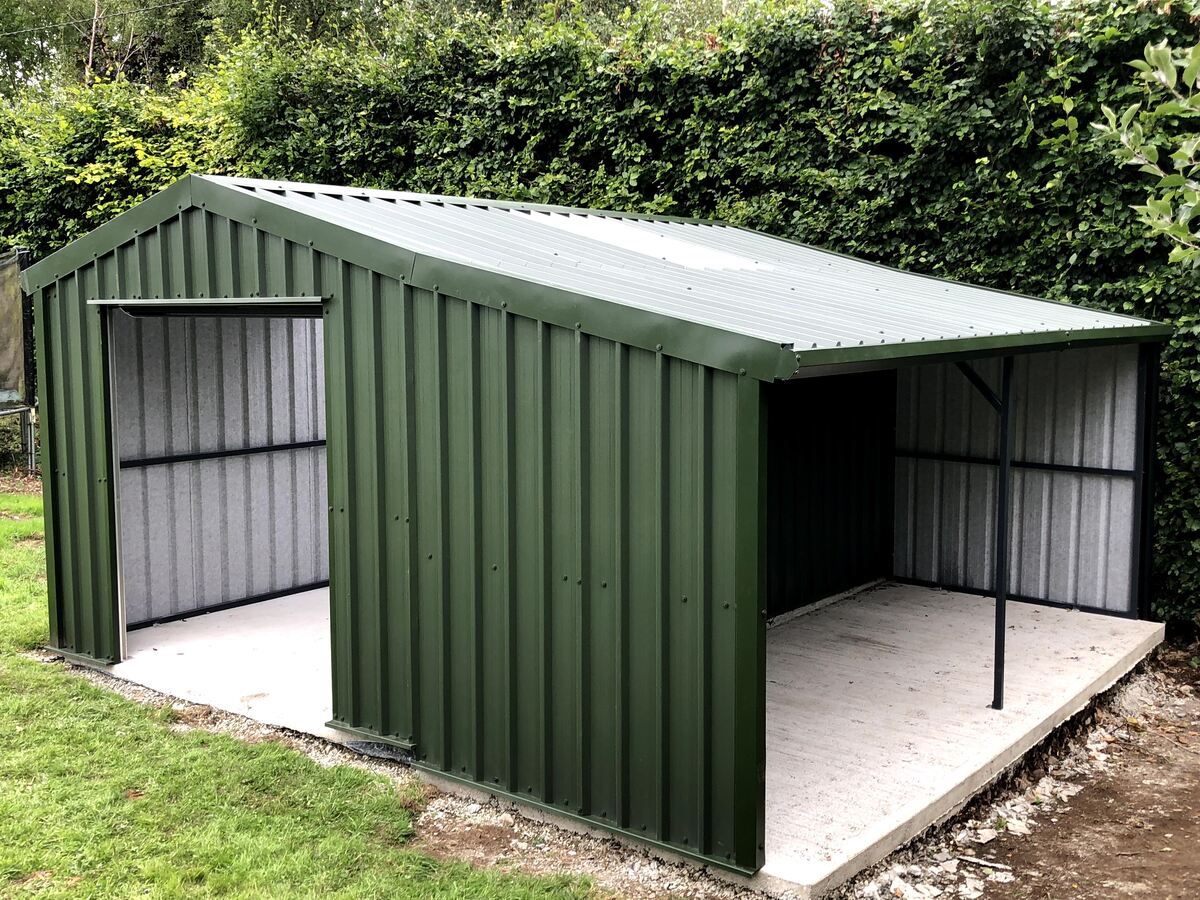
Gutters play a crucial role in protecting your metal building from water damage. They allow rainwater to flow away from the roof, preventing it from pooling or causing structural issues. Installing gutters on a metal building may seem challenging at first, but with the right materials and steps, it can be a manageable task.
In this article, we will guide you through the process of installing gutters on a metal building. We will cover the materials you’ll need, as well as the step-by-step instructions to ensure a successful installation. So, let’s get started!
Key Takeaways:
- Proper preparation, measurement, and planning are crucial for successful gutter installation on a metal building. Attention to detail and the right materials ensure efficient water drainage and protection from potential damage.
- Regular maintenance and testing of the gutter system are essential to ensure proper functionality and longevity. Prioritize safety, seek professional assistance if needed, and enjoy the peace of mind that comes with a well-protected metal building.
Read more: How To Install Gutters On Metal Roof
Materials Needed
Before you begin the installation process, make sure you have all the necessary materials and tools. Here is a list of items you will need:
- Gutter sections: Determine the length and number of gutter sections required based on the dimensions of your metal building.
- Gutter hangers: These are metal brackets that attach the gutters to the building. Make sure you have enough hangers to securely support the gutters.
- Downspouts: These are vertical pipes that carry water from the gutters to the ground. Get the appropriate number of downspouts based on the size of your building.
- Gutter screws: Use these to secure the gutter hangers to the building and to connect the gutter sections together.
- End caps: These are placed at the ends of the gutters to prevent water from flowing out.
- Gutter sealant: Use a waterproof sealant to ensure that the gutters are tightly sealed and prevent any leaks.
- Measuring tape: You’ll need this to measure the dimensions of your building and determine the length of gutter sections and downspouts.
- Chalk line or string: Use this to create a straight line for positioning the gutter hangers.
- Drill or screwdriver: Depending on the type of screws you have, you’ll need a drill or screwdriver to secure the gutter hangers and screws in place.
- Ladder or scaffolding: Make sure you have a safe and sturdy ladder or scaffolding to reach the roof of your metal building.
- Safety equipment: It’s essential to wear safety goggles, gloves, and a helmet while working on the installation to protect yourself from any potential hazards.
By gathering all the necessary materials upfront, you can avoid any delays during the installation process and ensure a smooth and efficient workflow.
Step 1: Measure and Plan
The first step in installing gutters on a metal building is to carefully measure and plan the layout. This will ensure that you have the correct length and number of gutter sections, as well as the proper placement of downspouts.
Start by measuring the length of your metal building’s eaves, where the gutters will be installed. Use a measuring tape to get an accurate measurement from one end to the other. Take note of any corners or angles that may require additional gutter sections.
Next, decide on the positioning of the downspouts. It’s best to place them near the corners of the building for efficient water drainage. Measure the distance from the corners to determine where the downspouts will be located.
Once you have the measurements, you can calculate the length of the gutter sections needed. Keep in mind that it’s better to have slightly longer gutter sections that can be trimmed if needed, rather than ones that are too short.
Using a chalk line or string, create a straight reference line along the eaves of the building. This line will guide you in positioning the gutter hangers evenly. Make sure to account for any slope in the gutter system to ensure proper water drainage.
With the measurements and layout plan in hand, you can now proceed to the next step of preparing the metal building for gutter installation.
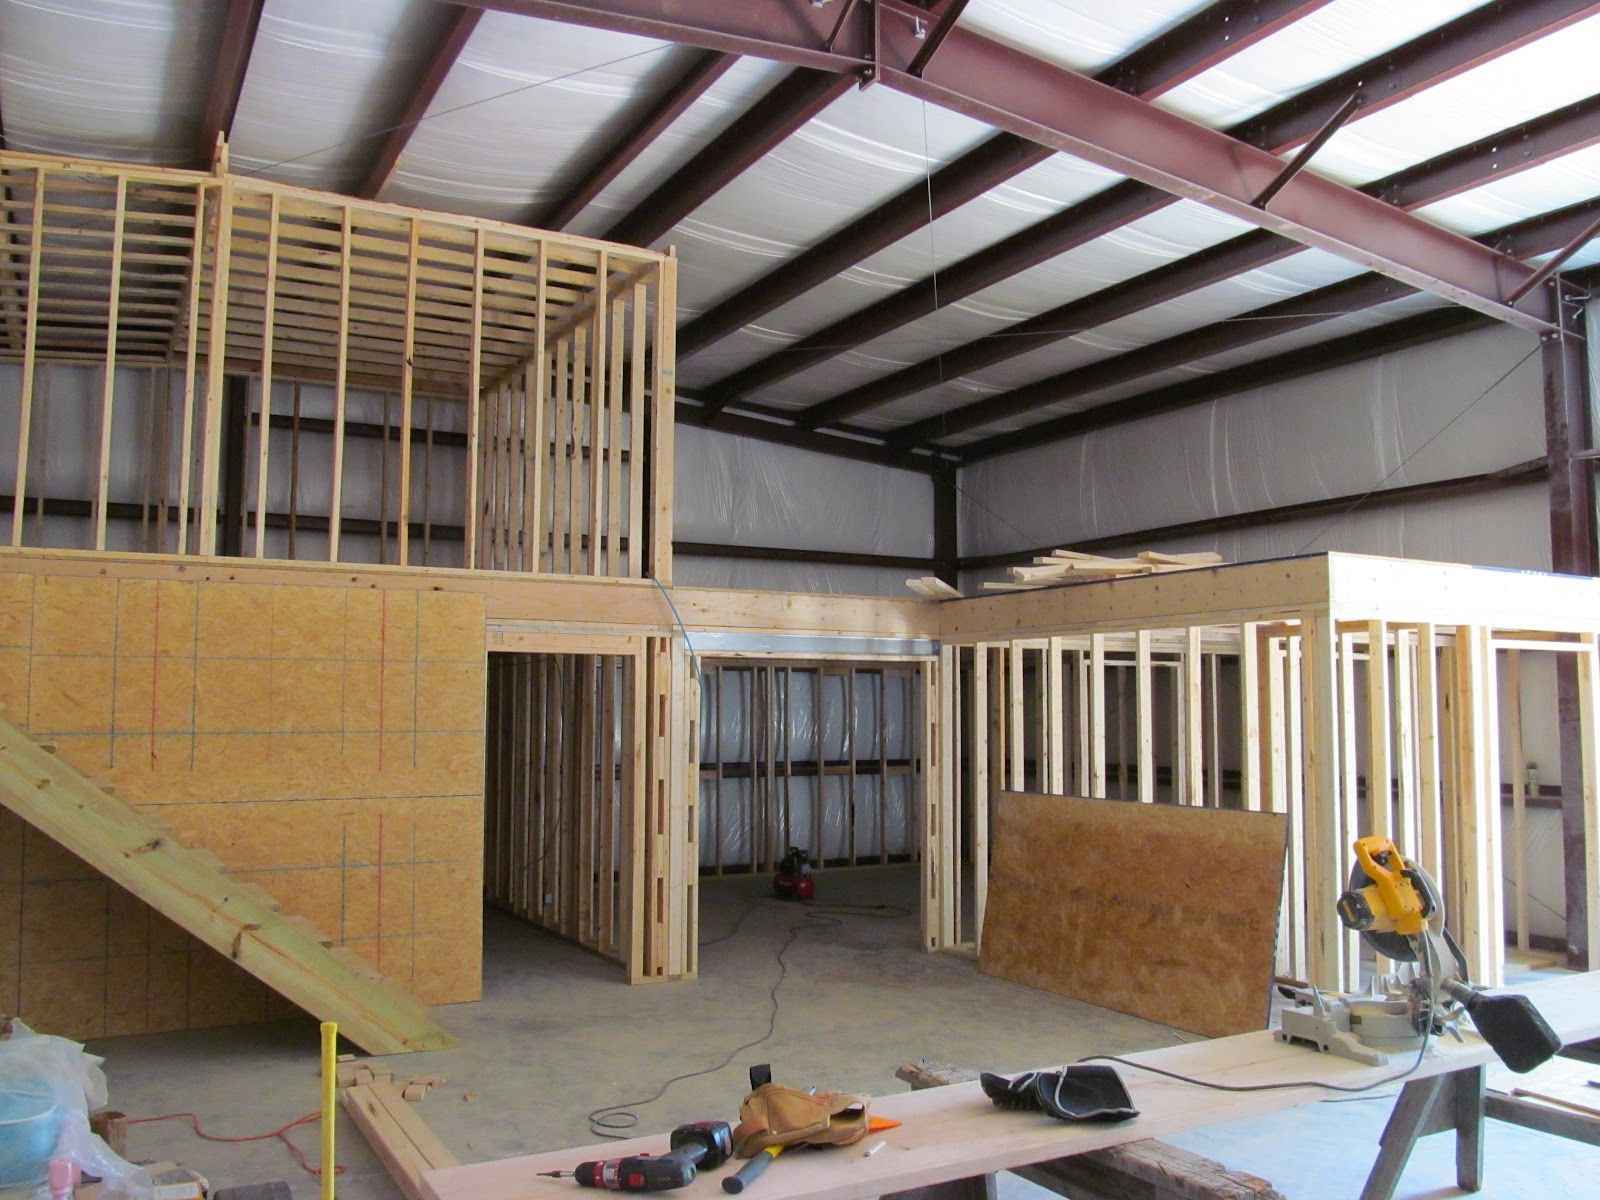
Step 2: Prepare the Building
Before you can start installing the gutters on your metal building, it’s crucial to properly prepare the building surface. This step will ensure a stable and secure foundation for the gutters.
Begin by cleaning the eaves of the building. Remove any dirt, debris, or loose materials that may interfere with the installation process. Use a broom, brush, or a pressure washer to thoroughly clean the surface.
Inspect the roof and eaves for any signs of damage or rust. Repair or replace any damaged sections to ensure a solid foundation for the gutters. Additionally, check for any loose screws or nails and tighten or replace them as needed.
If necessary, apply a coat of paint or sealant to the eaves to provide extra protection against corrosion. This step is especially important if your metal building is exposed to harsh weather conditions.
Make sure that the eaves are level and straight. Use a level or a straightedge to double-check the alignment. If there are any irregularities or uneven areas, now is the time to address them before proceeding with the gutter installation.
It’s also important to consider the location of the downspouts. Ensure that there is adequate space for the downspouts to direct the water away from the building’s foundation. If necessary, make any adjustments to accommodate the downspout placement.
By properly preparing the building surface, you’re setting the stage for a successful gutter installation. With a clean, level, and stable foundation, you can move on to the next step of installing gutter hangers.
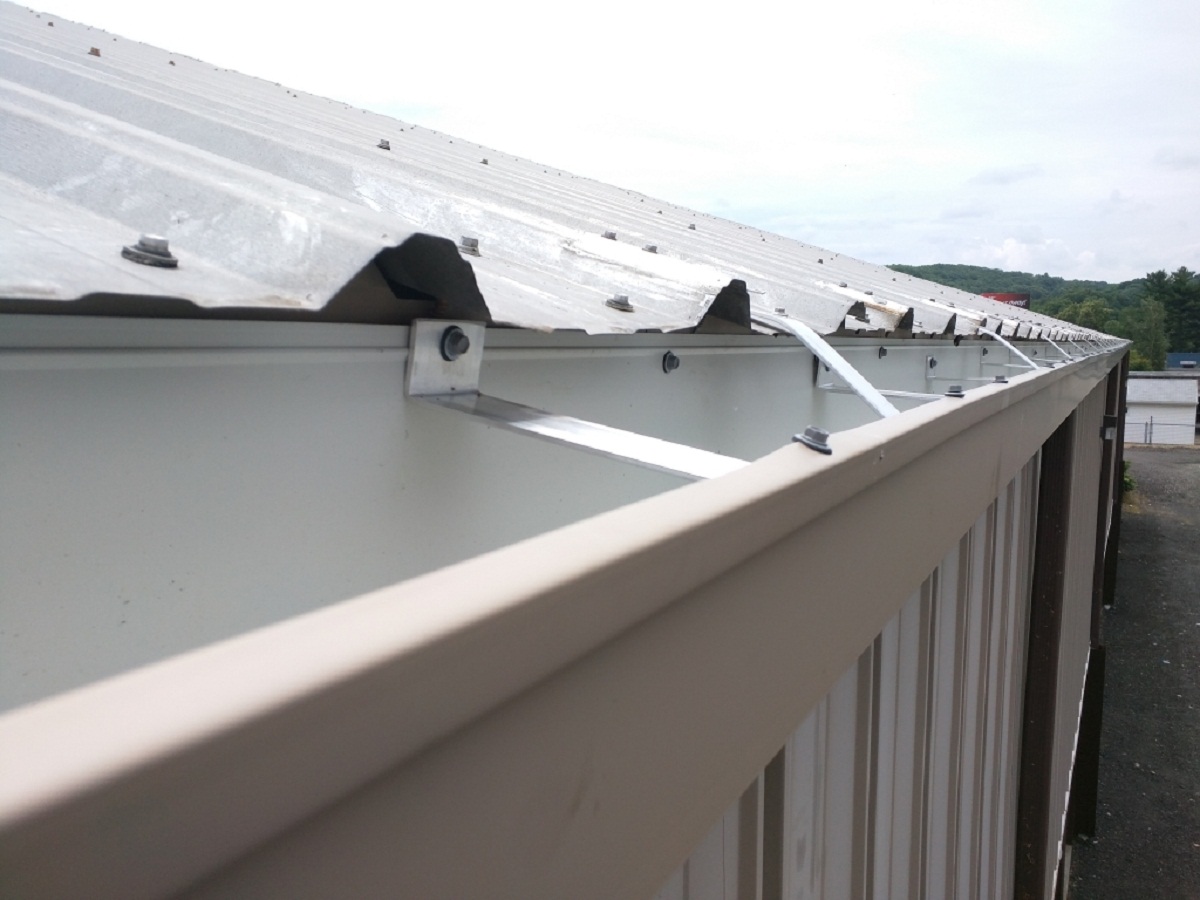
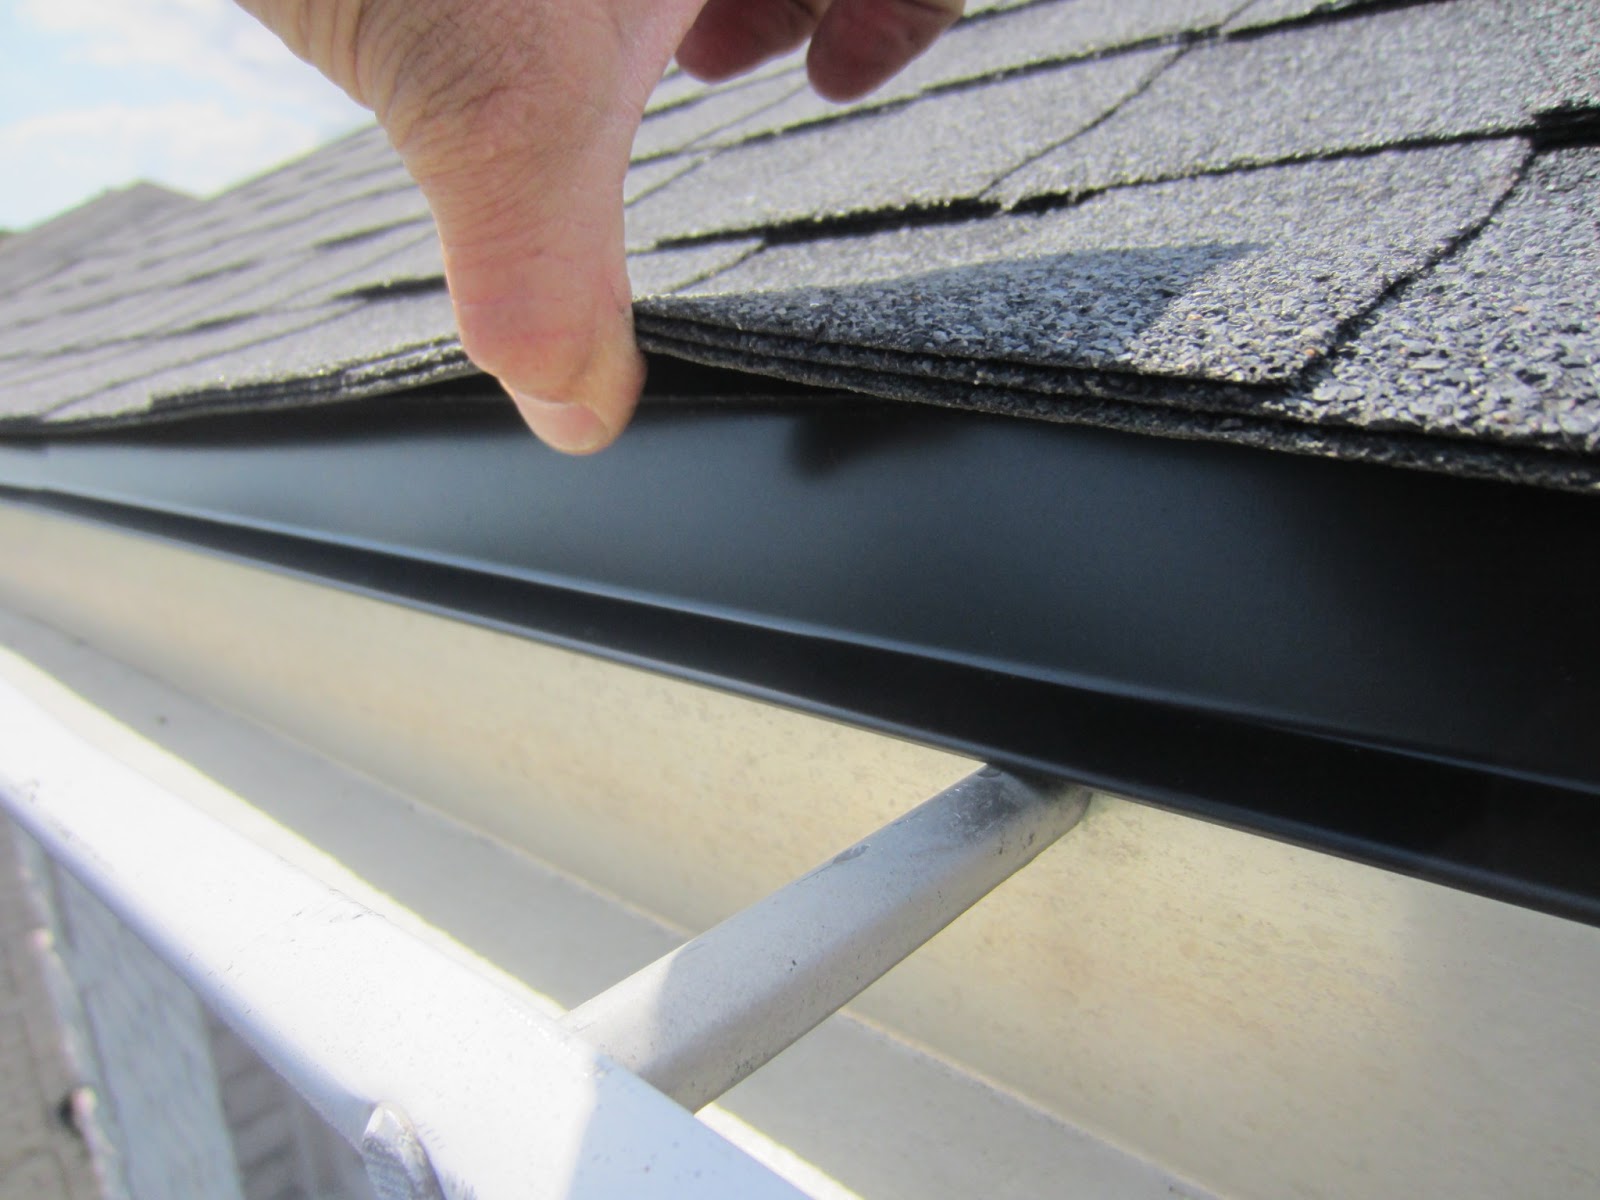
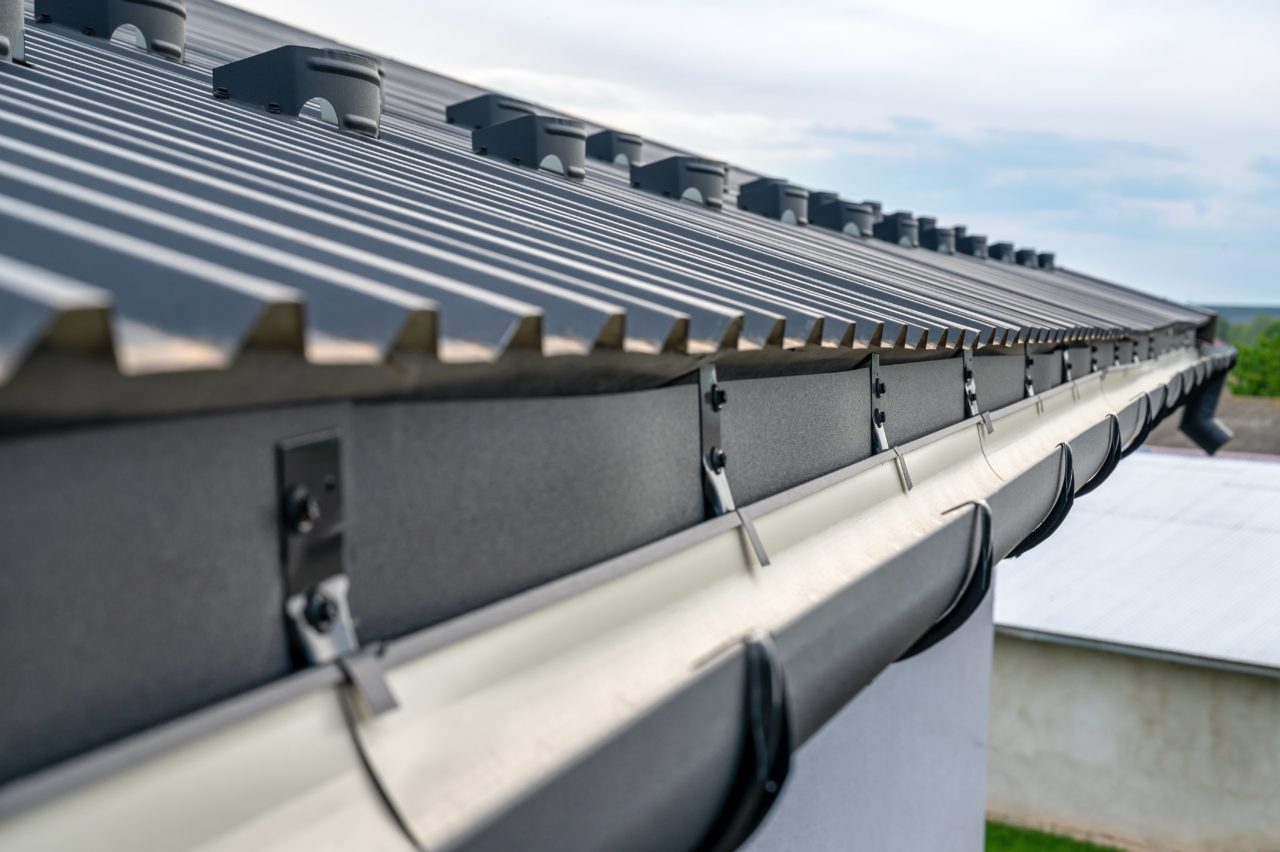
Step 3: Install Gutter Hangers
With the building surface prepared, it’s time to start installing the gutter hangers. These metal brackets will secure the gutters to the building and provide the necessary support.
Begin by marking the positions of the gutter hangers along the chalk line or string you created in Step 1. Start at one end of the building and space the hangers evenly according to the manufacturer’s recommendations. Typically, hangers are installed every 24 to 36 inches.
Using a drill or screwdriver, attach the gutter hangers to the eaves using the appropriate screws. Make sure to align the hangers with the chalk line or string and ensure that they are level. The hangers should be firmly secured to the building to withstand the weight of the gutters and any heavy rainfall.
As you install the hangers, double-check the alignment and spacing to maintain consistency throughout the gutter system. Adjust and reposition the hangers as needed to create a straight and even installation.
If there are any corners or turns in the gutter system, you may need to use special hangers designed for these areas. Consult the manufacturer’s instructions or seek professional advice for the best hanger options for your specific needs.
Continue installing the gutter hangers along the entire length of the building, ensuring that they are securely fastened and evenly spaced. Once all the hangers are in place, you’re ready to move on to the next step of attaching the gutters to the hangers.
When installing gutters on a metal building, make sure to use the correct size and type of gutter to match the roof pitch and size. It’s also important to properly seal and secure the gutters to prevent leaks and damage to the building.
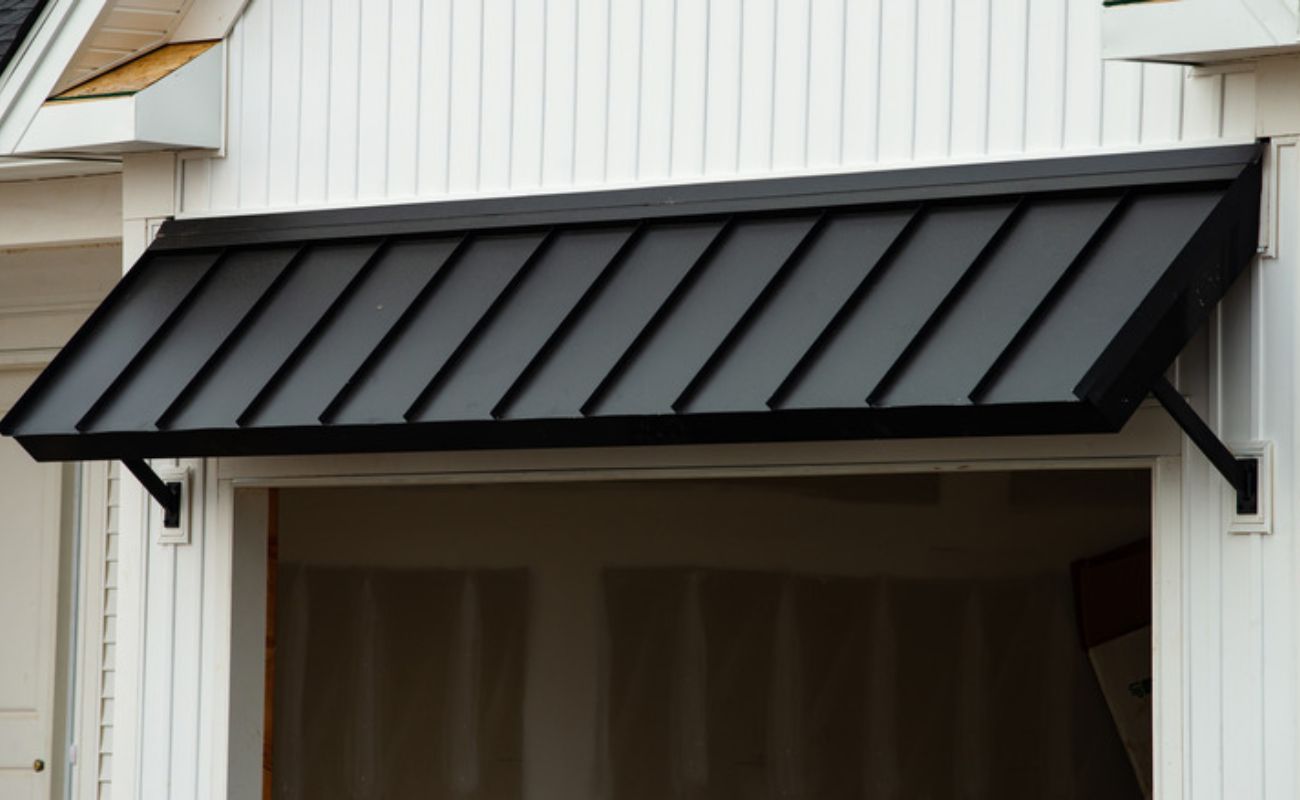
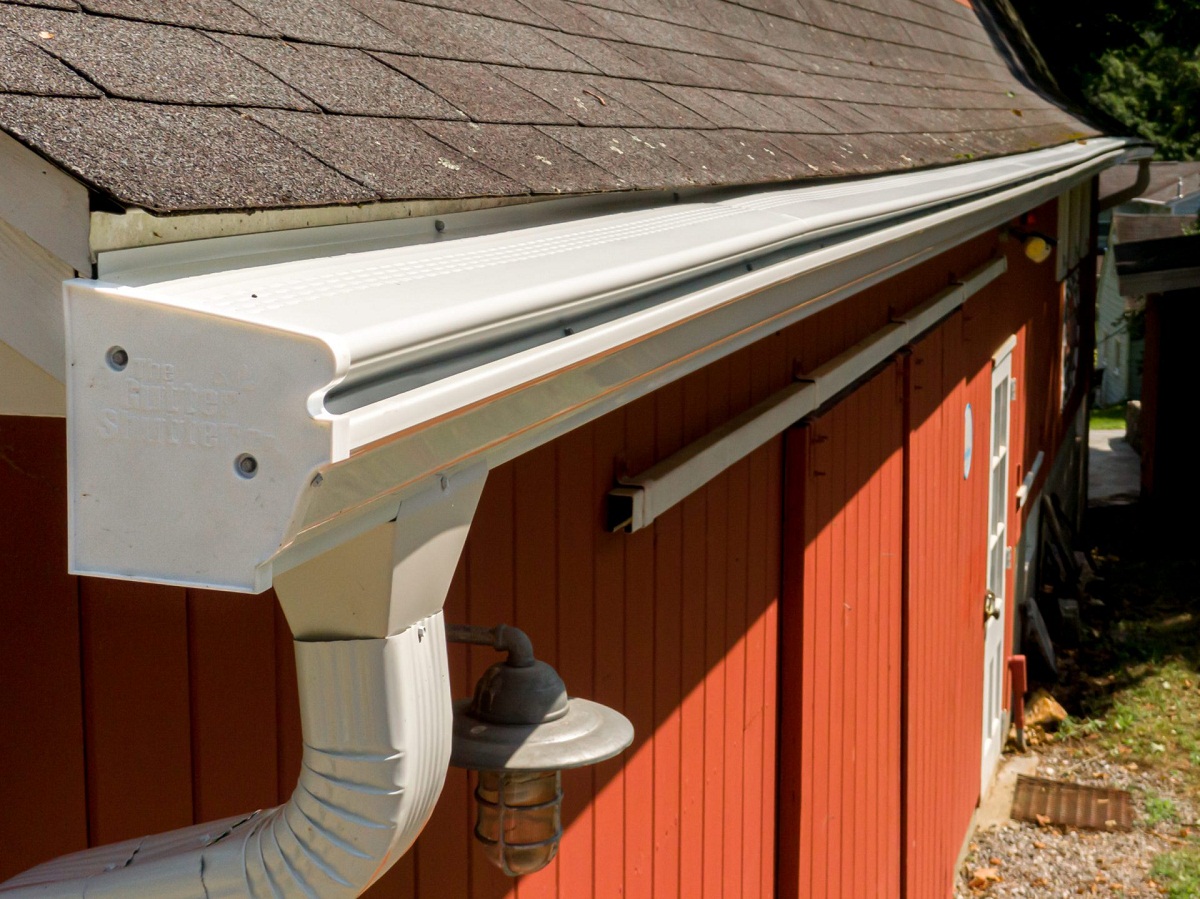
Step 4: Attach Gutters
Now that the gutter hangers are in place, it’s time to attach the gutters to them. This step will secure the gutters to the building and allow for proper water flow and drainage.
Start by positioning the first gutter section at one end of the building. Align it with the first gutter hanger and make sure it sits securely in place. Use gutter screws to attach the gutter to the hanger, ensuring a tight and stable connection.
Continue attaching the remaining gutter sections, making sure to overlap them slightly to ensure a seamless gutter system. Connect the sections by inserting one end into the other and securing them with gutter screws. Check for any gaps or misalignments and make adjustments as necessary to maintain a smooth and continuous gutter line.
As you install the gutters, make sure they slope slightly towards the downspouts. This will ensure that water flows smoothly and doesn’t pool or overflow. Use a level to ensure the proper slope and adjust the gutter hangers accordingly.
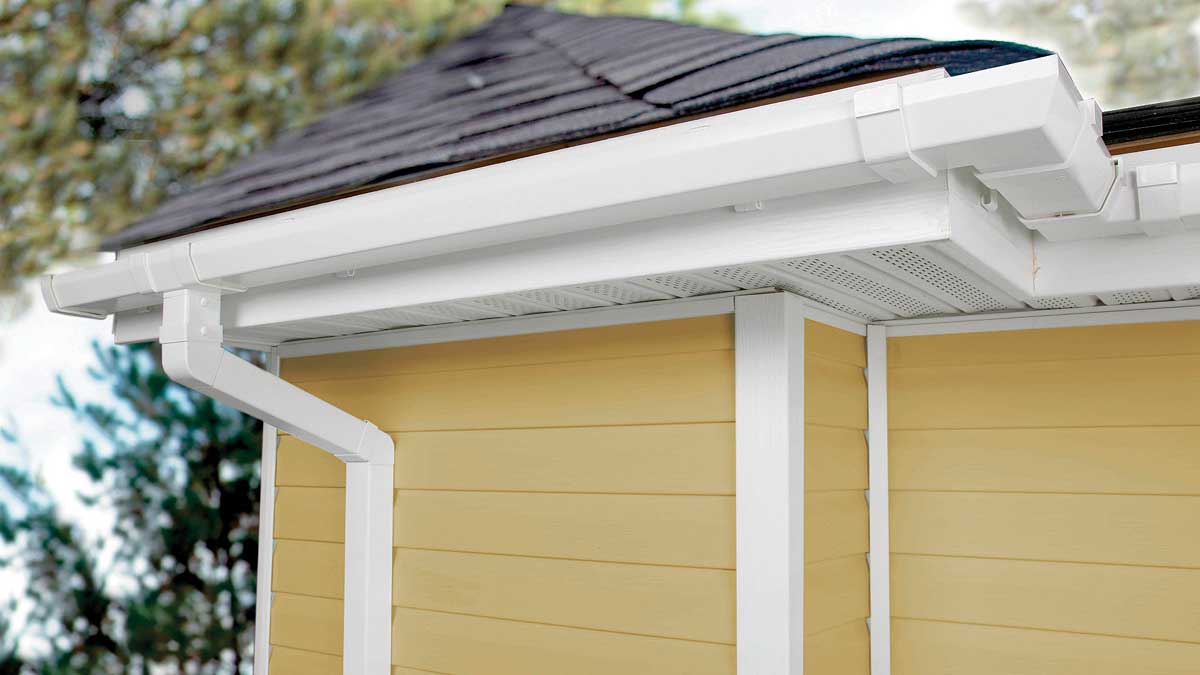
Once all the gutter sections are attached, install end caps at the outer ends of the gutters. This will prevent water from escaping and direct it towards the downspouts.
Inspect the gutter system to ensure that everything is securely fastened and aligned. Give the gutters a gentle tug to make sure they are firmly attached. Check for any loose screws or gaps in the connections and fix any issues before moving on to the next step.
The gutters are now installed and ready for the final steps of the installation process, including the installation of downspouts.
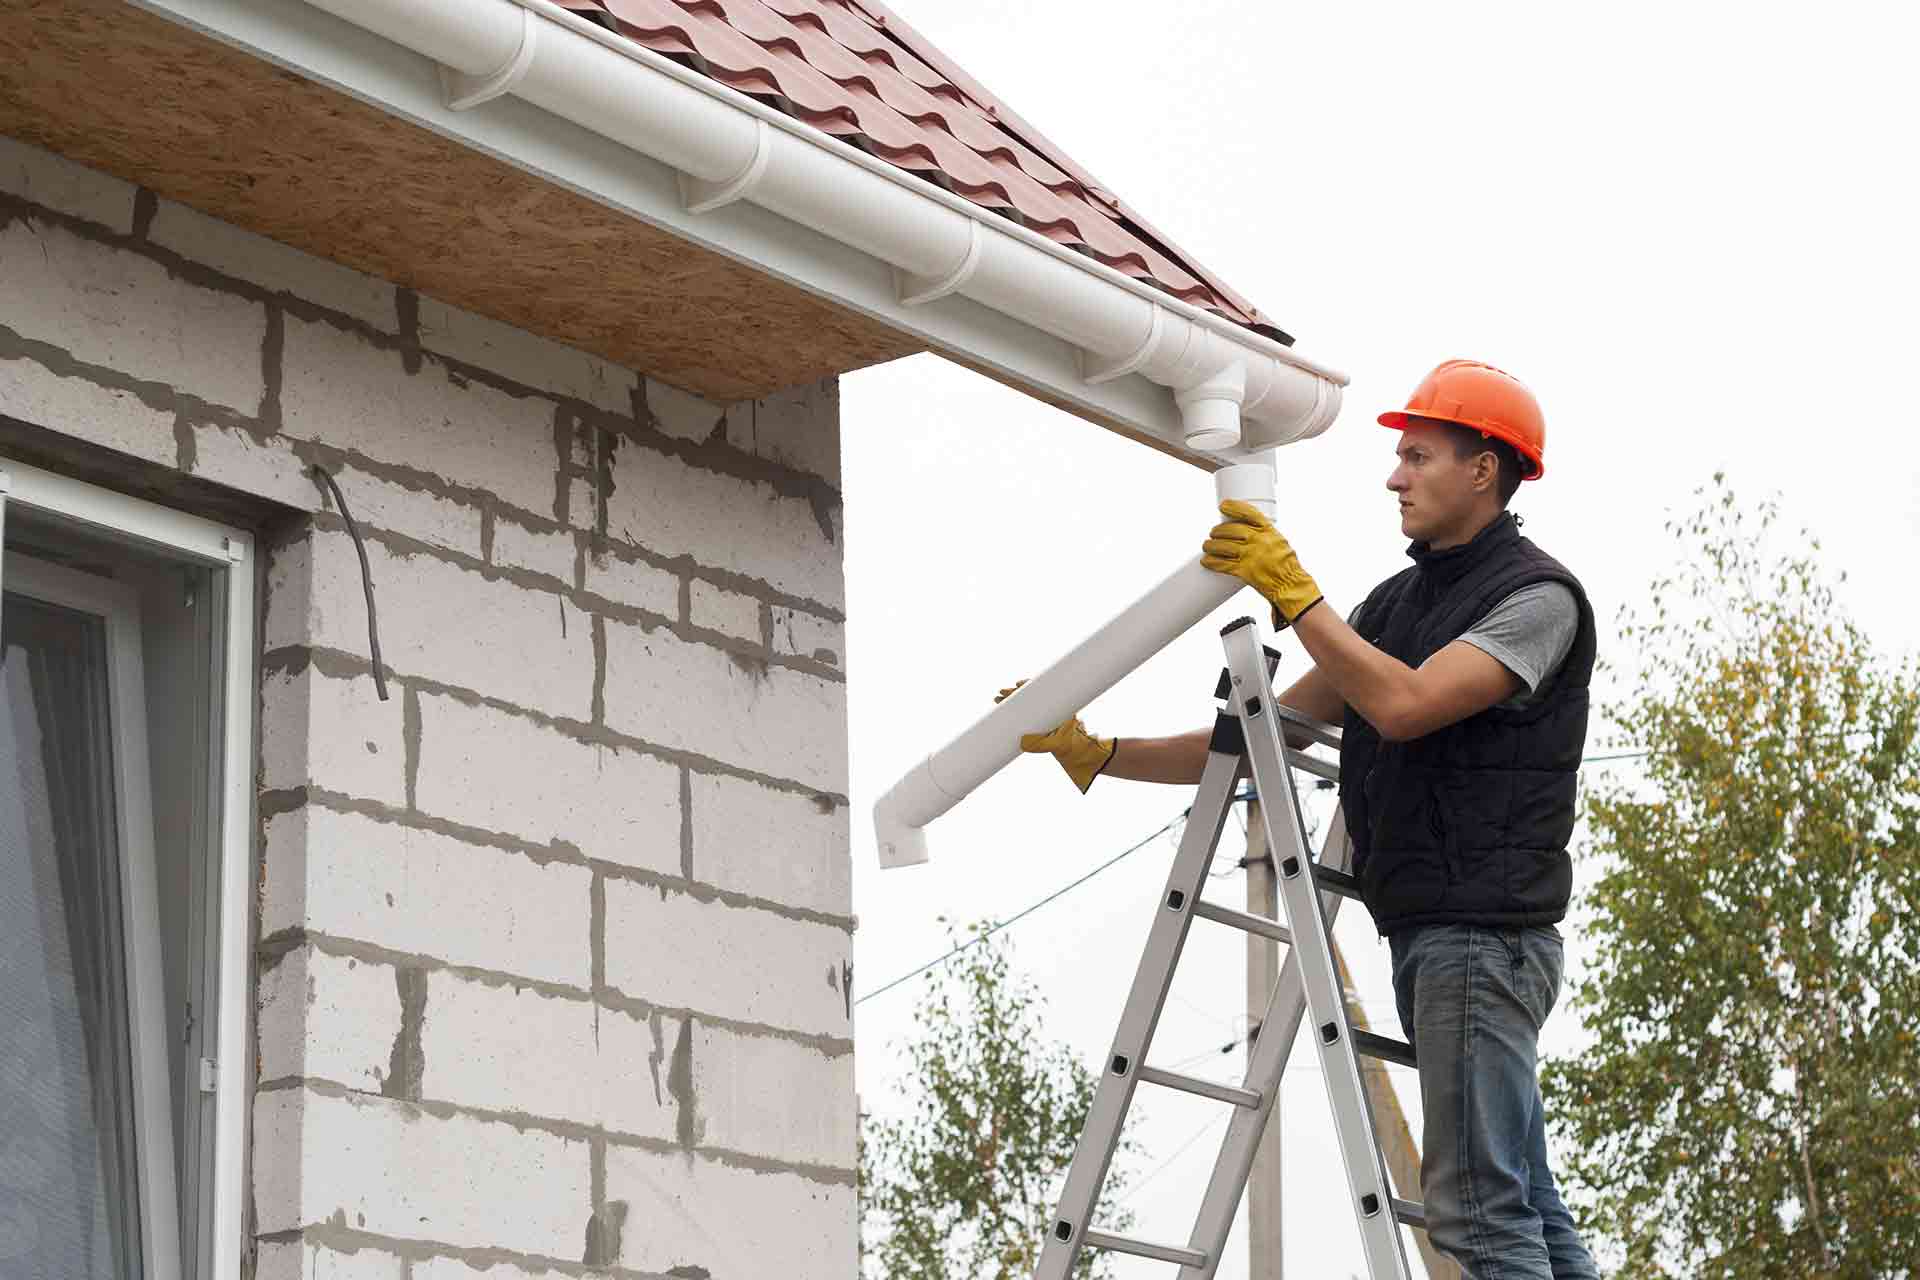
Step 5: Install Downspouts
With the gutters securely attached, it’s time to install the downspouts. These vertical pipes will carry the water from the gutters down to the ground, ensuring proper drainage and preventing water damage to the building’s foundation.
Start by measuring and marking the positions where the downspouts will be attached to the gutters. Typically, downspouts are placed near the corners of the building to efficiently direct water flow.
If necessary, cut the downspouts to the appropriate length using a saw or pipe cutter. Ensure that the downspout reaches the ground without any obstructions or bends.
Attach the downspout to the gutter using the appropriate fittings or connectors. Secure them tightly to ensure a leak-free connection. Gutter screws or brackets can be used to secure the downspout to the building for added stability.
If your metal building has multiple levels or stories, you may need to install additional elbows or extensions to guide the water flow downward. Make sure to position these components to direct the water away from the building’s foundation.
Once the downspouts and any necessary fittings are installed, test the gutter system by pouring water into the gutters. Observe the water flow and confirm that it is directed towards the downspouts without any leaks or overflows.
Adjust the positioning of the downspouts or make any necessary modifications to improve the water flow and ensure efficient drainage.
With the downspouts in place and the gutter system functioning properly, you have completed the main installation process.
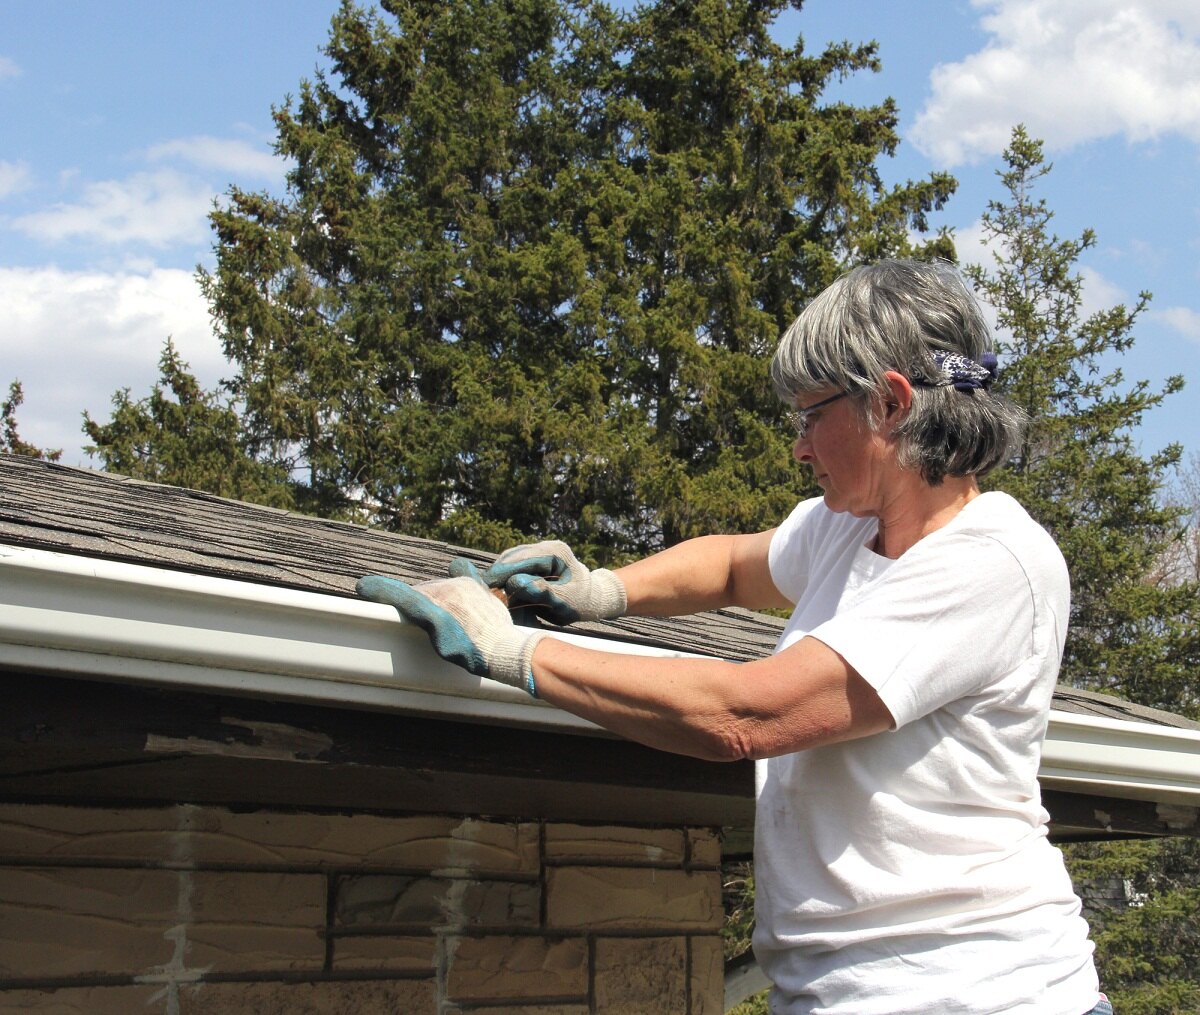
Step 6: Test and Adjust the Gutters
After installing the gutters and downspouts, it’s important to thoroughly test and make any necessary adjustments to ensure their proper functionality. This step will help identify any issues and ensure that the gutter system is working effectively to divert water away from your metal building.
Start by inspecting the gutters for any leaks or areas where water may be escaping. Apply gutter sealant or silicone caulk to seal any gaps or joints that may be causing leaks. Allow the sealant to dry completely before proceeding.
Once the sealant is dry, test the gutters by running water through them. This can be done using a hose or by pouring water into the gutters using a bucket. Observe the water flow and check for any signs of blockages or overflow.
If you notice any areas where water is not flowing smoothly or is pooling, it may indicate a problem with the slope or alignment of the gutters. Adjust the gutter hangers, if necessary, to create a proper slope towards the downspouts.
Additionally, check the connection points between gutter sections and downspouts. Verify that they are secure and there are no leaks or loose fittings.
Inspect the downspouts to ensure that water is flowing freely and does not encounter any obstacles. Clear any debris or obstructions that may be obstructing the flow.
Finally, assess the overall performance of the gutter system during heavy rain or storms. Monitor the gutters to ensure they can handle the water volume without any overflow or damage.
If you encounter any issues, such as persistent leaks or inadequate drainage, it may be necessary to consult a professional for further assistance. They can provide expert advice and make the necessary adjustments or repairs to optimize the performance of your gutter system.
By testing and adjusting the gutters, you can ensure that they are functioning effectively and providing the necessary protection for your metal building.
Conclusion
Congratulations! You have successfully learned how to install gutters on a metal building. By following the steps outlined in this article and using the appropriate materials, you have taken an important step in protecting your building from water damage and ensuring its longevity.
Remember, the key to a successful gutter installation is careful measurement, proper planning, and attention to detail. By accurately measuring and planning the layout, preparing the building’s surface, and securely attaching the gutters and downspouts, you can create an efficient and effective gutter system.
Regular maintenance is also crucial to ensure the ongoing functionality of your gutters. Periodically inspect the gutters for any debris or blockages and clean them out as needed. Additionally, check for any signs of damage or leaks and address them promptly to prevent further issues.
Installing gutters on a metal building may seem like a challenging task, but with the right knowledge and approach, it can be accomplished successfully. Remember to prioritize safety throughout the installation process by using appropriate safety equipment and ensuring a stable footing when working on ladders or scaffolding.
By properly installing and maintaining gutters, you are taking proactive steps to protect your metal building from potential water damage, such as leaks, erosion, and deterioration. This investment will contribute to the structural integrity and longevity of your building in the long run.
If you encounter any difficulties during the installation process or if you are uncertain about any steps, it’s always advisable to seek professional assistance. They can provide guidance and expertise to ensure a seamless and effective gutter installation.
Now that you’re equipped with the knowledge and steps to install gutters on a metal building, it’s time to put it into practice. Enjoy the peace of mind that comes with knowing your building is well-protected from the elements.
Now that you're equipped with the know-how to install gutters on your metal building, why stop there? Dive deeper into maintaining your new setup by learning who professionally handles gutter installation. Our next article covers everything from selecting the right experts to understanding the nuances of professional gutter services. Don’t miss out on ensuring your installation lasts with the help of skilled specialists.
Frequently Asked Questions about How To Install Gutters On A Metal Building
Was this page helpful?
At Storables.com, we guarantee accurate and reliable information. Our content, validated by Expert Board Contributors, is crafted following stringent Editorial Policies. We're committed to providing you with well-researched, expert-backed insights for all your informational needs.


0 thoughts on “How To Install Gutters On A Metal Building”