Articles
How To Replace Box Gutters
Modified: December 7, 2023
Learn how to replace box gutters with our helpful articles. Find step-by-step guides and expert tips to ensure a successful gutter replacement.
(Many of the links in this article redirect to a specific reviewed product. Your purchase of these products through affiliate links helps to generate commission for Storables.com, at no extra cost. Learn more)
Introduction
Box gutters play a vital role in protecting your home from water damage by effectively channeling rainwater away from the roof and foundation. Over time, however, box gutters can deteriorate, become clogged with debris, or develop leaks, necessitating their replacement. While replacing box gutters may seem daunting, especially for those without prior experience, with the right tools and instructions, it can be a manageable DIY project.
In this article, we will guide you through the step-by-step process of replacing box gutters. From removing the old gutters to installing and connecting the new ones, we will cover each stage, equipping you with the knowledge and confidence needed to successfully complete the task. So, grab your tools and let’s get started!
Key Takeaways:
- Replacing box gutters is a manageable DIY project with the right tools and guidance. From measuring and cutting to securing and testing, each step ensures a reliable gutter system that protects your home from water damage.
- Regular maintenance, including cleaning and inspections, is crucial for keeping gutters functioning optimally. By investing time and effort into your gutter system, you can safeguard your home’s structural integrity and prevent potential water damage.
Read more: How To Replace A Electrical Box
Tools and Materials Needed
Before diving into the replacement process, it’s important to gather all the necessary tools and materials. Being prepared with the right equipment will make the project more efficient and ensure a successful outcome. Here are the tools and materials you will need:
- Measuring tape
- Safety goggles
- Gloves
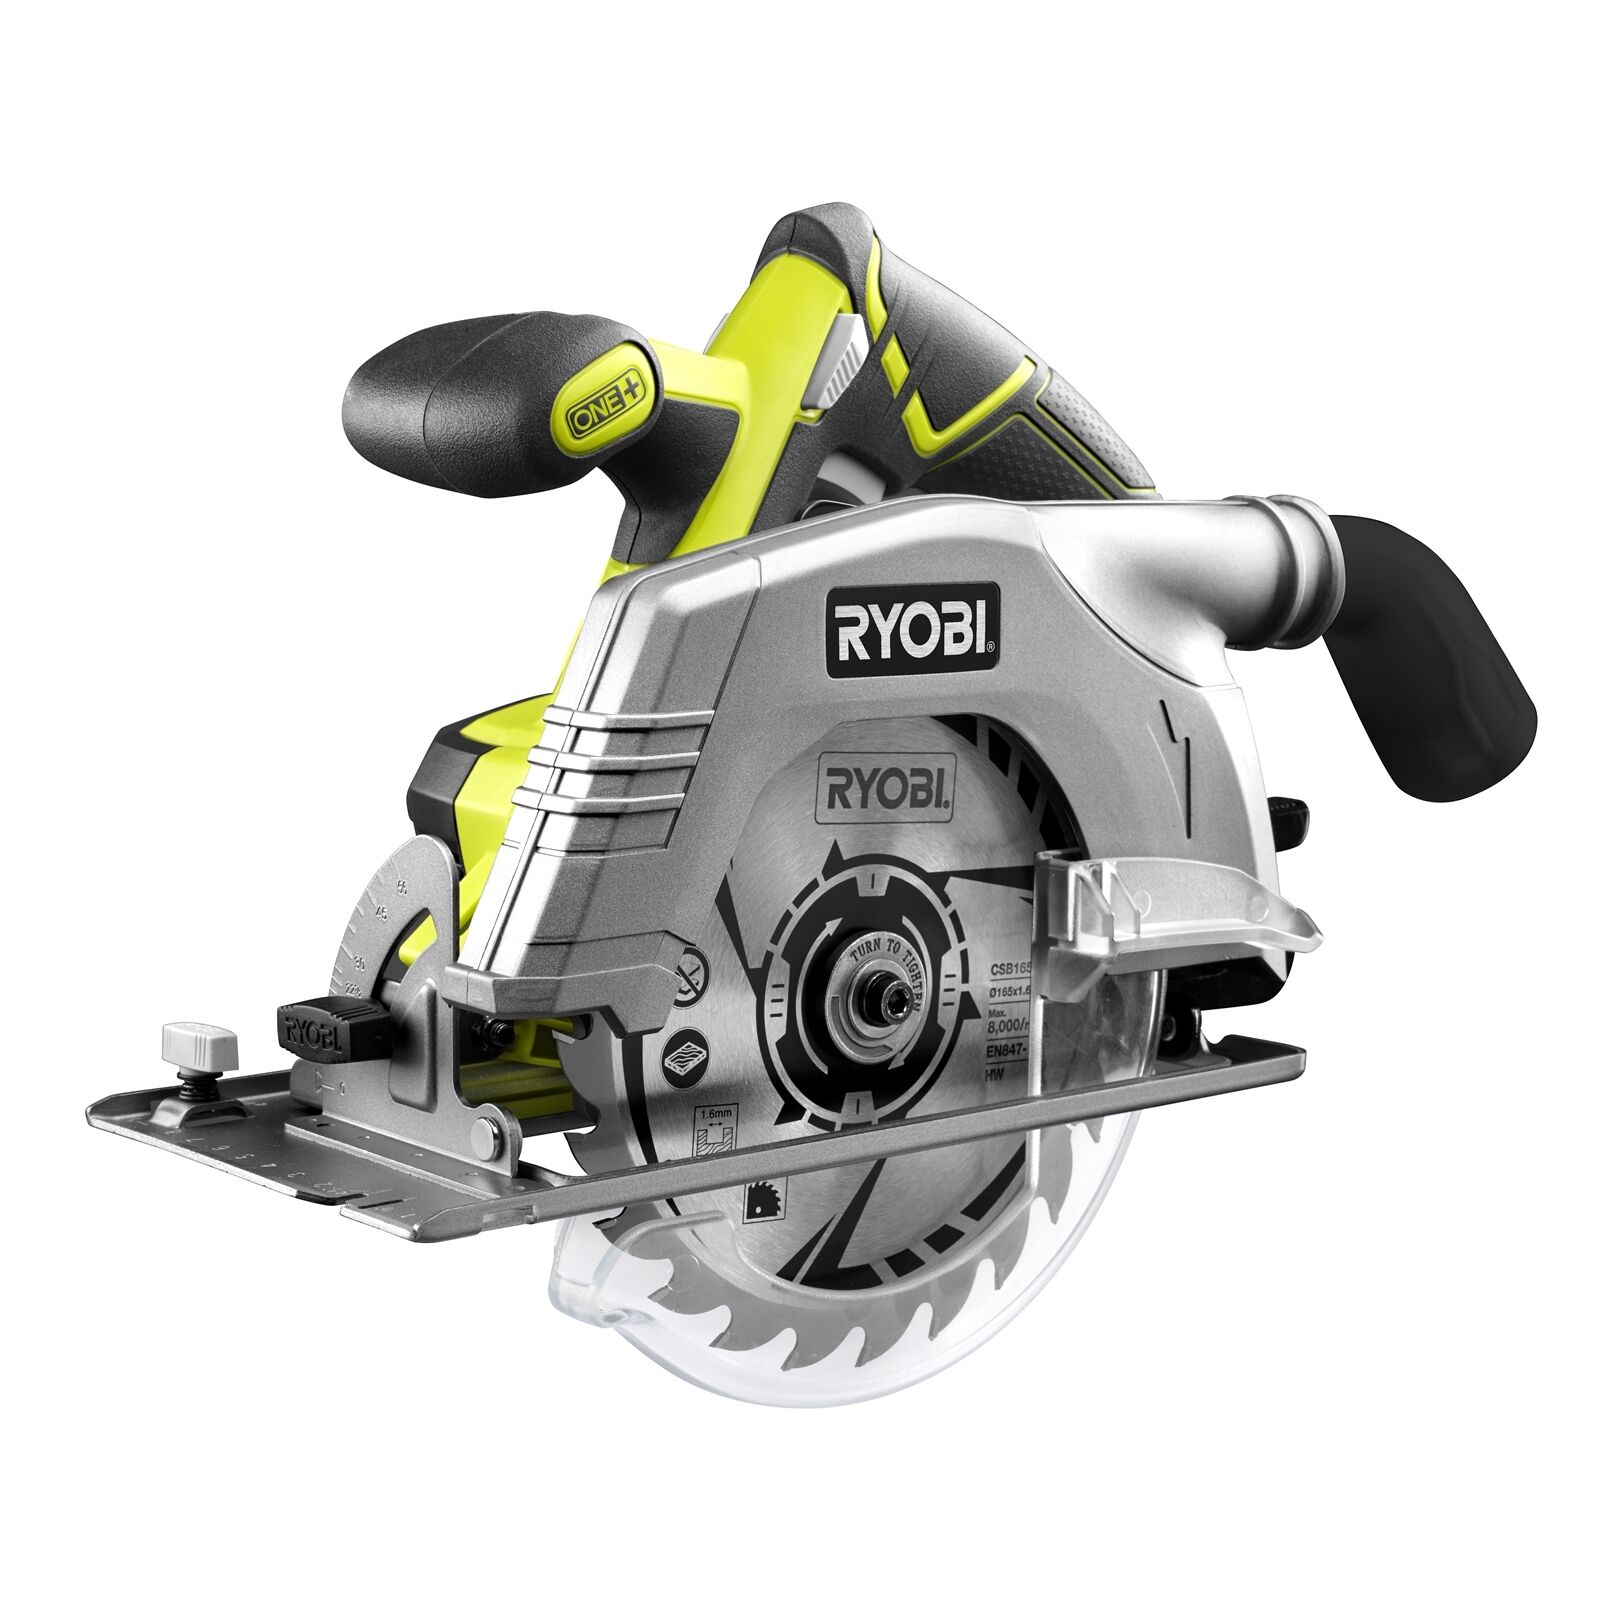
- Hacksaw or tin snips
- Chalk line
- Cordless drill
- Pop rivet gun
- Tinners’ shears
- Caulk gun
- Sealant
- Gutter brackets
- Screws
- Downspouts
- Elbows and connectors
- Gutter hangers
- Gutter sealant
- Ladder
- Cleaning brushes
- Rubber mallet
- Bucket or tarp
Make sure to check the condition of your existing tools and replace any damaged or worn-out items. Additionally, consider wearing appropriate clothing that will protect you from debris and sharp edges. Safety goggles and gloves are essential for safeguarding your eyes and hands during the installation process.
Once you have gathered all the necessary tools and materials, you are ready to proceed with replacing your box gutters. Remember to double-check your measurements and work methodically to ensure a smooth and successful installation.
Step 1: Remove Old Gutters
Before installing the new gutters, you need to remove the old ones. Follow these steps to safely remove the existing box gutters:
- Start by positioning a ladder securely near the area where you will be working. Ensure the ladder is stable and that someone is available to hold it steady if needed.
- Put on safety goggles and gloves to protect yourself from any debris that may fall during the removal process.
- Using a screwdriver or drill, carefully remove the screws or rivets holding the gutter system in place. Begin at one end and work your way along the entire length of the gutter.
- If the gutters are attached with brackets, remove them as well. These may require a drill or other tool, depending on the type of brackets used.
- Once all the fasteners and brackets have been removed, gently pull the gutter system away from the roofline. Be cautious not to damage the roof or surrounding area.
- As you remove the gutters, place them on a tarp or in a bucket to catch any debris or water that may have accumulated inside. This will minimize the mess and make disposal easier.
Take your time during this step to ensure that you remove the gutters without causing any damage to the roof or fascia. It’s important to keep the area clean to prevent any accidents or injuries.
After successfully removing the old gutters, you’re now ready to move on to the next step: measuring and cutting the new gutters.
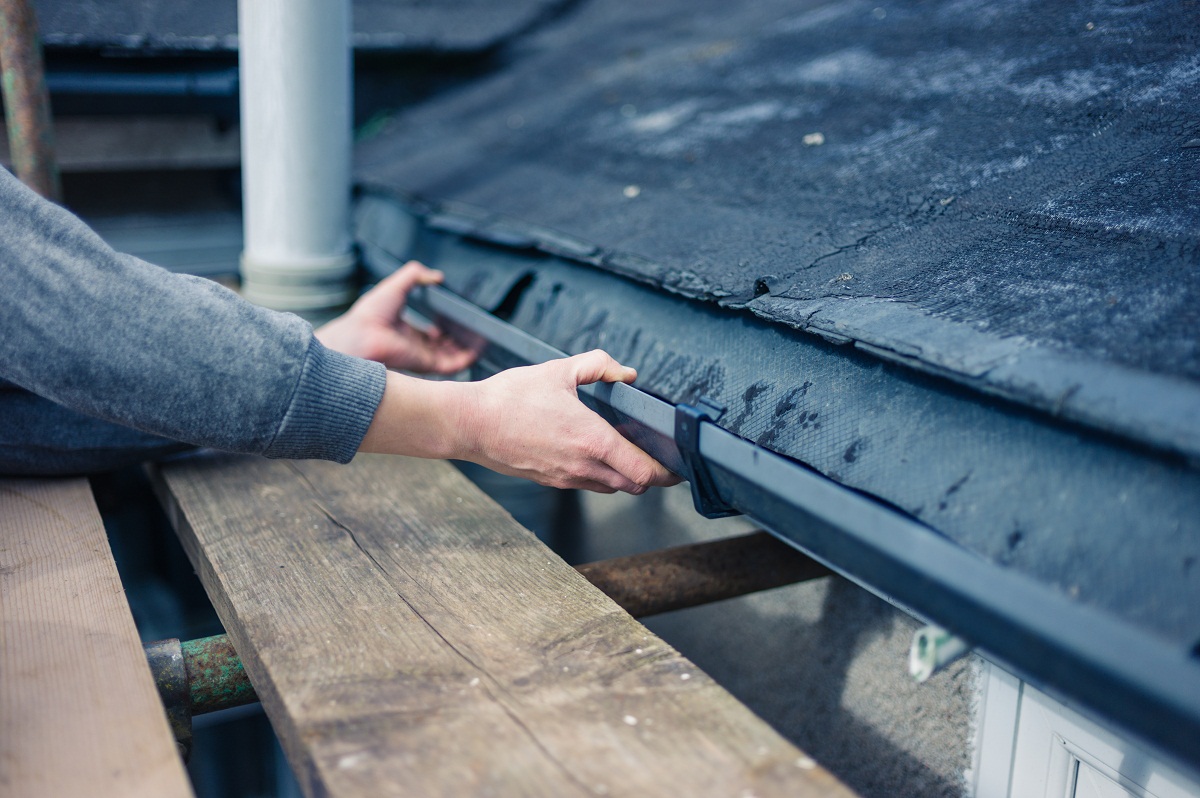
Step 2: Measure and Cut New Gutters
Accurate measurements are crucial for a proper fit when installing the new gutters. Follow these steps to measure and cut the new gutters:
- Start by measuring the length needed for each section of gutter. Use a measuring tape to measure the distance from one end of the roofline to the other, accounting for any corners or turns along the way.
- Transfer the measurements to the new gutter material, marking the cutting points with a chalk line or pencil.
- Using a hacksaw or tin snips, carefully cut the gutter along the marked lines. Ensure that your cuts are straight and clean for a professional-looking installation.
- If you have corners or angles, measure and cut the appropriate miters to connect the gutter sections smoothly. A miter box or miter saw can help you achieve precise angles.
- Check the fit of the cut gutter sections by dry-fitting them together. Make any necessary adjustments to ensure a seamless connection.
- Remember to add an additional inch or two to each section’s length to provide flexibility for adjustments during installation.
It’s always better to measure twice and cut once to avoid any waste or inaccuracies. Taking your time with this step will ensure that the new gutters fit properly and function effectively.
With the new gutters cut to size, you can now proceed to the next step: installing the new gutters.
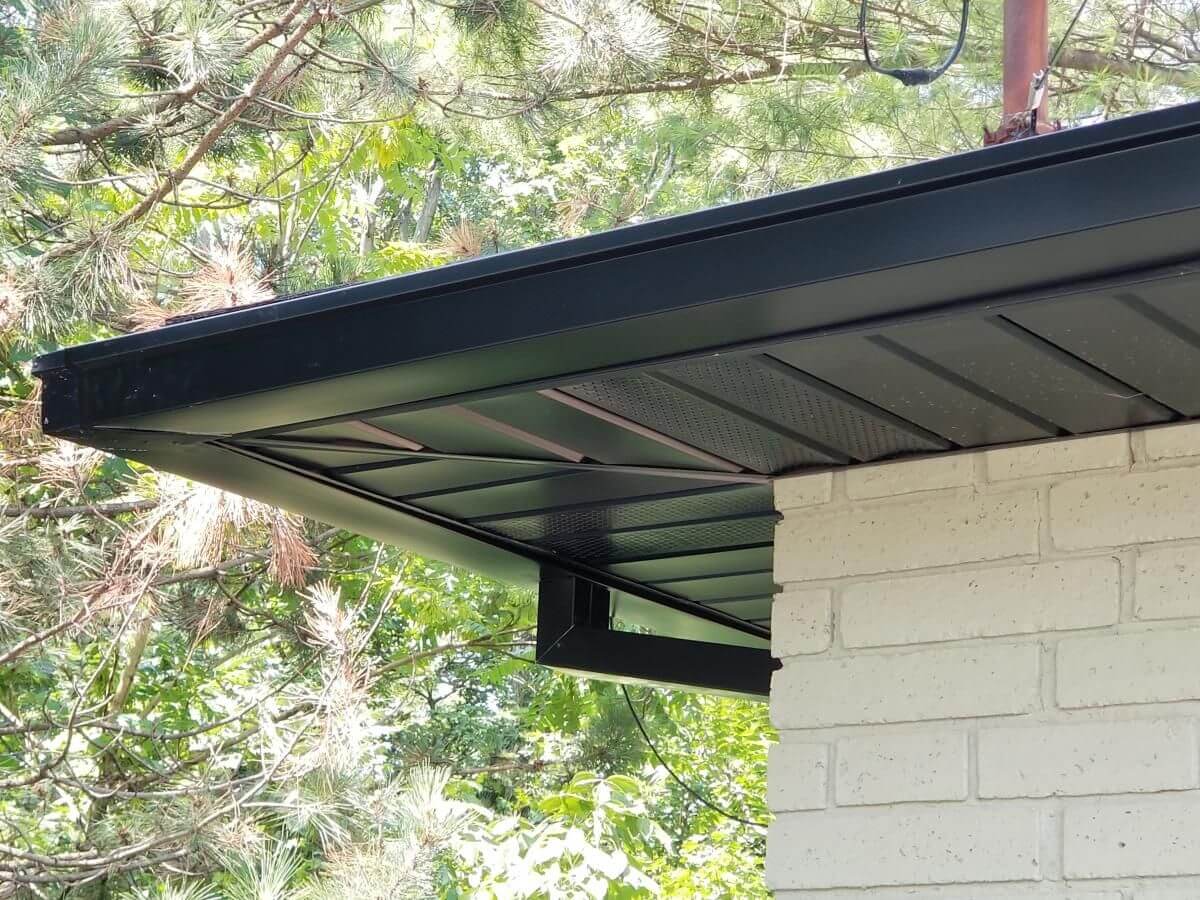
Step 3: Install New Gutters
Now that you have the new gutters cut to the appropriate size, it’s time to install them. Follow these steps for a successful installation:
- Position a ladder securely near the area where you will be installing the gutters. Ensure the ladder is stable and safe to use.
- Start at one end of the roofline and place the first section of gutter against the fascia board, aligning it with the appropriate markings.
- Secure the gutter to the fascia using gutter brackets. Use a cordless drill to attach the brackets with screws, making sure they are evenly spaced along the gutter section.
- Move along the roofline, attaching additional gutter sections one by one. Connect each section with gutter connectors, ensuring a tight fit.
- Continue this process until all the gutter sections are installed, making sure to maintain a slight slope towards the downspout to allow proper water drainage.
- If necessary, cut a hole in the gutter for the downspout using tinners’ shears. Ensure that the hole is aligned with the chosen downspout location.
Throughout the installation process, check the alignment and slope of the gutters regularly. Adjust as needed to ensure proper drainage and to prevent water from pooling or overflowing.
Remember to take your time during the installation, ensuring that the gutters are secure and aligned correctly. This will provide a sturdy and effective system for channeling rainwater away from your home.
Once the new gutters are installed, you can move on to the next step: securing the gutters with brackets.
When replacing box gutters, make sure to carefully measure the dimensions of the existing gutter system to ensure the new gutters will fit properly. Additionally, consider upgrading to a higher quality material for longer-lasting performance.
Read more: How To Remove Gutters To Replace Fascia
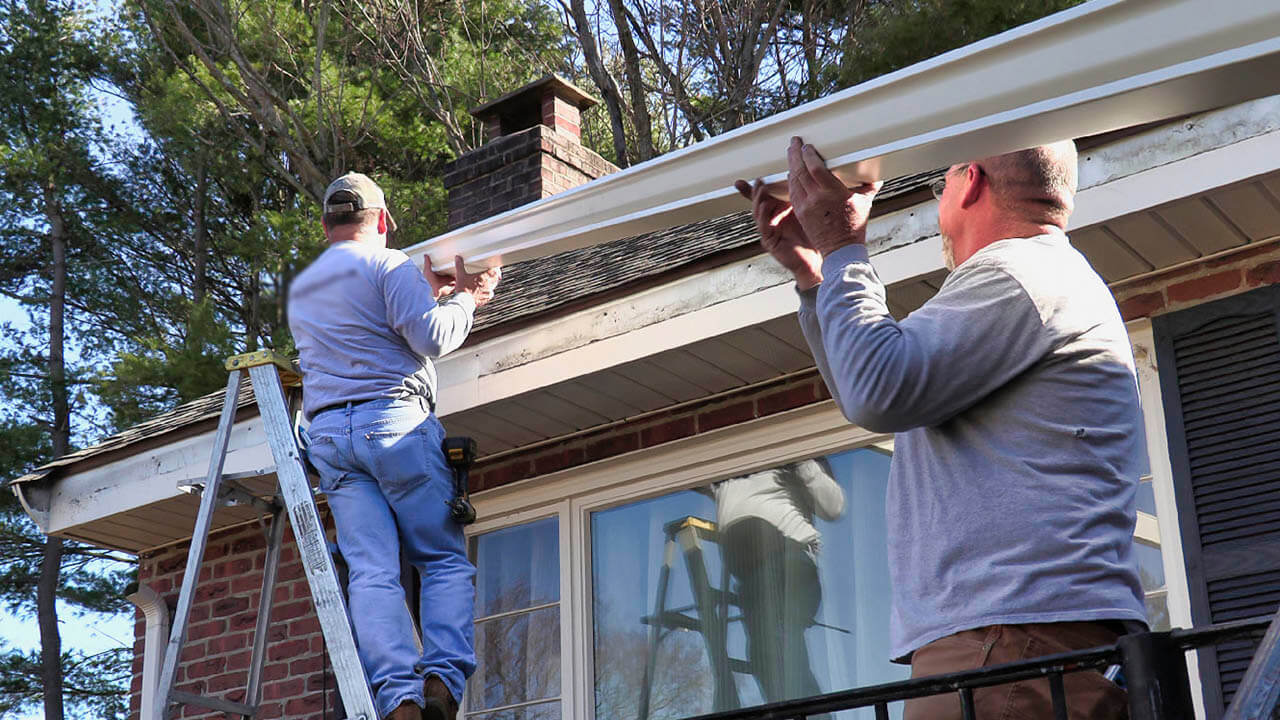
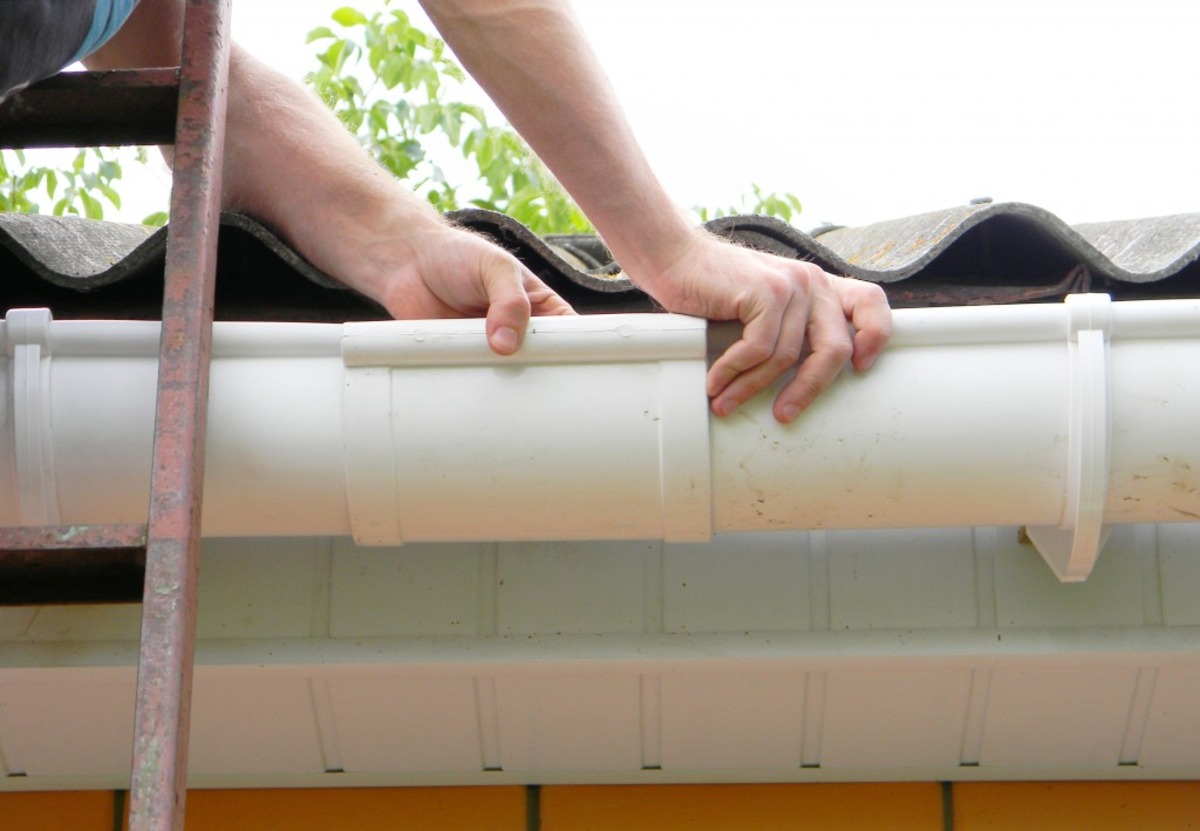
Step 4: Secure Gutters with Brackets
After installing the new gutters, the next step is to secure them in place using brackets. Properly securing the gutters will ensure their stability and longevity. Follow these steps to secure the gutters with brackets:
- Start by positioning a ladder securely near the area where you will be working. Make sure the ladder is stable and safe to climb.
- Take a gutter bracket and place it underneath the gutter, aligning it with the pre-drilled holes in the gutter section.
- Using a cordless drill, attach the bracket to the fascia board using screws. Make sure the screws are tight but not over tightened.
- Continue placing and securing brackets along the length of the gutter, spacing them evenly and ensuring a secure connection.
- For corners or angles, use specialized corner brackets or miter brackets to securely join the gutter sections.
- Once all brackets are installed, give the gutters a gentle shake to test their stability. Make any necessary adjustments or add additional brackets if needed.
Proper spacing and secure attachment of the brackets will help prevent sagging or loose gutters. It’s important to evenly distribute the brackets to provide optimal support for the gutters.
Remember to handle the gutters with care while securing the brackets to avoid any damage. Taking the time to properly secure the gutters will ensure their durability and effectiveness in diverting rainwater.
With the gutters securely in place, you can now move on to the next step: connecting the downspouts.
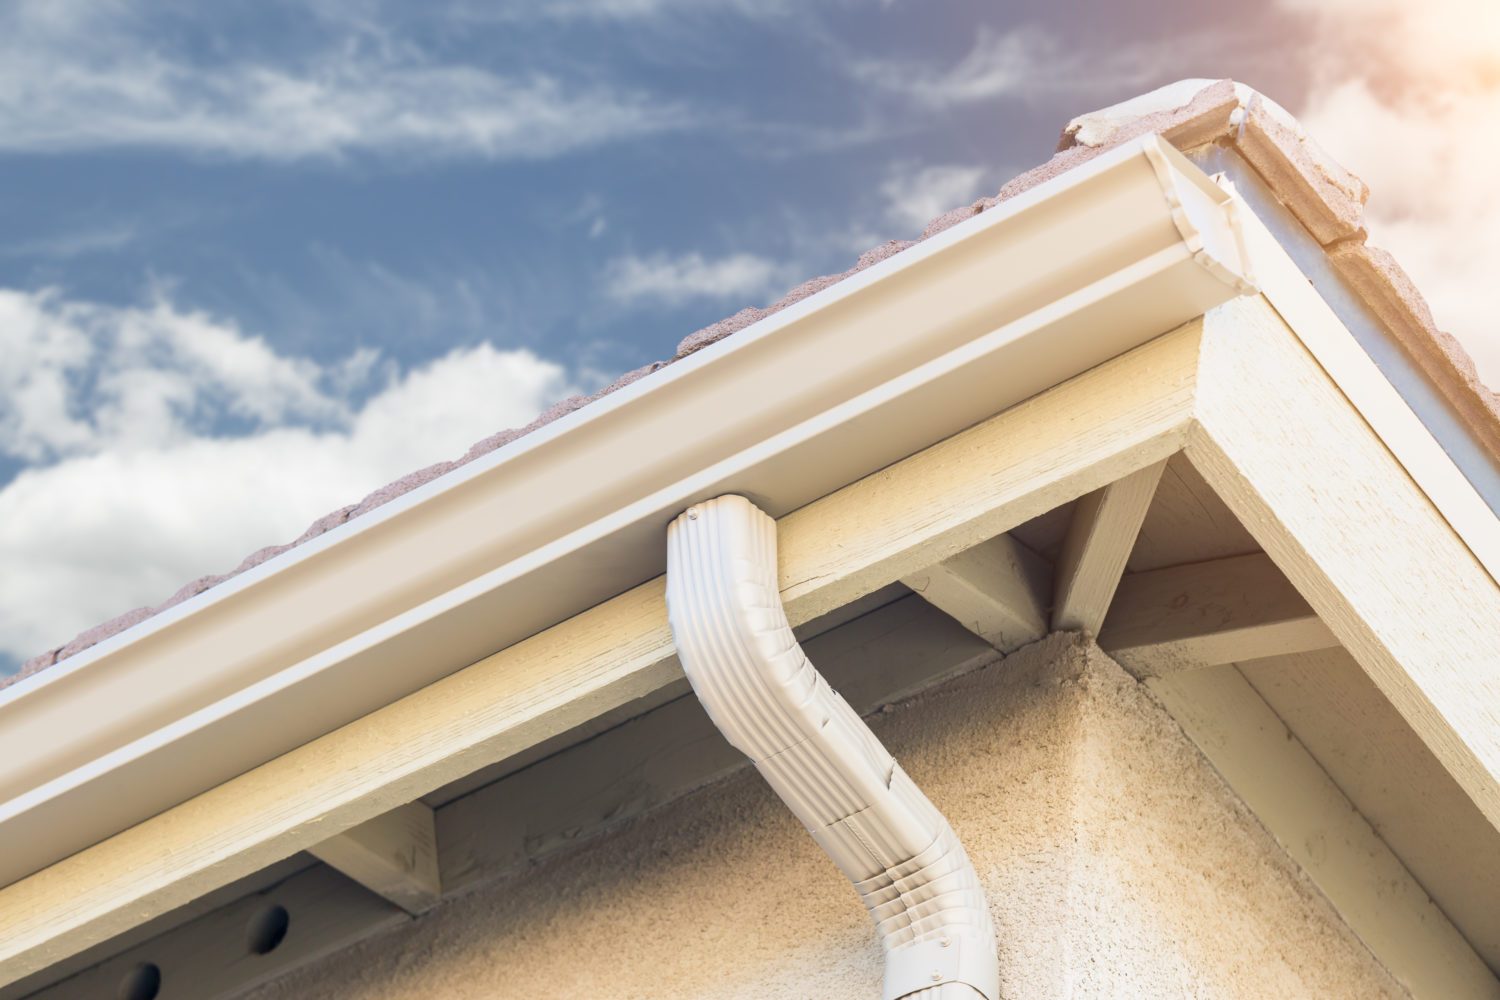
Step 5: Connect Downspouts
Connecting the downspouts is a crucial step in the gutter replacement process. The downspouts are responsible for carrying the water collected by the gutters away from your home’s foundation. Follow these steps to properly connect the downspouts:
- Position a ladder securely near the downspout area. Ensure the ladder is stable and safe to use.
- Take one end of the downspout and place it at the bottom of the gutter outlet. The outlet should fit snugly into the downspout opening.
- Secure the downspout to the gutter outlet using screws or pop rivets. Use a cordless drill or a pop rivet gun to attach them securely.
- If your downspout requires a bend or elbow to direct the water away from the foundation, attach the appropriate elbow or connector to the bottom end of the downspout.
- Extend the downspout away from the foundation and towards a proper drainage area. Avoid placing it near walkways or areas with heavy foot traffic.
- If necessary, use additional downspout connectors to connect multiple sections of downspouts. Ensure a secure and watertight connection.
Properly connecting the downspouts will ensure that rainwater is effectively diverted away from your home’s foundation. This helps to prevent water damage and structural issues.
During this step, check for any leaks or loose connections. Make any necessary adjustments to ensure a secure and watertight fit. It’s important to ensure that the downspouts are properly directed to the appropriate drainage area.
With the downspouts connected, you can now move on to the next step: testing for proper drainage.
Step 6: Test for Proper Drainage
Once you have completed the installation of the new gutters and connected the downspouts, it is crucial to test for proper drainage. This step will ensure that the gutter system is functioning as intended and effectively directing rainwater away from your home. Follow these steps to test for proper drainage:
- Wait for a day with forecasted rainfall or simulate water flow with a garden hose.
- Observe the flow of water as it enters the gutters and travels through the downspouts.
- Check for any signs of water pooling, overflowing, or leaking along the gutter system.
- Inspect the foundation of your home to ensure that water is effectively draining away.
- If you notice any issues, such as water pooling or leaking, make the necessary adjustments. This may involve repositioning gutters, adjusting the slope, or adding additional downspouts.
- Continue testing until you are satisfied with the performance of the gutter system.
It is crucial to ensure proper drainage to protect your home from water damage, foundation issues, and landscaping problems. Taking the time to test the gutter system will give you peace of mind and allow you to make any necessary adjustments for optimal performance.
Once you have confirmed that the gutter system is functioning properly, you can move on to the final step: cleaning up and maintenance tips.
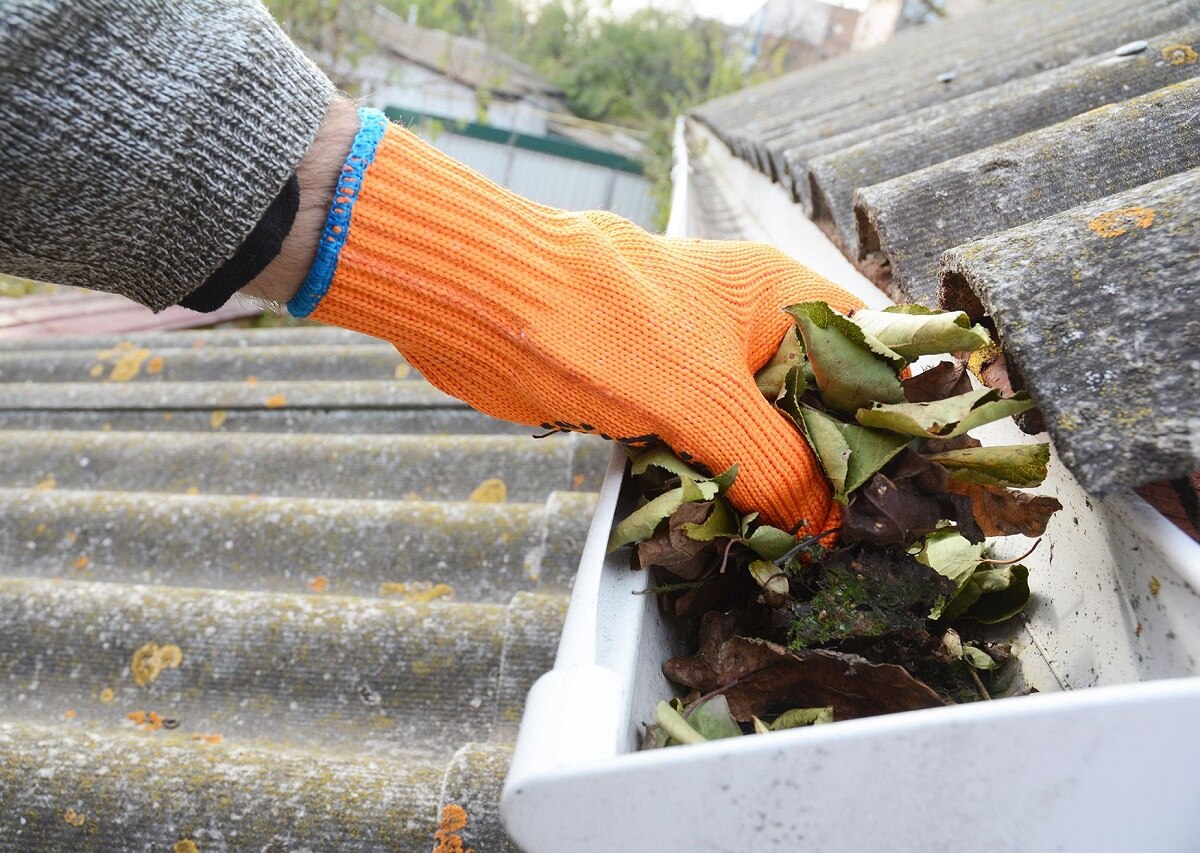
Step 7: Clean Up and Maintenance Tips
After the successful installation of your new gutters and ensuring proper drainage, it’s important to clean up the work area and establish a regular maintenance routine. Follow these steps for a clean-up and some maintenance tips:
- Remove any debris or waste materials from the installation process, such as old gutters, screws, or packaging. Dispose of them properly.
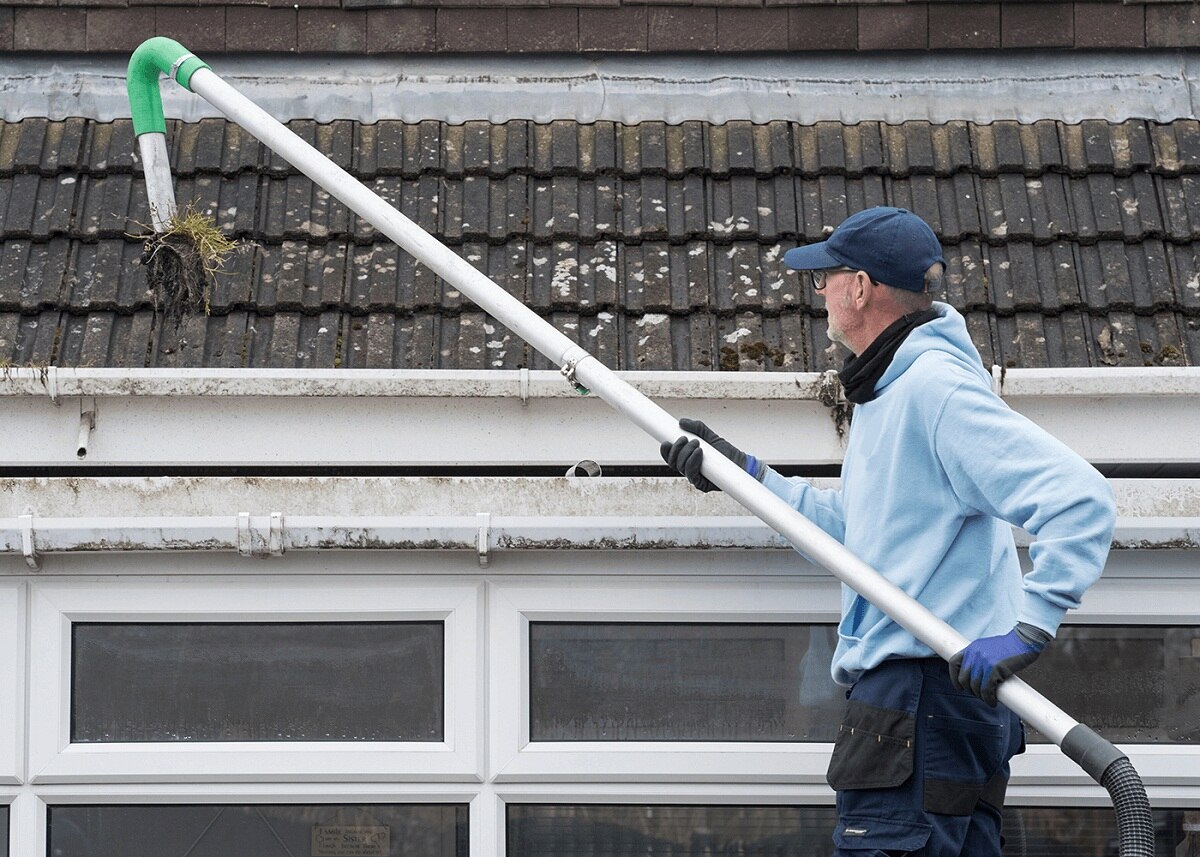
- Clean out any remaining debris from the gutters and downspouts, using a gutter cleaning tool or a brush. This will prevent clogs and ensure optimal water flow.
- Inspect the gutters and downspouts periodically for any signs of damage, such as leaks, cracks, or loose fittings. Repair or replace any damaged components as soon as possible.
- Trim back any nearby tree branches or foliage that may hang over or obstruct the gutters. This will minimize the amount of debris that enters the gutters and reduces the risk of clogs.
- Consider installing gutter guards to further protect your gutters from debris. Gutter guards are designed to allow water to flow freely while preventing leaves, twigs, and other debris from entering the gutters.
- Regularly check the slope of the gutters to ensure that water is flowing towards the downspouts. Adjust the gutter sections or brackets if necessary.
- During heavy rainfalls or storms, monitor the performance of your gutter system to ensure it can handle the increased water volume. Make any necessary adjustments to prevent overflow or water damage.
Maintaining your gutters regularly will help prolong their lifespan and keep your home protected from water damage. By implementing these cleaning and maintenance tips, you can ensure that your gutter system functions effectively year-round.
Congratulations! You have successfully replaced your box gutters and now have a newly installed gutter system that will effectively channel rainwater away from your home. Regularly maintain your gutters and perform inspections to keep them in optimal condition for years to come.
If at any point you feel unsure or uncomfortable with the gutter replacement process, it’s always advisable to seek professional assistance. Your home’s safety and protection are worth investing in professional services.
Remember, a properly functioning gutter system is essential in safeguarding your home from potential water damage and maintaining its structural integrity.
Read more: When Do Gutters Need To Be Replaced
Conclusion
Replacing box gutters may seem like a daunting task, but with the right tools, materials, and guidance, it can be a manageable DIY project. By following the step-by-step instructions outlined in this article, you can successfully replace your box gutters and ensure that your home remains protected from water damage.
From removing the old gutters to installing and connecting the new ones, each step plays a crucial role in creating a functional and efficient gutter system. Taking the time to accurately measure and cut the gutters, secure them with brackets, connect the downspouts, and test for proper drainage will result in a reliable and effective gutter system.
Regular maintenance and cleaning are important in order to keep your gutters performing optimally. Clearing away debris, inspecting for damage, and maintaining proper slope are all part of a routine that will ensure the longevity and functionality of your gutters.
Remember, if you feel uncomfortable or unsure during the replacement process, it is always best to seek professional assistance. The safety and protection of your home should be the top priority.
By replacing your box gutters and maintaining them regularly, you are taking proactive steps to protect your home from potential water damage, foundation issues, and landscaping problems. Investing time and effort into your gutter system will provide you with peace of mind and help preserve the integrity of your home.
So, gather your tools and materials, follow the steps outlined in this article, and get ready to replace your box gutters. With proper installation and maintenance, your new gutter system will effectively channel rainwater away from your home, keeping it safe and dry for years to come.
Remember, a well-maintained gutter system is an essential component of a healthy and resilient home.
Frequently Asked Questions about How To Replace Box Gutters
Was this page helpful?
At Storables.com, we guarantee accurate and reliable information. Our content, validated by Expert Board Contributors, is crafted following stringent Editorial Policies. We're committed to providing you with well-researched, expert-backed insights for all your informational needs.


0 thoughts on “How To Replace Box Gutters”