
Articles
How To Crochet A Blanket With Thick Yarn
Modified: August 25, 2024
Learn how to crochet a cozy blanket using thick yarn with our informative articles. Perfect for beginners, these step-by-step guides will have you snuggling up with your handmade creation in no time.
(Many of the links in this article redirect to a specific reviewed product. Your purchase of these products through affiliate links helps to generate commission for Storables.com, at no extra cost. Learn more)
Introduction
Crocheting is a timeless craft that allows you to unleash your creativity and create beautiful pieces. One of the most popular projects to tackle as a crocheter is making a cozy blanket. If you’re looking to crochet a blanket with a luxurious and chunky feel, using thick yarn is the way to go.
In this article, we will guide you through the process of crocheting a blanket with thick yarn. We’ll cover everything from getting started with crocheting to choosing the right yarn, understanding basic crochet stitches, and creating patterns and designs with thick yarn. By the end, you’ll have all the knowledge and skills you need to create your own stunning blanket.
So grab your crochet hook, get your favorite thick yarn ready, and let’s dive into the world of crocheting blankets!
Key Takeaways:
- Embrace the luxurious feel and texture of thick yarn when crocheting a blanket, and unleash your creativity by experimenting with different stitch patterns and designs to create a truly unique and visually striking masterpiece.
- Remember to take breaks, maintain even tension, and enjoy the process of crocheting with thick yarn. Let imperfections add character to your handmade creations, and embrace the joy and satisfaction of crafting cozy blankets.
Read more: How Much Yarn Do I Need To Crochet A Blanket
Getting Started with Crocheting
If you’re new to crocheting, it’s important to get familiar with the basics before diving into a blanket project. Here are a few essential things you’ll need to start your crocheting journey:
- Crochet Hooks: Crochet hooks come in different sizes, indicated by letters or numbers. The size you choose depends on the thickness of your yarn and the tension you want for your blanket. Start with a size H-8/5mm hook, which is a versatile option for most projects.
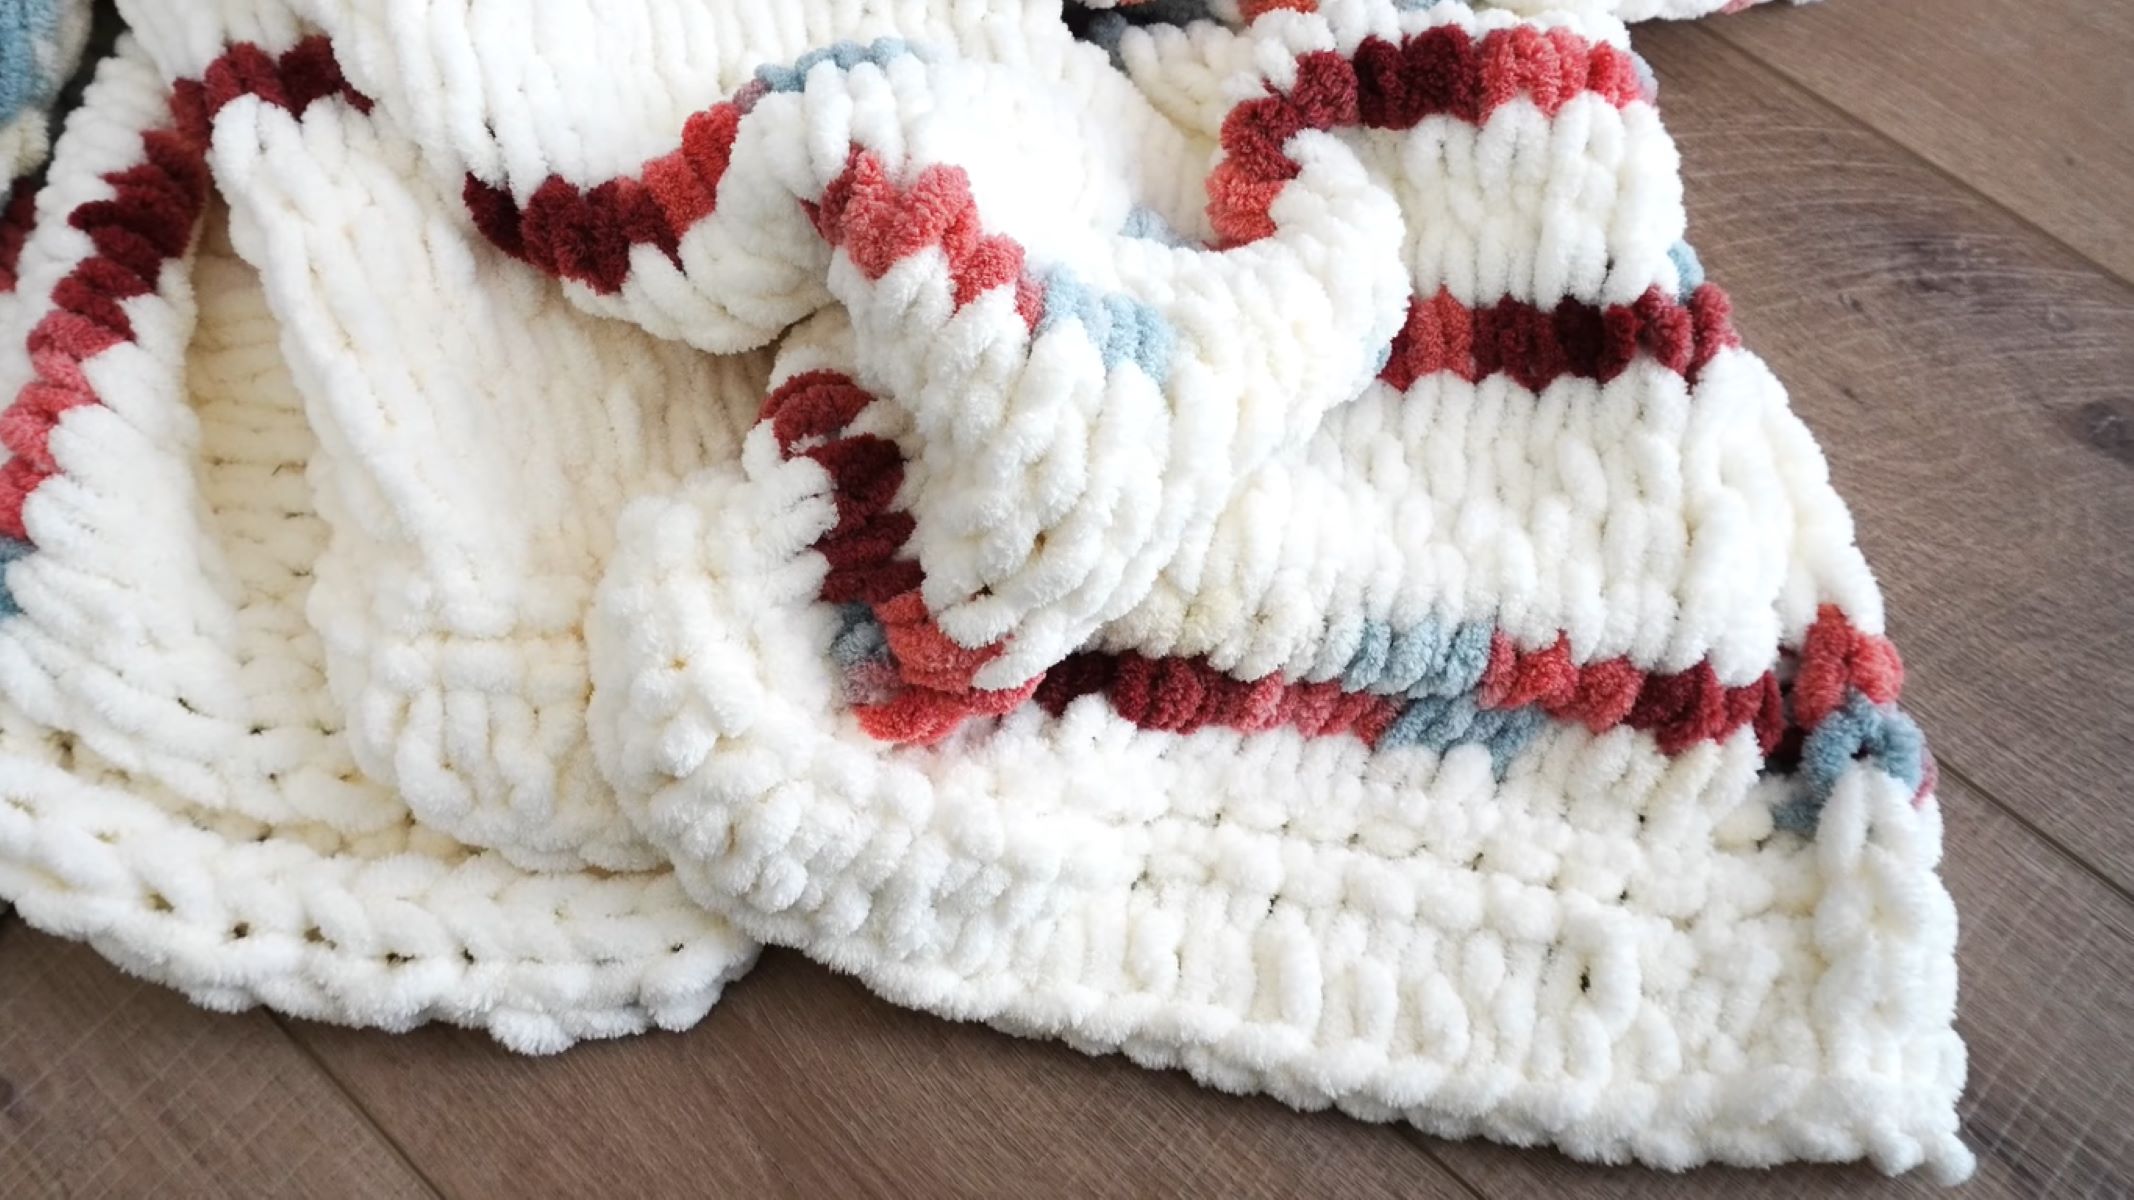
- Yarn: For your blanket, choose a thick and soft yarn that will create a cozy and warm feel. There are various types of thick yarn available, such as bulky or super bulky yarn, which provide a chunky texture. Opt for a yarn that complements the color scheme or style you envision for your blanket.
- Tapestry Needle: This needle will be used to weave in loose ends and secure your stitches at the end of your project.
- Scissors: A pair of sharp scissors will come in handy for cutting yarn and trimming the loose ends.
Once you have gathered your supplies, it’s time to familiarize yourself with basic crochet stitches. The two primary stitches you’ll use for crocheting a blanket are the chain stitch (ch) and the single crochet stitch (sc).
The chain stitch forms the foundation of your crochet piece, creating a row of interconnected loops. The single crochet stitch is a simple stitch that creates dense and sturdy fabric. Mastering these two stitches will help you build the foundation and work through the rows of your blanket.
Before starting your blanket project, take some time to practice these stitches. You can find numerous online tutorials and videos that demonstrate the proper technique for each stitch. Practicing on a small swatch will also help you understand the tension and gauge of your crocheting.
Now that you’re familiar with the basic supplies and stitches, you’re ready to begin crocheting your blanket. The next step is choosing the right yarn and hook size, which we’ll explore in the next section.
Choosing the Right Yarn and Hook Size
When it comes to crocheting a blanket with thick yarn, selecting the right yarn and hook size is crucial. The choice of yarn and hook will impact the size, texture, and drape of your finished blanket. Here are some factors to consider when making your selection:
Yarn Weight: Thick yarn for blankets typically falls into the categories of bulky or super bulky. Bulky yarn, also known as category 5, is thicker than standard worsted weight yarn, providing a cozy and warm texture. Super bulky yarn, categorized as 6, is even thicker, creating a chunky and plush feel. Decide on the weight of yarn based on your desired look and the level of warmth you want from your blanket.
Fiber Type: Consider the fiber content of the yarn as it can affect the feel, drape, and care instructions of your blanket. Natural fibers like wool or alpaca lend warmth, while acrylic or acrylic blends offer durability and easy care. You can also find blended yarns that combine different materials for the best of both worlds.
Color and Texture: The color and texture of the yarn play a significant role in the overall aesthetic of your blanket. Choose colors that complement your home decor or evoke the desired mood. For added visual interest, opt for yarn with subtle variations in color or a textured yarn that adds depth and dimension to your stitches.
Hook Size: The hook size you choose should be compatible with the thickness of your yarn. Heavier yarns typically require larger hooks to create loose and open stitches. Consult the yarn label for recommended hook sizes or experiment with different sizes to achieve the desired tension and drape. Remember, the goal is to create a blanket with a beautiful texture and a cozy feel.
Once you’ve determined the yarn weight and hook size, it’s a good idea to create a gauge swatch to ensure your stitches are consistent and meet the desired measurements. This will help you determine how many stitches to include in each row and how many rows you’ll need to complete your blanket.
By carefully selecting the right yarn and hook size, you’ll set yourself up for success in creating a beautiful and functional crochet blanket.
Understanding Basic Crochet Stitches
Before you dive into crocheting your blanket, it’s essential to have a solid understanding of the basic crochet stitches you’ll be using. Here are the fundamental stitches you’ll encounter:
- Chain Stitch (ch): The chain stitch forms the foundation of your crochet project. To make a chain stitch, start by making a slipknot on your hook. Then, yarn over and pull the yarn through the slipknot loop, creating a new loop. Repeat this process for the desired number of stitches.
- Single Crochet (sc): The single crochet stitch is one of the most commonly used stitches in crochet. To work a single crochet stitch, insert your hook into the designated stitch, yarn over, and pull up a loop. Yarn over again and pull through both loops on the hook, completing one single crochet stitch.
- Half Double Crochet (hdc): The half double crochet is a taller stitch that creates a slightly looser and taller fabric than the single crochet. To work a half double crochet stitch, yarn over, insert your hook into the designated stitch, yarn over again, and pull up a loop. Yarn over once more and pull through all three loops on the hook.
- Double Crochet (dc): The double crochet stitch is taller than both the single crochet and half double crochet stitches. To make a double crochet, yarn over, insert your hook into the stitch, yarn over again, and pull up a loop. Yarn over once more and pull through the first two loops on the hook, then yarn over again and pull through the remaining two loops.
- Treble Crochet (tr): The treble crochet stitch is even taller than the double crochet and creates a more lace-like fabric. To work a treble crochet, yarn over twice, insert your hook into the stitch, yarn over again, and pull up a loop. Yarn over and pull through the first two loops on the hook, then yarn over and pull through the next two loops, repeating this step until you have one loop left on the hook.
These basic stitches will serve as the building blocks for your crocheted blanket. By learning and practicing these stitches, you’ll be able to create a variety of textures, patterns, and designs.
It’s important to note that different patterns and designs may incorporate specific stitch combinations or variations. Always refer to the pattern instructions for any additional stitches or techniques required for your chosen design.
Now that you’re familiar with the basic stitches, you’re ready to start crocheting your blanket. The next step is to create a foundation chain, which we’ll explore in the following section.
Crocheting a Foundation Chain
Once you have your yarn and hook ready, it’s time to start crocheting your blanket by creating a foundation chain. The foundation chain serves as the base for your project and determines the width of your blanket.
To crochet a foundation chain, follow these steps:
- Make a slipknot: Begin by making a slipknot on your hook. To do this, leave a long tail, cross it over the short end, and pull the long end through the loop, creating a slipknot on your hook.
- Create the first chain stitch: Yarn over (wrap the yarn over the hook from back to front), then pull the yarn through the slipknot loop, creating your first chain stitch.
- Continue chaining: Yarn over again, and pull the yarn through the last loop on the hook, creating another chain stitch. Repeat this process until you have the desired number of stitches for your foundation chain.
Keep in mind that the number of chains you make will depend on the desired width of your blanket. Refer to your pattern or project instructions for the specific number of stitches required. If you’re not following a pattern, you can experiment with different chain lengths until you achieve the desired width.
After completing your foundation chain, take a moment to check the length. You can measure it against a ruler or use your own judgment. Keep in mind that the first row of stitches will add some height and may slightly stretch the foundation chain.
Creating a neat and consistent foundation chain can be challenging, especially for beginners. It’s common for the chain to be tighter or looser compared to your regular stitches. Practice and patience will help improve your tension and create an even chain.
Once you’re satisfied with your foundation chain, you’re ready to move on to the next step: working the first row of stitches. Let’s explore that process in the following section.
Read more: How To Start Crocheting A Blanket
Working the First Row
After creating your foundation chain, it’s time to begin working the first row of stitches. This row will set the stage for the rest of your crocheting project. Here’s how you can work the first row:
- Turn your work: Flip your foundation chain so that the side with the bumps (the back of the chain) is facing you. This will be the starting point for your first row of stitches.
- Insert your hook: Starting from the second chain from the hook, insert your hook under the top two loops of the chain. This will be indicated as “insert hook in 2nd ch from hook” in patterns.
- Create your first stitch: Yarn over and pull the yarn through both loops on the hook. This will complete your first stitch. If you’re following a specific pattern, make sure to use the designated stitch for the first row.
- Continue stitching across the row: Repeat the previous step for each chain stitch until you reach the end of the row. Make sure to maintain an even tension and consistent stitch size throughout.
Once you’ve completed the first row of stitches, take a moment to evaluate your work. Check that the height and tension of your stitches are consistent. If your stitches feel too tight or too loose, you may need to adjust your tension or try a different hook size.
Remember to count your stitches at the end of the row to ensure you have the correct number. If you’re following a pattern, the stitch count is crucial for maintaining the correct size and shape of your blanket.
As you progress in your crocheting journey, you’ll notice that each row builds upon the previous one. Staying mindful of your stitches and maintaining a consistent rhythm will result in a beautifully crafted blanket.
Now that you’ve successfully worked your first row, you’re ready to move on to crocheting subsequent rows, which we’ll explore in the next section.
When crocheting a blanket with thick yarn, use a larger crochet hook to create a looser, more comfortable fabric. This will also help the project work up faster.
Crocheting Subsequent Rows
Now that you’ve completed the first row of stitches, it’s time to move on to crocheting subsequent rows. These rows will build upon the foundation you’ve created and gradually form the body of your blanket. Here’s how you can continue crocheting:
- Turn your work: After finishing a row, turn your work so that the completed row is facing you. This will position you to start the next row.
- Create the necessary turning chains: Depending on the height of the stitch you’ll be working in the next row, you may need to create turning chains. Turning chains act as a substitute for the first stitch in the row. For example, if you’ll be working single crochet stitches in the next row, you’ll typically chain one as your turning chain. If you’re working double crochet stitches, you might chain two or three as your turning chain. Check your pattern or project instructions for the specific turning chain requirements.
- Insert your hook in the appropriate stitch: After creating the turning chains, insert your hook in the first stitch of the previous row. This will be indicated in patterns as “insert hook in first stitch.”
- Create the next stitch: Depending on the stitch pattern you’re working with, follow the designated instructions to create the next stitch. For example, if you’re working single crochet stitches, yarn over and pull the yarn through both loops on the hook. If you’re working double crochet stitches, yarn over, insert the hook in the specified stitch, yarn over again, and pull through the first two loops on the hook. Continue the required stitch pattern across the row.
- Repeat the process: Continue turning your work, creating turning chains, and crocheting the required stitches across each subsequent row until you reach the desired length of your blanket.
As you work each row, be mindful of your tension and stitch size to maintain consistency throughout the blanket. Count your stitches periodically to ensure you’re following the pattern correctly and maintain the correct stitch count.
As you progress, you’ll notice the fabric of your blanket taking shape with each new row. Take breaks and step back to admire your progress. The repetitive and soothing nature of crocheting allows you to find a rhythm and enjoy the process of creating your own cozy masterpiece.
In the next section, we’ll explore how you can unleash your creativity and create patterns and designs using thick yarn.
Creating Patterns and Designs with Thick Yarn
One of the joys of crocheting with thick yarn is the opportunity to create unique and visually striking patterns and designs. The chunky texture adds depth and dimension to your projects. Here are a few ideas for creating patterns and designs with thick yarn:
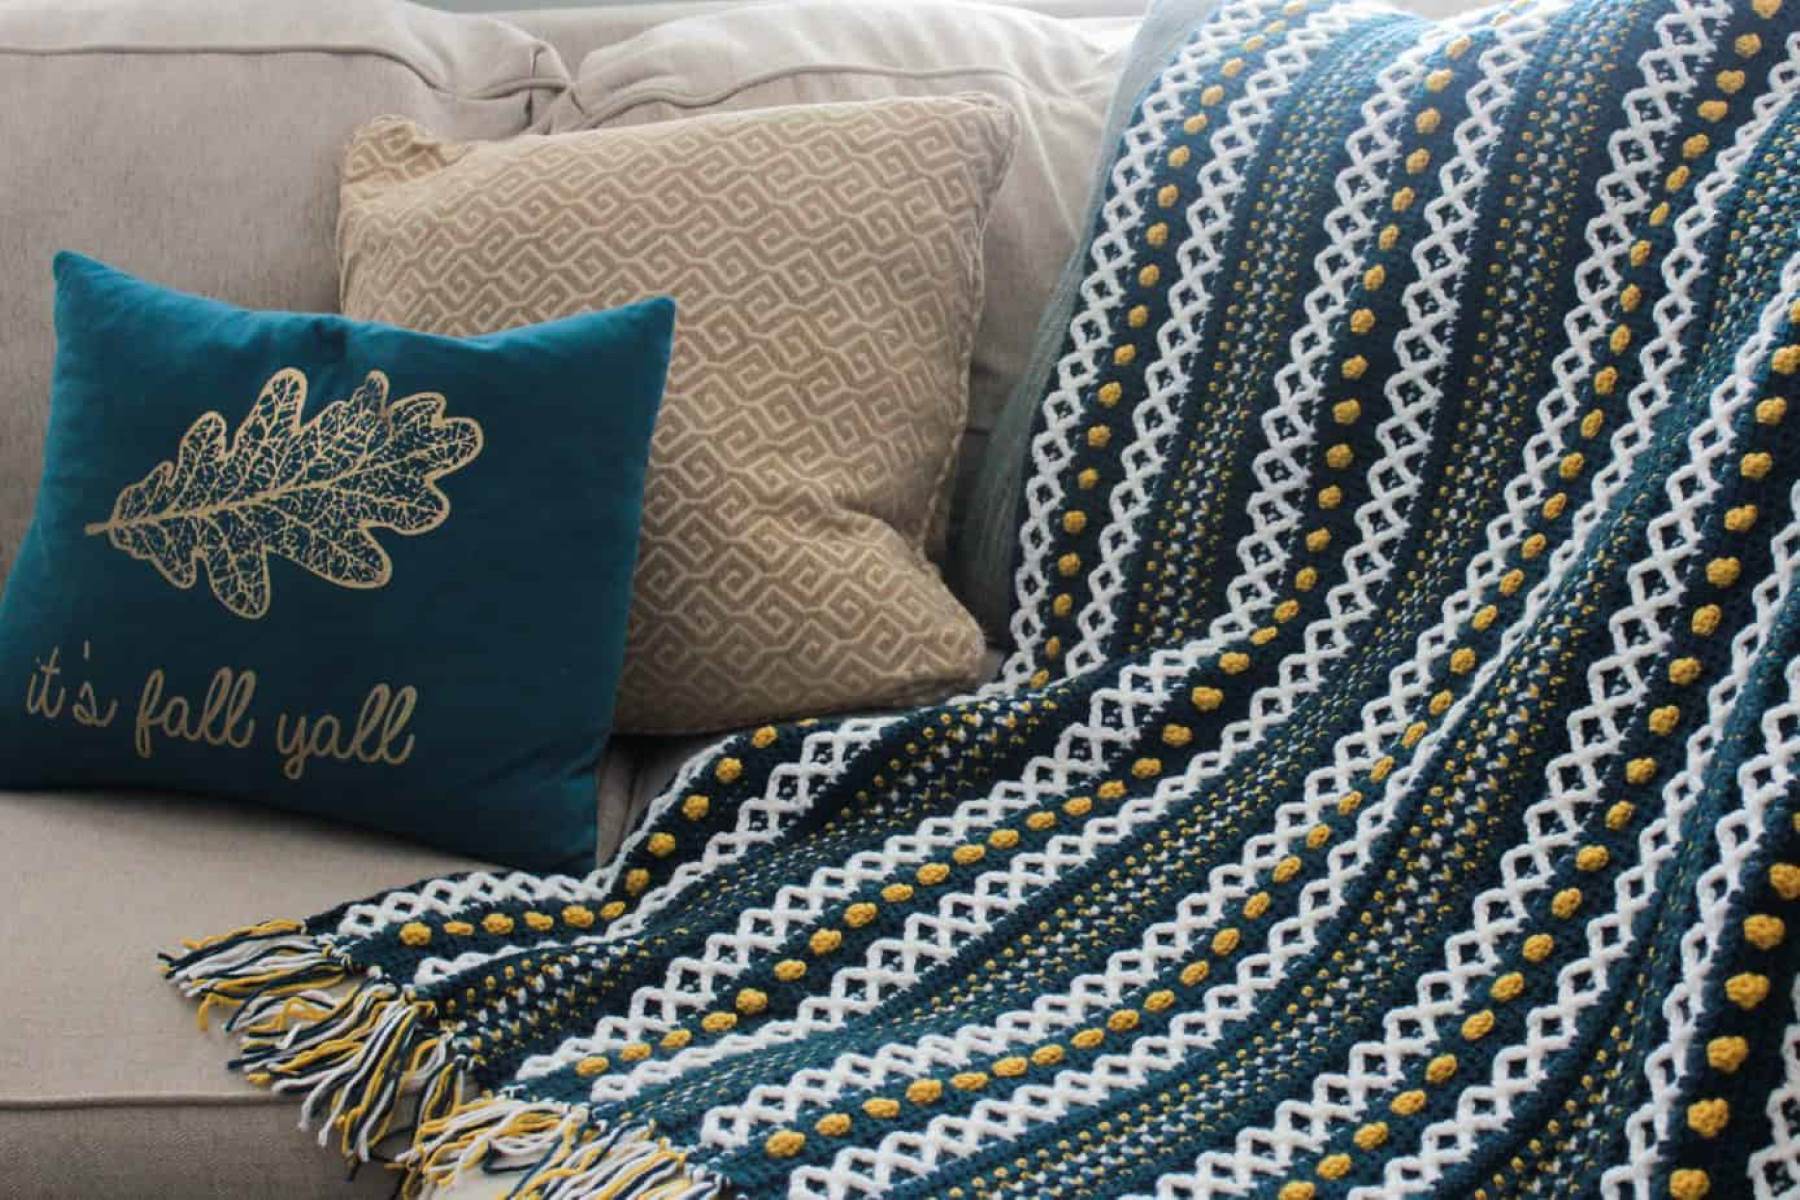
- Textured Stitches: Take advantage of the bulky yarn by incorporating textured stitches in your blanket. Stitches like popcorn stitch, bobble stitch, or front post double crochet can add interesting texture and visual appeal to your project.
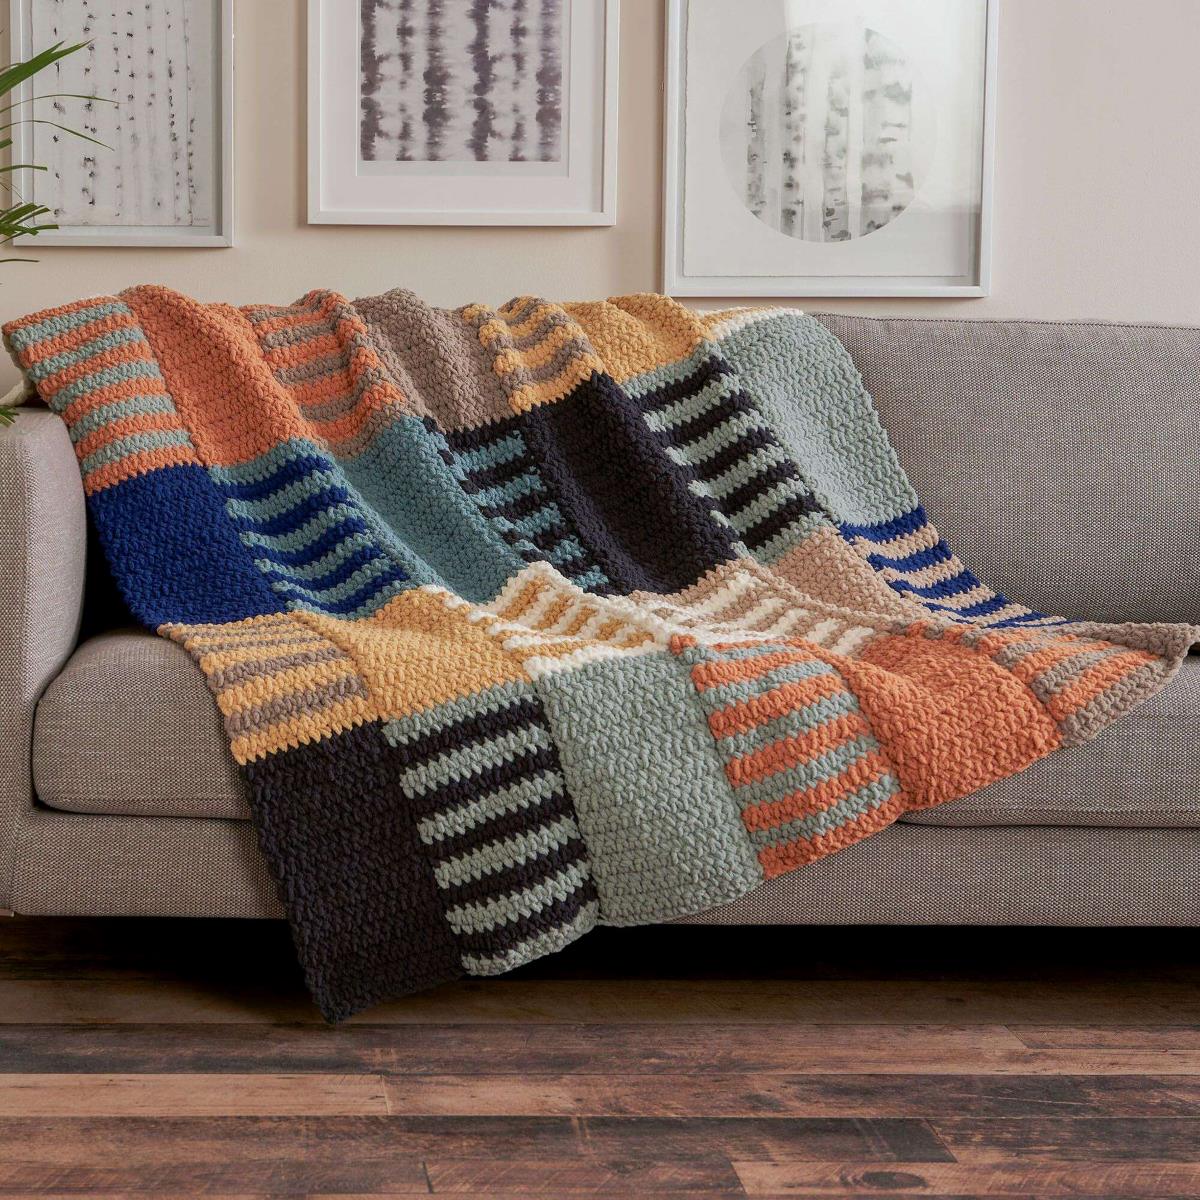
- Stripes and Color Changes: Experiment with different color combinations and create stripes or color blocks throughout your blanket. Thick yarn often shows off color changes beautifully, adding a playful touch to your design.
- Crochet Cables: Cables are a classic technique in knitting, but they can also be achieved in crochet. With thick yarn, crocheted cables can stand out and create a unique pattern on your blanket.
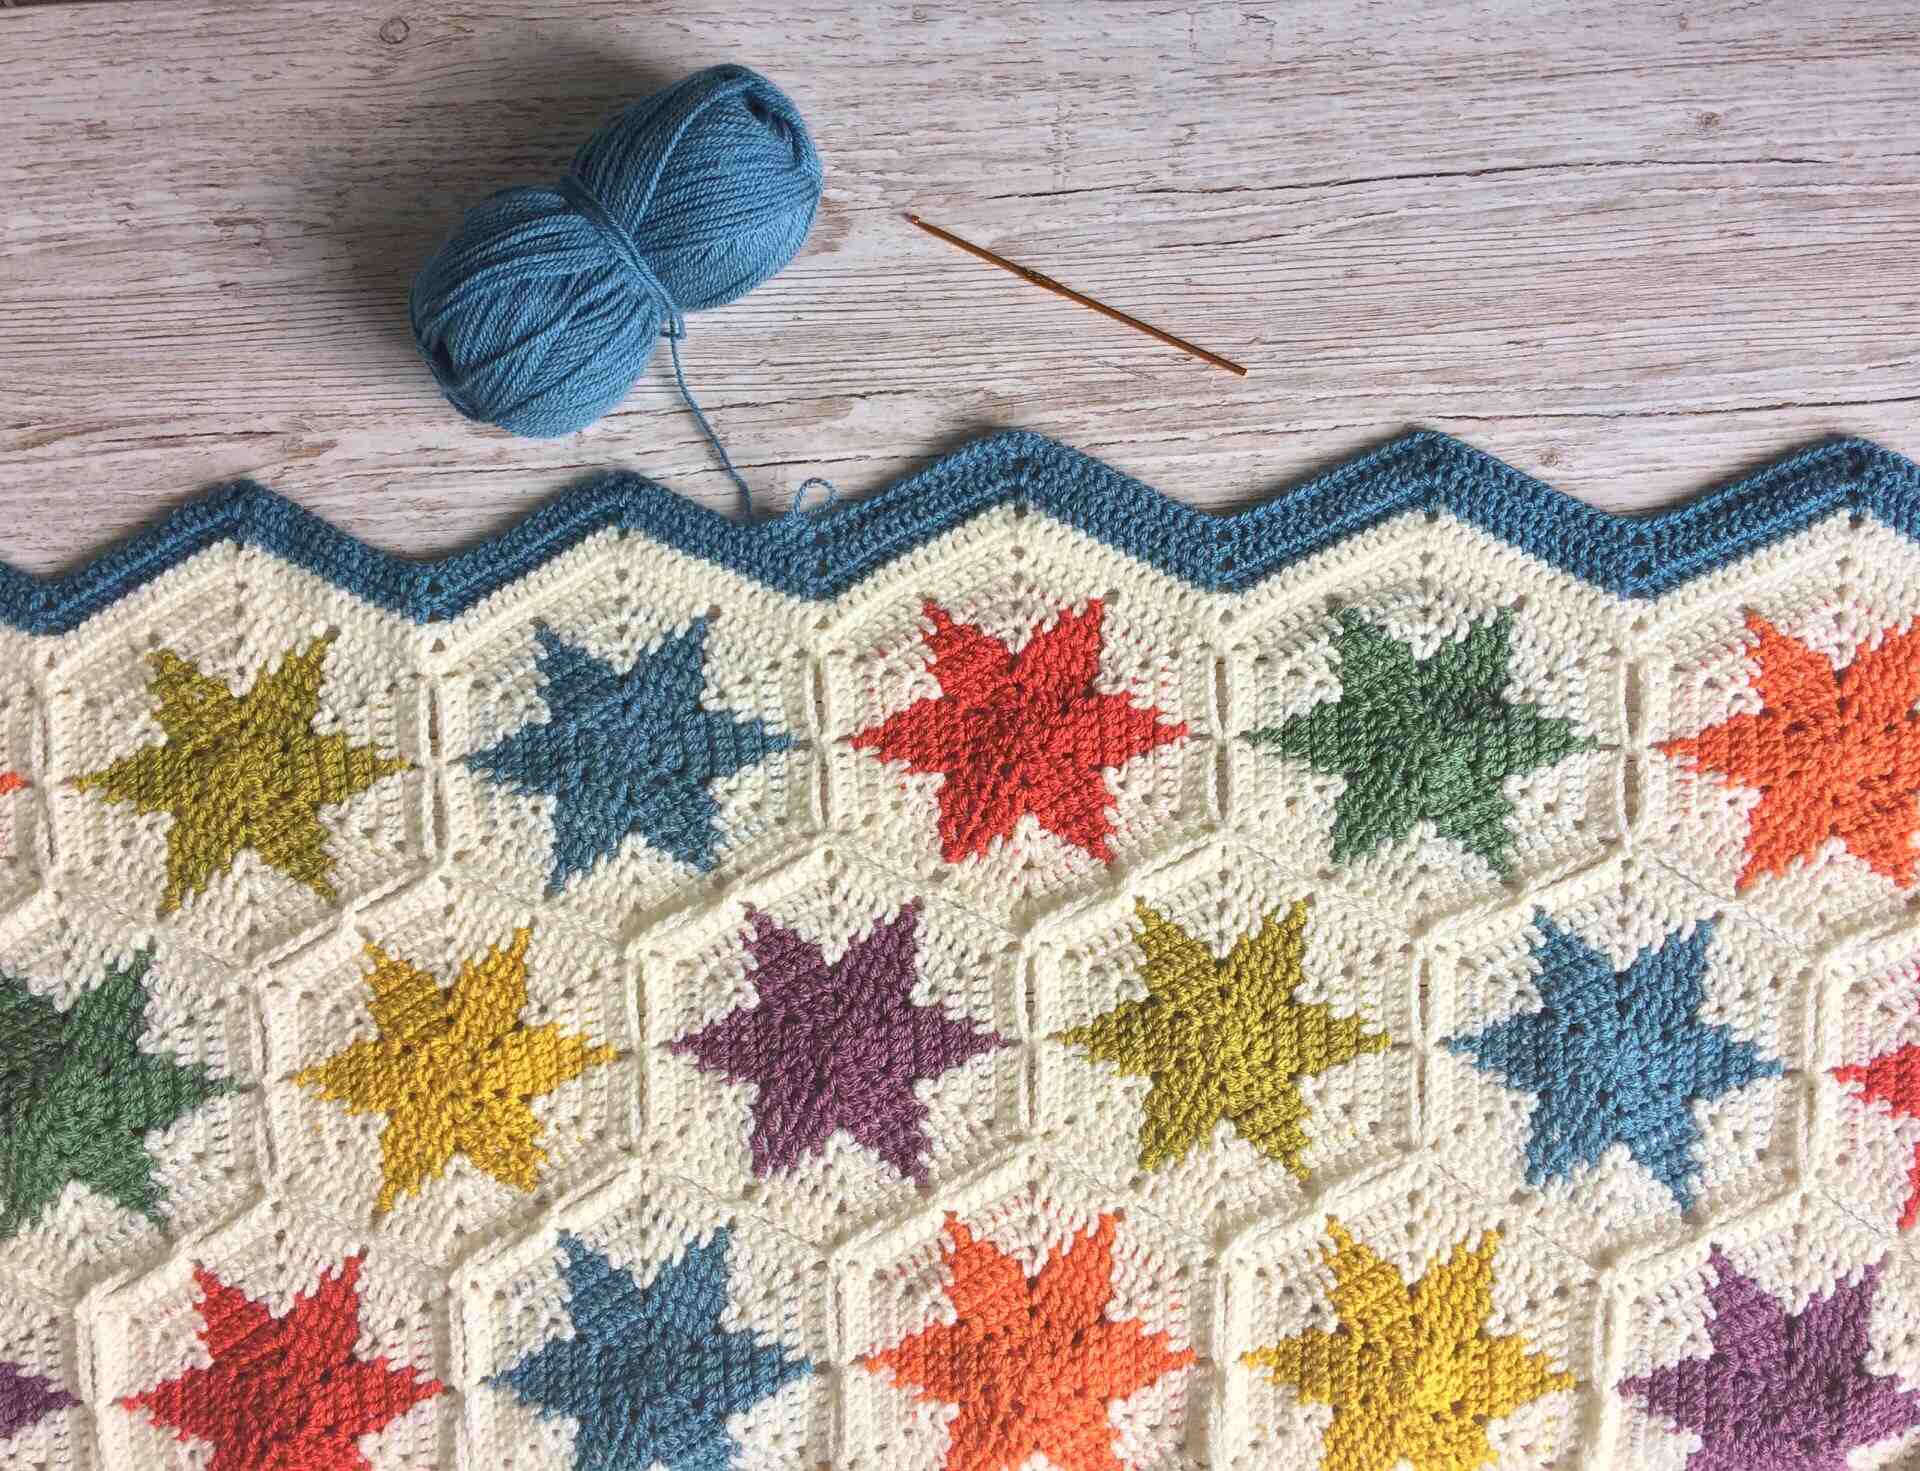
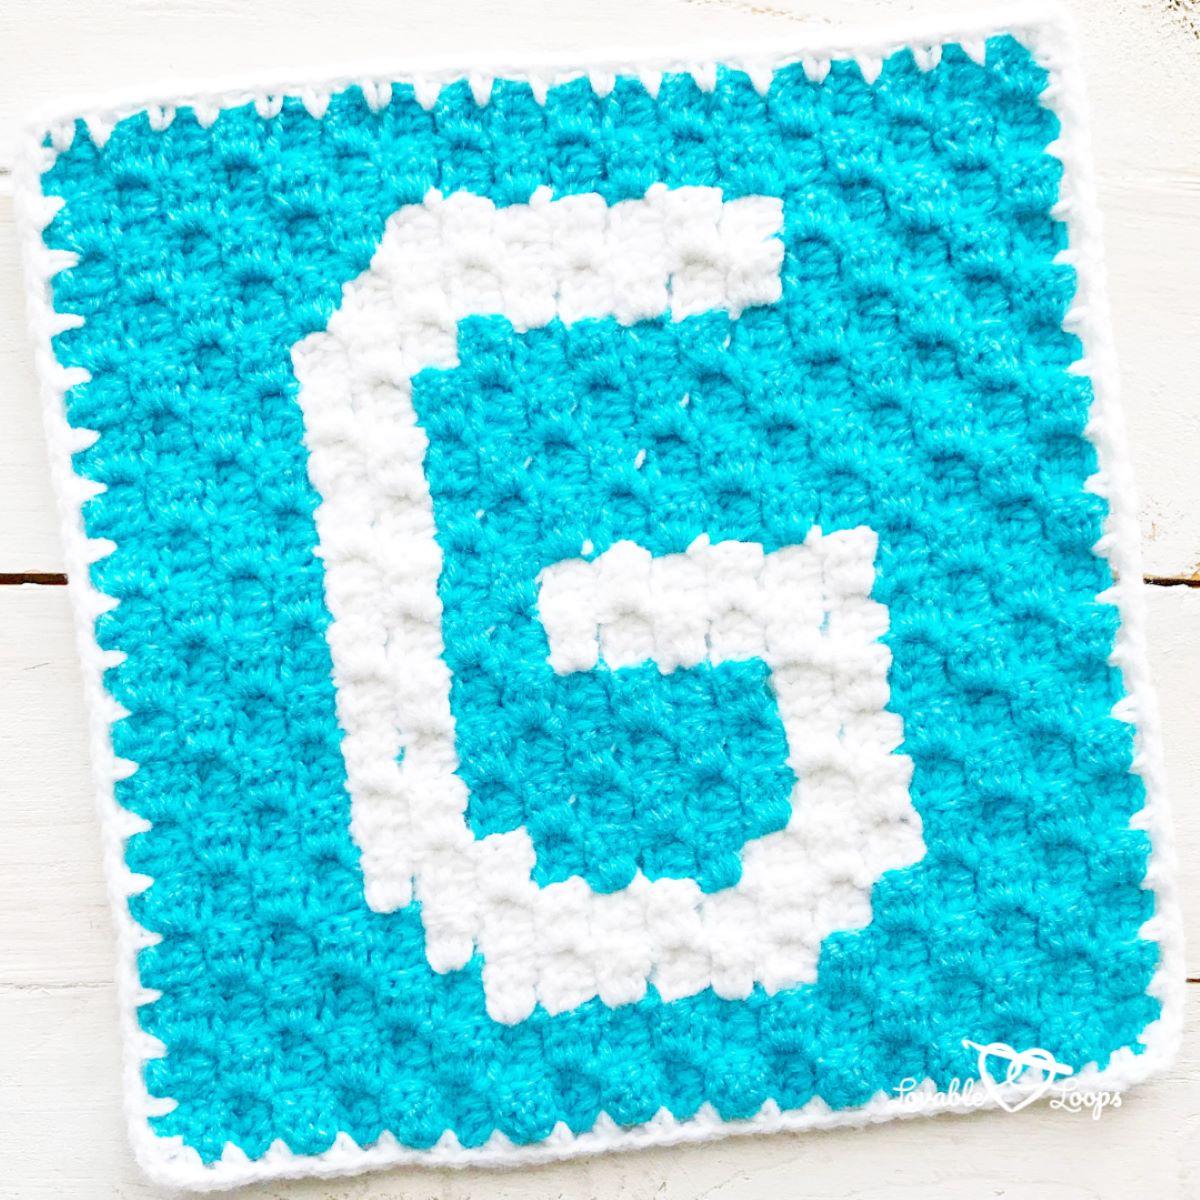
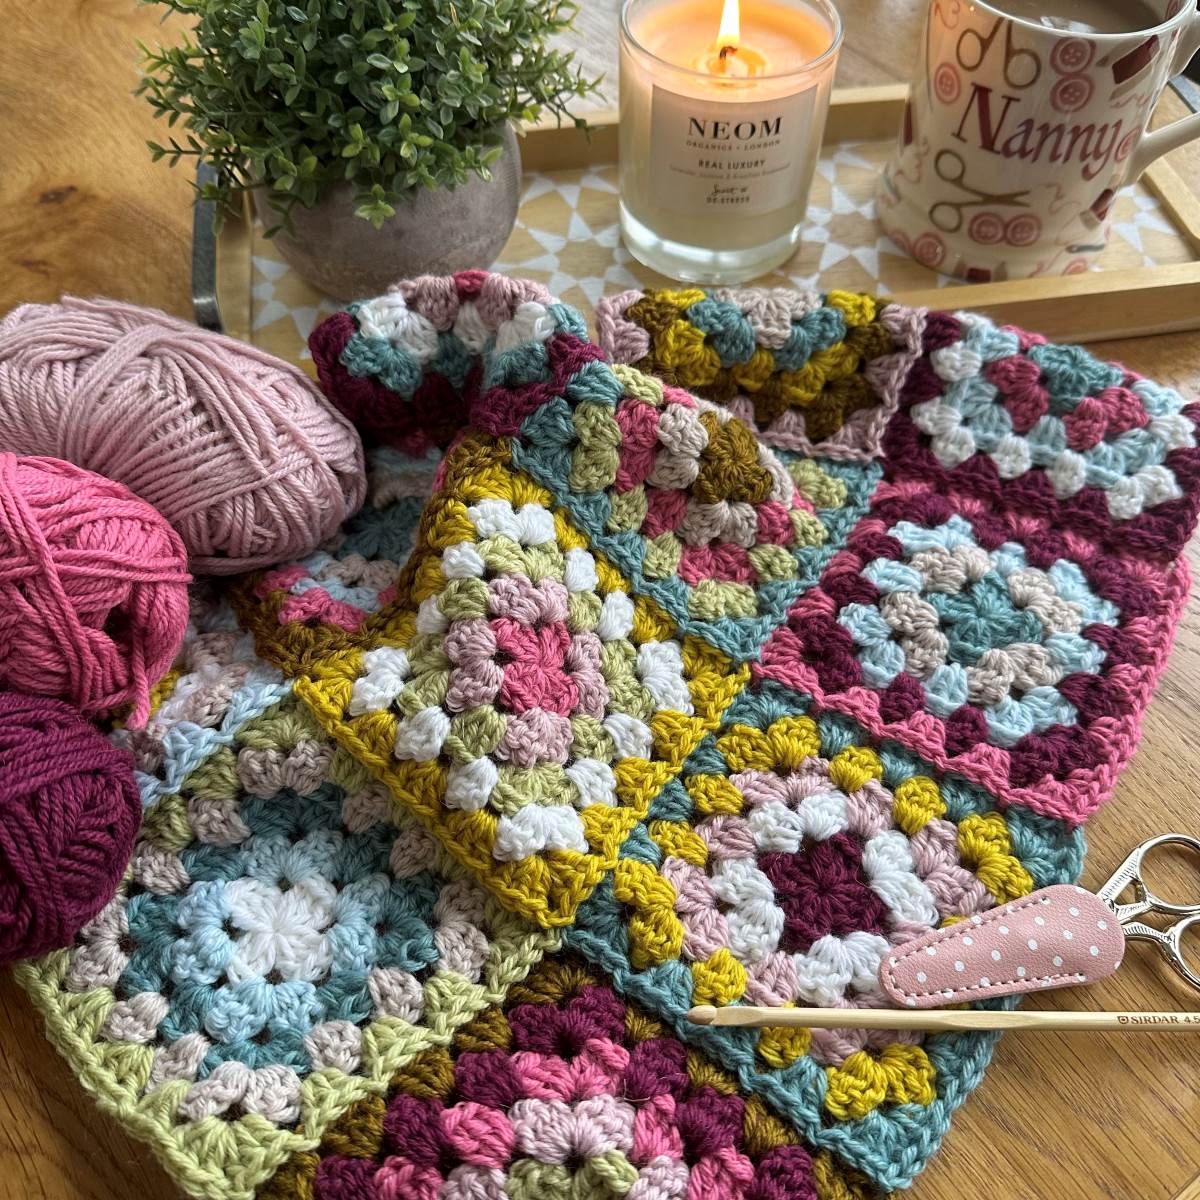
- Granny Squares: Granny squares are a versatile and popular motif in crocheting. Use your thick yarn to create oversized granny squares and join them together for a bold and eye-catching blanket.
- Stitch Combination: Combine different stitches in unique ways to create intricate and decorative patterns. The chunkiness of the yarn will enhance the visual impact of these stitch combinations.
- Texture Contrast: Experiment with combining thick yarn with thinner yarn to create texture contrast. You can incorporate thin yarn in specific areas or for certain stitch patterns, adding visual interest and dimension to your blanket.
These are just a few ideas to get your creative juices flowing. Don’t be afraid to try different stitches, patterns, and techniques to make your blanket truly one-of-a-kind. You can also draw inspiration from existing crochet patterns and adapt them to work with your thick yarn.
Remember to create a swatch before diving into a larger pattern or design. This will help you gauge the texture, drape, and size of your stitches using the specific combination of yarn and hook you’ve chosen.
Now that you have some ideas for patterns and designs, you can let your imagination run wild and create a stunning and unique crochet blanket with thick yarn.
Finishing Off Your Crochet Blanket
After putting in the time and effort to crochet your blanket with thick yarn, it’s important to finish it off properly. Finishing touches not only add polish to your project but also ensure that your blanket will withstand regular use. Here are some important steps to consider when finishing off your crochet blanket:
- Weaving in Ends: Throughout the crocheting process, you’ve likely accumulated loose ends from changing colors or joining new yarn. Take a tapestry needle and weave these ends securely into the fabric of the blanket. This will prevent them from coming loose and unraveling your hard work.
- Blocking: Blocking is the process of shaping and setting your crochet work to the desired dimensions. For a blanket, this step is optional but can help even out any uneven edges or textures. Wet-blocking involves submerging the blanket in water, gently squeezing out the excess, and laying it flat to dry. Steam-blocking allows you to shape your blanket using a steamer without soaking it. Follow the instructions for blocking that are appropriate for the yarn you’ve used.
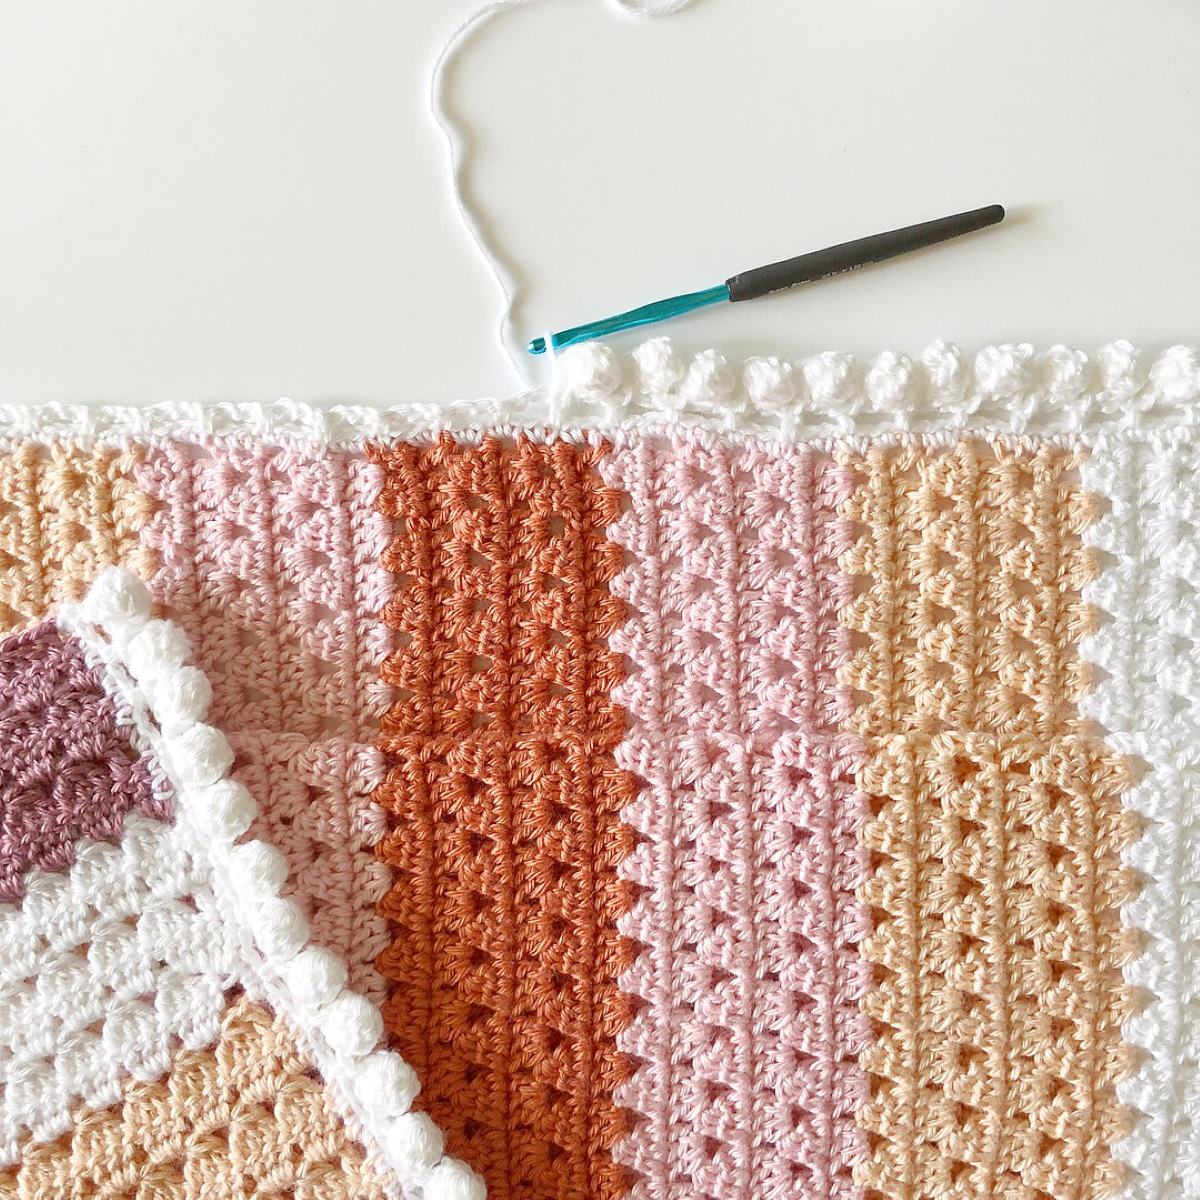
- Adding a Border: To add a finishing touch to your crochet blanket, consider adding a border. You can choose a simple single crochet border for a clean and neat edge or explore more intricate stitch patterns such as shells or picots for a decorative border. The border can be worked in a contrasting color or the same color as your blanket, depending on the look you desire.
- Blocking the Border: If you’ve added a border, consider blocking it separately from the body of the blanket. This will ensure that the border is stretched and shaped evenly. Follow the same blocking process as mentioned above for the body of the blanket.
- Care Instructions: Provide care instructions for your blanket to the recipient or include a small tag with care information. Different yarn types and blends have different requirements for washing and maintenance. Make sure to communicate how to properly care for the blanket to prolong its life and retain its beauty.
By completing these final steps, you’ll give your crochet blanket a polished and professional finish. Your blanket will be ready to provide warmth and comfort for many years to come.
Now that your crochet blanket is completed, here are some additional tips and tricks to keep in mind for future crocheting projects.
Read more: How Many Skeins Of Yarn For A Blanket
Tips and Tricks for Crocheting with Thick Yarn
Crocheting with thick yarn can be a delightful experience, but it also comes with its own set of considerations. To help you make the most out of your crocheting projects with thick yarn, here are some helpful tips and tricks:
- Use a Suitable Hook Size: Depending on the thickness of your yarn, you may need a larger hook size to accommodate the bulkiness. Experiment with different hook sizes to find the one that creates the desired tension and fabric for your project.
- Be Mindful of Tension: Thick yarn can be denser and heavier than finer yarns, so pay attention to maintaining an even tension throughout your stitches. Avoid pulling your loops too tight or working too loosely, as it can affect the overall structure and appearance of your crocheted item.
- Take Breaks: Working with thick yarn can strain your hands and wrists, especially if you’re new to crocheting or have a tension-grip style. Take regular breaks to stretch and rest your hands to prevent fatigue or discomfort.
- Try Different Stitch Patterns: Thick yarn lends itself well to showcasing different stitch patterns and textures. Experiment with various stitches, such as bobbles, popcorns, or cables, to add visual interest and depth to your projects.
- Be Mindful of Weight: Remember that thick yarn can add extra weight to your finished item. Consider this when making wearables like sweaters or shawls, ensuring they are comfortable to wear and won’t stretch excessively under their own weight.
- Consider Stitch Visibility: Keep in mind that intricate stitch patterns might be less visible with thick yarn due to the yarn’s bulkiness. Opt for simpler stitch patterns or larger motifs if you want the details to stand out.
- Take Yarn Substitution into Account: If a pattern calls for a specific yarn weight, it’s essential to select a thick yarn that closely matches the suggested gauge. This ensures that your finished item will have the correct dimensions and fit.
- Embrace Imperfections: Crocheting with thick yarn can occasionally result in uneven stitches or slight variations in tension. Embrace these imperfections as they can add character and uniqueness to your handmade creations.
- Enjoy the Process: Crocheting with thick yarn can be a joyful and satisfying experience. Embrace the luxurious feel and texture of the yarn as you work on your projects. Allow yourself to enjoy every stitch and create something truly special.
Remember, practice makes perfect! The more you work with thick yarn, the more comfortable you’ll become in handling it and achieving the desired results in your crocheting projects.
With these tips and tricks in mind, you’re equipped to embark on your crocheting journey with thick yarn and create beautiful and cozy items that will be treasured for years to come.
Now, let’s wrap up this article.
Conclusion
Crocheting a blanket with thick yarn opens up a world of creativity and comfort. Throughout this article, we’ve explored the essential steps and considerations for embarking on such a project. From getting started with crocheting to choosing the right yarn and hook size, understanding basic crochet stitches, and creating patterns and designs, you now have the knowledge to create your own cozy masterpiece.
Remember to gather all the necessary supplies, including a range of crochet hooks and thick, luxurious yarn. Practice the basic crochet stitches, such as the chain stitch and single crochet, to build your skills and create a strong foundation for your blanket.
Choosing the right yarn and hook size is crucial for achieving the desired texture and drape in your blanket. Opt for bulky or super bulky yarns and experiment with color combinations and stitch patterns to make your blanket truly unique.
As you crochet, take breaks when needed, maintain an even tension, and enjoy the process. Don’t be afraid to try different stitch patterns, incorporate texture, and create beautiful designs with your thick yarn.
Once your blanket is complete, finish it off with care by weaving in ends, blocking if desired, and adding a decorative border. Provide care instructions to ensure that your blanket remains in good condition for years to come.
Crocheting with thick yarn is a delightful journey of creativity and craftsmanship. Embrace the joy and satisfaction that comes with crafting your own cozy blankets. Whether you keep them for yourself or gift them to loved ones, your handmade creations will bring warmth and comfort in every stitch.
So, grab your crochet hook, select the perfect thick yarn, and embark on your crocheting adventure. Happy crocheting!
Frequently Asked Questions about How To Crochet A Blanket With Thick Yarn
Was this page helpful?
At Storables.com, we guarantee accurate and reliable information. Our content, validated by Expert Board Contributors, is crafted following stringent Editorial Policies. We're committed to providing you with well-researched, expert-backed insights for all your informational needs.
