
Articles
How To Crochet A Border Around A Blanket
Modified: February 25, 2024
Learn how to crochet a beautiful border around your blanket with our step-by-step articles. Enhance your crafting skills and create a stunning finish!
(Many of the links in this article redirect to a specific reviewed product. Your purchase of these products through affiliate links helps to generate commission for Storables.com, at no extra cost. Learn more)
Introduction
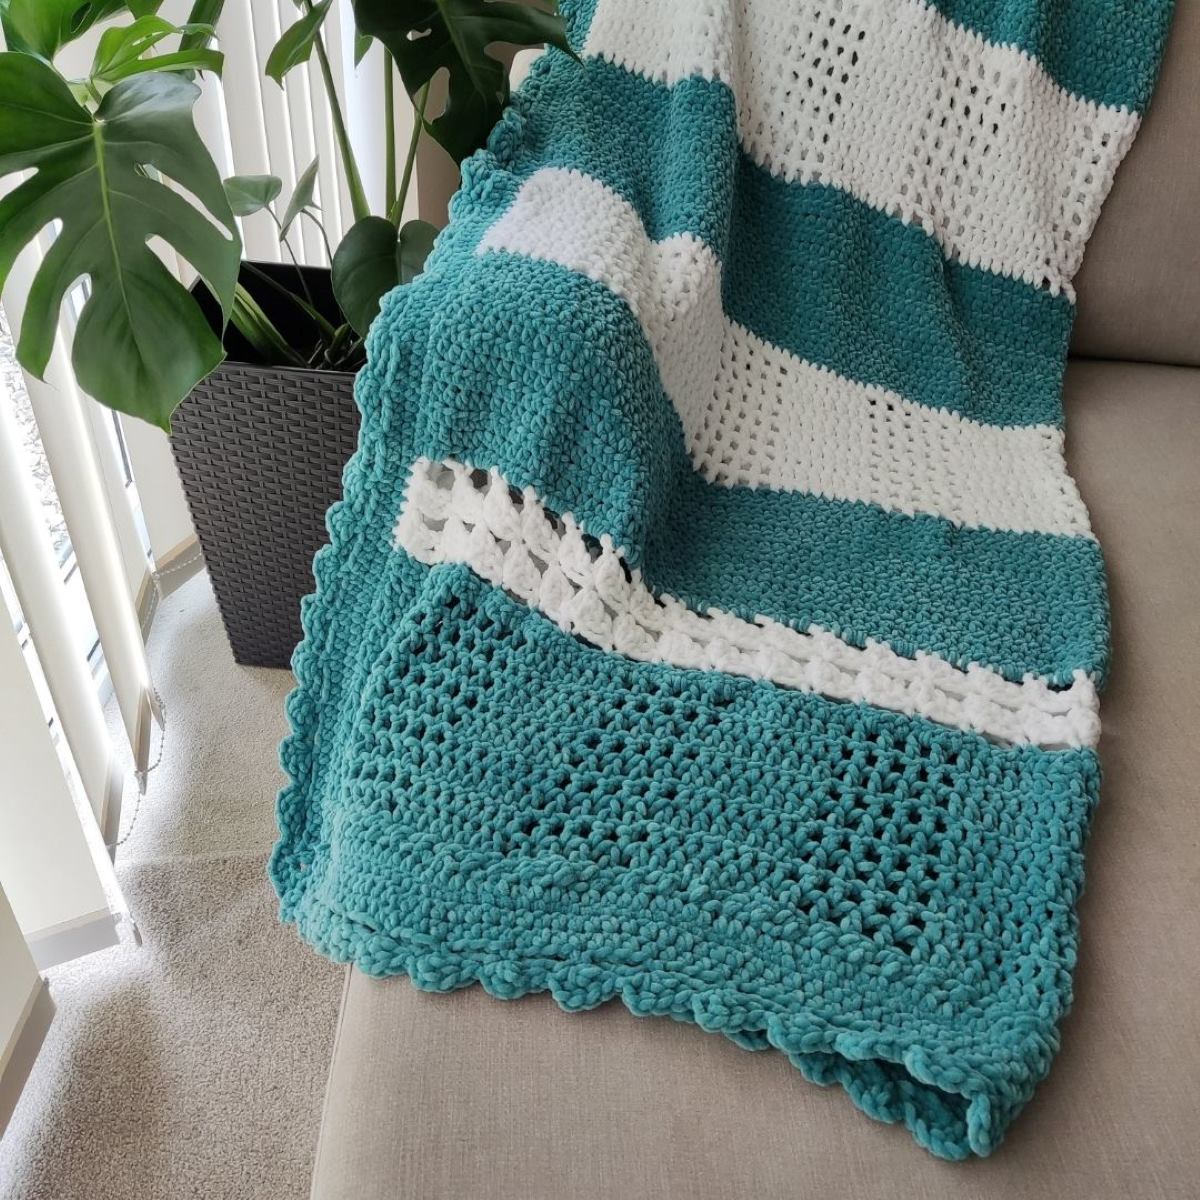
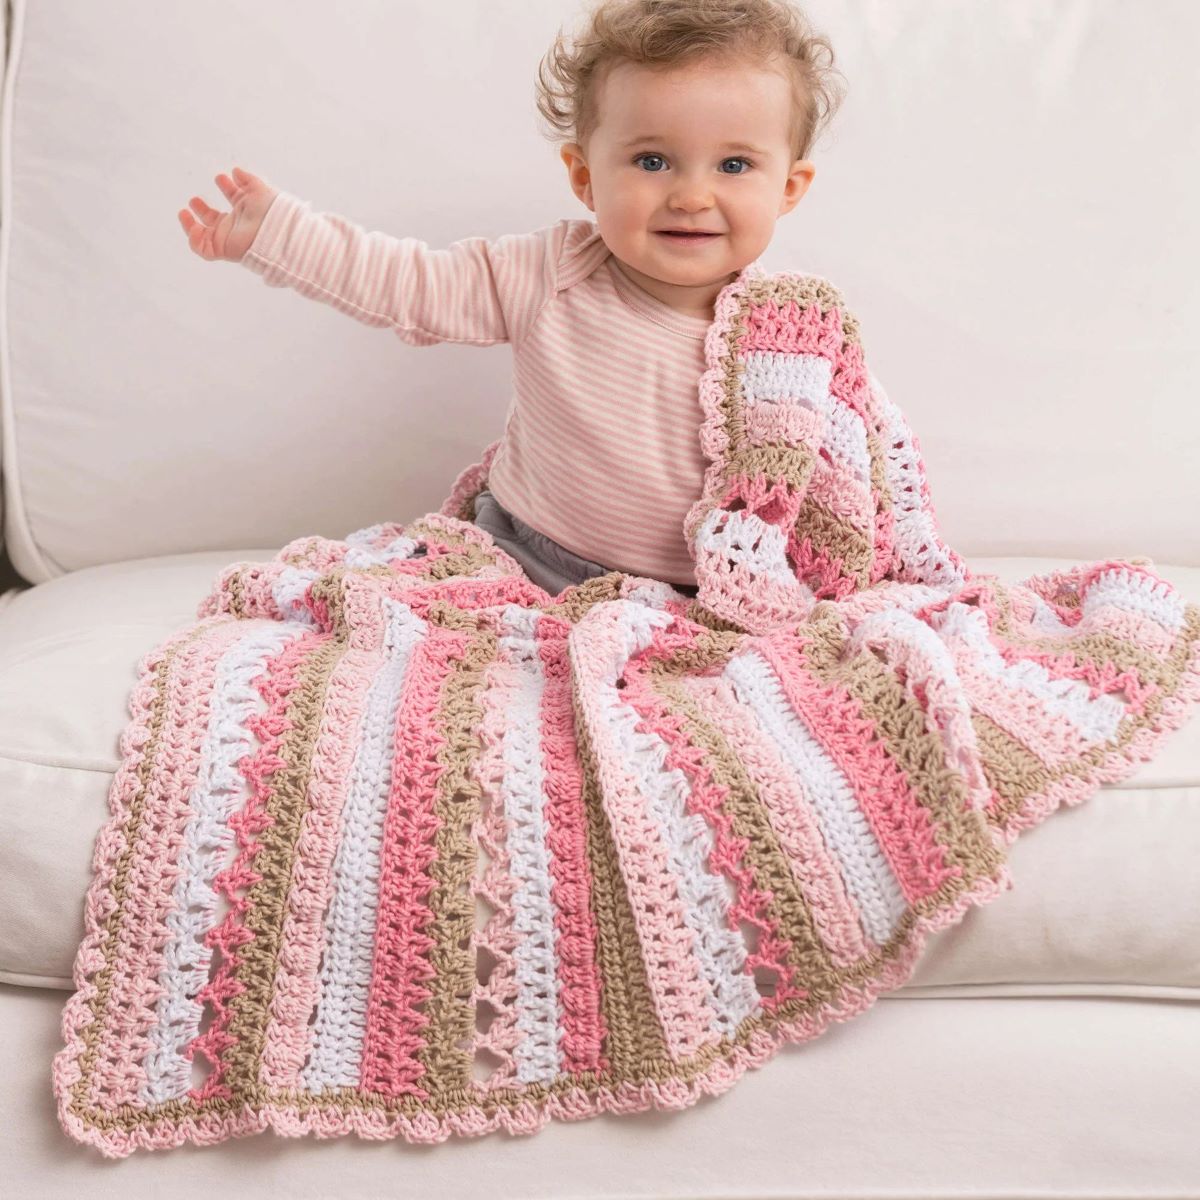
Adding a border to a crocheted blanket is a wonderful way to give it a finished and polished look. It not only enhances the overall appearance but also adds a touch of personalization to your handmade creation. Whether you’re a beginner or an experienced crocheter, this article will guide you through the step-by-step process of crocheting a border around a blanket.
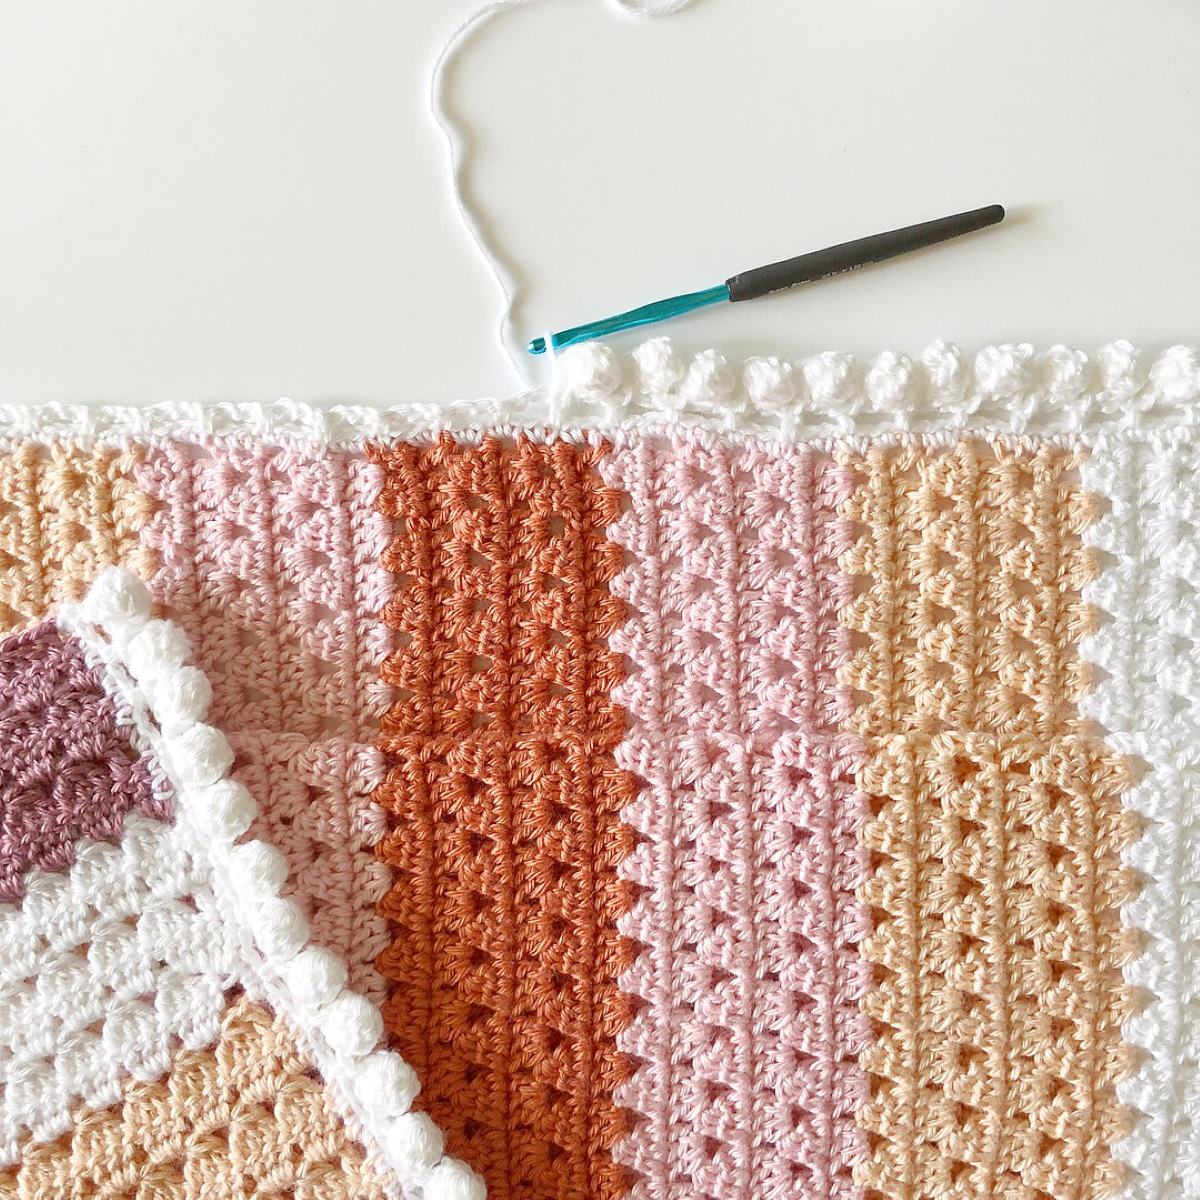
Crocheting a border around a blanket serves multiple purposes. It helps to reinforce the edges, preventing them from fraying or unraveling over time. It also adds structural stability to the blanket, ensuring that it retains its shape even with repeated use and washing. Additionally, a border can be a great way to incorporate different colors or stitch patterns, adding a decorative element to your blanket.
In this article, we will cover all the materials you’ll need, along with detailed instructions on each step of the process. By the end, you’ll have all the knowledge and confidence to crochet a beautiful border around your blanket and take your crochet skills to the next level.
Key Takeaways:
- Elevate your crocheted blankets with a personalized border that adds structural stability, decorative flair, and a polished finish. Follow our step-by-step guide to confidently crochet a beautiful and professional-looking border.
- Prepare your blanket, choose the right yarn and hook size, and master the slip stitch and single crochet techniques to create neat, balanced, and visually appealing corners. Finish off with a polished touch for a truly unique and stunning crocheted blanket.
Read more: How To Start Crocheting A Blanket
Materials Needed
Before you start crocheting a border around your blanket, gather the following materials:
- A crocheted blanket – This can be a blanket you’ve already made or a store-bought one that you want to add a border to.
- Yarn – Choose a yarn that complements the colors and texture of your blanket. You can use the same yarn as the blanket or opt for a contrasting color to create a visual pop.
- Crochet hook – Select a crochet hook size that matches the weight of your yarn. This information can usually be found on the yarn label.
- Tapestry needle – This will be used to weave in any loose ends and secure the border in place.
- Scissors – A pair of sharp scissors will come in handy for cutting yarn and trimming any excess.
- Stitch markers (optional) – These can be useful for marking the corners or specific points along the blanket if needed.
Make sure you have all these materials within reach before you begin. Having everything prepared beforehand will save you time and keep you focused on the crocheting process.
Step 1: Prepare Your Blanket
Before you begin crocheting the border, it’s important to prepare your blanket to ensure a smooth and even application. Here are some steps to follow:
- Inspect the blanket: Take a close look at the edges of your blanket to check for any loose threads, holes, or uneven stitches. If you spot any issues, now is the time to fix them by weaving in loose ends or making necessary repairs.
- Block the blanket (optional): Blocking is a technique used to shape and straighten out the crocheted fabric. If your blanket seems a bit uneven or needs some smoothing, you can dampen it with water and lay it flat on a blocking board or towel. Use rust-proof pins or string to gently shape the edges and allow the blanket to dry completely.
- Measure and mark: Determine the desired width of your border. Measure and mark the distance evenly around all edges of the blanket. This will serve as a guide as you crochet the border.
- Secure loose stitches: If you have any loose or exposed stitches along the edges, use a tapestry needle to weave in the yarn tails, securing them to the back of the fabric. This will prevent the stitches from unraveling and create a neater appearance.
By preparing your blanket adequately, you lay the foundation for a successful border crochet. Take your time during this step to ensure that your blanket is in the best possible condition before moving on to the actual crocheting process.
Step 2: Choose Yarn and Hook Size
Choosing the right yarn and hook size is crucial for creating a border that complements your blanket and gives it the desired look. Here’s how to make the best choices:
- Consider the blanket’s yarn weight: If your blanket is made with a specific yarn weight, it’s a good idea to use the same weight or a similar one for the border. This helps maintain consistency in the overall texture and drape of the blanket.
- Coordinate colors: When selecting the yarn for the border, you can either match the main color of the blanket or choose a contrasting color to add visual interest. Consider the color palette of your blanket and choose a yarn color that complements or enhances it.
- Experiment with textures: If you want to add extra dimension to your blanket, consider using a yarn with a different texture for the border. This can include yarns with metallic threads, a fuzzy or boucle texture, or even a variegated yarn with multiple colors.
- Choose the appropriate hook size: The general rule is to use a crochet hook size that matches the weight of your chosen yarn. However, you can also experiment with different hook sizes to achieve the desired stitch tension and fabric density for your border. Keep in mind that a larger hook will create a looser and more open stitch, while a smaller hook will result in a tighter and denser stitch.
Take the time to consider your preferences and the desired outcome for your blanket’s border. Play around with different yarns and hook sizes to find the perfect combination that complements your blanket and achieves the look you envision.
Step 3: Start with a Slip Stitch
Now that your blanket is prepared and you have chosen your yarn and hook size, it’s time to begin crocheting the border. Here’s how to start with a slip stitch:
- Thread your crochet hook with the yarn, leaving a tail of about 6 inches.
- Locate your first marked corner or edge of the blanket where you want to start the border.
- Insert your hook into the blanket edge, from back to front, about an inch away from the corner.
- Yarn over and pull up a loop through the blanket edge.
- Yarn over again and pull through both loops on the hook. This creates a slip stitch that securely attaches the yarn to the edge of the blanket.
Slip stitches are used to join the yarn and create a seamless transition from the blanket to the border. They also provide a stable foundation for the subsequent rounds or rows of the border.
Continue to slip stitch along the blanket’s edge until you reach the next marked corner or desired starting point for the border. Make sure to maintain an even tension and spacing between the slip stitches to ensure a smooth and consistent appearance.
Once you have completed the slip stitch round, you can move on to the next step of the border crochet process.
When crocheting a border around a blanket, be sure to evenly space your stitches along each edge to prevent the border from puckering or stretching. This will give your blanket a polished and professional finish.
Read more: How To Crochet A Star Into A Blanket
Step 4: Single Crochet Around the Edges
With the slip stitch round completed, it’s time to start crocheting the border using single crochet stitches. Follow these steps:
- Chain 1 to serve as the turning chain.
- Insert your hook into the first slip stitch made in the previous round.
- Yarn over and pull up a loop through the slip stitch.
- Yarn over again and pull through both loops on the hook. This completes one single crochet stitch.
- Continue working single crochet stitches into each slip stitch along the blanket’s edge, maintaining an even tension and spacing.
- When you reach a corner, work three single crochet stitches into the corner stitch or space to create a neat and rounded corner. This helps prevent the border from bunching or pulling.
- Continue single crocheting along the next edge of the blanket, repeating the process until you have completed a round of single crochet stitches around the entire blanket.
The single crochet stitches form the foundation of the border and create a neat edge. They can be worked tightly or more loosely, depending on your desired look and the texture of your blanket.
Remember to maintain an even tension and count your stitches to ensure that you have the correct number of single crochet stitches in each round. This will help keep the border balanced and consistent.
Once you have completed the single crochet round, you’re ready to move on to the next step in the border crochet process.
Step 5: Work Corners
When crocheting a border around a blanket, the corners require special attention to ensure a clean and professional finish. Follow these steps to properly work the corners:
- After completing a round of single crochet stitches, you will approach a corner of the blanket.
- To create a corner, work one or more additional stitches into the same corner stitch or space, depending on the desired width of your border.
- For a simple corner, work three single crochet stitches into the same stitch or space. This will create a rounded corner and help prevent bunching.
- If you would like a more pronounced and decorative corner, you can experiment with different stitch patterns or increase the number of stitches in the corner.
- After completing the corner stitches, continue single crocheting along the next edge of the blanket, maintaining an even tension and spacing.
- Repeat this process for each corner of the blanket as you work your way around.
Working the corners properly ensures that the border smoothly curves around the corners without becoming too tight or loose. It also adds a visually appealing element to the overall design of your crocheted blanket.
Remember to count your stitches and maintain consistency as you work the corner stitches to maintain a balanced appearance.
Once you have completed working the corners, proceed to the next step to finish off the border.
Step 6: Finish off the Border
Completing the border of your crocheted blanket is the final step in the process. Follow these steps to finish off the border:
- After working the final corner, continue single crocheting along the remaining edge of the blanket until you reach the starting point of the border.
- Slip stitch into the first single crochet stitch of the round to join the last stitch with the first. This creates a smooth and seamless finish.
- Fasten off the yarn by cutting it, leaving a tail of a few inches.
- Weave in any loose ends using a tapestry needle. Thread the tail through the needle and sew it back and forth through the back of the border, making sure it is secure and hidden.
- Inspect the completed border to ensure that all loose ends are securely woven in and the stitches are neat and even.
Finishing off the border gives your crocheted blanket a polished and professional look. It ensures that all the edges are secure and the border is firmly in place.
Take your time to weave in the yarn tails neatly, as this not only enhances the appearance but also prevents them from coming loose over time. A well-finished border will give your blanket a clean and tidy overall presentation.
Congratulations! You have successfully crocheted a beautiful border around your blanket. Admire your finished work and celebrate your accomplishment.
Conclusion
Crocheting a border around a blanket is a rewarding and creative way to add the perfect finishing touch to your handmade creation. By following the steps outlined in this article, you now have the knowledge and confidence to confidently crochet a beautiful and professional-looking border around your blanket.
Remember to prepare your blanket, choose the appropriate yarn and hook size, and start with a slip stitch to secure the yarn to the edge. Work single crochet stitches along the edges, paying extra attention to the corners to create a neat and balanced finish. Lastly, finish off the border by slip stitching, fastening off, and weaving in any loose ends to ensure a polished final result.
Whether you’re embellishing a crocheted blanket you’ve made yourself or enhancing a store-bought one, a carefully crafted border can elevate the overall appearance and make it truly unique. You can experiment with different yarn colors, textures, and stitch patterns to match your personal style and preferences.
As you become more comfortable with crocheting borders, you can explore more advanced techniques and incorporate your own creative ideas. The possibilities are endless when it comes to adding that extra special touch to your crochet projects.
So grab your yarn and hook, and let your imagination run wild as you crochet beautiful borders around your blankets. Get ready to amaze yourself and others with your newfound skills and the stunning finished results!
Frequently Asked Questions about How To Crochet A Border Around A Blanket
Was this page helpful?
At Storables.com, we guarantee accurate and reliable information. Our content, validated by Expert Board Contributors, is crafted following stringent Editorial Policies. We're committed to providing you with well-researched, expert-backed insights for all your informational needs.
