Articles
How To Crochet Curtains
Modified: October 20, 2024
Discover helpful articles on how to crochet curtains and enhance your home decor. Learn tips, techniques, and patterns to create beautiful and unique curtains.
(Many of the links in this article redirect to a specific reviewed product. Your purchase of these products through affiliate links helps to generate commission for Storables.com, at no extra cost. Learn more)
Introduction
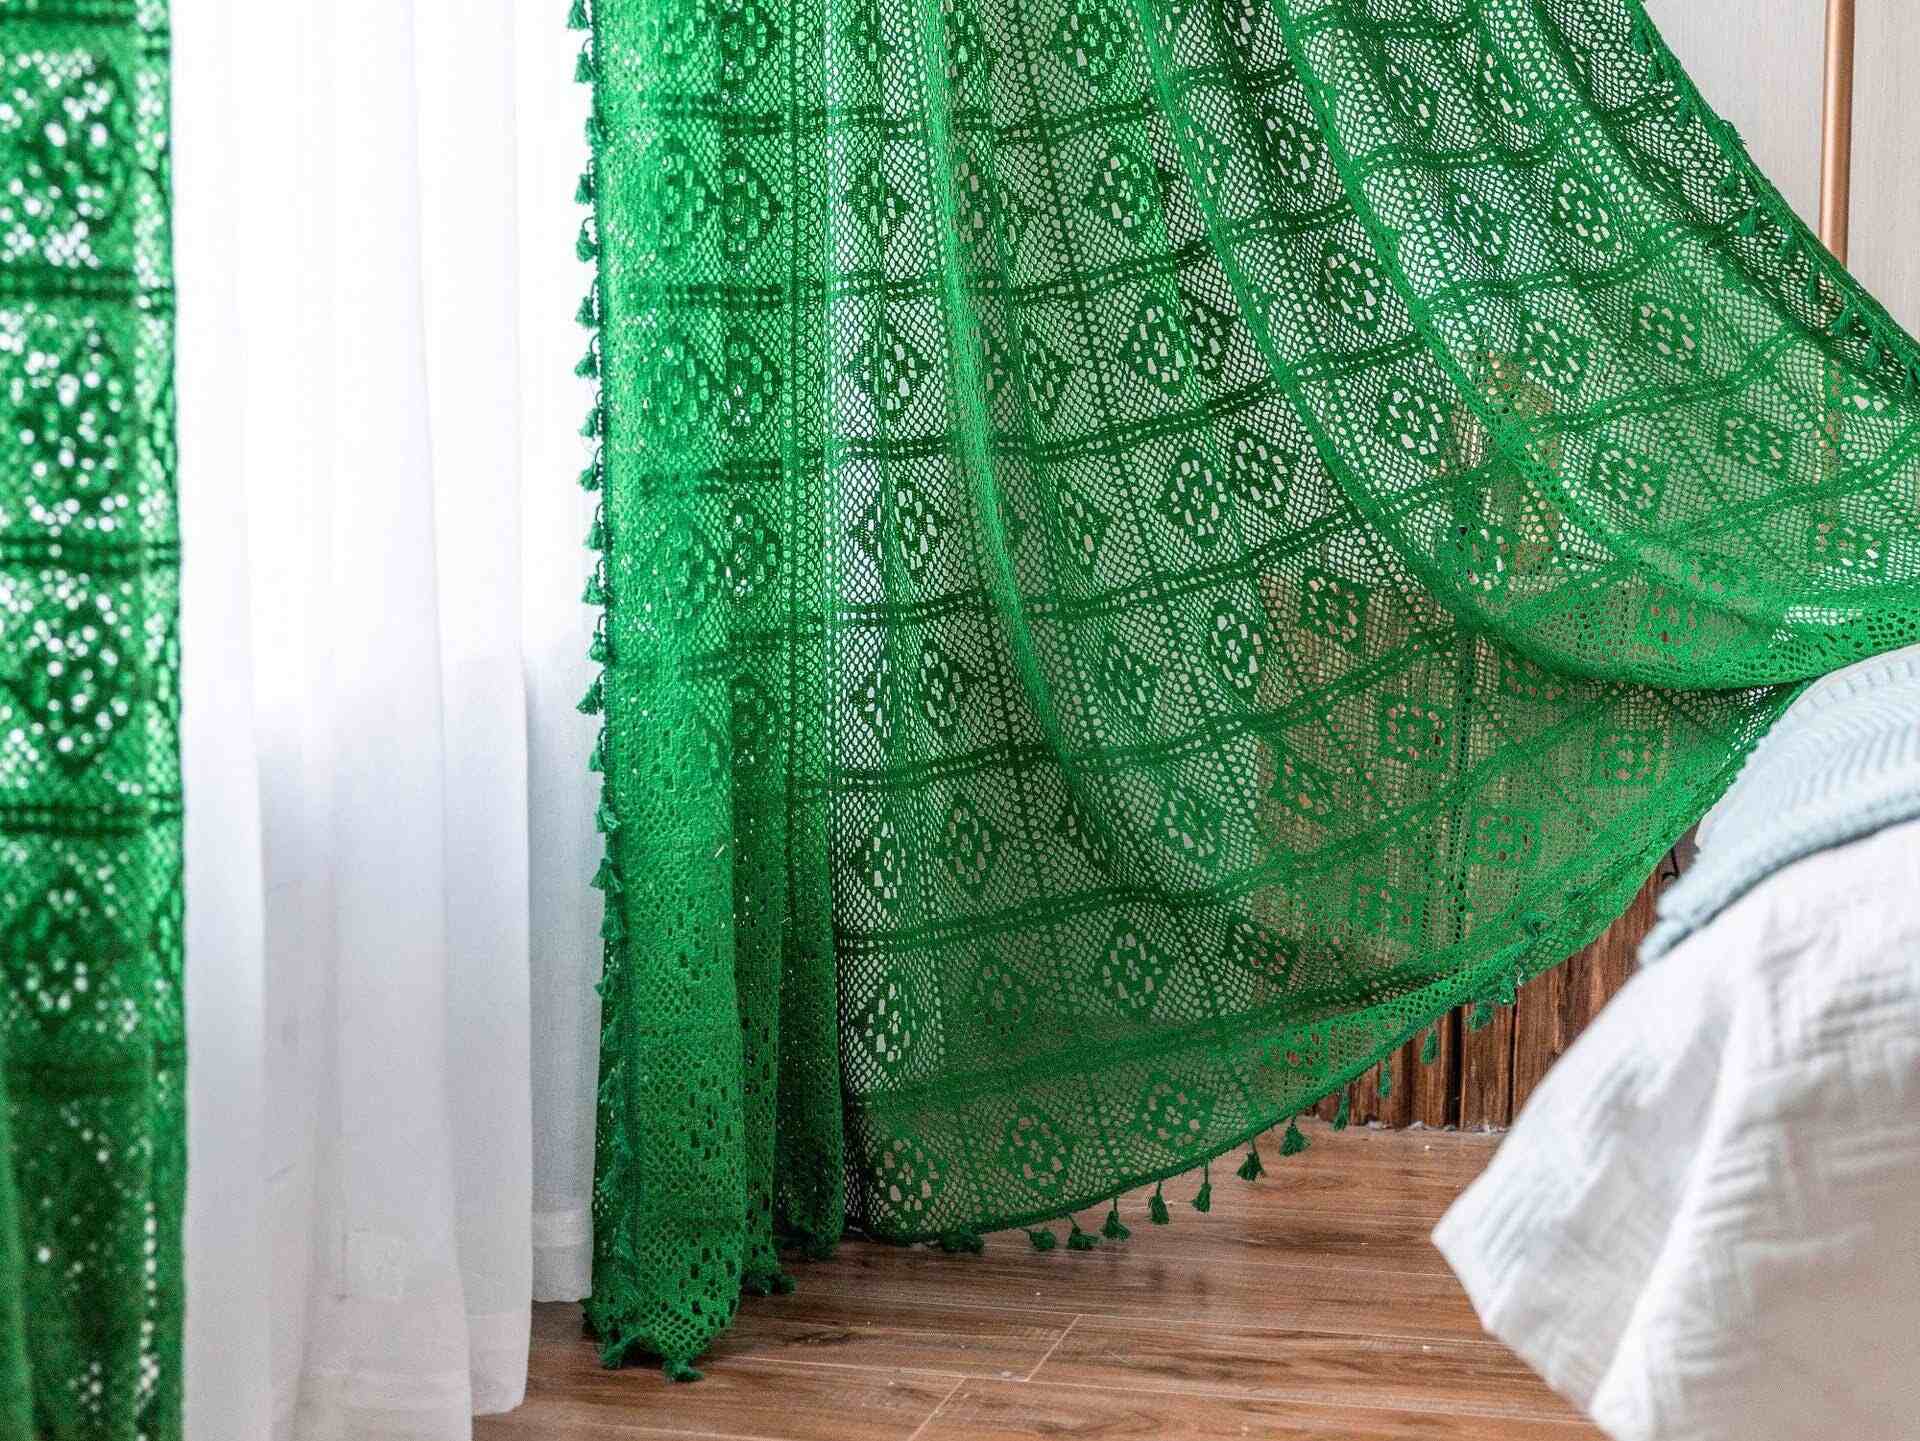
Crocheting curtains is a wonderful way to add a personal touch and unique style to your home decor. Whether you want to create a cozy atmosphere, add a pop of color, or simply enhance privacy, crochet curtains provide a charming and practical solution.
In this article, we will guide you through the process of crocheting your own curtains. From choosing the right yarn and hook to joining the panels and adding finishing touches, we’ll cover everything you need to know to create beautiful and functional crochet curtains.
Crocheting curtains allows you to unleash your creativity and customize them to perfectly fit your windows. With a wide selection of yarn colors and various crochet stitch patterns, you can create curtains that complement your existing decor, making a statement or blending seamlessly with the overall ambiance of your space.
Not only will crocheting curtains give you a unique set of window coverings, but it will also provide a sense of accomplishment and fulfillment. Handmade items add a personal touch to your home, infusing it with warmth and character.
Before we dive into the crochet techniques, it’s important to note that crocheting curtains requires time, patience, and some basic crochet skills. If you’re a beginner, familiarize yourself with basic stitches such as the chain stitch and single crochet before attempting this project. However, don’t let that discourage you! Crocheting curtains is a great way to improve your skills and create something truly special.
So, grab your yarn, hook, and let’s get started on this exciting crochet curtain journey!
Key Takeaways:
- Unleash Your Creativity: Crocheting curtains allows you to personalize your home decor with unique designs, colors, and textures, adding warmth and character to your living space.
- Masterful Craftsmanship: By choosing the right yarn, mastering basic stitches, and adding finishing touches, you can create beautiful and functional crochet curtains that reflect your personal style and dedication to the craft.
Read more: How To Crochet A Tablecloth
Choosing the Right Yarn and Hook
When it comes to crocheting curtains, choosing the right yarn and hook is essential. The right combination will ensure that your curtains have the desired drape and durability. Here are some factors to consider:
1. Yarn Weight:
The weight of the yarn determines the thickness and heaviness of your curtains. Lighter weight yarns such as lace or fingering yarns create delicate and sheer curtains, perfect for filtering light. Medium weight yarns like worsted or aran provide a balance between opacity and weight. Bulky yarns give a more substantial and cozy look, ideal for colder climates or adding texture to your windows.
2. Fiber Content:
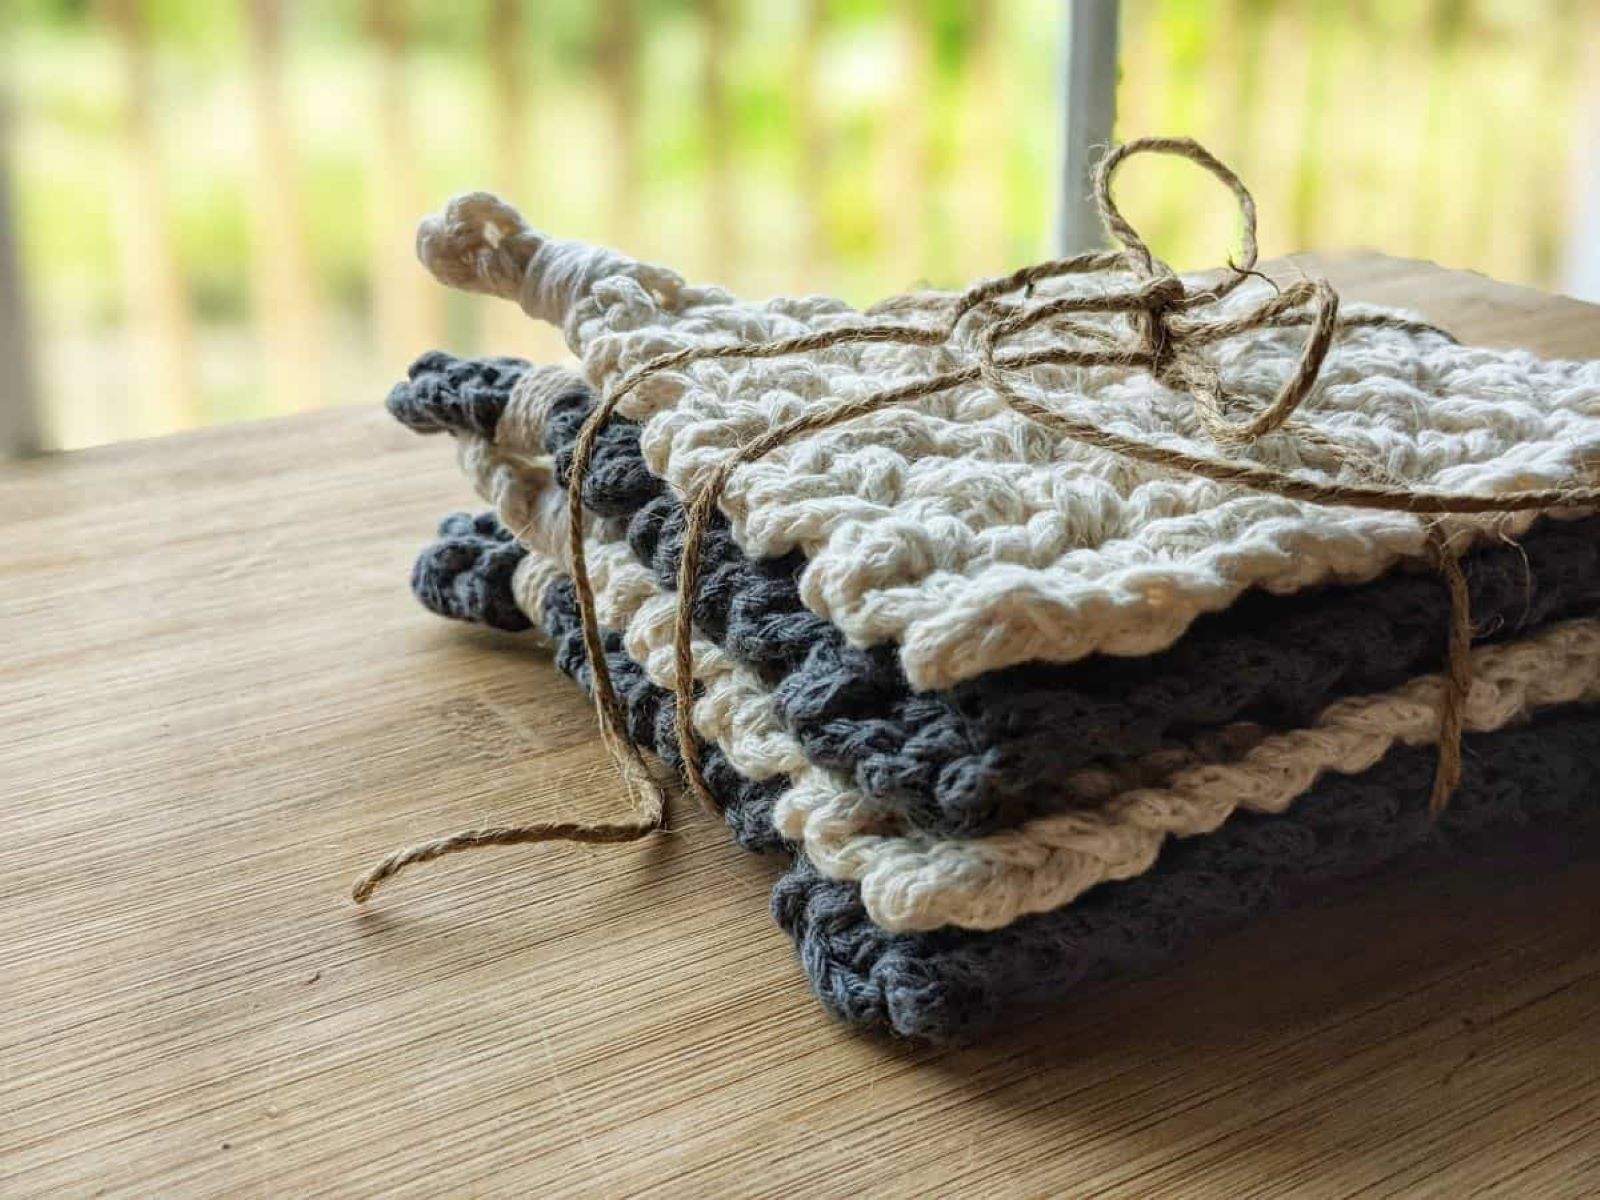
The fiber content of the yarn determines the curtains’ overall look and feel. Natural fibers like cotton or linen provide a crisp and breathable texture, making them suitable for summer or tropical-inspired decor. Synthetic fibers like acrylic or polyester offer more durability and are easier to care for, making them a great choice for high-traffic areas or households with pets and children.
3. Hook Size:
The hook size you choose will depend on the yarn weight and the desired fabric density. Thinner yarns require smaller hooks, while heavier yarns need larger hooks. Keep in mind that the hook size also affects the stitch tension, so it’s essential to achieve a balance between the hook size and your crocheting style.
Read more: How To Crochet Cat Coasters
4. Color and Design:
The color of your yarn can significantly impact the overall appearance of your curtains. Lighter colors create an airy and breezy feel, while darker colors add drama and richness to your space. Consider the existing color scheme in the room and select a yarn color that complements or contrasts with it. Additionally, explore different yarn textures and variegated yarns to add visual interest and dimension to your curtains.
By considering these factors, you’ll be able to select the perfect yarn and hook combination for your crochet curtains. Remember to experiment and have fun with different yarns and colors to achieve the desired effect. In the next section, we’ll explore some basic crochet stitches to help you get started on your curtain-making journey!
Basic Crochet Stitches
Before you begin crocheting your curtains, it’s important to familiarize yourself with some basic crochet stitches. These stitches will serve as the foundation for creating your curtain panels. Here are a few essential stitches to get you started:
1. Chain Stitch (ch):
The chain stitch is the most basic crochet stitch. It forms the foundation row of your crochet work. To create a chain stitch, start with a slipknot on your hook. Yarn over and pull through the loop on your hook. Repeat this process until you have the desired number of chain stitches.
2. Single Crochet (sc):
The single crochet stitch is simple yet versatile. It creates a tight and sturdy fabric. To make a single crochet, insert your hook into the next stitch, yarn over, and pull up a loop. Yarn over again and pull through both loops on your hook. Repeat this process for each stitch across the row.
Read more: How To Store Crochet Projects
3. Double Crochet (dc):
The double crochet stitch creates a taller and more open fabric compared to the single crochet. To make a double crochet, yarn over, insert your hook into the designated stitch, yarn over and pull up a loop. Yarn over again and pull through two loops on your hook, yarn over once more and pull through the remaining two loops.
4. Half Double Crochet (hdc):
The half double crochet stitch is a versatile stitch that falls between the single crochet and double crochet in terms of height. To make a half double crochet, yarn over, insert your hook into the designated stitch, yarn over and pull up a loop. Yarn over again and pull through all three loops on your hook.
5. Slip Stitch (sl st):
The slip stitch is often used to join rounds or create decorative edgings. To make a slip stitch, insert your hook into the designated stitch, yarn over, and pull through both the stitch and the loop on your hook in one motion.
These basic crochet stitches provide a solid foundation for creating a variety of curtain patterns. Practice these stitches until you feel comfortable with their technique and tension. In the next section, we’ll discuss the importance of measurement and gauge in crocheting your curtains.
Measurement and Gauge
When crocheting curtains, accurate measurement and gauge are essential for achieving the desired fit and appearance. Here are some key considerations:
Read more: How To Crochet Placemats For Beginners
1. Window Measurement:
Start by measuring the width and height of the window you plan to cover. Take into account any trimmings or hardware that may affect the curtain’s dimensions. If you prefer a gathered or ruffled effect, add extra width to your measurements.
2. Swatch and Gauge:
Before diving into the main curtain panels, it’s crucial to create a swatch using your chosen yarn and hook. Following your selected crochet stitch pattern, crochet a small square, around 4 inches by 4 inches. Measure the number of stitches and rows in this swatch to determine your gauge. The gauge refers to the number of stitches and rows per inch.
3. Adjusting for Gauge:
If your swatch does not match the desired gauge, you may need to adjust your hook size. If your swatch has too few stitches or rows per inch, you may need to switch to a smaller hook size. Conversely, if your swatch has too many stitches or rows, you may need to switch to a larger hook size. Continuously check your gauge as you progress to ensure consistent sizing.
4. Panel Calculation:
Using your window measurements and gauge, calculate the number of stitches and rows needed for each curtain panel. Multiply the width and height of the window by the stitches and rows per inch to determine the total number of stitches and rows for your panel. Consider any additional stitches or rows needed for borders, edgings, or pattern repeats.
Read more: How To Start Crocheting A Blanket
5. Tension and Blocking:
Keep in mind that tension, or how tightly or loosely you crochet, can affect the overall size of your panels. Practice achieving consistent tension to ensure uniformity throughout your curtains. Additionally, consider blocking your finished panels to stretch and shape them to the desired measurements before assembling.
By carefully measuring and calculating your curtain dimensions and keeping gauge in mind, you can ensure that your crochet curtains fit perfectly and have a polished look. In the next section, we’ll delve into creating a crochet curtain pattern tailored to your window dimensions.
Creating a Crochet Curtain Pattern
Now that you have the measurements and gauge sorted out, it’s time to create a personalized crochet curtain pattern. Follow these steps to design a pattern tailored to your window dimensions:
1. Sketch and Plan:
Start by sketching a rough layout of your curtain design. Consider the stitch pattern, any borders or edgings, and the overall structure of each panel. This will serve as a visual guide for your pattern.
2. Calculate Stitch Pattern:
Select a stitch pattern that suits your desired curtain style. Whether it’s lace, cables, stripes, or a combination of stitches, ensure that the stitch pattern fits within the dimensions of your panel. Use your gauge and window measurements to determine how many repeats of the stitch pattern are needed.
Read more: How To Crochet A Star Into A Blanket
3. Determine Shaping:
Decide on the desired shape of your curtains. Common options include rectangular, square, or even asymmetrical shapes. Adjust the number of stitches and rows accordingly to achieve the desired width and height.
4. Consider Borders and Edgings:
Think about adding borders or decorative edgings to your curtain panels. This could be a simple single crochet border or a more intricate lace edging. Calculate the required stitches and rows for these additions and integrate them into your pattern.
5. Note Pattern Repeats:
If your chosen stitch pattern requires repeating rows or rounds, ensure that the repeat instructions are clear in your pattern. Practice the stitch pattern on a small scale, noting any tricky sections or special instructions, so you can provide detailed explanations in your pattern.
6. Include Construction Details:
Outline any specific construction details, such as how to join panels or create loops for curtain rods. Make sure to detail the joining method that will give your curtain a seamless appearance.
By following these steps, you can create a customized crochet curtain pattern that suits your window dimensions and desired aesthetic. Once your pattern is finalized, you can move on to crocheting the curtain panels, which we will discuss in the next section.
Read more: How To Repair A Crochet Blanket
Crocheting the Curtain Panels
Now that you have your customized crochet curtain pattern, it’s time to start crocheting the panels. Follow these steps to bring your curtains to life:
1. Begin with a Foundation Chain:
Create a foundation chain using the number of stitches determined in your pattern. This chain will serve as the base for your curtain panel.
2. Work Row by Row:
Follow the stitch pattern instructions from your pattern, working each row according to the specified stitches and repeats. Pay attention to any shaping or pattern changes as you progress.
3. Maintain Consistent Tension:
Keep your tension consistent throughout the panel to maintain even stitches and prevent distortion. This will ensure that your curtain has a professional and polished appearance.
Read more: How To Crochet Mattress Stitch
4. Measure Periodically:
Measure your panel periodically to ensure that it matches the dimensions specified in your pattern. Adjust your tension or hook size if needed to maintain accurate sizing.
5. Repeat for Additional Panels:
Once you have completed the first panel, repeat the process to crochet the remaining curtain panels based on your pattern. Maintaining consistency in stitch size and tension is crucial to ensure the panels match in size and appearance.
6. Block the Panels:
After completing each panel, block them to shape and stretch them to the desired measurements. This will help achieve a uniform and professional look across all the panels.
Remember to take breaks and stretch your hands and wrists to avoid fatigue or discomfort. Crocheting curtain panels may take time, but the end result will be well worth the effort. In the next section, we will discuss how to join the panels together to create a complete curtain.
Joining the Panels
Now that you have crocheted all the curtain panels, it’s time to join them together to create one cohesive curtain. Follow these steps to successfully join your panels:
Read more: How To Crochet A Letter Into A Blanket
1. Lay Out the Panels:
Start by laying out your curtain panels in the desired order and orientation. This will help you visualize how they will look once joined.
2. Choose a Joining Method:
There are several methods you can use to join the curtain panels, depending on your preference and the style of your curtains. Some common methods include slip stitching the edges together or using a whip stitch to sew them together with a tapestry needle.
3. Start the Joining Process:
Begin joining the panels from one end, working your way across in a consistent and neat manner. Follow the specific joining method you have chosen, being careful to align the stitches and maintain even tension.
4. Secure Loose Ends:
As you join the panels, be mindful of any loose ends that may be left from changing colors or switching skeins of yarn. Weave them in securely to ensure they are hidden and won’t come undone.
Read more: How To Block A Crochet Blanket
5. Check for Consistency:
Periodically step back and check that the joined panels are consistent in tension, stitch size, and appearance. Adjust your technique if necessary to maintain a seamless and professional finish.
6. Block the Joined Panels:
Once the panels are joined, it’s a good idea to block the entire curtain to ensure it lays flat and has an even drape. This step will give your curtains a polished look and help them hang beautifully.
By following these steps, you can successfully join all the curtain panels together, creating a seamless and visually appealing curtain. In the next section, we’ll discuss how to add finishing touches to your crochet curtains.
Adding Finishing Touches
Now that your crochet curtains are joined together, it’s time to add the finishing touches that will elevate their look and functionality. Consider these steps to give your curtains that extra touch:
1. Edging:
Add a decorative or functional edging to your curtains. This could be a simple single crochet border, a picot edge, or even a more intricate lace border. The choice of edging will depend on your curtain design and personal style.
Read more: How To Store Crochet Blankets
2. Blocking:
Block your completed curtains one final time to ensure they have a polished appearance and lay flat. This step will help your curtains retain their shape and improve their overall drape.
3. Weave in Loose Ends:
Take the time to weave in any remaining loose ends from the joining process. By securing these ends, you’ll ensure that your curtains look tidy and professional.
4. Consider Tiebacks or Curtain Holdbacks:
If you’d like the option to tie your curtains back, consider adding tiebacks or curtain holdbacks. These can be made from matching yarn or coordinating fabric, providing both functionality and style to your curtains.
5. Embellishments:
For an added touch of creativity, consider adding embellishments to your crochet curtains. This could include crochet flowers, buttons, or even fabric appliques. These embellishments can be sewn or crocheted onto the curtains, adding a unique and personalized touch.
6. Final Inspection:
Once all finishing touches are complete, step back and do a final inspection of your crochet curtains. Ensure that all seams are secure, stitching is consistent, and any embellishments are neatly attached.
By adding these finishing touches, you’ll take your crochet curtains from functional to fabulous. These details will bring your curtains to life and make them a standout feature in your home. In the next section, we’ll explore how to hang and style your crochet curtains.
Hanging and Styling the Crochet Curtains
Now that your crochet curtains are complete, it’s time to hang and style them to create a beautiful and inviting atmosphere in your space. Follow these steps to achieve the perfect presentation:
1. Curtain Rods and Hooks:
Choose the appropriate curtain rods and hooks that will complement the style of your crochet curtains. Consider the weight and length of your curtains to ensure that the rods and hooks can support them properly.
2. Positioning the Rods:
Measure and mark the desired placement of the curtain rods above your windows. Use a level to ensure that the rods are straight. Install the rods following the manufacturer’s instructions.
Read more: How To Crochet A Border Around A Blanket
3. Attach the Curtain Hooks:
Using the appropriate hooks for your curtain rod style, attach them to the top edge of the curtain panels. Ensure that the hooks are evenly spaced and allow the curtains to hang smoothly.
4. Hanging the Curtains:
Slide the curtain hooks onto the curtain rod, one panel at a time. Adjust the positioning of the curtains to achieve an even and balanced appearance.
5. Adjusting Length:
If your curtains are longer than desired, you can adjust the length by folding or hemming the bottom edge. Consider the overall style and proportion of the curtains when deciding on the appropriate length.
6. Styling and Layers:
Play around with different styling options to enhance the look of your crochet curtains. You can add sheer curtains or valances behind the crochet panels for a layered look. Experiment with tying back the curtains with the tiebacks or holdbacks you created earlier.
Read more: How To Crochet A Blanket With Thick Yarn
7. Natural Light and Privacy:
Consider the balance between natural light and privacy when styling your crochet curtains. Adjust the positioning of the curtains to allow the desired amount of sunlight into the room while maintaining privacy in the evenings.
By following these steps, you can hang and style your crochet curtains to create a visually appealing and functional window treatment. Take the time to arrange and adjust the curtains until you achieve the desired appearance. Finally, step back and admire your beautifully crafted crochet curtains that add a touch of warmth and personalization to your space.
Conclusion
Congratulations on completing your crochet curtains! By following the steps outlined in this guide, you have gained the knowledge and skills necessary to create beautiful and customized window coverings. Crocheting curtains allows you to infuse your personal style into your home decor while showcasing your creativity and craftsmanship.
Remember, the key to successful crocheting is choosing the right yarn and hook, mastering basic crochet stitches, and ensuring accurate measurements and gauge. With these foundations in place, you can confidently create your own crochet curtain pattern that perfectly fits your window dimensions.
Throughout the process, take pride in the journey of crocheting your curtains. Enjoy the meditative and soothing nature of the craft as you bring your vision to life. Embrace the creativity of adding finishing touches and exploring different styling options to showcase your crochet curtains in a way that complements your space and aesthetics.
Whether you opt for delicate lace, textured cables, or vibrant colors, your crochet curtains will elevate the ambiance of your room, adding warmth, charm, and a unique touch. They will not only serve as functional window coverings but also as beautiful pieces of handmade art that reflect your personal style and dedication to the craft of crochet.
So, gather your yarn, select your hook, and embark on the journey of crocheting your own curtains. Let your creativity flourish, and enjoy the satisfaction of creating something truly special. Your crochet curtains will be a wonderful addition to your home decor, bringing joy, personality, and a touch of handmade beauty to your space.
The possibilities are endless, so let your imagination run wild as you crochet curtains that will be cherished and admired for years to come. Happy crocheting!
Frequently Asked Questions about How To Crochet Curtains
Was this page helpful?
At Storables.com, we guarantee accurate and reliable information. Our content, validated by Expert Board Contributors, is crafted following stringent Editorial Policies. We're committed to providing you with well-researched, expert-backed insights for all your informational needs.
0 thoughts on “How To Crochet Curtains”