
Articles
How To Crochet A Star Into A Blanket
Modified: November 1, 2024
Learn how to crochet a beautiful star into a cozy blanket with our helpful articles. Discover step-by-step instructions and handy tips to create a stunning and unique piece.
(Many of the links in this article redirect to a specific reviewed product. Your purchase of these products through affiliate links helps to generate commission for Storables.com, at no extra cost. Learn more)
Introduction
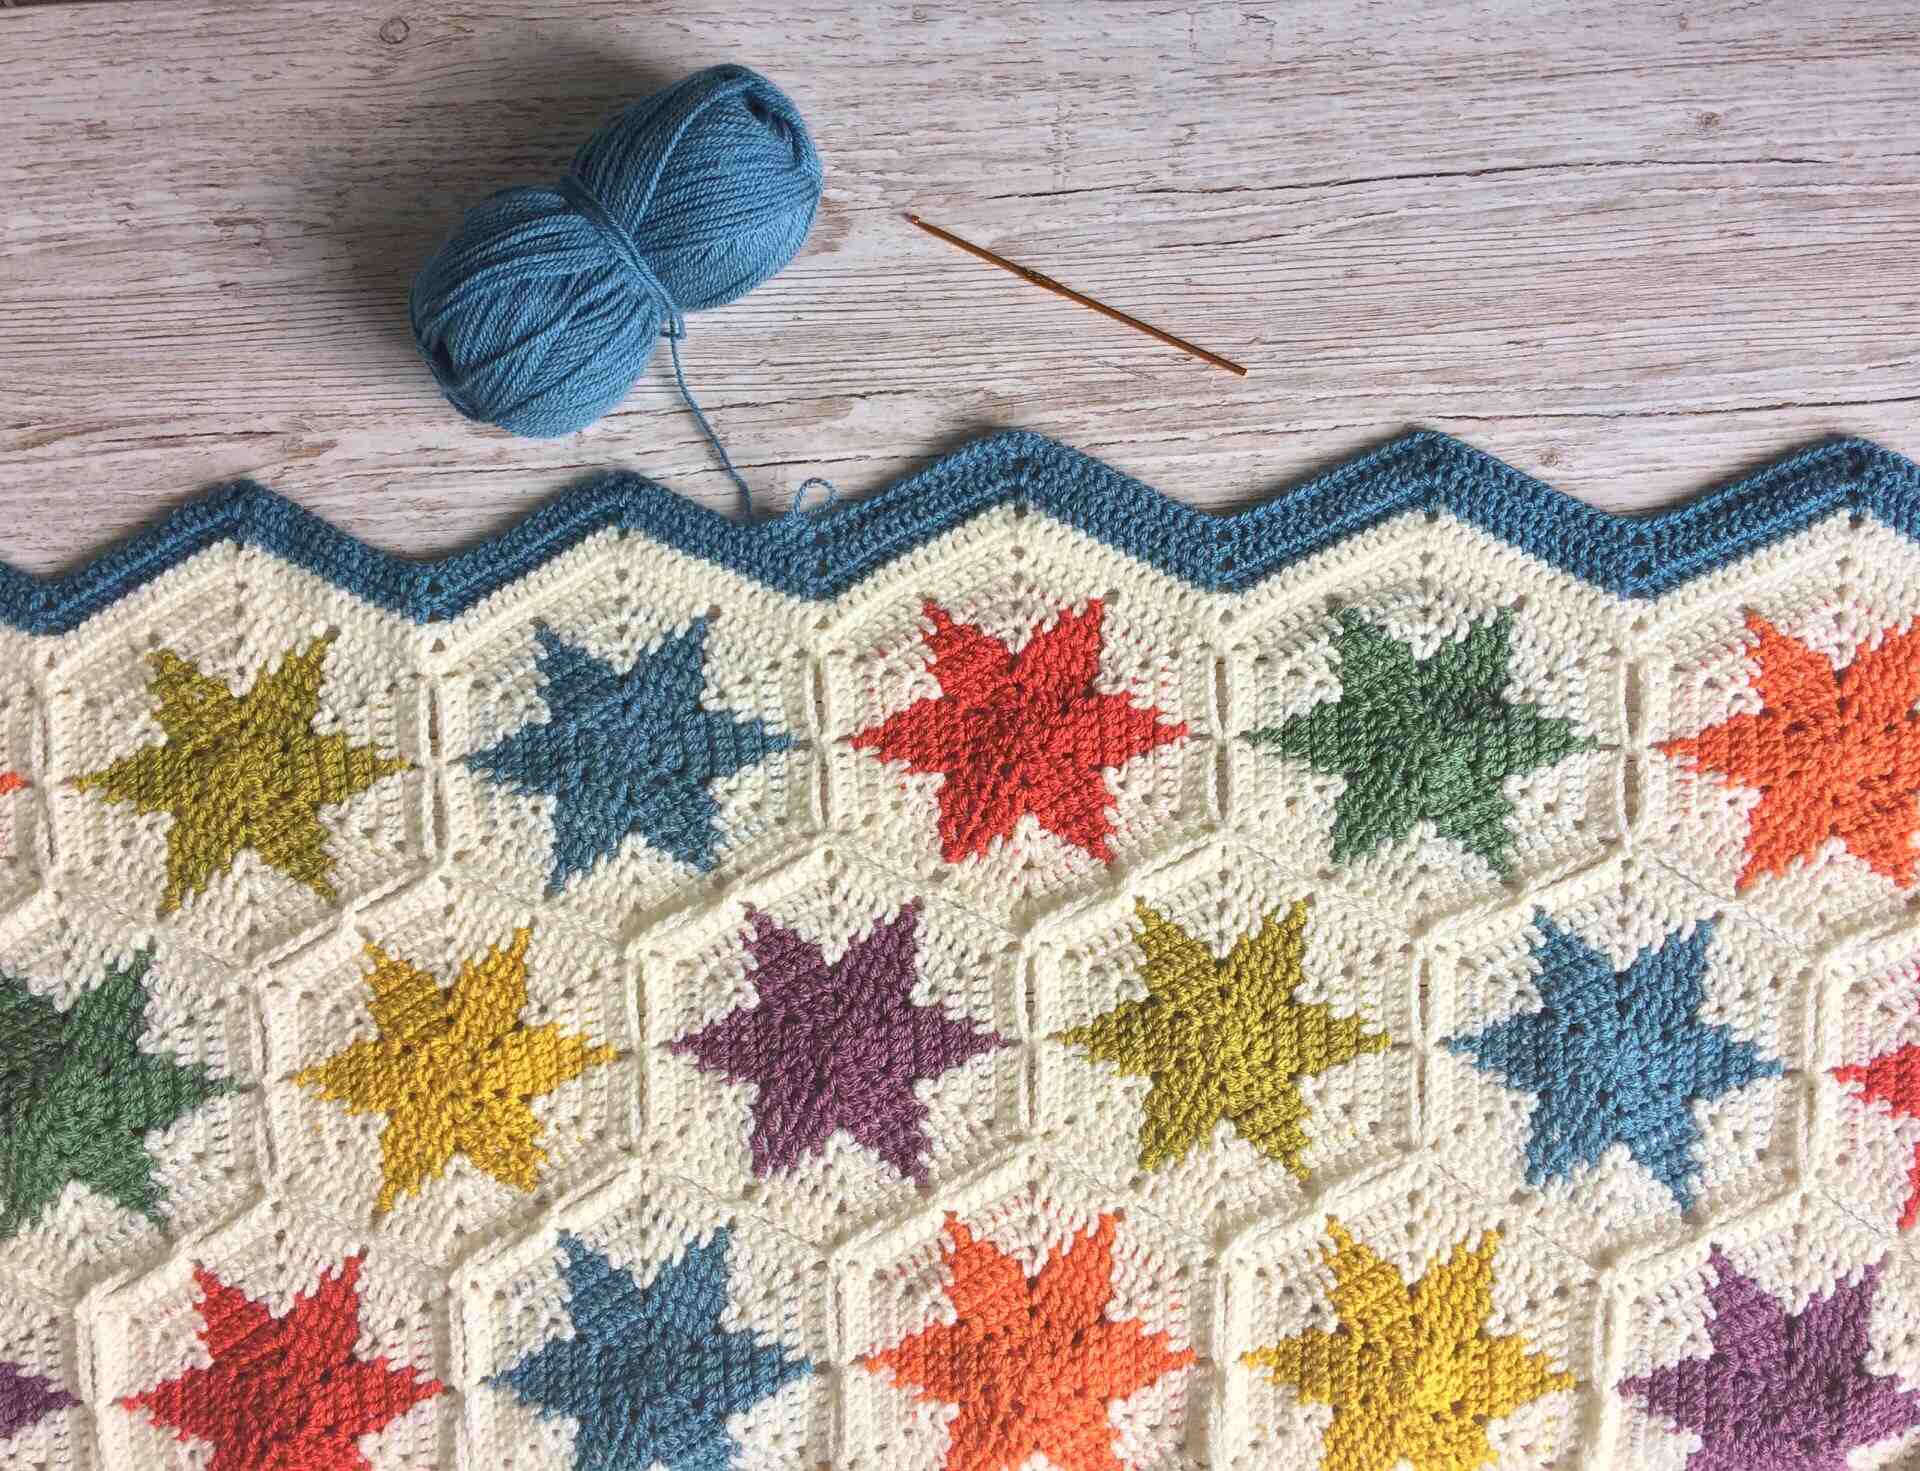
Crocheting is a versatile and enjoyable craft that allows you to create beautiful and personalized items. If you’re looking to add a unique touch to your crochet projects, why not incorporate a star into a blanket? Crocheting a star into a blanket not only adds visual interest but also creates a symbol of warmth and comfort.
In this article, we’ll take you through the step-by-step process of crocheting a star into a blanket. Whether you’re a beginner or an experienced crocheter, you’ll find this tutorial easy to follow along with and the end result will be a stunning blanket with a celestial touch.
Before we dive into the tutorial, let’s go over the materials you’ll need to get started.
Key Takeaways:
- Elevate your crochet projects by seamlessly incorporating a celestial star motif into your blanket, creating a visually appealing and unique piece that radiates warmth and comfort.
- Embrace your creativity and personal expression in crocheting by experimenting with different stitch patterns, colors, and motifs to customize stunning celestial-inspired blankets.
Read more: How To Start Crocheting A Blanket
Materials Needed
Before you begin crocheting a star into a blanket, gather the following materials:
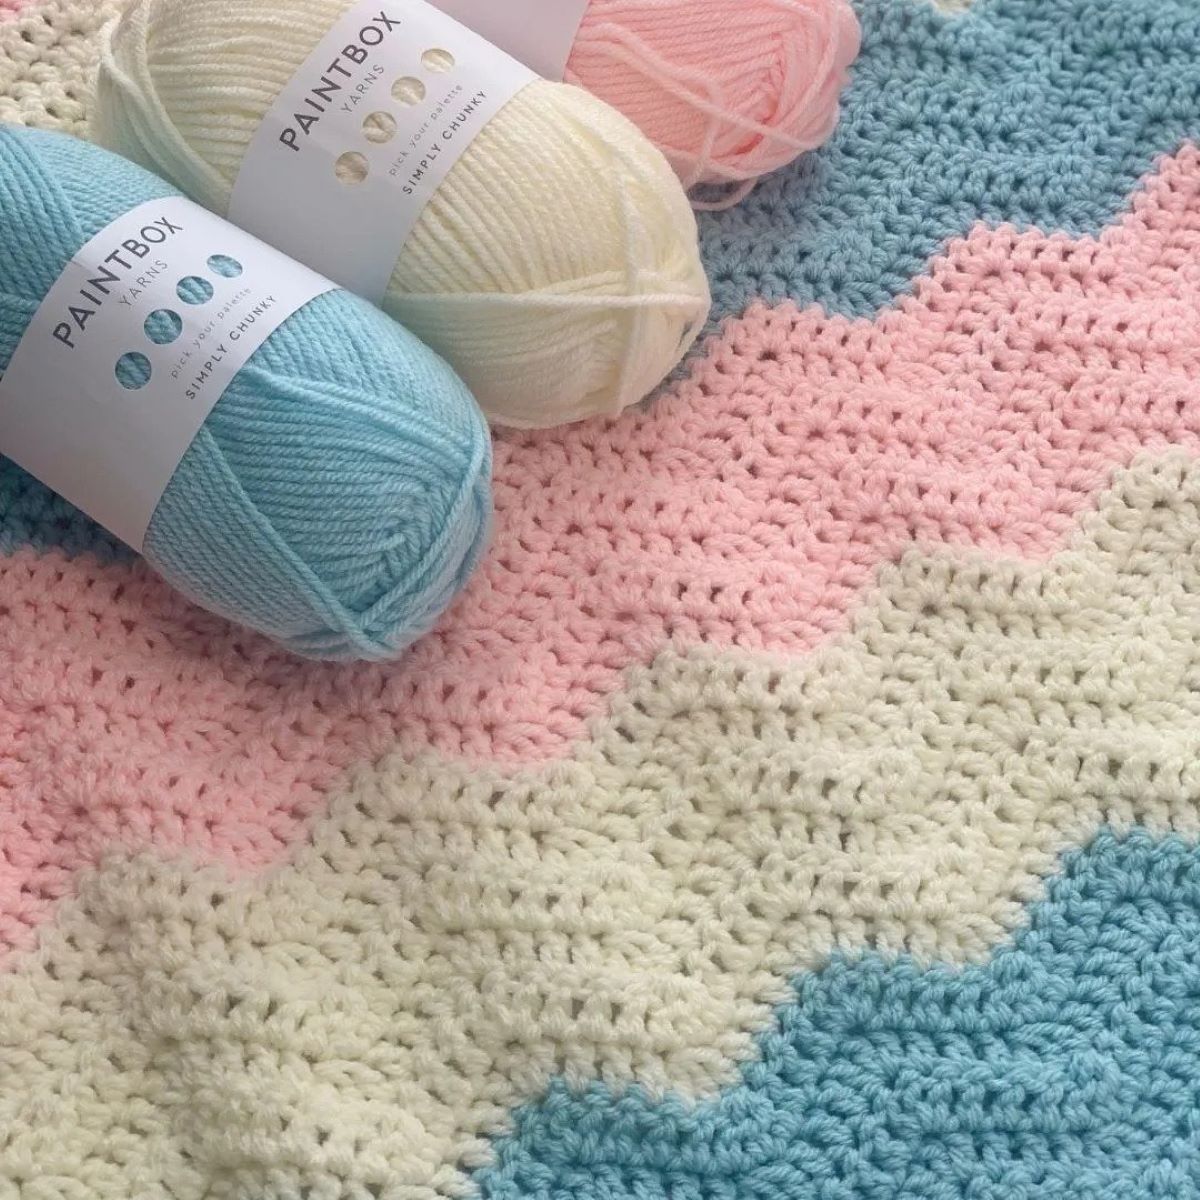
- Yarn: Choose a yarn of your choice in the colors you want for the blanket and the star. Consider using a soft and durable yarn that is suitable for blankets.
- Crochet Hook: Select an appropriate crochet hook size based on the yarn weight you’re using. The size will typically be indicated on the yarn label.
- Tapestry Needle: You will need a tapestry needle to weave in the loose ends of your yarn once you have finished crocheting.
- Scissors: A sharp pair of scissors will come in handy for cutting the yarn.
- Stitch Markers: Use stitch markers to mark the beginning of each round or the location where you’ll be crocheting the star into the blanket.
Having these materials ready will ensure a smooth crocheting process and help you create a beautiful star-infused blanket.
Step 1: Starting the Blanket
To begin crocheting a star into a blanket, you first need to establish the foundation of the blanket. Follow these steps:
- Start by making a slip knot with your chosen yarn and place it on your crochet hook.
- Create a foundation chain of stitches that is the desired width of your blanket. The number of stitches will depend on your preference and the size of the blanket you want to make.
- Once you’ve finished your foundation chain, turn your work.
- Begin crocheting in the second chain from the hook. Insert your hook into the chain, yarn over, and pull through to create a loop on your hook.
- Continue crocheting in each chain across the row until you reach the end.
- At the end of the row, turn your work and start the next row by chaining one.
- Repeat the process of crocheting in each stitch across the row until you’ve reached the desired length for your blanket.
By following these steps, you will have successfully established the foundation for your blanket. Next, we’ll move on to crocheting the star.
Step 2: Crocheting the Star
Now that you have the foundation of your blanket ready, it’s time to crochet the star motif. Follow these steps:
- Identify the location on the blanket where you want to place the star. This could be in the center, at a corner, or wherever you prefer.
- Count the stitches and rows to determine the center point of the desired star location.
- Insert your crochet hook into the center stitch of the desired location.
- Attach a new color of yarn by making a slip knot and placing it on your crochet hook. Insert the hook into the stitch and pull the new color through the stitch and the loop on your hook.
- Chain three to create the first double crochet (dc).
- Make a second dc in the same stitch.
- Chain two.
- Make three more dc in the same stitch.
- Chain two.
- Repeat the pattern of three dc, chain two, and three dc in the same stitch two more times to complete the star shape.
- Join the last cluster of dc with a slip stitch to the top of the first chain-three to close the star shape.
- Finish off the yarn by cutting it, leaving a tail to weave in later.
By following these steps, you’ll have successfully crocheted a star motif into your blanket. The next step is to incorporate the star into the rest of the blanket.
When crocheting a star into a blanket, use a stitch marker to keep track of the star’s points and ensure they are evenly spaced. This will help maintain the shape and symmetry of the star.
Step 3: Incorporating the Star into the Blanket
Once you have crocheted the star motif, it’s time to incorporate it into the rest of the blanket. Here’s how:
- With a new color of yarn, make a slip knot and join it to any corner of the star motif.
- Crochet single crochet (sc) stitches evenly around the edge of the star motif, making sure to work an equal number of stitches on each side. This will help the motif blend seamlessly into the blanket.
- Continue crocheting in sc stitches around the rest of the blanket, maintaining an even stitch count to ensure balance.
- When you reach the next corner of the star motif, crochet three sc stitches into the corner stitch to maintain the shape of the blanket.
- Continue crocheting around the blanket until you reach the starting point.
- Join the last stitch with a slip stitch to the first stitch to close the round.
With these steps, you have successfully incorporated the star motif into the blanket. Now, you can continue crocheting the rest of the blanket to your desired size.
Read more: How To Repair A Crochet Blanket
Step 4: Continuing the Blanket
After incorporating the star motif into the blanket, it’s time to continue crocheting and adding more rows to complete the blanket. Follow these steps:
- Turn your work and start the next row by chaining one.
- Crochet in each stitch across the row, using your desired stitch pattern. This could be single crochet, double crochet, or any other stitch you prefer.
- When you reach the end of the row, turn your work and start the next row by chaining one.
- Continue crocheting in each stitch across the row until you’ve reached the desired length for your blanket.
- Repeat this process for as many rows as needed to achieve your desired blanket size.
During this step, you can get creative with different stitch patterns, color changes, or even incorporate additional motifs or decorations into your blanket as desired. Feel free to experiment and make the blanket uniquely yours.
Once you’ve reached the desired size, it’s time to add the finishing touches.
Step 5: Finishing Touches
Now that you’ve completed crocheting the blanket, it’s time to add the finishing touches. Follow these steps to wrap up your project:
- Secure any loose ends of yarn by weaving them into the stitches using a tapestry needle.
- Trim any excess yarn with a pair of scissors, making sure not to cut the stitches.
- Inspect the blanket for any uneven edges or inconsistencies in tension. If needed, gently block the blanket by wetting it, shaping it, and allowing it to dry flat to achieve a more even appearance.
- Take a moment to admire your finished creation and make any final adjustments if necessary.
Once you’re satisfied with the blanket, it’s ready to be enjoyed or gifted to someone special. The crochet star adds a beautiful and personal touch that sets your blanket apart from the rest.
Remember, feel free to get creative with your color choices, stitch patterns, and even the placement of the star motif. Crochet is all about personal expression, and this project offers a perfect opportunity to showcase your unique style and skill.
As you become more comfortable with crocheting stars into blankets, you can experiment with different sizes, shapes, and designs to create a stunning collection of celestial-inspired treasures.
So, grab your crochet hook and yarn and get started on crocheting a star into a blanket. With a little practice and creativity, you’ll have a cozy and eye-catching masterpiece in no time!
Conclusion
Crocheting a star into a blanket is a wonderful way to elevate your crochet projects and add a touch of celestial charm. By following the step-by-step instructions outlined in this article, you have learned how to seamlessly incorporate a star motif into a blanket, creating a unique and visually appealing piece.
Throughout this process, you have discovered the importance of choosing the right materials, including soft and durable yarn, an appropriate crochet hook size, and essential tools such as a tapestry needle and scissors. These materials ensure that your project progresses smoothly and delivers high-quality results.
From starting the blanket and crocheting the star motif to incorporating the star seamlessly into the rest of the blanket, you have developed the necessary skills to bring your creative vision to life. The instructions provided in each step guide you towards creating a blanket with a beautiful star centerpiece that radiates warmth and comfort.
Remember, crocheting is a versatile craft that allows for personal expression. As you gain more experience and confidence, don’t hesitate to experiment with different stitch patterns, colors, and additional motifs to further customize your blankets.
Whether you’re making a blanket for yourself or as a thoughtful gift, the addition of a crocheted star will make it truly special. The unique touch of celestial magic adds a sense of wonder and beauty to your creations, making them stand out and capturing the admiration of those who see them.
So, gather your materials, follow the steps outlined in this article, and let your creativity soar as you crochet a star into your next blanket. Enjoy the process, embrace your individual style, and create stunning works of art that both inspire and provide comfort for years to come.
Now that you've mastered crocheting a star into a blanket, why not extend your crafting skills with some unique home decorations? Our next guide walks you through creating eye-catching DIY home decor that can transform any room. Whether you're looking to refresh your living space or add personal touches to your bedroom, these projects are perfect for DIY enthusiasts of all levels. So, grab your tools and let's add some homemade charm to your surroundings!
Frequently Asked Questions about How To Crochet A Star Into A Blanket
Was this page helpful?
At Storables.com, we guarantee accurate and reliable information. Our content, validated by Expert Board Contributors, is crafted following stringent Editorial Policies. We're committed to providing you with well-researched, expert-backed insights for all your informational needs.



0 thoughts on “How To Crochet A Star Into A Blanket”