Articles
How To Cut EMT Conduit Pipe
Modified: October 18, 2024
Learn the step-by-step process to cut EMT conduit pipe with precision and efficiency. Our comprehensive articles provide expert guidance and tips for a successful project.
(Many of the links in this article redirect to a specific reviewed product. Your purchase of these products through affiliate links helps to generate commission for Storables.com, at no extra cost. Learn more)
Introduction
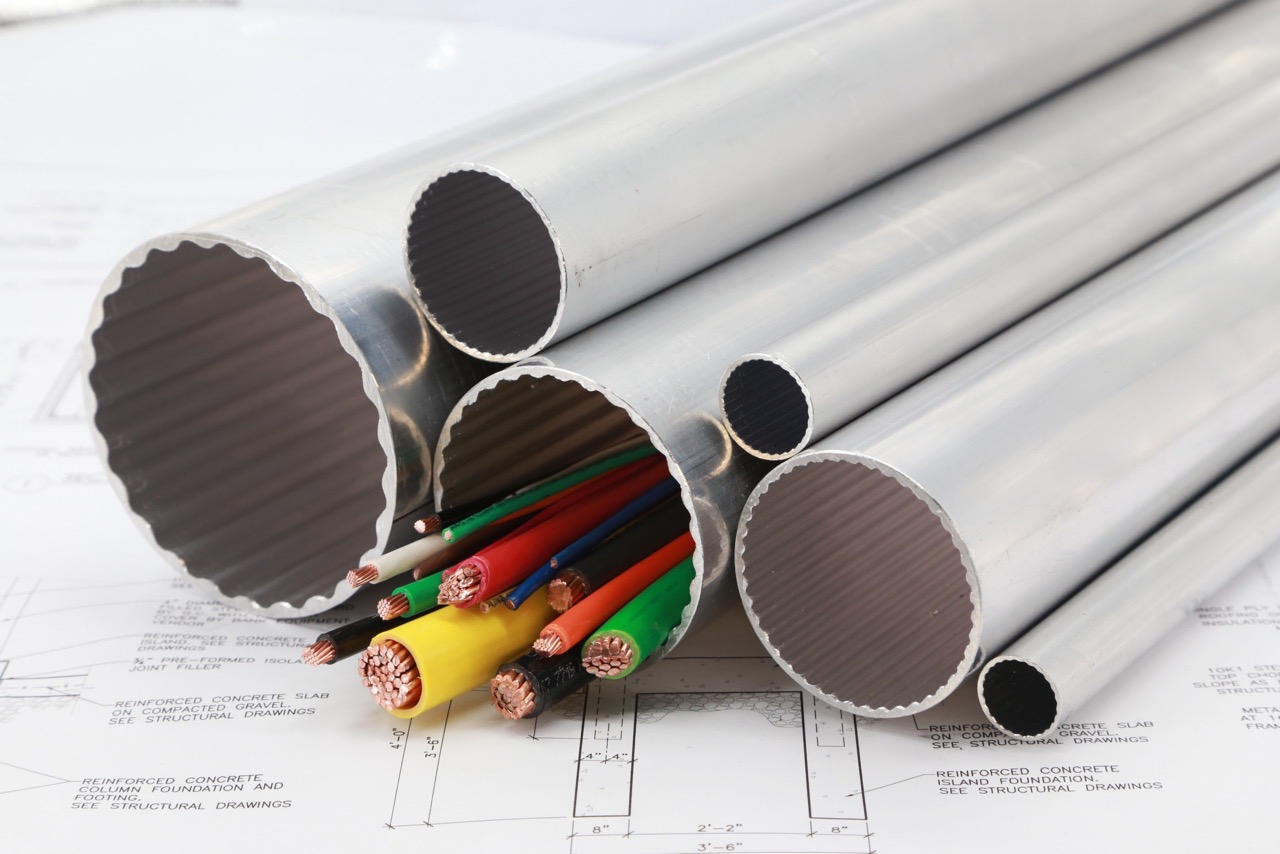
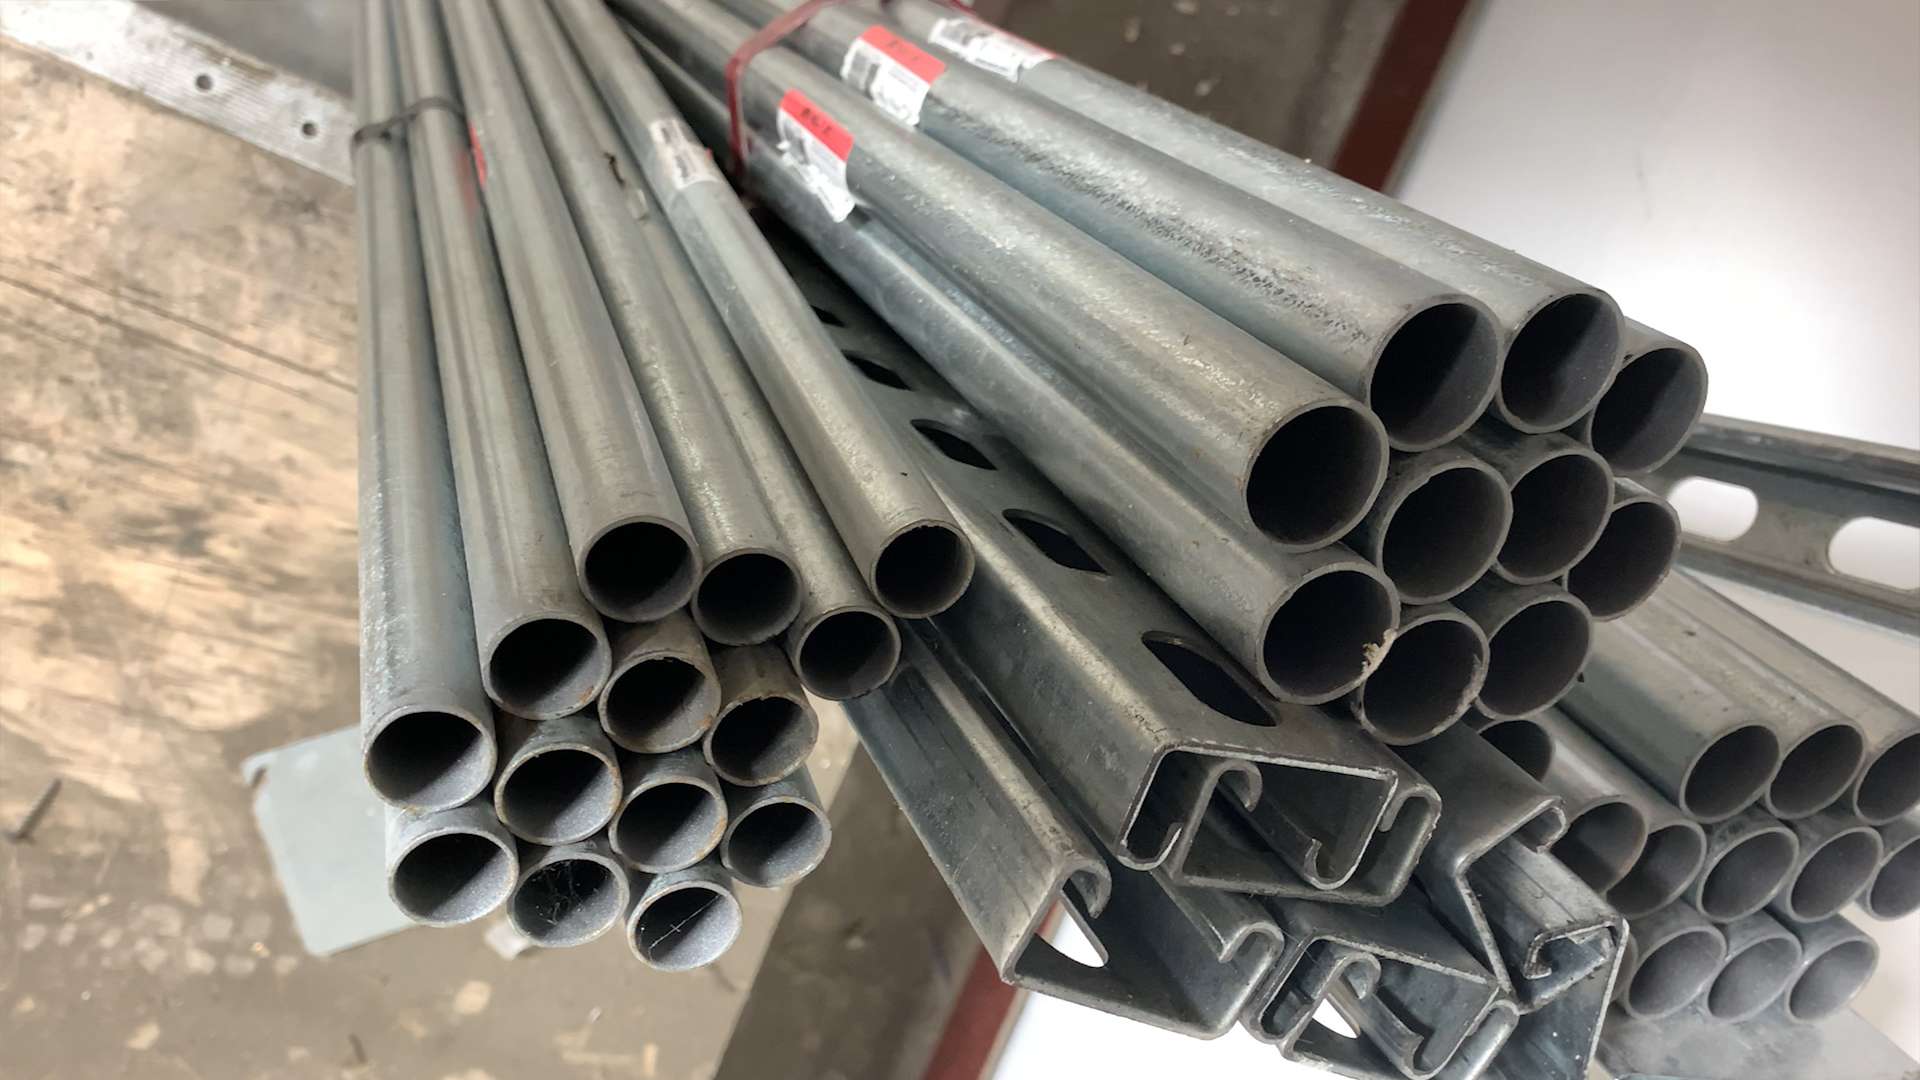
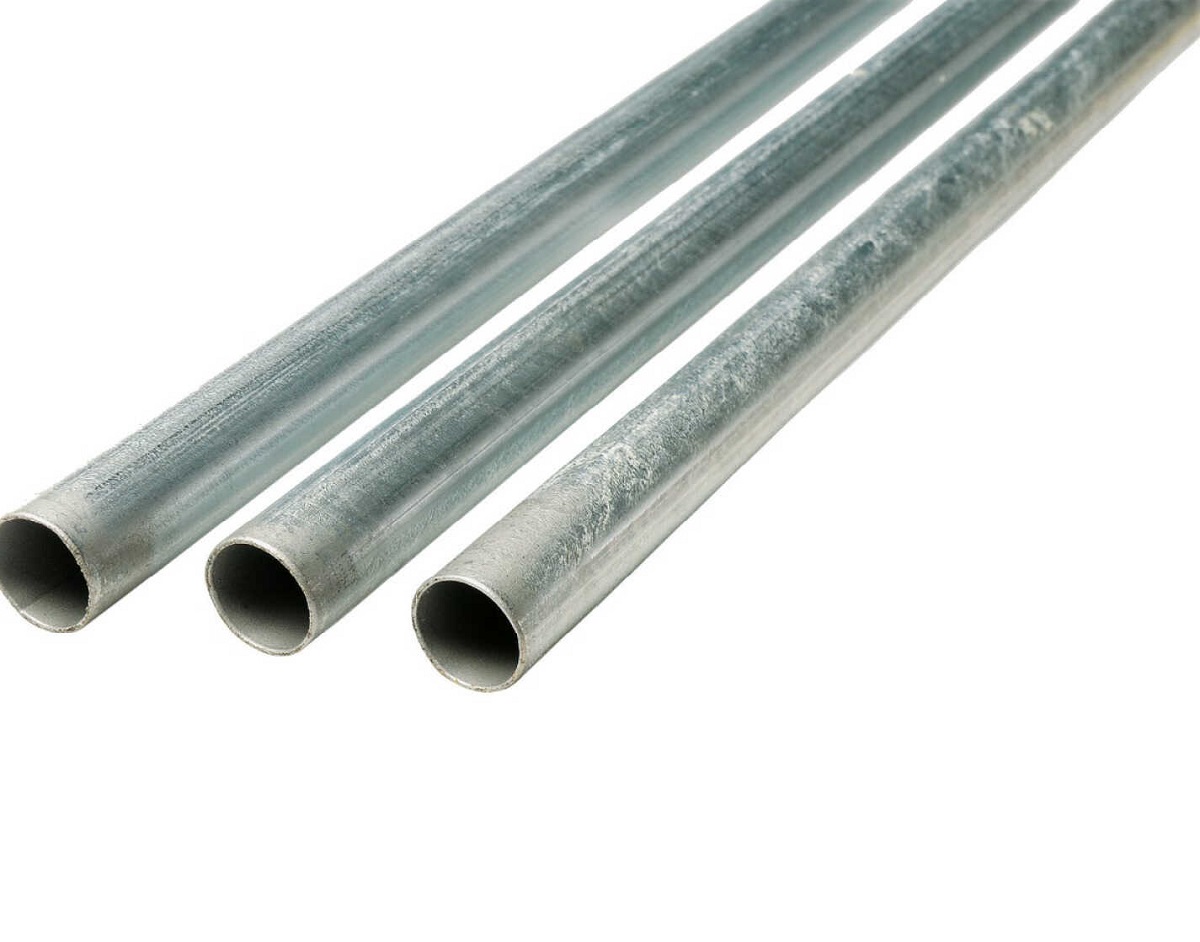
Welcome to this guide on how to cut EMT conduit pipe! EMT (Electrical Metallic Tubing) conduit is a commonly used material in electrical installations. It provides protection for electrical wiring in residential, commercial, and industrial applications. Whether you are a DIY enthusiast or a professional electrician, knowing how to properly cut EMT conduit pipe is a valuable skill.
In this article, we will walk you through the step-by-step process of cutting EMT conduit pipe. We will cover the necessary safety precautions, tools and materials needed, as well as the techniques for accurate cutting and finishing. So let’s dive in!
Key Takeaways:
- Safety first! Prioritize personal protective equipment, secure the conduit, and use the right tools to minimize risks and ensure a safe cutting process for EMT conduit pipe.
- Precision is key. Accurate measuring, securing the conduit, and proper deburring and reaming techniques are essential for achieving clean, professional cuts in EMT conduit pipe.
Read more: What Is An EMT Conduit
Safety Precautions
Before we begin cutting EMT conduit pipe, it is essential to prioritize safety. Working with any type of electrical equipment or materials can pose risks if proper precautions are not taken. Here are some important safety measures to keep in mind:
- Wear Personal Protective Equipment (PPE) – always wear safety glasses, work gloves, and a dust mask to protect your eyes, hands, and respiratory system.
- Ensure a Safe Work Area – clear the work area of any obstacles or clutter to prevent accidents. Make sure there is enough space to maneuver the conduit while cutting.
- Turn Off Power – if you are working on live electrical circuits, ensure that the power is turned off before cutting the conduit.
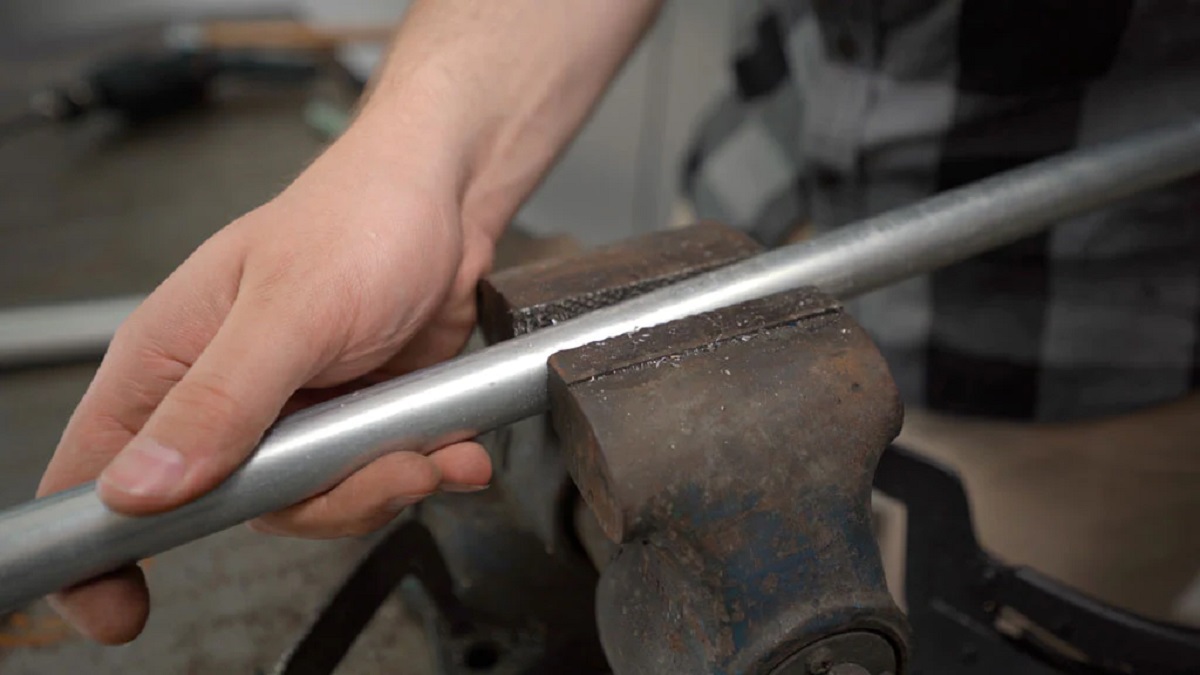
- Secure the Conduit – firmly secure the conduit using clamps or a vise to prevent it from slipping during the cutting process.
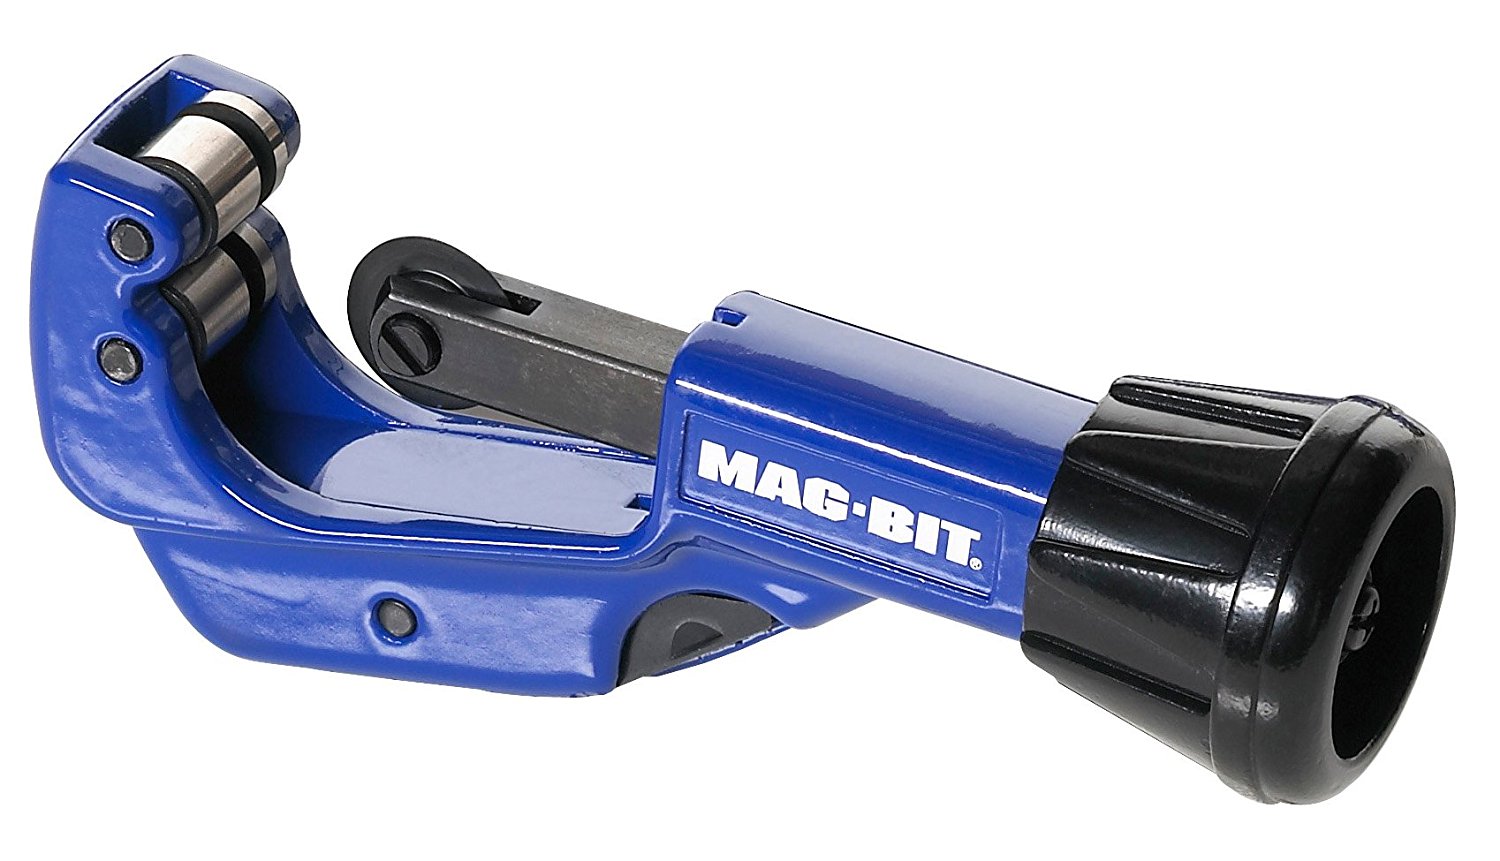
- Use the Right Tools – use proper EMT conduit cutting tools such as a hacksaw, reciprocating saw, or conduit cutter. Using incorrect tools can result in uneven cuts or injuries.
- Take Breaks – if you are engaged in a long cutting process, take regular breaks to prevent fatigue and maintain focus.
By following these safety precautions, you can minimize the risk of injury and ensure a safe working environment.
Tools and Materials Needed
Before you start cutting EMT conduit pipe, make sure you have the necessary tools and materials on hand. Here is a list of what you’ll need:
Tools:
- EMT Conduit Cutter or Hacksaw with a fine-tooth blade
- Deburring Tool (optional)
- Reaming Tool or Filing Tool
- Tape Measure or Ruler
- Pencil or Marker
- File or Sandpaper (for deburring, if not using a deburring tool)
- Work Gloves
- Safety Glasses
- Dust Mask or Respirator (for protection against dust particles)
Materials:
- EMT Conduit Pipe – the length and diameter will depend on your specific project requirements
- Conduit Clamps or Vise
- Optional: Lubricant or Cutting Fluid (to reduce friction and facilitate smooth cuts)
Having the right tools and materials readily available will ensure a smooth and efficient cutting process.
Read more: How To Connect EMT Conduit
Step 1: Measuring and Marking
The first step in cutting EMT conduit pipe is to accurately measure and mark the desired length of the conduit. Here’s how to do it:
- Measure the Length – use a tape measure or ruler to measure the length of conduit you need. Take into account any bends or fittings that will be added to the conduit.
- Make a Mark – using a pencil or marker, mark the measured length on the conduit. Make sure the mark is clearly visible and precise.
- Double-check – take a moment to double-check your measurement and mark to ensure accuracy. It’s better to be cautious and avoid any wastage or errors.
Remember to account for any additional length needed to accommodate fittings or connectors. It’s always a good idea to measure twice and cut once to avoid any mistakes.
Once you have measured and marked the desired length, you are ready to move on to securing the conduit for cutting.
Step 2: Securing the Conduit
Before you start cutting the EMT conduit pipe, it’s important to secure it properly to ensure stability and accuracy. Here’s how to do it:
- Prepare Your Workspace – clear a flat and stable surface to work on. Make sure there is enough space to maneuver the conduit.
- Position the Conduit – place the marked section of the conduit on the workspace. Ensure that it is aligned straight and in the desired cutting position.
- Use Conduit Clamps or Vise – to securely hold the conduit in place, use conduit clamps or a vise. Position the clamps or vise close to the cutting mark, ensuring a firm grip on the conduit.
- Tighten the Clamps or Vise – tighten the clamps or vise to firmly secure the conduit. This will prevent it from shifting or moving during the cutting process.
By properly securing the conduit, you will have better control and stability when making the cuts. This will result in more accurate and precise cuts.
Now that the conduit is securely in place, it’s time to move on to the next step: cutting the conduit.
Step 3: Cutting the Conduit
Now that the EMT conduit pipe is properly secured, it’s time to make the cuts. There are different tools you can use for cutting EMT conduit, such as a conduit cutter or a hacksaw. Here’s how to cut the conduit:
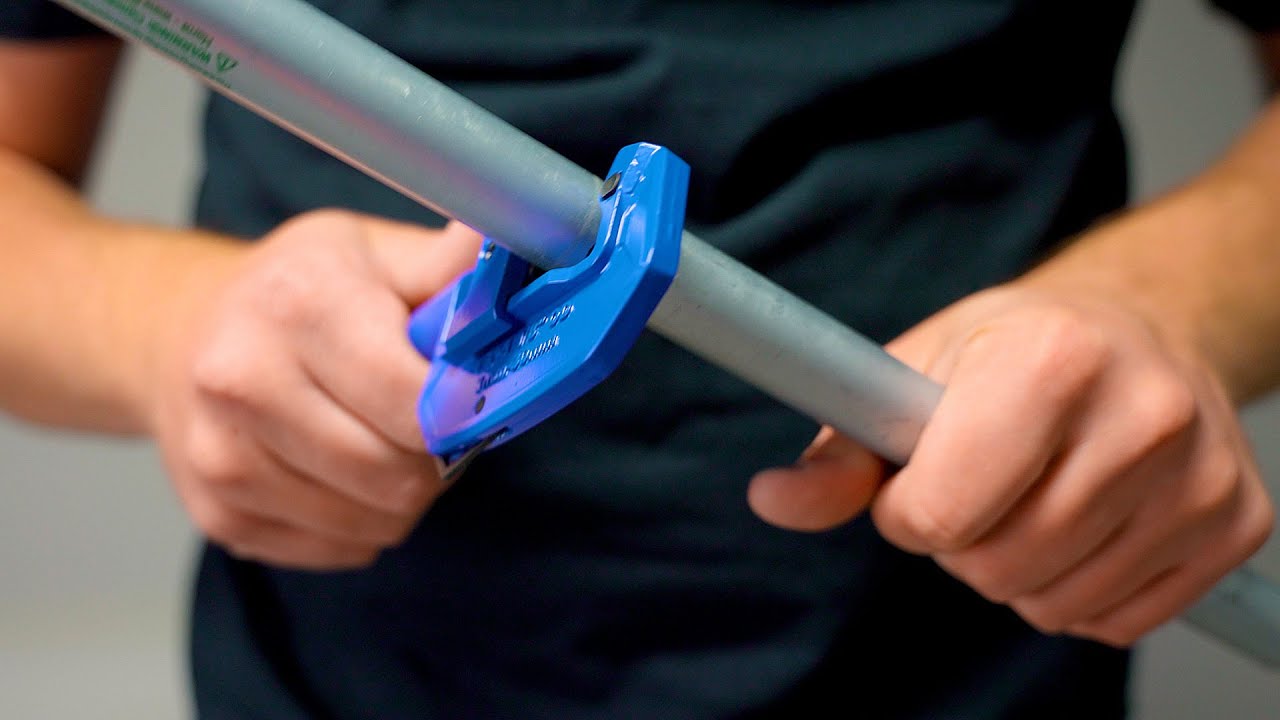
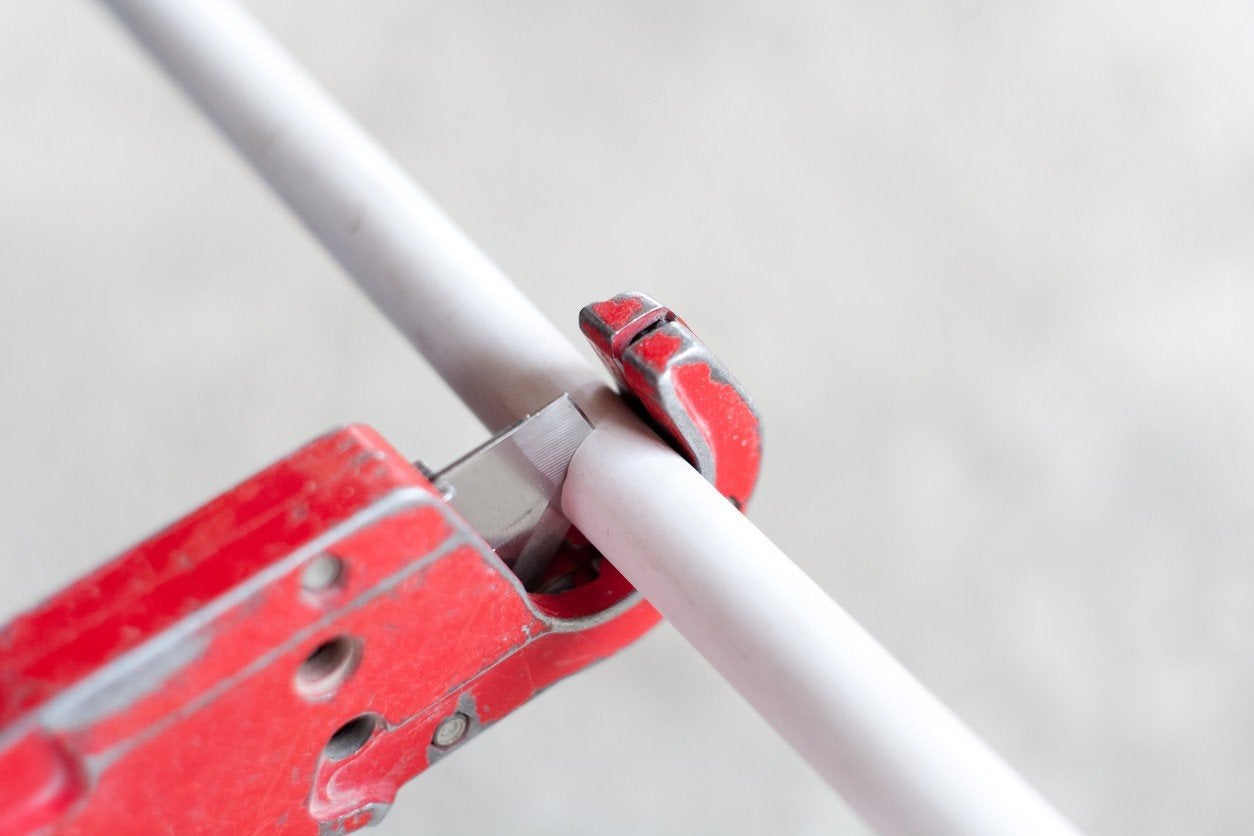
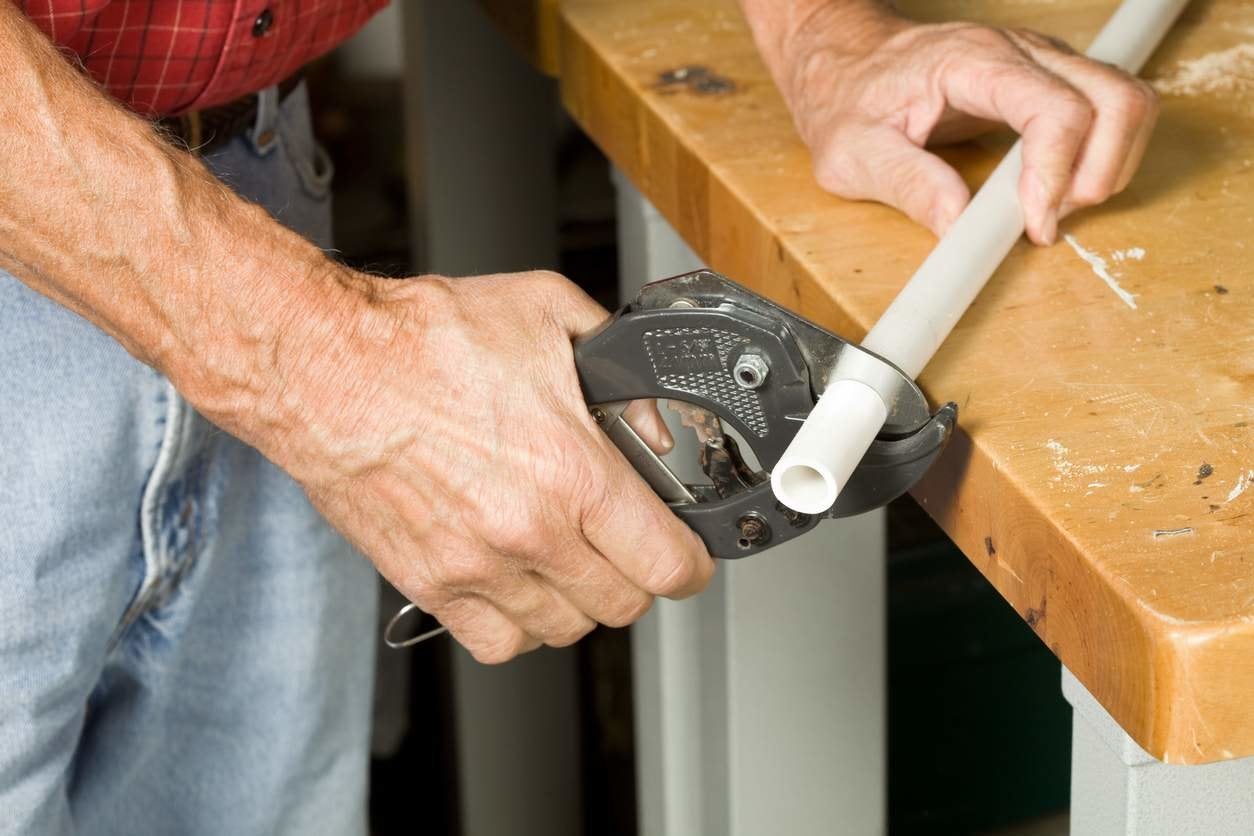
- Using a Conduit Cutter:
- Position the Cutter – place the cutting wheel of the conduit cutter against the marked cutting point on the conduit.
- Apply Pressure – firmly apply pressure on the conduit cutter and rotate it around the conduit. Continue rotating the cutter until you have made a complete cut through the conduit.
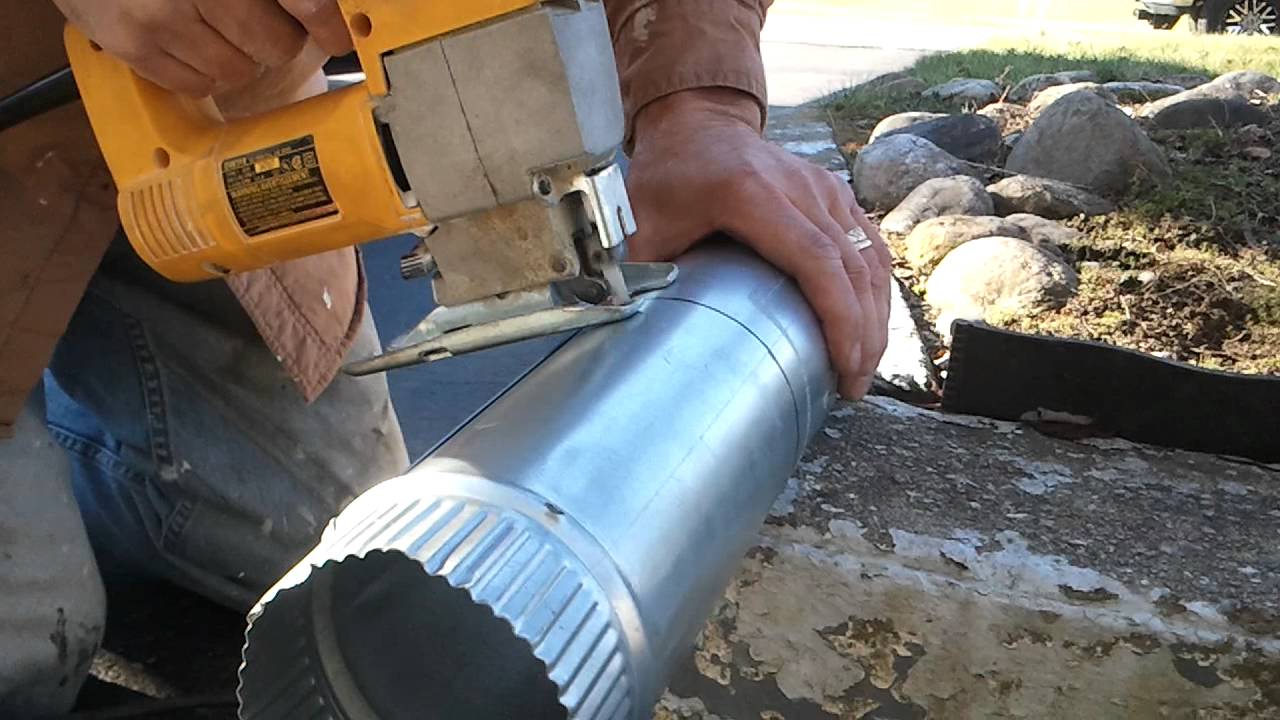
- Using a Hacksaw:
- Align the Blade – position the hacksaw blade on the marked cutting point, ensuring that it is perpendicular to the conduit.
- Start Cutting – slowly and steadily cut through the conduit using back-and-forth sawing motions. Apply gentle pressure and take your time to maintain control and accuracy.
Choose the cutting method that you are most comfortable with and that suits the tools you have available. Remember to let the tool do the work and avoid applying excessive force, which can lead to uneven cuts or damage to the conduit.
Once you have made the cut, you can proceed to the next step: deburring the edges.
When cutting EMT conduit pipe, always use a specialized tubing cutter designed for metal conduit. This will ensure clean, precise cuts and help prevent damage to the pipe.
Step 4: Deburring the Edges
After cutting the EMT conduit pipe, it’s important to remove any sharp edges or burrs that may have been left behind. Deburring the edges helps ensure a clean and safe installation. Here’s how to do it:
- Using a Deburring Tool:
- Select a Deburring Tool – choose a deburring tool that is specifically designed for conduit pipes.
- Hold the Tool – hold the deburring tool firmly and position it against the inside edge of the cut end of the conduit.
- Rotate the Tool – rotate the deburring tool in a circular motion, applying gentle pressure. Continue rotating until you have gone around the entire inside edge of the conduit.
- Using a File or Sandpaper:
- Select a File or Sandpaper – choose a file or sandpaper with a fine grit.
- Hold the File or Sandpaper – hold the file or sandpaper against the inside and outside edges of the cut end of the conduit.
- File the Edges – using steady and smooth strokes, file the edges of the conduit to remove any burrs or sharp edges. Work around the entire inside and outside edges.
After deburring, run your finger along the edges to ensure they are smooth and free from any roughness. This will prevent cuts or injuries when handling the conduit.
With the edges deburred, you can now move on to the next step: reaming the ends of the conduit.
Read more: How To Successfully Install An EMT Conduit
Step 5: Reaming the Ends
Reaming the ends of the EMT conduit pipe is an important step to ensure smooth and easy insertion of wires or cables, as well as to prevent any damage to the insulation. Here’s how to ream the ends:
- Using a Reaming Tool:
- Select a Reaming Tool – choose a reaming tool that is specifically designed for EMT conduit.
- Hold the Tool – hold the reaming tool firmly and position it inside the cut end of the conduit.
- Rotate the Tool – rotate the reaming tool in a circular motion, applying gentle pressure. Continue rotating until you have gone around the entire inside edge of the conduit.
- Using a Filing Tool:
- Select a Filing Tool – choose a file with a fine grit or sandpaper.
- Hold the File or Sandpaper – hold the file or sandpaper against the inside edge of the cut end of the conduit.
- File the End – using steady and smooth strokes, file the inside edge of the conduit to remove any burrs or roughness. Work around the entire inside edge.
Reaming the ends of the conduit will create a smooth, beveled edge that allows for easy insertion of wires or cables. It also helps to protect the insulation and prevents any damage that may occur during installation.
Once you have reamed the ends of the conduit, you are ready for the final step: cleaning up.
Step 6: Cleaning Up
Now that you have completed cutting, deburring, and reaming the EMT conduit, it’s time to clean up the work area and prepare for the next steps of your project. Here are some key tasks to consider during the cleaning process:
- Remove Clamps or Vise – carefully release the clamps or vise that were holding the conduit in place. Be cautious not to damage the conduit or surrounding materials.
- Inspect the Conduit – visually inspect both ends of the conduit to ensure that all sharp edges and burrs have been properly removed. Run your fingers along the edges to double-check for any rough spots.
- Clean the Work Area – clear any debris, metal shavings, or dust from your work area. This will help create a clean and safe environment for the continuation of your project and prevent potential hazards.
- Organize Tools and Materials – return tools, unused conduit, and other materials to their proper places. Keeping your workspace organized will save you time and help you locate everything you need for future tasks.
- Dispose of Waste – dispose of any waste materials, such as metal shavings or scraps, following proper disposal guidelines. This promotes tidiness and helps maintain a safe and clutter-free area.
By dedicating a few minutes to clean up after cutting EMT conduit, you ensure a well-maintained workspace and reduce the risks of accidents or injuries during subsequent steps.
With the cleaning complete, you have successfully cut the EMT conduit pipe and prepared it for installation. Congratulations!
Conclusion
Cutting EMT conduit pipe is a fundamental skill for anyone working with electrical installations. By following the step-by-step process outlined in this guide, you can achieve accurate and clean cuts, ensuring a successful and safe installation.
Remember to prioritize safety and take the necessary precautions while working with EMT conduit. Always wear appropriate personal protective equipment (PPE) and secure the conduit properly before cutting. Double-check your measurements and marks to avoid errors or wastage.
Having the right tools and materials, such as a conduit cutter or hacksaw, deburring tool, and reaming tool, will help you achieve professional results. Take the time to deburr and ream the ends of the conduit to maintain the integrity of the conduit and ensure easy wire insertion.
Lastly, don’t forget to clean up the work area and organize your tools and materials after the cutting process. A clean and organized workspace promotes efficiency, safety, and a positive working environment.
Now that you have learned how to cut EMT conduit pipe, you are well-equipped to embark on your electrical projects with confidence. Remember to always follow local building codes and regulations for proper conduit installation.
Happy cutting and best of luck with your future electrical endeavors!
Frequently Asked Questions about How To Cut EMT Conduit Pipe
Was this page helpful?
At Storables.com, we guarantee accurate and reliable information. Our content, validated by Expert Board Contributors, is crafted following stringent Editorial Policies. We're committed to providing you with well-researched, expert-backed insights for all your informational needs.
0 thoughts on “How To Cut EMT Conduit Pipe”