Home>Gardening & Outdoor>Outdoor Structures>How To Install Metal Siding On A Shed

Outdoor Structures
How To Install Metal Siding On A Shed
Modified: August 31, 2024
Learn how to install metal siding on your shed with our step-by-step guide. Create a durable and attractive outdoor structure with our expert tips.
(Many of the links in this article redirect to a specific reviewed product. Your purchase of these products through affiliate links helps to generate commission for Storables.com, at no extra cost. Learn more)
Introduction
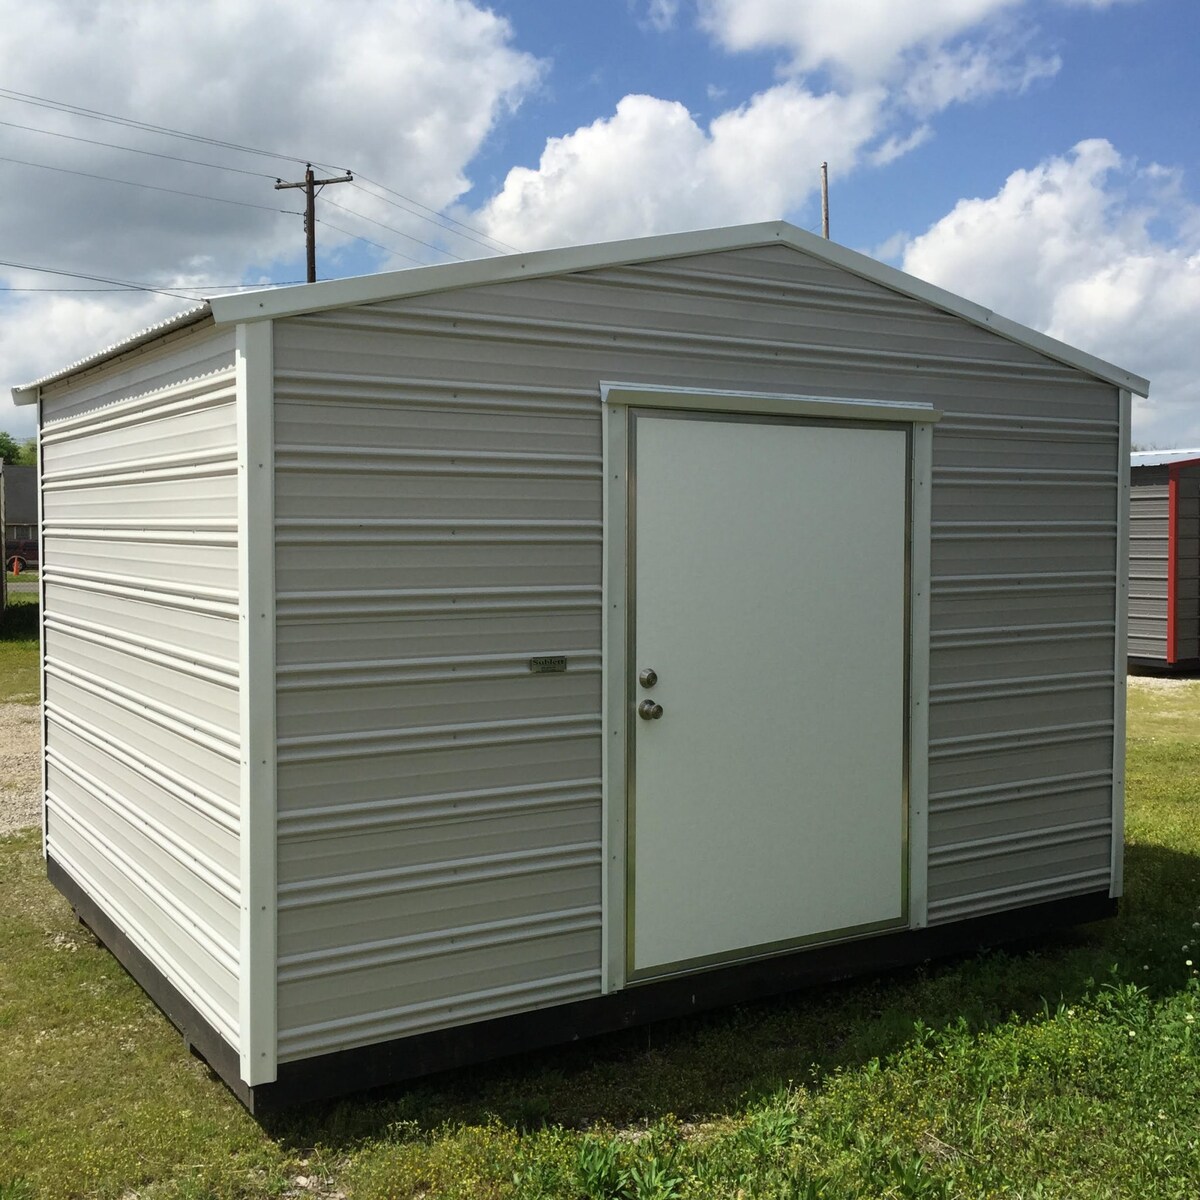
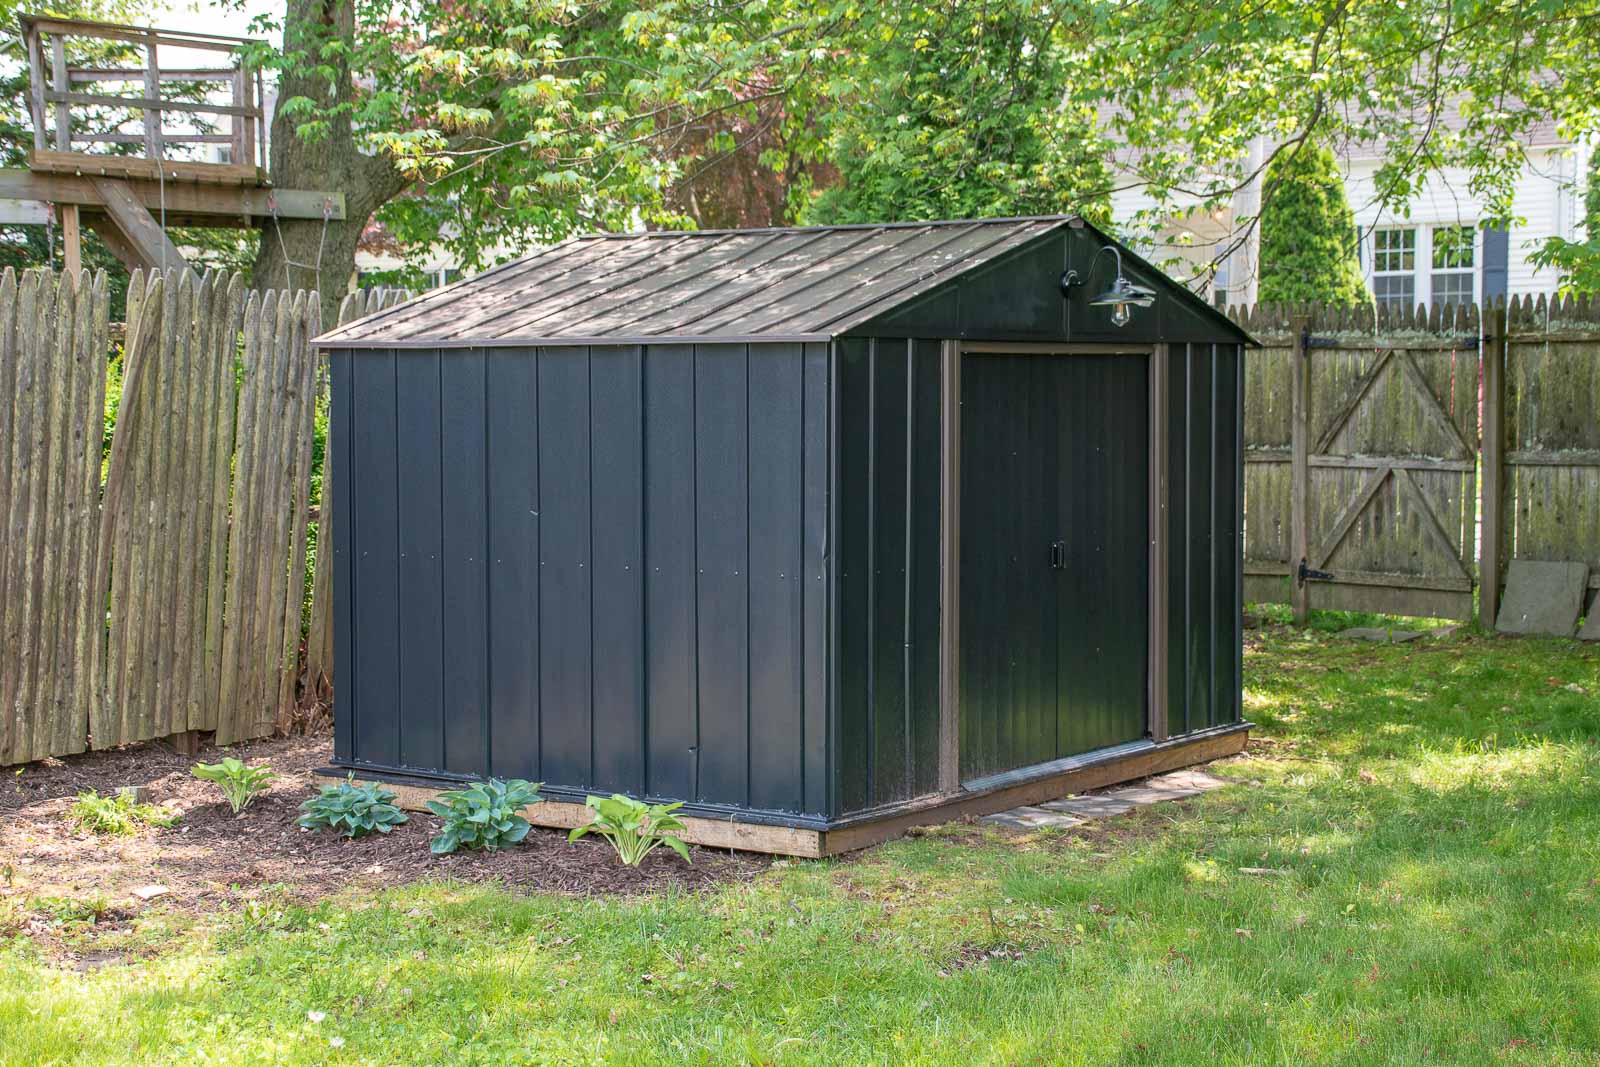
When it comes to enhancing the functionality and visual appeal of your outdoor shed, installing metal siding can be a game-changer. Not only does it provide durable protection against the elements, but it also offers a sleek and modern aesthetic that can elevate the overall look of your outdoor space.
In this comprehensive guide, we will walk you through the step-by-step process of installing metal siding on your shed. Whether you're a seasoned DIY enthusiast or a novice looking to take on a new project, this article will equip you with the knowledge and confidence to tackle this endeavor with ease.
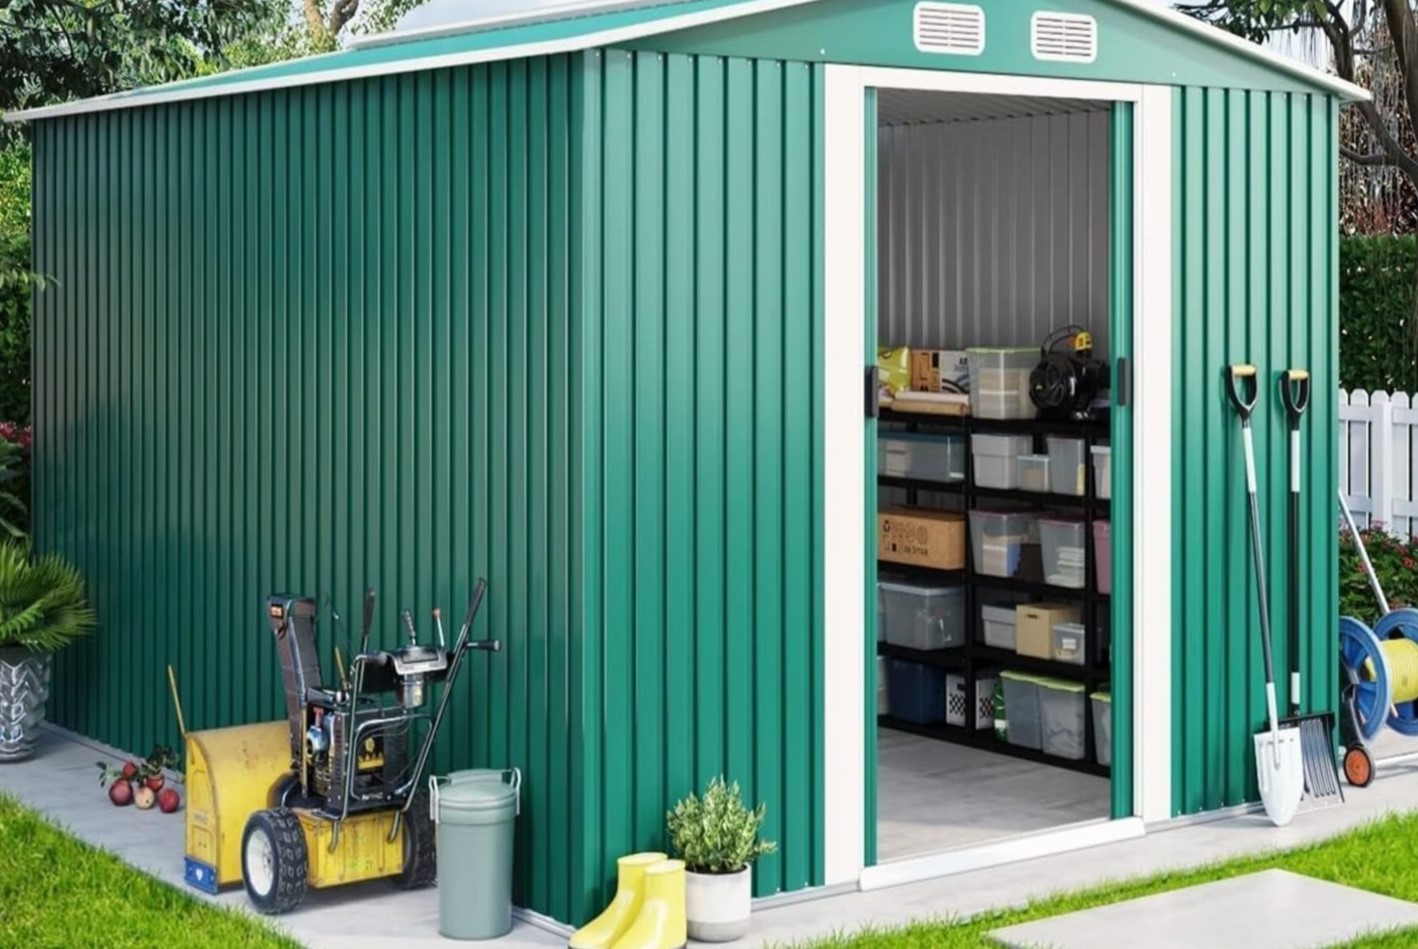
From gathering the necessary materials and tools to executing the installation process with precision, we've got you covered. By the end of this guide, you'll be well-versed in the art of installing metal siding, allowing you to transform your shed into a durable and visually striking structure that stands the test of time. So, roll up your sleeves and get ready to embark on this exciting journey toward a revamped outdoor space!
Key Takeaways:
- Transform your shed with metal siding for durability and a modern look. Gather materials and tools, prepare the shed, and install panels with precision for a professional finish.
- By following this guide, you’ll enhance your shed’s resilience and visual appeal. Embrace the art of DIY and enjoy a revitalized outdoor space with confidence and pride.
Read more: How To Install A Metal Shed
Step 1: Gather Materials and Tools
Before diving into the installation process, it’s crucial to gather all the necessary materials and tools to ensure a smooth and efficient workflow. Here’s a comprehensive list of what you’ll need:
Materials:
- Metal siding panels
- Starter strip
- Screws
- Trim pieces
- Flashing
- Sealant
Tools:
- Tape measure
- Tin snips
- Chalk line
- Level
- Drill/driver
- Safety glasses
- Gloves
It’s essential to ensure that you have all the required materials on hand before commencing the installation. This proactive approach will prevent unnecessary interruptions and delays during the process. Additionally, having the right tools at your disposal will contribute to the precision and quality of the installation, ultimately leading to a professional-looking end result.
By gathering the materials and tools listed above, you’ll set the stage for a successful metal siding installation on your shed. With these essentials in your arsenal, you’re ready to move on to the next phase of the project: preparing the shed for the siding application.
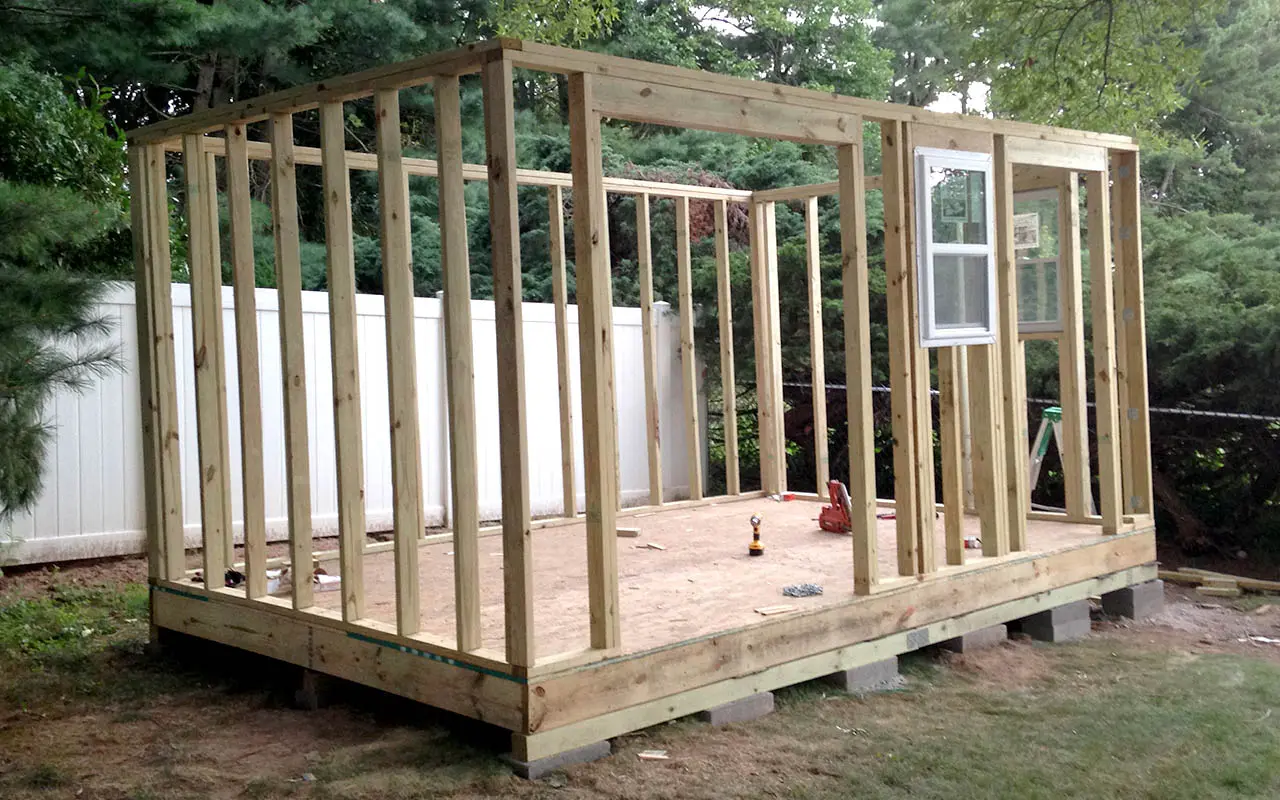
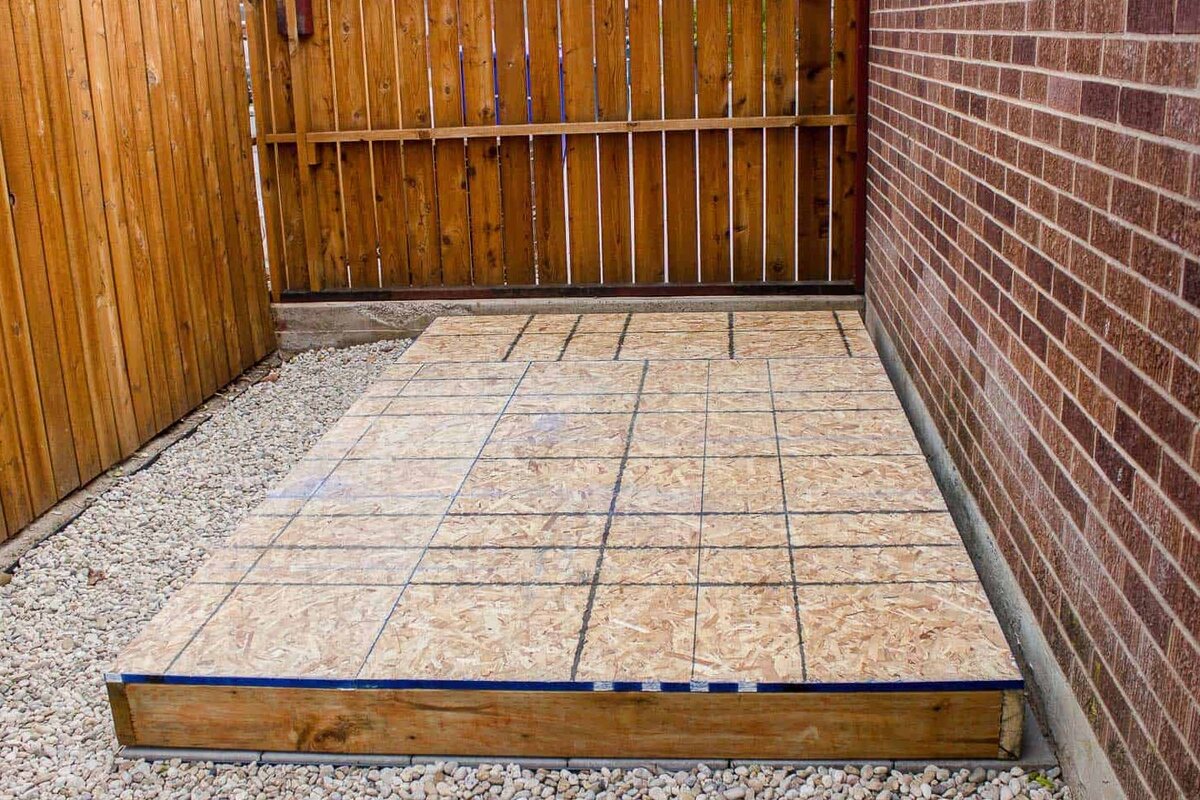
Step 2: Prepare the Shed
Preparing the shed is a crucial precursor to the actual installation of the metal siding. This step sets the foundation for a seamless and long-lasting outcome. Here’s a detailed guide on how to prepare the shed:
Read more: How To Install Siding On A Shed
Inspect the Exterior:
Before proceeding, carefully examine the exterior of the shed for any signs of damage, such as rot or decay. Address any structural issues and ensure that the surface is clean and free of debris. This proactive approach will contribute to the durability and longevity of the metal siding once it’s installed.
Measure and Mark:
Using a tape measure and chalk line, mark the precise locations where the metal siding will be installed. This step is crucial for ensuring accuracy and uniformity throughout the installation process. Additionally, use a level to confirm that the markings are straight and even, laying the groundwork for a polished end result.
Apply Weatherproofing:
Prior to installing the metal siding, consider applying a weatherproof barrier to the exterior of the shed. This additional layer of protection can shield the structure from moisture and enhance its resilience against the elements. Be sure to follow the manufacturer’s guidelines when applying the weatherproofing material.
Secure the Starter Strip:
Install the starter strip along the bottom of the shed’s exterior, ensuring that it is level and securely fastened. The starter strip provides a stable foundation for the first row of metal siding panels, facilitating a smooth and uniform installation process.
By meticulously preparing the shed using the aforementioned steps, you’ll establish a solid groundwork for the subsequent installation of the metal siding. This proactive approach will contribute to the overall quality and longevity of the finished project, ensuring that your shed is not only visually appealing but also well-protected against the elements.
Read more: How To Install A Metal Roof On A Shed
Step 3: Install the Starter Strip
Installing the starter strip is a critical initial phase in the process of affixing metal siding to your shed. This foundational component sets the stage for a precise and secure installation. Here’s a detailed guide on how to install the starter strip:
Positioning and Alignment:
Begin by positioning the starter strip at the bottom of the shed’s exterior, ensuring that it is level and aligned with the markings made during the preparation phase. Using a level to verify its straightness is crucial for maintaining uniformity throughout the installation.
Fastening the Starter Strip:
Secure the starter strip in place using appropriate fasteners, such as screws or nails. It’s essential to follow the manufacturer’s recommendations for the type and spacing of fasteners to ensure optimal stability and support for the subsequent installation of the metal siding panels.
Overlap and Seam Considerations:
When installing the starter strip, pay attention to any overlapping or seam requirements specified by the manufacturer. Ensuring a proper overlap and seam alignment is essential for the overall integrity and weather resistance of the metal siding installation.
Read more: How To Install Vinyl Siding On A Shed Door
Weatherproofing Integration:
If applicable, integrate weatherproofing measures with the installation of the starter strip to enhance the shed’s protection against moisture and the elements. This additional layer of defense can contribute to the long-term durability of the metal siding application.
By meticulously executing the installation of the starter strip, you’ll establish a solid foundation for the subsequent placement of the metal siding panels. This foundational step is instrumental in ensuring a professional and enduring outcome, setting the stage for a visually striking and weather-resistant shed transformation.
Step 4: Install the First Panel
With the starter strip securely in place, it’s time to embark on the exciting phase of installing the first metal siding panel. This pivotal step sets the tone for the rest of the installation process, and precision is key. Here’s a comprehensive guide on how to install the first panel:
Panel Orientation and Positioning:
Begin by positioning the first metal siding panel at the bottom corner of the shed, ensuring that it aligns with the starter strip and the previously marked guidelines. Verifying its alignment with a level is essential for maintaining a consistent and professional appearance.
Fastening the Panel:
Secure the first panel in place using the appropriate fasteners, as specified by the manufacturer. It’s crucial to follow the recommended spacing and placement of fasteners to ensure the structural integrity and weather resistance of the installation.
Read more: What Is Metal Siding
Overlap and Interlocking Mechanism:
If the metal siding panels feature an overlap or interlocking mechanism, ensure that the first panel is properly interlocked or overlapped with the adjacent panel. This seamless integration is essential for creating a cohesive and watertight exterior surface.
Trimming and Customization:
If necessary, use tin snips to trim the panel to the required length or to accommodate any architectural features of the shed. Precision trimming ensures a tailored fit and a polished overall appearance.
By meticulously executing the installation of the first metal siding panel, you’ll establish a solid framework for the subsequent placement of additional panels. This foundational step is instrumental in setting the stage for a visually striking, weather-resistant, and professionally executed transformation of your shed’s exterior.
Step 5: Continue Installing Panels
With the first panel securely in place, the momentum continues as you embark on the process of installing the remaining metal siding panels. This phase is where the transformation of your shed’s exterior truly takes shape. Here’s a detailed guide on how to continue installing the panels:
Alignment and Interlocking:
Position each subsequent panel with meticulous attention to alignment, ensuring that it seamlessly interlocks with the previously installed panel. This precise alignment is crucial for maintaining a uniform and visually appealing exterior surface.
Read more: How To Paint A Metal Shed
Fastening and Support:
As with the first panel, securely fasten each subsequent panel using the recommended fasteners and spacing. This step contributes to the structural integrity of the installation, providing robust support and weather resistance for the shed’s exterior.
Seam and Overlap Consistency:
Pay close attention to the seam and overlap alignment between adjacent panels, ensuring a consistent and watertight integration. This meticulous approach contributes to the overall durability and weather resistance of the metal siding installation.
Customization and Trimming:
If required, customize and trim the panels to accommodate corners, windows, or doors, maintaining a tailored fit and professional finish. Precision trimming ensures that the panels seamlessly adapt to the architectural nuances of the shed.
By methodically continuing the installation of the metal siding panels, you’ll witness the gradual transformation of your shed’s exterior, culminating in a visually striking and durable finish. This phase represents the harmonious integration of precision, craftsmanship, and attention to detail, resulting in an exterior that exudes both functionality and aesthetic appeal.
Step 6: Trim and Finish
As the installation of the metal siding panels nears completion, the focus shifts to the crucial step of trimming and finishing, which adds the final touches to the shed’s exterior transformation. This phase is where precision and attention to detail elevate the overall aesthetic and functionality of the installation. Here’s a comprehensive guide on how to trim and finish the metal siding installation:
Read more: How To Waterproof A Metal Shed
Trimming for Corners and Edges:
Use tin snips or appropriate cutting tools to trim the siding panels to fit seamlessly around corners, edges, windows, and doors. Precision trimming ensures a tailored and professional appearance, effectively integrating the siding with the architectural features of the shed.
Corner and Edge Caps:
Consider utilizing corner and edge caps to provide a polished and protective finish at the intersections and edges of the siding panels. These caps not only enhance the visual appeal but also contribute to the longevity and weather resistance of the installation.
Sealant Application:
Apply a high-quality sealant to the joints, corners, and edges of the metal siding, creating a watertight seal and enhancing the shed’s protection against the elements. This proactive measure reinforces the durability and weather resistance of the installation.
Final Inspections and Touch-Ups:
Conduct a thorough inspection of the entire metal siding installation, addressing any visible imperfections or areas that require touch-ups. This meticulous approach ensures that the finished exterior surface is flawless and visually cohesive.
Read more: How To Insulate A Metal Shed
Clean-Up and Debris Removal:
Upon completing the trimming and finishing process, meticulously clean up any debris and remnants from the installation. This final step contributes to the overall tidiness and professional presentation of the shed’s rejuvenated exterior.
By conscientiously executing the trimming and finishing phase, you’ll elevate the metal siding installation to a level of precision and sophistication. This transformative process culminates in an exterior that seamlessly integrates durability, weather resistance, and visual appeal, offering a stunning and enduring enhancement to your outdoor space.
Conclusion
Congratulations! By following this comprehensive guide, you’ve gained the knowledge and confidence to embark on the transformative journey of installing metal siding on your shed. From gathering the essential materials and tools to meticulously executing each phase of the installation process, you’ve embraced the art of enhancing both the functionality and visual appeal of your outdoor structure.
As the metal siding seamlessly integrates with the architectural features of your shed, you’ve not only fortified its resilience against the elements but also elevated its aesthetic allure. The precision, attention to detail, and craftsmanship invested in this endeavor have culminated in a visually striking and enduring transformation.
As you stand back and admire the newly revitalized exterior, take pride in the fact that you’ve not only enhanced the shed’s durability and weather resistance but also contributed to the overall charm and character of your outdoor space. The seamless interplay of precision trimming, secure fastening, and meticulous finishing has resulted in an exterior that exudes both functionality and visual appeal.
Furthermore, the skills and expertise you’ve acquired in this process empower you to take on future projects with confidence, enriching your DIY repertoire and fostering a deeper connection with your outdoor living environment.
So, as you revel in the tangible results of your efforts, remember that the installation of metal siding on your shed is more than just a practical upgrade; it’s a testament to your dedication to creating a space that harmoniously blends durability, aesthetics, and personal expression.
Now, go forth and savor the satisfaction of a job well done, knowing that your shed stands as a testament to your craftsmanship and ingenuity.
Now that you've mastered installing metal siding on your shed, why not turn your attention to creating more captivating spaces around your property? Our guide on outdoor structures offers practical advice for enhancing gardens and beyond. From pergolas to greenhouses, discover structures that transform any outdoor area into a haven for relaxation or entertainment. Whether you're looking for a new project or just some inspiration, this guide has got you covered.
Frequently Asked Questions about How To Install Metal Siding On A Shed
Was this page helpful?
At Storables.com, we guarantee accurate and reliable information. Our content, validated by Expert Board Contributors, is crafted following stringent Editorial Policies. We're committed to providing you with well-researched, expert-backed insights for all your informational needs.

0 thoughts on “How To Install Metal Siding On A Shed”