Articles
How To Patch Metal Siding
Modified: October 28, 2024
Learn the step-by-step process of patching metal siding with our informative articles. Get expert tips and techniques for seamless repairs.
(Many of the links in this article redirect to a specific reviewed product. Your purchase of these products through affiliate links helps to generate commission for Storables.com, at no extra cost. Learn more)
Introduction
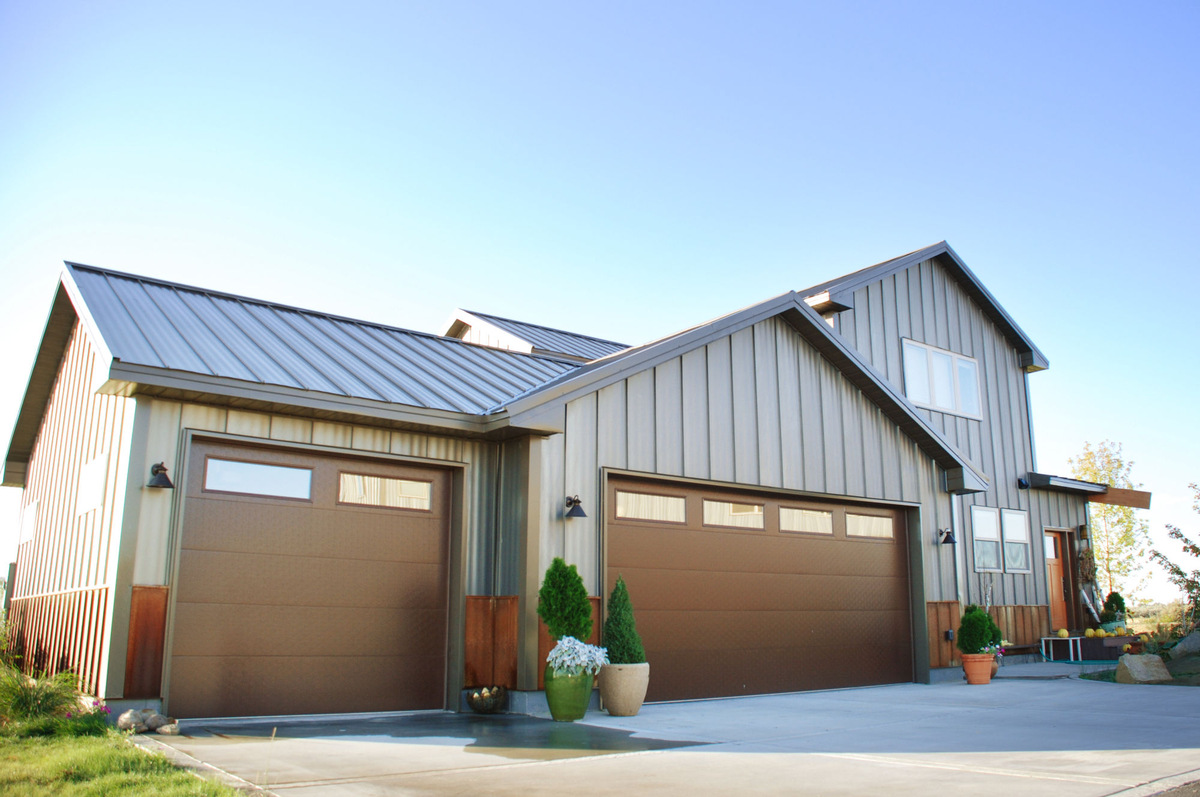
Metal siding is a popular choice for homeowners due to its durability and low maintenance requirements. However, over time, metal siding can become damaged and may require patching to restore its appearance and functionality. Whether it’s caused by weather, accidents, or simply wear and tear, patching metal siding is a task that can be done by homeowners with a little guidance.
In this article, we will guide you through the steps of patching metal siding, from assessing the damage to the final touch-ups. By following this comprehensive guide, you will be able to effectively repair your metal siding and maintain its integrity for years to come.
Before you begin patching, it’s important to note that while this article provides general guidelines, every situation can be unique. Ensure that you read and follow the manufacturer’s instructions for any specific materials or tools you use, and adjust the process accordingly based on the condition of your metal siding.
Key Takeaways:
- Patching metal siding is a DIY-friendly task that can restore the appearance and integrity of your home’s exterior. Thorough assessment, proper preparation, and meticulous finishing are key to a successful repair.
- Gathering the right materials and tools, preparing the damaged area, and applying patching compound and paint are essential steps in effectively patching metal siding. Attention to detail and thorough inspection ensure a seamless and durable repair.
Read more: What Is Metal Siding
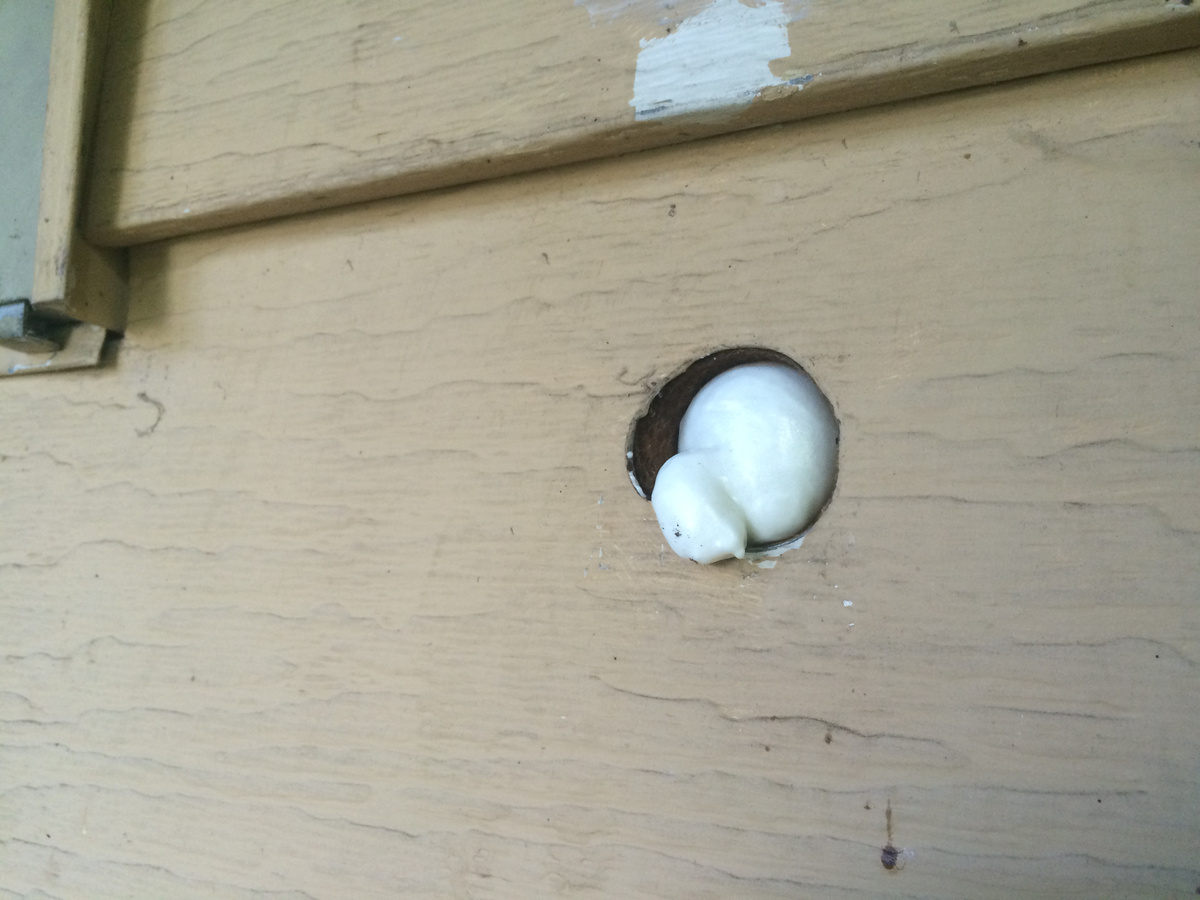
Step 1: Assess the damage
Before you start patching your metal siding, it’s crucial to assess the extent of the damage and identify any underlying issues. Here’s what you need to do:
- Inspect the metal siding: Carefully examine the entire surface of the siding to identify any areas that are damaged, dented, or corroded. Look for signs of rust, holes, or peeling paint. Pay close attention to seams and corners where damage is more likely to occur.
- Determine the extent of the damage: Once you’ve identified the damaged areas, assess the severity of the damage. Are the issues cosmetic, or do they affect the structural integrity of the siding? This will help you decide whether patching is sufficient or if replacement is necessary.
- Identify any underlying issues: While assessing the damage, keep an eye out for any underlying issues that may have caused or contributed to the damage. This could include water leaks, poor insulation, or improper installation. Addressing these issues will prevent further damage in the future.
By thoroughly assessing the damage, you’ll have a clear understanding of what needs to be repaired and any additional steps you need to take. This will ensure that your patching efforts are effective and long-lasting.
Step 2: Gather necessary materials and tools
Before you begin patching your metal siding, it’s important to gather all the necessary materials and tools. Having everything on hand will make the process smoother and more efficient. Here’s a list of the tools you’ll need:
- Safety goggles and gloves: Protect your eyes and hands while working with the tools and materials.
- Safety ladder or scaffolding: If your metal siding is located higher up, you’ll need a stable and secure way to access it.
- Hacksaw or tin snips: These will be used to cut out any damaged sections of metal siding.
- Caulk gun: A caulk gun is necessary for applying caulk or adhesive to secure the patch in place.
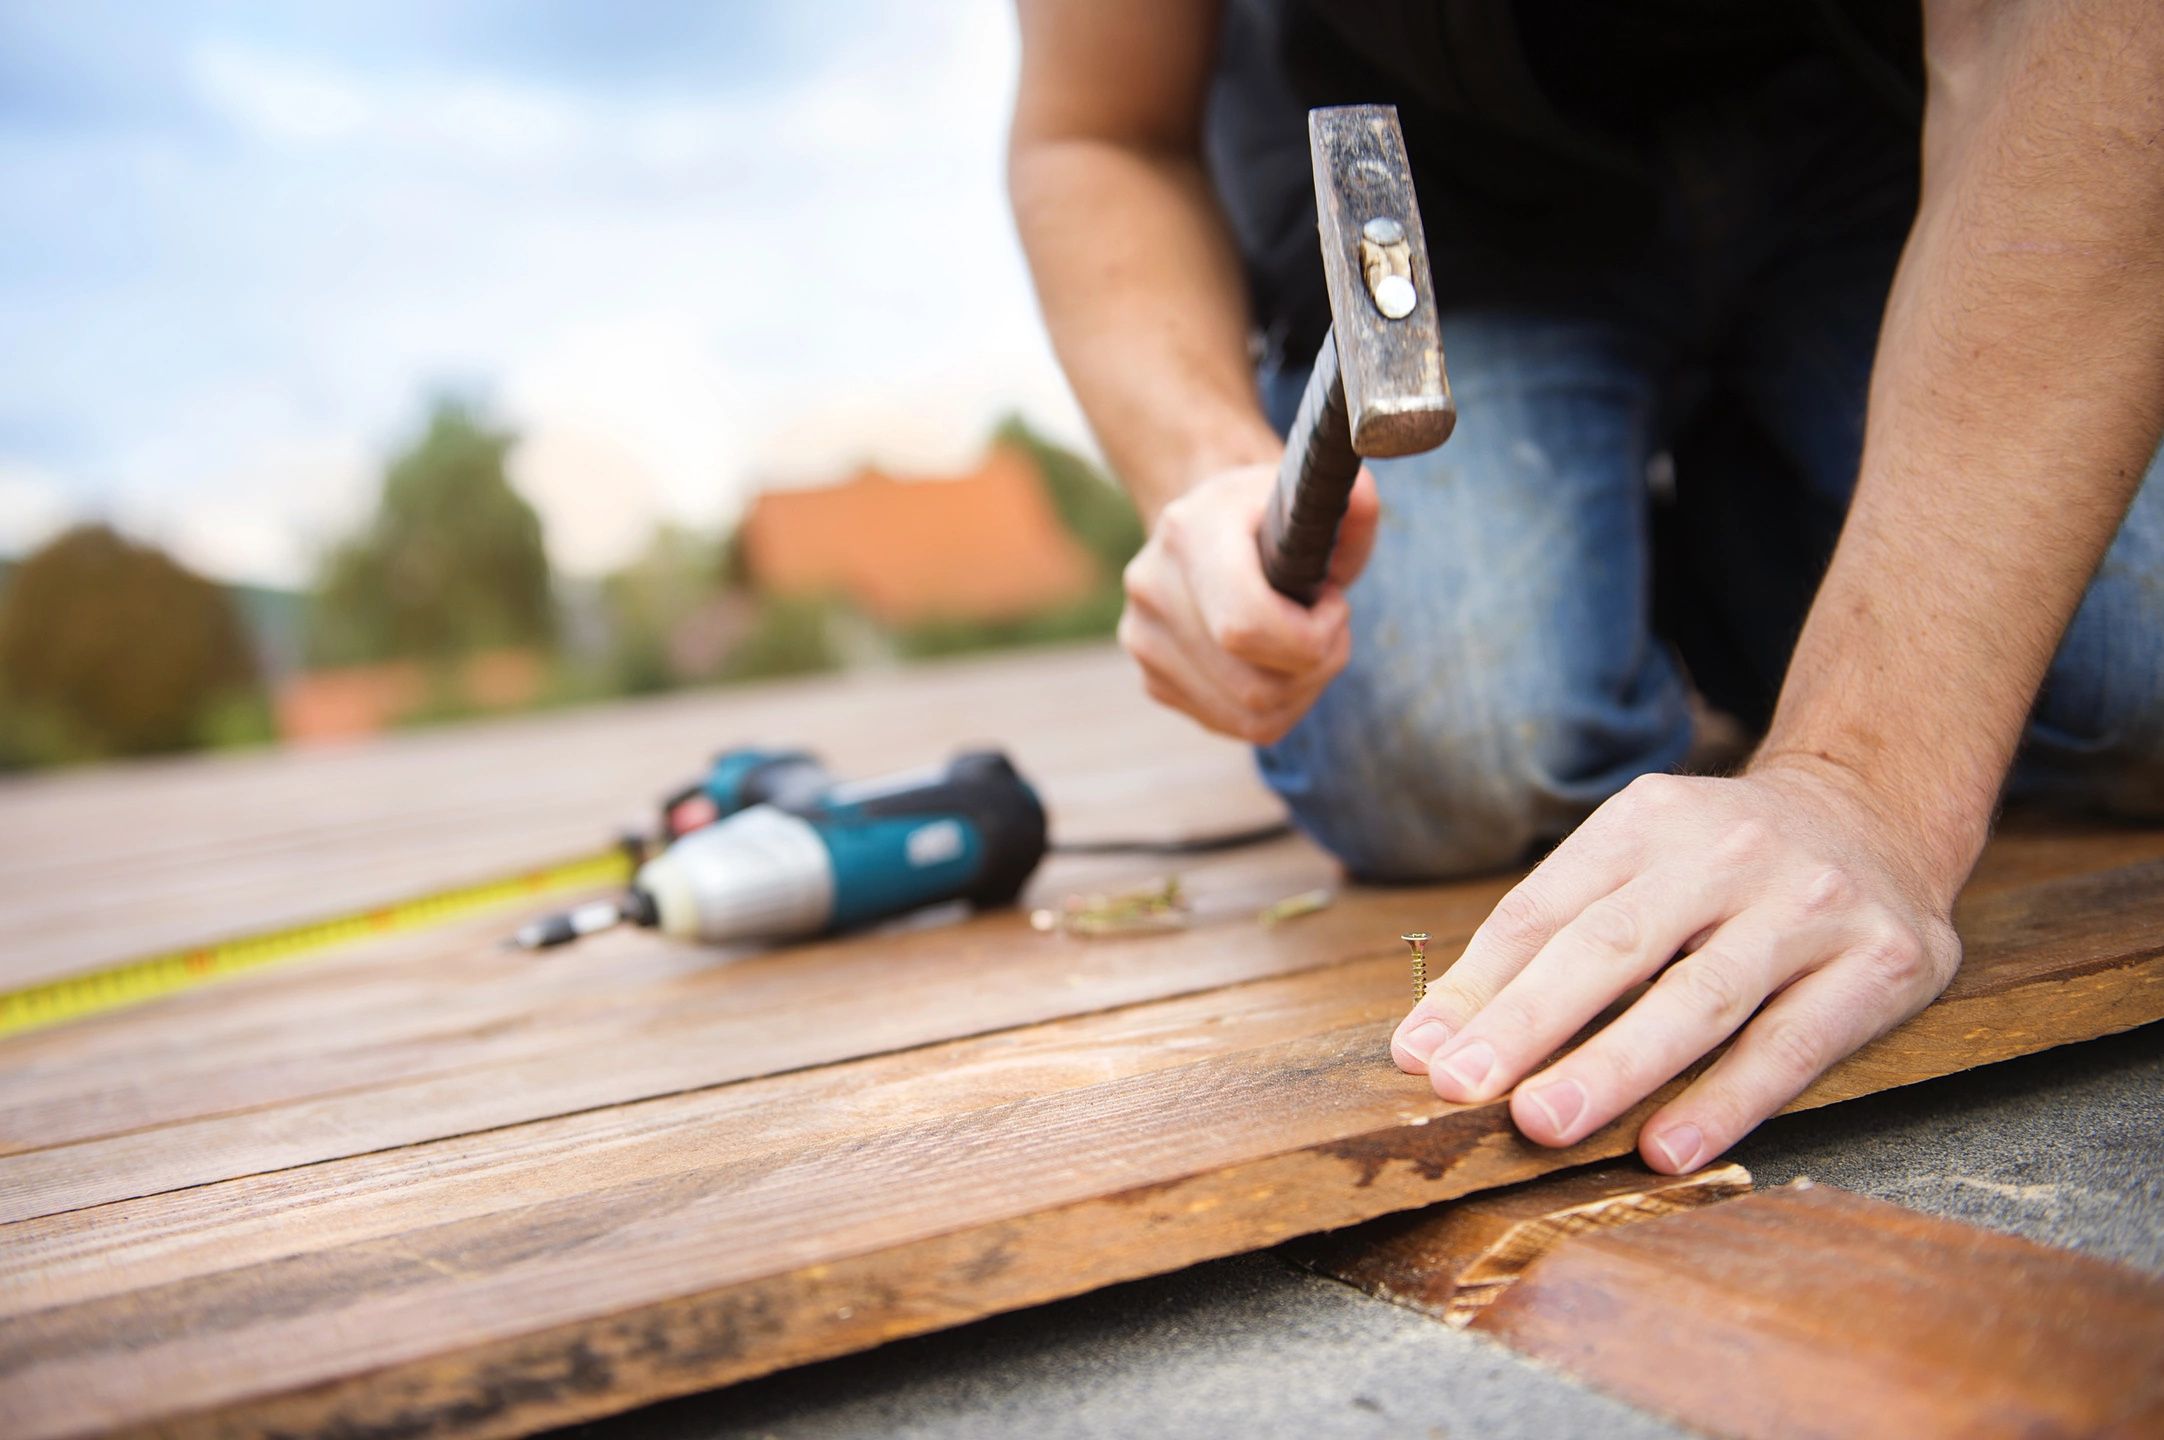
- Hammer and nails: These will be used to secure the patch to the surrounding siding.
- Putty knife: A putty knife is essential for applying patching compound and smoothing it out.
- Sandpaper or sanding block: This will be used to smoothen the patched area before painting.
- Paintbrushes and paint roller: These tools are necessary for applying primer and paint to the patched area.
- Paint scraper: A paint scraper will be useful for removing any loose or peeling paint before patching.
- Patching compound: A high-quality, weather-resistant patching compound is needed to fill in the damaged area.
- Primer and paint: Choose a paint color that matches your existing siding and make sure to get primer specifically formulated for metal surfaces.
In addition to the tools, you’ll also need a few materials for patching your metal siding. These include:
- Replacement metal siding: If the damage is extensive, you may need to replace the damaged sections of siding. Make sure to purchase the correct type and size of metal siding that matches your existing siding.
- Patch kit: Some manufacturers offer metal siding patch kits that include materials like patching compound, primer, and paint, making the process more convenient.
- Caulk or adhesive: Depending on the type of metal siding you have, you may need to use caulk or adhesive to secure the patch in place.
- Cleaning supplies: It’s important to have cleaning supplies on hand to prepare the damaged area for patching. This can include soap, water, and a scrub brush or sponge.
By gathering all the necessary materials and tools before you start, you’ll be well-prepared and able to complete the patching process efficiently.
Step 3: Prepare the damaged area
Before applying any patching materials to your metal siding, it’s crucial to properly prepare the damaged area. This ensures better adhesion, a smoother finish, and a more seamless repair. Here’s what you need to do:
- Clean the damaged area: Use a mild soap and water solution to clean the damaged area. Scrub gently with a sponge or brush to remove any dirt, debris, or grease. Rinse thoroughly and allow the area to dry completely.
- Remove any loose or peeling paint: If there are any areas of loose or peeling paint around the damage, use a paint scraper or sandpaper to gently remove it. This will ensure a clean surface for the patching materials.
- Smooth the surface: After removing any loose paint, use sandpaper or a sanding block to smooth out the surface of the damaged area. Sand in a circular motion to create a slightly rough texture that helps the patching compound adhere better.
By thoroughly cleaning the damaged area and removing any loose paint, you create an optimal environment for the patching materials to bond effectively. The smooth surface also ensures a more seamless finish once the patching is complete.
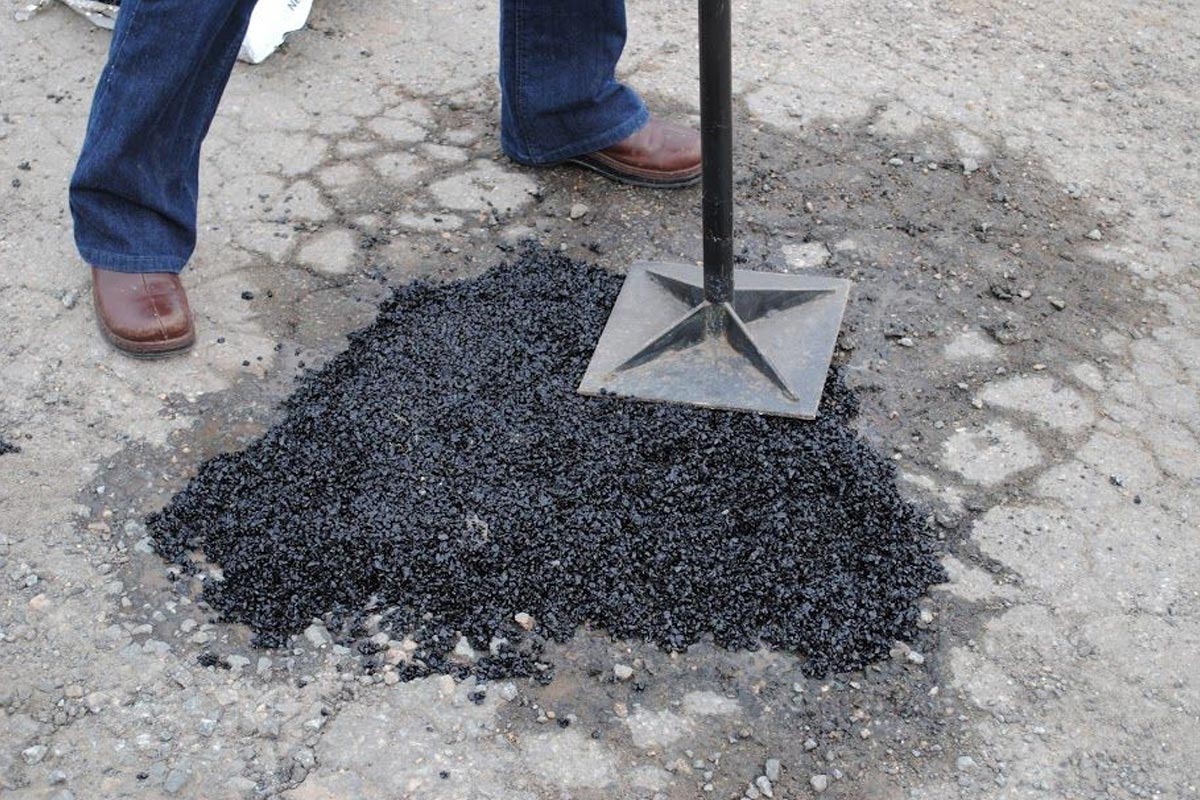
Step 4: Apply patching compound
Applying patching compound is a crucial step in repairing your metal siding. This compound helps fill in the damaged areas and creates a smooth surface for painting. Here’s how to do it:
- Mix the patching compound according to instructions: Read the instructions on your patching compound carefully and follow the recommended mixing ratios. Use a clean mixing container and stir the compound thoroughly until it reaches a smooth, even consistency.
- Apply the compound to the damaged area: Use a putty knife or a trowel to scoop a small amount of the patching compound onto the damaged area. Begin by applying a thin layer over the damaged section, making sure to fill in any cracks, holes, or dents.
- Smooth and feather the edges: With the putty knife or trowel, carefully smooth out the patching compound, blending it into the surrounding metal siding. Feather the edges of the compound to create a seamless transition between the patch and the rest of the siding.
Take your time during this step to ensure that the patching compound is evenly applied and the edges are well blended. Proper application of the compound will result in a more professional-looking repair.
When patching metal siding, make sure to clean the area thoroughly before applying the patch. Use a metal primer to ensure the patch adheres properly and lasts longer.
Read more: How To Patch Large Hole In Wood Siding
Step 5: Sand and prime
After applying the patching compound, it’s important to sand the patched area to achieve a smooth finish and ensure proper adhesion of the paint. Here’s what you need to do:
- Sand the patched area for a smooth finish: Once the patching compound has dried completely, use fine-grit sandpaper or a sanding block to gently smooth out any rough edges or imperfections. Sand in a circular motion, blending the patched area with the surrounding siding until it feels smooth to the touch.
- Apply primer to ensure proper adhesion and paint coverage: Before painting, it’s crucial to apply a coat of primer specifically formulated for metal surfaces. The primer will create a sealed barrier, improving adhesion and ensuring that the paint adheres properly to the patched area. Use a paintbrush or a paint roller to apply a thin, even coat of primer to the patched area.
Sanding the patched area not only helps achieve a seamless and uniform finish but also prepares the surface for optimal paint adhesion. Applying primer acts as a crucial step in the painting process, enhancing the longevity of the patch and providing a better overall result.
Step 6: Paint and blend
Once the primer has dried, it’s time to paint and blend the patched area with the rest of the siding. By choosing the right paint color and applying it correctly, you can achieve a seamless repair. Here’s how to do it:
- Choose a matching paint color: Take time to select a paint color that closely matches the existing color of your metal siding. This ensures a cohesive look and makes the patched area less noticeable. Consider bringing a sample of your siding to a paint store for color matching.
- Apply paint to the patched area: Use a paintbrush or a paint roller to apply a thin, even coat of paint over the patched area. Start from the center of the patch and work your way out, feathering the edges to blend the new paint with the surrounding siding. Apply multiple coats if necessary, allowing each coat to dry completely before applying the next.
- Blend the patched area with the rest of the siding: To further blend the patched area with the rest of the siding, consider lightly dry brushing or stippling the surrounding area with a similar paint color or a mix of colors. This technique creates texture variation, making the repair less noticeable.
By carefully choosing a matching paint color and applying it with the right techniques, you can achieve a seamless blend between the patched area and the rest of the siding. Take your time during this step to ensure a professional-looking finish.
Step 7: Final inspection and cleaning
After completing the patching and painting process, it’s important to conduct a final inspection of the repaired area. This ensures that the repair is flawless and ready for long-term durability. Here’s what you need to do:
- Inspect the patched area for any imperfections: Carefully examine the patched area to check for any visible imperfections, such as uneven texture, paint drips, or color discrepancies. Look at the repair from different angles and lighting conditions to ensure a seamless blend with the rest of the siding.
- Clean up any debris or excess materials: Take the time to clean up any debris, dust, or excess materials that may have accumulated during the patching and painting process. Use a broom, brush, or vacuum to remove any loose particles or dust around the repaired area. Wipe down the surface with a damp cloth or sponge if necessary.
By conducting a thorough inspection and cleaning, you can ensure that the patched area looks seamless and that there are no visible signs of repair. This final step adds the finishing touch to your metal siding repair project.
Conclusion
Patching metal siding is a practical and cost-effective solution for repairing damage and maintaining the overall integrity of your home’s exterior. By following the step-by-step guide outlined in this article, you can successfully patch your metal siding and restore its appearance.
Remember to assess the damage thoroughly before starting the patching process. This will help you determine the extent of the damage and whether additional repairs or replacements are needed. Gathering the necessary materials and tools beforehand will make the process smoother and more efficient.
Preparing the damaged area by cleaning, removing loose paint, and smoothing the surface helps ensure a successful patching job. Applying the patching compound and feathering the edges creates a seamless repair. Sanding the patched area and applying primer enhance the adhesion and paint coverage.
Choosing a matching paint color and blending it with the rest of the siding is key for achieving a professional and harmonious finish. Finally, conducting a final inspection to spot any imperfections and cleaning up any debris or excess materials completes the repair process.
By following these steps and taking the necessary precautions, you can effectively patch your metal siding and prolong its lifespan. Remember to consult the manufacturer’s instructions for specific materials and adjust the process according to the condition of your metal siding.
With proper maintenance and regular inspections, your metal siding will continue to protect your home and provide an attractive exterior for years to come.
Frequently Asked Questions about How To Patch Metal Siding
Was this page helpful?
At Storables.com, we guarantee accurate and reliable information. Our content, validated by Expert Board Contributors, is crafted following stringent Editorial Policies. We're committed to providing you with well-researched, expert-backed insights for all your informational needs.


0 thoughts on “How To Patch Metal Siding”