Articles
How To Make A Heater With Candles
Modified: October 28, 2024
Learn how to make a heater with candles in this informative article. Stay warm and cozy with this DIY heating solution.
(Many of the links in this article redirect to a specific reviewed product. Your purchase of these products through affiliate links helps to generate commission for Storables.com, at no extra cost. Learn more)
Introduction
Welcome to the world of DIY projects, where creativity meets practicality. In this article, we will explore how to make a heater using candles – a simple yet effective solution for those chilly evenings or power outages when you need some warmth. This project is not only a budget-friendly option but also a fascinating way to repurpose everyday household items.
Creating a heater with candles is an innovative approach that harnesses the heat produced by the burning candles to warm up a small space. It’s important to note that this type of heater is not intended to replace conventional heating systems but rather to provide localized heat in a specific area. This DIY project is perfect for camping trips, emergency situations, or simply adding a cozy ambiance to your home.
Before we dive into the step-by-step guide on making a candle heater, it is crucial to highlight the importance of safety precautions. Any project involving open flames calls for extra caution to prevent accidents and ensure the well-being of everyone involved.
So, let’s get started and learn how to make a heater with candles while keeping safety at the forefront of our minds.
Key Takeaways:
- Stay warm and safe with a DIY candle heater, perfect for emergencies or adding cozy ambiance. Prioritize safety, proper ventilation, and supervision while enjoying the warmth it provides.
- Create a functional and efficient source of heat with a DIY candle heater. Remember to select the right container, prepare the candles, and use it responsibly while prioritizing safety at all times.
Read more: How To Make Candles With Herbs
Safety Precautions
When working with open flames, it’s essential to prioritize safety to prevent any mishaps or injuries. Here are some important safety precautions to keep in mind while making a heater with candles:
- Choose a well-ventilated area: Ensure that the space where you plan to use the candle heater has proper ventilation to allow for the safe dispersal of any fumes produced by the burning candles.
- Keep flammable materials away: Make sure there are no flammable objects near the heater, such as curtains, papers, or other easily ignitable materials. Maintain a safe distance to avoid any potential fire hazards.
- Supervision is key: Never leave the candle heater unattended while it is in use. It’s crucial to keep a constant eye on the flames to prevent any accidents or unexpected events.
- Keep out of reach of children and pets: As with any open flame, it’s important to keep the candle heater away from children and pets to avoid any burns or accidents.
- Use a stable surface: Ensure that the surface where the heater is placed is stable and heat-resistant. Avoid using the candle heater on surfaces that may become damaged or cause instability.
- Extinguish candles properly: When you are finished using the heater, make sure to extinguish the candles completely. You can use a candle snuffer or a metal lid to suffocate the flames and prevent any potential fire hazards.
- Have a fire extinguisher nearby: It’s always a good idea to have a fire extinguisher on hand in the event of an emergency. Make sure you know how to use it properly.
By following these safety precautions, you can ensure a safe and worry-free experience while using a candle heater. Remember, safety should always be the number one priority when working with open flames.
Materials Needed
Before you embark on creating your own candle heater, it’s important to gather all the necessary materials. Here is a list of items you will need:
- A large metal container: This will serve as the main body of the heater and should be sturdy enough to withstand the heat produced by the candles.
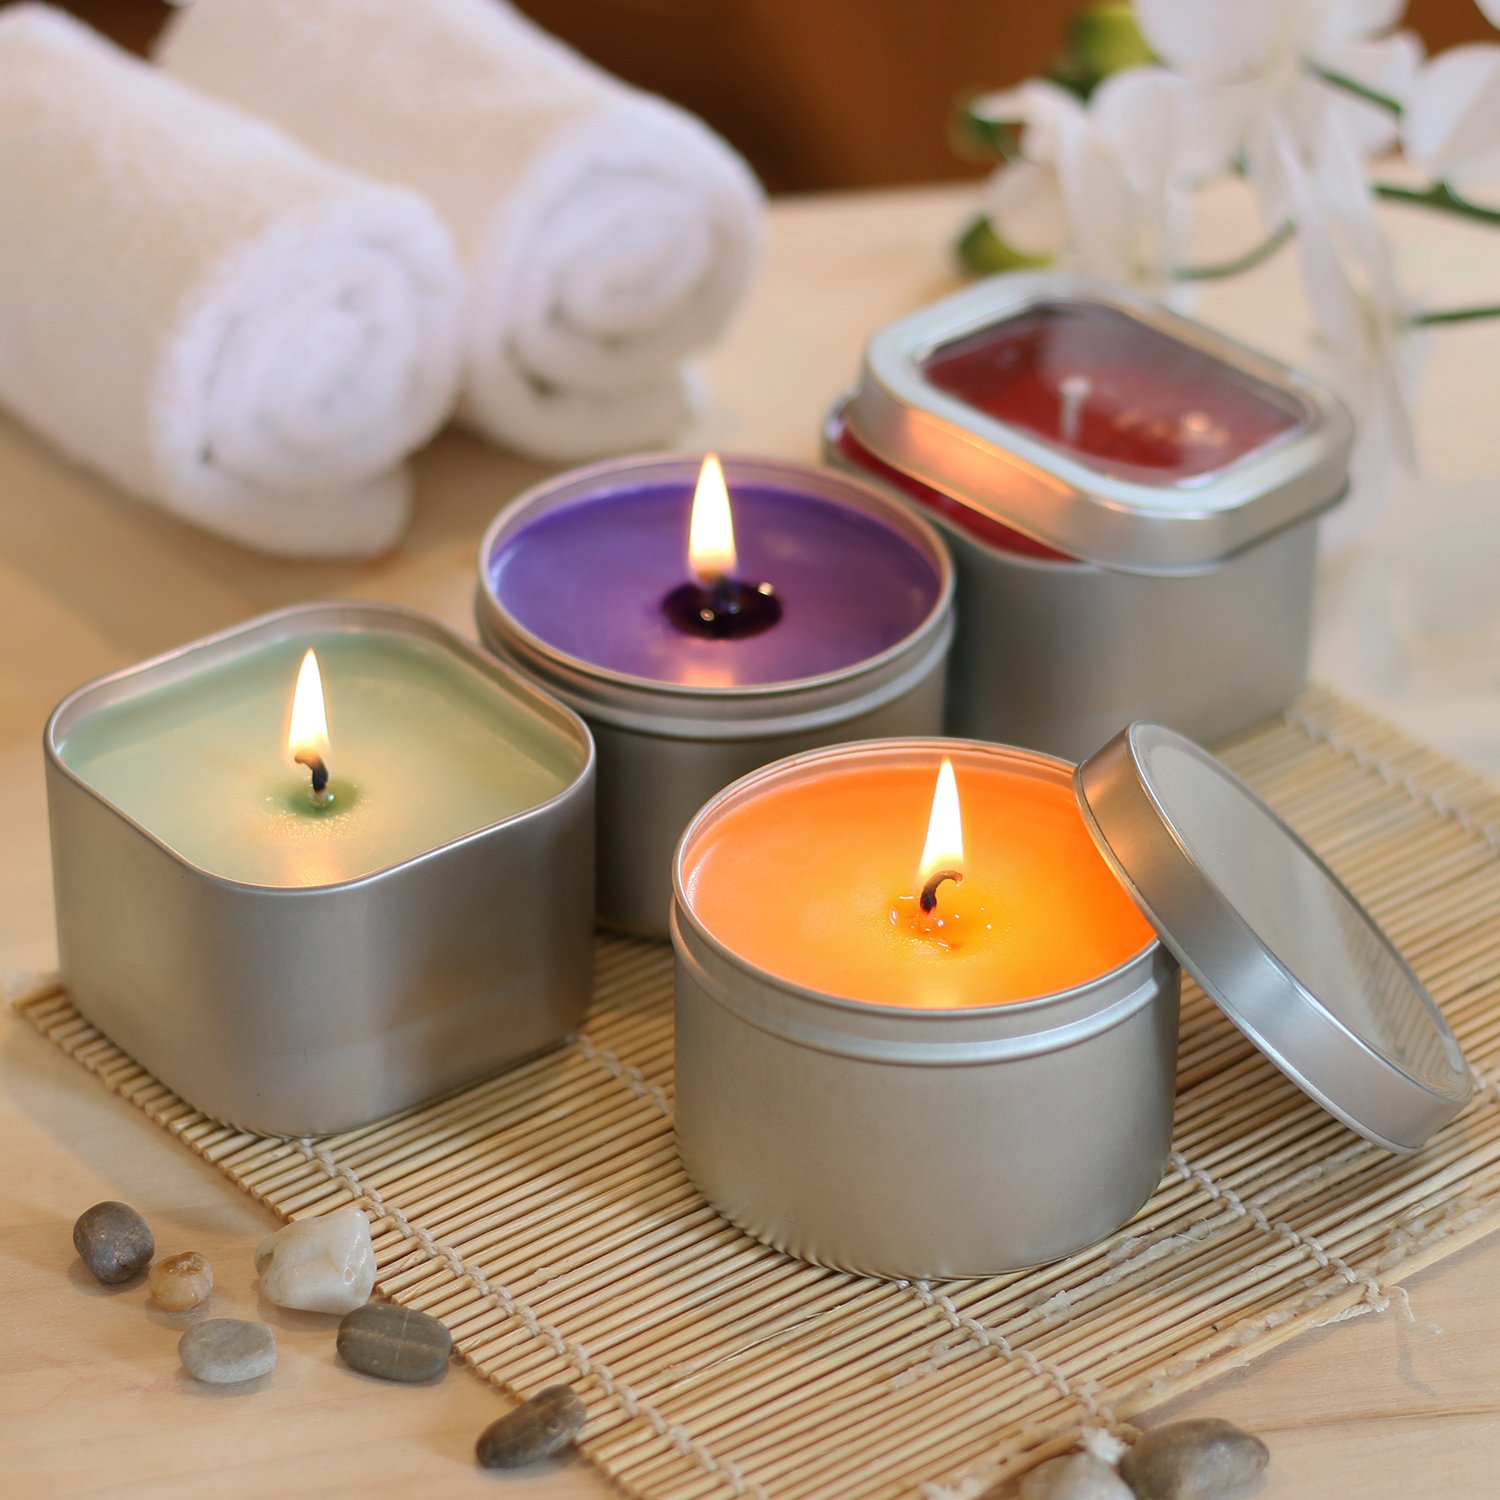
- Candles: Choose long-burning candles that can generate a substantial amount of heat. Be sure to use candles that are appropriate for indoor use and avoid scented or decorative candles.
- Fireproof insulation material: This material will help reflect and radiate the heat generated by the candles. Aluminum foil or ceramic tiles can serve as effective insulation.
- A wire mesh or grate: This will be used as a platform to hold the candles securely in the container. Ensure that the mesh or grate is heat-resistant and can support the weight of the candles.
- A pair of pliers: These will be helpful for handling the wire mesh and any other tasks that require a firm grip.
- A lighter or matches: You will need a source of ignition to light the candles.
- Optional: Additional heat-resistant materials, such as firebricks or rocks, can be used to further enhance the heating efficiency of the heater.
It’s important to note that the size and quantity of the materials may vary depending on the specific design and dimensions of your candle heater. Make sure to choose materials that are suitable for the size and intended use of your heater.
Now that you have gathered all the necessary materials, you are ready to dive into the step-by-step process of creating your very own candle heater.
Step 1: Selecting the Appropriate Container
The container you choose for your candle heater is an important factor in its effectiveness and safety. It should be large enough to hold the candles securely and have adequate heat resistance to withstand the temperature generated by the burning candles. Here’s how you can select the appropriate container:
- Choose a metal container: Opt for a container made of metal, such as a large tin can or a metal bucket. Metal is a good conductor of heat and can efficiently distribute the warmth produced by the candles.
- Ensure the container is sturdy: The chosen container should be sturdy enough to support the weight of the candles and withstand the heat. Avoid using containers that are flimsy or made of materials that can melt or become damaged easily.
- Consider the size and shape: The size of the container will depend on the number of candles you plan to use and the amount of heat you want to generate. A larger container can accommodate more candles and produce greater heat output. Additionally, a cylindrical-shape container is ideal as it allows for better circulation of heat.
- Check for flammable coatings: Some containers may have a coating or paint on the inside, which can release harmful fumes when heated. Make sure to choose a container that is free from any flammable coatings.
- Inspect for any damage or rust: Before using the container, ensure that it is in good condition without any signs of damage or rust. Damaged containers can compromise the safety of the heater and should be avoided.
By selecting the appropriate container, you lay the foundation for a safe and efficient candle heater. Now that you have chosen your container, it’s time to move on to the next step of preparing the candles.
Step 2: Preparing the Candles
Proper preparation of the candles is crucial to ensure optimal performance and safety of your candle heater. Here are the steps to prepare the candles:
- Choose long-burning candles: Select candles that have a longer burn time to maximize the heat output. Be sure to use candles specifically designed for indoor use and avoid scented or decorative candles as they may produce unwanted fumes.
- Remove any decorative elements: If your candles have any decorative elements, such as ribbons or labels, carefully remove them to ensure a clean burn and prevent any potential hazards.
- Trim the wick: Trim the wick of each candle to approximately ¼ inch in length. This will help control the flame and prevent excessive flickering or soot formation.
- Place the candles in the container: Arrange the prepared candles in the container, ensuring they are evenly spaced and securely positioned. Leave enough space between the candles to allow for proper air circulation.
- Optional: If you want to enhance the heating efficiency of the candles, you can place a heat-resistant material, such as firebricks or rocks, around the candles to absorb and radiate additional heat.
By properly preparing the candles, you ensure a safer and more effective heat source for your candle heater. Once your candles are prepared and positioned in the container, you can move on to the next step of creating the wick for the heater.
Be sure to place the candles in a stable, heat-resistant container and keep the heater in a well-ventilated area to prevent carbon monoxide buildup.
Read more: How To Make Dipped Candles
Step 3: Creating the Wick
The wick is an essential component of your candle heater as it helps facilitate the flow of heat and ensures efficient combustion of the candles. Creating a proper wick is a simple process. Here’s how you can make one:
- Choose a suitable material: Cotton string or twine works best as a wick material. Make sure it is free from any synthetic materials or coatings as they can produce unwanted fumes when burned.
- Cut the wick: Measure and cut a length of cotton string or twine that is approximately twice the height of your container. This will give you enough material to loop and create a sturdy wick.
- Loop the wick: Fold the cut wick in half and create a loop or knot at the folded end. This loop will help keep the wick in place and prevent it from falling into the melted wax as the candles burn.
- Secure the wick: Gently place the looped end of the wick over the edge of the container so that the loop rests on top of the candles. Adjust the length of the wick so that it hovers just above the flame and extends beyond the top of the container.
- Ensure proper positioning: Check that the wick is centered and straight, allowing for an even burn of the candles. You can use a small stick or a pencil to adjust the position if needed.
Creating a proper wick ensures optimal airflow and combustion, resulting in a more efficient candle heater. Now that your wick is in place, it’s time to move on to assembling the heater and preparing it for use.
Step 4: Assembling the Heater
Assembling the candle heater is the next step in the process, where you bring together all the components to create a functional heating device. Follow these steps to assemble your heater:
- Place the wire mesh or grate: Position the wire mesh or grate at the bottom of the container. This will serve as a platform to hold the candles securely.
- Secure the wire mesh: Use pliers or any suitable tool to bend and secure the wire mesh against the sides of the container. Ensure that the mesh is stable and tightly fitted.
- Add insulation material: Line the inside of the container with a layer of fireproof insulation material, such as aluminum foil or ceramic tiles. This will help reflect and radiate the heat produced by the candles.
- Adjust the wick position: Double-check that the wick is properly positioned and centered above the wire mesh. Make any necessary adjustments to ensure an even burn.
- Optional: If you want to further improve the heating efficiency, you can place additional heat-resistant materials, such as firebricks or rocks, around the wire mesh or on top of the insulation material.
By carefully assembling your candle heater, you create a sturdy and effective device that can provide localized heat in a safe manner. Once your heater is assembled, it’s time to move on to the next step: lighting the candles and activating the heat source.
Step 5: Lighting the Candles
Now that your candle heater is assembled and ready to go, it’s time to light the candles and activate the heat source. Follow these steps to safely light your candles:
- Ensure a safe environment: Double-check that the area around the candle heater is clear of any flammable objects or materials. Keep a safe distance from curtains, papers, or other easily ignitable items.
- Use a lighter or matches: Ignite a lighter or a match and carefully bring the flame close to the wick of one of the candles. Allow the flame to catch onto the wick and start burning.
- Light all the candles: Move from candle to candle, using the lit candles to ignite the wicks of the others. Take your time and ensure that each wick is securely burning before moving on.
- Monitor the flames: Once all the candles are lit, closely observe the flames to ensure they burn steadily and evenly. Adjust the position of the wick if needed to maintain an optimal burn.
It’s important to keep a constant eye on the candles while they are burning. Remember to never leave the candle heater unattended and follow all the necessary safety precautions mentioned earlier. With the candles lit, your candle heater is now generating heat. The final step is to properly monitor and use the heater safely.
Step 6: Monitoring and Using the Heater Safely
As you enjoy the warmth generated by your candle heater, it’s important to monitor and use it safely to prevent accidents and ensure a pleasant experience. Follow these guidelines while using your heater:
- Never leave the heater unattended: Always keep a close eye on the candle heater while it is in use. Avoid leaving the room or going to sleep with the heater burning.
- Maintain proper ventilation: Ensure that the area where the heater is placed has adequate ventilation. This will allow for proper air circulation and help prevent the buildup of fumes.
- Keep flammable materials away: Maintain a safe distance between the heater and any flammable objects or materials. Avoid placing the heater near curtains, fabrics, or papers that can easily catch fire.
- Avoid touching the heater: The surface of the heater can become hot during use. Exercise caution and avoid touching the heater or placing any objects on top of it while it is in operation.
- Extinguish the candles properly: When you are done using the heater, extinguish the candles fully. Use a candle snuffer or a metal object to smother the flames. Ensure the candles are completely out before leaving the area.
- Store candles and materials safely: Once the heater is no longer in use, store the candles and materials in a safe place away from children and pets. Keep them in a cool, dry location to prevent any accidents.
By following these safety measures, you can use your candle heater responsibly and enjoy its warmth without any worries. Remember to exercise caution and prioritize safety at all times.
Read more: How To Make Carved Candles
Conclusion
Congratulations! You have successfully learned how to make a heater using candles. This DIY project provides a simple and cost-effective solution for generating heat in small spaces, whether it’s for camping, emergencies, or adding a cozy ambiance to your home.
Throughout the process, we emphasized the importance of safety precautions to ensure a hazard-free experience. Remember to always work in a well-ventilated area, keep flammable materials away, and never leave the candle heater unattended.
By selecting the appropriate container, preparing the candles, creating the wick, assembling the heater, lighting the candles, and monitoring their usage, you have created a functional and efficient source of heat. But always keep in mind that this DIY project is not meant to replace conventional heating systems or serve as a primary heat source.
Use this candle heater responsibly and in moderation, and never compromise on safety. Always be aware of your surroundings and follow the guidelines provided to prevent accidents and minimize any potential risks.
Now, sit back, relax, and enjoy the warmth and cozy atmosphere created by your homemade candle heater. Stay warm and safe!
Frequently Asked Questions about How To Make A Heater With Candles
Was this page helpful?
At Storables.com, we guarantee accurate and reliable information. Our content, validated by Expert Board Contributors, is crafted following stringent Editorial Policies. We're committed to providing you with well-researched, expert-backed insights for all your informational needs.