Articles
How To Make A Candle From Old Candles
Modified: January 4, 2024
Learn how to repurpose old candles and create beautiful new candles with this step-by-step article. Discover tips and tricks for recycling and upcycling candle wax.
(Many of the links in this article redirect to a specific reviewed product. Your purchase of these products through affiliate links helps to generate commission for Storables.com, at no extra cost. Learn more)
Introduction
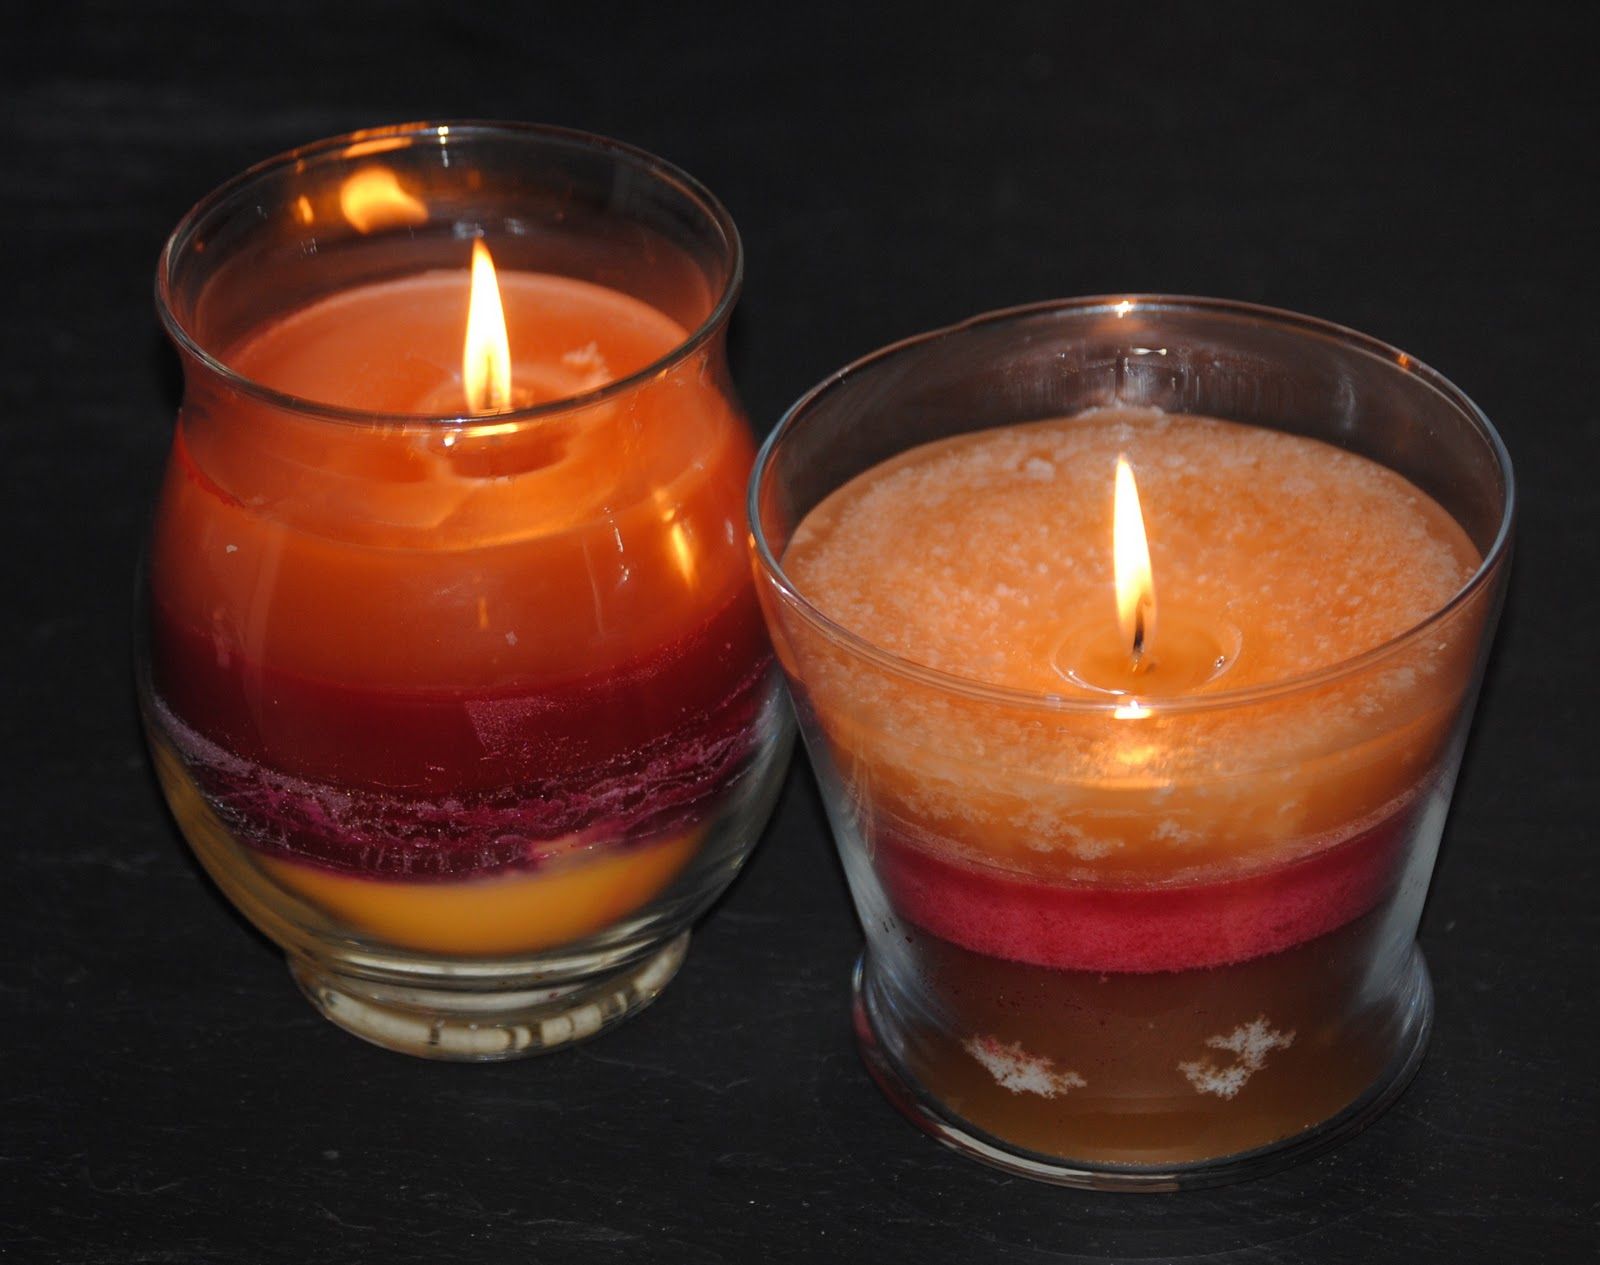
There’s something truly magical about the glow of a candle, creating a warm and cozy ambiance in any space. But what do you do when your favorite candles have burned down to the bottom? Instead of throwing them away, why not give them new life? With a little creativity and some basic materials, you can transform your old candles into brand new ones, customizing them to your liking. Not only is this a frugal and eco-friendly way to enjoy candles, but it’s also a fun and fulfilling craft project.
In this article, we will guide you through the step-by-step process of making a candle from old candles. We’ll show you how to gather and prep the old candles, melt the wax, prepare the new candle vessel, pour the melted wax, add a wick, allow the candle to set, and finally, trim the wick. So get ready to embark on a candle-making adventure and breathe new life into your old candle collection.
Before we dive into the process, let’s take a look at the materials you’ll need for this project.
Key Takeaways:
- Transform your old candles into new ones by following a step-by-step process. Enjoy the satisfaction of creating personalized, eco-friendly, and cost-effective candles that add warmth and ambiance to any space.
- Repurpose your old candles into unique, customized creations. Embrace the creativity and fulfillment of making your own candles while reducing waste and enjoying the cozy glow of your handmade masterpiece.
Read more: How To Make Candles From Tallow
Materials Needed
Before you get started, make sure you have the following materials:
- Old candles – Gather any leftover candles that you no longer use. This can include both pillar candles and container candles.
- Candle wicks – You’ll need new wicks for your candles. Make sure to choose wicks that are appropriate for the size of the candle you plan to make.
- Candle wax – If you have any leftover candle wax from previous projects, you can reuse it. However, if you don’t have enough or want to customize the color or scent of your new candle, you’ll need to purchase additional candle wax.
- Candle fragrance or essential oils (optional) – If you want to add a beautiful fragrance to your candle, consider using candle fragrance oils or essential oils. Choose scents that complement your preferences and create a relaxing atmosphere.
- Candle dye (optional) – If you want to add color to your candle, you can use candle dye. Choose colors that match your style or the theme of the room where the candle will be placed.
- Candle containers or molds – Depending on your preference, you can choose to make your new candle in a container or in a mold. Containers can include jars, tins, or teacups, while molds can be made of silicone or metal.
- Double boiler or a heat-safe container – You’ll need a heat source to melt the wax. A double boiler is ideal, but if you don’t have one, you can use a heat-safe container to create a makeshift double boiler.
- Heat-resistant gloves – Since you’ll be working with hot wax, it’s important to protect your hands by wearing heat-resistant gloves.
- Craft sticks or chopsticks – These will be used to stir the wax and help with the placement of the wick.
Once you have gathered all the necessary materials, you’re ready to start the candle-making process. Now let’s move on to the first step: gathering and prepping the old candles.
Step 1: Gather and Prep Old Candles
The first step in making a candle from old candles is to gather the old candles and prepare them for melting. Here’s what you need to do:
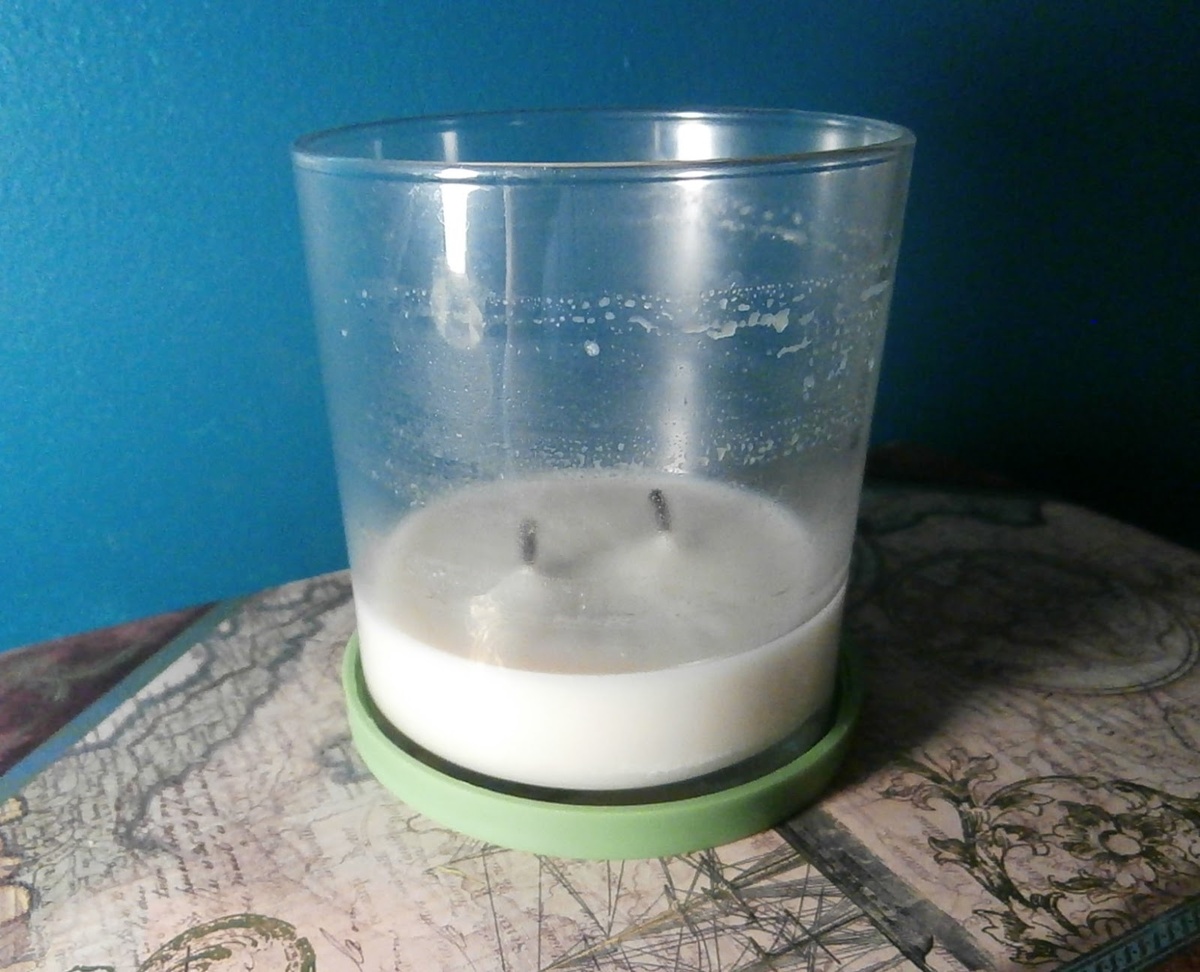
- Collect old candles – Look through your candle collection and gather any candles that have burned down but still have wax remaining. This can include pillar candles, jar candles, or any other type of candle.
- Remove any wicks and debris – Check each candle to ensure there are no wicks or debris left in the wax. Use a small knife or tweezers to carefully remove any leftover wicks or burnt wick remnants. Also, remove any labels or stickers from the candle containers if you plan to reuse them.
- Sort the wax – If you have candles of different colors or scents, separate them into different piles. This will allow you to create unique and customized candles with various combinations of wax.
- Break the wax into small pieces – To facilitate faster melting, break the wax into small, manageable pieces. You can use a knife or a hammer to carefully break the wax. Be cautious when handling sharp objects and wear protective gloves if necessary.
Once you have gathered and prepped your old candles, you’re ready to move on to the next step: melting the wax.
Step 2: Melt the Old Candles
Now that you have gathered and prepped your old candles, it’s time to melt the wax. Follow these steps to melt the old candles:
- Prepare a double boiler – If you have a double boiler, fill the bottom pot with water and place it on the stove over low to medium heat. If you don’t have a double boiler, you can create a makeshift one by placing a heat-safe container inside a larger pot filled with water.
- Add the wax pieces – Take the broken pieces of wax from your old candles and add them to the top pot of the double boiler or the heat-safe container. Make sure not to overfill the container, as the wax will expand when melted.
- Heat the wax – Turn on the stove and allow the water in the bottom pot to heat up. The steam generated by the hot water will gently melt the wax in the top pot or heat-safe container. Stir the wax occasionally with a craft stick or a chopstick to ensure even melting.
- Add fragrance or dye (optional) – If you want to enhance the scent or color of your new candle, now is the time to add fragrance oils or candle dye. Follow the instructions on the packaging to determine the appropriate amount to add. Stir well to distribute the fragrance or dye evenly throughout the melted wax.
- Monitor the temperature – Keep an eye on the temperature of the melted wax. The ideal temperature for pouring the wax into the containers or molds is typically between 160°F to 180°F (71°C to 82°C). Use a thermometer to check the temperature periodically.
Once the wax is completely melted and mixed with any desired fragrances or dyes, you’re ready to move on to the next step: preparing the new candle vessel.
Step 3: Preparing the New Candle
With the melted wax ready, it’s time to prepare the new candle vessel. Follow these steps to get started:
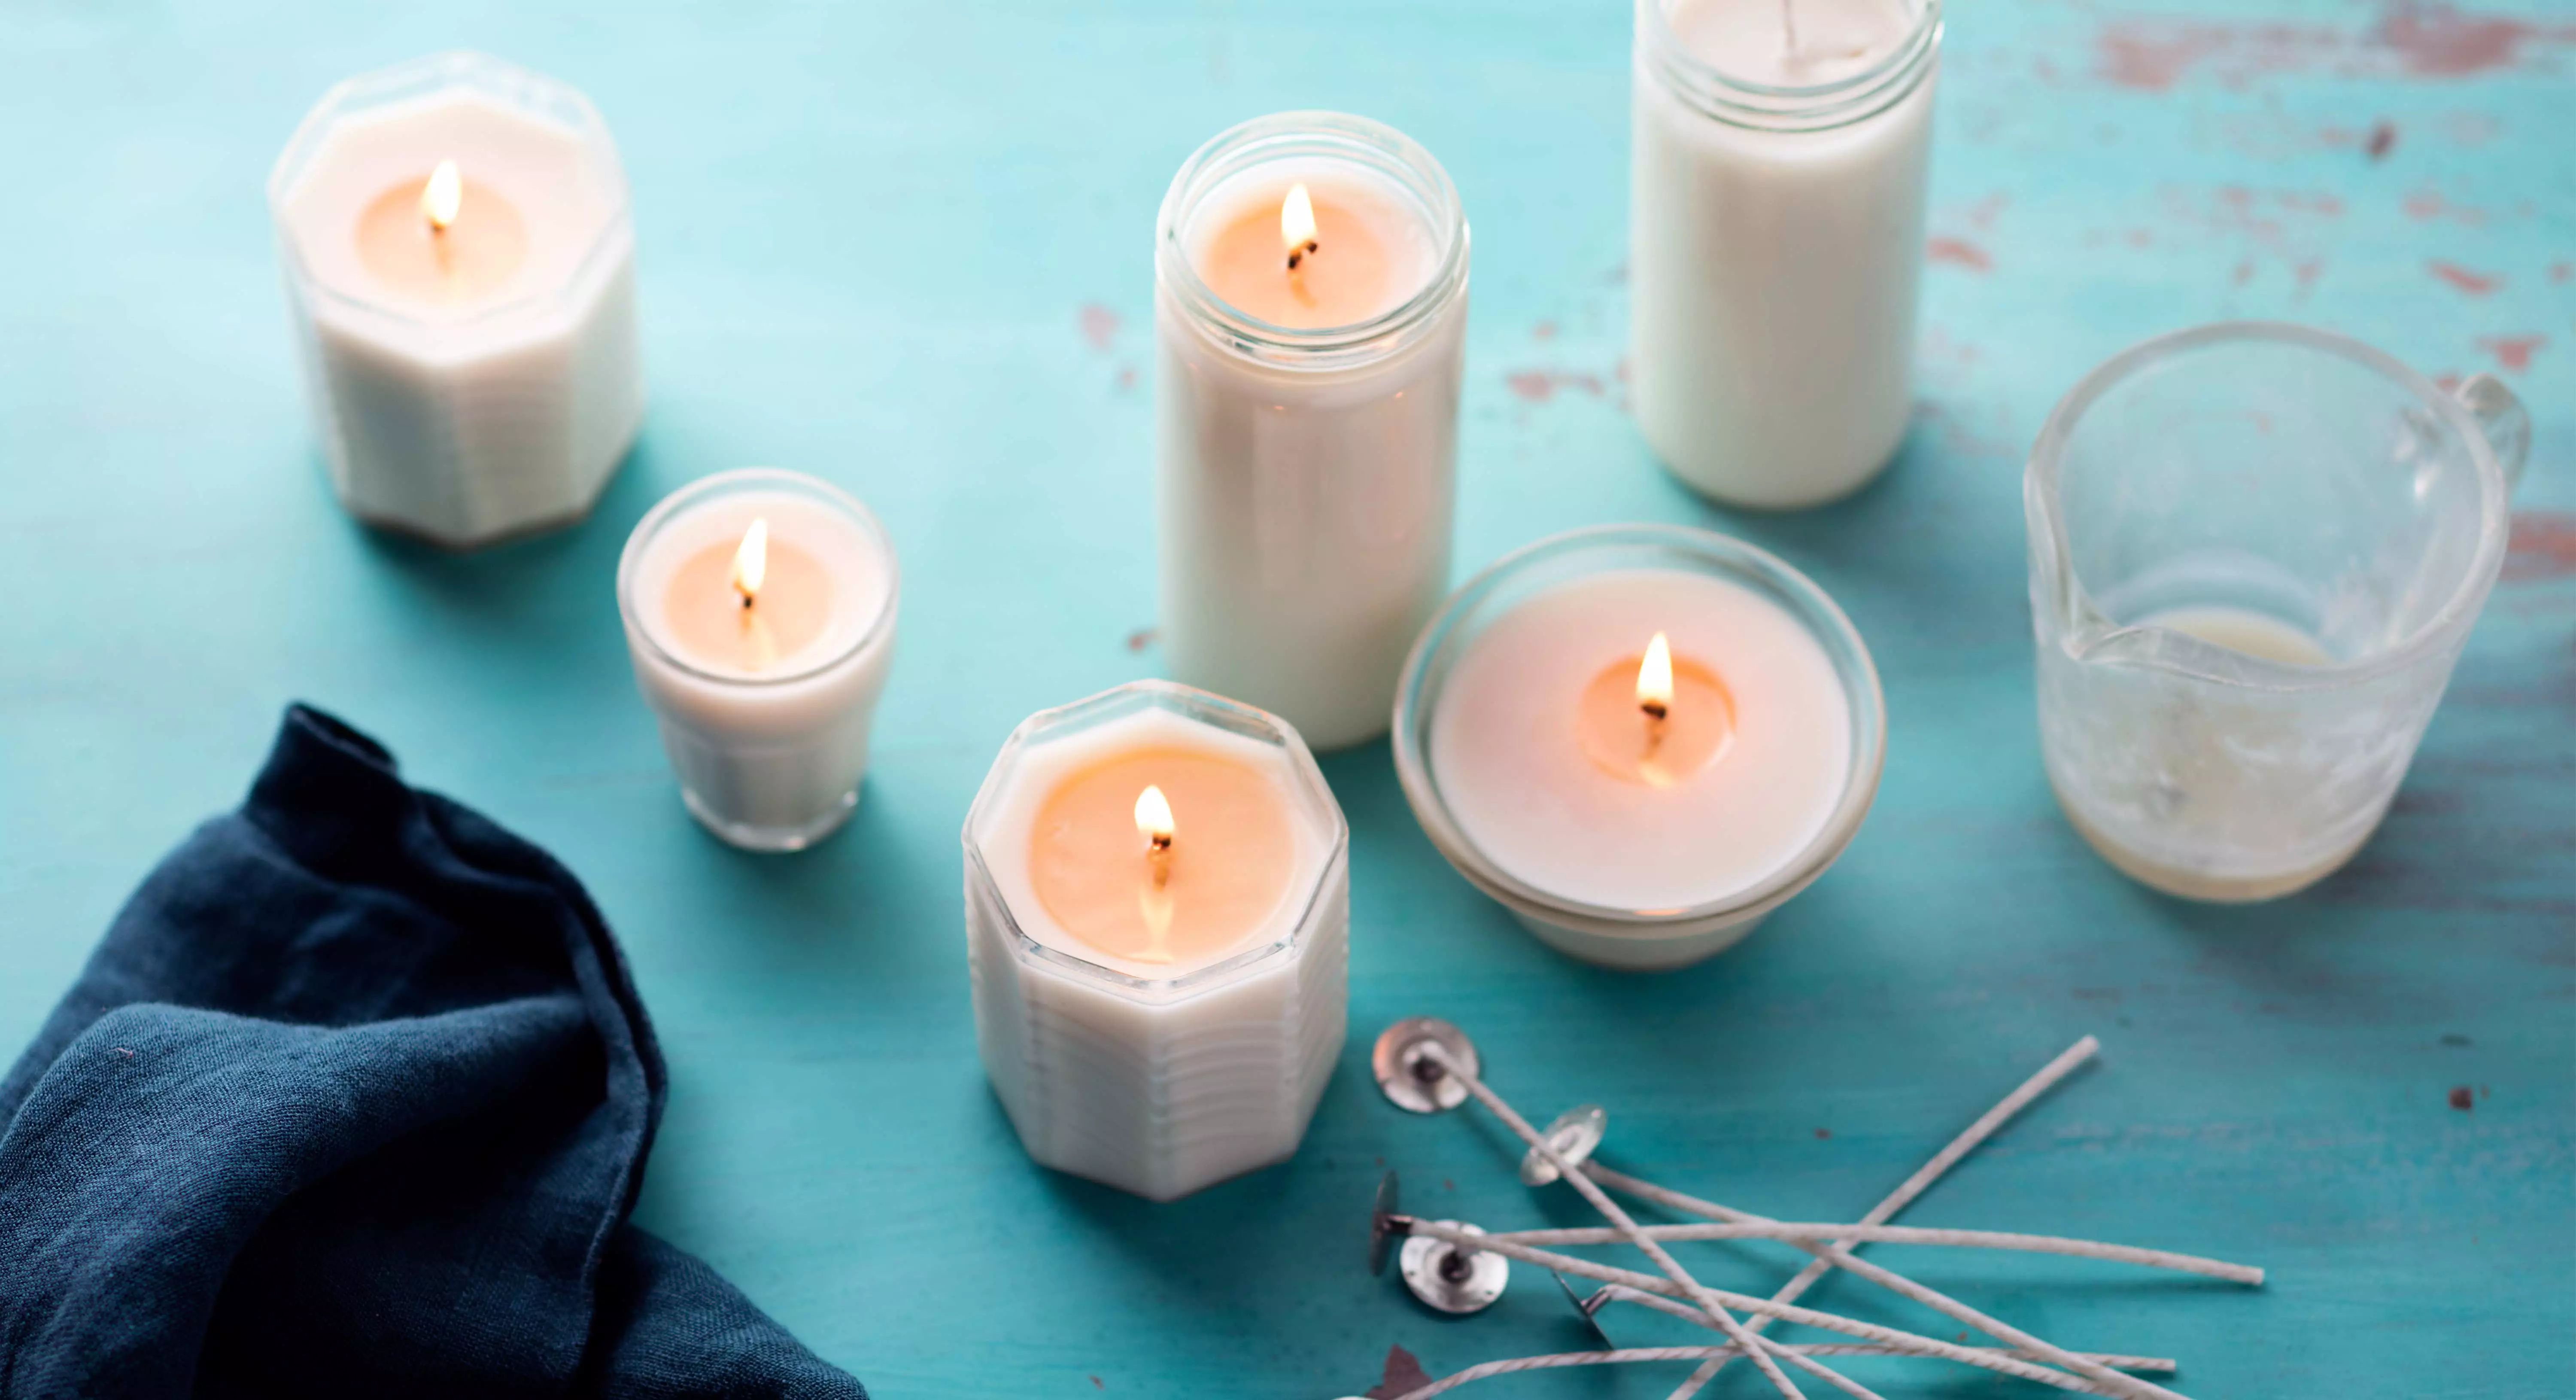
- Select a container or mold – Decide on the type of container or mold you want to use for your new candle. This could be a glass jar, a tin, a teacup, or even a silicone mold to create unique shapes. Ensure that the vessel is clean and free from any dirt or residue.
- Secure the wick – Take your pre-selected wick and secure it at the bottom center of the container. You can use a small amount of melted wax to glue the wick to the base of the container. Make sure the wick is straight and centered as this will affect how the candle burns.
- Anchor the wick – To keep the wick in place while pouring the melted wax, you can use a wick holder or tie the wick to a craft stick and place it across the top of the container. This will ensure that the wick stays in the center as the wax is poured and solidifies.
- Optional decorations – If you want to add a decorative touch to your candle, this is the time to do so. You can place dried flowers, herbs, or decorative stones at the bottom of the container before pouring the wax. This will add visual interest and create unique patterns as the candle burns down.
Once you have prepared the new candle vessel, you’re ready to move on to the next step: pouring the melted wax.
When melting old candles to make a new one, be sure to remove any wicks, metal pieces, or debris before pouring the melted wax into the new container. This will help ensure a clean and even burn for your new candle.
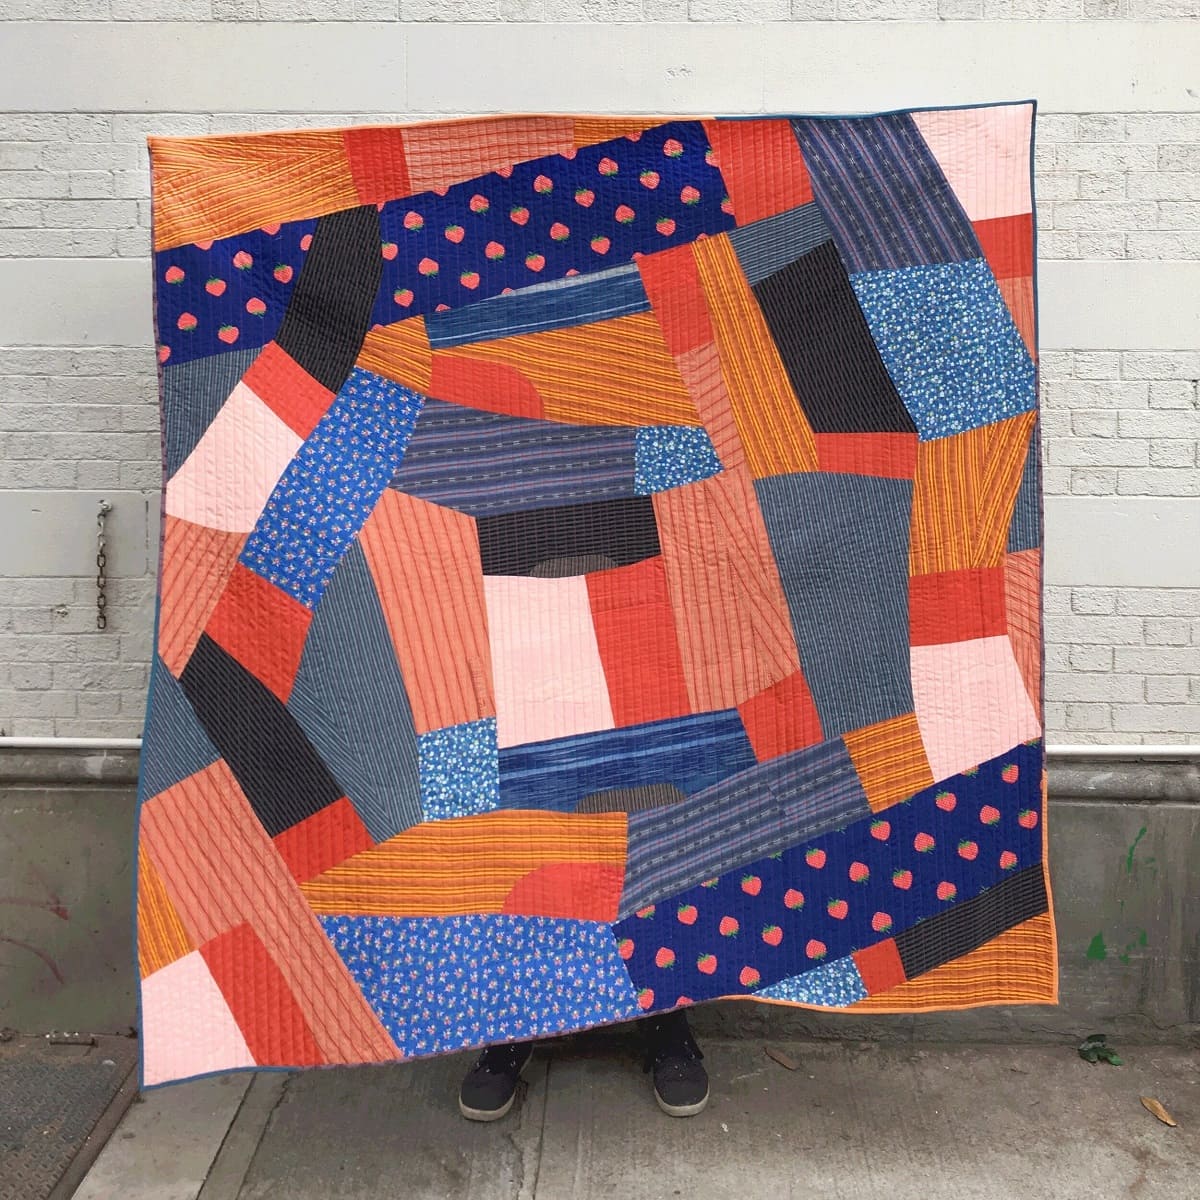
Read more: How To Make A Quilt From Old Ties
Step 4: Pouring the Melted Wax
Now that you have prepared the new candle vessel, it’s time to pour the melted wax into it. Follow these steps to ensure a smooth and successful pouring process:
- Double-check the temperature – Before pouring the wax, make sure it has reached the ideal pouring temperature, typically between 160°F to 180°F (71°C to 82°C). This temperature range ensures that the wax will solidify properly and result in a well-formed candle.
- Pour slowly and steadily – Begin pouring the melted wax into the prepared container or mold, making sure to pour slowly and steadily. Start by pouring a small amount of wax and gradually build up the layers until you reach the desired level. Avoid overfilling the container, as the wax may overflow once it solidifies.
- Avoid air bubbles – To prevent air bubbles from forming in your candle, gently tap the container on a flat surface after each pour. This helps to release any trapped air and ensures a smoother appearance.
- Leave space for the wick – Make sure to leave a small gap at the top of the container or mold to allow space for the wick. This will make it easier to light the candle and prevent the flame from being too close to the container’s edge.
- Allow the wax to cool and solidify – After pouring the melted wax, allow it to cool and solidify completely. This process can take a few hours, so be patient and avoid moving or disturbing the container during this time.
With the wax poured and the candle left to set, you’re ready to move on to the next step: adding a wick.
Step 5: Adding a Wick
Now that the melted wax has cooled and solidified in the container, it’s time to add the wick. Follow these steps to ensure the wick is properly positioned for optimal burning:
- Trim the wick – Start by trimming the wick to a suitable length, typically around 1/4 inch (0.6 cm) above the surface of the wax. Use a pair of scissors or wick trimmers to achieve a clean and even cut.
- Remove any wick holders – If you used a wick holder or craft stick to secure the wick during the pouring process, gently remove it from the top of the container.
- Center the wick – Check that the wick is centered in the container and stands straight. If necessary, adjust the wick by gently pulling it to the center. This will ensure that the candle burns evenly without leaning towards one side.
- Secure the wick – To prevent the wick from moving while burning, you can use a wick stabilizer or simply press the wick gently into the cooled wax at the bottom of the container. This will anchor the wick, keeping it in place during the entire burn time.
With the wick properly positioned and secured, you’re almost ready to enjoy your new homemade candle. But before you do, there’s one more step: allowing the candle to set completely.
Step 6: Allowing the Candle to Set
After adding the wick, it’s important to allow the candle to set and cure properly before lighting it. This step ensures that the wax solidifies completely and prevents any potential issues during burning. Follow these steps to let your candle set:
- Find a safe and undisturbed area – Choose a location where the candle can sit undisturbed while it sets. Make sure it is away from any drafts, flammable materials, or items that could accidentally knock it over.
- Leave the candle untouched – Avoid moving or disturbing the candle while it sets. This will help the wax to solidify evenly and maintain its shape.
- Allow ample time for setting – The time required for the candle to set will depend on various factors, such as the size of the candle and the type of wax used. Typically, it takes several hours, up to overnight, for the wax to fully set and become firm.
- Check for any sinkholes – Once the candle has set, inspect the surface for any sinkholes or uneven areas. If you notice any imperfections, you can carefully melt a small amount of additional wax and fill in the gaps to create a smooth finish.
With the candle properly set and any necessary touch-ups done, you’re almost ready to enjoy your handmade creation. But before you light it up, there’s one final step: trimming the wick.
Step 7: Trimming the Wick
Before you light your newly made candle, it’s essential to trim the wick to promote a clean and even burn. Follow these steps to trim the wick:
- Ensure that the candle is completely cooled – Make sure that the wax is fully solidified and cooled before attempting to trim the wick. This will prevent any accidental damage to the candle or injury to yourself.
- Use wick trimmers or scissors – Use a pair of specialized wick trimmers or sharp scissors to trim the wick. The ideal length for a trimmed wick is approximately 1/4 inch (0.6 cm) above the surface of the wax.
- Remove any debris or charred wick – If there is any debris or charred remnants on the wick, gently remove them with your fingers or a tissue. This will help ensure a clean flame and prevent any potential issues during burning.
- Dispose of the trimmed wick – Once you have trimmed the wick, dispose of the trimmed portion in a safe and appropriate manner. Do not leave it in the candle vessel, as it could interfere with future burning.
Now, your candle is ready to be lit and enjoyed. Remember to always follow proper candle safety guidelines and never leave a burning candle unattended.
Congratulations on successfully making a candle from old candles! Not only have you saved money and repurposed old items, but you’ve also created a personalized and unique candle that adds ambiance to any space. Sit back, relax, and bask in the warm and comforting glow of your very own homemade candle.
Enjoy!
Read more: How To Make Rugs From Old Clothes
Conclusion
Transforming your old candles into new ones is not only a practical and cost-effective solution, but it’s also a creative and enjoyable craft project. By following the step-by-step process outlined in this article, you can give your old candles a second life while expressing your own personal style and preferences.
From gathering and prepping the old candles to melting the wax, preparing the new candle vessel, pouring the melted wax, adding a wick, allowing the candle to set, and trimming the wick, each step plays a crucial role in creating a beautiful and functional candle.
By repurposing your old candles, you’re not only reducing waste but also indulging in a rewarding and satisfying activity. Making your own candles allows you to customize the color, scent, and container, giving you the freedom to create unique pieces that perfectly match your home decor or personal taste.
Remember to always prioritize safety when working with candles. Follow proper candle safety guidelines, never leave a burning candle unattended, and ensure that the candle is placed on a heat-resistant surface away from flammable objects.
So don’t let your old candles go to waste. Give them a new lease on life and enjoy the warm and inviting ambiance they provide. With a little creativity and effort, you can create stunning and personalized candles that bring a sense of coziness and relaxation to any space.
Now, it’s time to gather your old candles and embark on your candle-making adventure. Enjoy the process and revel in the satisfaction of creating something beautiful and practical out of the ordinary.
Happy candle-making!
Frequently Asked Questions about How To Make A Candle From Old Candles
Was this page helpful?
At Storables.com, we guarantee accurate and reliable information. Our content, validated by Expert Board Contributors, is crafted following stringent Editorial Policies. We're committed to providing you with well-researched, expert-backed insights for all your informational needs.


0 thoughts on “How To Make A Candle From Old Candles”