
Articles
How To Make Carved Candles
Modified: March 6, 2024
Learn how to make beautiful carved candles with our step-by-step articles. Transform ordinary candles into stunning works of art with our easy-to-follow guides.
(Many of the links in this article redirect to a specific reviewed product. Your purchase of these products through affiliate links helps to generate commission for Storables.com, at no extra cost. Learn more)
Introduction
Carved candles are a unique and beautiful way to add a touch of elegance to your space. These handcrafted candles come in various shapes and designs, making them a charming centerpiece or decorative item for any occasion. Whether you are looking to create a personalized gift or simply want to indulge in a creative and rewarding project, learning how to make carved candles is a skill worth acquiring.
In this article, we will guide you through the process of making your own carved candles. From selecting the wax to adding colors and scents, we will cover all the necessary steps to create stunning carved candles that will impress anyone who sees them.
Before we begin, it’s important to gather the materials needed for this project. Having everything ready will make the process much smoother and more enjoyable.
Key Takeaways:
- Making carved candles is a creative and rewarding process that involves preparing wax, choosing designs, carving, adding colors and scents, and applying finishing touches. It’s a unique way to express creativity and create personalized works of art.
- By mastering the art of carving candles, you can unlock the ability to create stunning centerpieces, thoughtful gifts, or decorative pieces for any occasion. The beauty of carved candles lies in their ability to captivate the eye and create a charming atmosphere.
Read more: How To Make A Heater With Candles
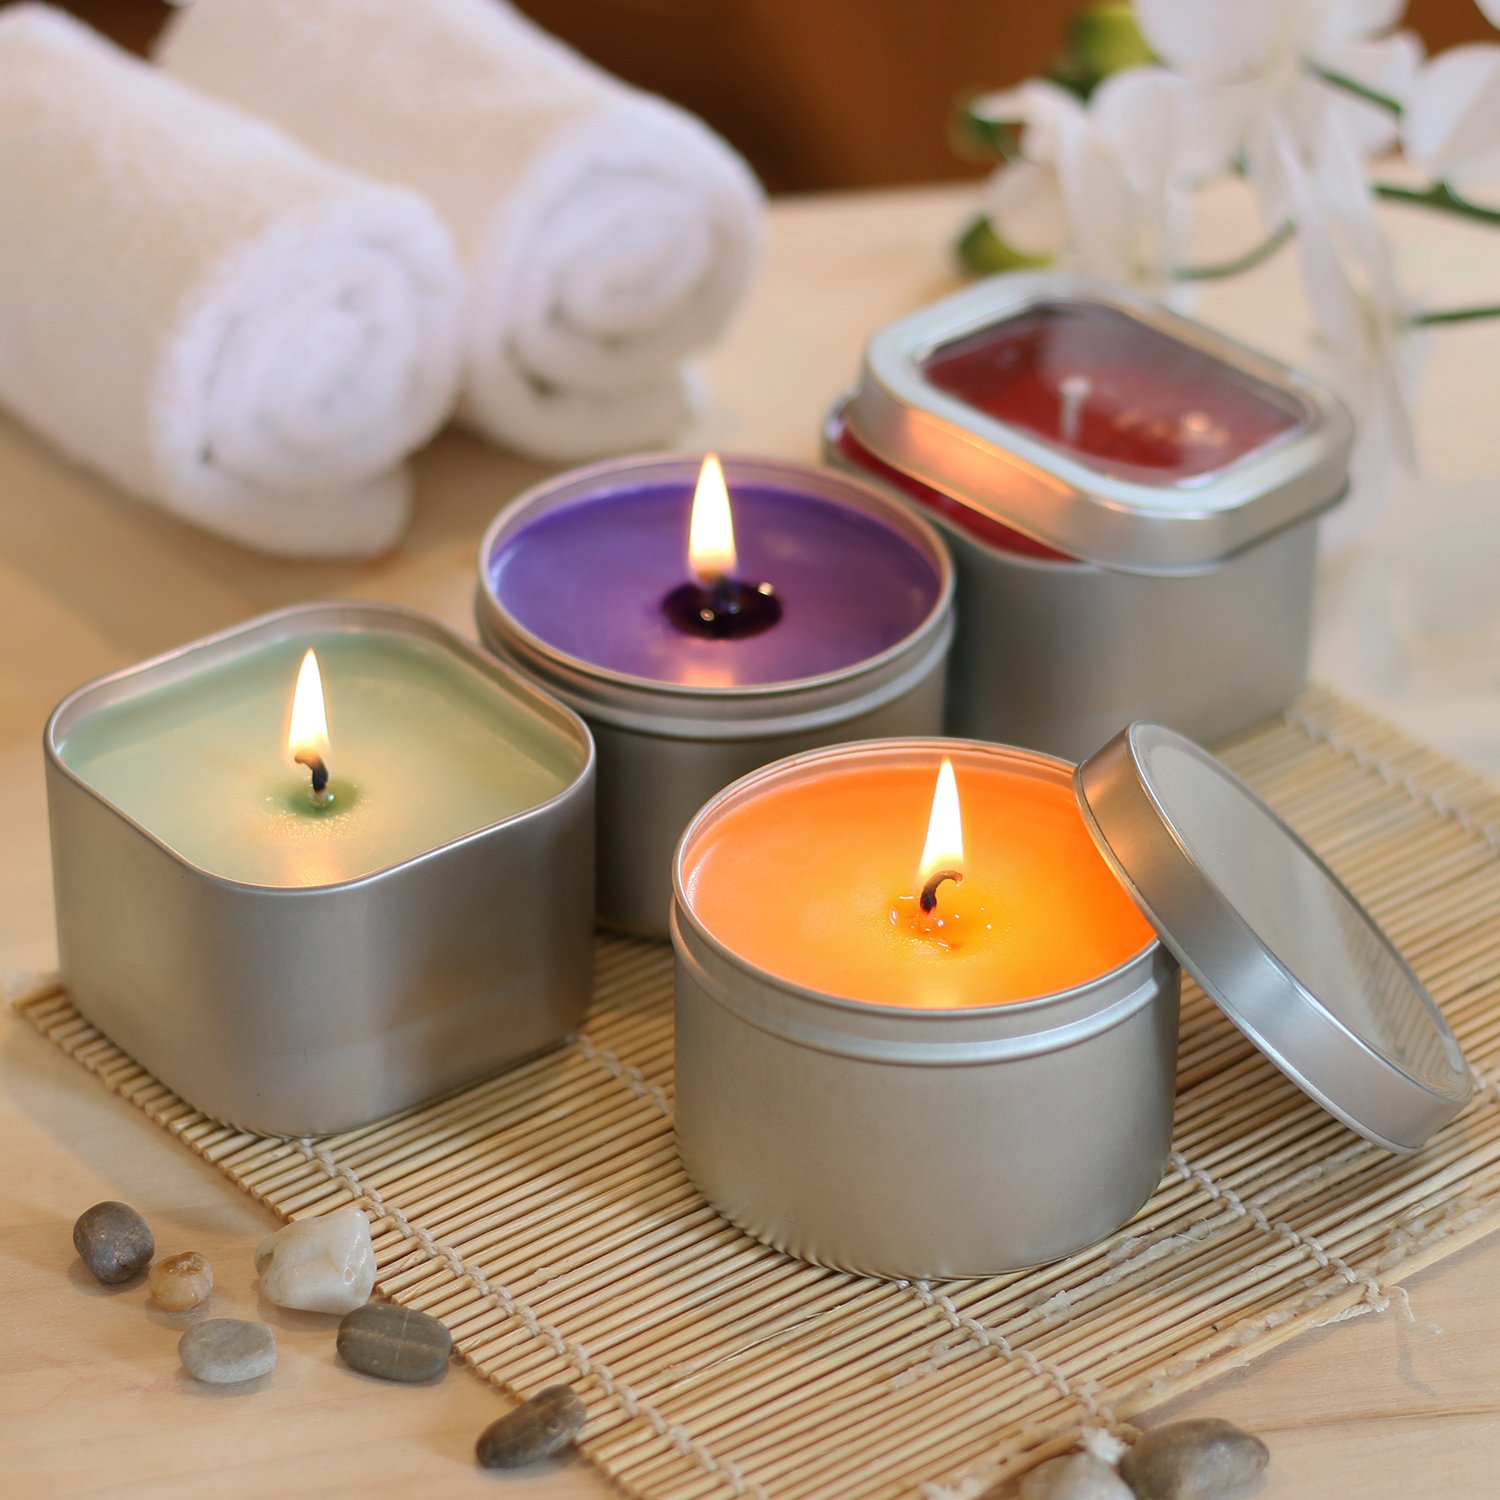
Materials Needed
Before you start making carved candles, gather the following materials:
- Paraffin wax or beeswax: These are the most common types of wax used for candle making. Paraffin wax is readily available and easy to work with, while beeswax offers a natural and environmentally friendly option.
- Candle wicks: Choose wicks that are suitable for the size of your candle. You can find pre-tabbed wicks or buy them in rolls and cut them to size.
- Candle molds: Select molds that are appropriate for the shape and size of the carved candles you want to create. You can choose from a variety of mold materials, such as silicone, metal, or plastic.
- Carving tools: Invest in quality carving tools or use small sharp knives, toothpicks, or other household items to carve the wax. Make sure they are clean and sanitized before use.
- Double boiler or a heat-resistant container: You will need a container to melt the wax. A double boiler is ideal, but if you don’t have one, you can create a makeshift double boiler using a heat-resistant container placed in a pot of water.
- Candle dye or color chips (optional): If you want to add color to your carved candles, choose candle dyes or color chips that are compatible with the wax you are using. These are available in various colors and can be mixed to create custom shades.
- Fragrance oils or essential oils (optional): To add a pleasant scent to your carved candles, choose fragrance oils or essential oils that are safe for candle making. Pick scents that complement the design and ambiance you want to create.
- Heat-resistant gloves and apron: Protect yourself from the hot wax and any potential spills by wearing heat-resistant gloves and an apron.
- Wax melting thermometer: Ensure the wax reaches the correct temperature by using a thermometer specifically designed for melting wax.
- Wax adhesive: Use a small amount of wax adhesive to secure the wick at the bottom of the mold.
With these materials on hand, you are ready to embark on your carved candle making journey. Now that you have everything prepared, let’s move on to the first step: preparing the wax.
Step 1: Preparing the Wax
The first step in making carved candles is preparing the wax. Whether you are using paraffin wax or beeswax, it’s important to melt it properly to ensure a smooth and even consistency. Here’s how you can do it:
- Start by setting up a double boiler or a heat-resistant container. If you are using a double boiler, fill the bottom pot with water and place it on the stove over medium heat. If you don’t have a double boiler, you can create one by placing a heat-resistant container inside a larger pot filled with water.
- Next, measure and chop the wax into small chunks. The smaller the pieces, the faster it will melt. Place the wax into the top pot of the double boiler or the heat-resistant container.
- As the wax begins to melt, use a wax melting thermometer to monitor the temperature. The ideal temperature for melting paraffin wax is between 160°F and 180°F (71°C and 82°C), while beeswax should be melted at a slightly lower temperature of around 145°F (63°C).
- While the wax is melting, prepare your candle mold by applying a small amount of wax adhesive to the tab or base of the wick. Place the wick in the center of the mold, ensuring it is straight and secure.
- Once the wax reaches the desired temperature, remove it from the heat source and let it cool slightly. This will help prevent any air bubbles from forming when you pour the wax into the mold.
- Slowly pour the melted wax into the mold, ensuring that the wick stays centered and upright. Fill the mold to the desired height, leaving a bit of space at the top.
- Allow the wax to cool and solidify completely. This can take several hours or overnight, depending on the size of the candle and the ambient temperature.
- Once the wax has hardened, you can gently remove the candle from the mold by pushing the sides or flexing the mold. If the candle is stubborn, you can place it in the freezer for a few minutes to ease the release.
Now that you have successfully prepared the wax and have a solid candle base, you are ready to move on to the next step: choosing a design for your carved candle.
Step 2: Choosing a Design
Choosing a design is an exciting part of creating carved candles. It’s your chance to unleash your creativity and make a unique piece of art. Here are a few factors to consider when selecting a design:
- Theme: Think about the theme or occasion for which you are making the carved candle. Are you creating a romantic candle for a wedding? Or a festive candle for a holiday celebration? Consider the theme and the mood you want to convey.
- Level of Difficulty: Evaluate your skill level and choose a design that aligns with it. If you are a beginner, start with simple designs such as basic shapes or patterns. As you gain experience, you can gradually tackle more intricate designs.
- Inspiration: Look for inspiration from various sources such as nature, art, or even everyday objects. You can also search for carving patterns online or in books to find designs that resonate with you.
- Candle Shape and Size: Consider the shape and size of your candle mold. Certain designs may work better on taller, cylindrical candles, while others may be more suitable for squat, spherical candles. Choose a design that complements the shape and size of your candle.
Once you have chosen a design, sketch it out on a piece of paper or create a digital mock-up to get a clear picture of how the design will look on the candle. This will help you stay focused and organized during the carving process.
Remember, the goal is to create a design that reflects your personal style and vision. Don’t be afraid to experiment and make modifications along the way. Now that you have a design in mind, it’s time to move on to the next step: carving the candle.
Step 3: Carving the Candle
Carving the candle is where the true artistry comes into play. This step allows you to bring your chosen design to life and create intricate details and patterns. Here’s how you can carve your candle:
- Ensure that your candle is at room temperature before you begin carving. This will make the wax less brittle and easier to work with.
- Inspect your design sketch and visualize how you want to translate it onto the candle’s surface. Take your time and plan out each carving before you proceed.
- Start by gently warming the surface of the candle with a hairdryer set on low heat. This will slightly soften the wax and make it more pliable for carving.
- Hold your carving tool firmly but gently and begin making precise and controlled cuts into the wax. Take your time and work slowly to avoid any mistakes or slips.
- Create depth and dimension by varying the pressure and angle of your cuts. Experiment with different techniques such as shallow cuts, deep grooves, or delicate scrapes to achieve the desired effect.
- If you make a mistake or want to change a certain section of the design, you can gently heat the wax again with the hairdryer to smooth out any unwanted lines or marks.
- Continue carving until you have achieved your desired design. Take breaks when needed to rest your hands and eyes, as this can be a meticulous and time-consuming process.
- Once you are satisfied with the carving, use a soft brush or cloth to carefully remove any wax shavings or debris from the surface of the candle.
Carving a candle requires patience, precision, and a steady hand. Take your time, enjoy the process, and don’t be afraid to let your creativity shine. Now that you have carved your candle, you can choose to add colors to enhance its visual appeal. This leads us to the next step: adding colors (optional).
When making carved candles, use a soft wax for easier carving and a hard wax for the outer shell. Be patient and take your time to create intricate designs.
Read more: How To Make Candles With Herbs
Step 4: Adding Colors (Optional)
Adding colors to your carved candle can bring a vibrant and eye-catching element to your design. It allows you to further personalize your creation and make it truly unique. Here’s how you can add colors to your carved candle:
- Choose candle dyes or color chips that are compatible with the type of wax you are using. Ensure that the colors you select complement your design and create the desired visual impact.
- If using candle dyes, start by melting a small amount of wax in a separate container. Add a small amount of dye to the melted wax and mix it thoroughly until the desired color is achieved. Remember, a little goes a long way, so start with a small amount of dye and gradually add more if needed.
- If using color chips, melt the desired amount of wax in a separate container using a double boiler or a heat-resistant container. Once the wax is melted, drop the color chips directly into the wax and stir until they have completely dissolved and blended.
- Once your colored wax is ready, carefully apply it to the carved areas of your candle using a small brush or a toothpick. Take your time and work slowly to avoid smudging or mixing the colors together.
- For a more blended effect, you can gently heat the surface of the candle with a hairdryer to slightly soften the wax and allow the colors to merge together. Be cautious not to overheat the wax to prevent any distortion or melting of the carved details.
- Build up the colors gradually, layering different shades to create depth and dimension. Experiment with different color combinations to achieve the desired visual impact.
- Once you have applied the colors, allow the wax to cool and solidify completely before moving on to the next step. This can take a few hours, so be patient and let the colors set properly.
Adding colors to your carved candle is purely optional, but it can enhance the overall aesthetic and make your design truly stand out. Once the colors have set, you can move on to the next step: adding finishing touches.
Step 5: Finishing Touches
Now that you have carved and colored your candle, it’s time to add the finishing touches to enhance its overall appearance. These small details can elevate your creation and make it even more visually appealing. Here are some finishing touches you can consider:
- Smooth the edges: Use a warm, smooth object like the back of a spoon to gently melt and smooth any rough edges or imperfections on the surface of the candle.
- Polish the design: Use a soft cloth or sponge to gently polish the carved areas, removing any excess wax or color residue and giving them a clean and polished look.
- Add embellishments: Consider adding decorative elements like small beads, sequins, or glitter to enhance the design. You can adhere them to the candle using a small amount of hot wax.
- Apply a protective coating: To protect the surface of the carved candle and give it a glossy finish, you can apply a thin layer of clear candle wax or a specialized candle sealer using a soft cloth. This will help preserve the details and make the candle more durable.
- Trim the wick: Use scissors or a wick trimmer to trim the wick to a suitable length, around ¼ inch (0.6 cm), to ensure a clean and even burn when the candle is lit.
These finishing touches will add refinement and a professional touch to your carved candle. Once you have completed these steps, your candle is almost ready for use or gifting. However, if you want to enhance the ambiance even further, you can proceed to the optional step of scenting the candle, which we will explore next.
Step 6: Scenting the Candle (Optional)
If you want to immerse yourself in a sensory experience, you can choose to scent your carved candle. Adding fragrance to your candle can create a delightful ambiance and evoke certain moods or memories. Here’s how you can scent your carved candle:
- Select a fragrance oil or essential oil that is safe for candle making. Choose scents that align with the design and purpose of your candle. Popular options include floral, citrus, or warm and comforting aromas.
- Determine the appropriate amount of fragrance oil to add to your wax. The recommended ratio is about 1 ounce (30 ml) of fragrance oil per pound (450 grams) of wax, but this can vary depending on the strength of the scent you desire. Follow the specific guidelines provided by the fragrance oil manufacturer.
- Add the fragrance oil to the melted wax, stirring gently to ensure even distribution. It’s important to do this step after the wax has melted and cooled slightly, but is still liquid enough to incorporate the fragrance oil effectively.
- Allow the scented wax to cool and solidify completely while retaining its fragrance. This may take a few hours, so be patient and avoid disturbing the candle during this time.
- Once the scented wax has hardened, your carved candle is now ready for use or gifting. The fragrance will be released when the candle is lit and creates a warm, inviting atmosphere.
Adding scent to your carved candle is a personal preference and can enhance the overall experience. Whether you choose to scent your candle or not, your creation is now complete and ready to be enjoyed. In the final step, we will summarize the journey and provide a final verdict.
Step 7: Final Verdict
Congratulations! You have successfully completed the process of making your own carved candle. It has been a journey of creativity, patience, and craftsmanship. Now, let’s summarize the steps and reflect on the final verdict.
Throughout this guide, we covered everything from preparing the wax to choosing a design, carving the candle, adding colors (optional), applying finishing touches, and scenting the candle (optional). Each step contributed to the transformation of a simple wax candle into a unique and personalized work of art.
By mastering the art of carving candles, you have unlocked the ability to create stunning centerpieces, thoughtful gifts, or decorative pieces for any occasion. The beauty of carved candles lies in their ability to captivate the eye and create a charming atmosphere wherever they are placed.
Remember, the key to success is practice and experimentation. As you gain more experience, you can explore more intricate designs, experiment with different colors and scents, and further develop your carving skills.
Whether you choose to showcase your carved candles in your own home, gift them to loved ones, or even sell them as a creative endeavor, your creations are sure to leave a lasting impression.
So, gather your materials, unleash your imagination, and embark on the journey of creating beautiful carved candles. Enjoy the process, and may your creations bring joy and warmth to all who experience them.
Happy carving!
Note: Before using or gifting your carved candle, always remember to follow proper candle safety guidelines, such as never leaving a burning candle unattended, keeping it away from flammable objects, and placing it on a heat-resistant surface.
Read more: How To Make Dipped Candles
Conclusion
Creating carved candles is an art form that allows you to express your creativity and add a touch of elegance to any space. Throughout this guide, we have explored the step-by-step process of making carved candles, from preparing the wax to adding the finishing touches. Each step, from choosing a design to carving the candle, adds a personal and artistic touch to your creation.
By selecting the right materials and tools, you can turn a plain wax candle into a masterpiece that showcases your unique style and vision. The process of carving the candle allows you to create intricate patterns and details, while adding colors and scents further enhances the visual and sensory experience.
Whether you are making carved candles as a hobby, a gift for a loved one, or even as a business venture, the satisfaction and joy of creating your own handcrafted candles are unparalleled. The time and effort invested in each creation are evident in the final result, making it a cherished and meaningful item.
As you continue on your journey of candle making, don’t be afraid to explore different designs, experiment with new techniques, and push your creative boundaries. Each carved candle is a testament to your artistic prowess and attention to detail.
Remember to always prioritize safety when working with candles, following proper guidelines and precautions. Additionally, consider incorporating your own unique twists and touches to each creation, allowing your carved candles to stand out and leave a lasting impression on anyone who beholds them.
Now that you have the knowledge and guidance to create your own carved candles, it’s time to unlock your imagination and embark on this creative journey. Enjoy the process, embrace your artistic side, and let each carved candle reflect the beauty and passion within you.
Happy carving and may your creations bring warmth, beauty, and delight to all who experience them!
Frequently Asked Questions about How To Make Carved Candles
Was this page helpful?
At Storables.com, we guarantee accurate and reliable information. Our content, validated by Expert Board Contributors, is crafted following stringent Editorial Policies. We're committed to providing you with well-researched, expert-backed insights for all your informational needs.


0 thoughts on “How To Make Carved Candles”