Articles
How To Disable A Garage Door Opener
Modified: October 28, 2024
Looking for step-by-step instructions on disabling a garage door opener? Check out our comprehensive articles on how to safely disable your garage door opener.
(Many of the links in this article redirect to a specific reviewed product. Your purchase of these products through affiliate links helps to generate commission for Storables.com, at no extra cost. Learn more)
Introduction
Having a garage door opener provides convenience and security for your home. However, there may be situations where you need to temporarily disable the garage door opener. Whether you’re going on vacation, conducting maintenance on the garage door, or experiencing issues with the opener, learning how to disable it can be beneficial.
In this article, we will guide you through the steps to safely disable a garage door opener. By following these instructions, you can ensure that the door remains inoperative and provide an added layer of security to your home.
Before we dive into the steps, it’s important to note that disabling the garage door opener may vary depending on the specific brand and model you have. Therefore, it’s always recommended to consult the manufacturer’s manual for any specific instructions that may apply to your opener. However, the general guidelines we provide will work for most garage door openers.
Now let’s get started with the first step – gathering the necessary tools and materials.
Key Takeaways:
- Safely disable your garage door opener by following our step-by-step guide, enhancing your home’s security and providing peace of mind during vacations or maintenance.
- Remember to gather necessary tools, locate the opener unit, remove the power source, disconnect the opener from the door, and disable the remote control for a comprehensive disabling process.
Read more: How To Open A Chamberlain Garage Door Opener
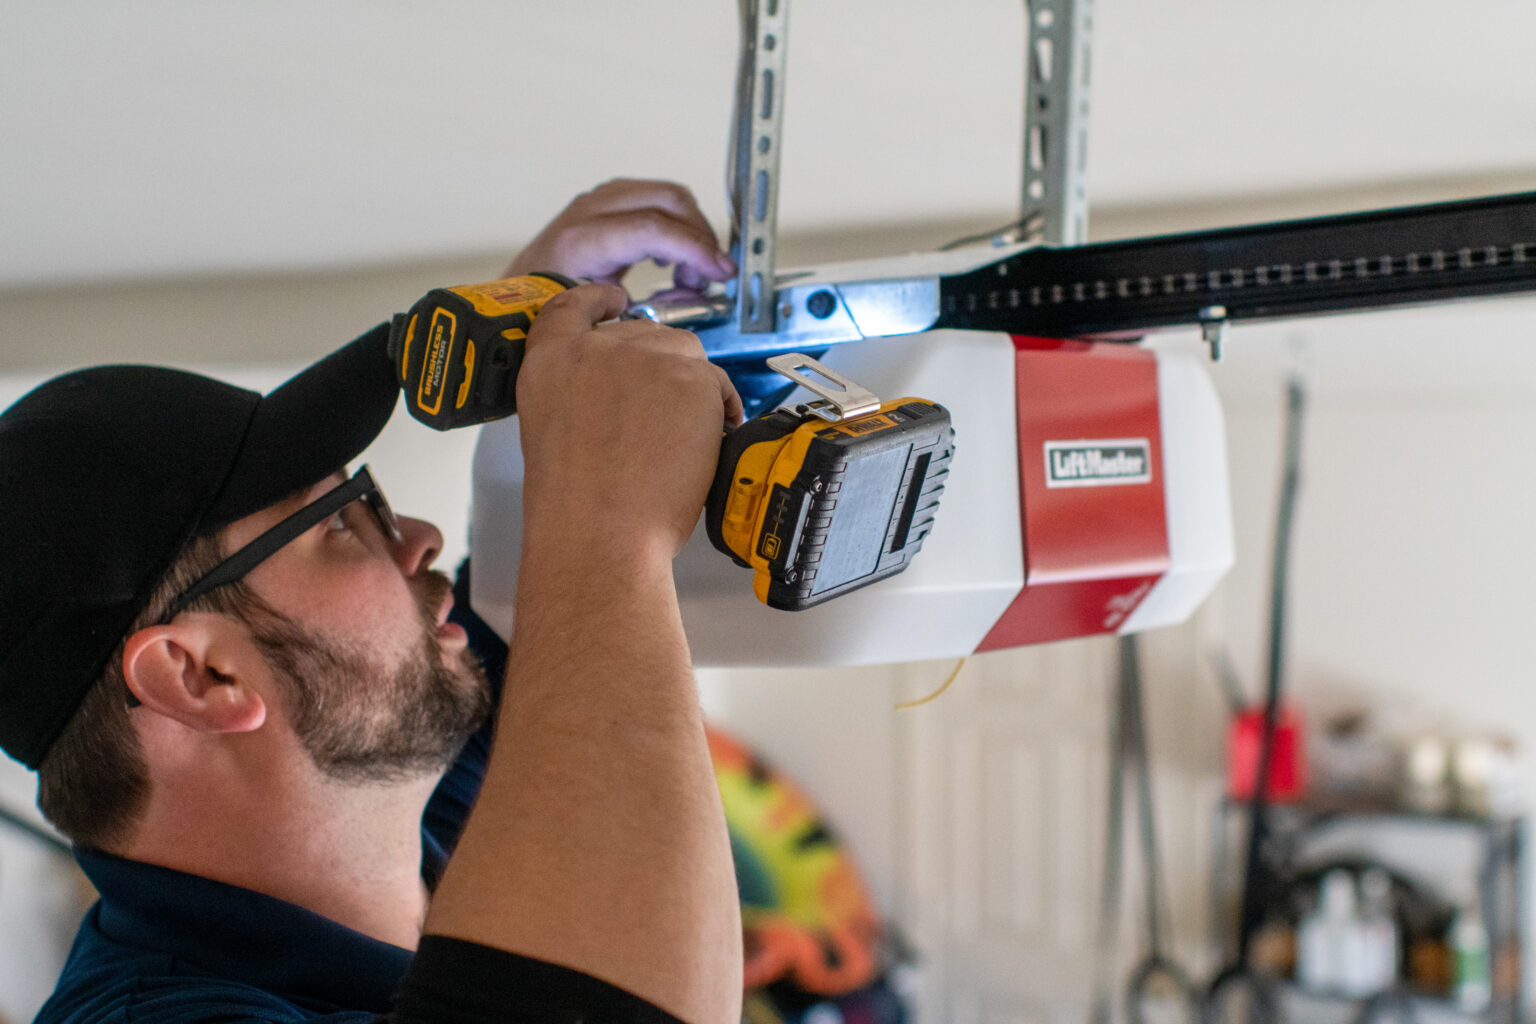
Step 1: Gather necessary tools and materials
Before you begin disabling the garage door opener, it’s essential to collect the tools and materials you’ll need. These items will help you safely and effectively carry out the subsequent steps. Here’s a list of what you should gather:
- Screwdriver set – You may need different types of screwdrivers such as a Phillips head or flathead, depending on the design of your garage door opener.
- Step ladder – This will come in handy if your garage door opener is mounted on the ceiling or a higher position.
- Electrical tape – This will be used to cover any exposed wires for safety purposes.
- Wire strippers – If you need to disconnect any wires, wire strippers will help you safely remove the insulation without damaging the wire itself.
- Optional: Owner’s manual – While not a physical tool, having the owner’s manual on hand can provide specific instructions tailored to your garage door opener model.
Once you have gathered these tools, ensure you have a clear workspace in your garage. Having a clutter-free area will make it easier for you to access the garage door opener unit and carry out the necessary steps. Additionally, consider wearing safety gloves and protective eyewear to keep your hands and eyes safe throughout the process.
With the tools and materials ready, you’re now prepared to move on to the next step, where we will guide you on locating the garage door opener unit.
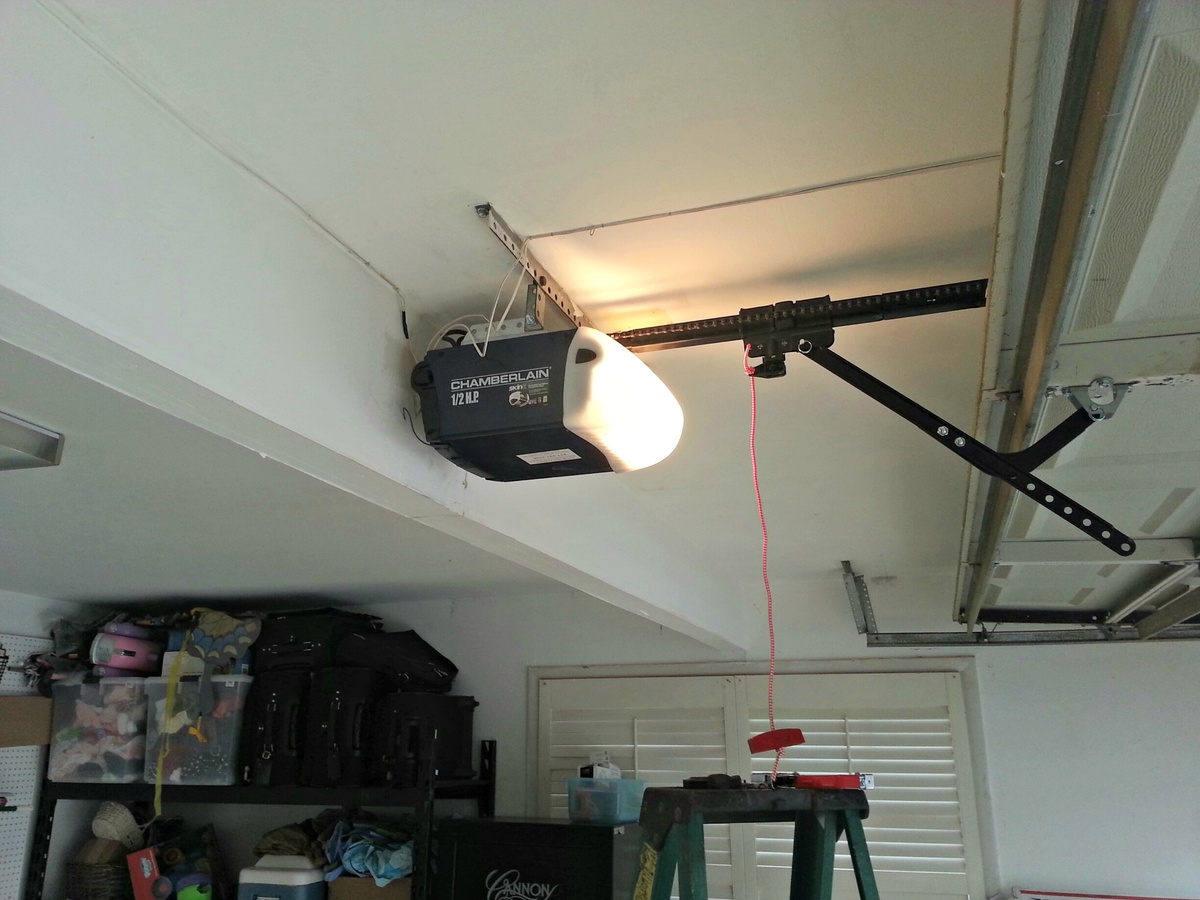
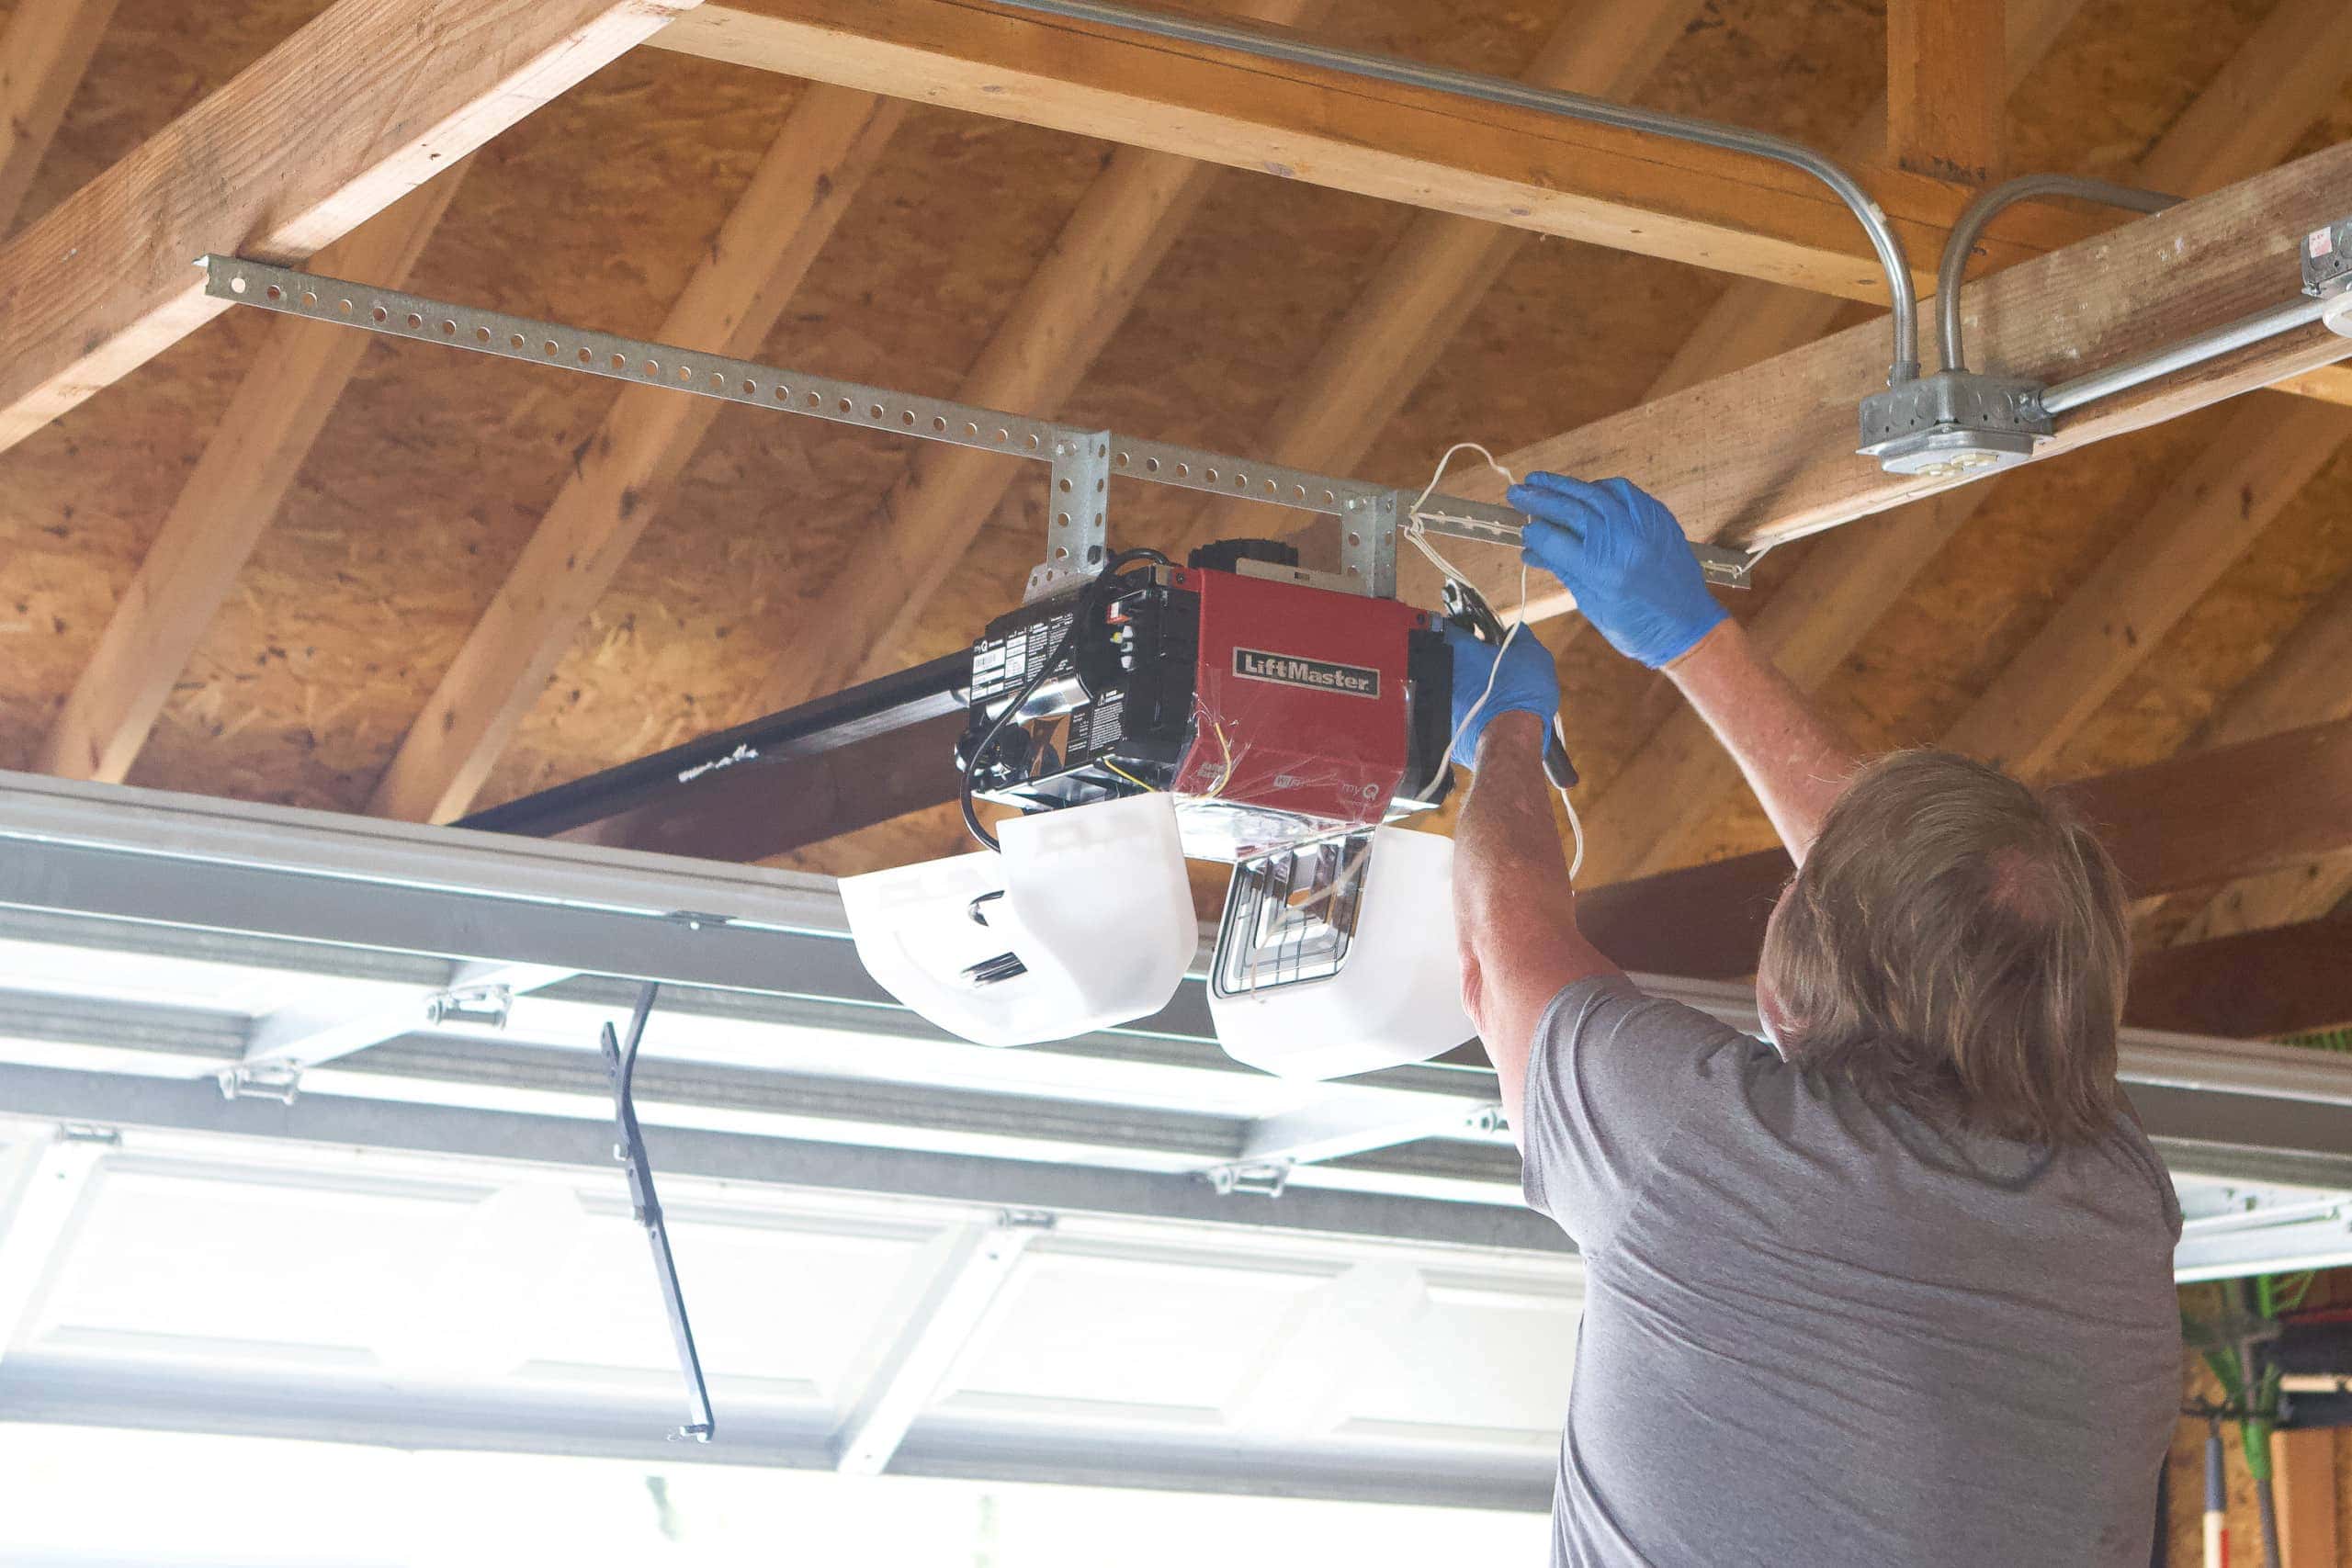
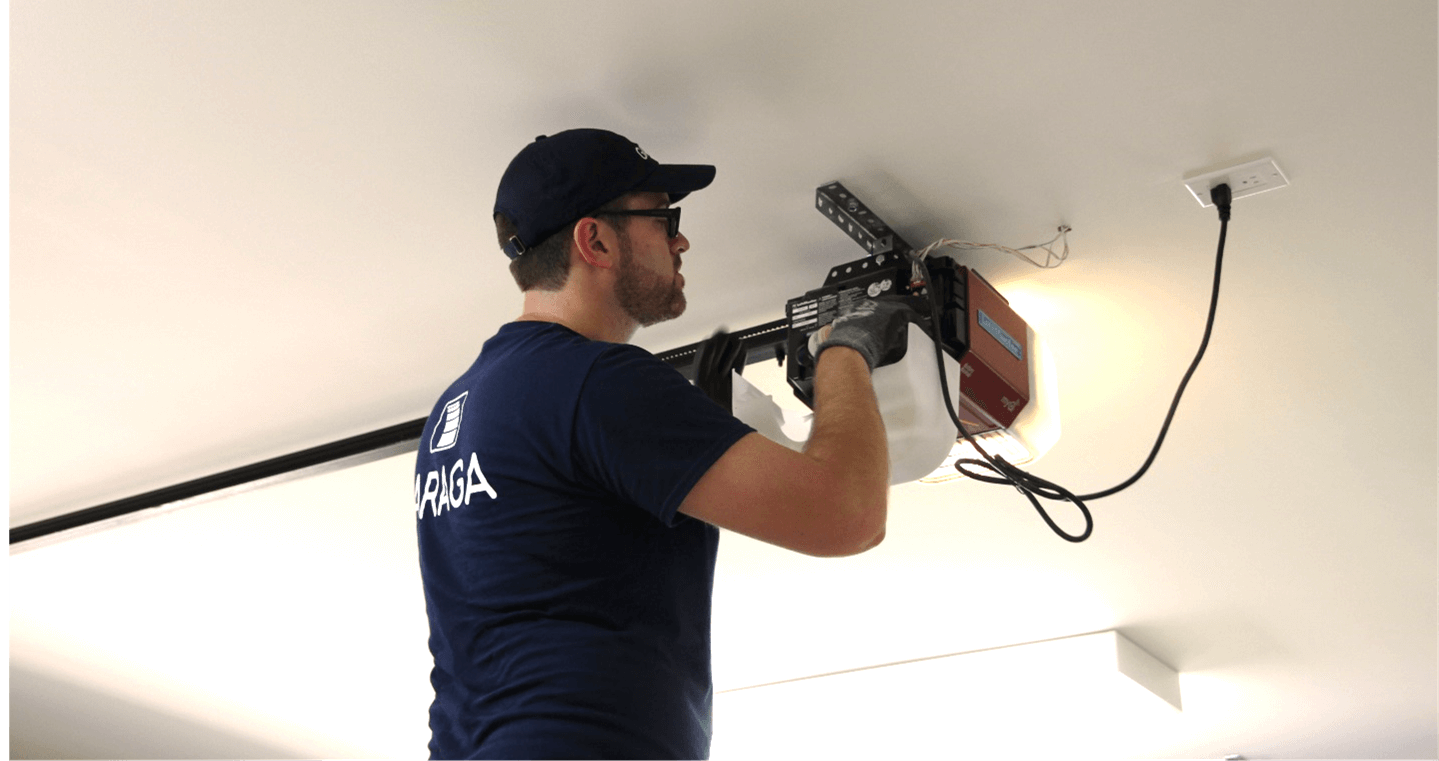
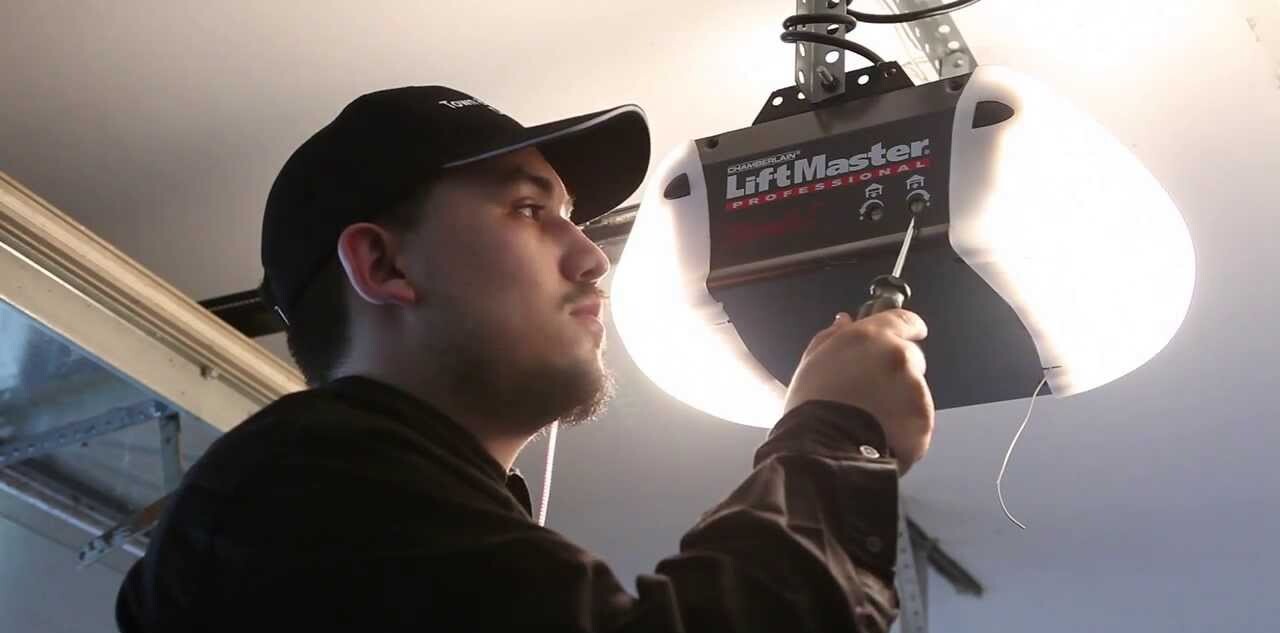
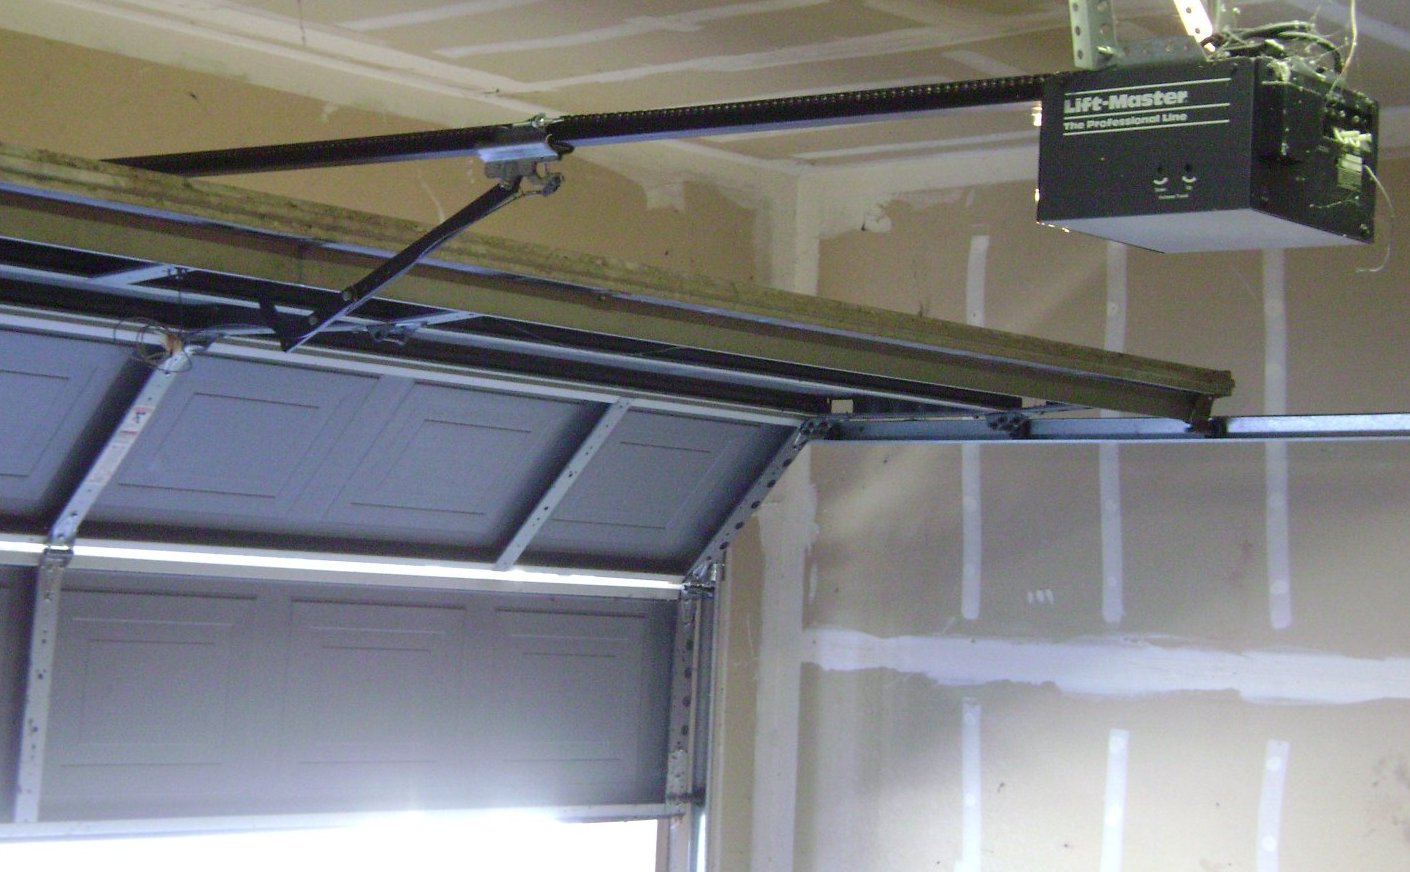
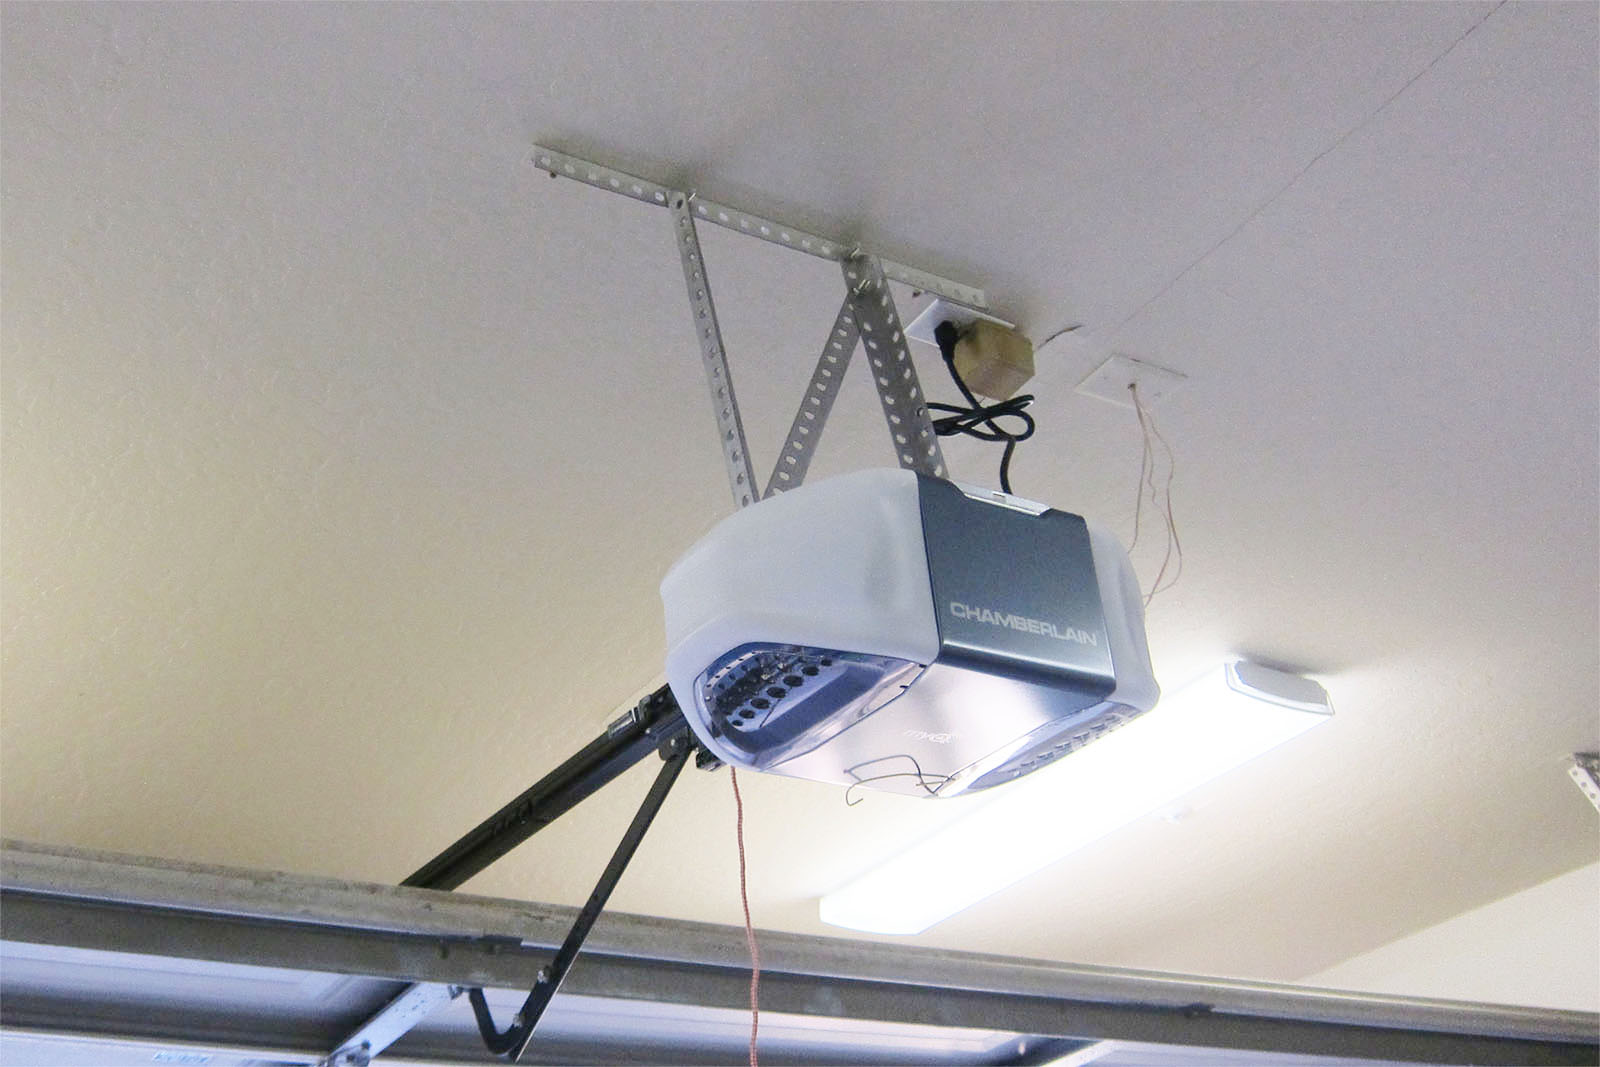
Step 2: Locate the garage door opener unit
Locating the garage door opener unit is crucial as it allows you to identify the components you need to work with in order to disable it. The location of the opener may vary depending on the layout and design of your garage, but it is typically found near the ceiling or mounted on the wall.
Start by carefully inspecting the ceiling area of your garage. Look for a motorized unit with a track or chain mechanism connected to the garage door. This unit is commonly referred to as the opener, and it controls the opening and closing of the garage door.
If you have trouble locating the opener, refer to your garage door system’s owner’s manual for specific instructions. The manual should provide details on the location of the opener and its components.
Once you have located the garage door opener unit, take note of its position and the surrounding components. This will help you navigate the upcoming steps more easily.
Keep in mind that while locating the opener, it’s important to exercise caution and be mindful of your surroundings. Avoid stepping on objects or trip hazards to prevent accidents or injuries. Use a step ladder if needed, making sure it is stable and placed on a solid surface.
With the garage door opener unit successfully located, you’re now ready to move on to Step 3, where we will guide you on how to remove the power source to disable the opener.
Step 3: Remove the power source
To disable the garage door opener, it’s crucial to disconnect the power source. This step ensures that the opener remains inactive and prevents any accidental operation while you work on the unit. Here’s how you can safely remove the power source:
- Identify the power cord: Locate the power cord that is connected to the garage door opener unit. It is typically a thick, black or gray cord that plugs into a wall outlet.
- Unplug the power cord: Once you have identified the power cord, firmly grasp the plug and pull it out from the wall outlet. Make sure to pull the plug straight out with a steady motion.
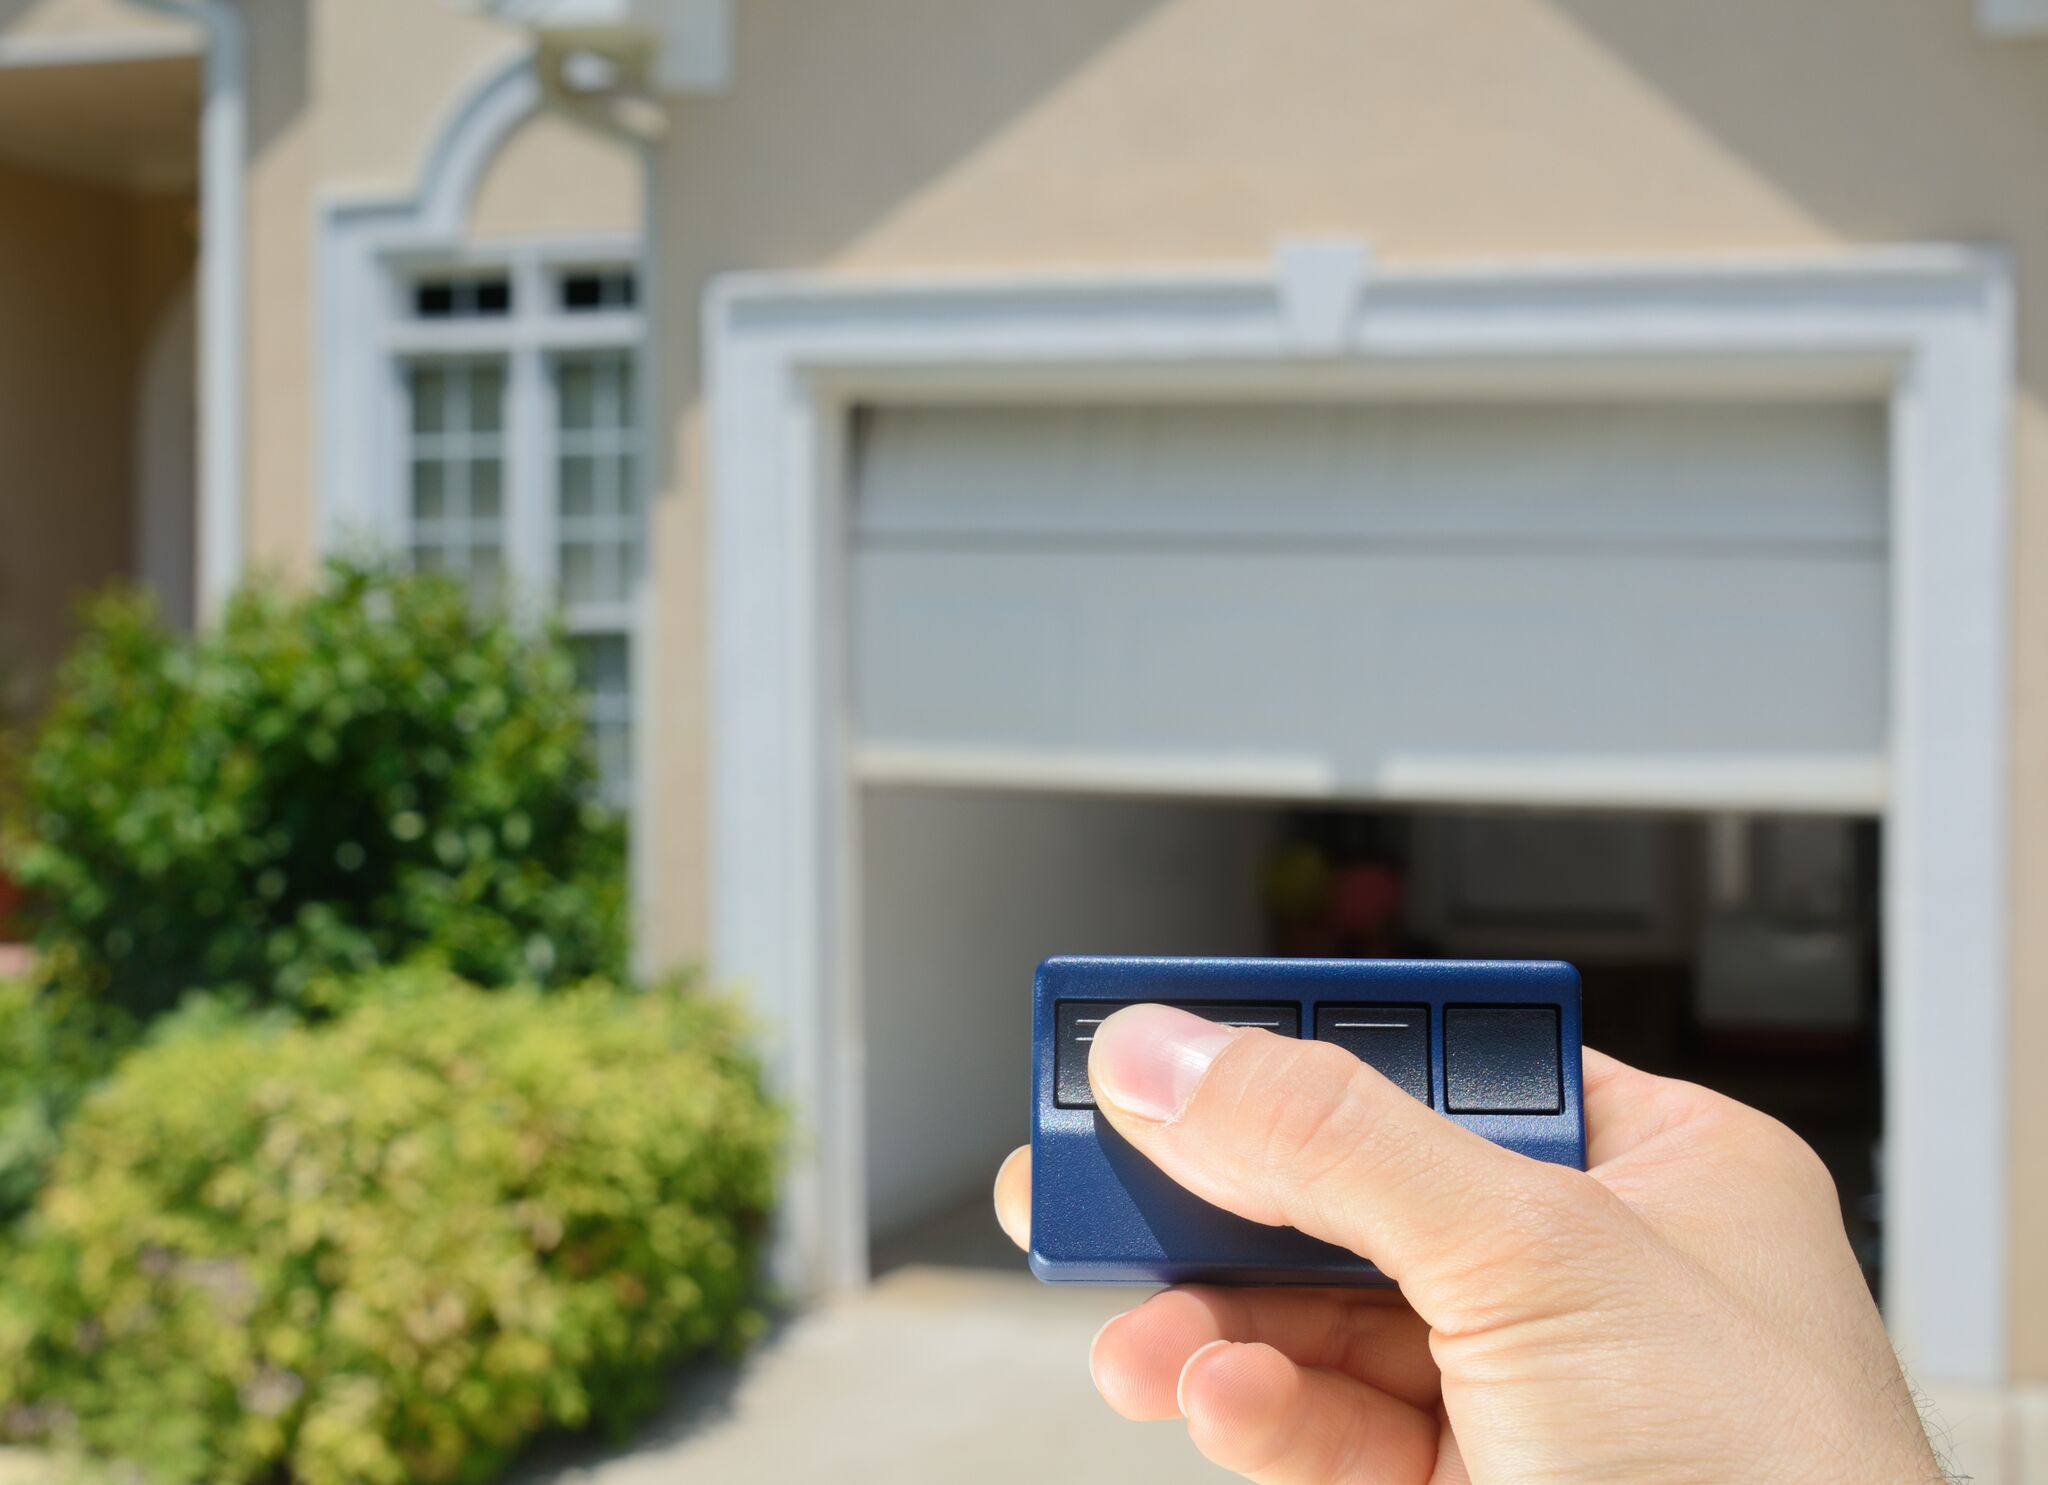
- Verify power disconnection: To ensure that the power has been successfully disconnected, test the garage door opener by pressing the wall-mounted button or remote control. If the door does not operate, it indicates that the power has been successfully cut off.
It’s important to note that simply turning off the switch or unplugging the opener does not guarantee the power has been fully disconnected. Unplugging the power cord is a critical step in disabling the opener and ensuring your safety while working on the unit.
Always exercise caution when handling electrical components and avoid touching any exposed wires. If you have any doubts or concerns about disconnecting the power source, consult a professional electrician for assistance.
With the power source successfully removed, you can now proceed to Step 4, where we will guide you on disconnecting the opener from the garage door.
Step 4: Disconnect the opener from the garage door
Disconnecting the opener from the garage door is an essential step in disabling its functionality. This ensures that the door remains stationary and cannot be operated using the opener. Follow these steps to disconnect the opener:
- Locate the emergency release cord or lever: Look for a rope or handle that hangs from the opener track or is attached to the carriage assembly. This is the emergency release cord or lever.
- Pull the emergency release cord or lever: Firmly grasp the emergency release cord or lever and pull it down or away from the garage door. This action disengages the trolley or carriage from the opener track.
- Manually move the garage door: With the trolley or carriage disengaged, you can now manually move the garage door. Lift the door or lower it to the desired position, ensuring it remains securely in place.
By disconnecting the opener from the garage door, you prevent any accidental activation of the opener, ensuring the garage door remains closed and inoperable. This step is particularly useful during maintenance or when you’re away for an extended period.
It’s worth noting that some garage doors, especially heavier ones, may be difficult to maneuver manually. In such cases, it’s advisable to seek assistance from another person to ensure safe handling of the door.
With the opener successfully disconnected from the garage door, you can now move on to Step 5, where we will guide you on disabling the remote control to further secure the garage door.
To disable a garage door opener, locate the emergency release cord and pull it to disengage the opener from the door. This will allow you to manually open and close the door.
Read more: How Much Is A Garage Door Opener
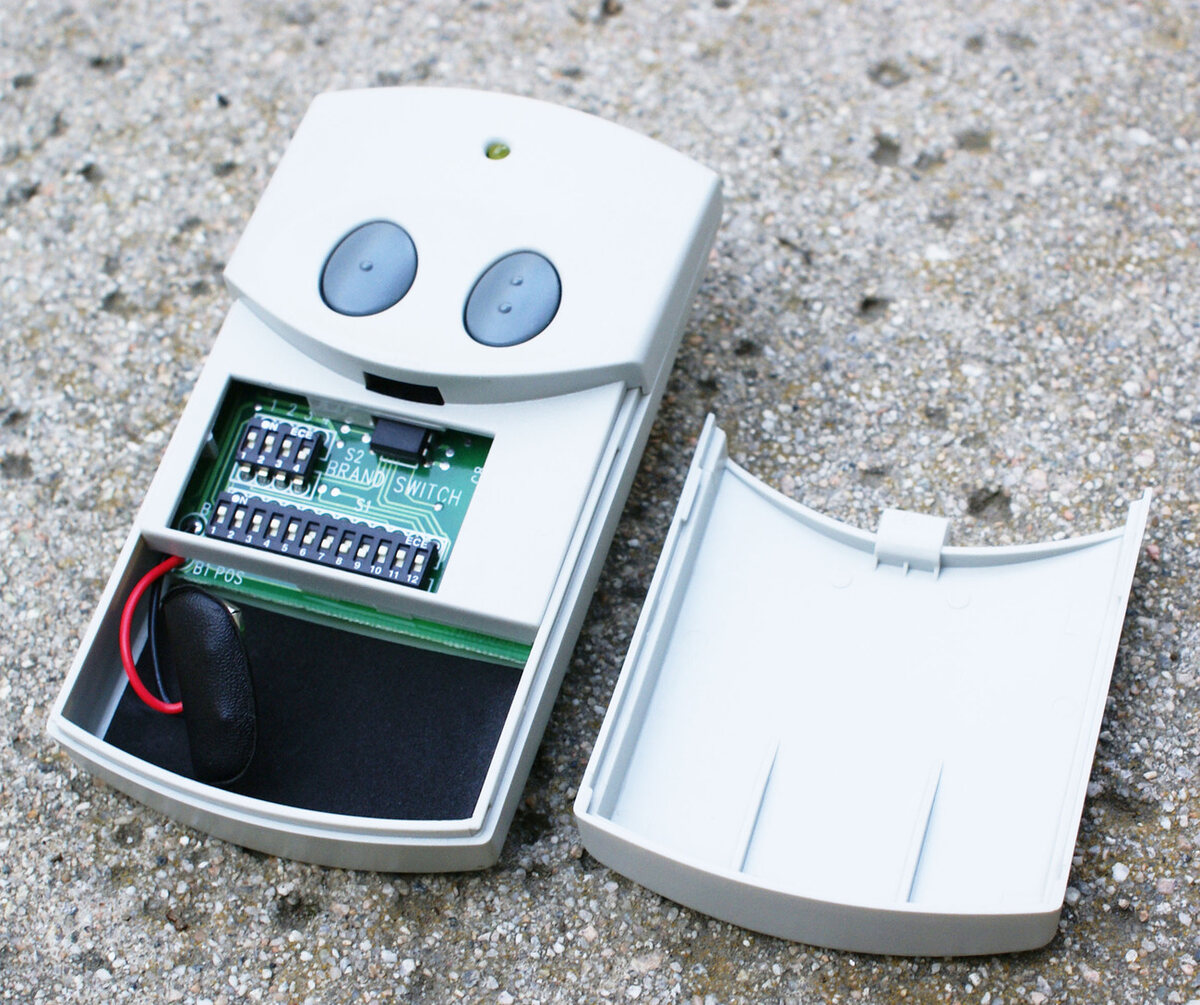
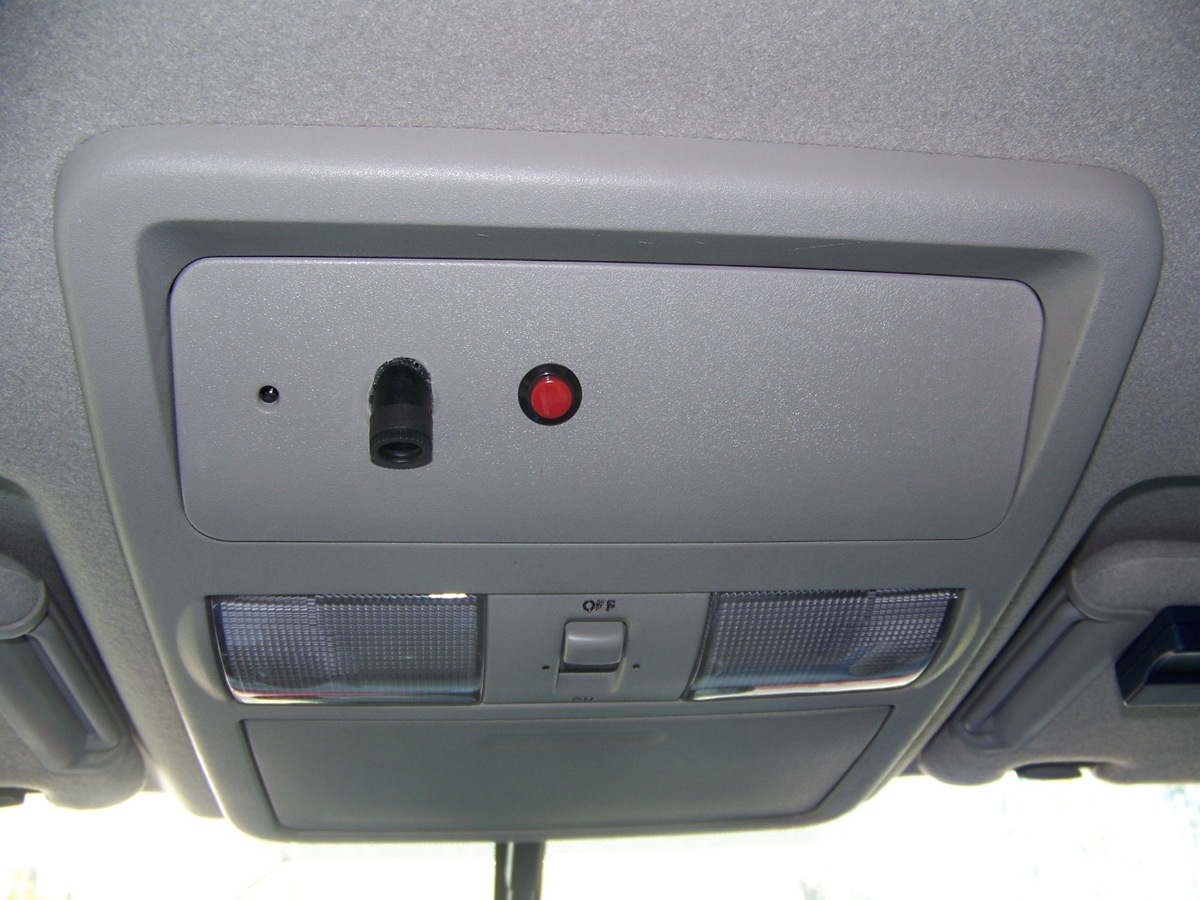
Step 5: Disable the remote control
Disabling the remote control ensures that no one can operate the garage door opener remotely. It adds an extra layer of security and prevents unauthorized access to your garage. Follow these steps to disable the remote control:
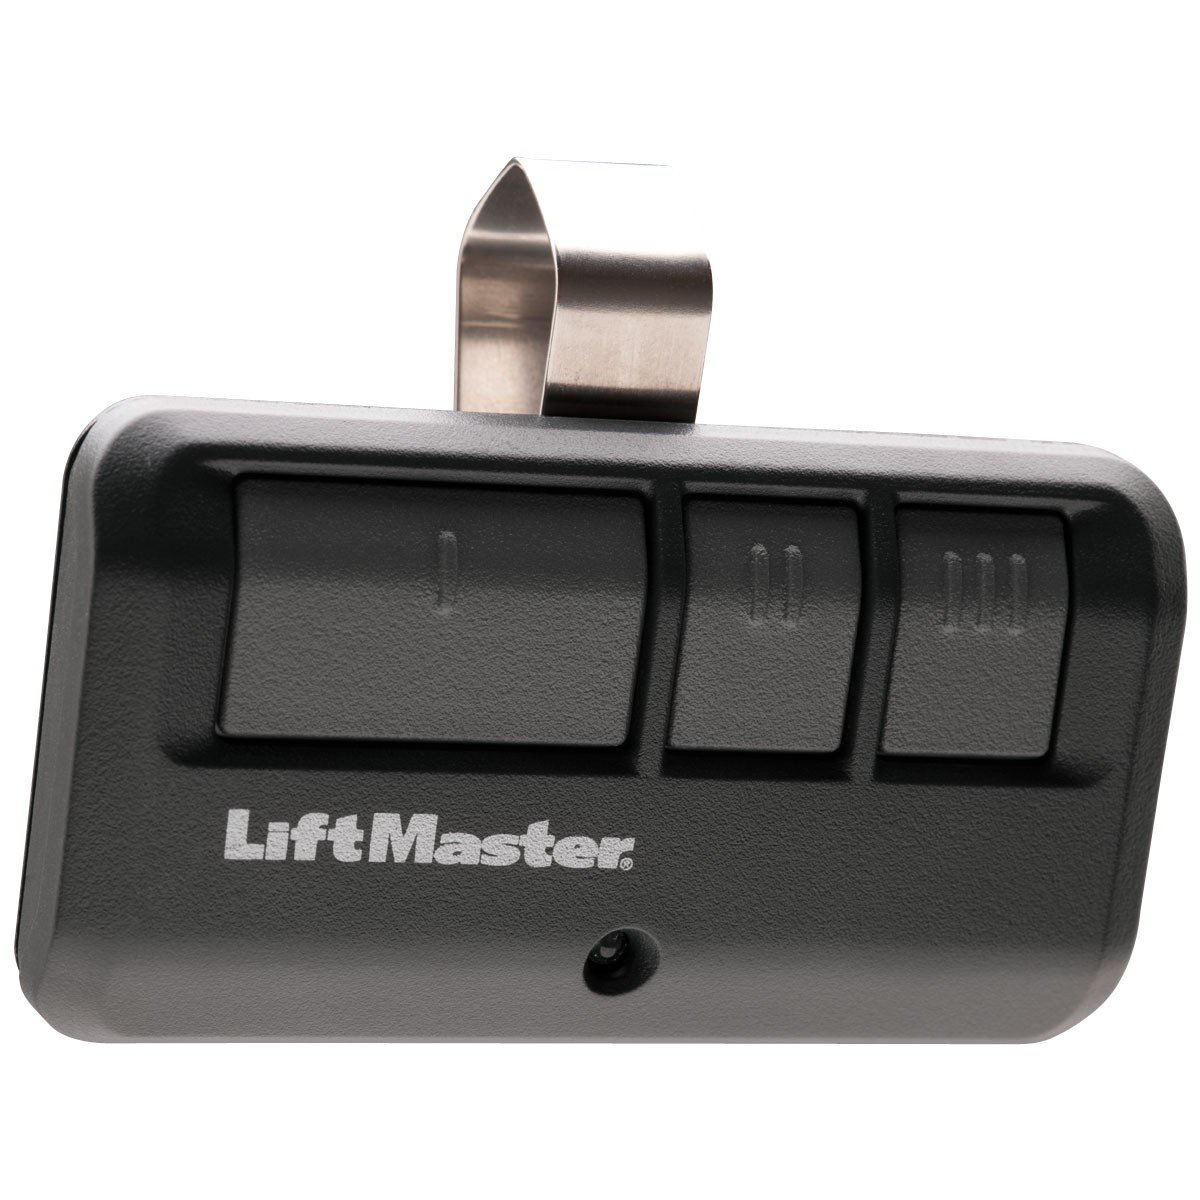
- Locate the remote control programming button: Look for the programming button on the garage door opener unit. It is typically a small button or switch labeled “Learn” or “Program.”
- Press and hold the programming button: Press and hold the programming button until the LED light on the opener unit turns off or blinks. This action erases all programmed remote control codes from the opener’s memory.
- Reset the remote controls (optional): If you still want to use the remote controls in the future, you can reprogram them by following the specific instructions provided in the garage door opener’s manual. This step is optional and depends on your preference.
Disabling the remote control ensures that only the wall-mounted button or manually operating the door will allow access to your garage. It is particularly useful when you want to prevent accidental activation or if you have lost a remote control and want to ensure it cannot be used by anyone else.
Remember to keep the remote controls in a secure location or consider taking them with you if you’re away for an extended period.
With the remote control successfully disabled, you have taken an important step to secure your garage door. Now, let’s continue to Step 6, where we will guide you on the optional process of resetting or reprogramming the opener.
Step 6: Reset or reprogram the opener (optional)
Resetting or reprogramming the garage door opener is an optional step but can be beneficial if you want to restore the functionality of the opener in the future. This step may vary depending on the brand and model of your opener, so it’s crucial to consult the owner’s manual for specific instructions. Here are some general guidelines:
- Locate the programming button: Look for the programming button on the garage door opener unit. It is typically labeled “Learn” or “Program.”
- Press and release the programming button: Press and release the programming button. This action triggers the opener into programming mode and prepares it to accept new remote control codes.
- Follow the specific instructions: Different opener models have different procedures for programming remote controls. Follow the instructions provided in the owner’s manual to reprogram the remote controls to the opener. This often involves pressing buttons on the remote control within a specific timeframe.
- Verify successful programming: Once you have completed the reprogramming process, test the remote controls to ensure they operate the garage door opener correctly. This step ensures that the opener is functioning correctly and that you have successfully restored its remote control functionality.
It’s essential to note that resetting or reprogramming the opener should only be done when necessary or if you choose to restore its functionality. If you don’t plan on using the remote control feature, you can skip this step.
Remember to keep the owner’s manual in a safe place for future reference or seek professional assistance if you encounter any difficulties during the resetting or reprogramming process.
With Step 6 complete, you are now prepared to move on to Step 7, where we will guide you on how to test the disabled garage door opener.
Step 7: Test the disabled garage door opener
Testing the disabled garage door opener is an important step to ensure that the disabling process was successful. It allows you to verify that the opener is no longer operational and that the door remains secure. Follow these steps to test the disabled garage door opener:
- Reconnect the power source: Plug the power cord back into the wall outlet, restoring power to the garage door opener.
- Attempt to operate the door: Use the wall-mounted button or remote controls to attempt to open or close the garage door.
- Observe the door’s response: Pay close attention to how the garage door behaves. If the disabling process was successful, the door should not respond to any attempts to operate it using the opener or remote controls.
- Check for signs of movement: Confirm that the garage door remains stationary and does not move when you attempt to operate it with the opener or remote controls.
If the garage door does not respond to any attempts to operate it, congratulations! You have successfully disabled the garage door opener. This ensures that the door cannot be opened or closed remotely, providing an added layer of security to your home.
However, if you notice any movement or if the door still responds to the opener or remote controls, repeat the previous steps to ensure that you have completed the disabling process correctly.
Keep in mind that testing the disabled garage door opener allows you to verify the effectiveness of your actions and provides peace of mind in knowing that your garage and home are secure.
With Step 7 completed, you have successfully disabled the garage door opener. Congratulations on taking this proactive measure to enhance the security of your home.
By following the steps outlined in this article, you can ensure that the garage door remains inoperative and provide an added layer of security to your property. Remember, always consult the owner’s manual for specific instructions related to your garage door opener brand and model.
Thank you for reading, and we hope this guide has been helpful to you!
Conclusion
Disabling a garage door opener is a valuable skill that allows you to enhance the security of your home and ensure that the door remains inoperative when needed. Whether you’re going on vacation, conducting maintenance, or experiencing issues with the opener, knowing how to disable it can bring peace of mind.
In this article, we have provided a step-by-step guide on how to disable a garage door opener. By gathering the necessary tools and materials, locating the opener unit, removing the power source, disconnecting the opener from the door, disabling the remote control, and optionally resetting or reprogramming the opener, you can successfully disable the functionality of your garage door opener.
It’s important to note that while the steps provided in this guide are general guidelines, it’s always recommended to consult the manufacturer’s manual for specific instructions related to your garage door opener model.
Remember to exercise caution throughout the process and prioritize your safety. If you encounter any difficulties or have concerns, it’s advisable to seek professional assistance from qualified technicians or electricians.
By following the steps outlined in this article, you can ensure that your garage door remains secure and inaccessible to unauthorized individuals. This added layer of security not only protects your belongings but also provides peace of mind for you and your family.
Thank you for reading, and we hope this guide has been informative and helpful to you in disabling your garage door opener!
Frequently Asked Questions about How To Disable A Garage Door Opener
Was this page helpful?
At Storables.com, we guarantee accurate and reliable information. Our content, validated by Expert Board Contributors, is crafted following stringent Editorial Policies. We're committed to providing you with well-researched, expert-backed insights for all your informational needs.


0 thoughts on “How To Disable A Garage Door Opener”