
Articles
How To Adjust Garage Door Opener
Modified: December 7, 2023
Learn how to adjust your garage door opener with these helpful articles. Improve the performance and functionality of your door opener today!
(Many of the links in this article redirect to a specific reviewed product. Your purchase of these products through affiliate links helps to generate commission for Storables.com, at no extra cost. Learn more)
Introduction
Adjusting your garage door opener is an essential maintenance task that ensures smooth and proper functioning of your garage door. Over time, factors such as weather conditions, regular use, and mechanical wear and tear can cause your garage door opener to become misaligned or lose its optimal performance. Luckily, adjusting your garage door opener is a relatively simple process that you can do on your own without the need for professional help.
In this article, we will guide you through the step-by-step process of adjusting your garage door opener to ensure it operates smoothly and safely. Whether you notice that your garage door is not closing properly, making unusual noises, or struggling to open, these adjustments will help restore its functionality.
Before we delve into the adjustment process, it’s important to note that different garage door openers may have different adjustment mechanisms. Therefore, it’s crucial to consult your garage door opener’s user manual for specific instructions and guidelines. Additionally, always prioritize safety by disconnecting the power supply to your garage door opener before starting any adjustment.
Now that we have covered the basics, let’s proceed to the first step in the adjustment process: determining the type of garage door opener you have.
Key Takeaways:
- Ensure smooth and safe garage door operation by adjusting the opener’s force, travel limits, and safety features. Follow the step-by-step process for optimal performance and peace of mind.
- Regular maintenance and adjustments to your garage door opener can prevent costly repairs and ensure reliable, long-term functionality. Prioritize safety and convenience with simple DIY adjustments.
Read more: How To Adjust Garage Door Tracks
Step 1: Determine the Type of Garage Door Opener
Before you can begin adjusting your garage door opener, it’s important to determine the type of opener you have as different openers may have different adjustment mechanisms. The most common types of garage door openers include chain drive, belt drive, and screw drive openers.
Chain Drive Openers: These are the most traditional and commonly found garage door openers. They use a metal chain to drive the trolley that lifts and lowers the garage door. Chain drive openers tend to be noisy but are known for their durability and strength.
Belt Drive Openers: Belt drive openers use a rubber belt instead of a chain to operate the garage door. The rubber belt provides smooth and quiet operation, making them a popular choice for residential garages, especially if the garage is located near living spaces.
Screw Drive Openers: Screw drive openers utilize a threaded steel rod to move the trolley that opens and closes the garage door. They offer a balance between the strength of chain drive openers and the quietness of belt drive openers. Screw drive openers require less maintenance compared to belt and chain drive openers.
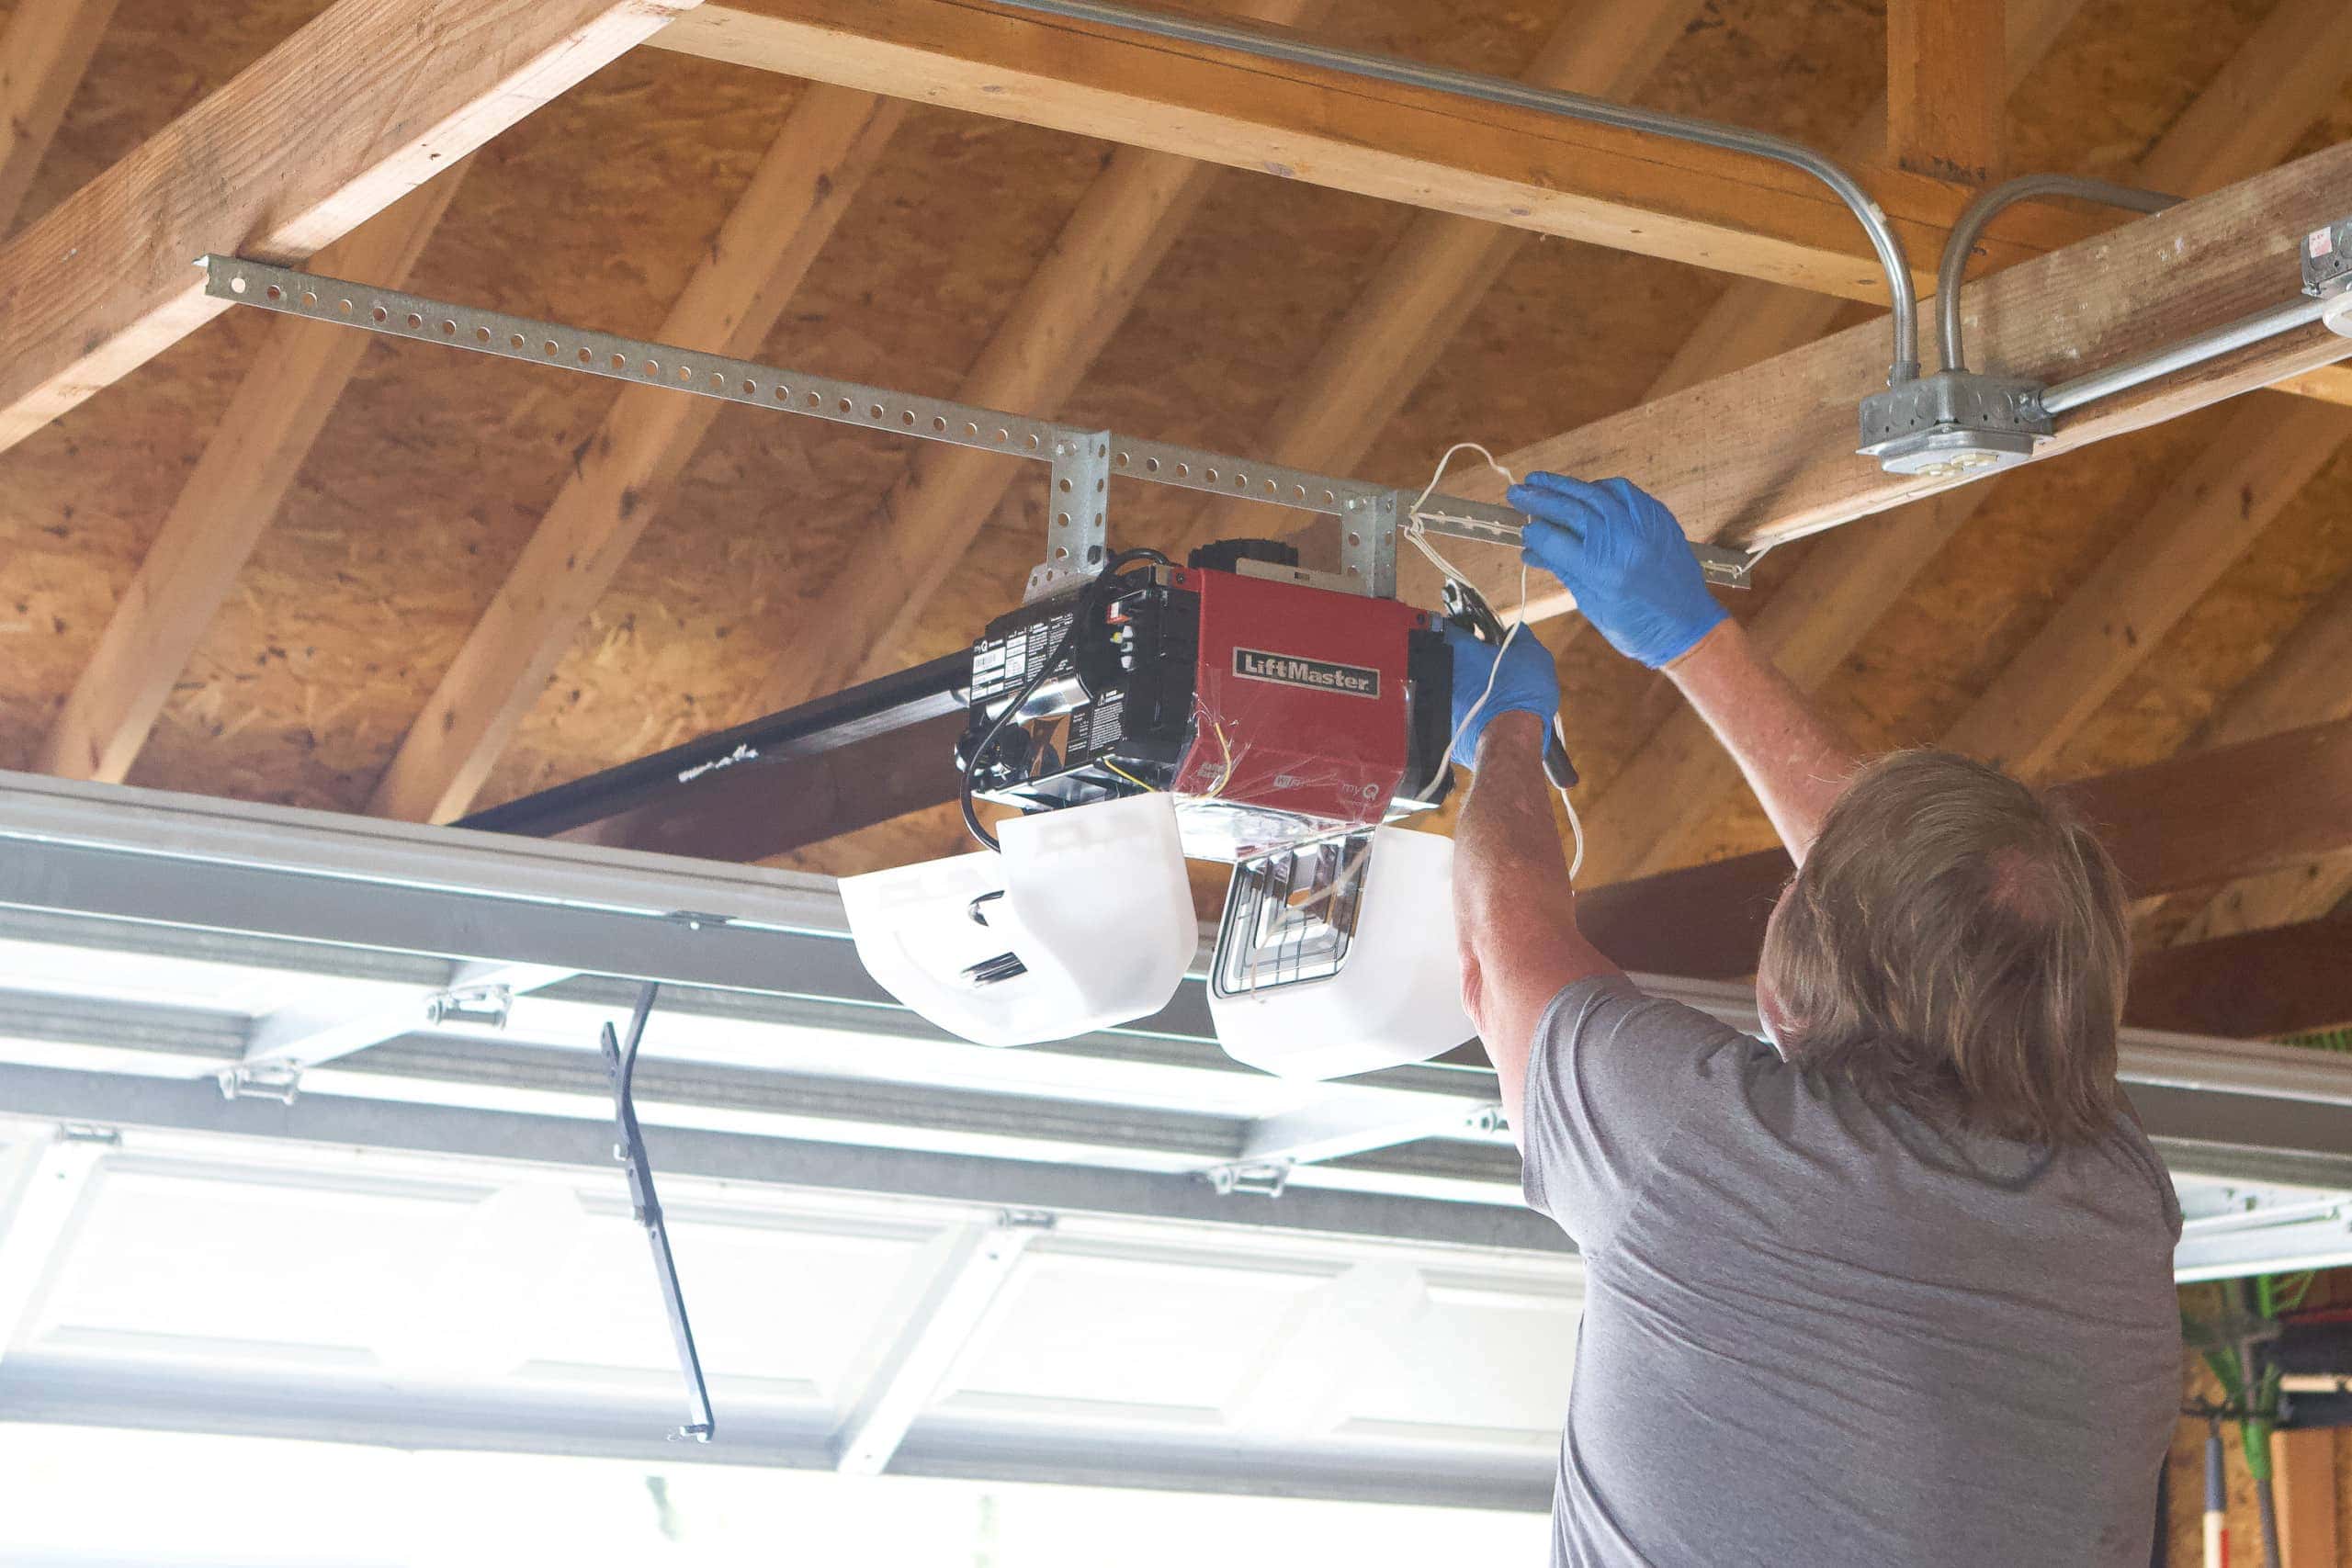
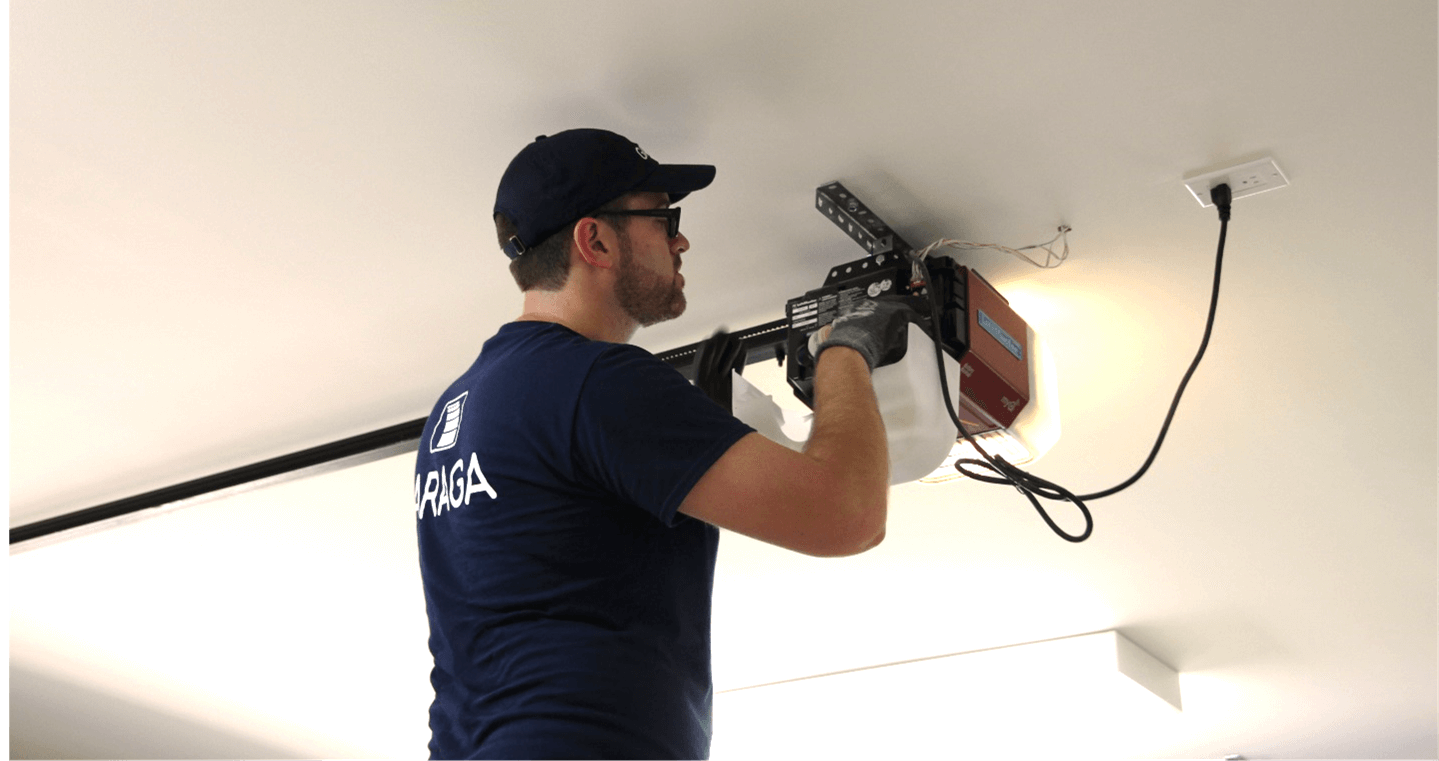
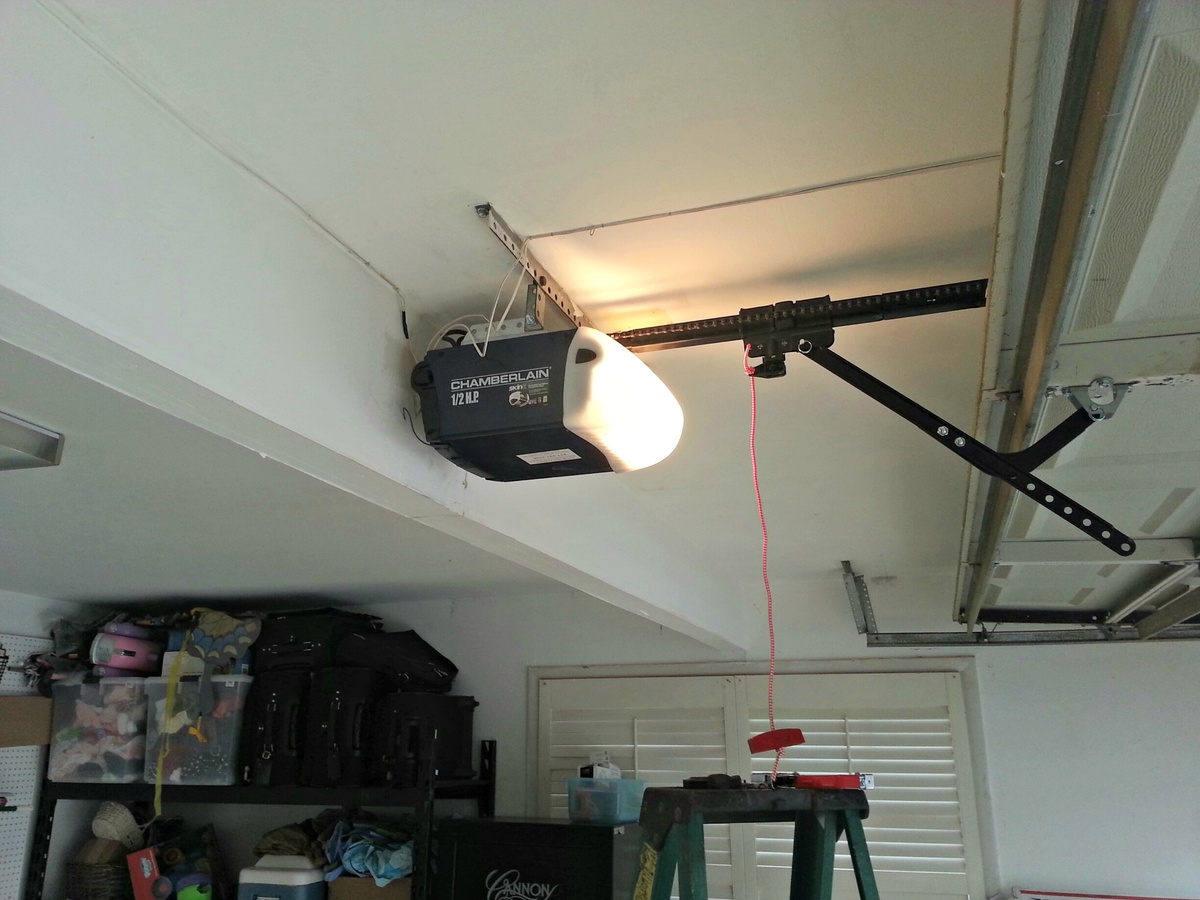
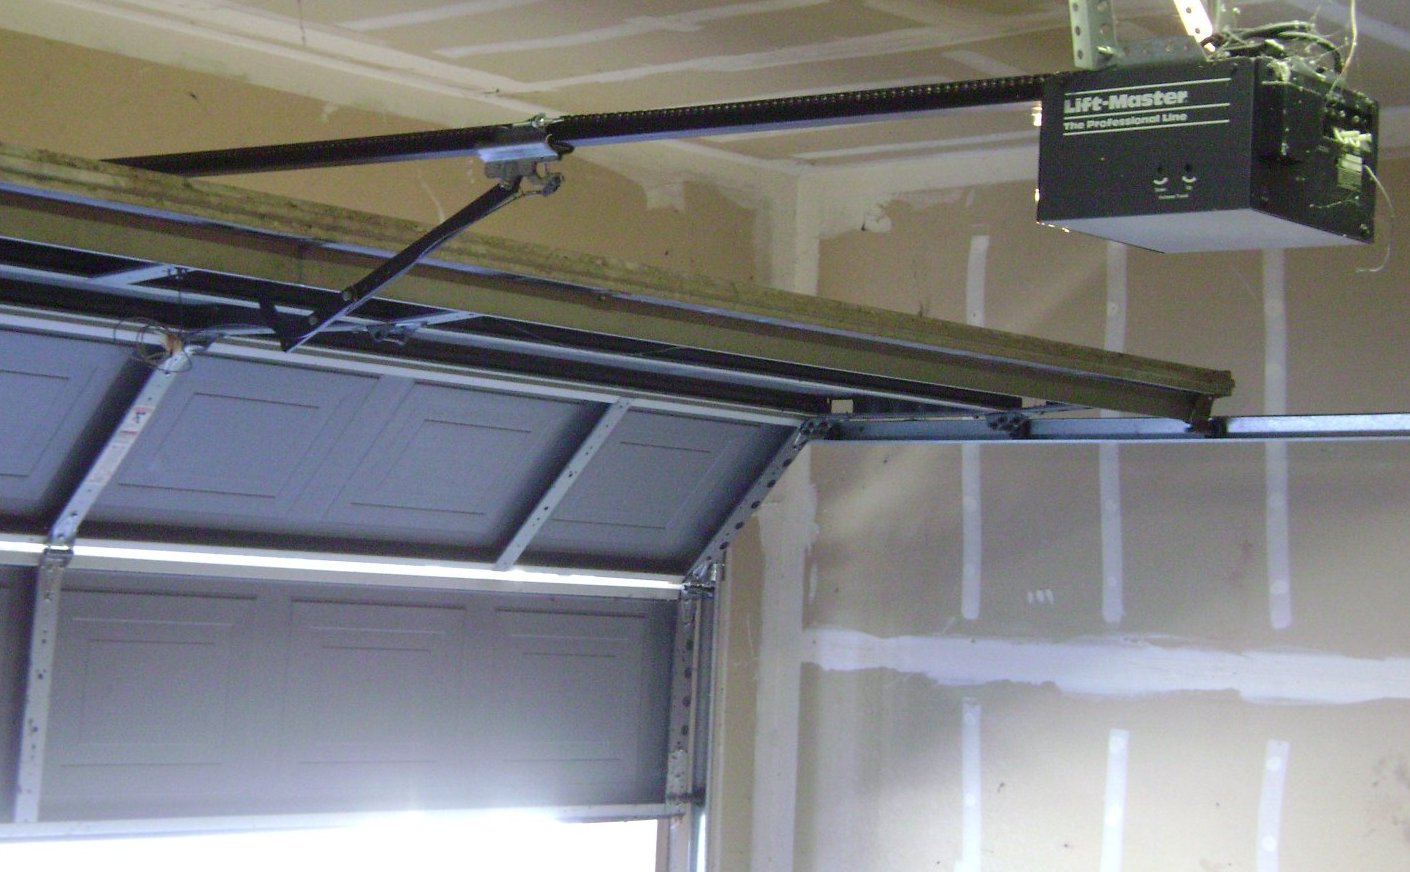
To determine the type of garage door opener you have, you can start by visually inspecting the motor unit that is mounted on the ceiling of your garage. Look for any labels or markings that indicate the type of opener. Additionally, you can check the user manual or contact the manufacturer for assistance in identifying your specific opener model.
Once you have determined the type of garage door opener you have, you can move on to the next step: locating the adjustment controls.
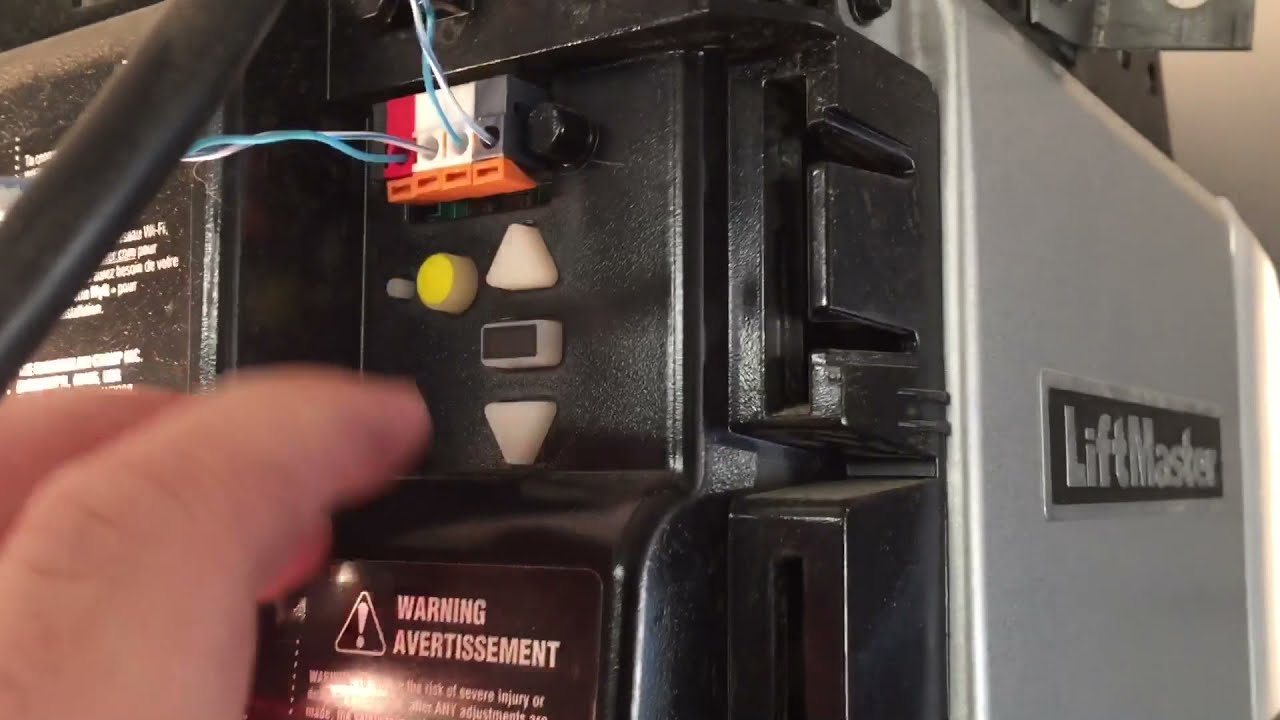
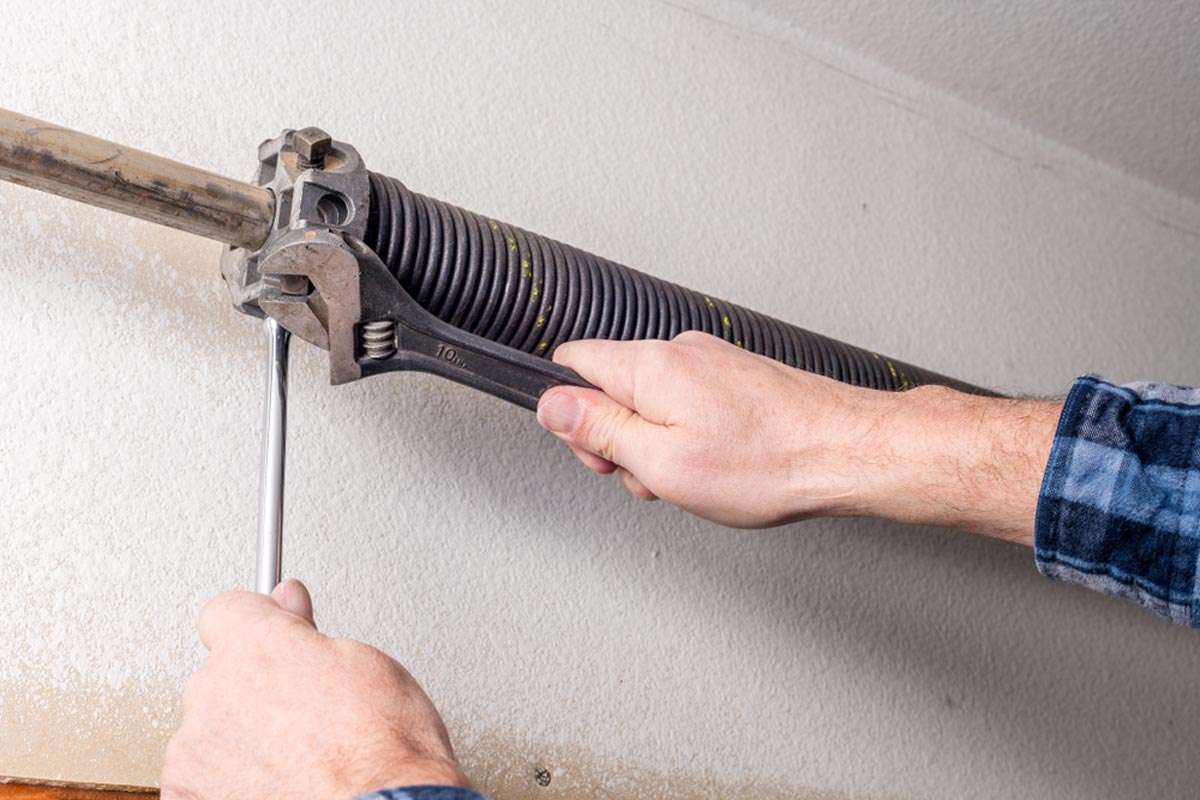
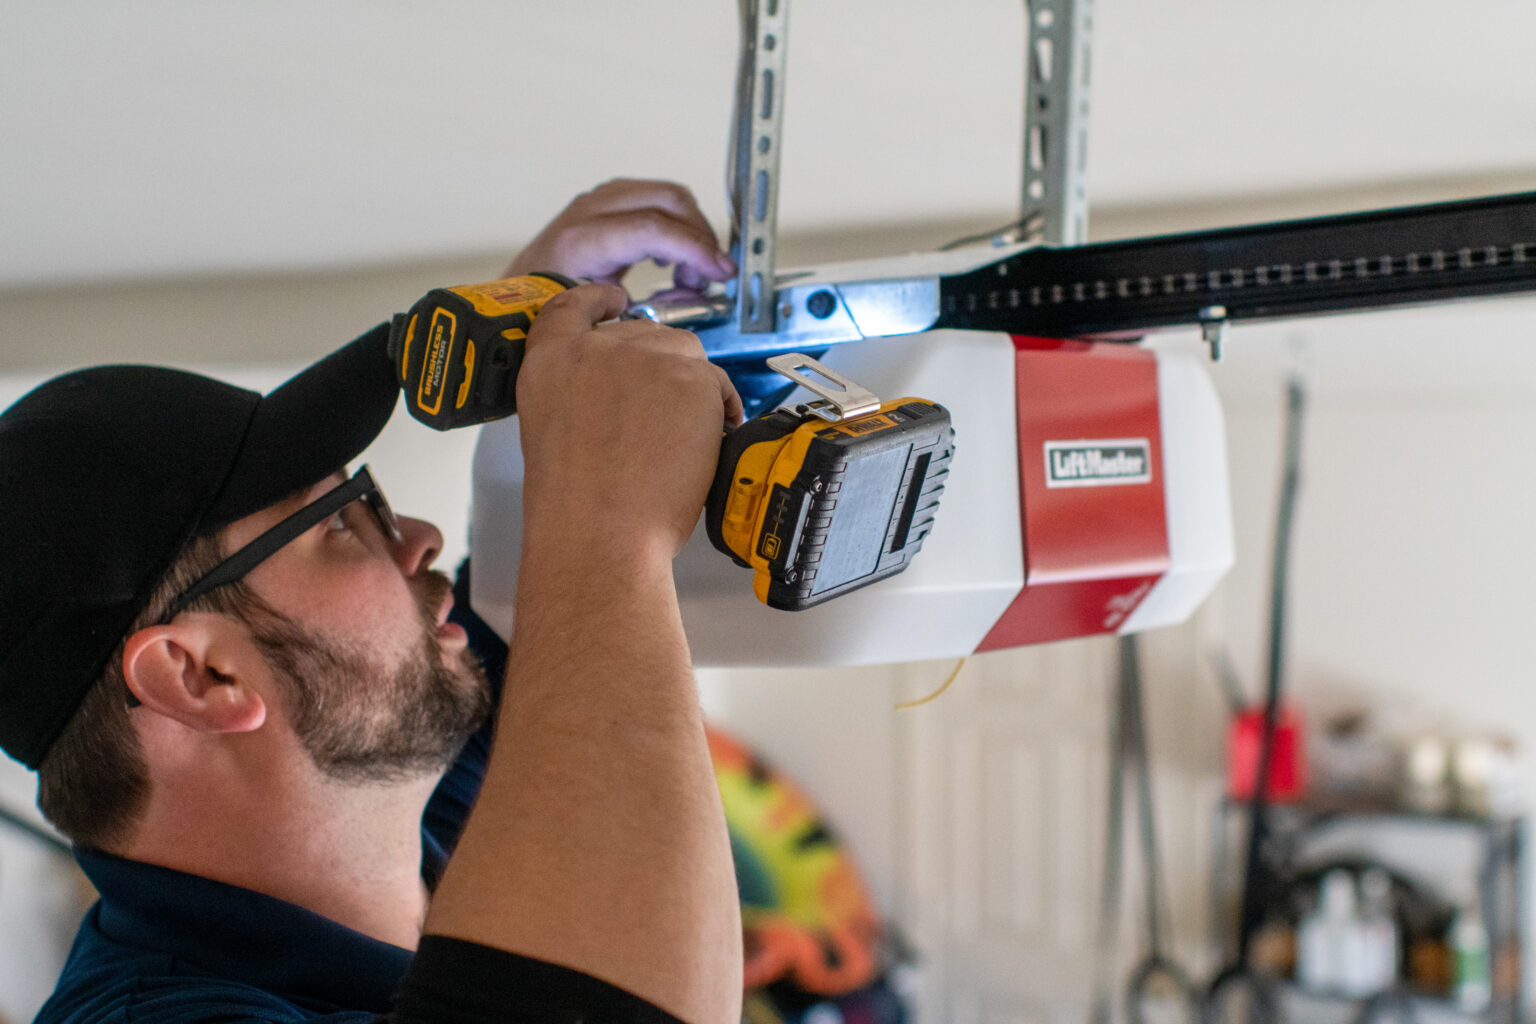
Step 2: Locate the Adjustment Controls
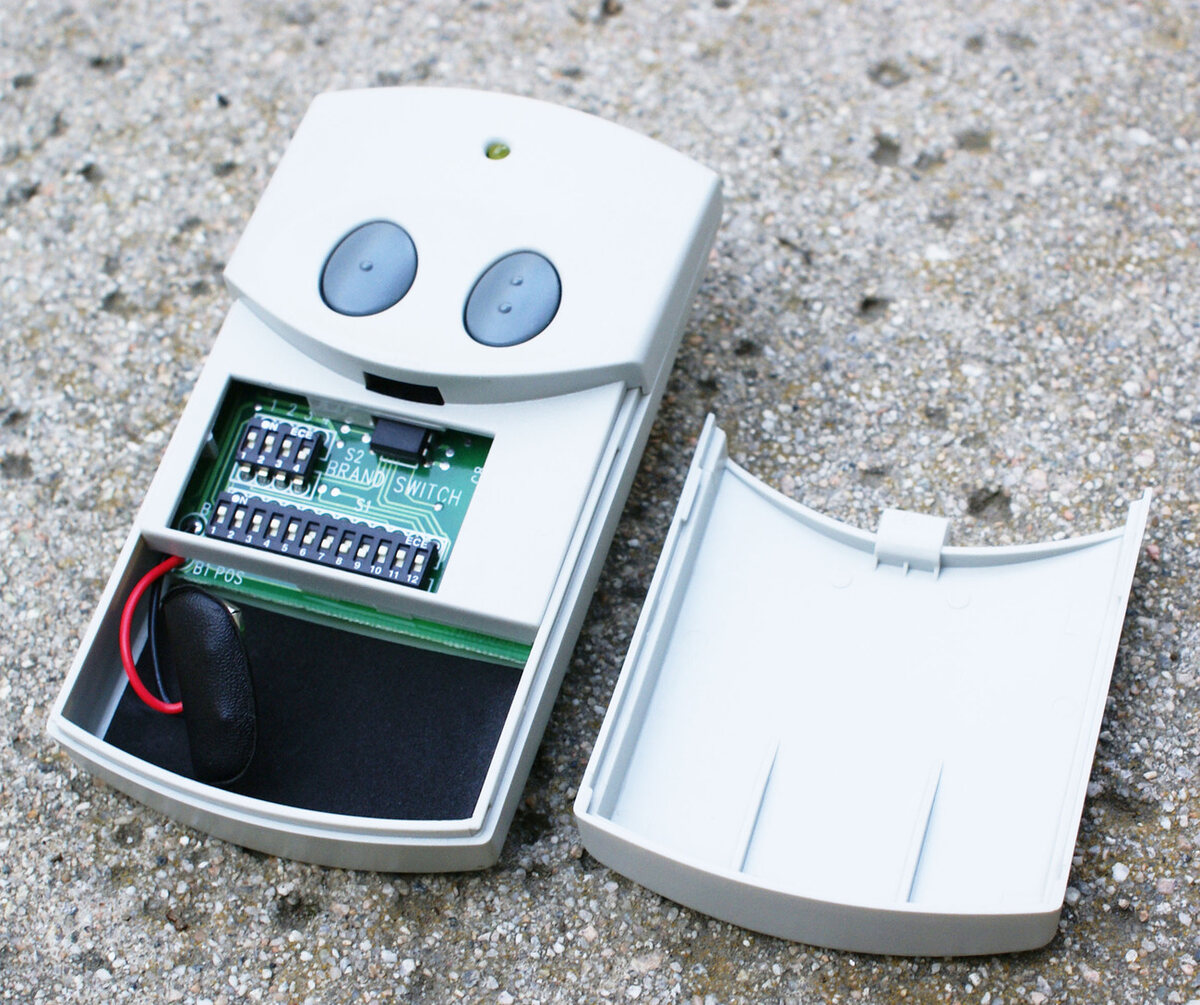
After identifying the type of garage door opener you have, the next step is to locate the adjustment controls. These controls allow you to adjust the force and travel limits of your garage door opener, ensuring that it operates smoothly and safely.
The adjustment controls are typically found on the motor unit of your garage door opener. In most cases, you will need to remove the cover or panel to access these controls. Refer to your garage door opener’s user manual for specific instructions on how to remove the cover safely.
Once you have removed the cover, you should be able to see the adjustment controls. The most common adjustment controls include:
- Upward Force Adjustment: This control determines the amount of force applied when the garage door is opening. It ensures that the door can overcome any resistance and fully open. Look for a control labeled “Up” or “Force Up” to adjust this setting.
- Downward Force Adjustment: This control controls the amount of force exerted when the garage door is closing. It ensures that the door can detect obstacles and reverse its direction if there is an obstruction. Look for a control labeled “Down” or “Force Down” to adjust this setting.
- Travel Limit Adjustment: This control sets the distance that the garage door can travel when opening or closing. It ensures that the door reaches the fully open and closed positions accurately. Look for controls labeled “Open Limit” or “Close Limit” to adjust these settings.
Some garage door openers may also have additional controls for adjusting the speed or sensitivity of the door. Again, consult your user manual for specific instructions on accessing and adjusting these controls.
Now that you have located the adjustment controls, you are ready to move on to the next step: adjusting the upward force of your garage door opener.
Step 3: Adjust the Upward Force
Adjusting the upward force of your garage door opener is essential to ensure that the door can open smoothly and overcome any resistance. If your garage door is having difficulty opening or stops midway, it may be due to insufficient upward force. Follow these steps to adjust the upward force:
- Locate the upward force adjustment control on your garage door opener. This is typically labeled as “Up” or “Force Up”.
- Using a flathead screwdriver or the specified tool, turn the adjustment control in the clockwise direction to increase the force or in the counterclockwise direction to decrease it.
- Make small adjustments and observe how the garage door responds. The goal is to find the right amount of force where the door opens smoothly but does not cause excessive strain on the opener or the door itself.
- Test the adjustments by opening the garage door fully and then closing it. Repeat this process a few times to ensure that the door moves freely and without any hesitation.
- If needed, continue making incremental adjustments until you achieve the desired balance between force and smooth operation.
It’s important to note that the amount of force needed for your garage door may vary depending on factors such as its size and weight. Consulting your garage door opener’s user manual can provide specific guidance on the optimal force settings for your door.
Adjusting the upward force may also help if your garage door reverses when closing or bounces back up after touching the floor. By increasing the force, you can ensure that the door closes securely without unnecessary interruptions.
Once you have adjusted the upward force, proceed to the next step: adjusting the downward force of your garage door opener.
Step 4: Adjust the Downward Force
Adjusting the downward force of your garage door opener is crucial to ensure that the door closes smoothly and reverses if there is an obstruction. If your garage door is not closing fully or fails to reverse when it encounters an object, it may be due to insufficient downward force. Follow these steps to adjust the downward force:
- Locate the downward force adjustment control on your garage door opener. This control is typically labeled as “Down” or “Force Down”.
- Using a flathead screwdriver or the designated tool, turn the adjustment control in the clockwise direction to increase the force or in the counterclockwise direction to decrease it.
- Make small adjustments and observe how the garage door responds. The goal is to find the right amount of force where the door closes securely but can reverse if there is an obstruction.
- Test the adjustments by placing a small obstruction, such as a block of wood, in the path of the closing door. The door should detect the obstruction and automatically reverse its direction.
- If needed, continue making incremental adjustments until you achieve the desired balance between force and safety.
It’s important to strike a balance with the downward force adjustment. If the force is too high, the door may exert excessive pressure when closing, potentially causing damage to the door or its components. Conversely, if the force is too low, the door may not detect obstacles and fail to reverse, posing a safety risk.
Remember that adjusting the downward force is especially crucial for the safety of children and pets who may accidentally come into contact with the closing door.
Once you have adjusted the downward force, proceed to the next step: adjusting the travel limits of your garage door opener.
Regularly lubricate the moving parts of your garage door opener to ensure smooth and quiet operation. Use a silicone-based lubricant on the chain, track, and rollers.
Read more: How To Adjust Garage Door Chain
Step 5: Adjust the Travel Limits
Adjusting the travel limits of your garage door opener is essential to ensure that the door opens and closes fully within the designated range. If your garage door does not open or close all the way, or if it travels too far, it may be due to incorrect travel limits. Follow these steps to adjust the travel limits:
- Locate the travel limit adjustment controls on your garage door opener. These controls are usually labeled as “Open Limit” and “Close Limit”.
- Using a flathead screwdriver or the specified tool, turn the adjustment control for the desired direction. Turning clockwise will decrease the travel limit, while turning counterclockwise will increase it.
- Make small adjustments and test the door after each adjustment to ensure that it fully opens and closes within the desired range.
- Monitor the movement of the door and adjust the travel limits as necessary to achieve the desired positioning.
- Once the travel limits are adjusted correctly, perform several open and close cycles to ensure smooth operation and precise positioning.
It’s important to note that the travel limits should be adjusted in small increments to avoid over-adjustment, which can cause the door to hit the floor or the opener to strain excessively. Take your time and carefully observe the door’s movement as you make these adjustments.
Remember, having accurate travel limits ensures that your garage door opens and closes smoothly, maximizing both convenience and safety.
Once you have successfully adjusted the travel limits, proceed to the next step: testing the door to ensure proper functioning.
Step 6: Test the Door
After making adjustments to the force, travel limits, and other settings of your garage door opener, it’s crucial to test the door to ensure that it is functioning properly. Testing the door will allow you to confirm that the adjustments you made have been successful and that the door operates smoothly and safely. Follow these steps to test your garage door:
- Stand clear of the door and any moving parts before conducting the test.
- Using the remote control or wall-mounted button, open the garage door fully and ensure that it reaches the fully open position without any hesitation or resistance.
- Next, close the garage door and observe its movement. It should close smoothly and make a solid connection with the ground or the weatherstripping without slamming or bouncing back up. If the door hits the ground with excessive force or fails to close properly, you may need to make further adjustments to the force settings or travel limits.
- During the closing process, test the safety reversing mechanism by placing a block of wood or a similar object in the path of the closing door. The door should detect the obstruction and immediately reverse its direction. If the door does not reverse or if it hesitates, you must adjust the downward force settings until the safety reversing mechanism operates correctly.
- Repeat the open and close cycles a few times to ensure consistent and smooth operation.
Testing the door is vital to ensure that it is safe for use and that it complies with safety standards. A properly adjusted garage door should open and close smoothly, without any excessive force or resistance. Additionally, the safety reversing mechanism should function effectively, providing an added layer of security.
If you experience any issues or if the door does not operate as expected during the testing process, refer back to the earlier steps and make further adjustments accordingly.
Once you are satisfied with the performance of your garage door, you can proceed to the final step: fine-tuning the adjustments if necessary.
Step 7: Fine-tune if Necessary
After testing your garage door and making initial adjustments, you may find that further fine-tuning is necessary to achieve optimal performance. Fine-tuning involves making minor adjustments to the force, travel limits, or other settings to ensure that the door operates smoothly and safely. Follow these steps to fine-tune your garage door opener:
- Identify any specific issues or areas that require improvement. This could include uneven movement, excessive noise, or slight misalignment of the door.
- Refer to your garage door opener’s user manual for guidance on troubleshooting common issues and fine-tuning adjustments.
- Based on the identified issues, make small and incremental adjustments to the appropriate settings. For example, if the door is slightly misaligned, you might need to make minor adjustments to the travel limits to ensure proper alignment.
- After each adjustment, test the door to assess the impact. Observe its movement, listen for any unusual noises, and check for any remaining issues.
- Continue fine-tuning and testing the door until you achieve the desired results – smooth and quiet operation, proper alignment, and efficient functioning.
It’s important to exercise caution while fine-tuning your garage door opener. Make one adjustment at a time and carefully observe the effect before making additional changes. Avoid making drastic or sudden adjustments, as they could lead to unintended consequences or damage to the door or opener.
If you encounter any difficulties or if you’re unsure about making the necessary adjustments, it’s recommended to consult a professional garage door technician who can provide expert guidance and assistance.
By fine-tuning your adjustments, you can ensure that your garage door opener operates optimally and provides reliable performance, extending the lifespan of your door and enhancing the overall convenience and safety of your garage.
Once you are satisfied with the final adjustments, you can conclude the process of adjusting your garage door opener.
Conclusion
Adjusting your garage door opener is a vital maintenance task that allows you to optimize the performance, safety, and longevity of your garage door. By following the step-by-step process outlined in this article, you can easily adjust your garage door opener and ensure that it operates smoothly and efficiently.
Remember to consult your garage door opener’s user manual for specific instructions and guidelines as different openers may have different adjustment mechanisms.
Through the adjustment process, you have learned how to determine the type of garage door opener you have, locate the adjustment controls, adjust the upward and downward forces, set the travel limits, test the door for smooth operation, and fine-tune the adjustments if necessary.
Properly adjusted garage door openers not only provide convenience but also prioritize safety. Ensuring that your garage door opener has the correct force, travel limits, and safety reversing mechanism is essential to prevent accidents and protect your loved ones and belongings.
If you encounter any difficulties or if the adjustments do not resolve the issues with your garage door, consider seeking assistance from a professional garage door technician who can provide expert guidance and support.
Regularly inspecting and maintaining your garage door, including adjusting the opener, will help preserve its functionality and prevent costly repairs in the long run. By taking the time to adjust your garage door opener, you can enjoy the benefits of a smoothly operating and reliable garage door for years to come.
So, don’t hesitate! Take the necessary steps to adjust your garage door opener and experience the convenience, safety, and peace of mind that a properly functioning garage door can provide.
Frequently Asked Questions about How To Adjust Garage Door Opener
Was this page helpful?
At Storables.com, we guarantee accurate and reliable information. Our content, validated by Expert Board Contributors, is crafted following stringent Editorial Policies. We're committed to providing you with well-researched, expert-backed insights for all your informational needs.


0 thoughts on “How To Adjust Garage Door Opener”