Articles
How To Set A Garage Door Opener
Modified: August 16, 2024
Learn how to set a garage door opener with our informative articles. Get step-by-step instructions and expert tips to ensure a smooth and hassle-free installation process.
(Many of the links in this article redirect to a specific reviewed product. Your purchase of these products through affiliate links helps to generate commission for Storables.com, at no extra cost. Learn more)
Introduction
Setting up a garage door opener is a crucial step to ensure the functionality and security of your garage. A properly installed and programmed opener allows you to conveniently open and close your garage door with a click of a button.
Whether you’re installing a new garage door opener or replacing an existing one, this article will guide you through the process, providing you with all the information you need to set up your garage door opener successfully.
Before we dive into the details, it’s important to note that different garage door openers may have slightly different setup procedures. Therefore, it’s always a good idea to consult the manufacturer’s instructions specific to your model. However, this article will provide you with a general overview that applies to most standard garage door opener installations.
So let’s get started!
Key Takeaways:
- Ensure compatibility, gather materials, and reset the opener to default settings before setting up your garage door opener. Test the opener thoroughly and follow manufacturer’s instructions for a smooth and secure installation process.
- Prioritize safety, follow the manufacturer’s instructions, and perform regular maintenance to ensure optimal performance of your garage door opener. Seek professional help if needed for a hassle-free setup.
Read more: How To Open A Chamberlain Garage Door Opener
Determine Compatibility
The first step in setting up a garage door opener is to determine its compatibility with your existing garage door system. Compatibility is crucial to ensure that the opener will work seamlessly with your door and avoid any complications or safety issues.
To determine compatibility, you need to consider a few factors:
- Garage door type: Is your garage door a sectional door, a canopy door, a roller door, or a swing-up door? Each type may require a different type of opener.
- Garage door weight and size: Measure the weight and dimensions of your garage door to ensure that the opener you choose is capable of lifting and supporting it.
- Power requirements: Check the power source requirements of the garage door opener. Ensure that your garage has a dedicated electrical outlet that meets the specified power requirements.
- Remote control compatibility: If you already have a remote control or keypad for your garage door, make sure that it is compatible with the new opener or consider purchasing a new one that is compatible.
Once you have determined the compatibility of the garage door opener with your door system, you can proceed with the setup process. If you are unsure about any of these factors or need assistance, it is recommended to consult a professional garage door installer or contact the manufacturer for guidance.
Remember, ensuring compatibility at the beginning will save you time and frustration down the line, and it will help to ensure the smooth and secure operation of your garage door opener.
Gather Materials
Before you begin setting up your garage door opener, it’s important to gather all the necessary materials and tools. Having everything prepared will make the installation process much smoother and more efficient.
Here’s a list of materials and tools you may need:
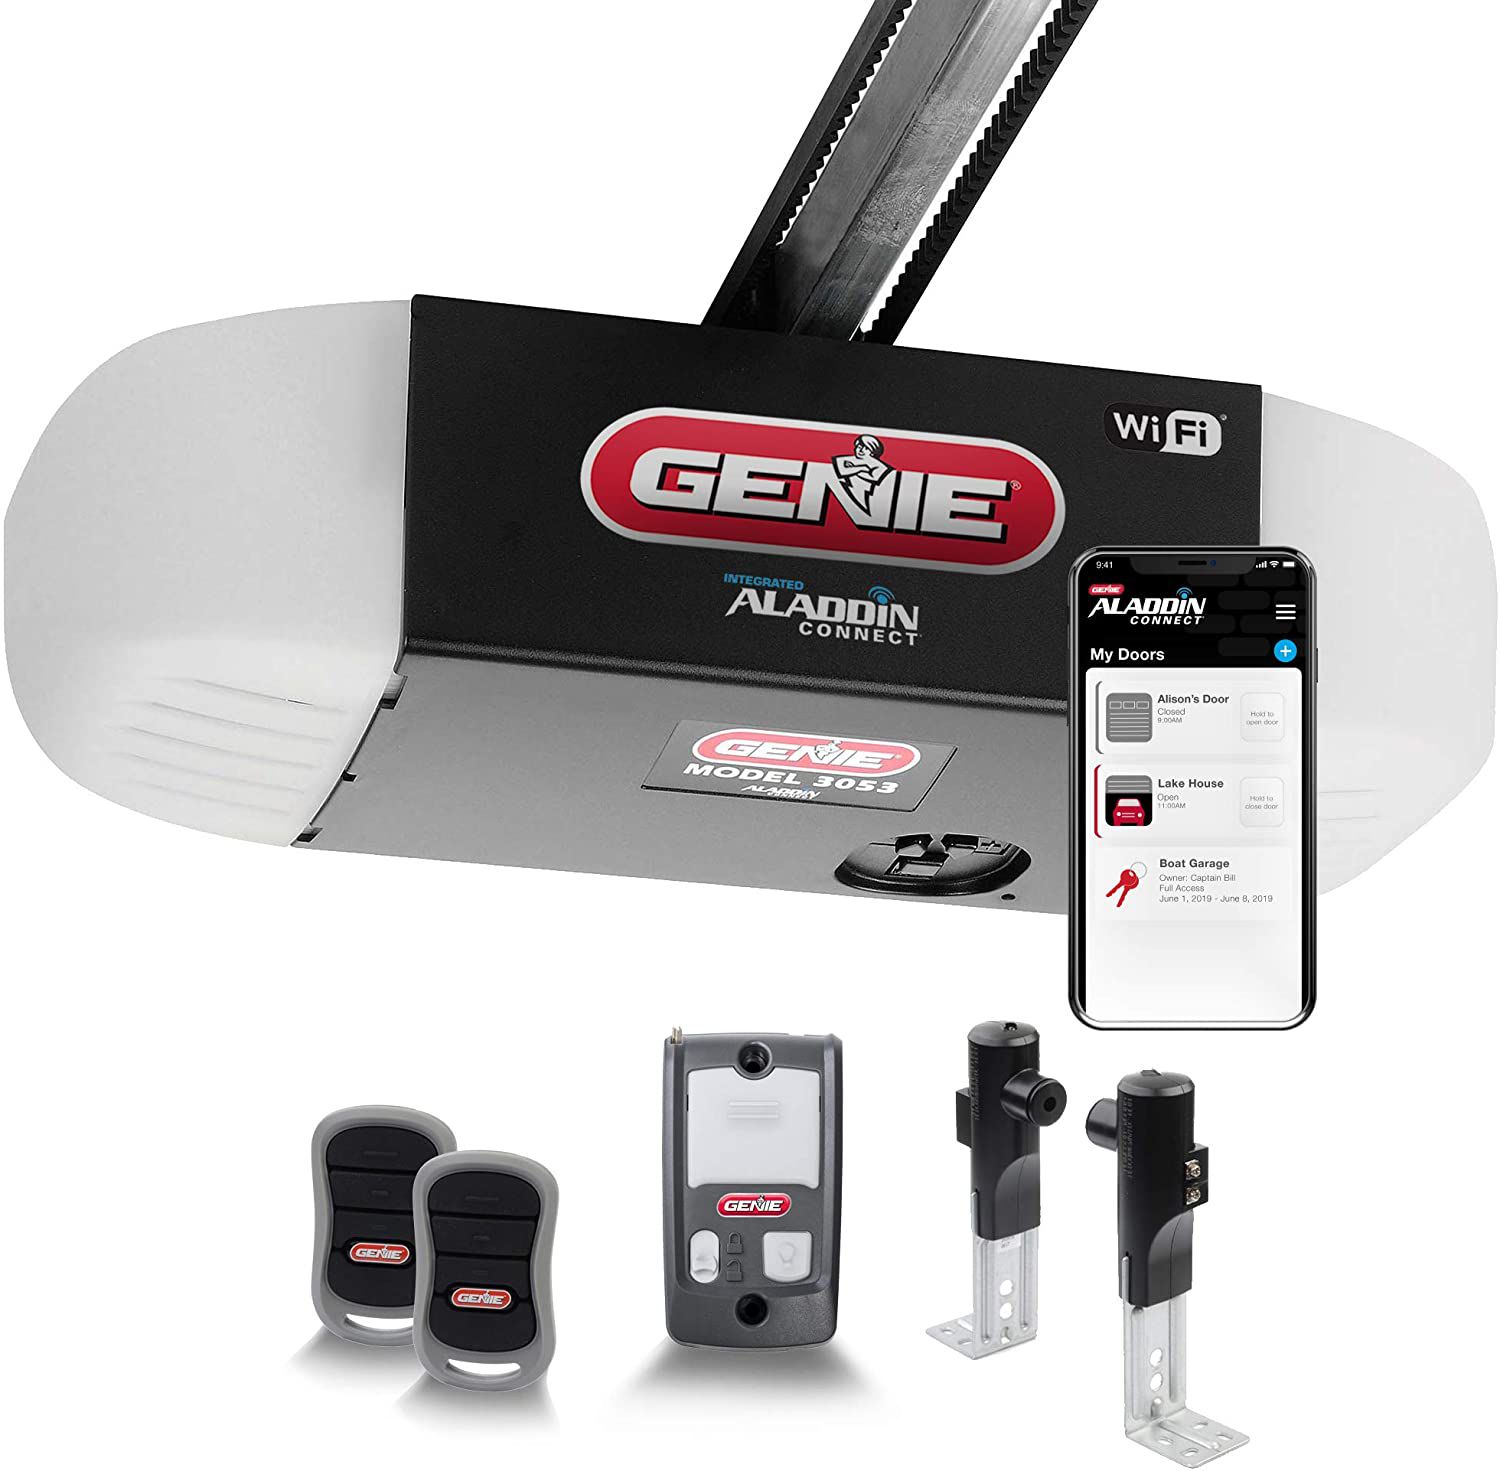
- Garage door opener: Ensure that you have the correct opener for your garage door type and size.
- Mounting brackets: These brackets will be used to secure the opener to the ceiling or wall of your garage.
- Remote control: If your opener did not come with a remote control, make sure to have one that is compatible with your specific opener model.
- Keypad: A keypad allows you to enter a code to open and close the garage door. If you want this feature, make sure to have a compatible keypad.
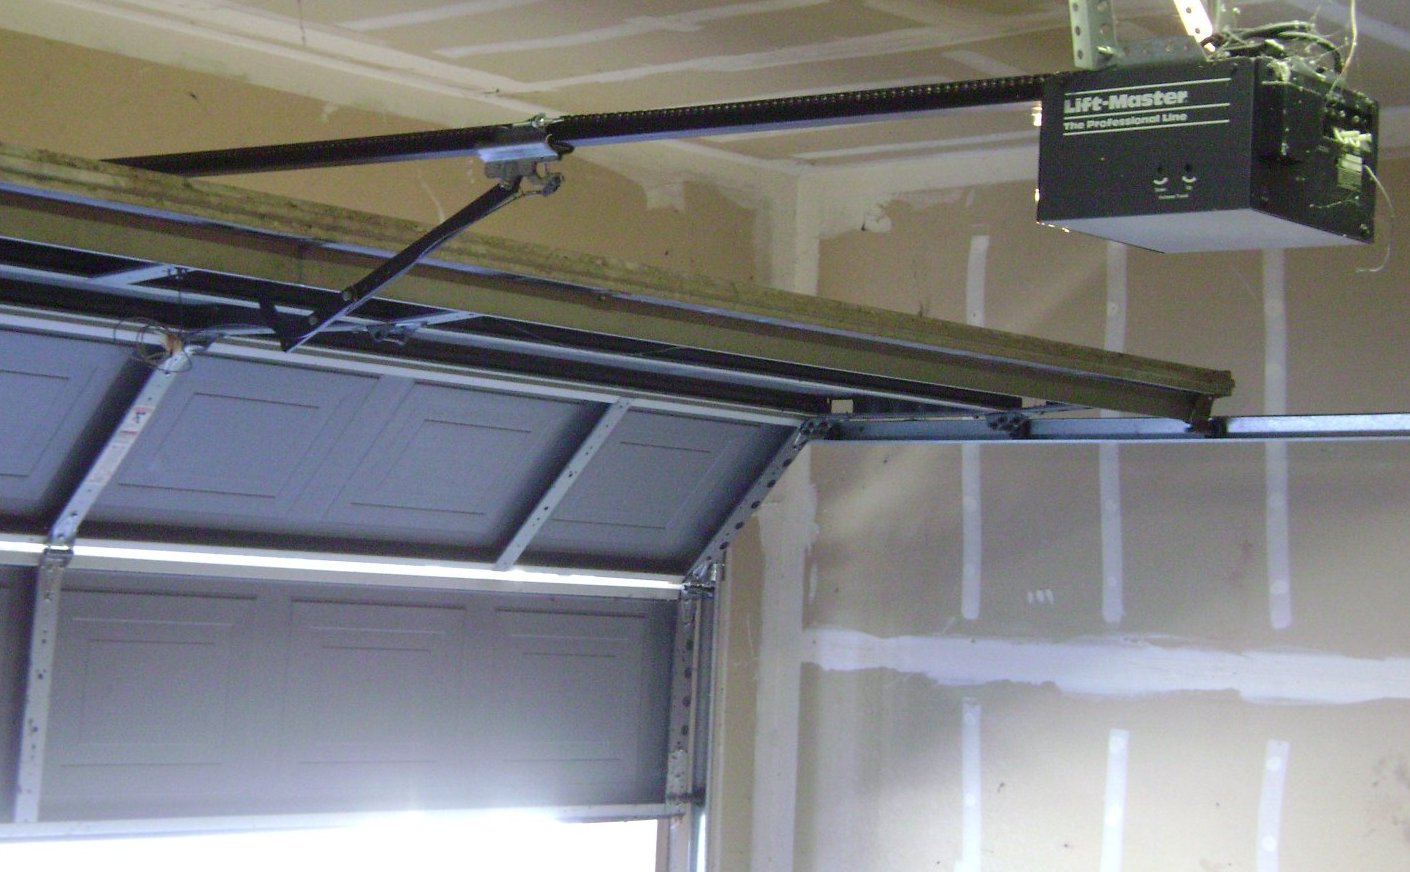
- Safety sensors: Safety sensors are an essential component of a garage door opener system. They detect any obstacles in the path of the closing door and prevent it from closing, ensuring safety.
- Mounting hardware: This includes screws, bolts, and nails needed to secure various components of the garage door opener system.
- Wiring: Depending on the system, you may need wiring to connect the opener to the power source and other components.
- Power drill: A power drill will be required to drill holes for mounting brackets and secure them to the ceiling or wall.
- Screwdriver: You’ll need a screwdriver for assembling various parts and securing screws.
- Measuring tape: This will be useful for measuring distances and ensuring accurate positioning during the installation process.
Make sure to check the instruction manual provided with your garage door opener for any additional materials or tools specific to your model. Having everything ready in advance will save you time and prevent any delays or interruptions during the installation process.
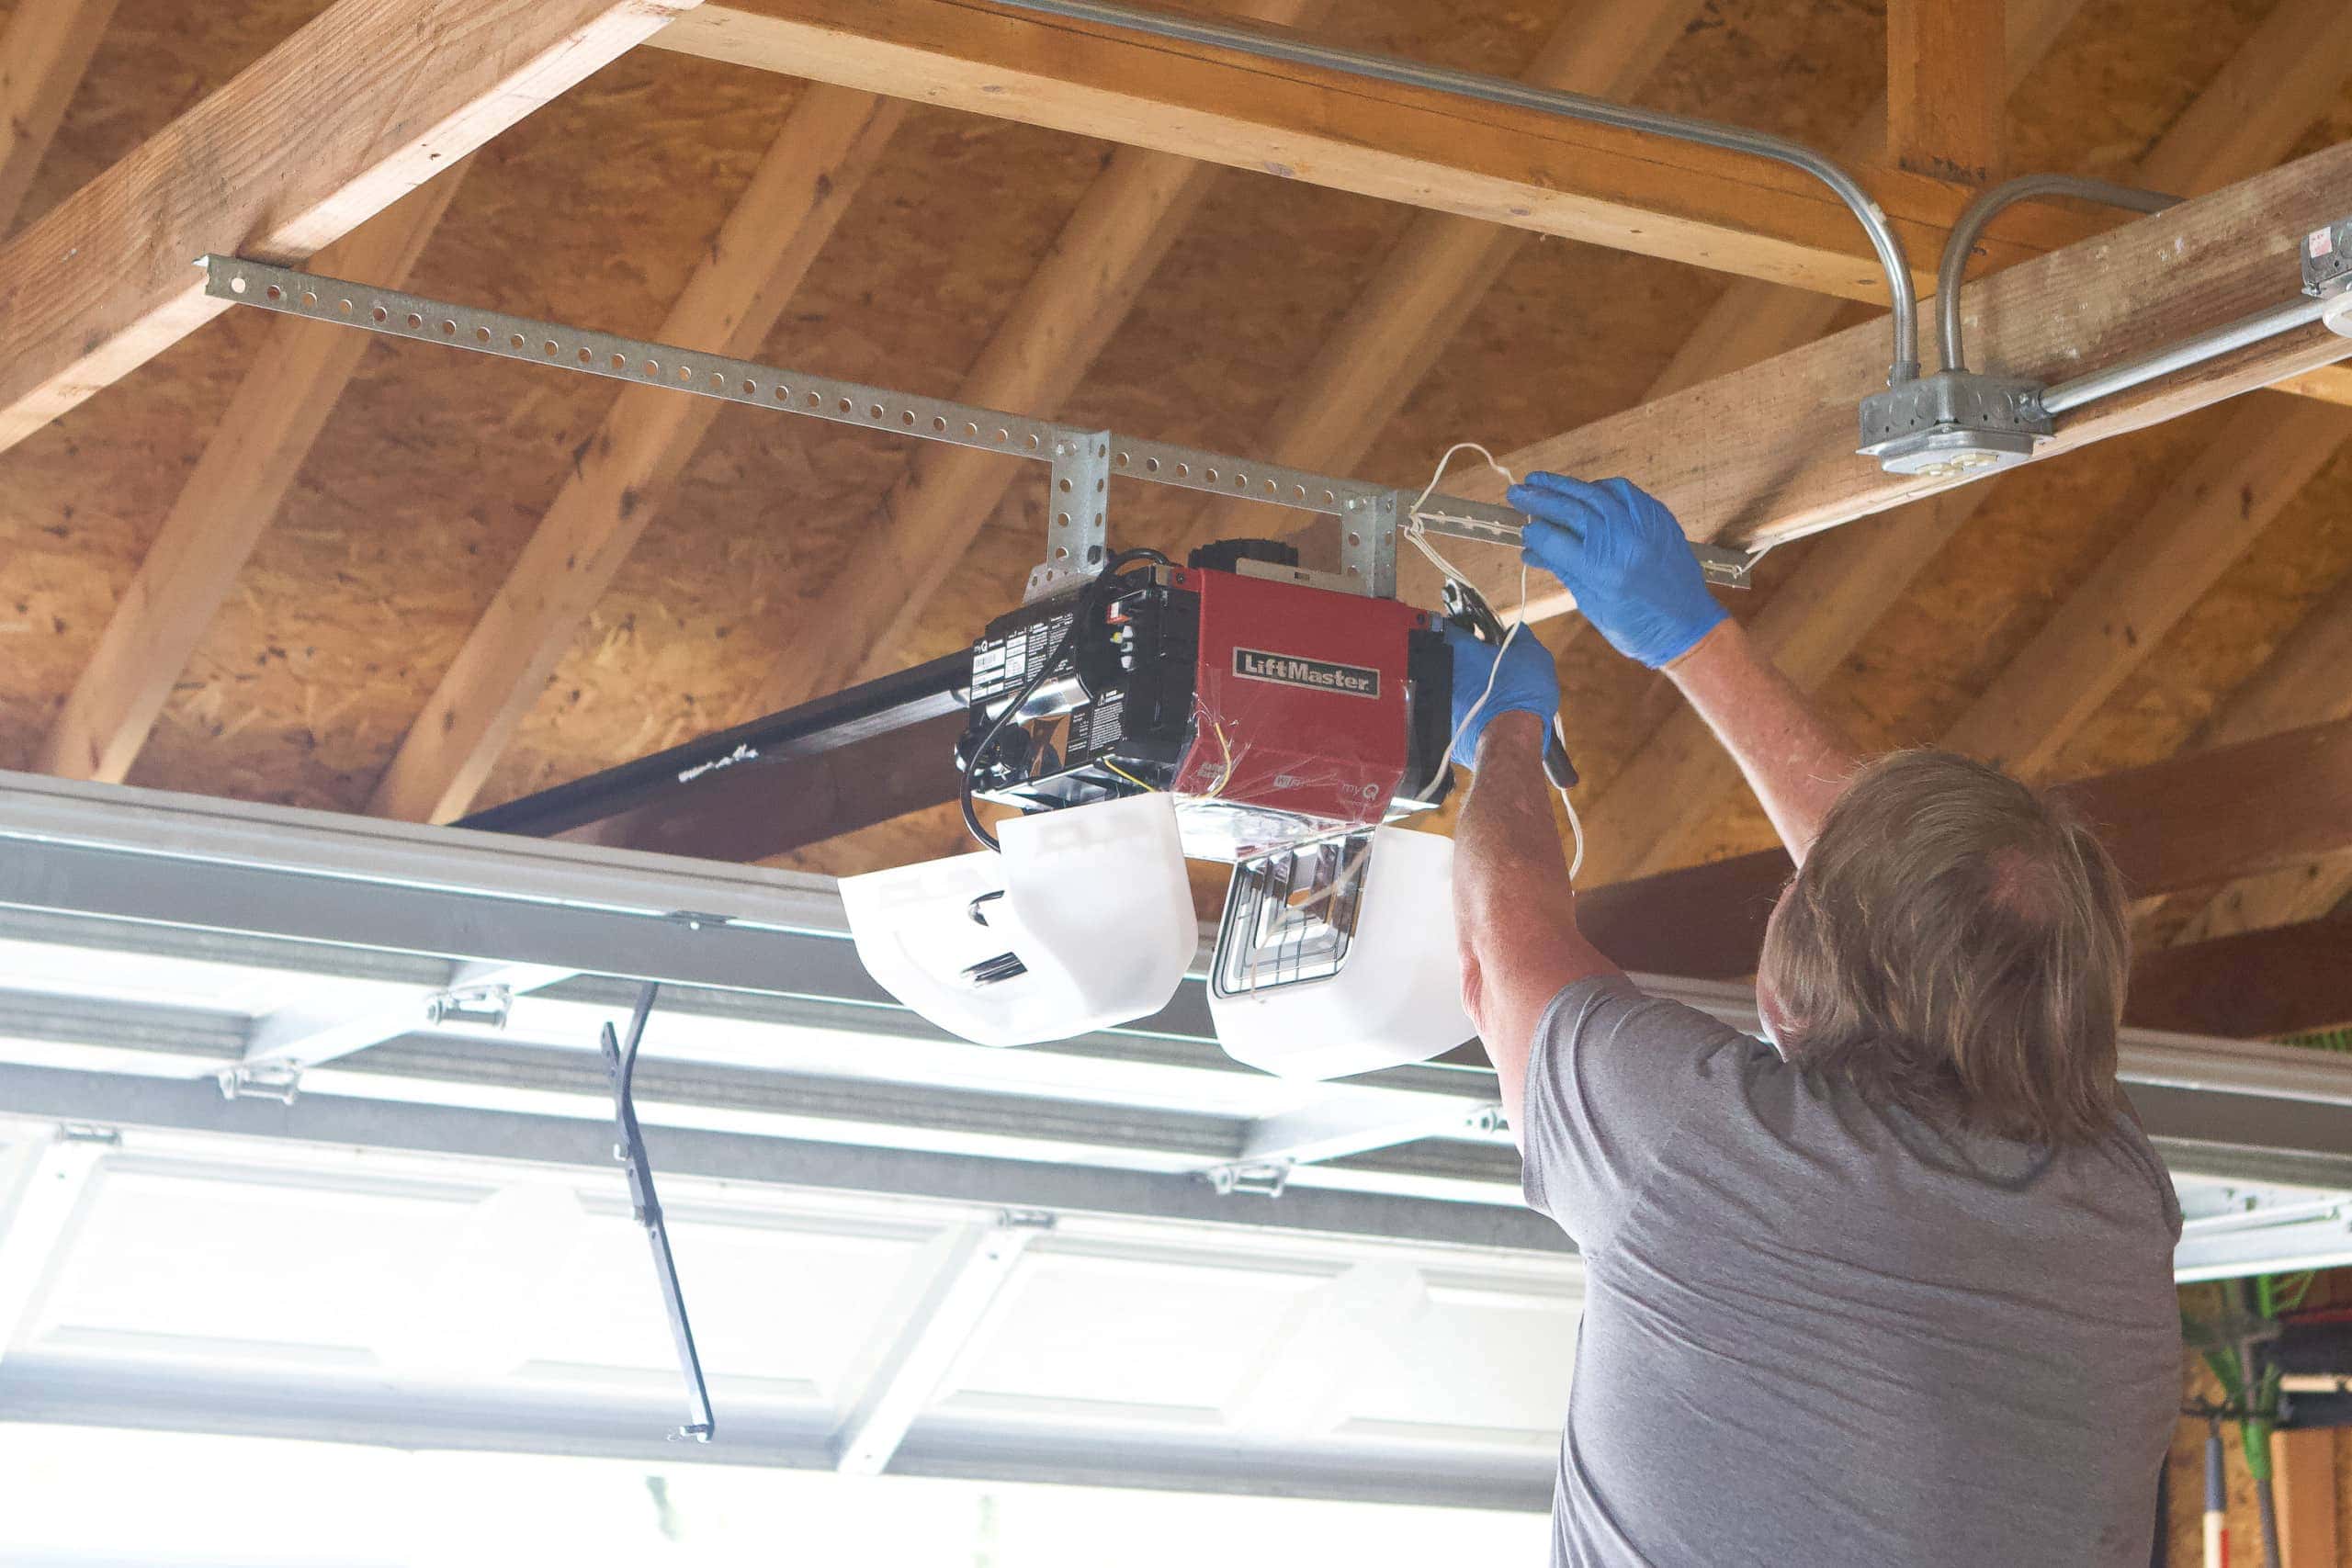
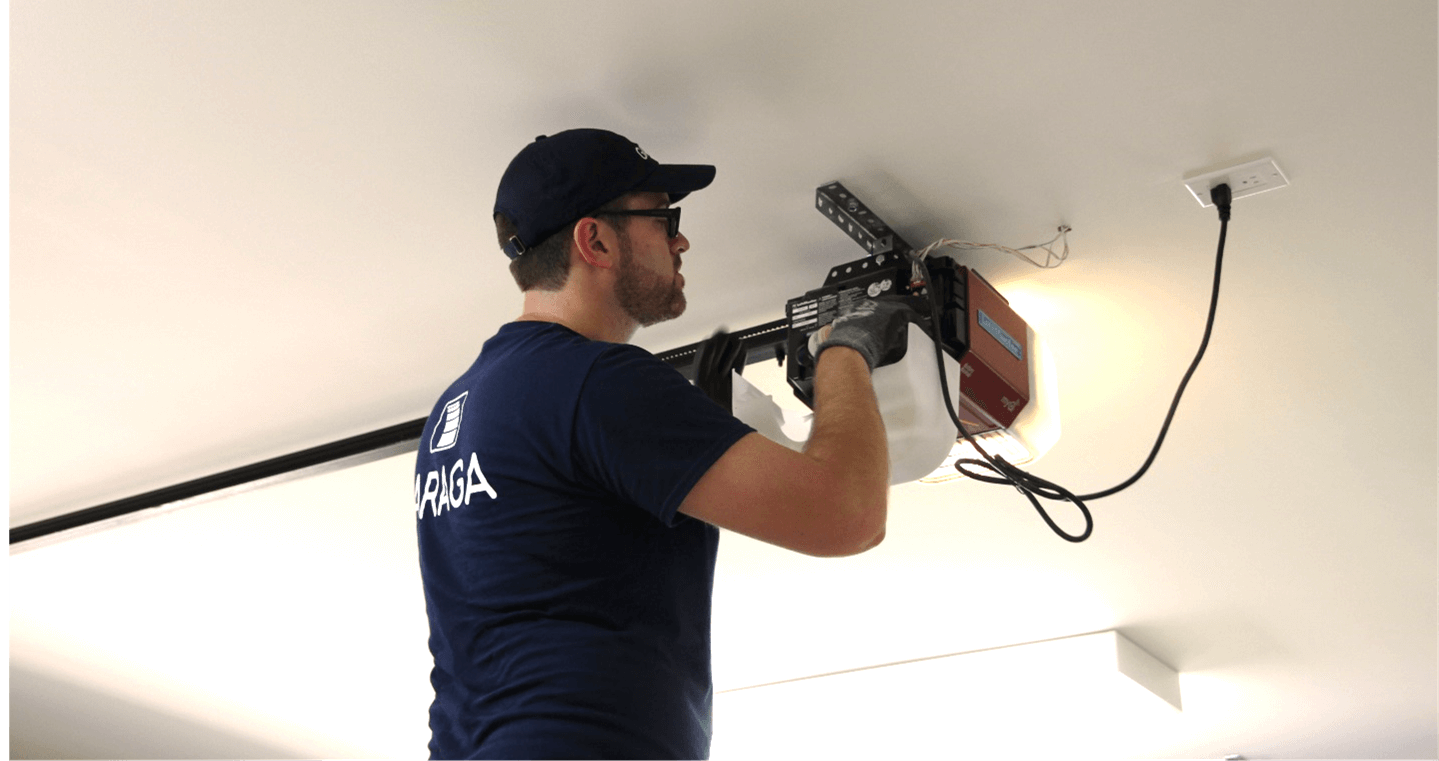
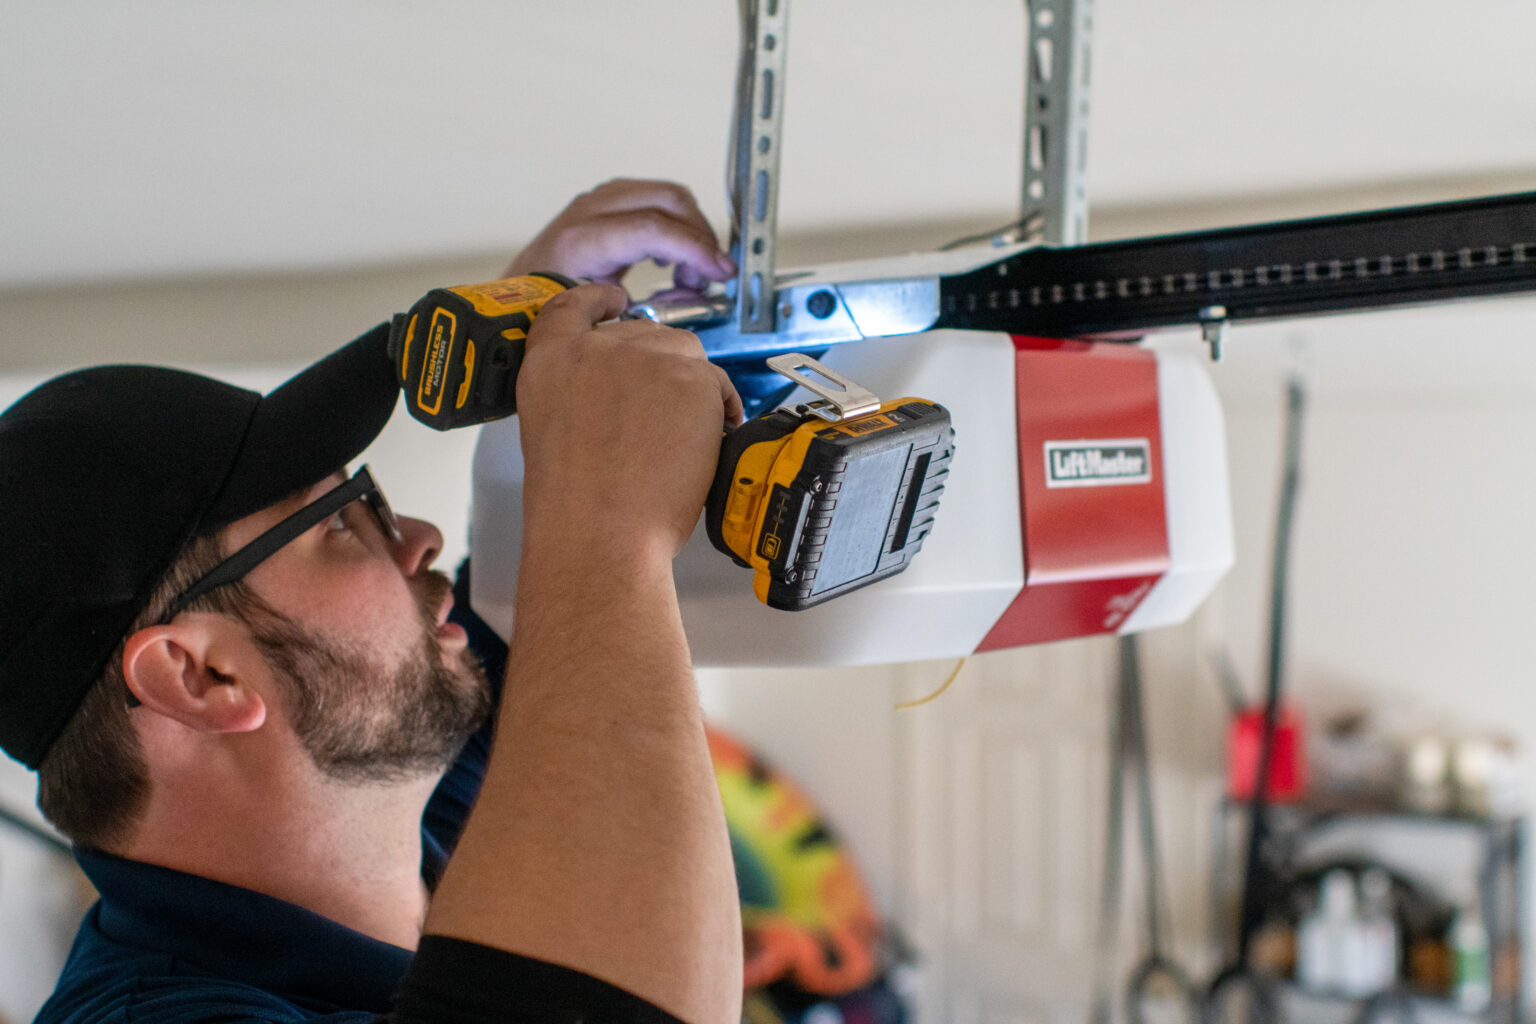
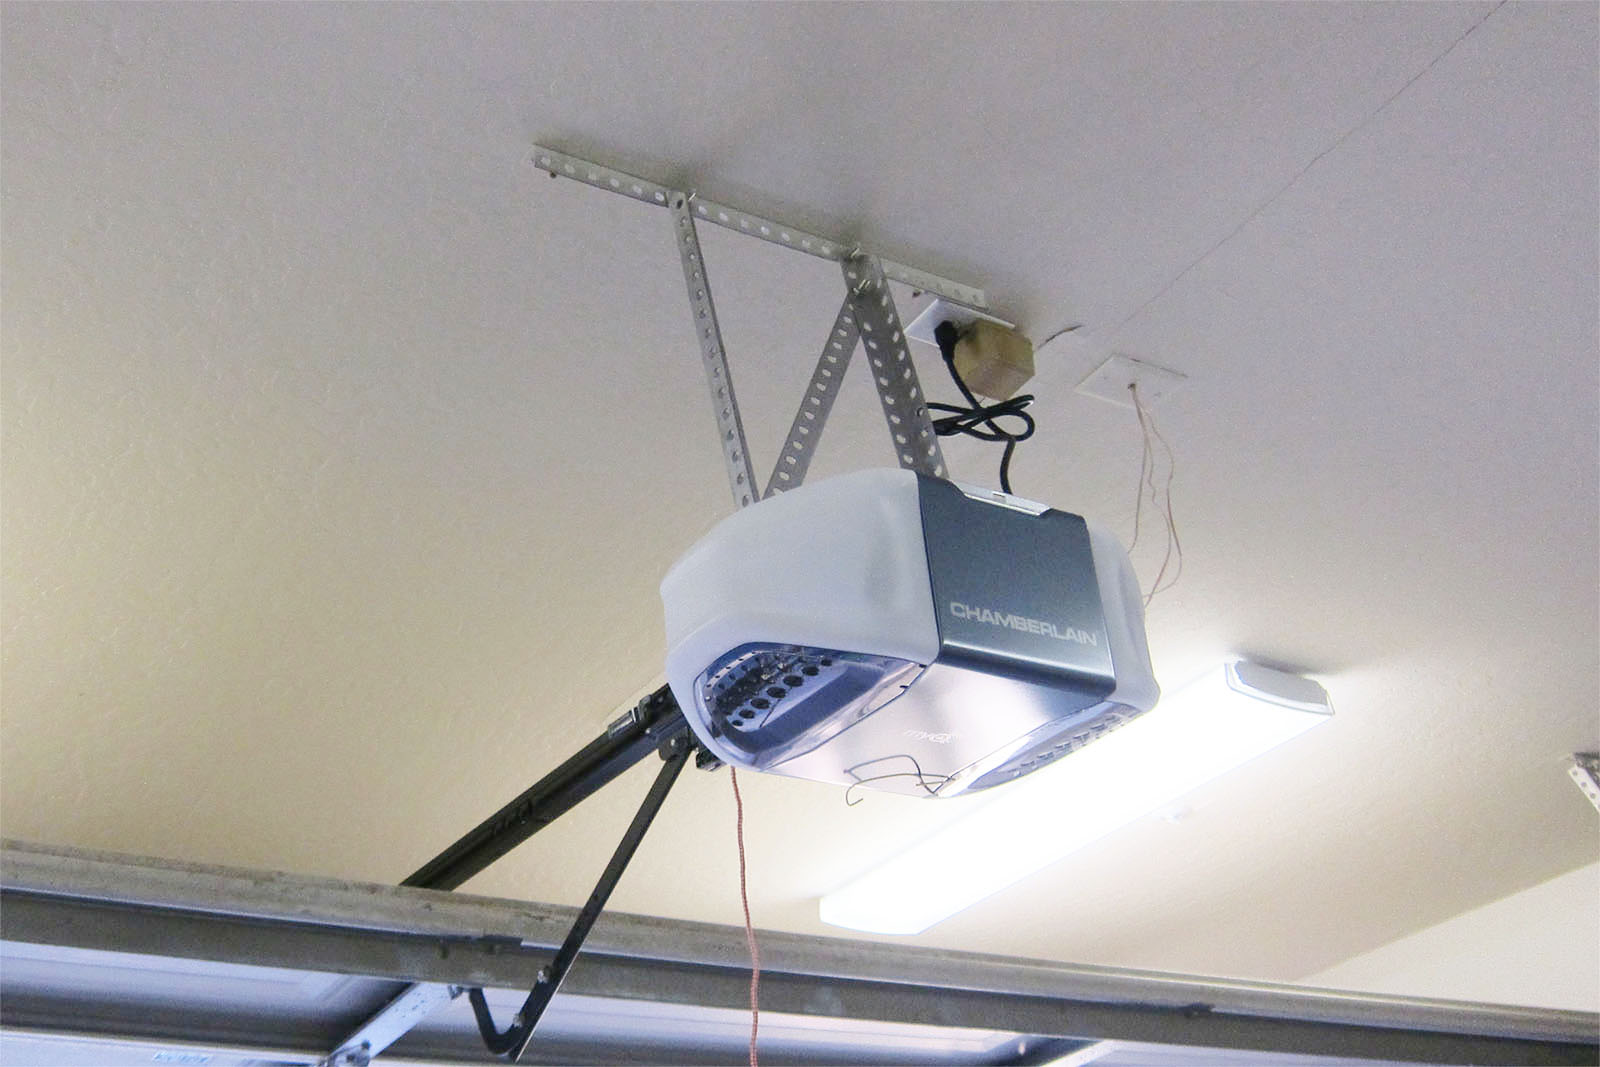
Reset the Garage Door Opener
Before proceeding with the setup of your garage door opener, it is essential to reset the opener to its default settings. This step is necessary to ensure that any previous programming or settings from the previous installation are cleared, allowing for a fresh start.
To reset the garage door opener, follow these steps:
- Locate the “Reset” button on the opener or the control panel. It is typically a small button, usually red or black.
- Press and hold the “Reset” button for about 10-15 seconds. You may need to use a pen or a small tool to press and hold the button properly.
- Release the “Reset” button once you see the lights on the opener flash or hear a beep sound, indicating that the reset process is complete.
After resetting the opener, it will revert to its default factory settings. This means that any previous programming, such as remote controls or entry codes, will be erased. You will need to reprogram and set up these features again during the next steps of the installation process.
If you are unsure about the specific steps to reset your garage door opener, refer to the manufacturer’s instructions provided with your model. The reset process may vary slightly depending on the make and model of your opener.
Resetting the garage door opener ensures a clean slate for the installation process, allowing you to configure and program it according to your preferences and requirements.
Make sure to read the instruction manual for your specific garage door opener model. It will provide step-by-step guidance for programming and setting up the opener.
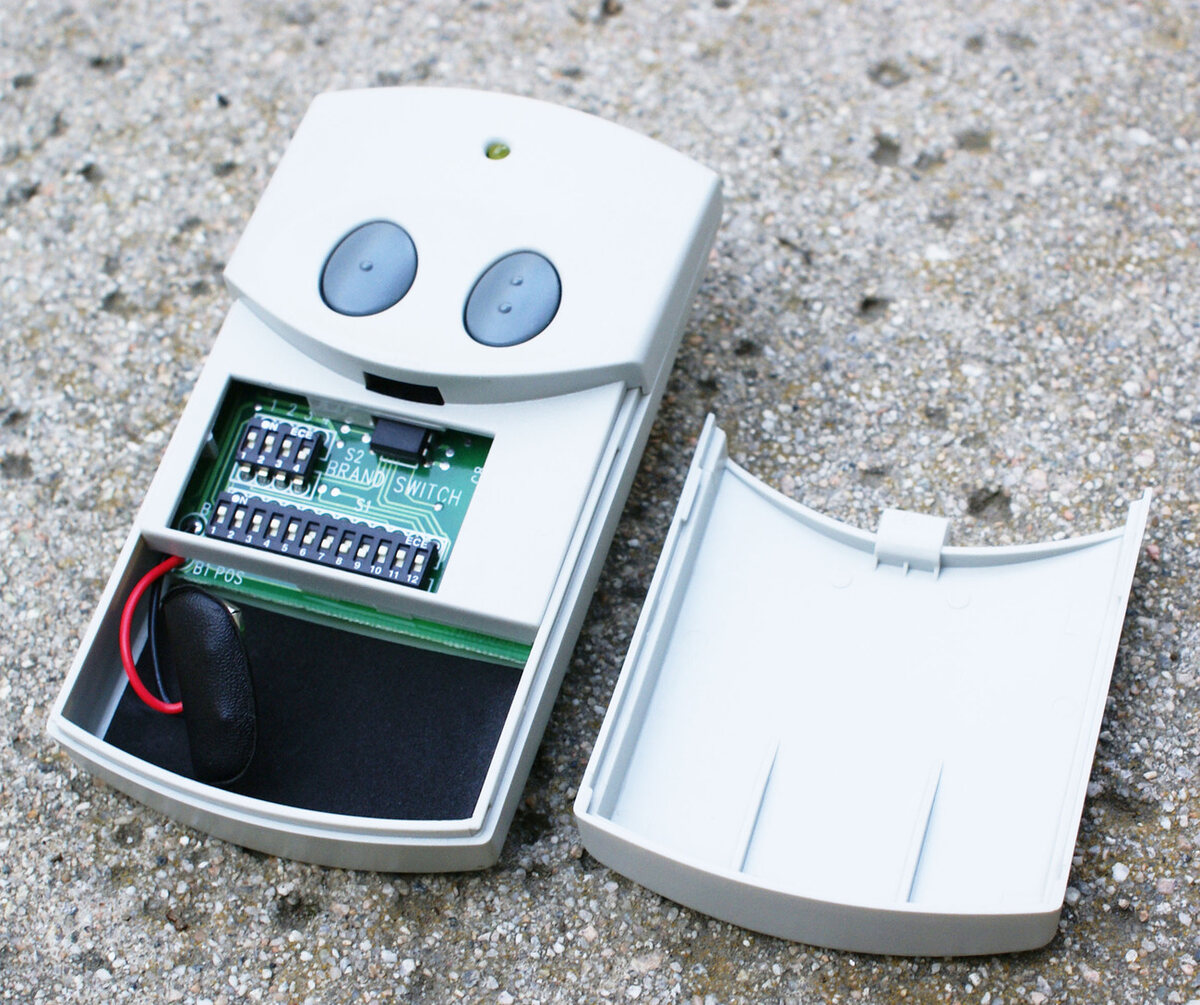
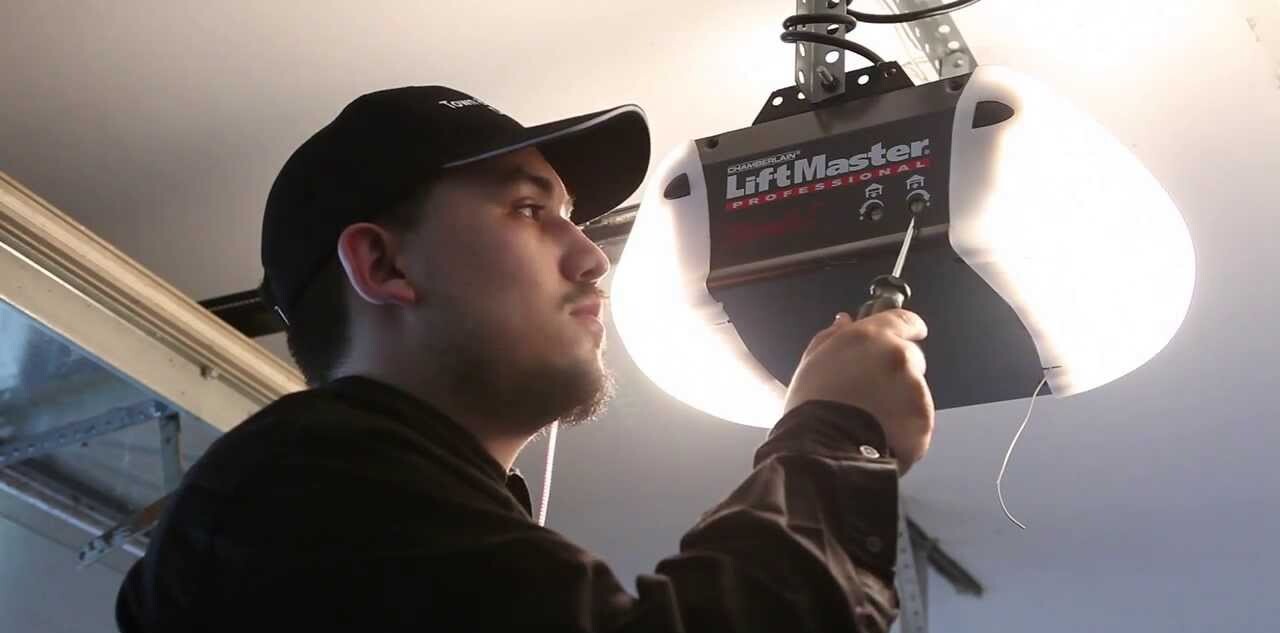
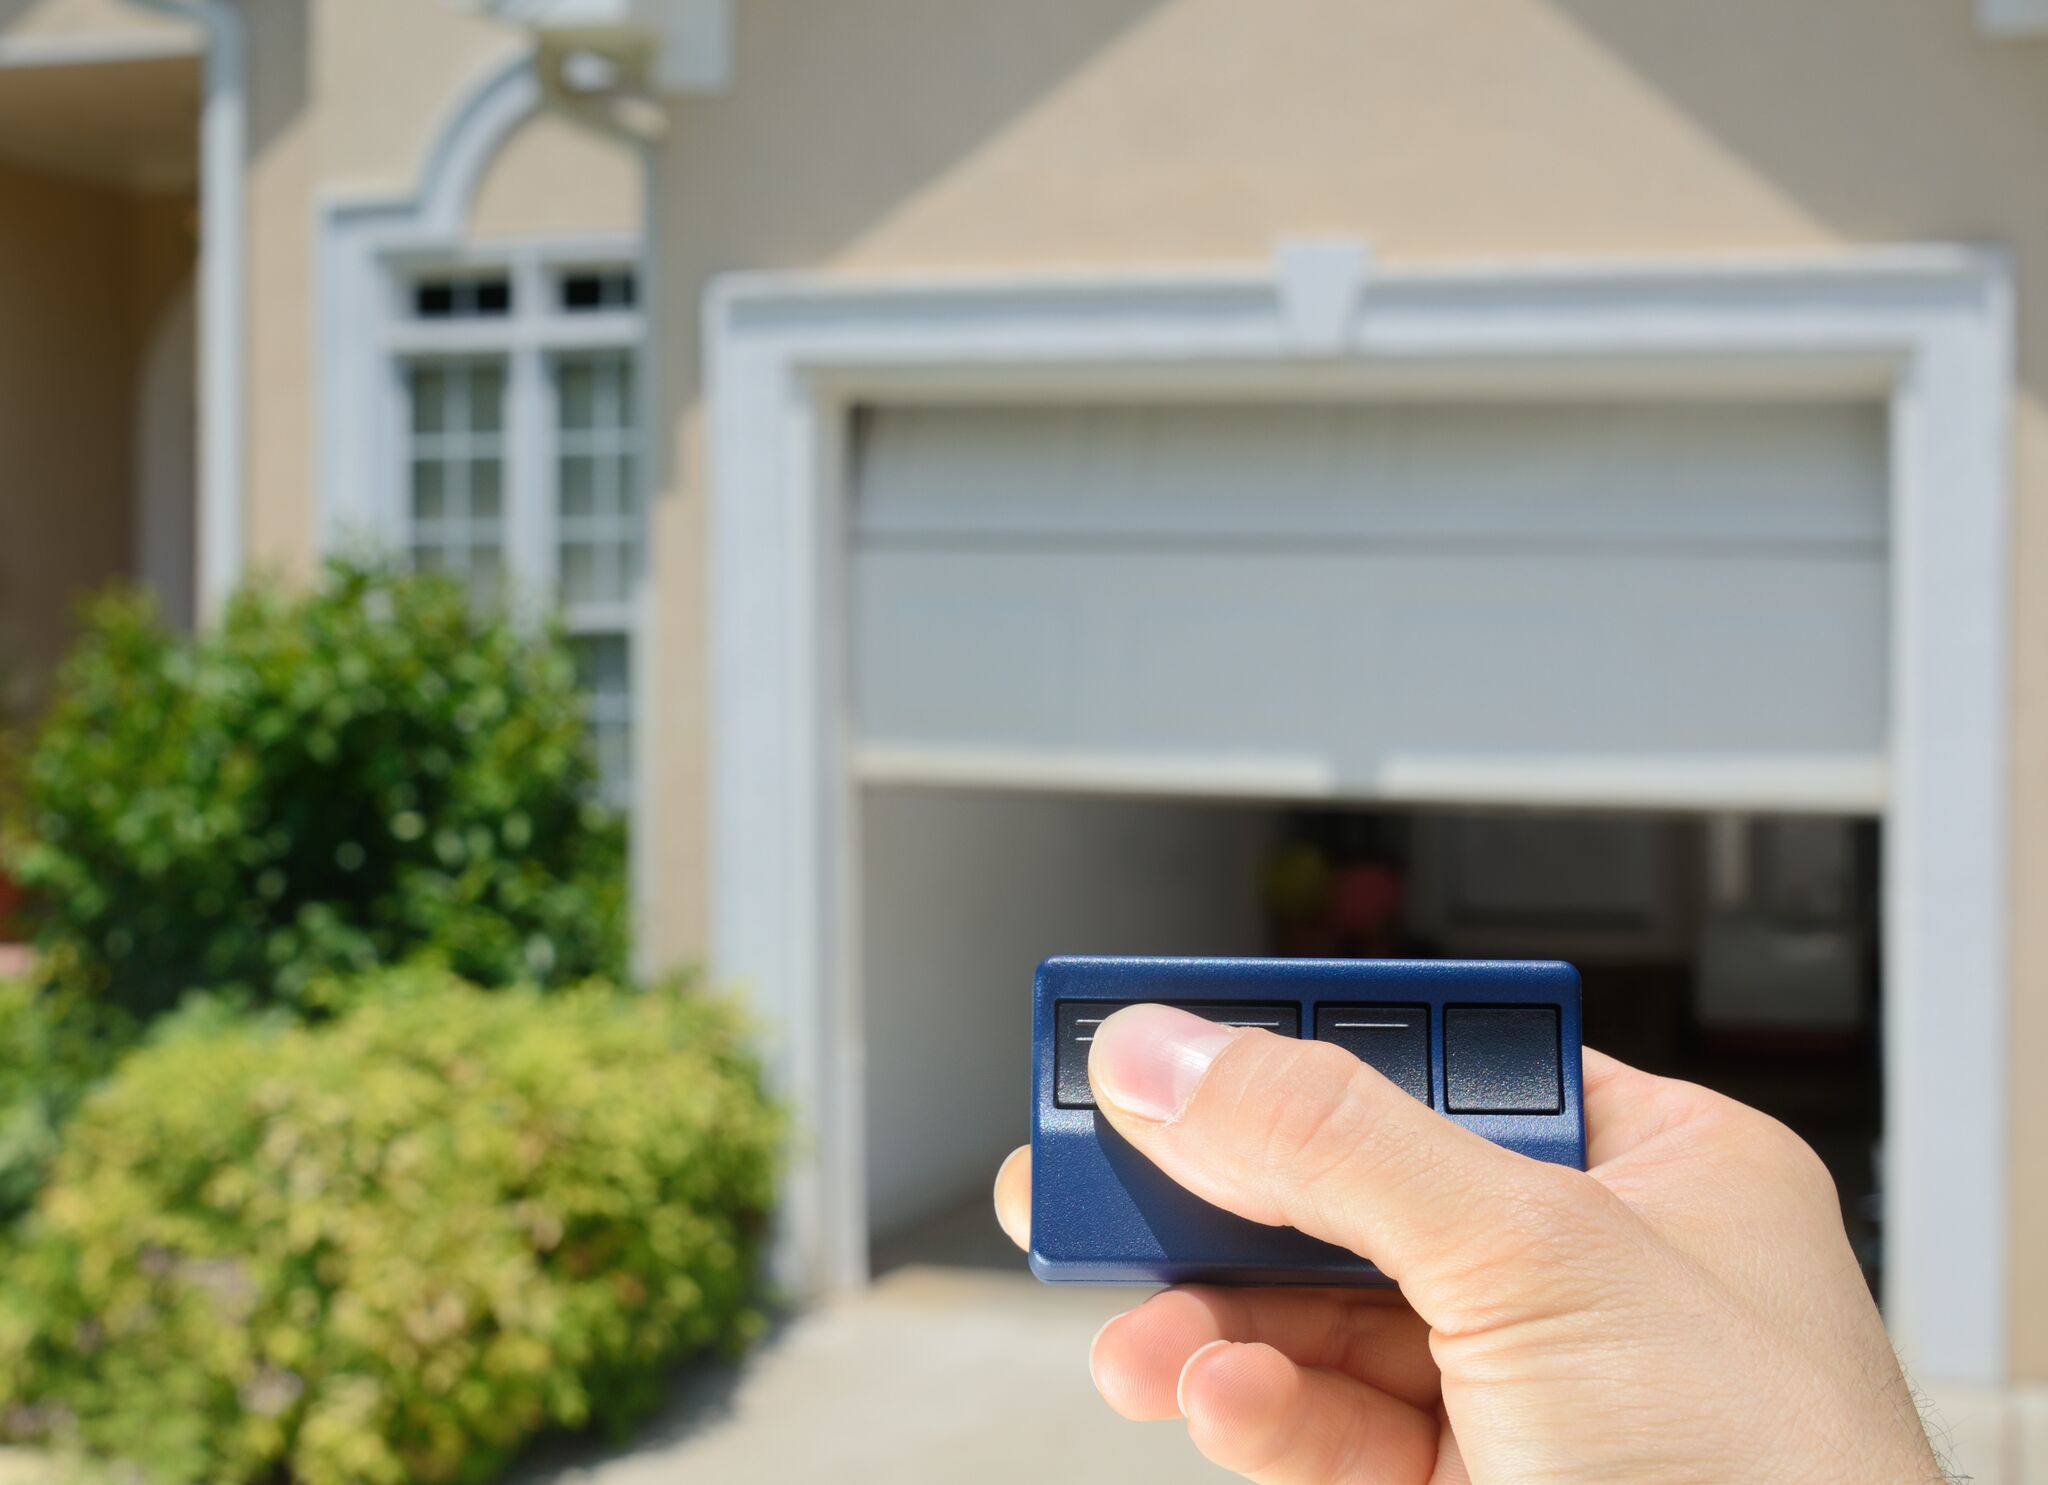
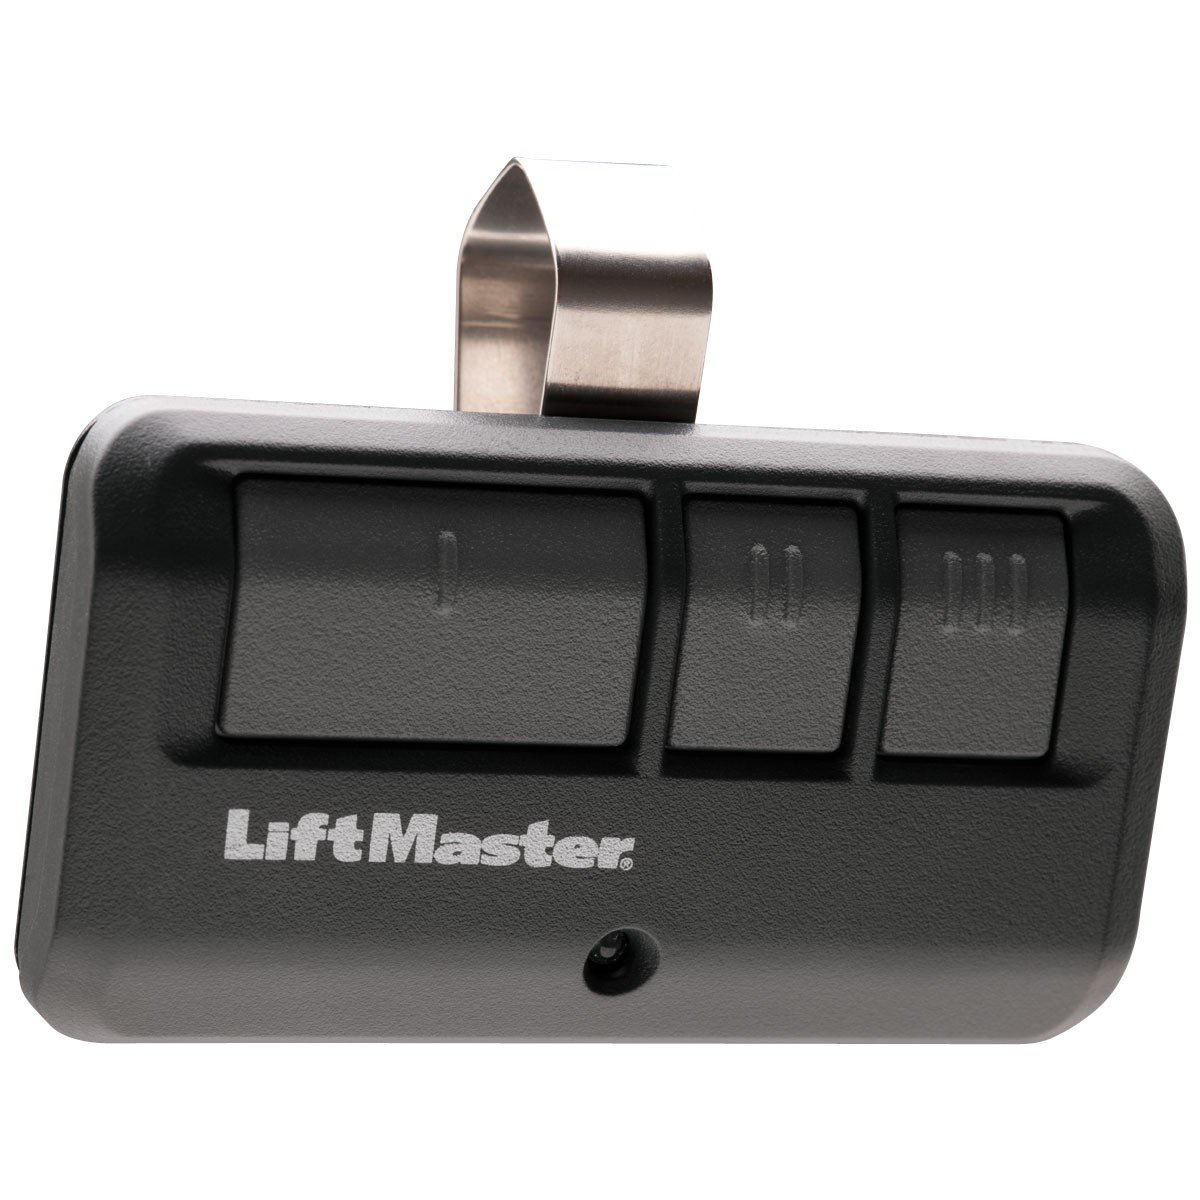
Set Up the Remote Control
Once you have reset the garage door opener, it’s time to set up the remote control that will be used to open and close the garage door.
Here are the steps to set up the remote control:
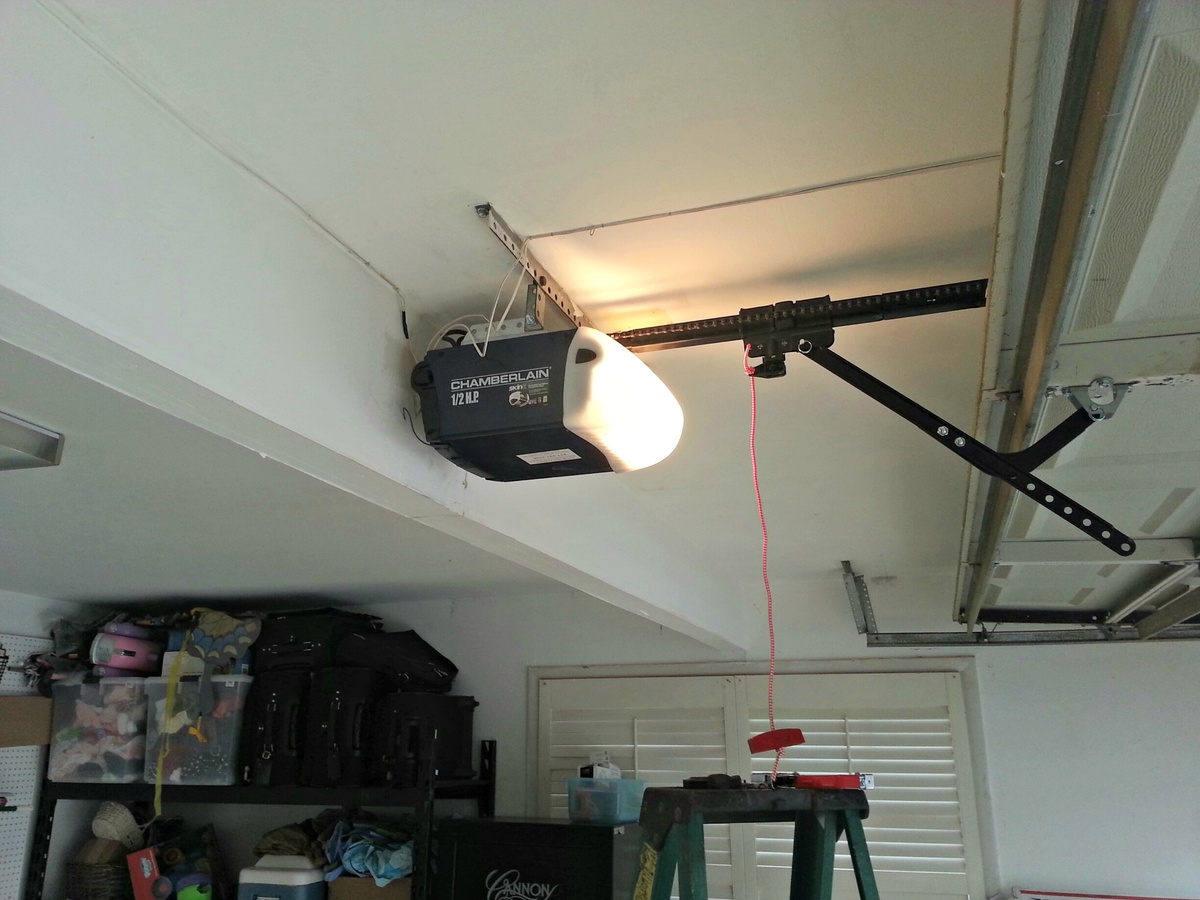
- Locate the “Learn” or “Program” button on the garage door opener. This button is usually located on the back or side of the opener, near the motor.
- Press and release the “Learn” or “Program” button. Look for an indicator light on the opener that starts blinking, indicating that it is in programming mode.
- Within 30 seconds of pressing the “Learn” or “Program” button, press the button on the remote control that you want to use to operate the garage door.
- If successful, the indicator light on the opener will either stay lit or blink a few times to confirm that the remote control has been programmed.
- Repeat this process for each remote control you want to program to the garage door opener.
It’s important to note that the specific steps for programming the remote control may vary depending on the brand and model of your opener. Always refer to the instruction manual provided by the manufacturer for detailed instructions if needed.
Once you have successfully programmed the remote control, test it by pressing the button to open and close the garage door. Ensure that the remote control is working correctly and that the garage door responds as expected.
In addition to the remote control, you may also have the option to set up a wireless keypad for convenient entry without a remote. The process for setting up a keypad will vary depending on the model, so consult the manufacturer’s instructions for guidance if necessary.
Setting up the remote control and keypad allows for effortless operation of the garage door by providing you with convenient access from outside the garage.
Read more: How Much Is A Garage Door Opener
Test the Garage Door Opener
After setting up the remote control and completing the necessary programming, it’s crucial to test the garage door opener to ensure that it is functioning correctly and safely. Testing allows you to identify any potential issues and make any necessary adjustments before regular use.
Here’s how to test the garage door opener:
- Ensure that the area around the garage door is clear of any obstructions or objects that could interfere with its movement.
- Stand at a safe distance, away from the path of the garage door.
- Press the remote control button to close the garage door.
- Observe the movement of the door as it closes. It should move smoothly and without any jerking or unusual noises.
- As the garage door reaches the closed position, test the safety sensors by placing an object, such as a broom or a box, in the path of the door. The door should stop and reverse immediately upon detecting the obstruction.
- Press the remote control button again to open the garage door.
- Observe the movement of the door as it opens. Again, it should move smoothly and without any issues.
If you notice any problems during the testing process, try the following troubleshooting steps:
- Check the alignment of the safety sensors. If they are not lined up properly, adjust their position and ensure that nothing is blocking their path.
- Inspect the garage door tracks for any obstructions or debris that could hinder the smooth operation of the door.
- Ensure that the opener is securely mounted and that all screws and bolts are tight.
- If the problem persists, consult the manufacturer’s troubleshooting guide or contact their support for further assistance.
Testing the garage door opener is a critical step in ensuring that it functions properly and meets the required safety standards. By conducting thorough testing, you can have peace of mind knowing that your garage door operates smoothly and reliably.
Additional Tips and Troubleshooting
While setting up a garage door opener may seem straightforward, there are a few additional tips and troubleshooting steps that can help ensure a successful installation:
- Follow the manufacturer’s instructions: Every garage door opener may have specific requirements and steps for installation and programming. Always refer to the instruction manual provided by the manufacturer for accurate guidance.
- Securely mount the opener: Properly mount the opener to the ceiling or wall of your garage using the provided mounting brackets. Ensure that it is securely attached and stable to prevent any accidents or damages.
- Check the balance of the garage door: A well-balanced garage door will operate smoothly. If you notice any imbalance or difficulty in opening or closing the door, consult the manufacturer’s instructions on adjusting the door’s balance.
- Test the safety features: In addition to the safety sensors, modern garage door openers may come with auto-reverse mechanisms and emergency release cords. Test these features to ensure they are functioning properly.
- Keep the opener’s manual and warranty information: Store the manual and warranty information in a safe place for future reference. This will be helpful for troubleshooting and warranty-related queries.
- Regular maintenance: Perform routine maintenance on your garage door opener, such as lubricating moving parts and inspecting for wear and tear. This will help prolong its lifespan and ensure optimal performance.
- Consult a professional: If you encounter any complex issues or difficulties during the setup process, it is always recommended to seek the assistance of a professional garage door installer or contact the manufacturer’s support for guidance.
By following these additional tips and troubleshooting steps, you can ensure that your garage door opener is installed correctly, works smoothly, and meets all safety requirements. Remember, safety should always be a top priority when working with garage doors and their openers.
Conclusion
Setting up a garage door opener is a task that requires careful consideration and attention to detail. By following the steps outlined in this article, you can successfully install and program your garage door opener, allowing for convenient and secure access to your garage.
Remember to determine the compatibility of the opener with your garage door system before beginning the installation process. Gathering all the necessary materials and tools in advance will make the setup process smoother and more efficient.
Resetting the garage door opener to its default settings provides a clean slate for programming the remote control. Take the time to properly set up the remote control, ensuring that it is programmed to work with your opener.
Once everything is set up, it’s important to test the garage door opener to ensure its proper functioning and safety features. Troubleshoot any issues that may arise and consult the manufacturer’s instructions or seek professional help if needed.
Lastly, keep in mind the additional tips provided and perform regular maintenance to keep your garage door opener in optimal condition. By following these guidelines and prioritizing safety, you can enjoy the convenience and peace of mind that a well-functioning garage door opener brings.
Remember, if you are unsure about any aspect of the installation or encounter any difficulties, it is always recommended to consult a professional garage door installer or contact the manufacturer for assistance.
Frequently Asked Questions about How To Set A Garage Door Opener
Was this page helpful?
At Storables.com, we guarantee accurate and reliable information. Our content, validated by Expert Board Contributors, is crafted following stringent Editorial Policies. We're committed to providing you with well-researched, expert-backed insights for all your informational needs.


0 thoughts on “How To Set A Garage Door Opener”