Articles
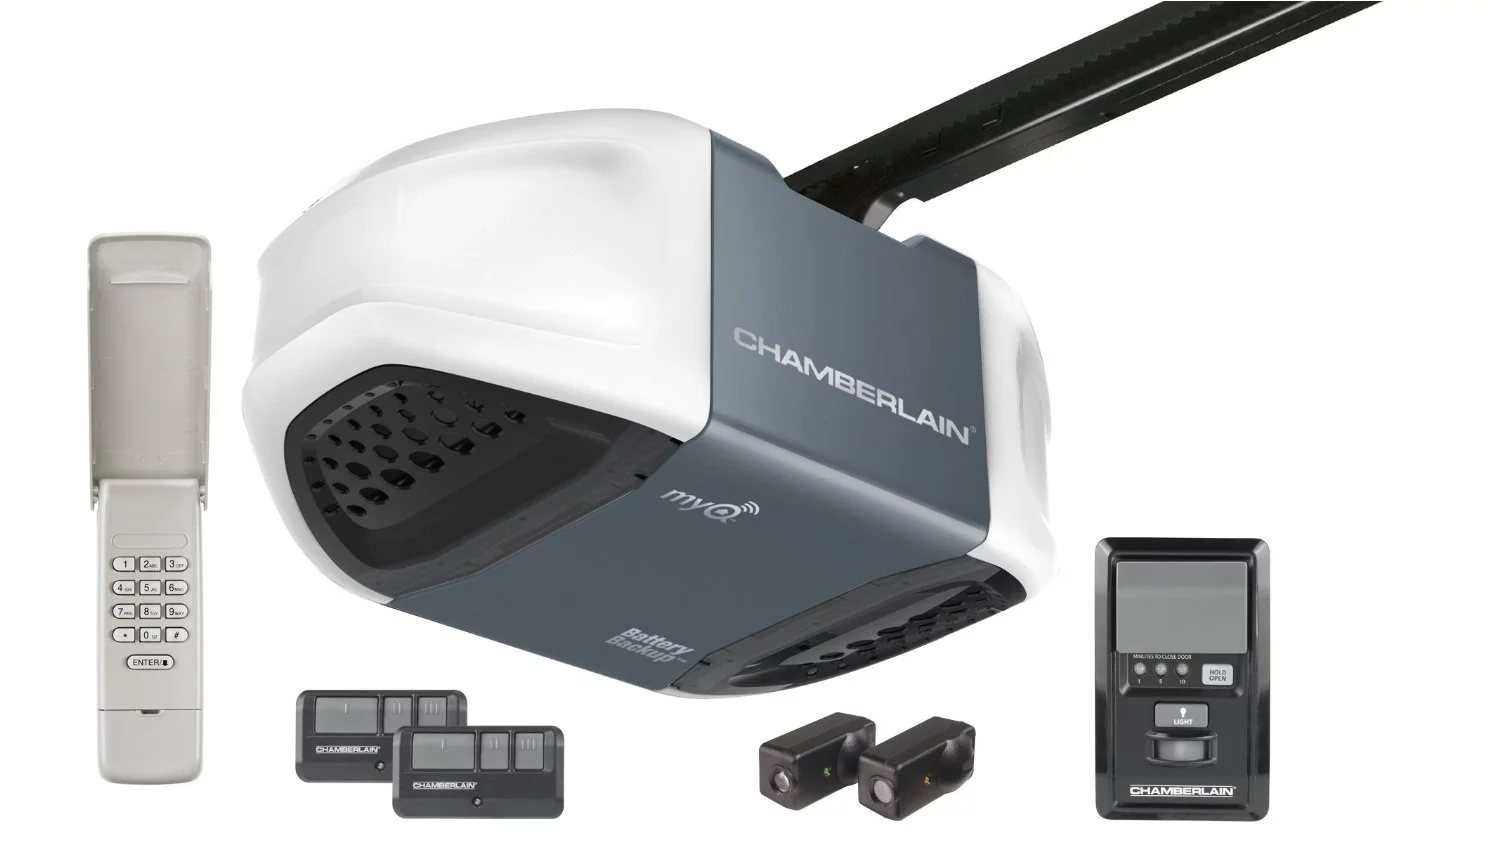
How To Wire Chamberlain Garage Door Opener
Modified: August 26, 2024
Learn how to wire your Chamberlain garage door opener with our informative articles. Get step-by-step instructions and expert tips to ensure a successful installation.
(Many of the links in this article redirect to a specific reviewed product. Your purchase of these products through affiliate links helps to generate commission for Storables.com, at no extra cost. Learn more)
Introduction
When it comes to wiring a Chamberlain garage door opener, it’s important to have a clear understanding of the process to ensure proper installation and functionality. Whether you’re a beginner or have some experience with electrical work, this article will guide you through the steps needed to successfully wire your Chamberlain garage door opener.
A garage door opener is an essential component of any modern garage, providing convenience and security. By wiring the opener correctly, you can effortlessly open and close your garage door with just a push of a button. However, it’s crucial to follow the manufacturer’s instructions and safety precautions to avoid any potential hazards and ensure a trouble-free operation.
In this article, we will provide a step-by-step guide on how to wire a Chamberlain garage door opener. From gathering the necessary tools and materials to connecting the wires and testing the wiring connection, we will cover all the essential aspects to help you complete the wiring process with confidence.
Before we dive into the step-by-step instructions, it’s important to note that working with electricity can be dangerous if proper precautions are not taken. If you’re unsure about any aspect of the wiring process, consult a qualified electrician to ensure your safety.
With that being said, let’s get started with the first step: gathering the required tools and materials.
Key Takeaways:
- Properly wiring a Chamberlain garage door opener requires gathering the right tools, turning off the power, and securely connecting and testing the wires. Following the manufacturer’s instructions and safety precautions is crucial for a successful installation.
- After successfully wiring your Chamberlain garage door opener, enjoy the convenience and security of automated garage door operation. Always prioritize safety and refer to the manual for specific instructions and diagrams related to your model.
Read more: How To Open A Chamberlain Garage Door Opener
Step 1: Gather the Required Tools and Materials
Before you begin wiring your Chamberlain garage door opener, it’s crucial to gather all the necessary tools and materials to ensure a smooth and efficient installation process. Here are the items you’ll need:
- Chamberlain garage door opener
- Screwdriver (Phillips and flathead)
- Wire strippers
- Electrical tape
- Wire nuts
- Drill and drill bits (if required for mounting)
- Measuring tape
- Pencil or marker
- Safety goggles
- Work gloves
Ensure you have all the tools and materials listed above before you proceed. This will save you time and prevent any delays or interruptions during the installation process.
If you’re unsure about the specific tools or materials required for your Chamberlain garage door opener model, refer to the product manual or contact Chamberlain’s customer support for assistance. Having the correct tools and materials will contribute to a successful and safe wiring installation.
Once you have all the necessary tools and materials ready, you’re prepared to move on to the next step: turning off the power to the garage door opener.
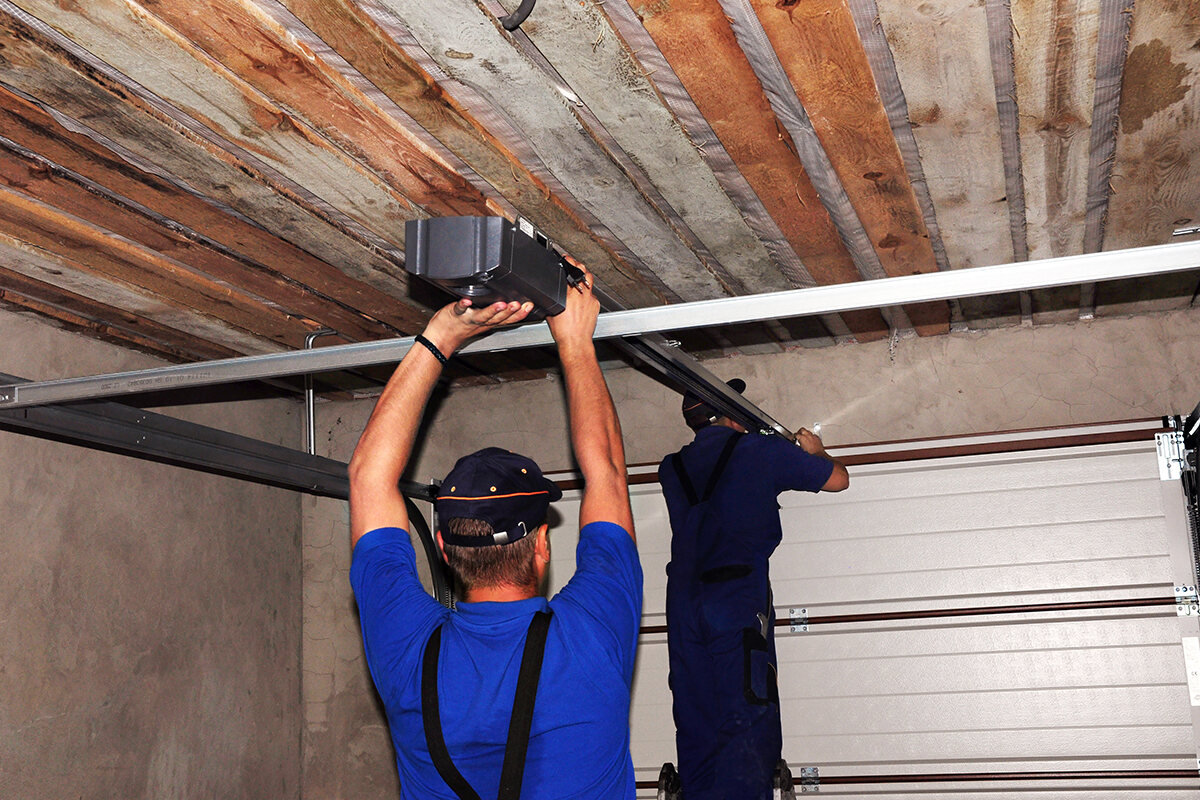
Step 2: Turn Off Power to the Garage Door Opener
Before you begin any electrical work, it is essential to disable the power supply to the garage door opener to prevent any accidents or electric shocks. Follow these steps to turn off the power:
- Locate the electrical panel or circuit breaker in your home. It is usually located in the garage, basement, or utility room.
- Look for the circuit breaker specifically labeled for the garage door opener. It may be labeled as “garage” or “GDO.”
- Switch off the circuit breaker by flipping it to the “Off” position.
- Remove any doubts about the power being off by testing the garage door opener to ensure it does not respond to any commands.
Turning off the power will protect you from any potential electrical hazards during the wiring process. Remember to exercise caution and double-check that the power is indeed switched off before proceeding.
Once you have disabled the power, you can continue with the next step: locating the terminal connection points on the garage door opener.
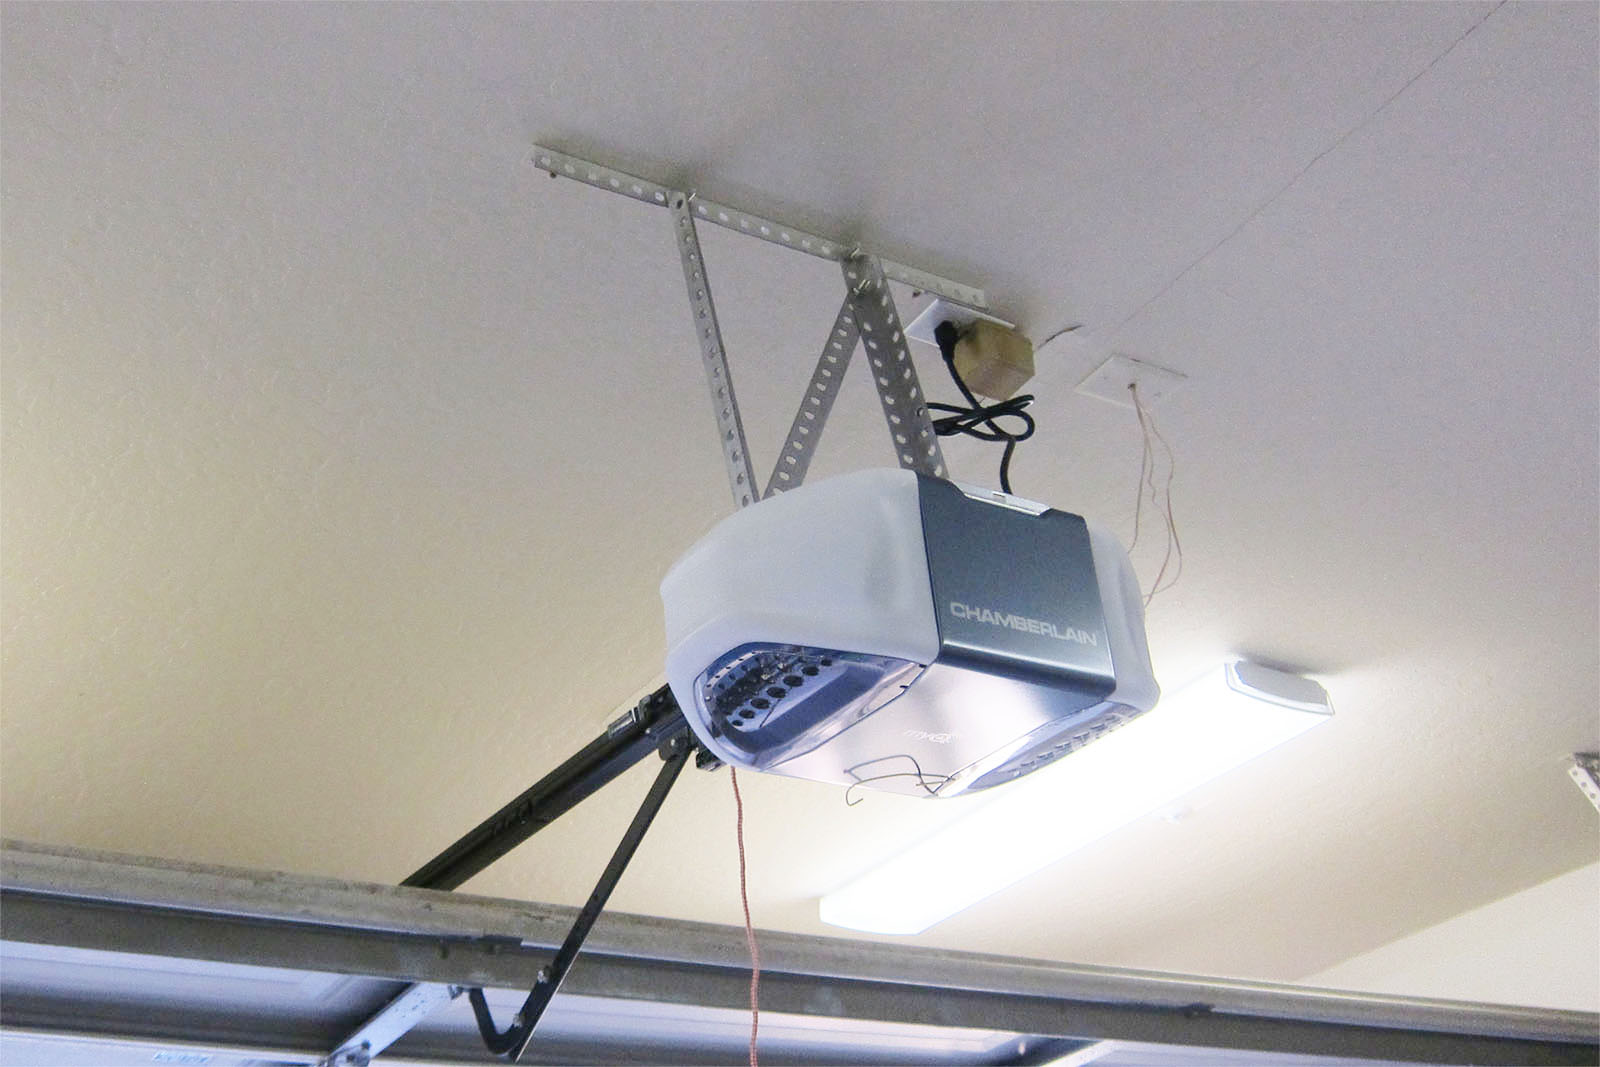
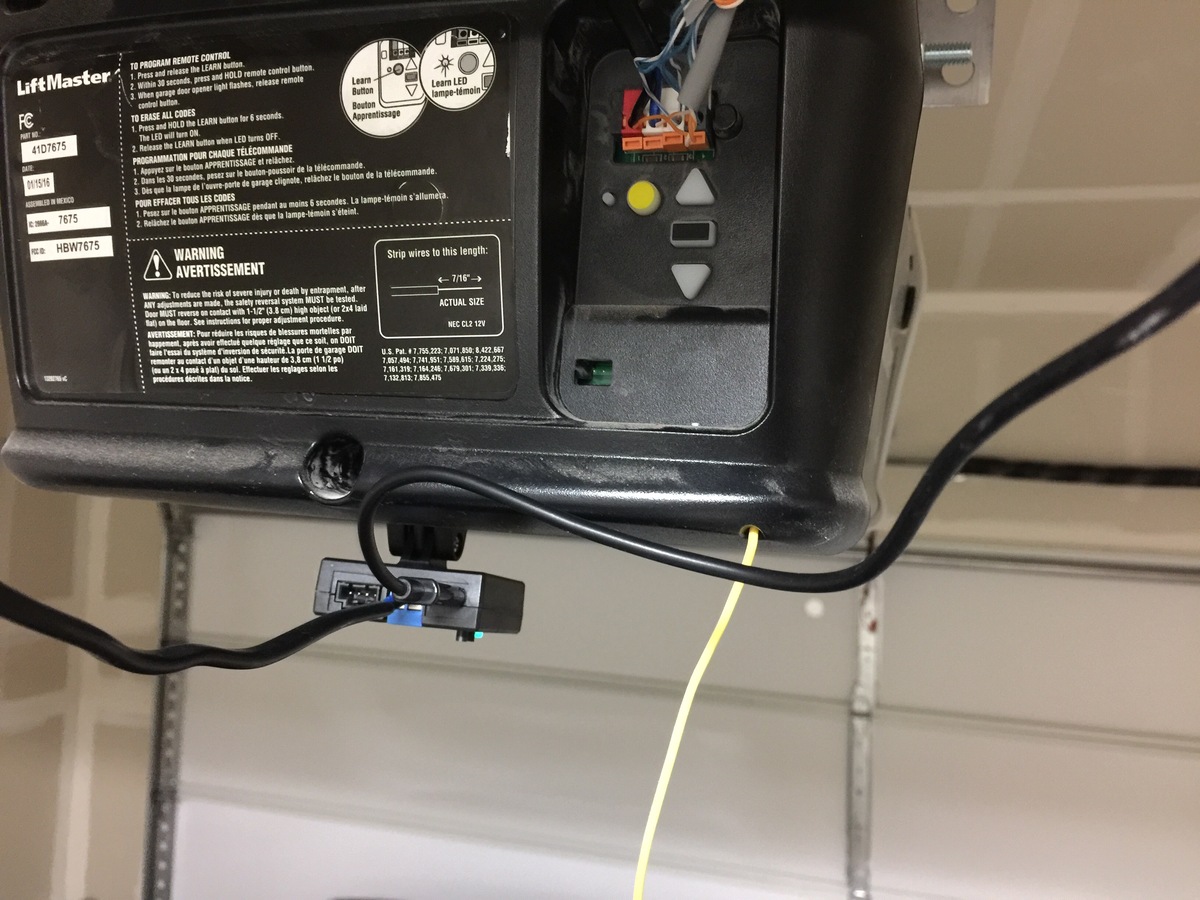
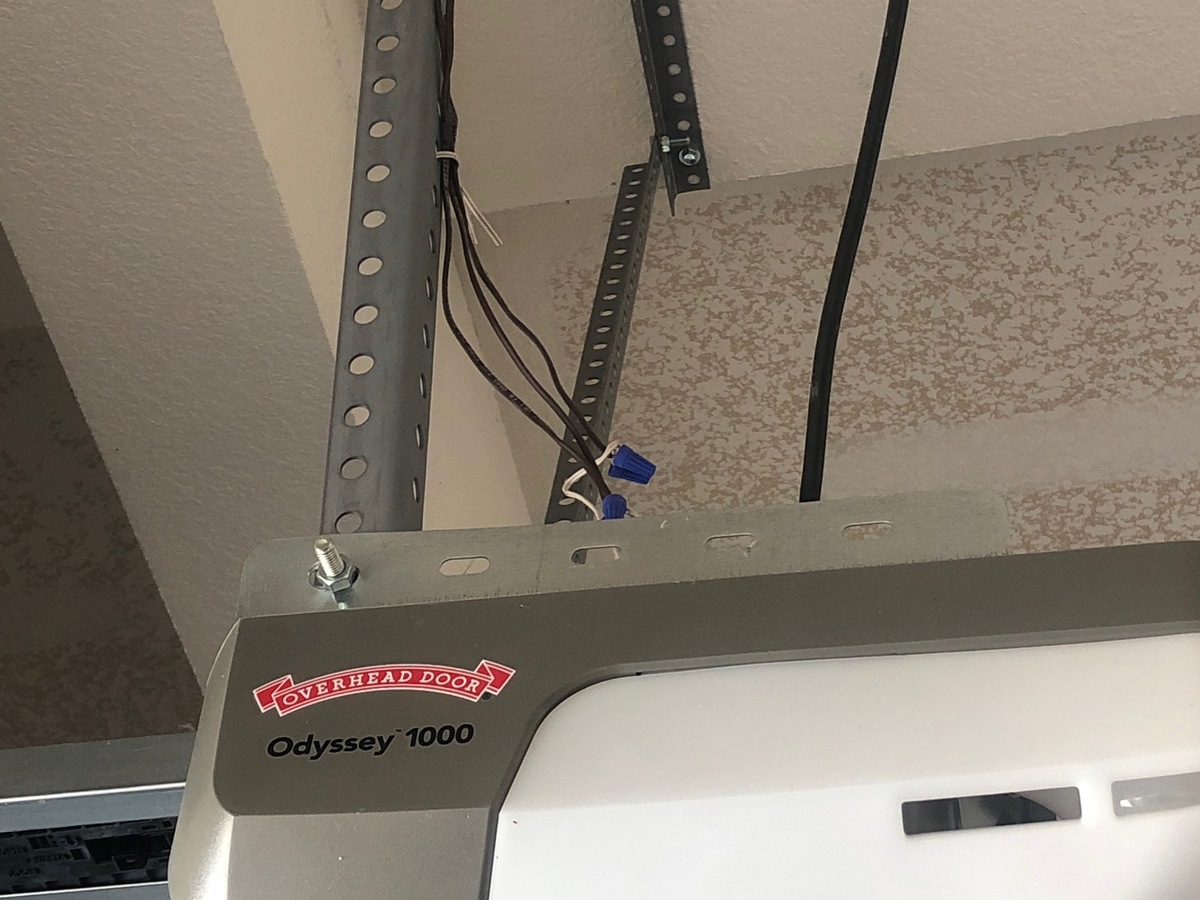
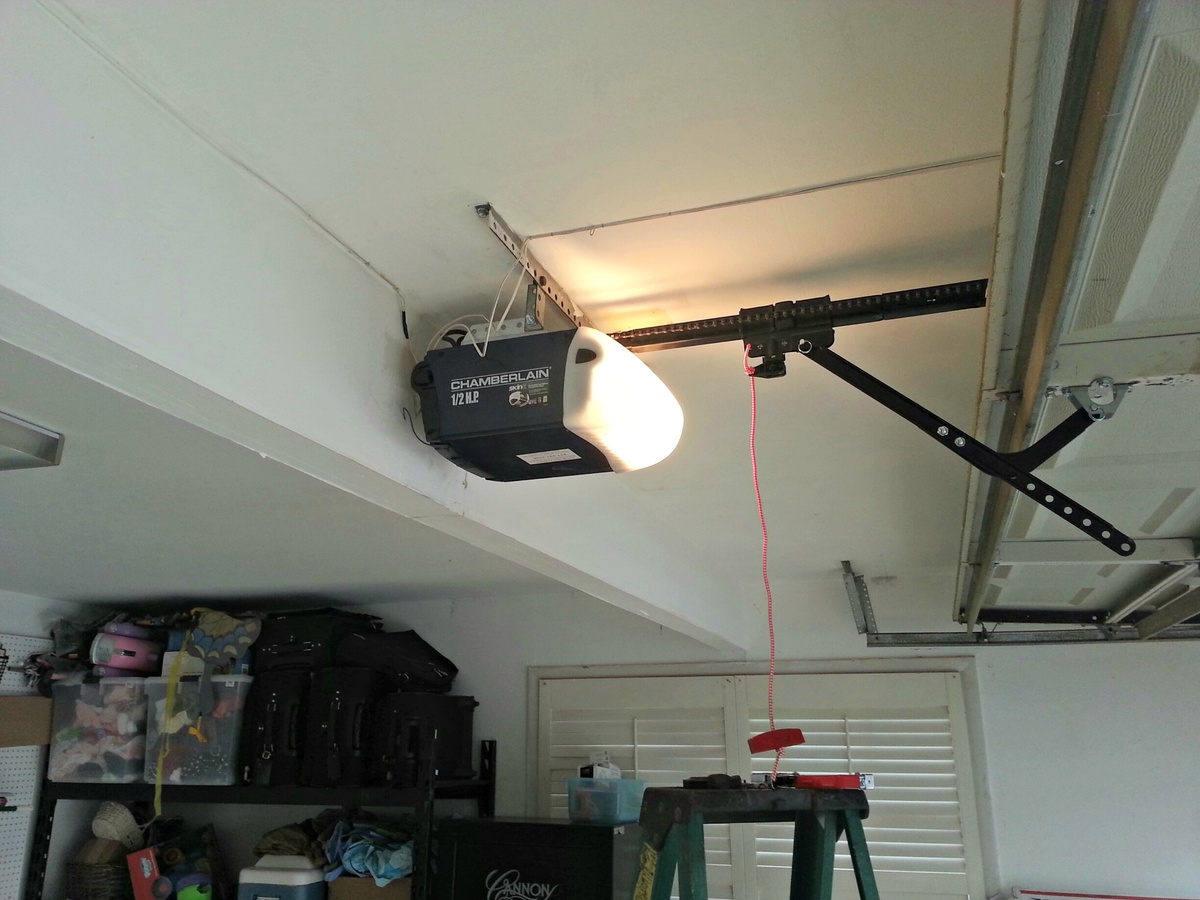
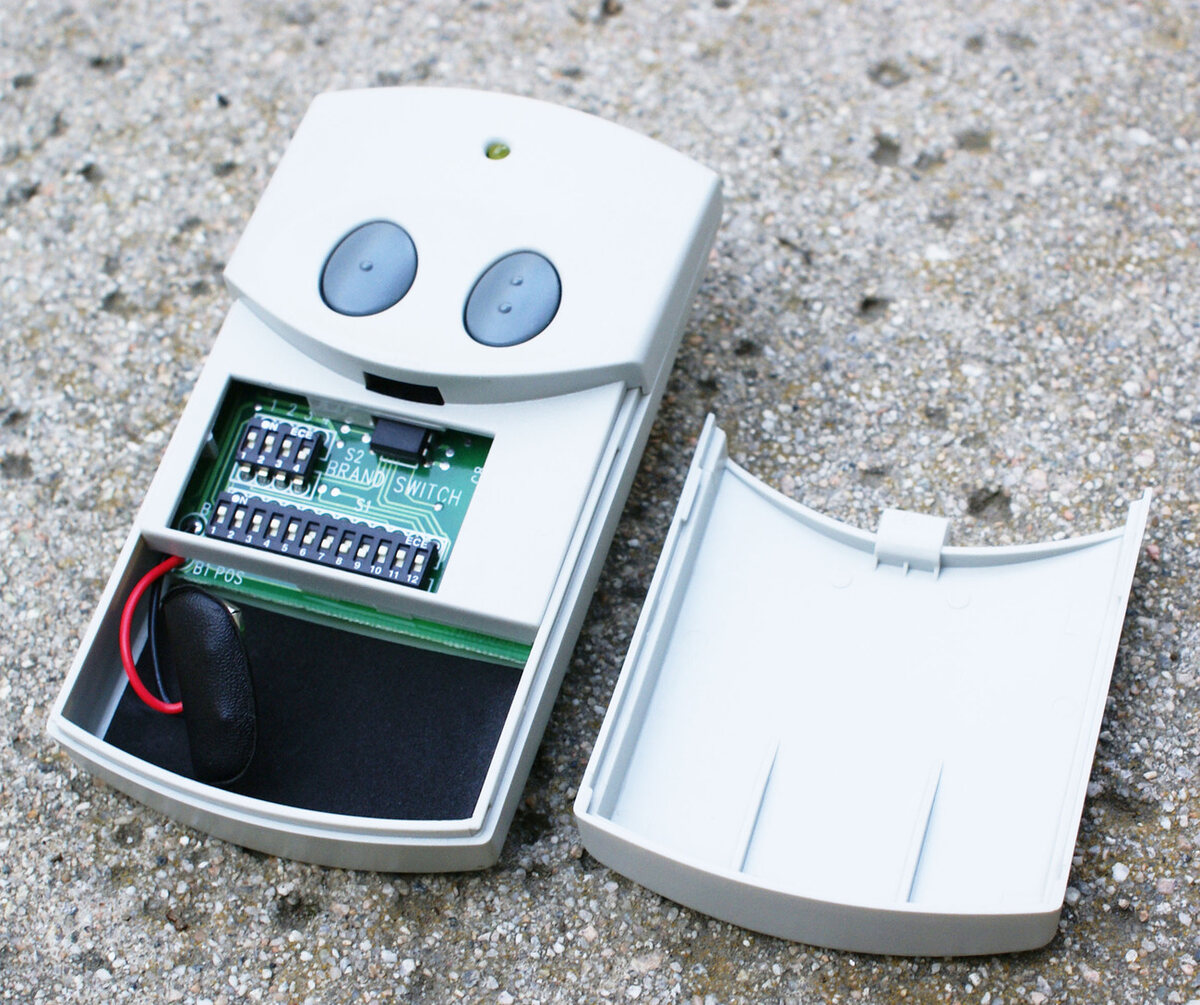
Step 3: Locate the Terminal Connection Points on the Garage Door Opener
In order to wire your Chamberlain garage door opener, you need to locate the terminal connection points on the opener itself. These connection points will be used to attach the wires securely. Follow the steps below to find the terminal connection points:
- Refer to the Chamberlain garage door opener manual to determine the location of the terminal connection points. The manual will provide detailed information and illustrations specific to your model.
- Open the casing or cover of the garage door opener to expose the internal components.
- Look for a terminal strip or block with clearly labeled connection points. These connection points are where the wires will be connected.
- Take note of the labels for each connection point. Common labels include “Red” for the power wire, “Black” for the ground wire, and “White” for the neutral wire.
- Ensure that the terminal connection points are clean and free from any debris or corrosion. If necessary, gently clean the connection points with a clean cloth or a small brush.
It is crucial to locate the correct connection points based on the wiring diagram provided in the Chamberlain garage door opener manual. Connecting the wires to the wrong terminals can result in improper functioning or damage to the opener.
Once you have identified the terminal connection points, you’re ready to move on to the next step: stripping the ends of the wires.
Step 4: Strip the Ends of the Wires
Before you can connect the wires to the terminal connection points on the garage door opener, you will need to strip the ends of the wires. Stripping the wires involves removing a small portion of the insulation to expose the bare wire underneath. Follow these steps to strip the ends of the wires:
- Start by identifying the wires that need to be stripped. These wires typically include the power wire, ground wire, and neutral wire.
- Using wire strippers, select the appropriate gauge size for the wires and adjust the strippers accordingly.
- Hold the wire strippers perpendicular to the wire, with the insulated portion of the wire inside the strippers’ jaws.
- Apply gentle pressure and rotate the wire strippers around the wire a few times to score the insulation.
- Gently pull the wire strippers away from the wire, carefully removing the scored insulation.
- Inspect the wire and ensure that enough insulation has been removed to expose the bare wire. The exposed wire should be long enough to make a secure connection to the terminal connection points.
- Repeat this process for each wire that needs to be stripped.
It is important to exercise caution while stripping the wires to avoid damaging the wire itself or causing any accidental cuts or injuries. Take your time and ensure that the stripping process is done properly.
Once you have stripped the ends of the wires, you can proceed to the next step: connecting the wires to the terminal connection points on the garage door opener.
When wiring a Chamberlain garage door opener, make sure to follow the manufacturer’s instructions carefully and use the recommended gauge of wire for the installation. It’s important to ensure that the wiring is properly secured and insulated to prevent any electrical hazards.
Step 5: Connect the Wires to the Terminal Connection Points
With the stripped ends of the wires ready, it’s time to connect them to the terminal connection points on the garage door opener. Follow these steps to ensure a secure and proper connection:
- Start by identifying the corresponding terminal connection points for each wire. Refer to the wiring diagram in the Chamberlain garage door opener manual to ensure you connect the wires correctly.
- Take the stripped end of the power wire and insert it into the appropriate terminal connection point, such as “Red.” Ensure that the bare wire is fully inserted into the terminal slot.
- Use a screwdriver to tighten the terminal screw securely. This will clamp the wire in place, providing a strong electrical connection.
- Repeat the same process for the ground wire and the neutral wire, connecting them to their respective terminal connection points.
- After connecting all the wires, gently tug on each wire to ensure they are securely fastened. If any wire feels loose, tighten the terminal screw a bit more until the wire is held firmly in place.
It’s important to make sure that each wire is connected to the correct terminal connection point and that the connections are tight and secure. Loose connections can lead to electrical issues or malfunctioning of the garage door opener.
Once all the wires are connected properly, you can proceed to the next step: securing the wires in place.
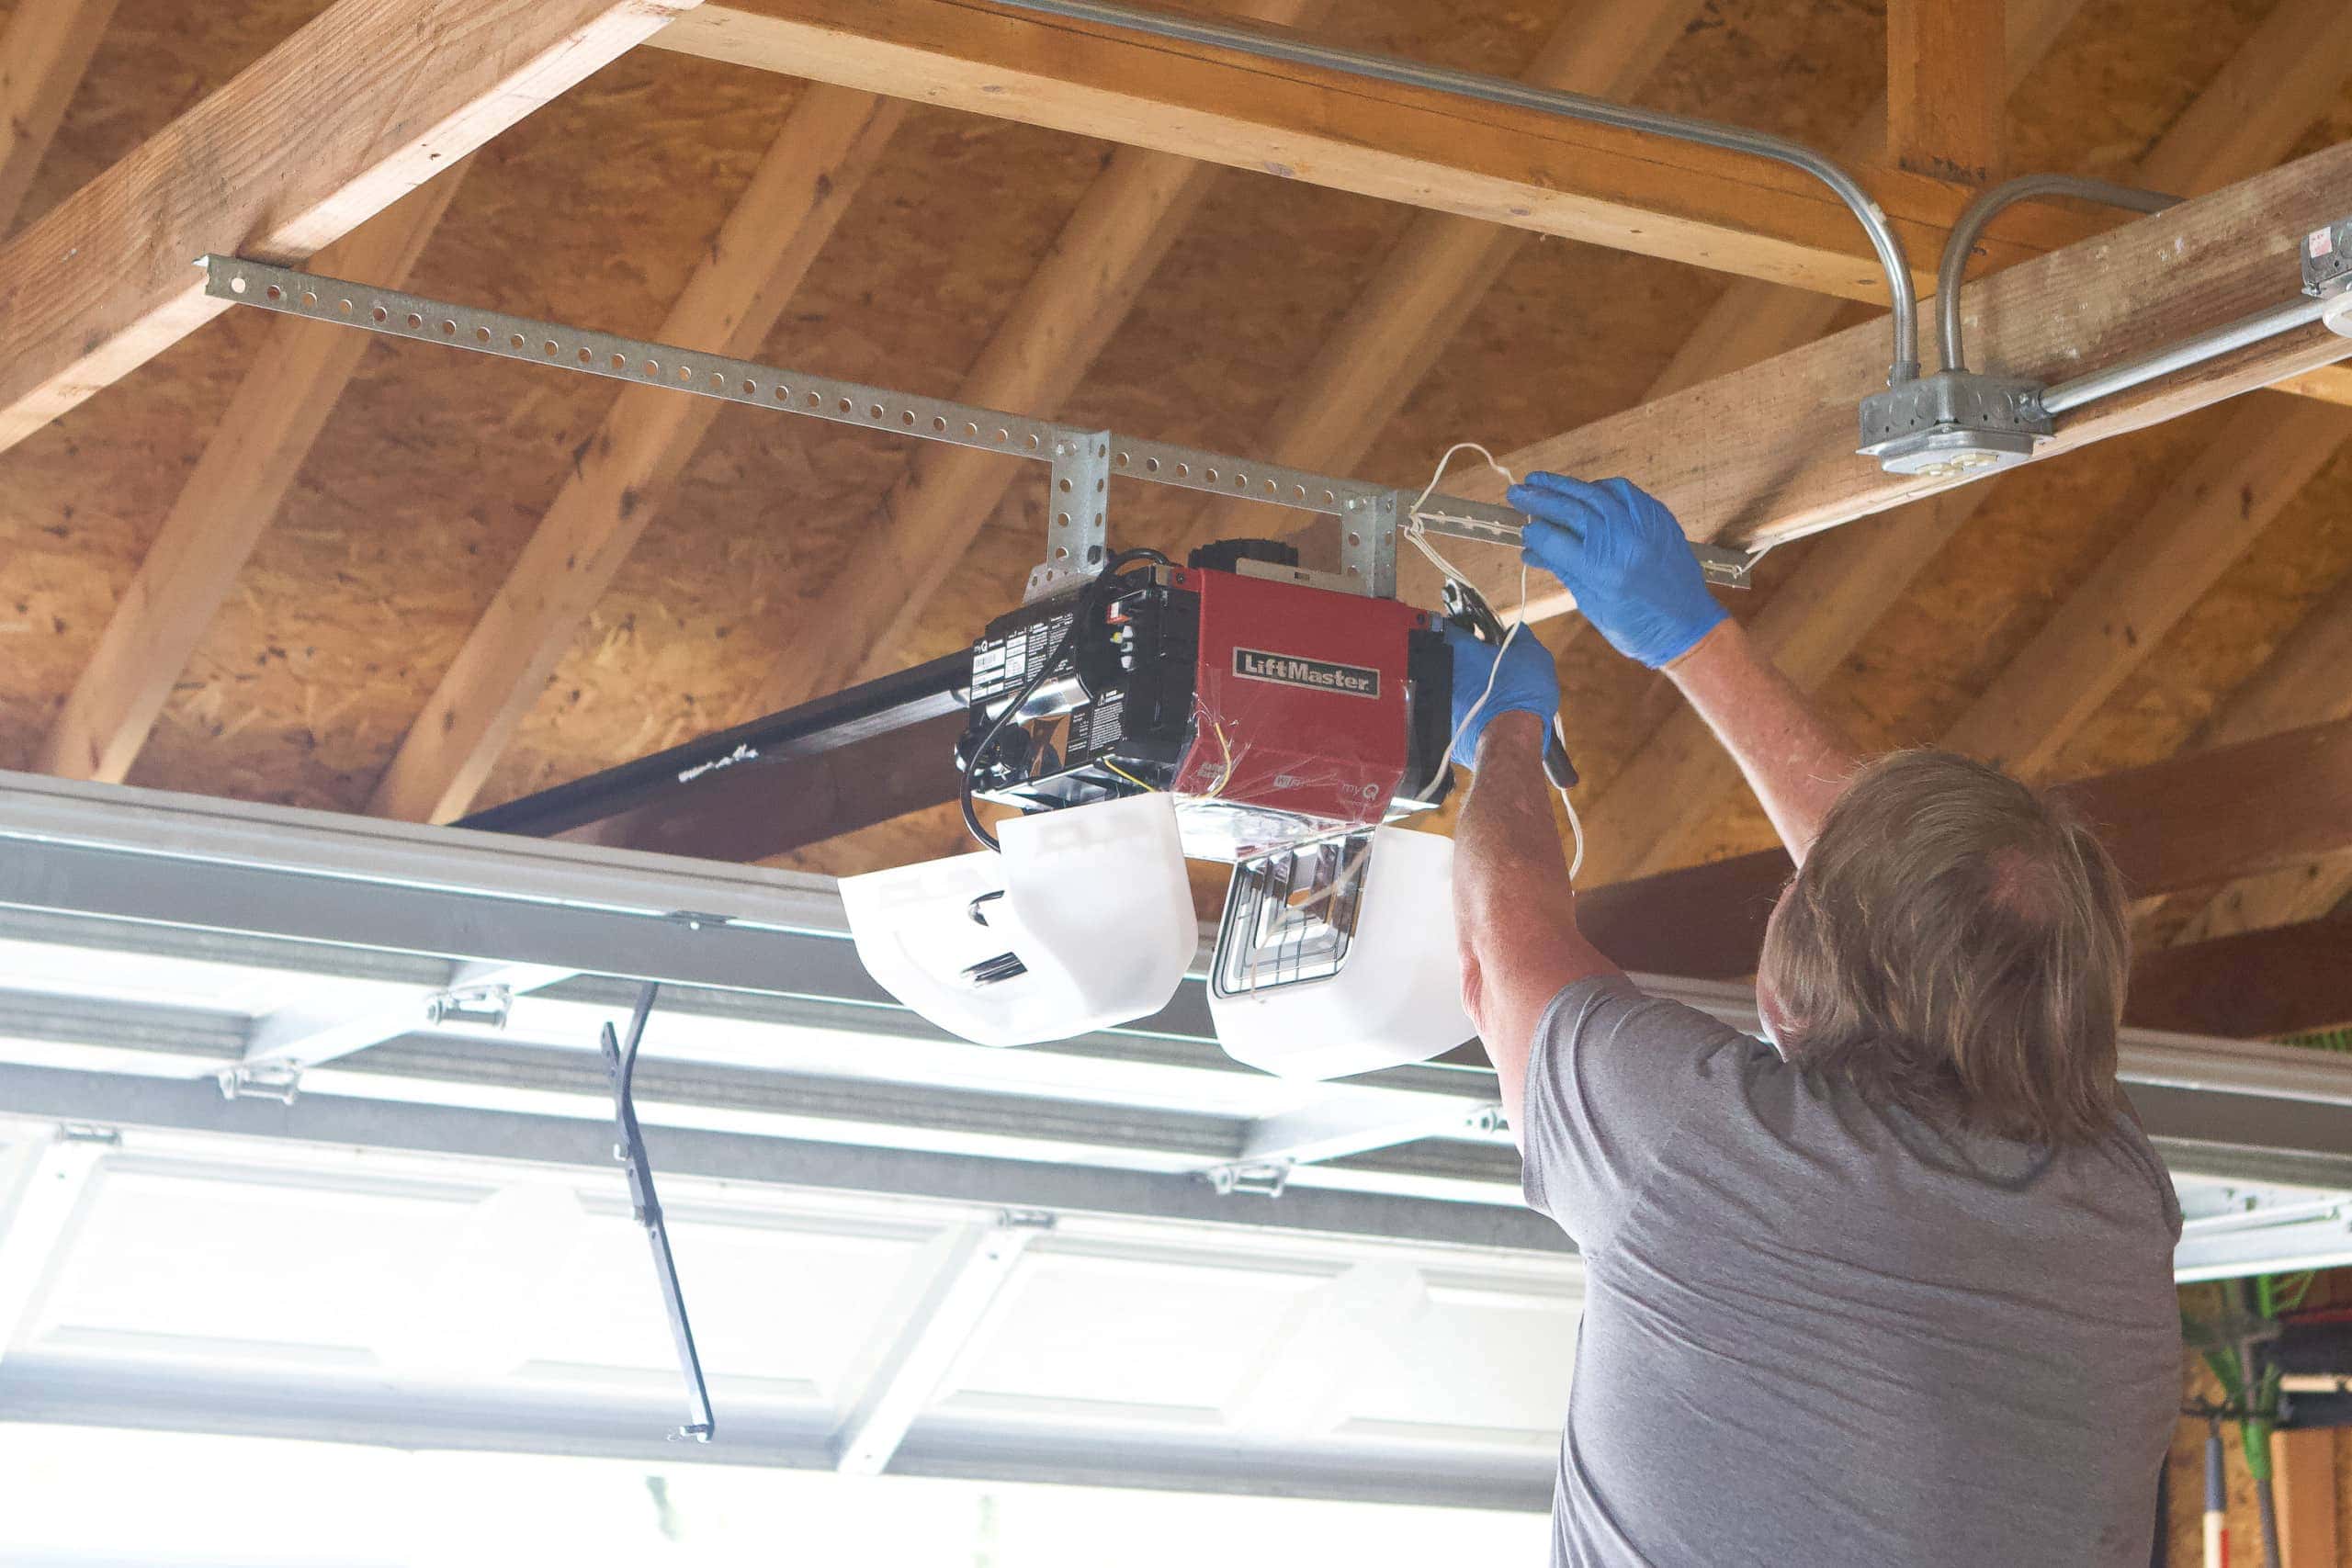
Step 6: Secure the Wires in Place
After connecting the wires to the terminal connection points on the garage door opener, it’s important to secure them in place to prevent any accidental disconnections or interference with other components. Follow these steps to properly secure the wires:
- Arrange the wires neatly to avoid any tangling or overlapping.
- Use zip ties or cable clips to secure the wires along the existing cable path or any designated wire channels within the garage door opener.
- Ensure that the wires are not twisted or stretched tightly. They should have enough slack to allow for easy movement and adjustment when necessary.
- Avoid placing the wires near any moving parts of the garage door opener, such as the pulleys or chains, to prevent any potential entanglement or damage.
- If required, use electrical tape to wrap around the exposed part of the wires near the terminal connection points. This provides an additional layer of insulation and helps protect the connection.
Securing the wires in place not only ensures a tidy and organized setup, but it also helps maintain the integrity of the electrical connections. Loose or tangled wires can lead to malfunctioning or unsafe operation of the garage door opener.
Now that you have secured the wires, it’s time for the final steps: restoring power to the garage door opener and testing the wiring connection.
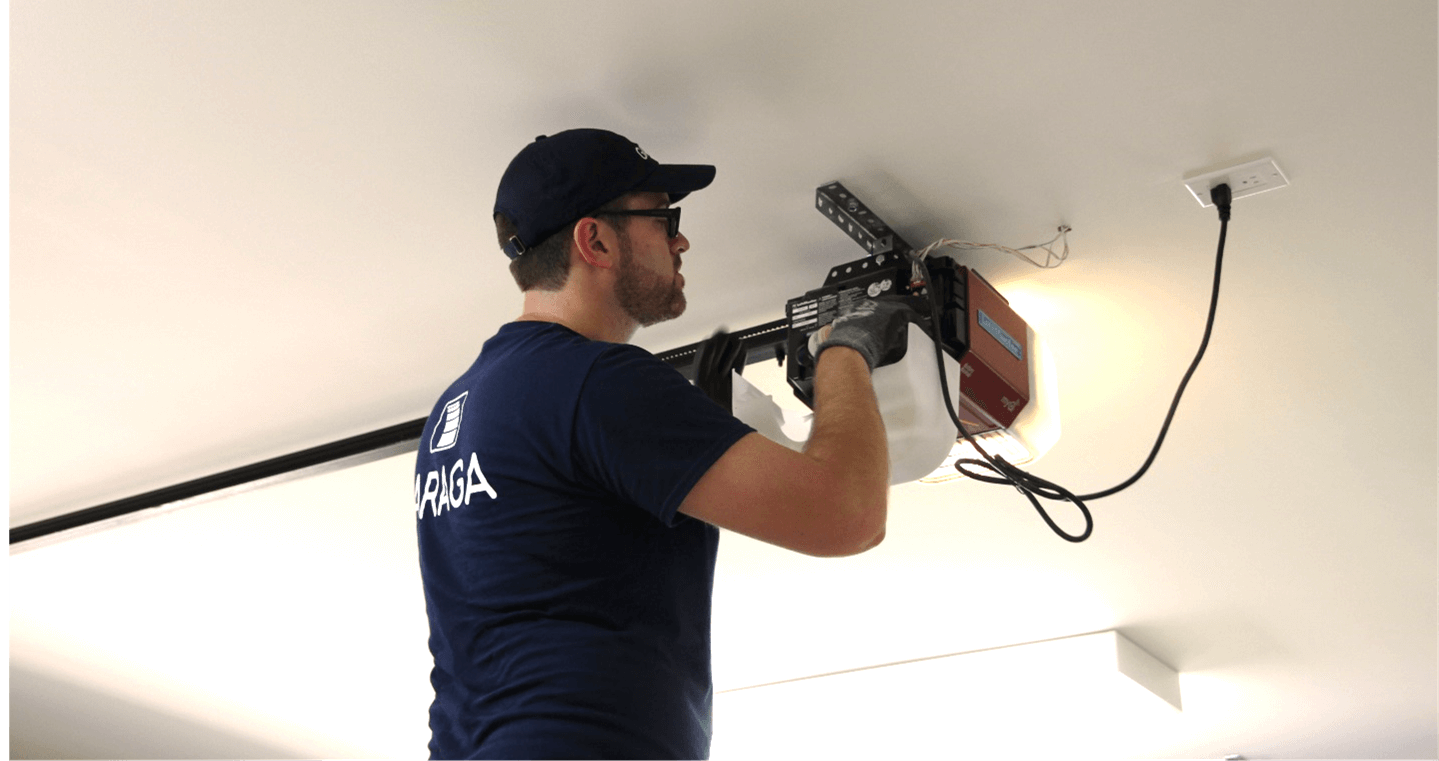
Step 7: Restore Power to the Garage Door Opener
With the wires securely connected and properly secured, it’s time to restore power to the garage door opener. Follow these steps to safely restore the power:
- Return to the electrical panel or circuit breaker where you turned off the power earlier.
- Locate the circuit breaker that controls the garage door opener and flip it back to the “On” position.
- Double-check that the circuit breaker is securely in the “On” position, as sometimes it may not fully engage.
- Head back to the garage and wait for a few moments to ensure the power has been fully restored to the garage door opener.
By restoring power to the garage door opener, you are now ready to test the wiring connection and ensure everything is functioning correctly.
However, it’s important to note that if you encounter any issues or notice any unusual behavior, such as sparks or smoke, when restoring the power, immediately turn off the power and consult a professional electrician.
Now that you have restored power to the garage door opener, let’s move on to the final step: testing the wiring connection.
Step 8: Test the Wiring Connection
The final step in wiring your Chamberlain garage door opener is to test the wiring connection to ensure that everything is working properly. Follow these steps to test the wiring connection:
- Stand clear of the garage door and any moving parts.
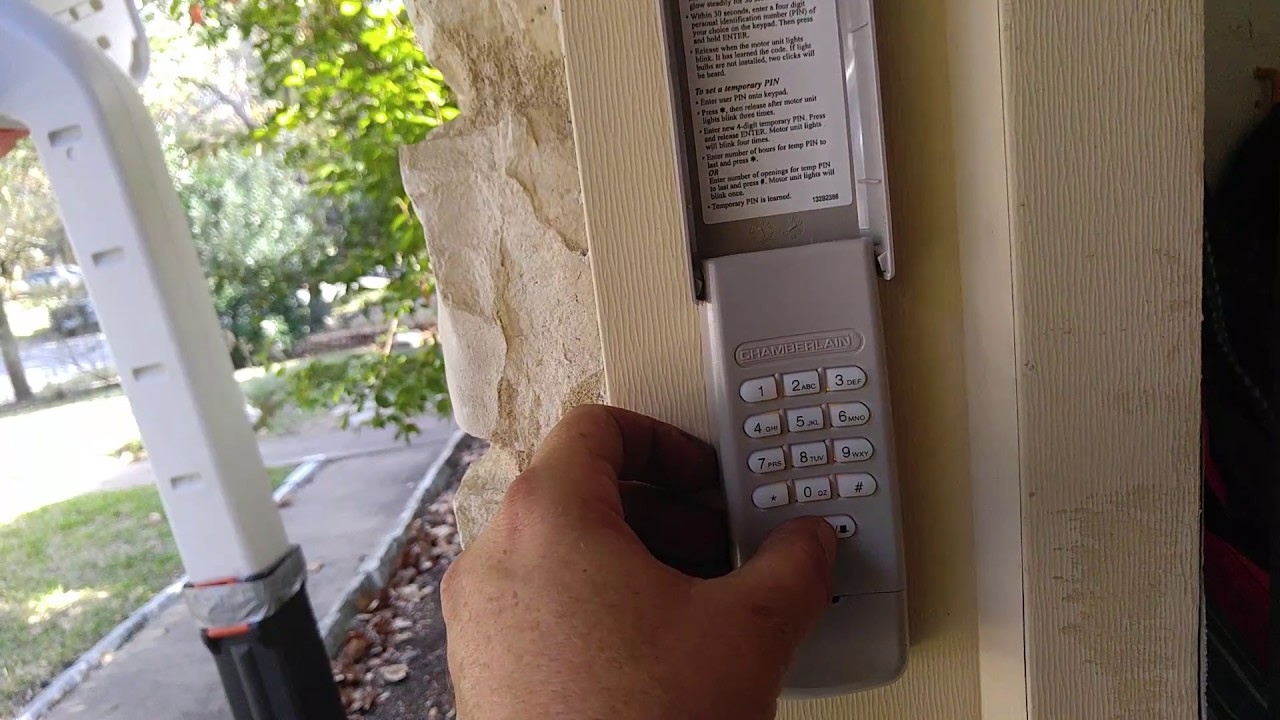
- Locate the wall-mounted control panel or remote control that operates the garage door opener.
- Press the button on the control panel or remote control to open or close the garage door.
- Observe the garage door and listen for any sounds coming from the garage door opener.
- If the garage door opens or closes smoothly without any issues and the garage door opener operates quietly, then the wiring connection is successful.
- If there are any problems during the test, such as the garage door not responding or unusual noises coming from the opener, turn off the power immediately and double-check the wiring connections. Make sure all connections are properly secured and no wires are loose or disconnected.
Testing the wiring connection is crucial to ensure that the garage door opener functions as intended. A faulty wiring connection can cause issues, such as the garage door not opening or closing correctly, or a strain on the garage door opener motor.
If you encounter any persistent issues or have concerns about the wiring connection, it is recommended to reach out to a professional electrician or Chamberlain’s customer support for further assistance.
Congratulations! You have successfully wired your Chamberlain garage door opener. Enjoy the convenience and security of your automated garage door system.
Remember to always exercise caution when working with electrical connections and follow the manufacturer’s guidelines for your specific garage door opener model.
With the wiring complete and the garage door opener functional, you can now enjoy the ease and convenience that comes with operating your garage door.
Conclusion
Wiring a Chamberlain garage door opener may seem like a daunting task, but by following the step-by-step guide outlined in this article, you can successfully complete the process with confidence. Whether you’re a beginner or have some experience with electrical work, proper planning and execution are key to a successful installation.
By gathering the necessary tools and materials, turning off the power, locating the terminal connection points, stripping the ends of the wires, connecting the wires securely, and securing them in place, you have taken the necessary precautions to ensure a safe and functional wiring connection.
Remember to always refer to the Chamberlain garage door opener manual for specific instructions and wiring diagrams related to your model. Following the guidelines and safety precautions outlined in the manual will help you avoid any potential hazards and ensure that the garage door opener operates smoothly.
Once you have completed the wiring process, restoring power to the garage door opener and testing the wiring connection is the final step. Observing the garage door’s movement and listening for any unusual sounds will confirm that the wiring connection is successful.
If you encounter any issues or have concerns during the installation process, it’s recommended to consult a professional electrician or contact Chamberlain’s customer support for further guidance. Your safety and the proper functioning of your garage door opener should always come first.
Now that you have successfully wired your Chamberlain garage door opener, you can enjoy the convenience and security of automated garage door operation. Say goodbye to manually lifting and closing the garage door, and embrace the ease of a reliable and efficient garage door opener.
Thank you for taking the time to read this comprehensive guide. We hope it has provided you with the information and confidence you need to wire your Chamberlain garage door opener successfully.
Just finished mastering your garage door opener wiring? Gear up for your next challenge! Dive into the world of home automation and make your life simpler with cutting-edge technologies designed to bring convenience right to your doorstep. Or, if you're itching to roll up your sleeves for more hands-on projects, why not check out our DIY home improvement guide? These articles offer practical advice to elevate your home's functionality and style. Don’t miss out; keep those tools handy!
Frequently Asked Questions about How To Wire Chamberlain Garage Door Opener
Was this page helpful?
At Storables.com, we guarantee accurate and reliable information. Our content, validated by Expert Board Contributors, is crafted following stringent Editorial Policies. We're committed to providing you with well-researched, expert-backed insights for all your informational needs.
0 thoughts on “How To Wire Chamberlain Garage Door Opener”