Articles
How To Spray Insulation In Walls
Modified: December 7, 2023
Learn how to spray insulation in walls with our informative articles. Find step-by-step guides, tips, and techniques for efficient and effective insulation application.
(Many of the links in this article redirect to a specific reviewed product. Your purchase of these products through affiliate links helps to generate commission for Storables.com, at no extra cost. Learn more)
Introduction
Welcome to the world of spray insulation! Insulating your walls is a crucial step in creating an energy-efficient and comfortable living space. Traditional insulation methods, such as fiberglass batts, can be time-consuming and often leave gaps or air leaks. Spray insulation, on the other hand, provides a seamless, airtight barrier that helps to keep your home warm in the winter and cool in the summer.
In this article, we will guide you through the process of spraying insulation in your walls. We will go over the materials you’ll need, the steps to prepare the walls, how to set up the equipment, mixing and preparing the spray insulation, applying the insulation, and finally, finishing and cleaning up.
By following this guide, you will be able to effectively and efficiently insulate your walls, saving money on energy bills and improving the comfort of your home. So let’s dive in and learn how to spray insulation in walls!
Key Takeaways:
- Proper preparation is key to successful spray insulation. Clear the area, clean and repair walls, seal air leaks, and protect adjacent surfaces for a smooth and effective application process.
- Applying spray insulation requires maintaining proper distance, using a controlled motion, and ensuring even coverage. Take breaks as needed and follow finishing steps for a professional and clean outcome.
Read more: What Is Spray Insulation
Materials Needed
Before you start spraying insulation in your walls, make sure you have gathered all the necessary materials and tools. Here’s a list of items you’ll need:
- Spray Insulation: Purchase high-quality spray insulation material from a reputable supplier. There are different types of insulation available, such as foam or cellulose. Choose the one that suits your needs and meets the insulation requirements of your region.
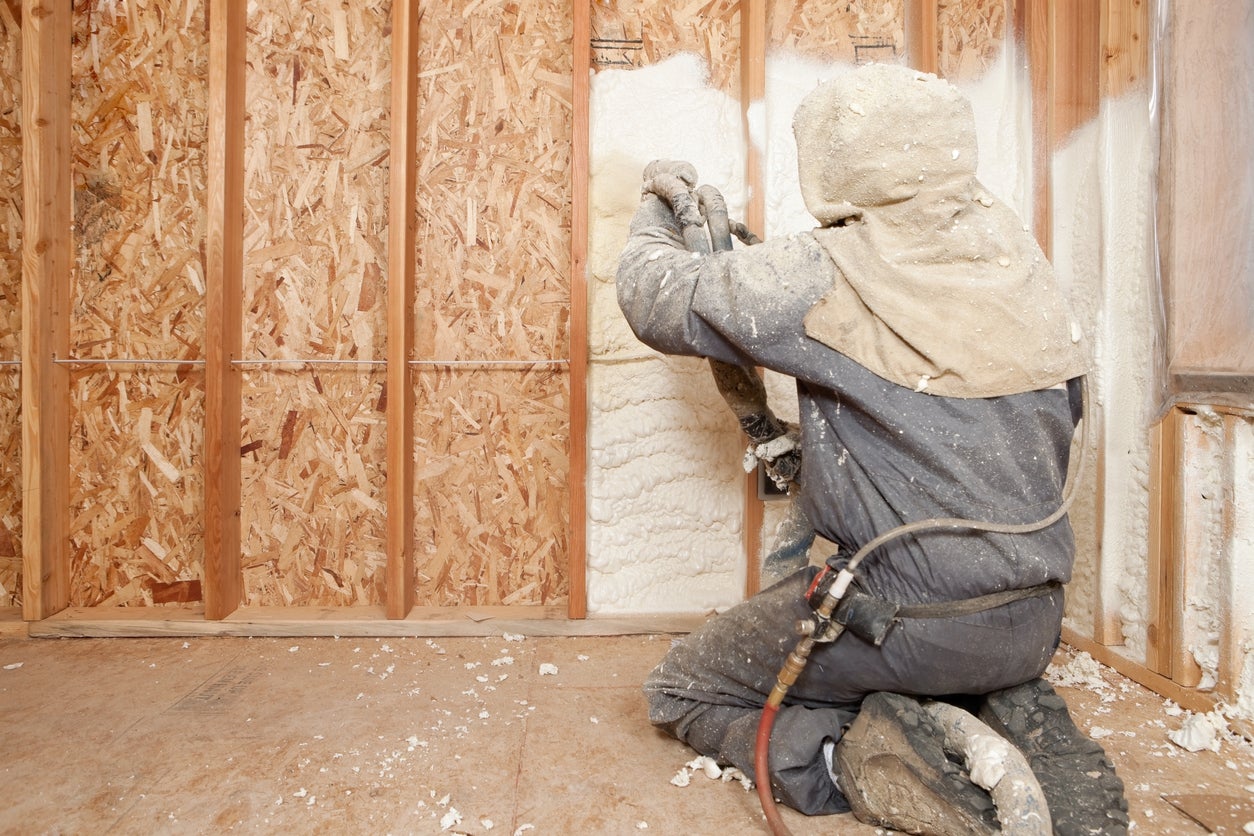
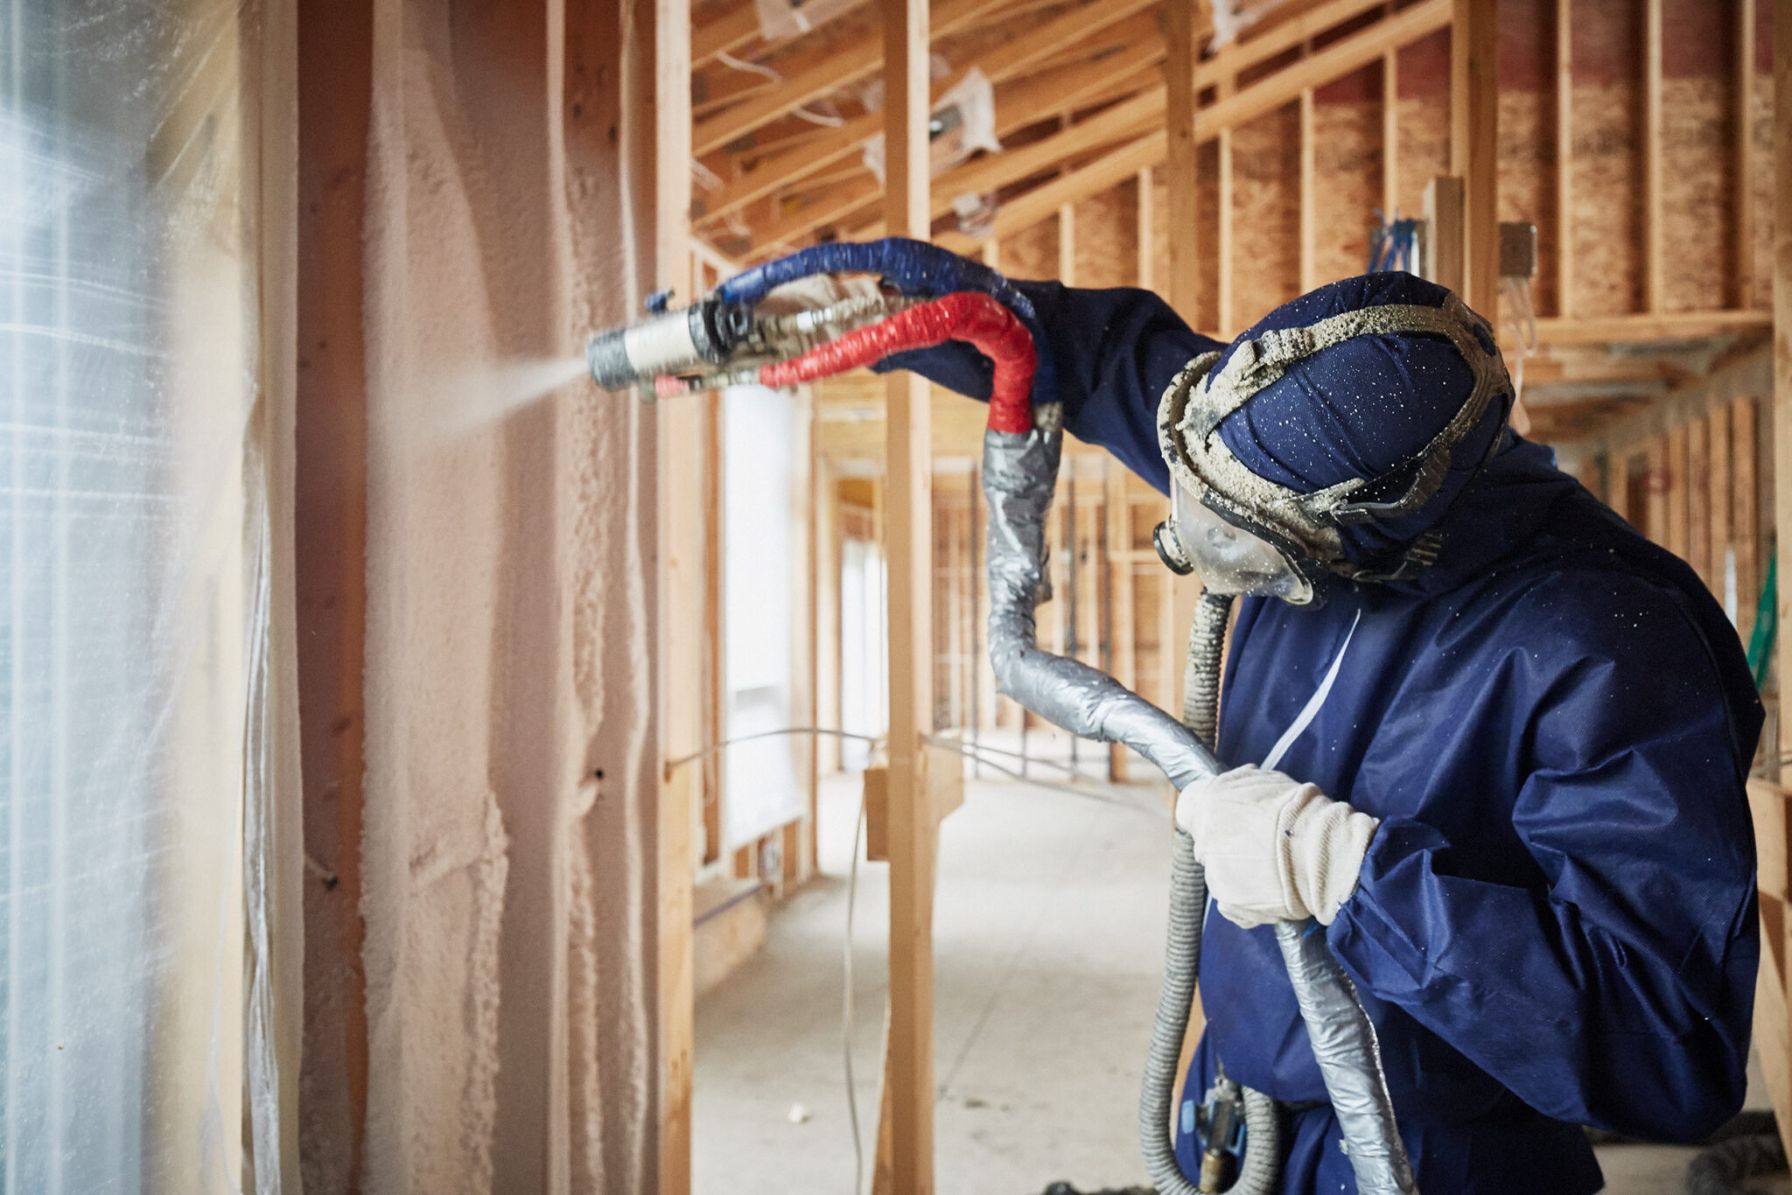
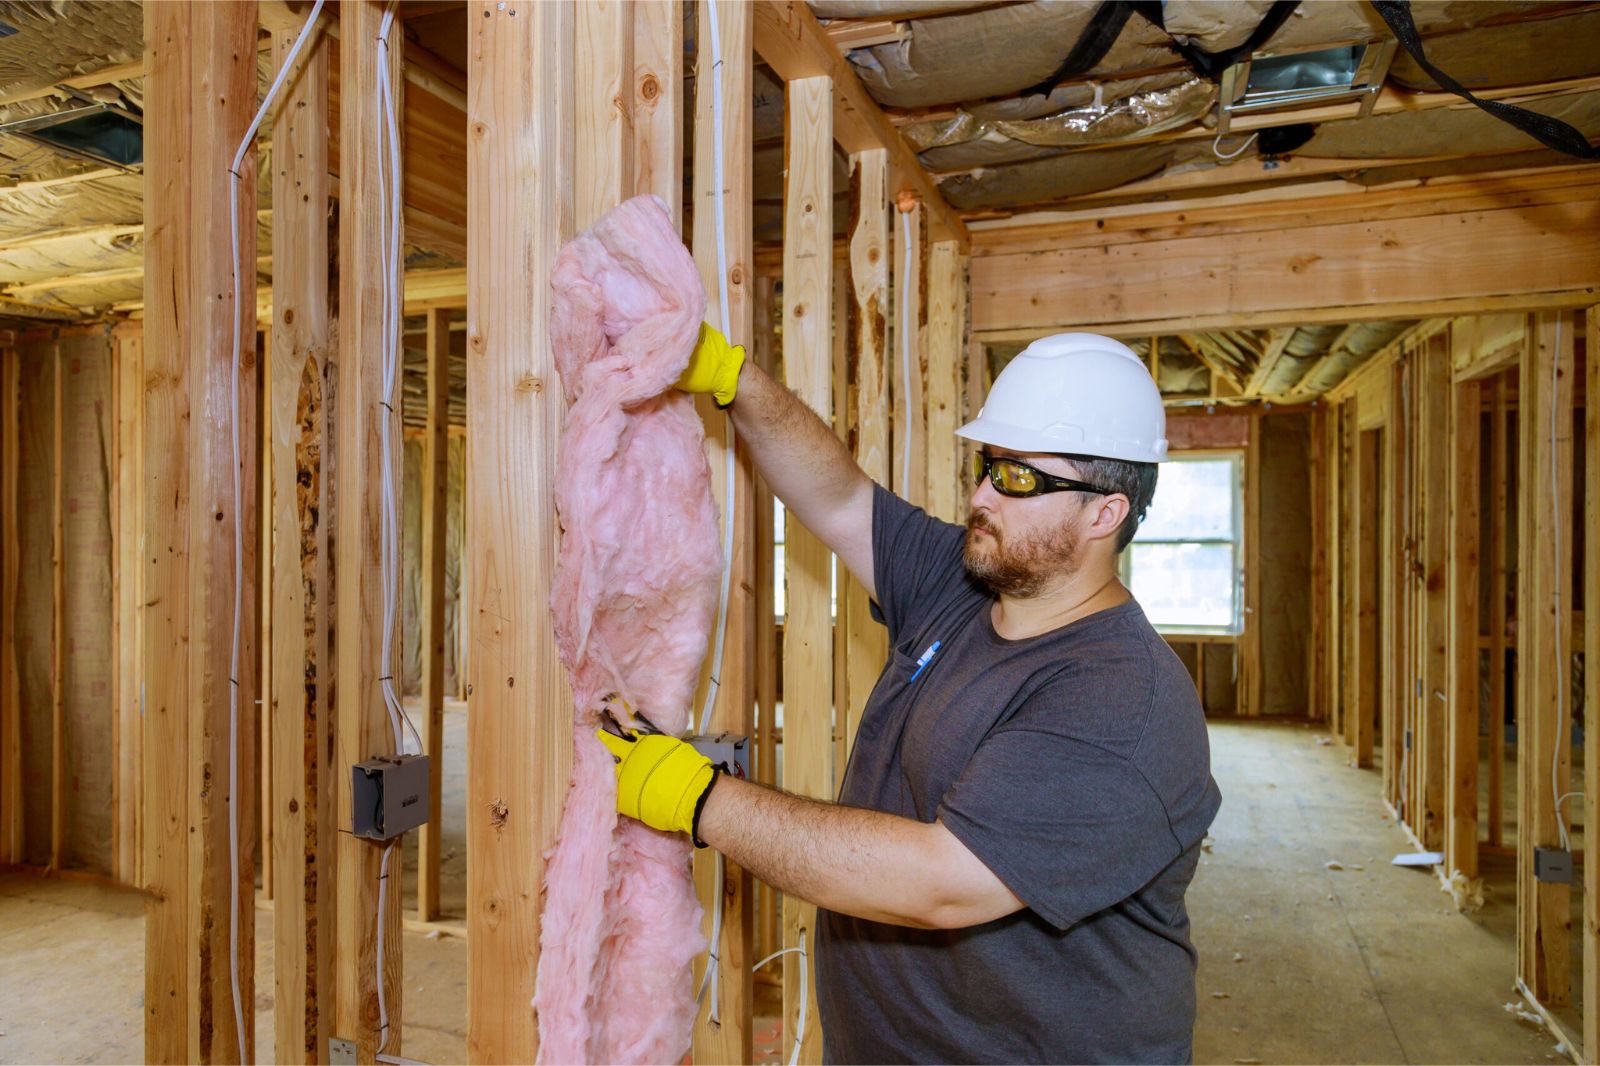
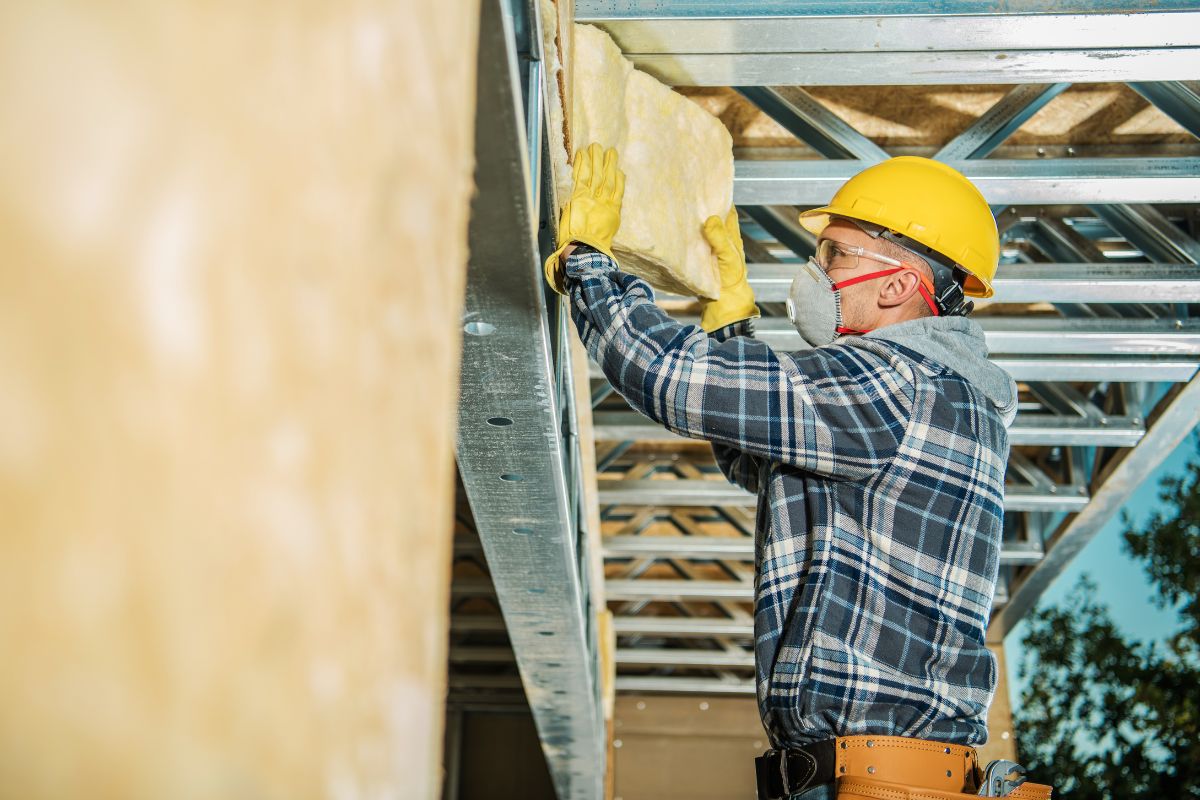
- Safety Gear: Protect yourself by wearing appropriate safety gear, including safety goggles, gloves, a respirator mask, and coveralls or old clothing that you don’t mind getting dirty.
- Spray Equipment: You will need a spray foam insulation kit, which typically includes a spray gun, hoses, and nozzles. Make sure to choose an equipment kit that is compatible with the insulation material you are using.
- Drop Cloths or Plastic Sheets: Cover the floors and any furniture in the area you will be working in to protect them from overspray or spills.
- Tape and Plastic Bags: Use tape to secure the plastic sheets in place, and have some plastic bags on hand to store used nozzles or other disposable parts.
- Utility Knife: This will come in handy for cutting the insulation material and making any necessary adjustments during the application process.
- Sealant: Depending on the condition of your walls, you may need to seal any cracks or gaps to ensure a proper insulation seal. Choose a sealant that is compatible with the insulation material.
- Ladder or Scaffolding: If you have high ceilings or difficult-to-reach areas, a ladder or scaffolding will be necessary to access those areas safely.
While this list covers the basic materials needed, depending on your specific project, you may require additional items. Consult with professionals or research the specific requirements for your insulation project.
Now that you have all the necessary materials and tools, let’s move on to preparing your walls for the insulation process.
Preparing the Walls
Properly preparing your walls is essential for a successful spray insulation application. Here’s how to prepare your walls:
- Clear the Area: Remove any furniture, decor, or objects that may obstruct your access to the walls. This will ensure a smooth and uninterrupted application process.
- Clean the Walls: Thoroughly clean the walls using a mild detergent and water solution. Remove any dirt, dust, or debris, as these can affect the adhesion and effectiveness of the spray insulation. Allow the walls to dry completely before proceeding.
- Fix Any Damage: Inspect the walls for any cracks, holes, or damage. Repair them with a suitable filler or patching compound. It’s important to have a smooth and even surface for the insulation to adhere to.
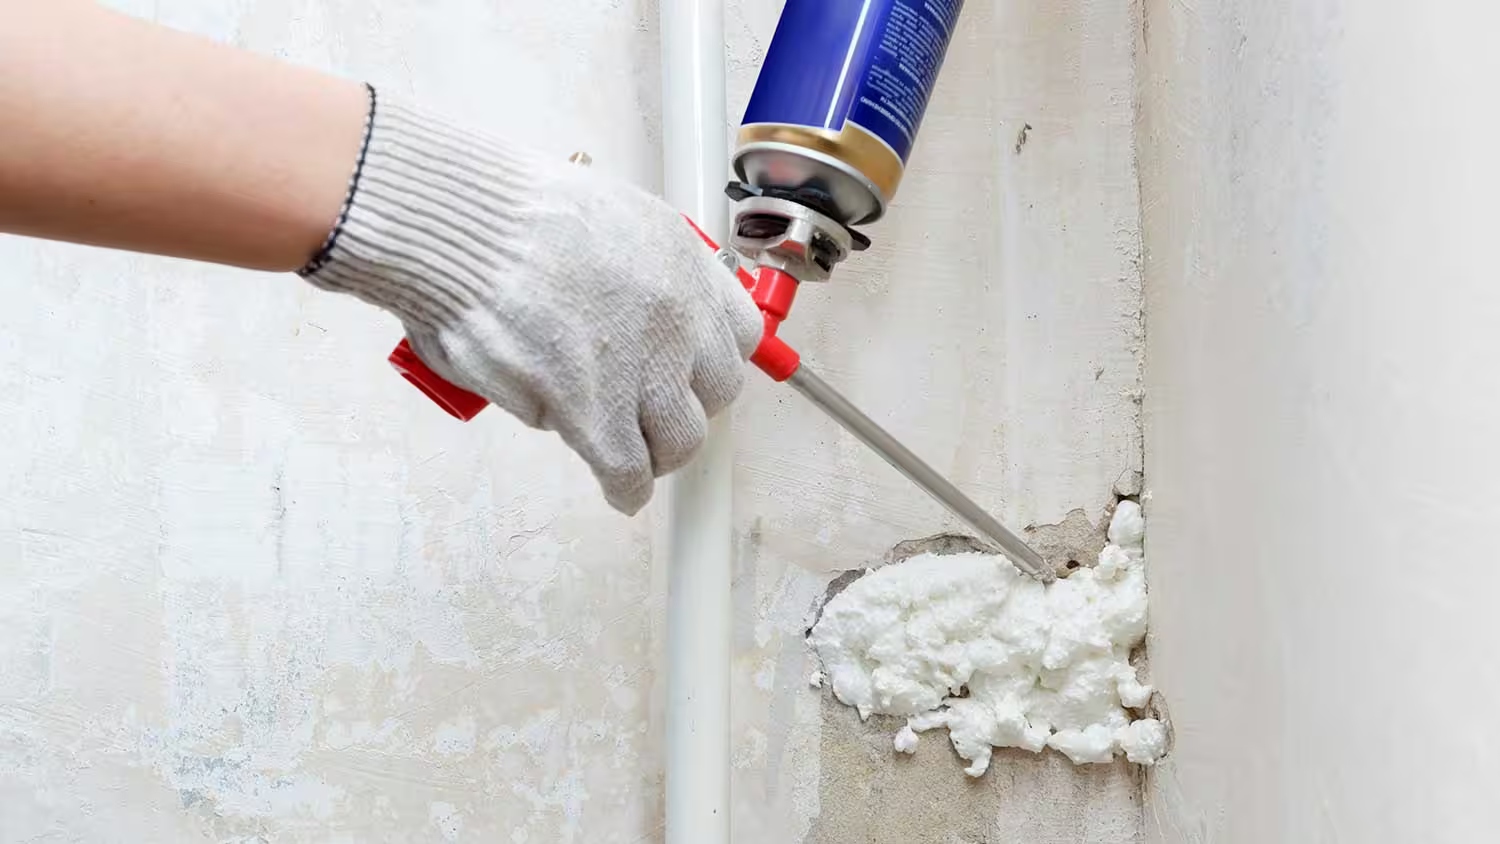
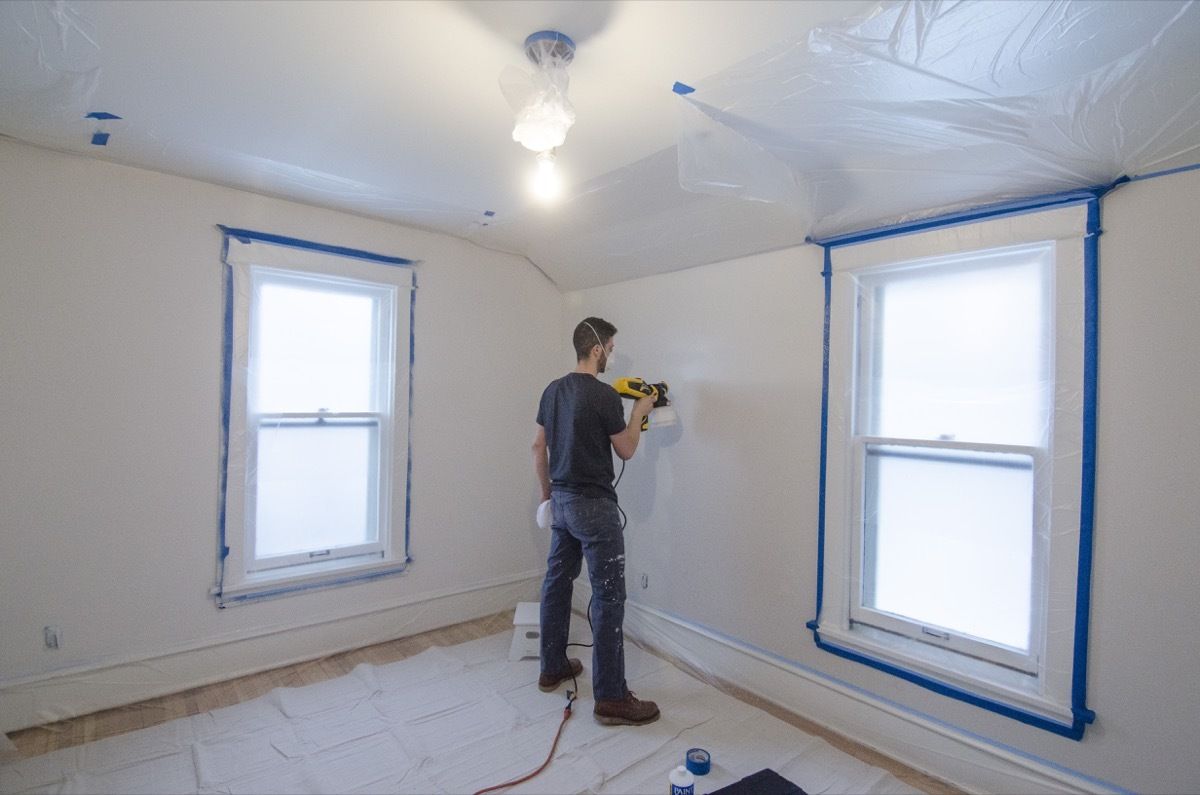
- Seal Air Leaks: Check for any air leaks around windows, doors, electrical outlets, and other openings. Use a suitable caulking or sealant to seal these gaps. This will prevent air leaks and ensure optimal insulation performance.
- Protect Adjacent Surfaces: If you have adjacent surfaces, such as windows, doors, or trim, that you don’t want to be coated with spray insulation, cover them with masking tape and plastic sheets.
By following these steps, you will create a clean, smooth, and properly sealed surface for the spray insulation. Preparing the walls will help ensure maximum insulation effectiveness and a professional-looking finish.
Once you have prepared the walls, it’s time to set up the equipment for the spray insulation process.
Setting up the Equipment
Properly setting up your spray insulation equipment is crucial to ensure a smooth and efficient application process. Follow these steps to set up the equipment:
- Read the Instructions: Carefully read and follow the instructions provided with your spray foam insulation kit. Each kit may have specific guidelines and requirements for setup.
- Assemble the Spray Gun: Attach the appropriate nozzle to the spray gun. Make sure it is securely fastened and aligned correctly.
- Connect the Hoses: Connect the hoses to the spray gun and the insulation material containers. Ensure that all connections are tight to prevent any leaks during the application process. If necessary, use sealant or tape to secure the connections.
- Check the Air Compressor: If you are using a spray foam insulation kit that requires an air compressor, ensure that the compressor is in good working condition and properly connected to the equipment. Adjust the air pressure to the recommended level specified in the instructions.
- Test the Equipment: Perform a test spray on a disposable surface or scrap material to ensure that the equipment is functioning correctly and the insulation is spraying evenly.
- Adjust the Spray Pattern: Depending on the desired thickness and coverage, you may need to adjust the spray pattern of the nozzle. Refer to the instructions provided with your equipment to make any necessary adjustments.
- Ensure Proper Ventilation: Adequate ventilation is essential during the spray insulation process. Open windows and use fans or ventilation systems to maintain good airflow and prevent the buildup of fumes.
By carefully setting up your spray insulation equipment, you are ensuring that everything is in proper working order and that the application process will be efficient and effective.
Once the equipment is set up, the next step is to mix and prepare the spray insulation material.
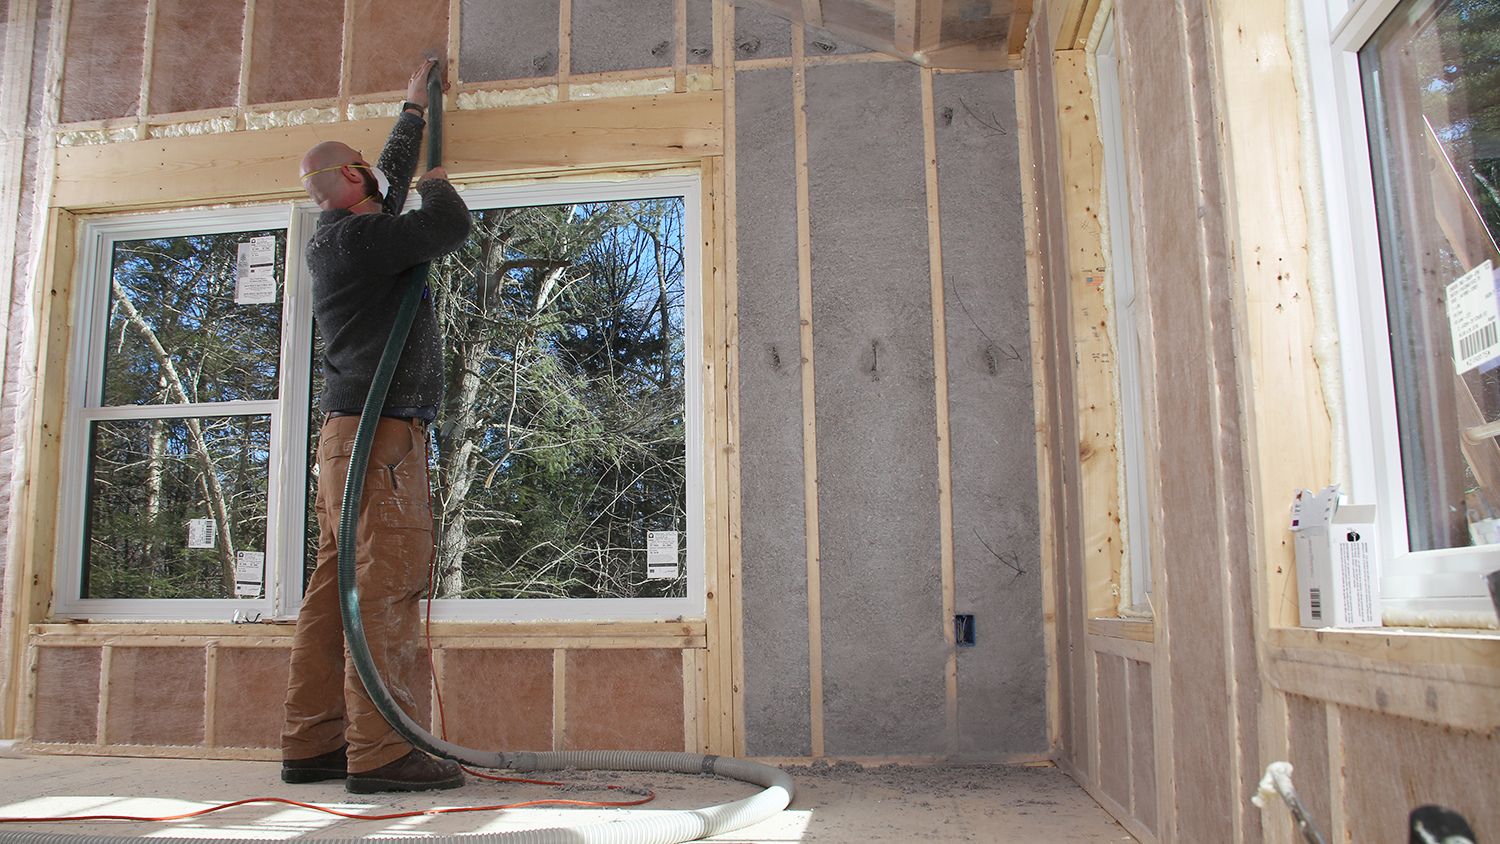
When spraying insulation in walls, make sure to wear protective gear such as a mask, goggles, and gloves to avoid inhaling or coming into contact with the insulation material.
Mixing and Preparing the Spray Insulation
Now that your spray insulation equipment is set up, it’s time to mix and prepare the insulation material. Follow these steps:
- Read the Instructions: Carefully read and follow the instructions provided with your specific spray insulation material. Different brands and types of insulation may have different mixing and preparation guidelines.
- Prepare the Insulation Containers: If your insulation material comes in multiple containers, make sure they are properly sealed and in good condition. Give them a gentle shake to ensure that the contents are well-mixed and any settled particles are evenly distributed.
- Check the Temperature: Verify that the room temperature and the temperature of the insulation material are within the recommended range. Extreme temperatures can affect the effectiveness and consistency of the insulation.
- Attach the Insulation Containers: Connect the hoses from the spray gun to the insulation material containers, following the instructions provided. Ensure that all connections are secure and properly aligned.
- Prime the Equipment: If your insulation material requires priming, follow the instructions to properly prime the equipment. Priming ensures optimal flow and performance of the insulation.
- Mix the Insulation: Depending on the type of insulation material, you may need to mix the components before spraying. Follow the instructions to thoroughly mix the insulation material, ensuring that all components are well-blended.
- Check the Spray Foam Characteristics: Once the insulation material is mixed, check its consistency and foam characteristics. If it appears too thick or too thin, adjust as necessary according to the manufacturer’s guidelines.
- Perform a Test Spray: Before proceeding with the actual application, perform a test spray on a disposable surface or scrap material to ensure that the insulation is spraying correctly and evenly.
Properly mixing and preparing the spray insulation material is crucial for achieving consistent and effective insulation coverage on your walls.
Next, let’s move on to the exciting part – applying the insulation!
Read more: How To Spray Foam Insulation
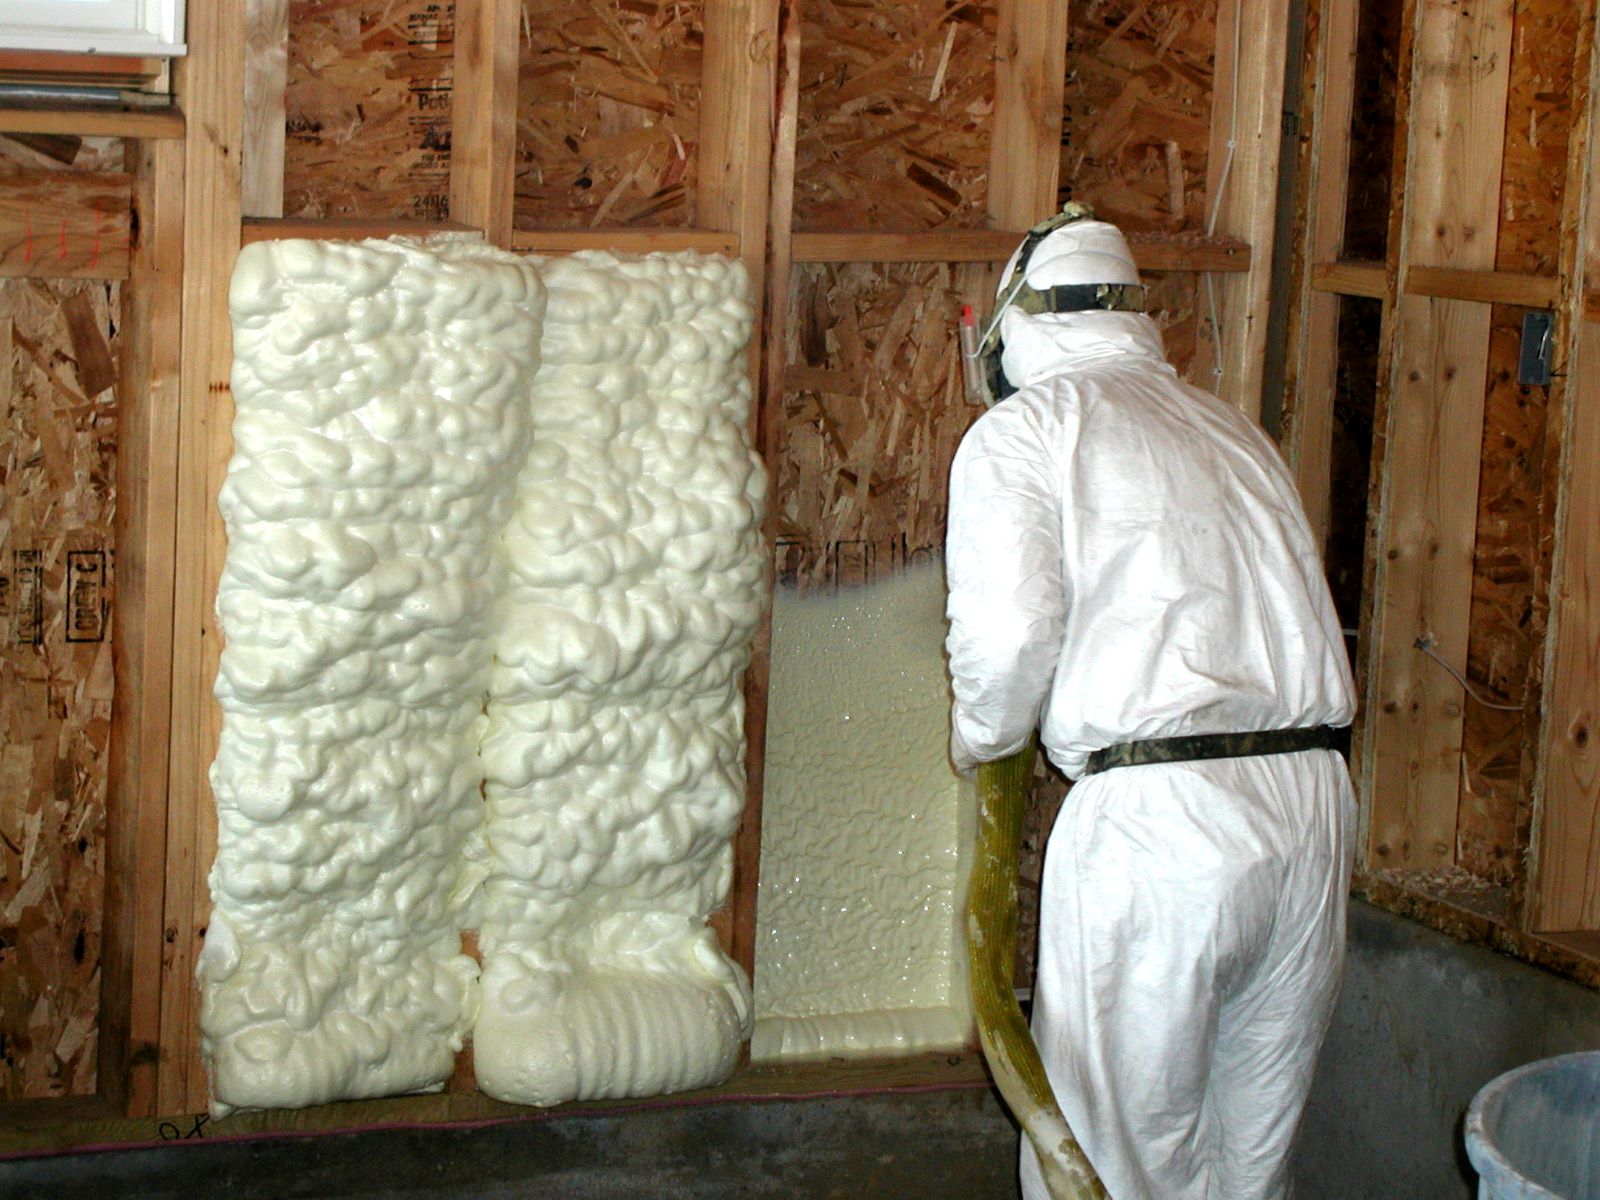
Applying the Insulation
Now that you have prepared the spray insulation material, it’s time to start applying it to your walls. Follow these steps for proper application:
- Start in a Corner: Begin the application process in a corner of the room. This will allow you to work from one end to the other systematically.
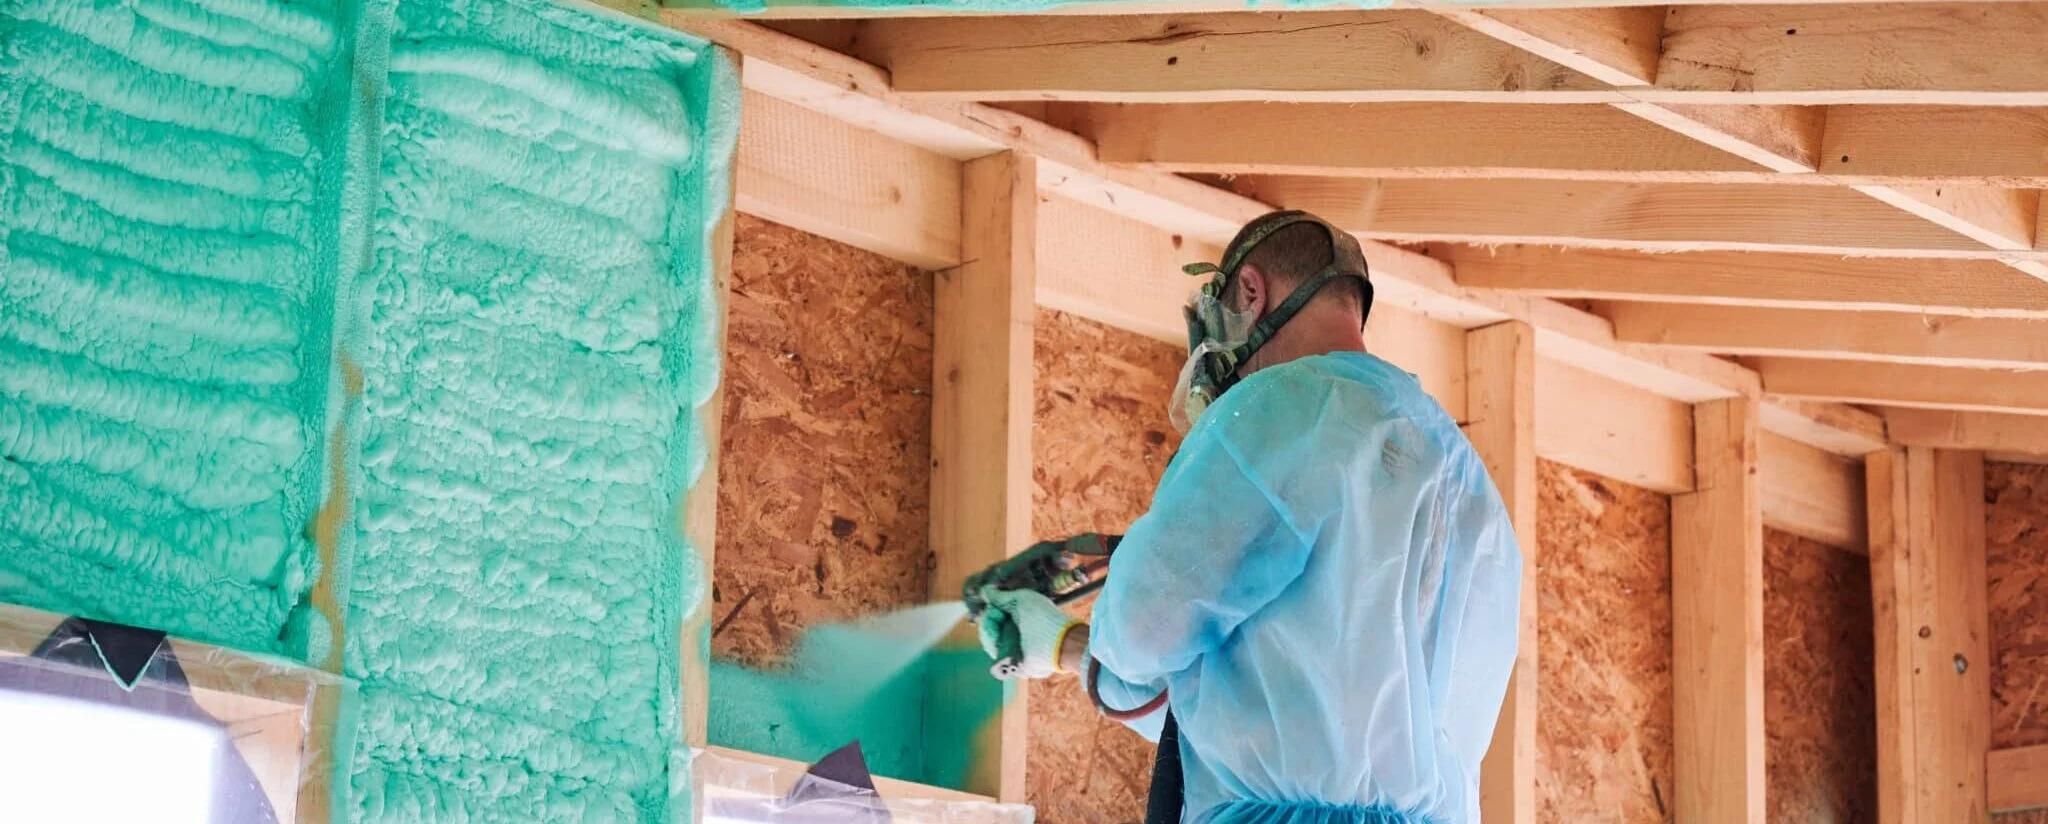
- Maintain Proper Distance: Hold the spray gun at the recommended distance from the wall, typically around 12 to 18 inches. This will ensure an even and consistent application.
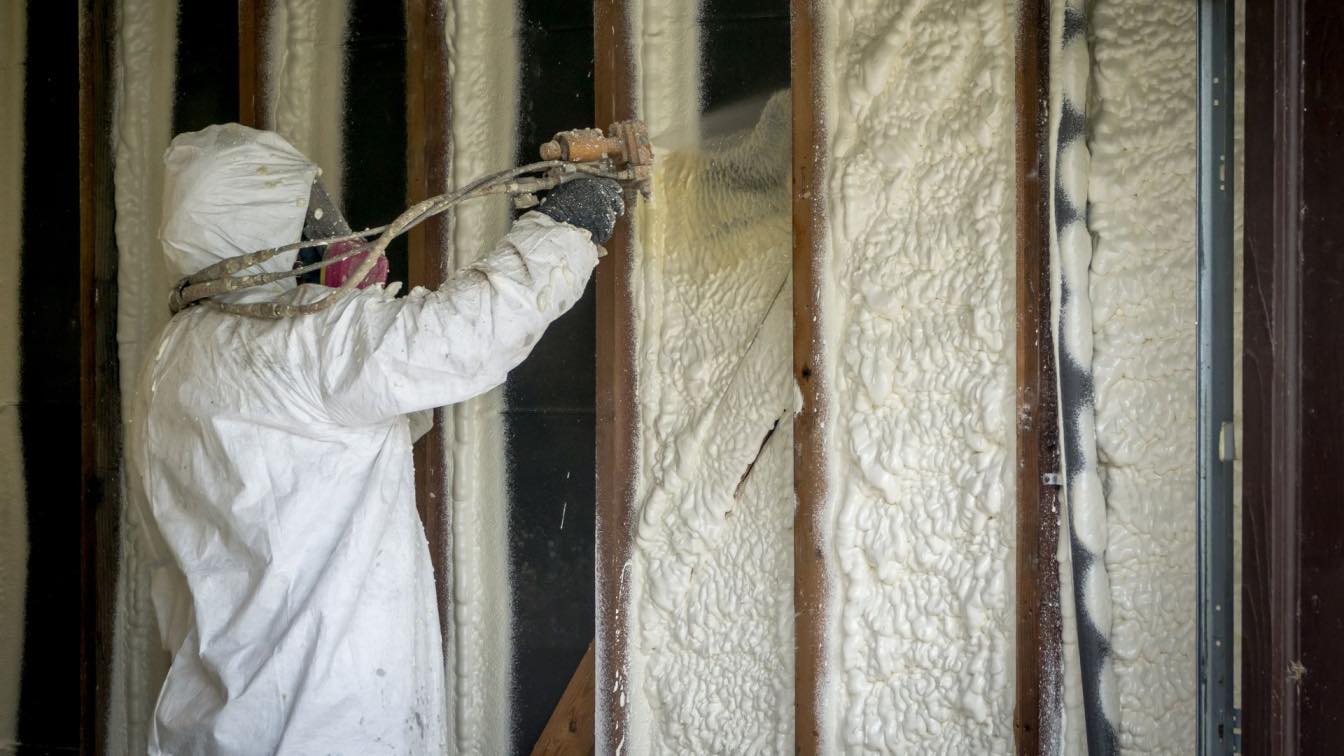
- Apply in a Controlled and Smooth Motion: Use a consistent side-to-side motion to spray the insulation onto the wall. Avoid rapid or jerky movements, as this can result in uneven coverage. Keep the spray gun moving to prevent overspray in one area.
- Maintain Constant Pressure: Apply a steady and constant pressure on the spray gun trigger. This will ensure a consistent flow of insulation material.
- Work in Small Sections: Divide the wall into smaller sections, spraying one section at a time. This approach allows you to maintain control over the application process and ensures even coverage.
- Overlap the Spray Pattern: When moving from one section to another, overlap the spray pattern slightly to ensure complete coverage and eliminate any potential gaps.
- Build Up Thickness: If necessary, apply multiple coats to achieve the desired insulation thickness. Allow each layer to partially cure before applying the next one, as specified by the manufacturer.
- Cover Gaps and Cracks: Pay extra attention to filling in any gaps, cracks, or hard-to-reach areas. These areas may require additional insulation coverage to create a complete thermal barrier.
- Monitor Coverage and Thickness: As you progress, periodically check the coverage and thickness of the insulation. Adjust the application technique or thickness as needed to achieve the desired results.
Remember to take breaks as needed and stay aware of your surroundings, ensuring your safety and the safety of others. The application process can be physically demanding, so listen to your body and rest when necessary.
Once you have completed the application process, it’s time for the finishing touches and cleanup.
Finishing and Cleaning up
After you have successfully applied the spray insulation to your walls, there are a few important steps to take to ensure a clean finish and proper cleanup. Here’s what to do:
- Inspect the Insulation: Take a close look at the applied insulation to ensure even coverage and fill in any missed spots or gaps. Use a flashlight if needed to inspect hard-to-reach areas.
- Tidy up Excess Insulation: If there are any areas where the insulation has expanded beyond the intended coverage, use a utility knife to carefully trim away the excess material. This will create a clean and neat finish.
- Allow the Insulation to Cure: Follow the manufacturer’s instructions for the recommended curing time. Typically, the insulation will cure within 24-48 hours. Avoid touching or disturbing the insulation during this time.
- Remove Drop Cloths and Plastic Sheets: Once the insulation has cured, carefully remove the drop cloths and plastic sheets used to protect the surrounding areas. Dispose of them properly.
- Clean Up Equipment: Thoroughly clean the spray gun, hoses, and other equipment used for spraying the insulation. Follow the manufacturer’s instructions for proper cleaning techniques and disposal of any leftover insulation material.
- Dispose of Waste Materials: Dispose of any unused or leftover insulation material and associated waste responsibly, following local regulations and guidelines.
- Restore the Area: Put back any furniture, decor, or objects that were temporarily removed from the area. Give the space a final clean-up to remove any dust or debris from the insulation process.
- Check for Air Leaks: Once the insulation has cured, check for any remaining air leaks or gaps around windows, doors, electrical outlets, and other openings. Apply appropriate sealant if necessary.
- Enjoy Your Insulated Walls: With a properly applied and cured spray insulation, you can now enjoy the benefits of a well-insulated home, including improved energy efficiency, comfort, and reduced utility bills.
By following these finishing steps and cleaning up properly, you will ensure a professional finish and extend the longevity of your spray insulation.
Now that you have completed the process of spraying insulation in your walls, you can sit back and enjoy the benefits of a well-insulated home. Congratulations!
Conclusion
Insulating your walls with spray insulation not only improves the energy efficiency of your home but also enhances the comfort and livability of your living space. By following the steps outlined in this article, you have learned how to spray insulation in your walls effectively and efficiently.
Starting with the materials needed, you gathered all the necessary tools and safety gear. Preparing the walls involved clearing the area, cleaning and repairing the surfaces, and sealing any gaps or cracks. Setting up the equipment required careful reading of instructions, assembling the spray gun, connecting the hoses, and checking the air compressor.
Mixing and preparing the spray insulation involved reading the instructions, checking the temperature, priming the equipment, and thoroughly mixing the insulation material. Applying the insulation required maintaining the proper distance, using a controlled and smooth motion, and ensuring even coverage in small sections.
Completing the process, you inspected the insulation, trimmed excess material, allowed for curing time, and cleaned up the equipment and the area. The finishing touches included checking for air leaks, disposing of waste materials responsibly, and restoring the space to its original state.
By following these steps, you have successfully insulated your walls, contributing to energy savings and a more comfortable home environment. Enjoy the benefits of a well-insulated space, such as improved temperature control, reduced energy bills, and a quieter living area.
Remember, if at any point you feel unsure or overwhelmed with the process, it’s always a good idea to consult a professional insulation contractor. They can provide expert guidance and ensure the job is done correctly.
Now that you have the knowledge and skills, you can confidently tackle future insulation projects and make your home energy-efficient and comfortable for years to come.
Frequently Asked Questions about How To Spray Insulation In Walls
Was this page helpful?
At Storables.com, we guarantee accurate and reliable information. Our content, validated by Expert Board Contributors, is crafted following stringent Editorial Policies. We're committed to providing you with well-researched, expert-backed insights for all your informational needs.


0 thoughts on “How To Spray Insulation In Walls”