Articles
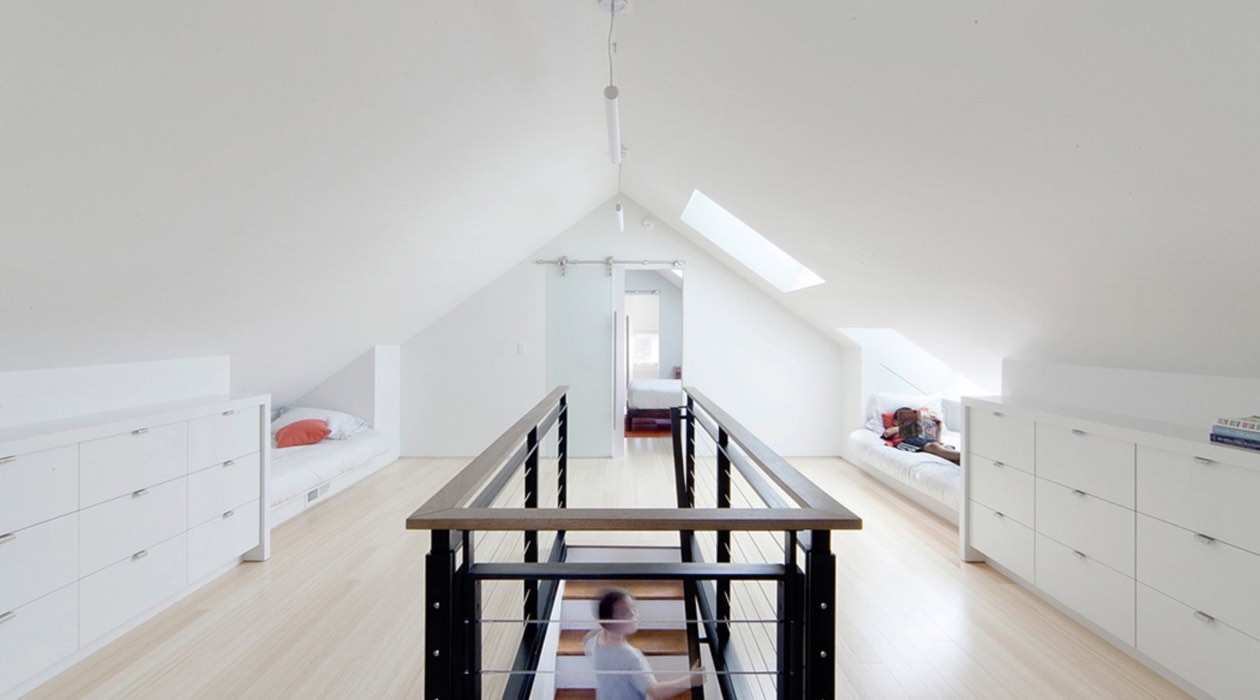
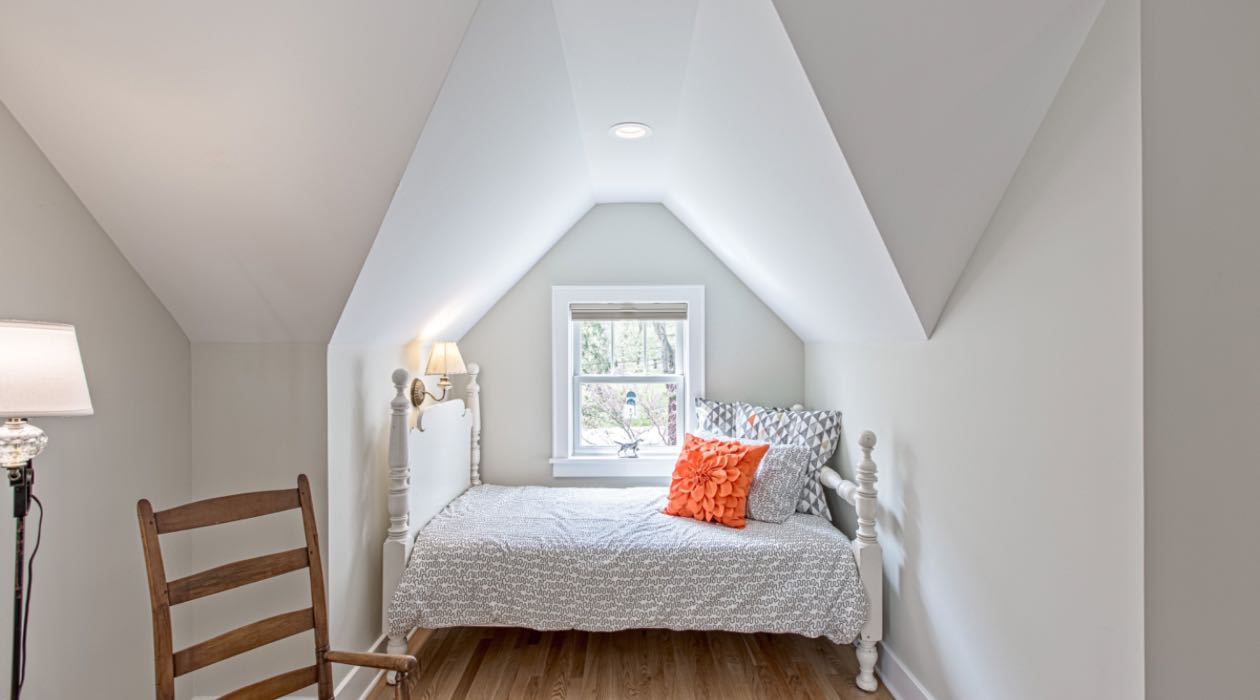
How To Insulate A Finished Attic
Modified: October 22, 2024
Learn how to insulate a finished attic with these helpful articles. Find step-by-step guides, tips, and expert advice to improve energy efficiency in your home.
(Many of the links in this article redirect to a specific reviewed product. Your purchase of these products through affiliate links helps to generate commission for Storables.com, at no extra cost. Learn more)
Introduction
Insulating a finished attic is an important step in optimizing your home’s energy efficiency and creating a comfortable living space. Proper insulation not only helps to maintain a consistent temperature but also reduces energy costs by minimizing heat loss or gain. Whether you plan to use the attic as a living space, storage area, or both, insulating it is a worthwhile investment.
In this article, we will guide you through the process of insulating a finished attic, from assessing the space to choosing the right insulation material and installing it effectively. We will also cover sealing air leaks, insulating attic access doors, and considering proper ventilation. By following these steps, you can ensure that your finished attic is well-insulated and properly protected against extreme temperatures.
Before we delve into the steps, it’s important to note that while this guide provides a general overview, it is essential to consult local building codes and regulations specific to your area. Additionally, keep in mind that the effectiveness of insulation depends on various factors, such as climate, existing insulation, and the condition of your attic.
Now, let’s proceed to the first step – assessing the attic.
Key Takeaways:
- Properly insulating a finished attic involves assessing the space, choosing the right insulation material, and sealing air leaks to create a comfortable and energy-efficient living environment.
- Consideration of ventilation, insulation of the attic access door, and insulating attic ductwork are crucial steps in ensuring optimal energy efficiency and maintaining a healthy attic environment.
Read more: How To Finish Attic For Storage
Step 1: Assessing the Attic
Before you start insulating your finished attic, it is crucial to assess the space to determine its current insulation status and identify any potential issues. Here’s how you can assess your attic:
- Inspect the existing insulation: Check if there is any existing insulation in your attic. If there is, note its type, condition, and thickness. This information will help you determine whether you need to add more insulation or replace the existing one.
- Look for air leaks: Air leaks can significantly impact the energy efficiency of your attic. Inspect the attic for any cracks, gaps, or holes that may allow air to pass through. Common areas where air leaks occur include around windows, vents, electrical wires, and plumbing penetrations.
- Inspect the attic ventilation: Proper attic ventilation is essential for maintaining the longevity of your roof and preventing moisture buildup. Check if your attic has proper ventilation, including ridge vents, soffit vents, or gable vents. If there are any blockages or inadequate ventilation, it might be necessary to address these issues before insulating.
- Consider the attic’s functionality: Think about how you plan to use your finished attic. If it will be a living space, you’ll need to insulate it more thoroughly to ensure comfortable temperatures year-round. On the other hand, if it will primarily be used for storage, you may need less insulation.
- Take measurements: Measure the total square footage of the attic’s floor area. This will help you determine the amount of insulation material you’ll need.
By carefully assessing your attic, you’ll have a better understanding of its insulation requirements and any necessary repairs or modifications. Proceeding with this knowledge will ensure that the insulation project is carried out effectively and efficiently.
Step 2: Choosing the Insulation Material
One of the crucial steps in insulating a finished attic is selecting the appropriate insulation material. The right choice will depend on factors such as your climate, budget, and personal preferences. Here are some commonly used insulation materials:
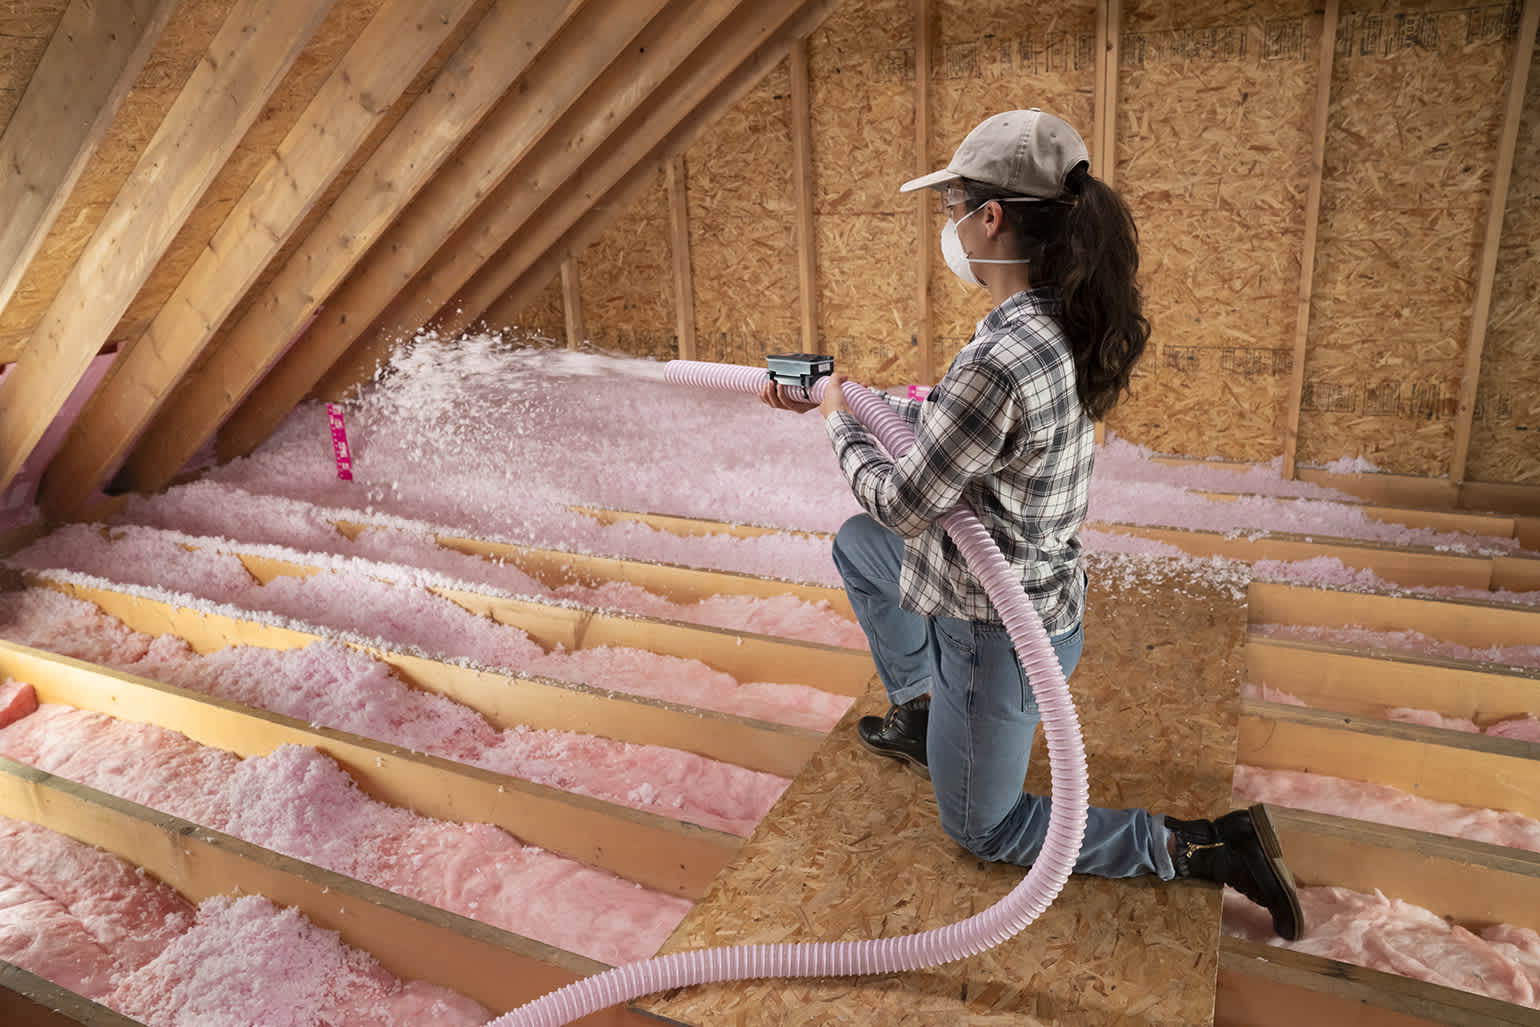
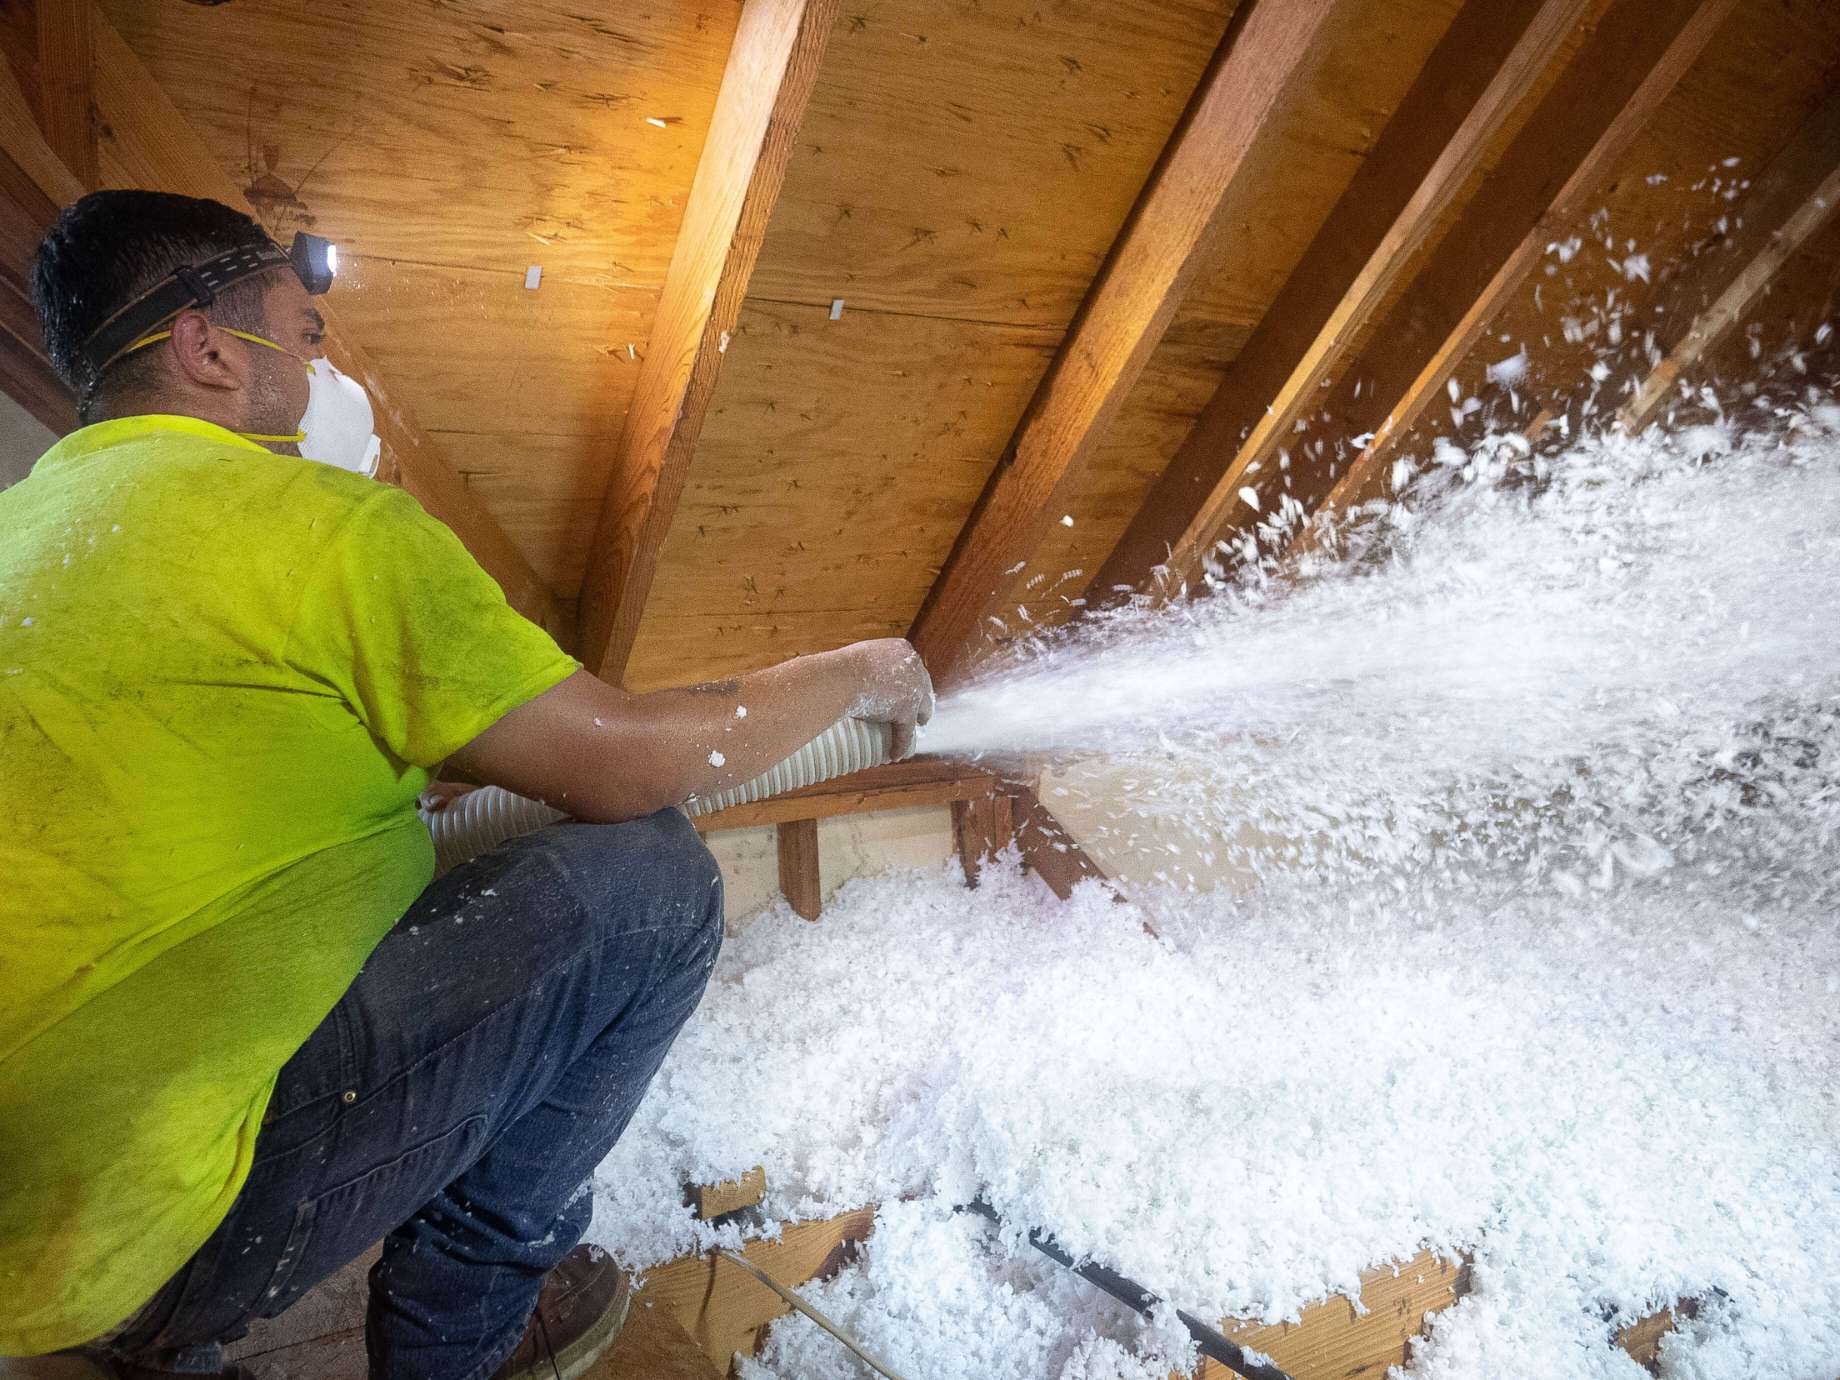
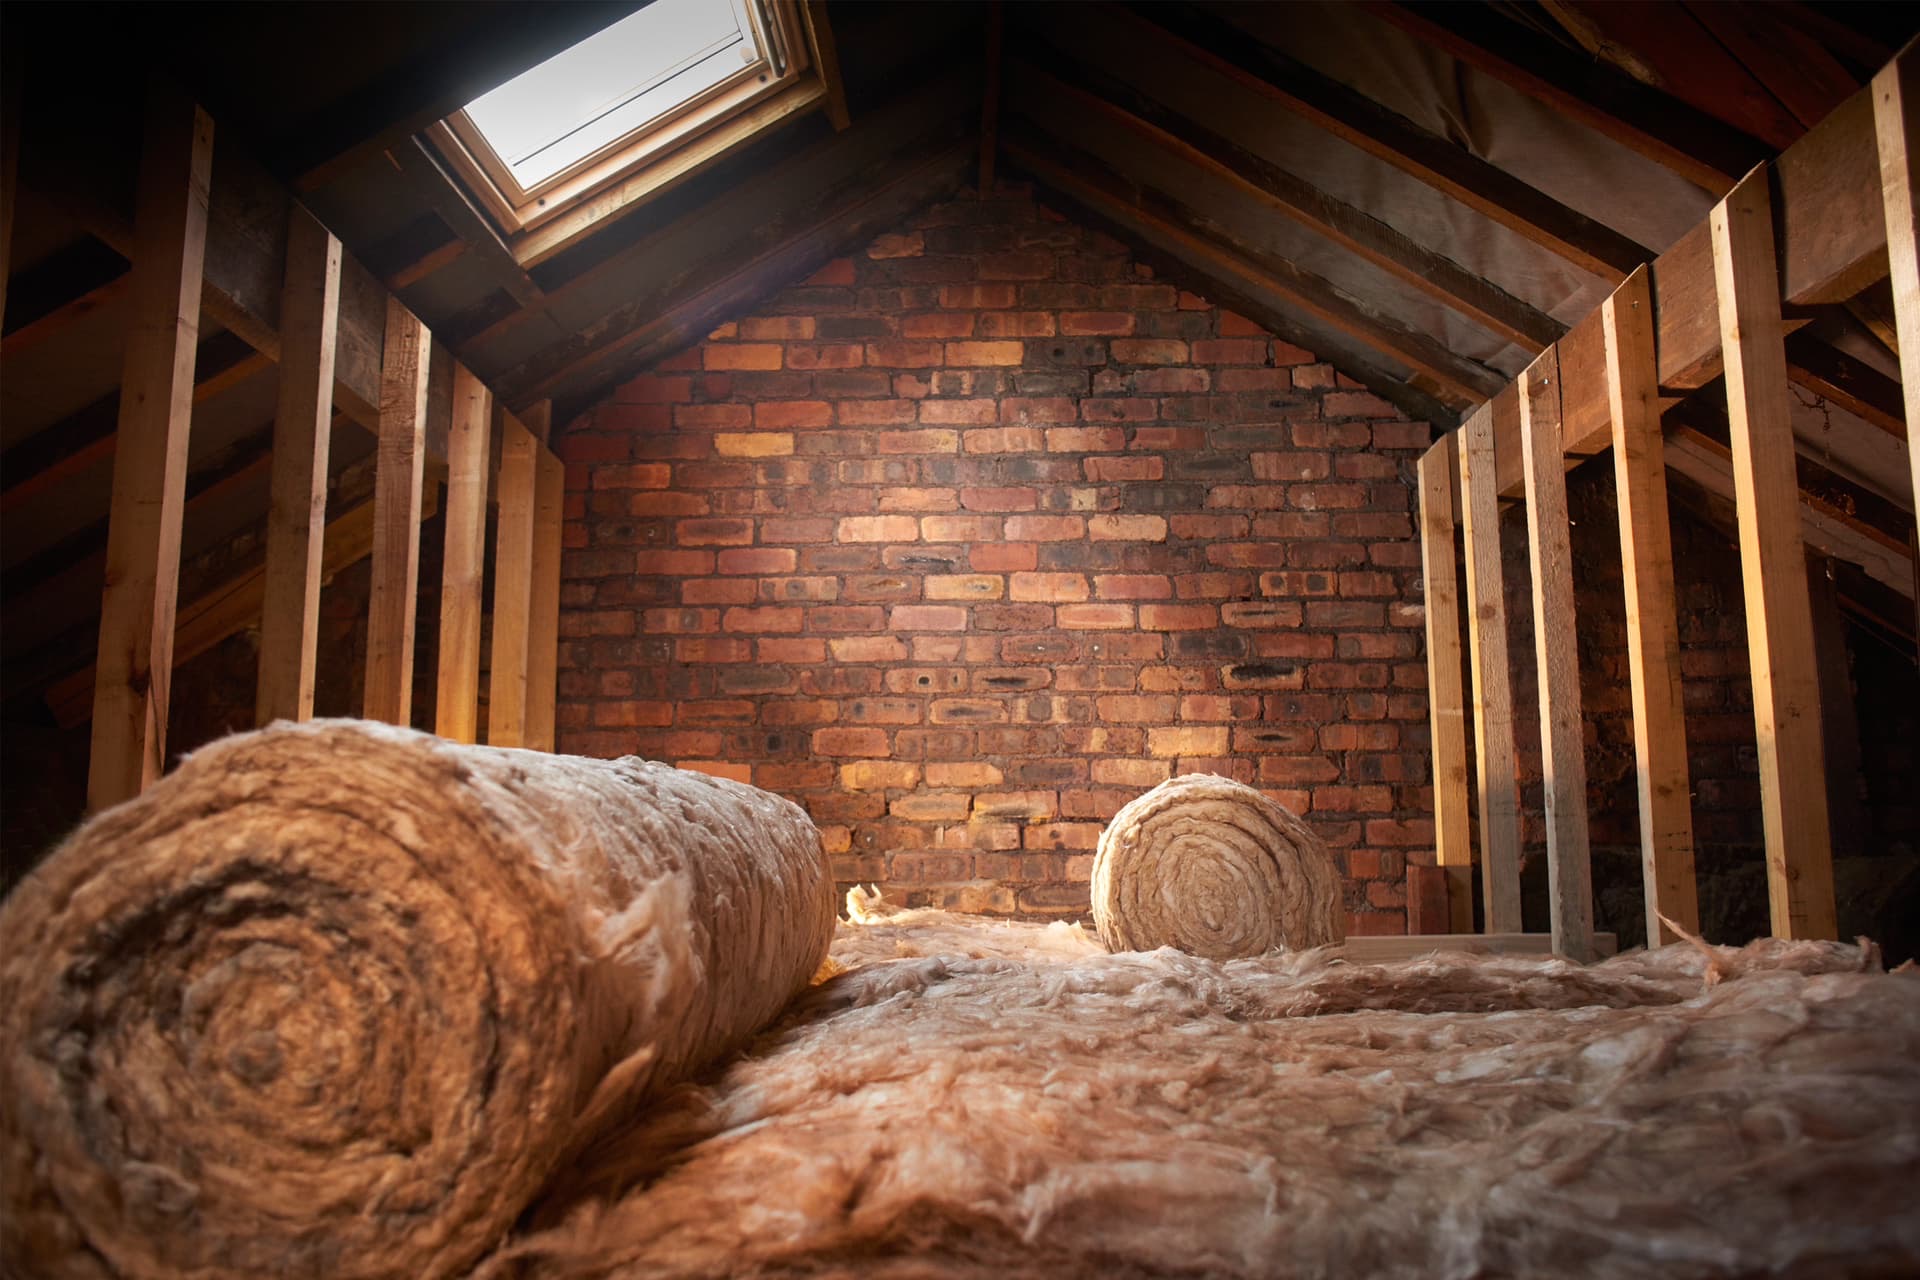
- Fiberglass insulation: Fiberglass insulation is a popular choice due to its affordability and effectiveness. It comes in either batts or loose-fill form. Batts are pre-cut, flexible sheets that fit between framing members, while loose-fill is blown into place using special equipment.
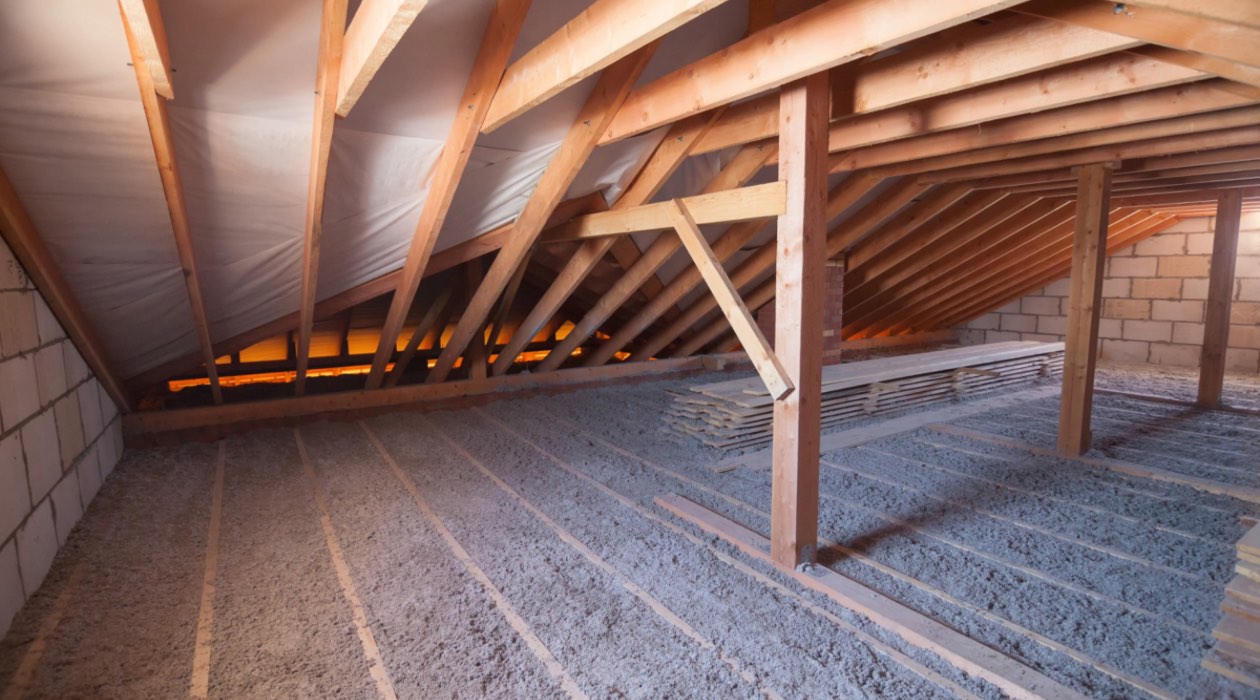
- Cellulose insulation: Cellulose insulation is made from recycled paper and treated with fire-retardant chemicals. It offers good thermal performance and is suitable for both attics with open framing and enclosed spaces. Cellulose insulation is typically blown into place.
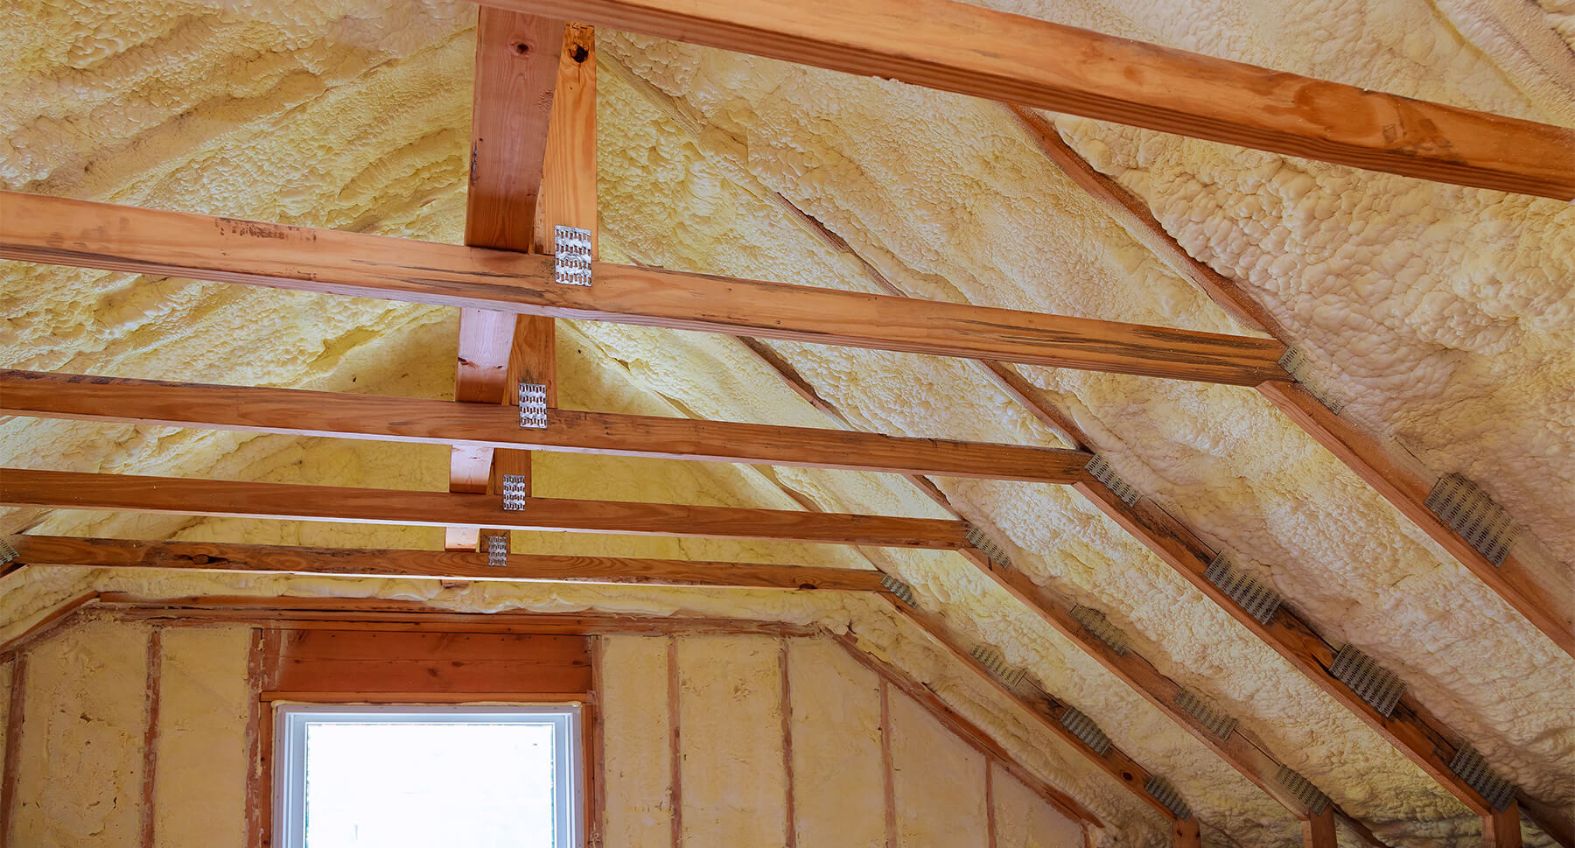
- Spray foam insulation: Spray foam insulation is a versatile option that expands and hardens upon application, creating an airtight seal. It offers excellent insulation and high R-values. However, professional installation is recommended as it requires specialized equipment and expertise.
- Rigid foam insulation: Rigid foam insulation is a durable and moisture-resistant option. It comes in rigid panels or sheets and provides a high level of insulation. Rigid foam insulation is ideal for insulating attic walls or for creating a continuous insulation barrier.
- Natural fiber insulation: Natural fiber insulation, such as cotton or sheep’s wool, is an eco-friendly and sustainable option. It offers good thermal performance and is often treated to resist pests and fire. Natural fiber insulation is typically available in batts or loose-fill form.
Consider the pros and cons of each insulation material, as well as their compatibility with your attic’s structure and specific requirements. Additionally, consult local building codes and regulations to ensure compliance with any specific insulation requirements.
Remember that insulation should be installed following the manufacturer’s instructions. Proper installation is crucial to achieve maximum insulation efficiency and effectiveness. If you are unsure about the installation process, it’s always a good idea to consult a professional insulation contractor.
With the right insulation material chosen, you are one step closer to creating a well-insulated finished attic that will provide you with comfort, energy savings, and a more enjoyable living space.
Step 3: Preparing the Attic
Once you have assessed your attic and selected the insulation material, the next step is to prepare the attic for installation. Proper preparation ensures a smooth and successful insulation process. Here are some important steps to follow when preparing your attic:
- Clean and declutter: Before installing insulation, it’s essential to remove any debris, old insulation (if necessary), and other items from the attic. This will provide a clean and clear space to work in, allowing for better insulation coverage and reducing the risk of fire hazards.
- Address any repairs: Take this opportunity to address any necessary repairs in the attic. Fix leaks, cracks, or damaged areas that could compromise the insulation’s performance. Repairing these issues before installation will help maintain the integrity of the insulation and ensure its effectiveness.
- Seal air leaks: Properly sealing air leaks is crucial for energy efficiency. Use caulk or weatherstripping to seal gaps, cracks, and holes around windows, doors, electrical outlets, and other areas where air may escape or enter. This step will prevent drafts and improve the overall insulation performance.
- Ensure proper ventilation: Adequate ventilation is essential to prevent moisture buildup and ensure a healthy attic environment. Check that your attic has proper ventilation, including vents and fans, to allow air circulation. If necessary, consult a professional to assess and improve the ventilation system.
- Provide access paths: Depending on the type of insulation you choose, you may need to create access paths in the attic. These paths will allow you to distribute insulation evenly and reach all areas that need to be insulated. Plan these access paths strategically to minimize disruption to the finished area of the attic.
Preparing the attic before insulation is crucial for achieving optimal insulation performance and ensuring that your finished attic remains comfortable and efficient. Taking the time to clean, repair, and seal air leaks will set the foundation for a successful insulation installation.
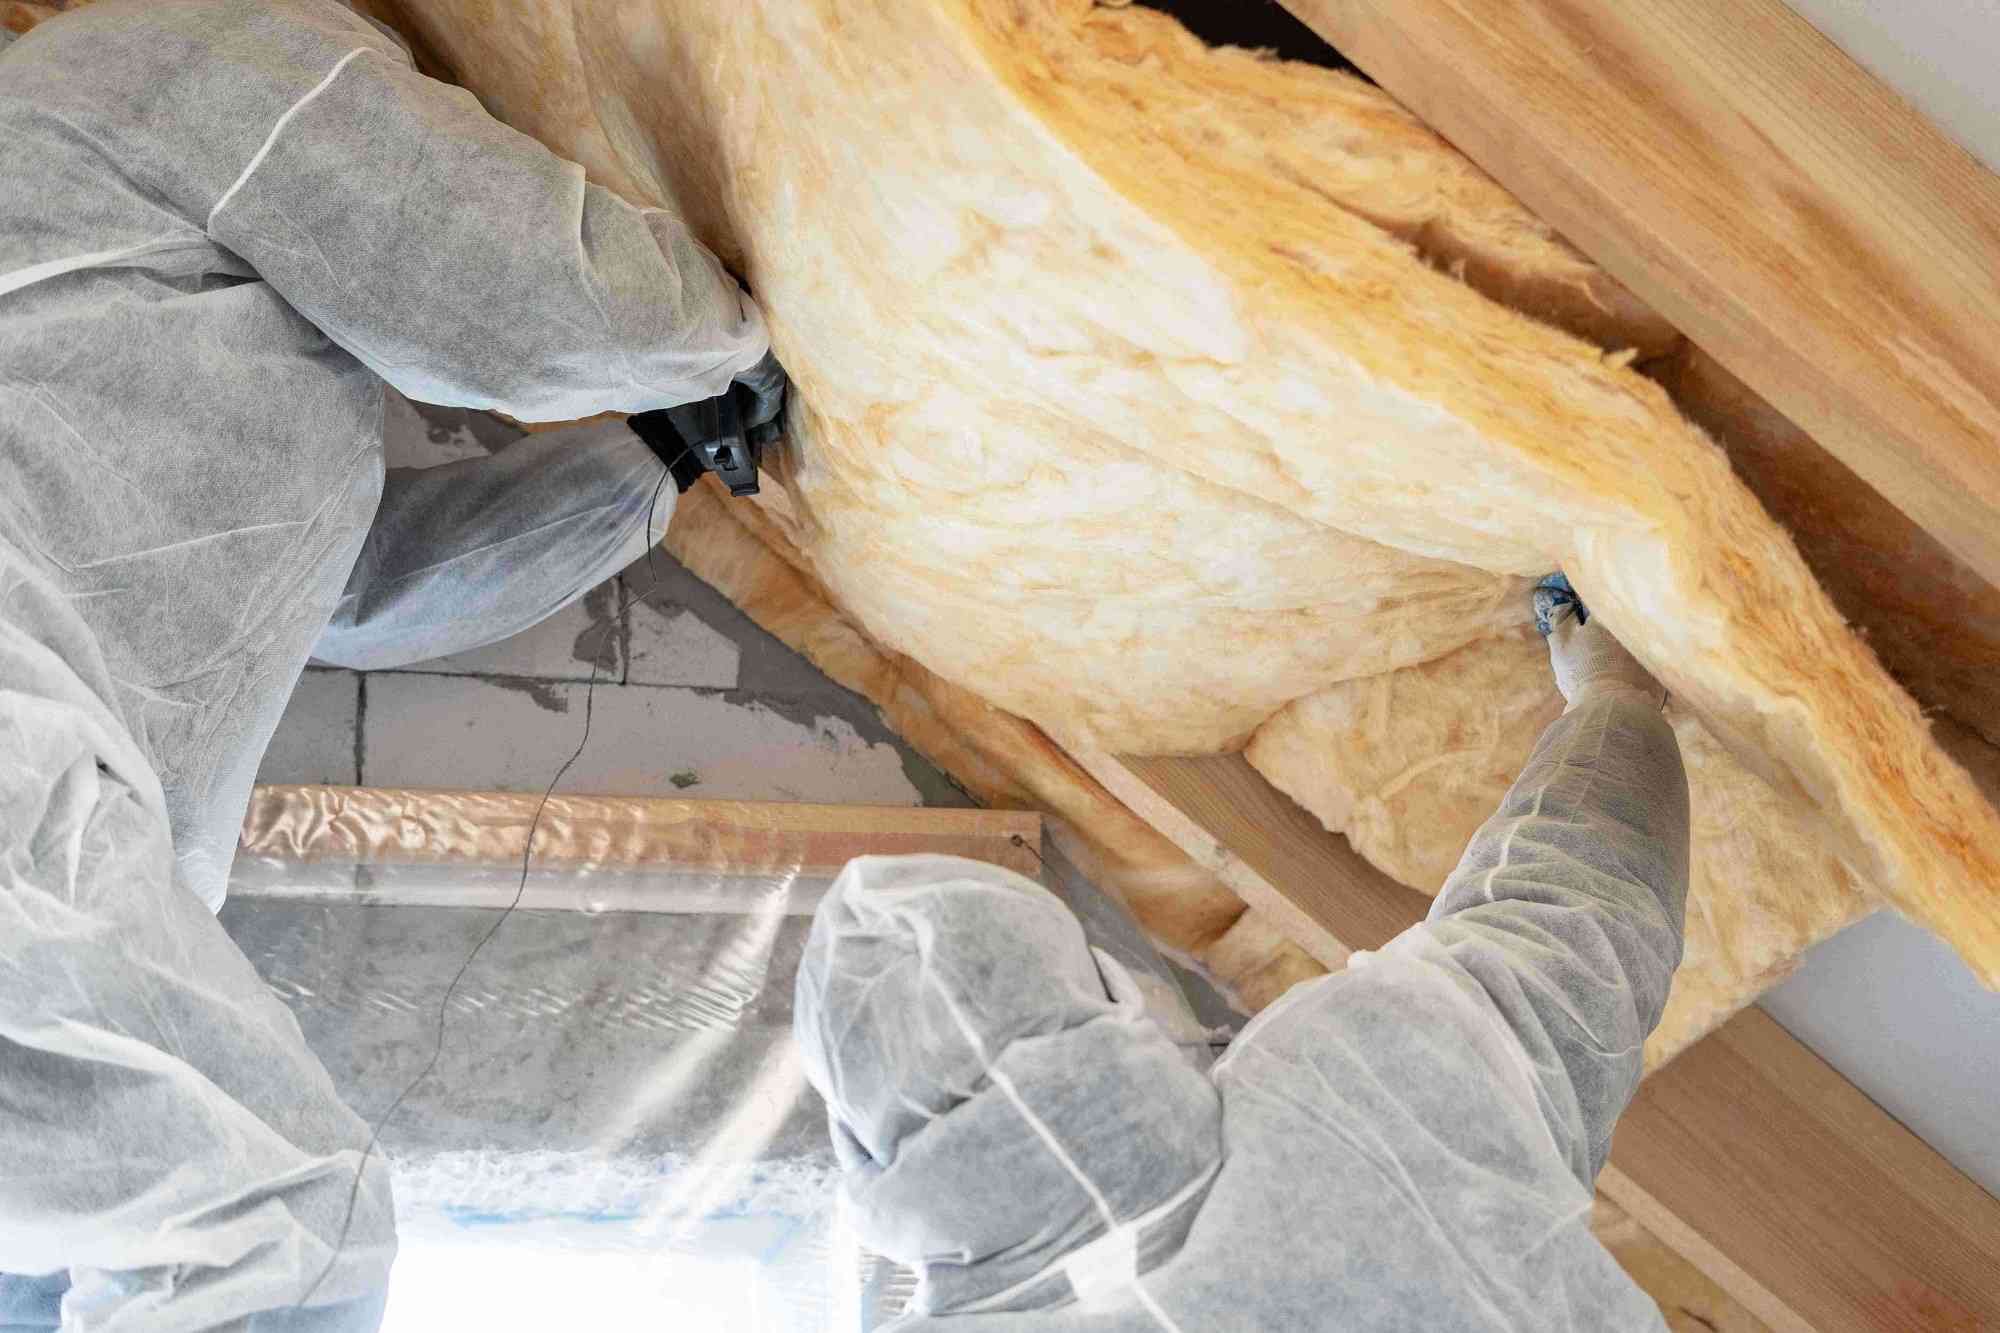
Step 4: Installing Insulation in the Attic
With the attic properly prepared, it’s time to begin the installation process. Installing insulation in the attic helps to create a thermal barrier that keeps heat inside during colder months and prevents heat from entering during warmer months. Here’s how to install insulation in the attic:
- Start with the right safety precautions: Before you begin, ensure you have the necessary safety gear, such as gloves, goggles, and a dust mask. Insulation materials can irritate the skin, eyes, and respiratory system, so it’s important to protect yourself.
- Work from the perimeter inwards: Begin installing insulation around the perimeter of the attic, filling in gaps and covering any exposed areas. Gradually work your way towards the center, ensuring consistent coverage throughout the attic.
- Insulate the attic floor: The attic floor should be insulated to prevent heat transfer between the attic and the living space below. Lay down insulation in-between the floor joists, making sure it is snugly fitted and covers the entire area. Use a utility knife to trim the insulation to fit around any obstructions like pipes or wiring.
- Install insulation in vertical surfaces: If your attic has vertical surfaces such as walls or knee walls, these should also be insulated. Cut insulation panels or batts to fit the dimensions of the walls, ensuring a tight and continuous coverage. Secure the insulation in place with staples, nails, or adhesive as recommended by the manufacturer.
- Ensure proper ventilation: While installing insulation, it’s crucial to maintain proper ventilation. Do not block soffit vents or cover exhaust fans with insulation. Proper ventilation allows for airflow, preventing moisture buildup and maintaining a healthy attic environment.
It’s important to follow the manufacturer’s instructions for the specific insulation material you are using. Each type of insulation may require slightly different installation techniques, so be sure to read and understand the guidelines before proceeding.
Take care to avoid compressing the insulation, as this can impact its thermal performance. Properly installed insulation should be fluffed up and evenly distributed to achieve its desired R-value.
Remember, if you are uncertain or uncomfortable with the installation process, it is always advisable to consult a professional insulation contractor who can ensure the insulation is installed correctly and efficiently.
Once the insulation is installed, you are one step closer to a well-insulated finished attic that will help maintain comfortable temperatures and save on energy costs.
Consider using spray foam insulation to effectively insulate a finished attic. It can easily fill in gaps and hard-to-reach areas, providing a seamless barrier against heat loss and drafts.
Read more: How Important Is Attic Insulation
Step 5: Sealing Air Leaks
Sealing air leaks in your attic is a crucial step in ensuring maximum energy efficiency and insulation effectiveness. Air leaks can significantly impact the overall performance of your insulation by allowing hot or cold air to escape, leading to energy waste and discomfort. Here’s how you can seal air leaks in your attic:
- Identify the air leak sources: Carefully inspect your attic for any gaps, cracks, or openings where air may escape or enter. Common areas include around electrical wiring, plumbing penetrations, attic hatches, recessed lights, and vents.
- Use weatherstripping: Weatherstripping is an effective method to seal gaps around windows, doors, and attic hatches. Self-adhesive weatherstripping tapes or gaskets can be applied to create a tight seal, preventing air leakage.
- Apply caulk or foam sealant: Caulk or foam sealant is ideal for sealing small cracks and gaps in your attic. Apply silicone caulking or expanding foam sealant to seal gaps around electrical wiring, plumbing pipes, and any other visible openings.
- Insulate recessed lights: Recessed lights can be a significant source of air leaks. Ensure that they are properly insulated to prevent heat transfer between the living space and the attic. Use insulation baffles or covers specifically designed for recessed lights to provide a barrier between the light fixture and the insulation.
- Seal ductwork: If there are ducts running through your attic, make sure they are properly sealed. Inspect the joints, connections, and seams for any leaks. Use foil tape or mastic sealant to seal any gaps or leaks in the ductwork, ensuring that heated or cooled air is properly delivered to the intended areas.
- Insulate and seal attic access: The attic access door or hatch can be a major source of air leakage. Ensure that it is properly insulated by adding weatherstripping around the edges and using an insulated attic access cover if necessary.
- Consider using an infrared thermometer: An infrared thermometer can help you identify areas of temperature difference, indicating potential air leaks. Use it to scan the attic and locate areas that may require additional sealing.
Remember to prioritize safety while sealing air leaks. Use appropriate protective gear, such as gloves and safety glasses, and follow the instructions and safety precautions provided by the manufacturers of the sealing products you use.
By sealing air leaks, you can enhance the effectiveness of your insulation, improve energy efficiency, and create a more comfortable living environment in your finished attic.
Step 6: Insulating the Attic Access Door
The attic access door is an often overlooked area when it comes to insulation, but properly insulating it is crucial for preventing air leakage and maintaining insulation effectiveness. Insulating the attic access door can help to create a strong thermal barrier and improve energy efficiency. Here’s how you can insulate the attic access door:
- Measure the dimensions: Start by measuring the dimensions of the attic access door. This will help you determine the amount of insulation material you’ll need.
- Choose the insulation material: Select an insulation material that is suitable for insulating the attic access door. Common options include rigid foam insulation, fiberglass batts, or foam board insulation.
- Prepare the insulation material: Cut the insulation material to fit the dimensions of the attic access door. Ensure that the insulation fits snugly without any gaps or spaces.
- Attach the insulation to the door: Use adhesive or fasteners to secure the insulation to the backside of the attic access door. Make sure the insulation is firmly attached and doesn’t move or shift when the door is opened or closed.
- Seal any gaps or openings: Inspect the edges of the attic access door for any gaps or openings. Use weatherstripping or a door seal kit to seal these gaps and prevent air leakage.
- Consider adding a cover: If you want to enhance insulation and air sealing, you can also consider adding an insulated attic access door cover. These covers are designed to provide airtightness and further improve energy efficiency.
Insulating the attic access door helps to prevent air leakage and maintain a consistent temperature in your finished attic. It also contributes to energy savings and improved comfort levels.
Remember to follow the manufacturer’s instructions for the insulation material and door sealing products you choose. Consult safety guidelines and wear appropriate protective gear when handling insulation materials.
With the attic access door properly insulated and sealed, you can ensure that your finished attic remains well-insulated and protected against air leaks.
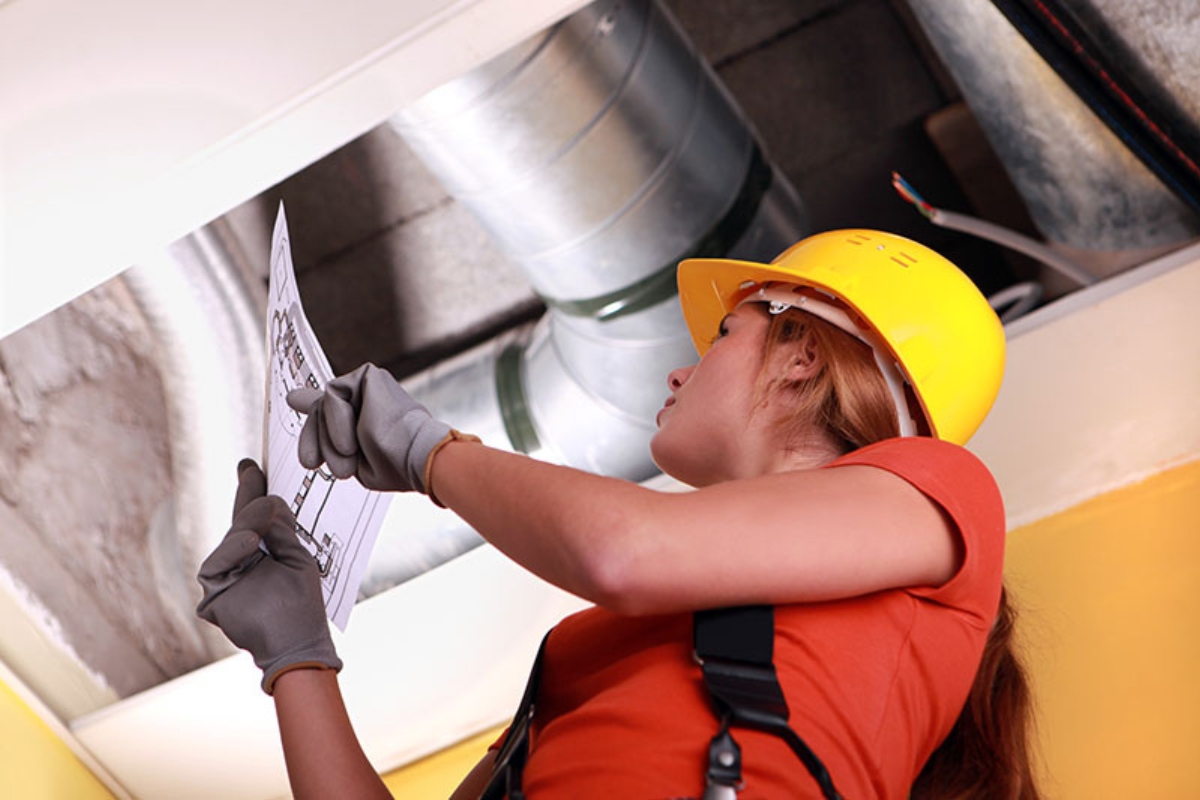
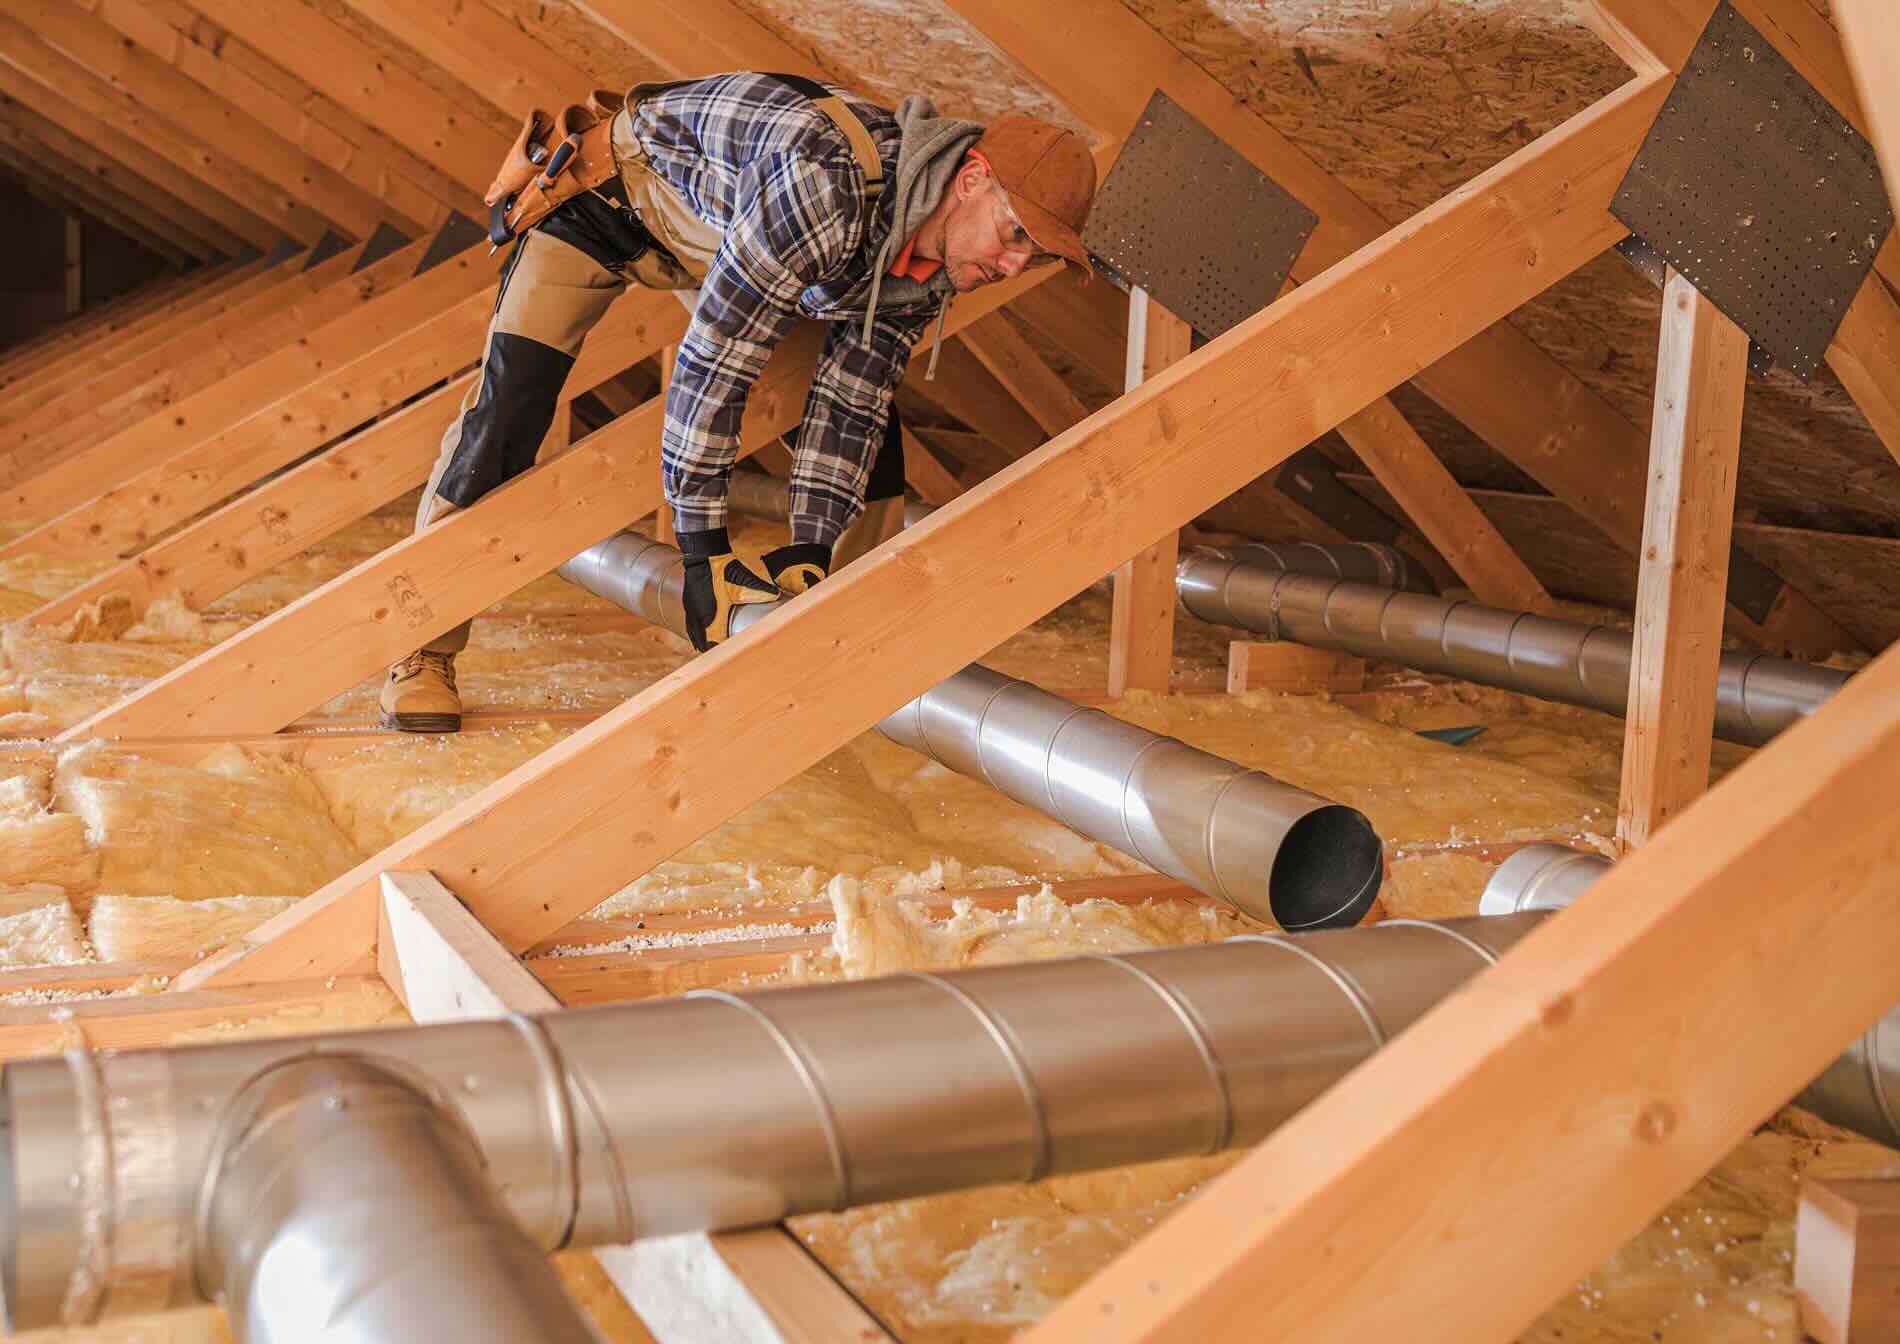
Step 7: Insulating Attic Ductwork
Insulating the ductwork in your attic is an important step in optimizing energy efficiency and ensuring proper distribution of heated or cooled air. Uninsulated ducts can lead to significant energy loss and reduced system efficiency. Insulating your attic ductwork helps to minimize heat transfer and maintain the desired temperature in your home. Here’s how you can insulate attic ductwork:
- Inspect the ductwork: Begin by inspecting the ductwork in your attic. Look for any signs of damage, such as leaks, loose connections, or disconnected sections. Repair or fix any issues before proceeding with insulation.
- Select the insulation material: Choose an insulation material suitable for your ductwork. Common options include fiberglass duct insulation, reflective foam insulation, or duct board insulation. Consider the R-value of the insulation material to ensure optimal thermal performance.
- Measure and cut the insulation: Measure the length and diameter of the ductwork to determine the appropriate size of insulation. Use a utility knife or insulation cutter to cut the insulation material to the proper length and width.
- Wrap the insulation around the ducts: Wrap the insulation around the ducts, ensuring a snug fit. Make sure to overlap the insulation slightly to prevent gaps or exposed areas. Use adhesive or specialized duct tape to secure the insulation in place.
- Seal joints and seams: Apply foil tape or mastic sealant to seal any joints or seams in the insulation. This will help to prevent air leakage and ensure the insulation is fully enclosed around the ductwork.
- Protect the insulation: Depending on the location of the ductwork, you may need to add a protective layer over the insulation. This can be in the form of a vapor barrier or rigid sheathing to protect the insulation from damage.
Insulating attic ductwork helps to maintain the temperature of conditioned air as it travels through the ducts, reducing energy waste and improving overall system efficiency. It also helps to prevent condensation on the ducts, which can lead to moisture issues and mold growth.
Remember to consult local building codes and regulations when insulating ductwork. Additionally, wear appropriate protective gear, such as gloves and goggles, when handling insulation materials and follow manufacturer’s instructions for the specific insulation product you are using.
By properly insulating your attic ductwork, you can enhance energy efficiency, optimize heating and cooling performance, and create a more comfortable living environment in your finished attic.
Step 8: Ventilation Considerations
Proper ventilation is essential in your attic to maintain a healthy and functional space. Good ventilation helps to prevent moisture buildup, reduce the risk of mold and mildew, and ensure the longevity of your roof. When insulating a finished attic, it’s important to consider ventilation to maintain a balanced and well-ventilated environment. Here are some ventilation considerations for your attic:
- Assess existing ventilation: Evaluate the current ventilation system in your attic. Check if there are vents in place, such as soffit vents, ridge vents, gable vents, or turbine vents. Determine the condition and adequacy of the existing ventilation.
- Calculate ventilation requirements: Calculate the ventilation requirements for your attic based on building codes, the size of the attic space, and the type of insulation you are using. Building codes typically recommend a specific ventilation area relative to the size of the attic.
- Add or upgrade vents as needed: If your attic lacks proper ventilation or the existing vents are inadequate, consider adding or upgrading ventilation systems. This might involve installing additional vents or replacing existing ones with more efficient models.
- Ensure proper spacing and coverage: Properly space vents throughout the attic to create a balanced airflow. Ensure that vents are evenly distributed to provide consistent ventilation. Also, ensure that the insulation does not obstruct the vents, as this can hinder proper airflow.
- Consider mechanical ventilation: In some cases, mechanical ventilation may be necessary to achieve adequate airflow in your attic. Options include attic fans or powered ventilators that help to expel hot air and circulate fresh air. Consult with a professional to determine the most suitable mechanical ventilation solution for your attic.
- Maintain and clean vents: Regularly inspect and clean the vents to ensure they are free from debris, dust, or any obstructions that may interfere with proper airflow. Clean vents allow for optimal ventilation and prevent blockages that can lead to moisture problems.
Proper ventilation in your finished attic is essential to maintain a healthy environment and prevent issues such as moisture buildup and mold growth. It also helps to dissipate heat and maintain consistent temperatures throughout the attic space.
Remember to follow local building codes and regulations regarding attic ventilation. If you are unsure about the ventilation requirements or installation process, it’s always advisable to consult with a professional to ensure that your attic has proper ventilation for optimal performance and longevity.
By considering ventilation as part of your insulation project, you can create a well-balanced attic environment that promotes air circulation and safeguards your home from potential moisture-related issues.
Read more: How To Insulate A Garage Attic
Conclusion
Insulating a finished attic is a crucial step in creating a comfortable and energy-efficient living space. By following the steps outlined in this guide, you can ensure that your attic is well-insulated, protected against air leaks, and properly ventilated. Here’s a recap of the steps:
- Assess the attic to determine its current insulation status, identify air leaks, and evaluate the functionality of the space.
- Choose the appropriate insulation material based on factors such as climate, budget, and personal preferences.
- Prepare the attic by cleaning and decluttering, addressing repairs, sealing air leaks, and ensuring proper ventilation.
- Install insulation in the attic floor, vertical surfaces, and any other areas that require coverage.
- Seal air leaks throughout the attic, including around windows, doors, electrical outlets, and recessed lights.
- Insulate the attic access door to prevent air leakage and maintain insulation effectiveness.
- Insulate attic ductwork to minimize heat transfer and optimize the distribution of heated or cooled air.
- Consider ventilation considerations to ensure a balanced and well-ventilated attic environment.
Remember to always consult local building codes and regulations, as well as manufacturer’s instructions, throughout the insulation process. Maintaining safety precautions and wearing appropriate protective gear is also important.
Insulating your finished attic offers numerous benefits, including improved energy efficiency, reduced energy costs, and enhanced comfort. It also helps to protect your home from moisture-related issues and extend the lifespan of your roof.
If you are unsure about any aspect of the insulation process, it’s always advisable to consult with a professional insulation contractor who has the expertise and knowledge to ensure proper installation and optimal results.
With a well-insulated finished attic, you can enjoy a cozy living space, lower energy bills, and a more sustainable home environment. So, take the first step towards creating the attic of your dreams by insulating it properly today!
Frequently Asked Questions about How To Insulate A Finished Attic
Was this page helpful?
At Storables.com, we guarantee accurate and reliable information. Our content, validated by Expert Board Contributors, is crafted following stringent Editorial Policies. We're committed to providing you with well-researched, expert-backed insights for all your informational needs.


0 thoughts on “How To Insulate A Finished Attic”