Articles
How To Drywall Your Basement
Modified: February 29, 2024
Learn how to drywall your basement with these informative articles. Step-by-step guides, tips, and tricks for a successful DIY project.
(Many of the links in this article redirect to a specific reviewed product. Your purchase of these products through affiliate links helps to generate commission for Storables.com, at no extra cost. Learn more)
Introduction
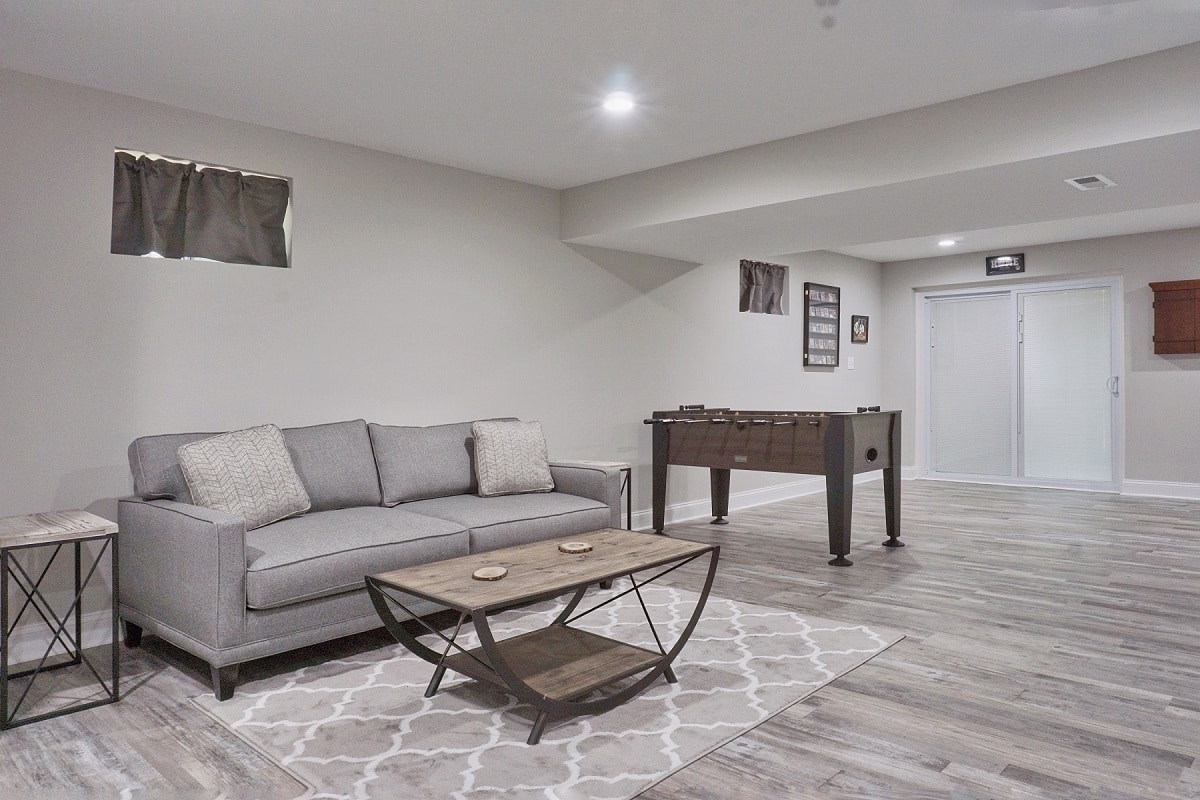
Welcome to our comprehensive guide on how to drywall your basement. If you’re looking to transform your basement into a functional and inviting space, installing drywall is a key step in the process. Drywall, also known as gypsum board or plasterboard, is a versatile and cost-effective material that provides a smooth and finished surface for your walls.
Before we dive into the step-by-step process, let’s talk about why you might want to drywall your basement. Adding drywall can help improve insulation, reduce noise, and enhance the overall aesthetics of the space. Whether you’re planning to create a home theater, a home gym, or simply want to add extra living space, drywall is an essential component to achieve a polished and professional look.
While the task of installing drywall may seem daunting, with the right tools and guidance, it can be a rewarding DIY project. In this guide, we will walk you through each stage of the process, from preparation to finishing touches, to ensure that you have the knowledge and confidence to tackle this project.
Before you start, keep in mind that safety should always be a top priority. Make sure to wear protective gear such as gloves and goggles, and use caution when handling tools and materials. If at any point you feel unsure or uncomfortable, do not hesitate to consult with a professional.
Now, let’s get started on turning your basement into a beautiful and functional space with our step-by-step guide on how to drywall your basement.
Key Takeaways:
- Proper preparation is essential for successful basement drywall installation. From clearing the area to addressing moisture issues, taking the time to prepare and gather the right tools sets the stage for a smooth and rewarding DIY project.
- The finishing touches, including trim, lighting, and personalization, elevate the basement into a functional and inviting space. Attention to detail in the final steps completes the transformation and allows for enjoyment of the newly finished area.
Read more: How To Drywall Basement Ceiling
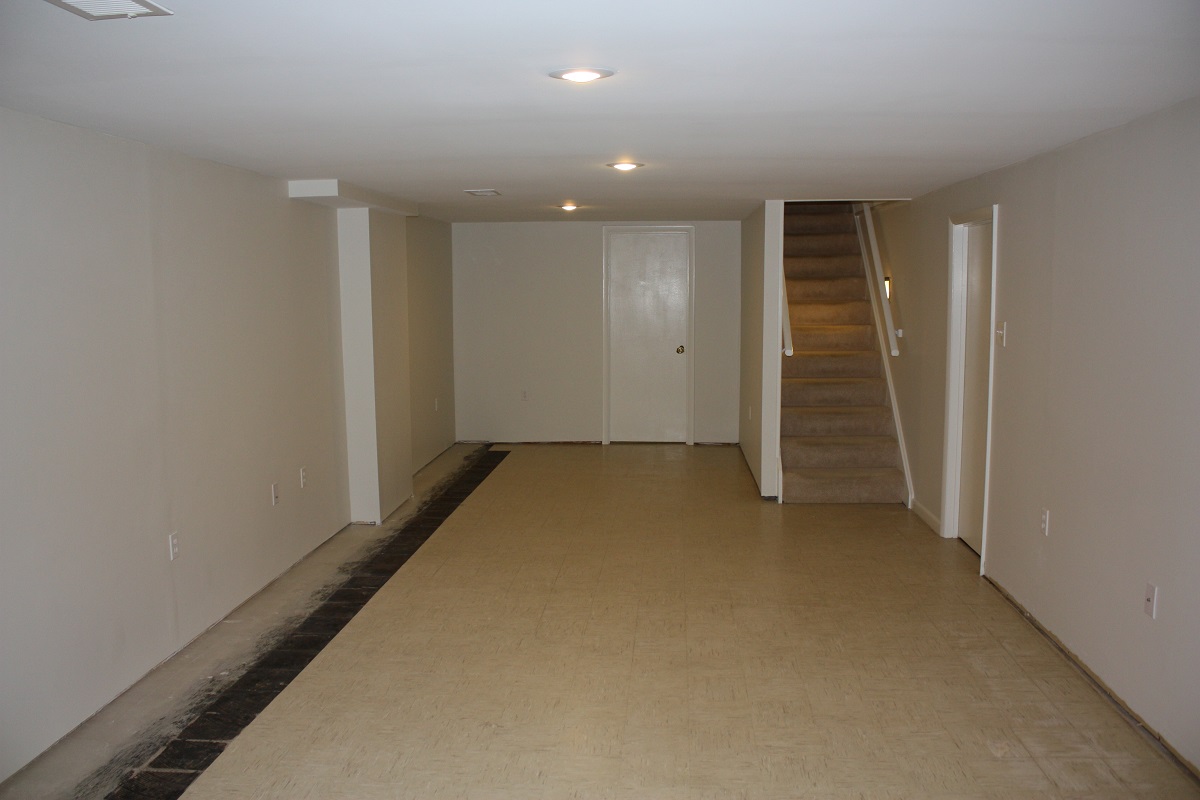
Step 1: Preparation
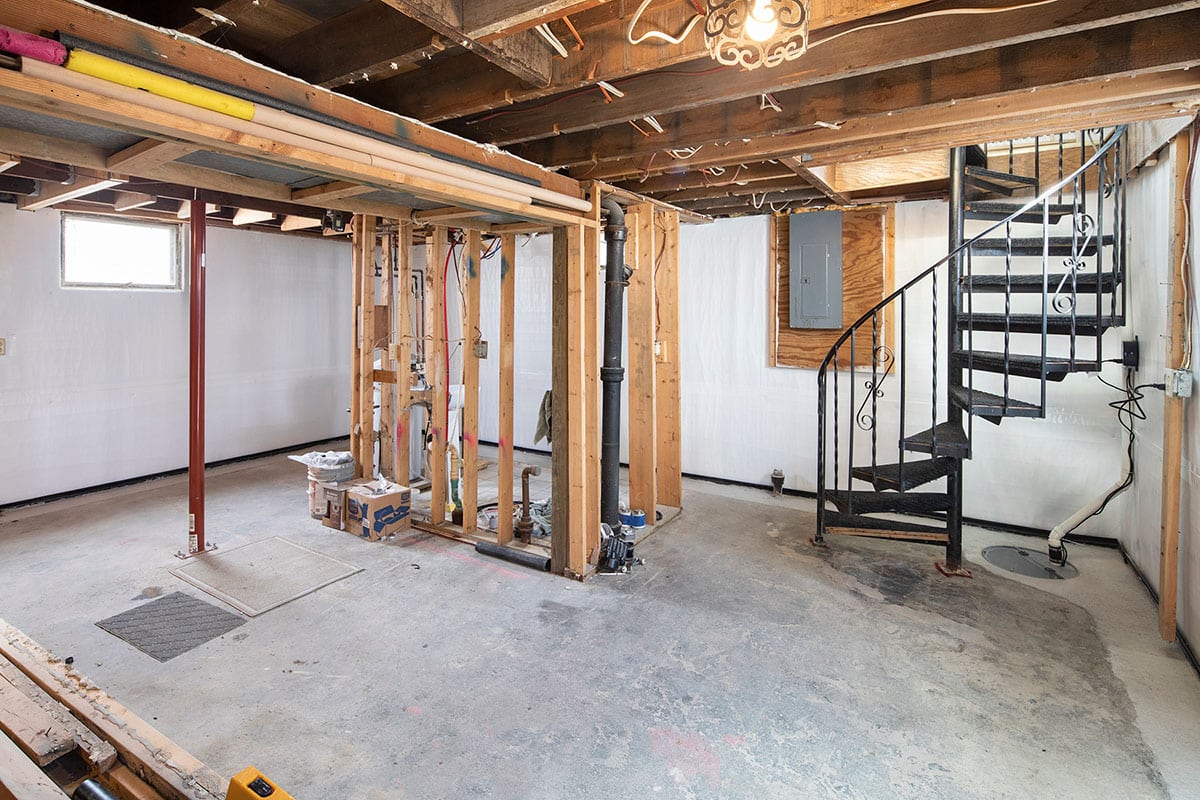
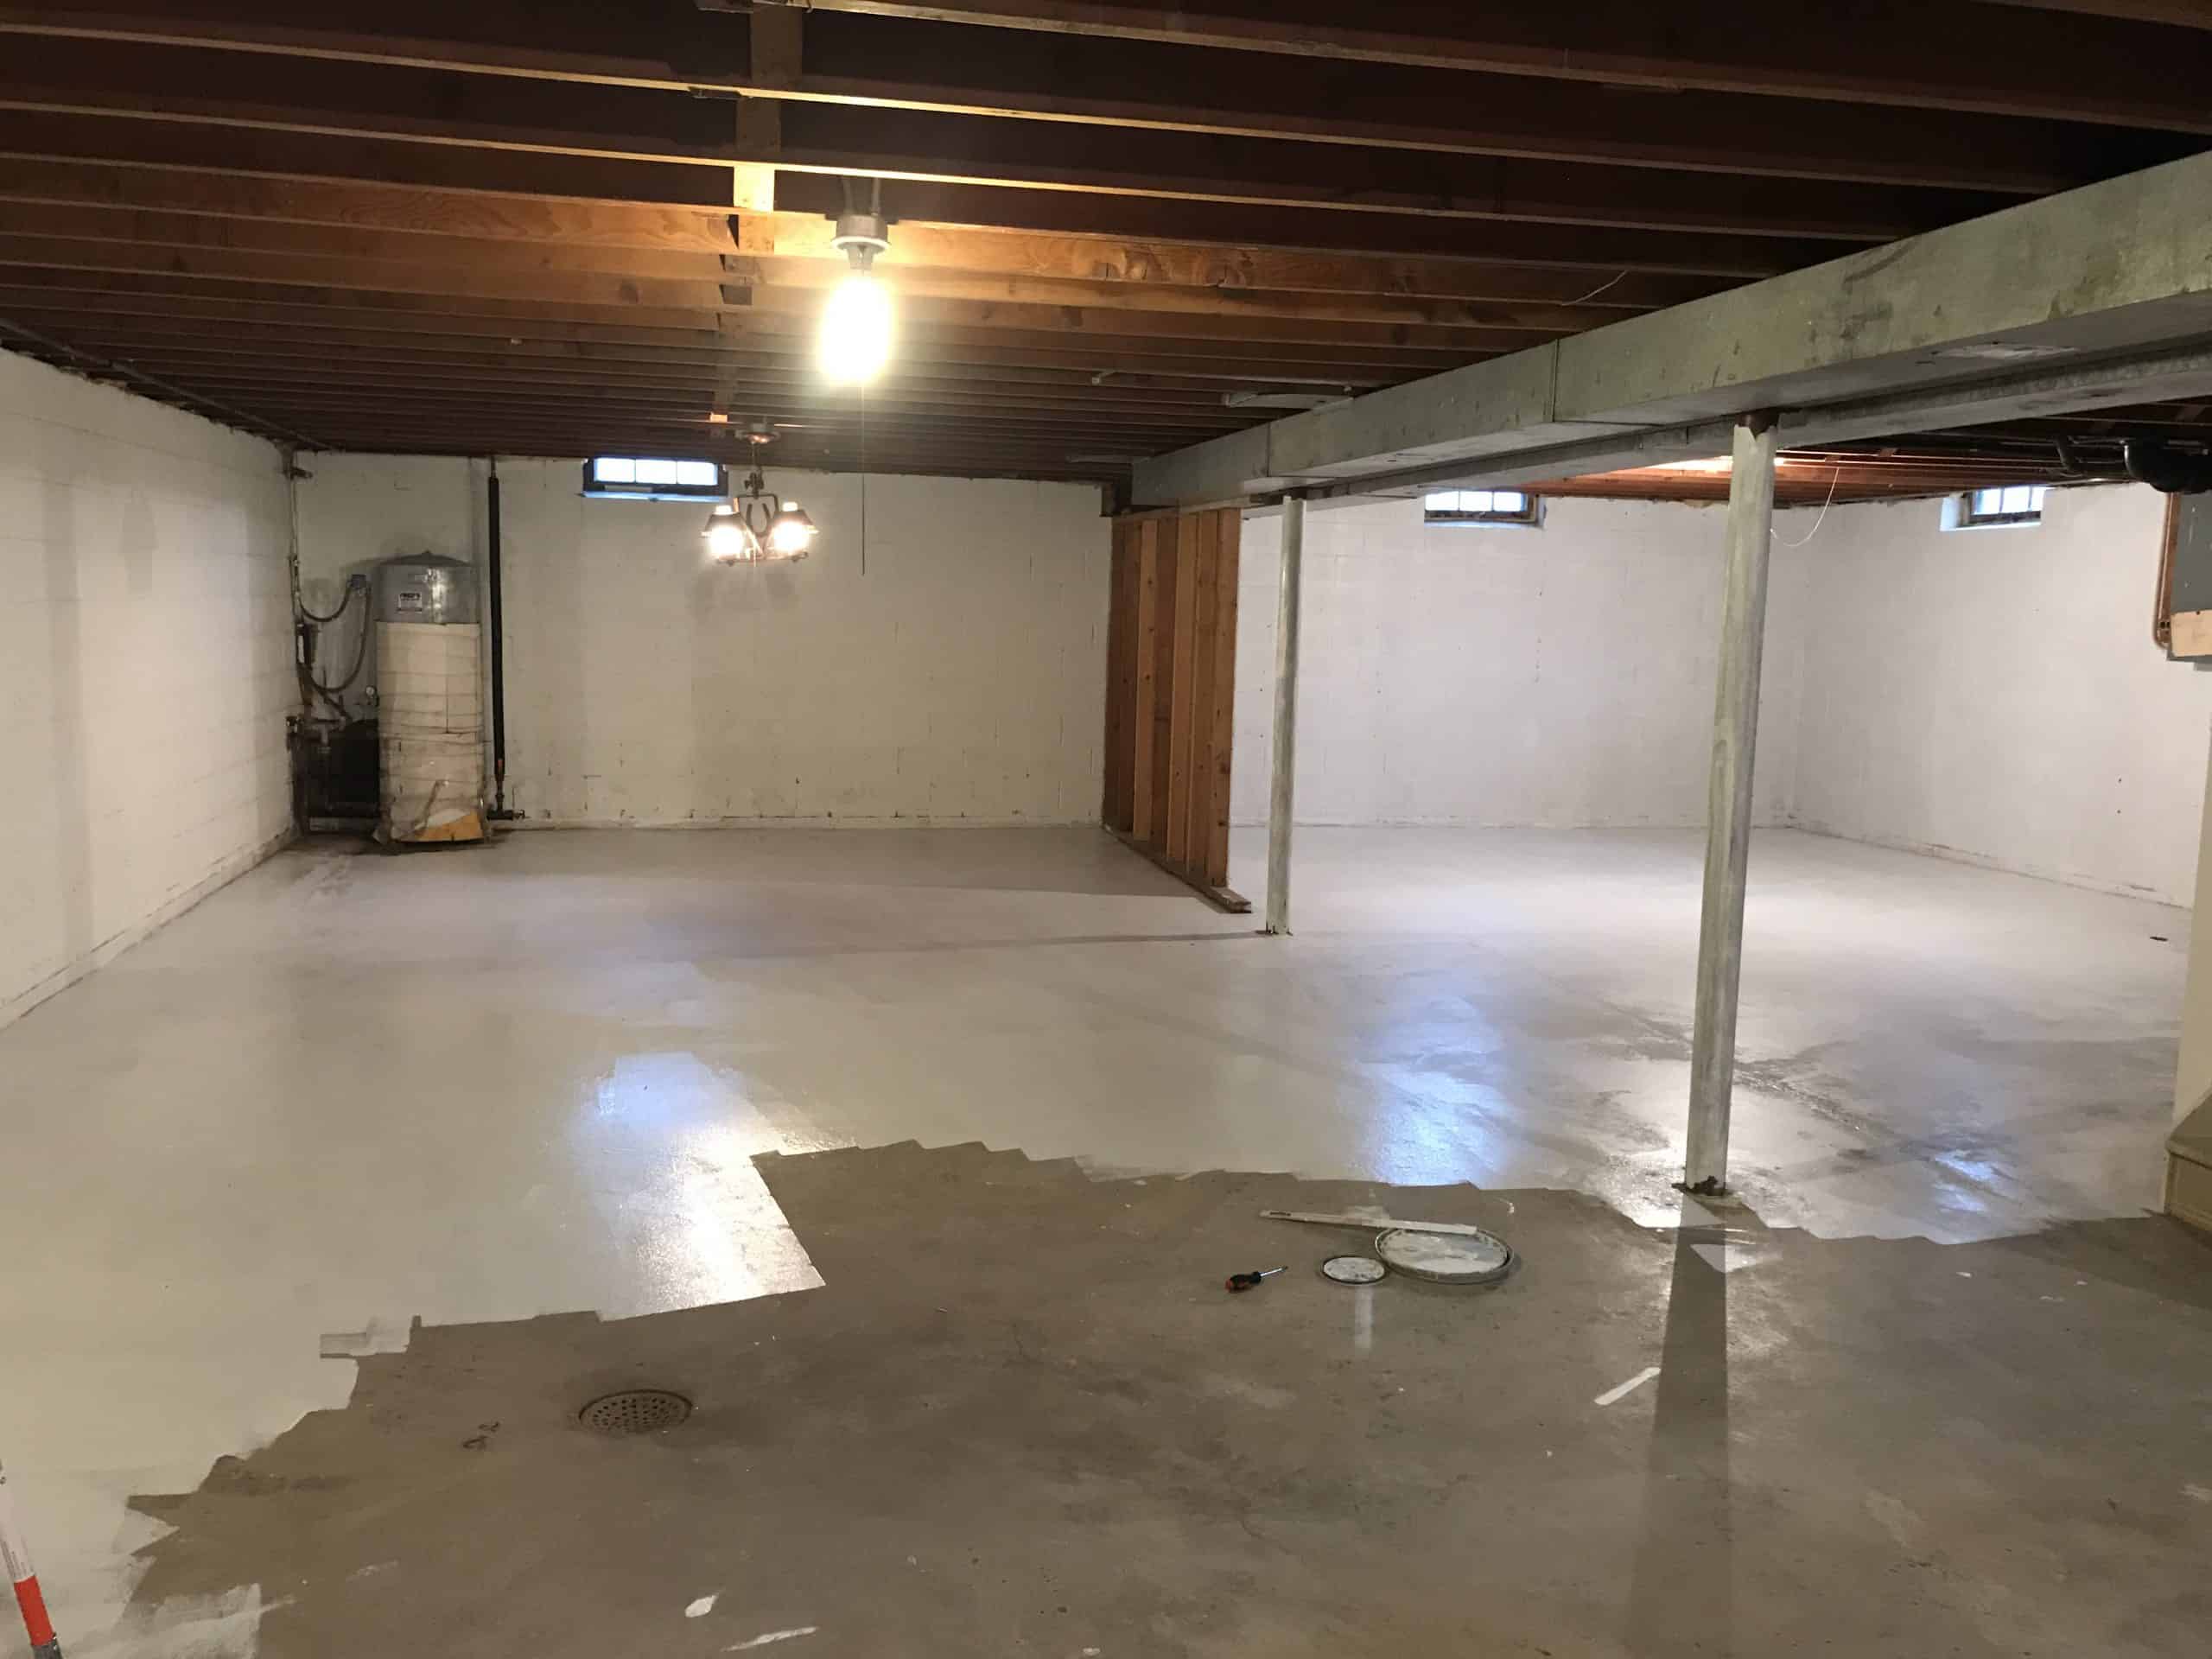
Before you begin the process of drywalling your basement, it’s important to properly prepare the space and gather all the necessary tools and materials. This will ensure a smooth and successful installation process. Here are the key steps to follow during the preparation stage:
- Clear the area: Start by removing any furniture, belongings, or debris from the area where you will be installing the drywall. This will provide you with a clean and unobstructed workspace.
- Measure and calculate: Take accurate measurements of the walls and ceiling in your basement. This will help you determine the quantity of drywall sheets and other materials needed for the project. Remember to account for any openings such as windows or doors.
- Purchase the materials: Head to your local home improvement store or contact a supplier to purchase the necessary materials for the project. These typically include drywall sheets, joint compound, drywall screws, corner beads, and drywall tape. Make sure to choose the appropriate thickness and size of drywall sheets for your specific needs.
- Prepare the tools: Gather all the tools you will need for the installation. These may include a tape measure, utility knife, screwdriver, drywall saw, drill, T-square, hammer, and a drywall lift or a helping hand tool to assist with holding the drywall sheets in place.
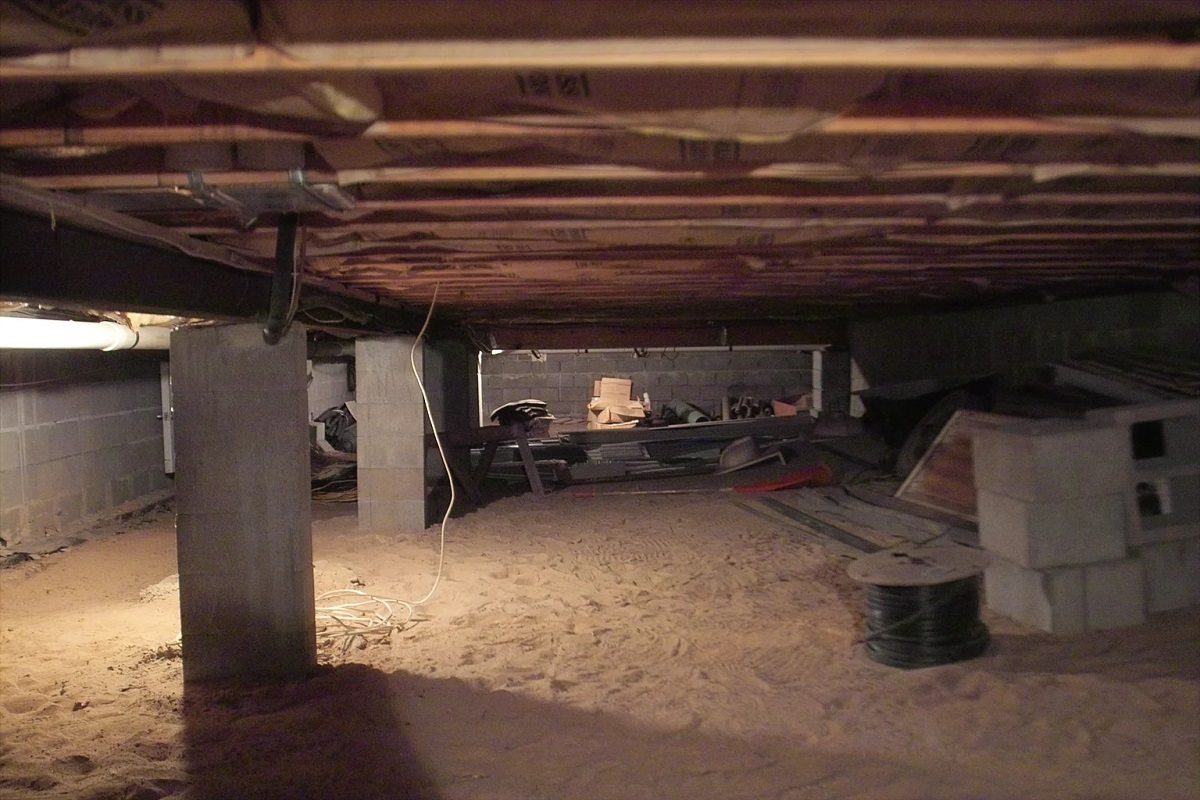
- Address any moisture issues: Basements can sometimes have moisture issues, so it’s important to address them before installing drywall. Ensure that the basement is properly waterproofed and that any leaks or dampness are resolved. This will prevent future damage to the drywall.
- Plan for electrical and plumbing: Consider any electrical outlets, light switches, or plumbing fixtures that will be located on the walls. Mark their positions on the studs to ensure that you can cut openings in the drywall sheets for easy access.
- Protect the floors: Cover the floors with drop cloths or thick plastic sheets to protect them from dust, debris, and potential damage during the installation process.
By taking the time to properly prepare the space and gather the necessary tools and materials, you will set yourself up for success in the subsequent stages of the drywall installation process. With the preparation stage complete, you’re ready to move on to the next step: framing the walls.
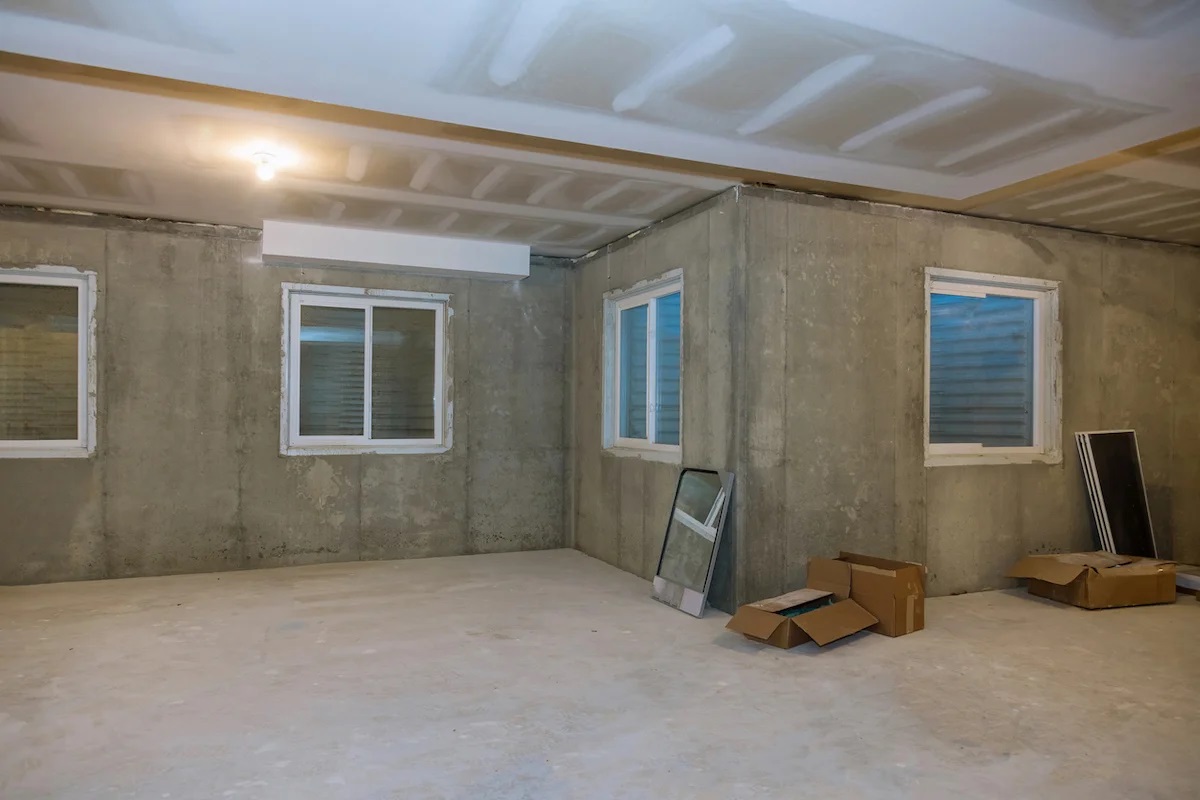
Step 2: Framing the Walls
Once you have completed the preparation stage, it’s time to move on to framing the walls in your basement. The framing serves as the structural skeleton for the drywall installation and provides support for the finished walls. Here’s a step-by-step guide on how to frame the walls:
- Mark the layout: Start by marking the layout of the walls on the basement floor using a chalk line. This will provide a guide for the placement of the wall studs.
- Locate and mark the studs: Use a stud finder or tap on the walls to locate the existing studs. Mark their positions on the floor markings. If there are no existing studs, you will need to install new ones.
- Measure and cut the studs: Measure the height from the floor to the ceiling and cut the studs to the appropriate length using a saw. Ensure that the studs are plumb (vertical) and level (horizontal).
- Space the studs: Determine the spacing for the studs, typically 16 inches or 24 inches apart, and mark their positions on the floor markings.
- Install the bottom and top plates: Cut pressure-treated 2×4 boards to use as the bottom and top plates. Secure the bottom plate along the chalk line on the basement floor using concrete anchors or construction adhesive. Attach the top plate to the ceiling joists using nails or screws.
- Install the studs: Attach the studs between the bottom and top plates using nails or screws. Make sure they are flush with the plates and aligned with the marked positions on the floor.
- Frame around openings: If you have any openings such as windows or doors, frame around them using additional studs and headers. Measure and cut the pieces to fit the dimensions of the openings, and secure them in place.
- Check for squareness and stability: Use a framing square to ensure that the corners are square (90-degree angles). Check the stability of the framed walls by gently pushing and pulling on them. Make any necessary adjustments as needed.
Once you have completed the framing process, you will have a solid structure in place to support the drywall installation. Take your time during this step to ensure accuracy and stability, as it will greatly impact the overall quality of your finished walls. With the walls framed, you’re now ready to move on to the next step: insulating the walls.
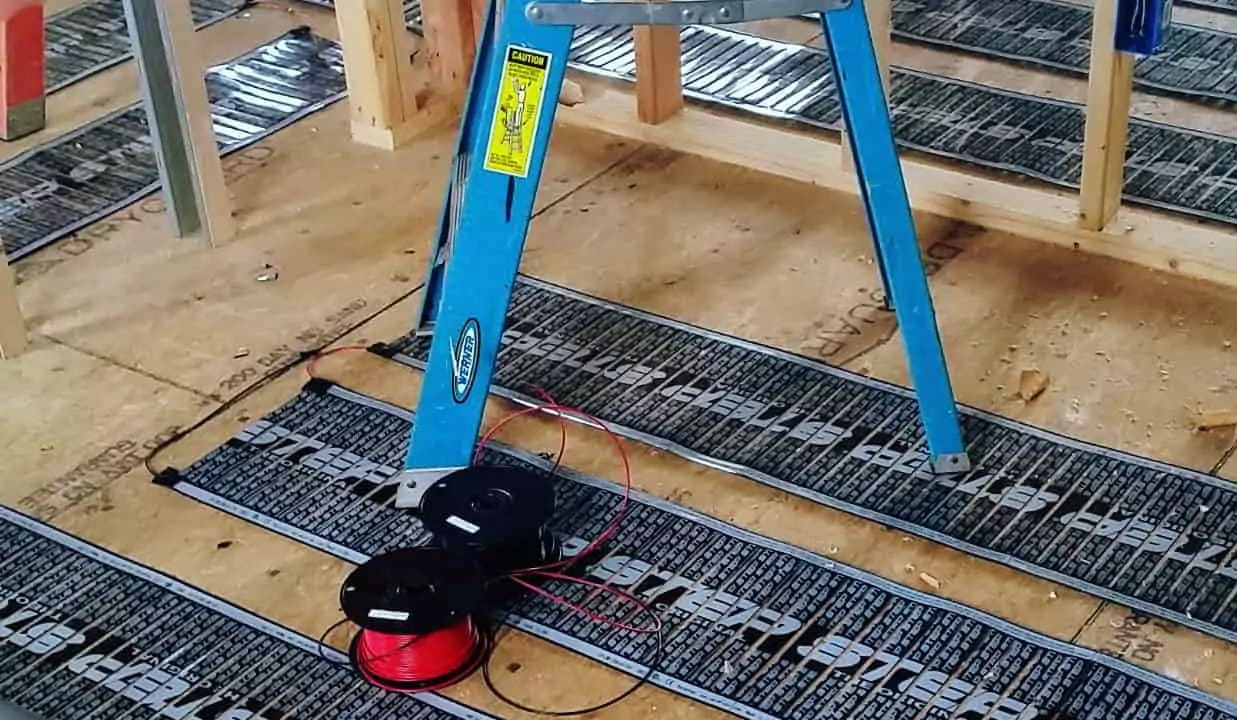
Step 3: Insulating the Walls
After framing the walls, it’s time to insulate them to enhance energy efficiency and provide soundproofing. Insulating your basement walls will help maintain a comfortable temperature, reduce energy costs, and create a more comfortable living space. Follow these steps to properly insulate your basement walls:
- Choose the insulation type: Select the appropriate insulation material for your basement walls. Common options include fiberglass batts, foam board insulation, and spray foam insulation. Consider factors such as your budget, desired R-value (insulation effectiveness), and any specific moisture or mold concerns.
- Measure and cut the insulation: Measure the height of each wall cavity between the studs and cut the insulation material to fit. Use a utility knife or insulation cutter to make clean cuts.
- Install the insulation: Place the insulation between the wall studs, ensuring a snug fit. Ensure that there are no gaps or voids. If using fiberglass batts, staple them to the studs at the top and bottom to secure them in place.
- Treat any moisture issues: If you have had or currently have moisture issues in your basement, such as leaks or high humidity, it’s essential to address them before insulating. Installing a vapor barrier or using moisture-resistant insulation can help prevent moisture-related problems.
- Seal air gaps: Use weatherstripping or caulk to seal any gaps or cracks around windows, doors, and electrical outlets. This will help prevent air leakage and improve the overall insulation effectiveness.
- Consider soundproofing: If you want to minimize noise transfer between rooms or from the outside, you can use specialized soundproofing insulation material or add an extra layer of drywall with soundproofing properties to the finished walls.
Insulating your basement walls is an important step in creating a comfortable and energy-efficient living space. It helps to regulate temperature, reduce outside noise, and improve the overall comfort of the basement area. Take the time to choose the right insulation material and ensure proper installation for optimal results. With the walls insulated, you’re now ready to move on to the next step: hanging the drywall sheets.
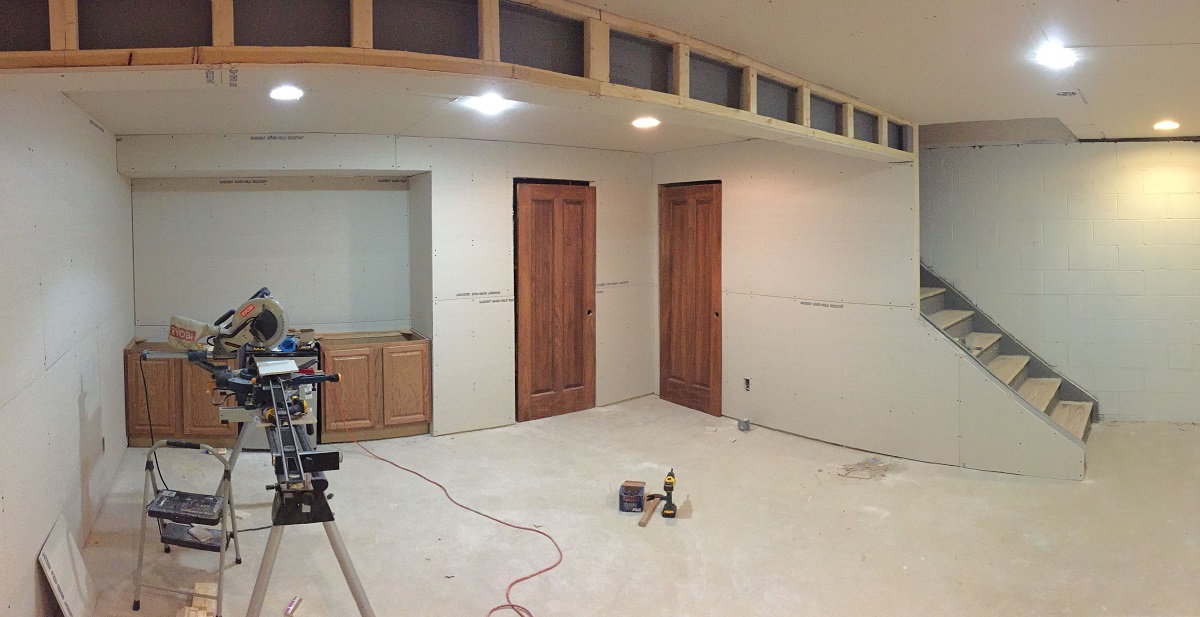
Step 4: Hanging the Drywall Sheets
Now that you have framed and insulated your basement walls, it’s time to move on to hanging the drywall sheets. This step involves attaching the drywall to the framing, creating the foundation for your finished walls. Follow these steps to properly hang the drywall sheets:
- Gather your tools and materials: Make sure you have all the necessary tools and materials on hand, including drywall sheets, a screw gun (or drill), drywall screws, a T-square, a utility knife, and a drywall lift or a helping hand tool.
- Measure and mark: Measure the height and width of the walls and transfer those measurements onto the drywall sheets. Use a T-square to create straight and accurate lines.
- Cut the drywall sheets: Use a utility knife to score the front side of the drywall along the marked lines. Snap the sheet along the scored line and then cut through the paper backing. Repeat this process for all the sheets you need.
- Position the drywall sheets: Start from one corner of the wall and place the first drywall sheet against the framing. Use a drywall lift or a helping hand tool to hold the sheet in place as you secure it.
- Attach the drywall sheets: Use a screw gun or drill to drive drywall screws into the drywall, spacing them about 16 inches apart along the edges and every 8 inches in the field of the sheet. Be careful not to over-tighten the screws, as it can break the drywall paper.
- Continue hanging the drywall: Move along the wall, attaching the remaining drywall sheets in a staggered pattern. This means the vertical seams of each sheet should not align with the seams of the adjacent sheets. Staggering the seams helps minimize the risk of cracks appearing.
- Trim the drywall for openings: For windows, doors, or any other openings, measure and mark the dimensions on the drywall sheets. Use a jigsaw or a keyhole saw to carefully cut out the openings.
- Be mindful of electrical and plumbing: Cut out openings in the drywall for outlets, switches, or any other electrical or plumbing fixtures that will come through the walls. Ensure these openings align with the pre-marked positions on the studs.
As you hang the drywall sheets, make sure they are snug against the framing and that there are no gaps or bulges. Take your time to secure each sheet properly and ensure a smooth installation. With the drywall sheets hung, you’re ready to move on to the next step: cutting drywall for outlets and windows.
Read more: How To Drywall A Basement Ceiling
Step 5: Cutting Drywall for Outlets and Windows
With the drywall sheets successfully hung, it’s time to cut openings for outlets, switches, and windows. This step ensures that these fixtures can be easily accessed and properly integrated into the finished walls. Follow these steps to accurately cut the drywall for outlets and windows:
- Prepare your tools: Gather the necessary tools for this task, including a pencil, a measuring tape, a utility knife, a jab saw, and a drywall rasp or sandpaper.
- Measure and mark: Measure the precise dimensions of the openings for outlets, switches, or windows. Transfer these measurements onto the corresponding drywall sheets using a pencil.
- Score the drywall: Use a utility knife to score the drywall along the marked lines. Apply gentle, downward pressure to avoid cutting through the paper backing.
- Create an access hole: Use a jab saw to create a small access hole within the scored lines. Insert the saw blade into the hole and carefully cut along the lines to fully outline the opening.
- Remove the cutout: Gently punch or kick the scored area of the drywall, causing it to break away from the rest of the sheet. Use a drywall rasp or sandpaper to smooth any rough edges around the cutout.
- Fit and test: Slide the cutout piece back into place and ensure it fits properly within the opening. Test the fit by placing the electrical outlet or window frame in the cutout. Make any necessary adjustments to ensure a snug and accurate fit.
- Repeat for all openings: Follow the same process for each outlet, switch, or window in the basement walls, ensuring accurate measurements and clean cuts.
By carefully cutting the drywall for outlets and windows, you can seamlessly integrate these fixtures into your finished walls. Take your time during this step to ensure precise measurements and clean cuts for a professional-looking result. With the openings cut, you’re now ready to move on to the next step: taping and mudding the seams.
When drywalling your basement, be sure to use moisture-resistant drywall to prevent mold and mildew growth in the damp environment.
Step 6: Taping and Mudding the Seams
With the drywall sheets in place and the openings cut, it’s time to move on to taping and mudding the seams. This step involves applying tape and joint compound to create smooth and seamless transitions between the drywall sheets. Follow these steps to properly tape and mud the seams:
- Prepare the materials: Gather the necessary materials, including drywall tape, joint compound, a mud pan, a taping knife, and a sanding sponge or sandpaper.
- Apply the first coat of joint compound: Using a taping knife, apply a thin layer of joint compound along the seams of the drywall sheets. Ensure the joint compound is evenly spread and covers the seams completely.
- Embed the drywall tape: Immediately after applying the joint compound, place the drywall tape over the seam, pressing it firmly into the compound. Use the taping knife to gently smooth out any air bubbles or wrinkles in the tape.
- Smooth out the excess compound: Using the taping knife, carefully scrape off any excess joint compound, leaving a thin, smooth layer over the tape. This helps to blend the tape into the surrounding drywall surface.
- Apply subsequent coats of joint compound: Allow the first coat to dry completely, following the manufacturer’s instructions. Apply additional coats of joint compound, widening the width of each coat as you progress. Feather the edges to create a smooth transition between the compound and the drywall surface.
- Let the compound dry and sand: Allow the final coat of joint compound to dry completely. Once dry, use a sanding sponge or sandpaper to smooth out any uneven or rough areas. Be careful not to sand too much, as this can damage the surface or remove too much compound.
- Remove dust and debris: Use a damp cloth or vacuum to remove any dust or debris from the sanded area. It’s essential to have a clean and smooth surface before moving on to the next step.
Taping and mudding the seams is a critical step in creating a seamless and professional finish for your drywall. Take your time and ensure proper layering and feathering of the joint compound for the best results. With the seams properly taped and mudded, you’re ready to move on to the next step: sanding the drywall.
Step 7: Sanding the Drywall
After taping and mudding the seams, the next step in the drywall installation process is sanding. Sanding helps to smooth out any rough or uneven areas and prepares the surface for painting or other finishing treatments. Follow these steps to properly sand the drywall:
- Gather your sanding tools: Prepare the necessary tools, including sanding sponges or sandpaper (with a grit appropriate for your specific needs), a sanding pole, a dust mask, safety goggles, and a vacuum or dust collection system.
- Inspect the seams: Before sanding, carefully inspect the seams for any visible ridges or bumps. If there are any major imperfections, apply a thin layer of joint compound to the affected area and let it dry before proceeding with sanding.
- Sand evenly and lightly: Begin sanding the drywall surface using long, even strokes. Keep the pressure light and sand in a circular or back-and-forth motion. Avoid applying excessive pressure, as this can damage the drywall or create uneven surfaces.
- Feather the edges: Pay attention to the edges of the mudded areas and feather them gradually to blend with the surrounding drywall. This helps to create a seamless transition and minimize visible lines or imperfections.
- Clean up frequently: As you sand, dust particles will accumulate. Regularly stop and clean up the dust using a vacuum or dust collection system. This will help maintain a clean work area and prevent dust from settling back onto the sanded surface.
- Check your progress: Periodically run your hand over the sanded surface to assess the smoothness. Look for any remaining rough spots, ridges, or blemishes. If needed, continue sanding until you achieve a consistent and smooth finish.
- Wipe down the walls: After sanding, use a damp cloth to wipe down the walls and remove any excess dust or debris. This will prepare the surface for priming and painting.
Sanding is a crucial step in achieving a polished and professional finish for your drywall. Take the time to sand carefully and evenly, paying attention to detail. With the drywall properly sanded, you’re now ready to move on to the next step: priming the walls.
Step 8: Priming the Walls
After sanding the drywall, the next step in the process is priming the walls. Priming helps to create a smooth and uniform surface, allowing the paint to adhere better and providing a consistent finish. Follow these steps to properly prime your drywall:
- Gather your materials: Prepare the necessary materials, including a primer suitable for drywall, a paint tray, a paint roller, a paintbrush, and painter’s tape.
- Prepare the workspace: Cover the floors and any areas you want to protect using drop cloths or plastic sheets. This will prevent any primer or paint from damaging surfaces.
- Apply painter’s tape: If there are any areas you want to protect from primer or paint, such as trim or adjacent walls, apply painter’s tape to create clean edges.
- Pour the primer: Pour a sufficient amount of primer into a paint tray, making sure not to overfill it.
- Start priming: Dip a roller into the primer, removing any excess by rolling it on the ridges of the tray. Begin applying the primer in even strokes, starting from the top of the wall and working your way down. Use a roller extension pole to reach high areas.
- Cut in with a brush: Use a paintbrush to cut in at the edges of the walls, painting along the corners, edges, and near the ceiling or trim where the roller can’t reach.
- Work in sections: Divide the wall into manageable sections and continue applying primer, ensuring an even and consistent coat. Be careful not to apply too much primer, as it may lead to drips or an uneven finish.
- Allow the primer to dry: Follow the manufacturer’s instructions for drying time. Typically, it takes a few hours for the primer to dry completely. Make sure the walls are fully dry before moving on to the next step.
- Inspect the primed walls: After the primer has dried, inspect the walls for any imperfections or areas that may require touch-ups. Fill in any small holes or flaws with a small amount of joint compound or spackling, and sand the patched areas lightly before applying another coat of primer if needed.
- Clean up: Clean your brushes, rollers, and paint tray using water or the recommended solvent for the primer you used. Properly dispose of any used materials according to local regulations.
Priming the walls is a crucial step in preparing the drywall for paint or other finishes. The primer helps to seal the drywall, promote better paint adhesion, and create a smooth surface. Take your time during this step to ensure even coverage and proper drying. With the walls properly primed, you’re ready to move on to the next step: painting the walls.
Read more: What Kind Of Drywall To Use In A Basement
Step 9: Painting the Walls
After priming the walls, it’s time to add color and personality to your basement by painting the walls. Painting is the final step in the drywall installation process and can completely transform the look and feel of the space. Follow these steps to properly paint your drywall:
- Gather your materials: Prepare the necessary materials, including the paint color of your choice, paint trays, paint roller covers, paintbrushes (for cutting in), an extension pole, painter’s tape, and drop cloths or plastic sheets to protect surfaces.
- Prepare the workspace: Cover the floors, furniture, and any other items you want to protect using drop cloths or plastic sheets.
- Apply painter’s tape: Use painter’s tape to protect trim, adjacent walls, and any other areas you want to keep paint-free. Apply the tape carefully, ensuring clean lines and edges.
- Start with cutting in: Use a paintbrush to cut in at the edges of the walls, painting along the corners, edges, and near the ceiling or trim where the roller can’t reach. Take your time to achieve straight and clean lines.
- Pour the paint: Pour the paint into a paint tray, filling it about halfway to avoid spills or accidents.
- Load the roller: Dip the paint roller into the tray, rolling it back and forth to evenly distribute the paint on the roller cover. Avoid overloading the roller to prevent dripping.
- Paint in sections: Start from the top corner of the wall and work your way down, using even and overlapping strokes. Paint in small sections, moving across the wall in a consistent pattern. Use an extension pole to reach higher areas.
- Paint multiple coats if necessary: Depending on the color and type of paint, you may need to apply multiple coats for full coverage. Allow each coat to dry completely before applying the next. Follow the manufacturer’s instructions for drying time.
- Inspect and touch up: After the paint has dried, carefully inspect the walls for any missed spots, uneven coverage, or imperfections. Touch up those areas as needed, using a small brush or roller.
- Remove painter’s tape: Once the paint is completely dry, remove the painter’s tape slowly and carefully at a 45-degree angle. This will help create crisp, clean lines.
- Clean up: Clean your brushes, rollers, and paint trays using water or the recommended solvent for the paint you used. Dispose of any used materials and properly store any leftover paint for future touch-ups.
Painting the walls is an exciting step that allows you to personalize your basement and complete the transformation. Take your time, be patient, and follow the proper techniques for a smooth and professional-looking finish. With the walls painted, you’re ready to move on to the final step: adding the finishing touches to your basement.
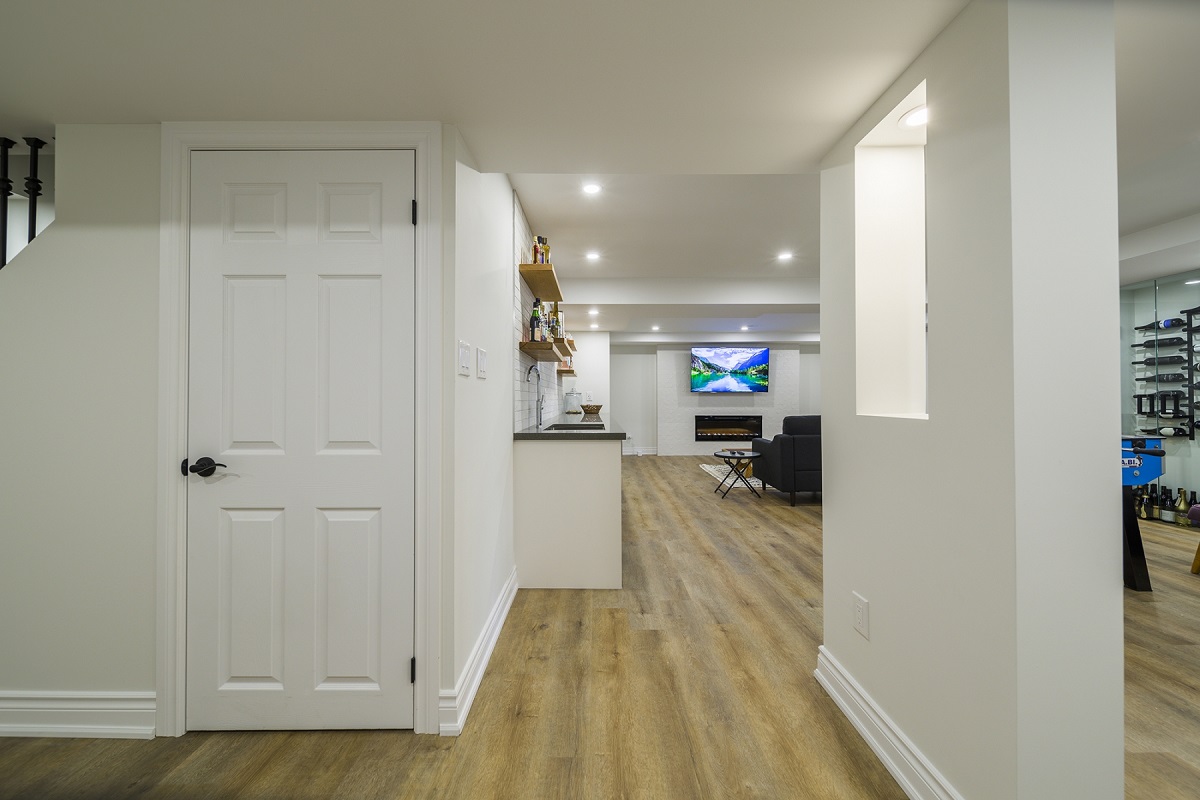
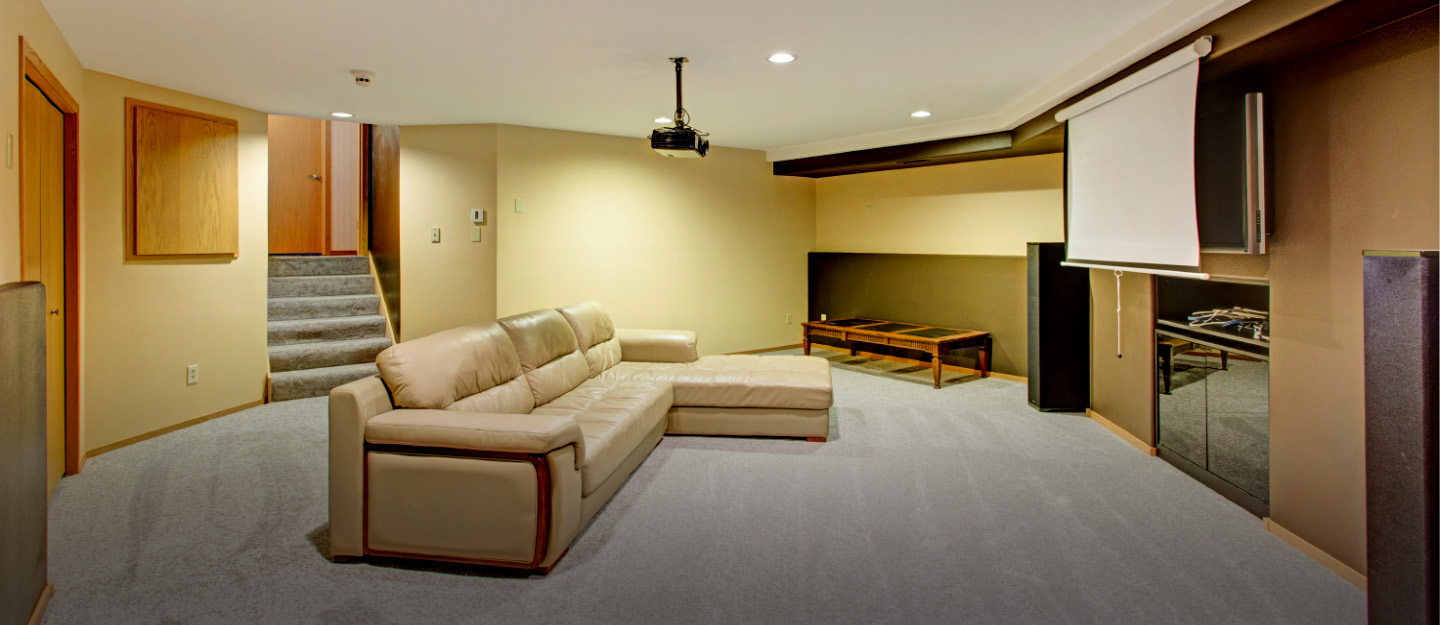
Step 10: Finishing Touches
Congratulations! You’re at the final step of the drywall installation process: adding the finishing touches to your basement. These final touches will help enhance the overall appearance and functionality of your newly drywalled space. Here are some key considerations for completing the finishing touches:
- Trim and baseboards: Install or replace any trim or baseboards around the perimeter of the walls. This will provide a polished and finished look, covering any gaps or transitions between the walls and the floor.
- Paint touch-ups: Inspect the painted walls for any areas that may need touch-ups, such as small scuffs or missed spots. Use a small brush or roller to apply touch-up paint as needed, ensuring a seamless and uniform finish.
- Lighting fixtures: Install appropriate lighting fixtures, such as recessed lights, pendant lights, or wall sconces, to illuminate your basement and create a comfortable ambiance. Ensure that any electrical work is done by a licensed professional.
- Outlet and switch plates: Replace or install outlet and switch plates that complement the overall design of your basement. Choose styles and finishes that align with your aesthetic preferences and the functionality of the space.
- Window treatments: Install curtains, blinds, or shades to add privacy and control the amount of natural light entering your basement. Choose window treatments that match your decor and provide the desired level of light and privacy.
- Flooring: Consider adding flooring to complete your basement renovation. Options include carpet, hardwood, laminate, vinyl, or tile. Choose a flooring material that suits your needs, style, and budget.
- Furniture and decor: Bring in furniture, rugs, artwork, and other decor items that complement the design and purpose of your basement. Create a comfortable and functional space by arranging furniture in a way that maximizes the use of the area.
- Organization and storage: Incorporate storage solutions such as shelves, cabinets, or storage bins to keep your basement organized and clutter-free. Maximize the use of vertical space and consider customizing storage options to fit your specific needs.
- Personalize the space: Add your personal touch by displaying photos, artwork, or mementos that reflect your style and interests. Consider incorporating elements that make the space feel uniquely yours.
- Regular maintenance: Establish a regular maintenance routine to ensure the longevity and durability of your drywall and the overall condition of your basement. This may include periodic cleaning, inspections for any signs of water damage or mold, and addressing any necessary repairs promptly.
By paying attention to these finishing touches, you can transform your basement into a functional, inviting, and aesthetically pleasing space. Whether it’s adding trim, installing lighting fixtures, or personalizing the decor, these final steps will truly make your drywall project feel complete. Take pride in your hard work, and enjoy your newly finished basement!
Conclusion
Congratulations on successfully completing your basement drywall project! By following the step-by-step guide outlined in this comprehensive article, you have gained the knowledge and skills necessary to tackle this complex task. From the initial preparation to the finishing touches, your basement has been transformed into a functional and inviting space.
Installing drywall is no small feat, but by approaching the process with careful planning, attention to detail, and the right tools, you have achieved a polished and professional look. The result is not just visually appealing, but also provides insulation, noise reduction, and a smooth surface for painting or other finishes.
Throughout the drywall installation process, you have learned how to properly prepare the space, frame the walls, insulate, hang the drywall sheets, cut for openings, tape and mud the seams, sand the surfaces, prime, and paint. Each step is crucial in ensuring the durability, aesthetics, and functionality of your finished basement.
Remember, safety should always be a priority, so make sure to wear appropriate protective gear and consult with professionals if needed. Don’t be afraid to take your time, ask questions, and seek guidance when necessary. With patience and perseverance, you have accomplished an impressive feat.
Now that your basement is complete, take the time to enjoy and appreciate the results of your hard work. Move forward with the final touches, such as adding trim, furniture, lighting, and personal touches, to truly make the space your own.
Lastly, regular maintenance and upkeep will ensure the longevity of your drywall and the overall condition of your basement. Stay vigilant for any signs of water damage, mold, or necessary repairs, and address them promptly to preserve your investment.
Thank you for joining us on this journey to learn how to drywall your basement. We hope this guide has been informative, empowering, and helpful in achieving your desired outcome. Best of luck as you enjoy your newly transformed basement space!
Frequently Asked Questions about How To Drywall Your Basement
Was this page helpful?
At Storables.com, we guarantee accurate and reliable information. Our content, validated by Expert Board Contributors, is crafted following stringent Editorial Policies. We're committed to providing you with well-researched, expert-backed insights for all your informational needs.


0 thoughts on “How To Drywall Your Basement”