Home>Storage Ideas>Bathroom Storage>How To Install An Upflush Toilet In Your Basement
Bathroom Storage
How To Install An Upflush Toilet In Your Basement
Modified: October 19, 2024
Learn how to install an upflush toilet in your basement and maximize bathroom storage space. Discover step-by-step instructions and expert tips.
(Many of the links in this article redirect to a specific reviewed product. Your purchase of these products through affiliate links helps to generate commission for Storables.com, at no extra cost. Learn more)
Introduction
Welcome to our comprehensive guide on how to install an upflush toilet in your basement! If you’re considering adding a bathroom to your basement or any area where traditional plumbing is not easily accessible, an upflush toilet system is a fantastic solution. With its unique design, this type of toilet can efficiently and effectively dispose of waste without the need for complex and expensive plumbing modifications.
Whether you’re looking to create an additional bathroom for your growing family, a guest suite, or a home office, installing an upflush toilet offers convenience and flexibility. In this article, we’ll take you through the step-by-step process of installing an upflush toilet in your basement, giving you the confidence and knowledge to tackle this project on your own.
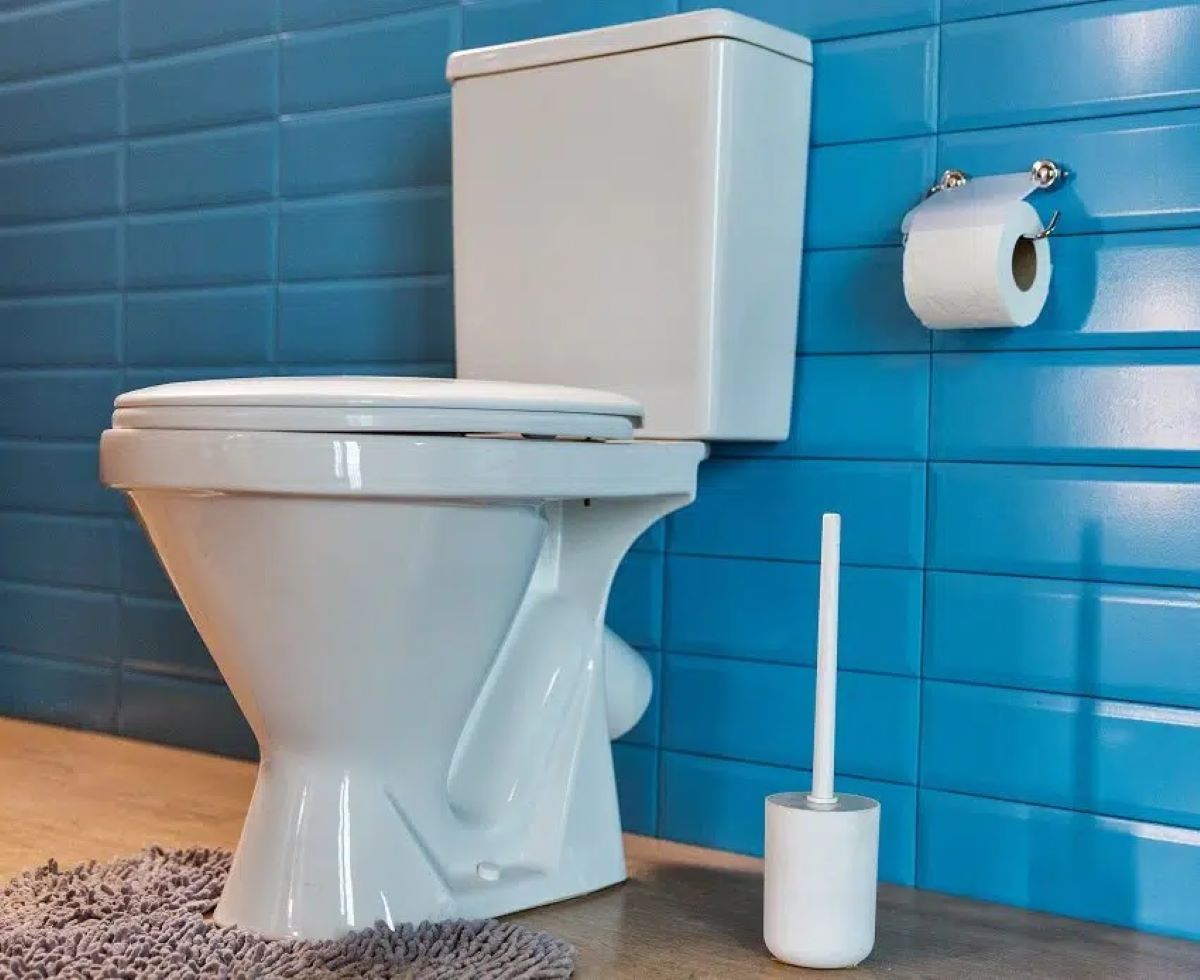
Before we jump into the installation process, let’s briefly discuss what an upflush toilet is and how it works. Unlike traditional toilets that rely on gravity to transport waste through a network of pipes, an upflush toilet utilizes a macerator or grinder pump to break down waste into a fine slurry. This slurry is then pumped upwards to the existing plumbing lines, allowing for proper disposal.
Now that you have a general understanding of how an upflush toilet operates, let’s dive into the step-by-step installation process. From gathering the necessary tools and materials to testing the system, we’ll cover everything you need to know to successfully install an upflush toilet in your basement.
Key Takeaways:
- Installing an upflush toilet in your basement offers convenience and flexibility, allowing you to create a functional bathroom in areas where traditional plumbing is not easily accessible. Follow the step-by-step guide for a successful DIY installation.
- Prioritize safety and thorough testing during the installation process. If unsure, consult a professional plumber or follow the manufacturer’s instructions for guidance. Enjoy the convenience of an additional bathroom in your basement!
Read more: How To Install Carpet In A Basement
Step 1: Gather the Necessary Tools and Materials
Before you begin the installation process, it’s essential to gather all the necessary tools and materials. Having everything you need at your fingertips will help streamline the installation and ensure a smooth workflow. Here’s a list of the primary tools and materials you’ll need:
- Upflush toilet system: This includes the toilet bowl, macerator or grinder pump, and the necessary plumbing connections.
- Adjustable wrench: A wrench will be needed for tightening and loosening various plumbing connections.
- Pipe cutter: This tool will allow you to cut and customize the plumbing pipes according to your specific installation requirements.
- Screwdriver set: A set of screwdrivers, both flathead and Phillips, will be necessary for removing and installing screws and fasteners.
- Hacksaw: A hacksaw is useful for cutting through plastic or metal pipes when necessary.
- Teflon tape: Teflon tape is essential for creating watertight seals on threaded plumbing connections.
- Rubber gloves and safety glasses: Always prioritize safety by wearing gloves and safety glasses throughout the installation process.
- Measuring tape: Accurate measurements are crucial for ensuring proper placement of the upflush toilet system.
- PVC primer and cement: If you’re working with PVC pipes, you’ll need primer and cement for secure pipe connections.
- Level: A level will help you ensure that the upflush toilet system is properly aligned and balanced.
Additionally, it’s a good idea to have a bucket, rags, and a wet/dry vacuum on hand for any unexpected leaks or spills during the installation process. Now that you have all the necessary tools and materials ready, it’s time to move on to the next step: choosing the right location for your upflush toilet system.
Step 2: Choose the Right Location for the Upflush Toilet
Choosing the right location for your upflush toilet is crucial for both convenience and functionality. Here are a few factors to consider when selecting the ideal spot:
- Accessibility: Choose a location that is easily accessible and within a reasonable distance from the main living areas. Consider the proximity to existing plumbing lines to minimize the length of the discharge pipe.
- Structural Integrity: Ensure that the chosen area has a sturdy and solid foundation to support the weight of the upflush toilet system and prevent any future issues.
- Existing Plumbing Lines: If possible, select a location that is close to existing plumbing lines to simplify the installation process. However, keep in mind that the upflush toilet system can pump waste vertically as well, allowing for more flexibility in placement.
- Ventilation and Odor Control: Take into consideration the ventilation in the chosen location to prevent the buildup of unpleasant odors. If necessary, consider installing a ventilation fan to ensure proper airflow.
- Water and Electrical Connections: Ensure that the chosen location has access to both water and electrical connections. This will allow you to properly install and operate the upflush toilet system.
Once you have identified a suitable location, it’s time to prepare the basement for the installation process, which we will cover in the next step.
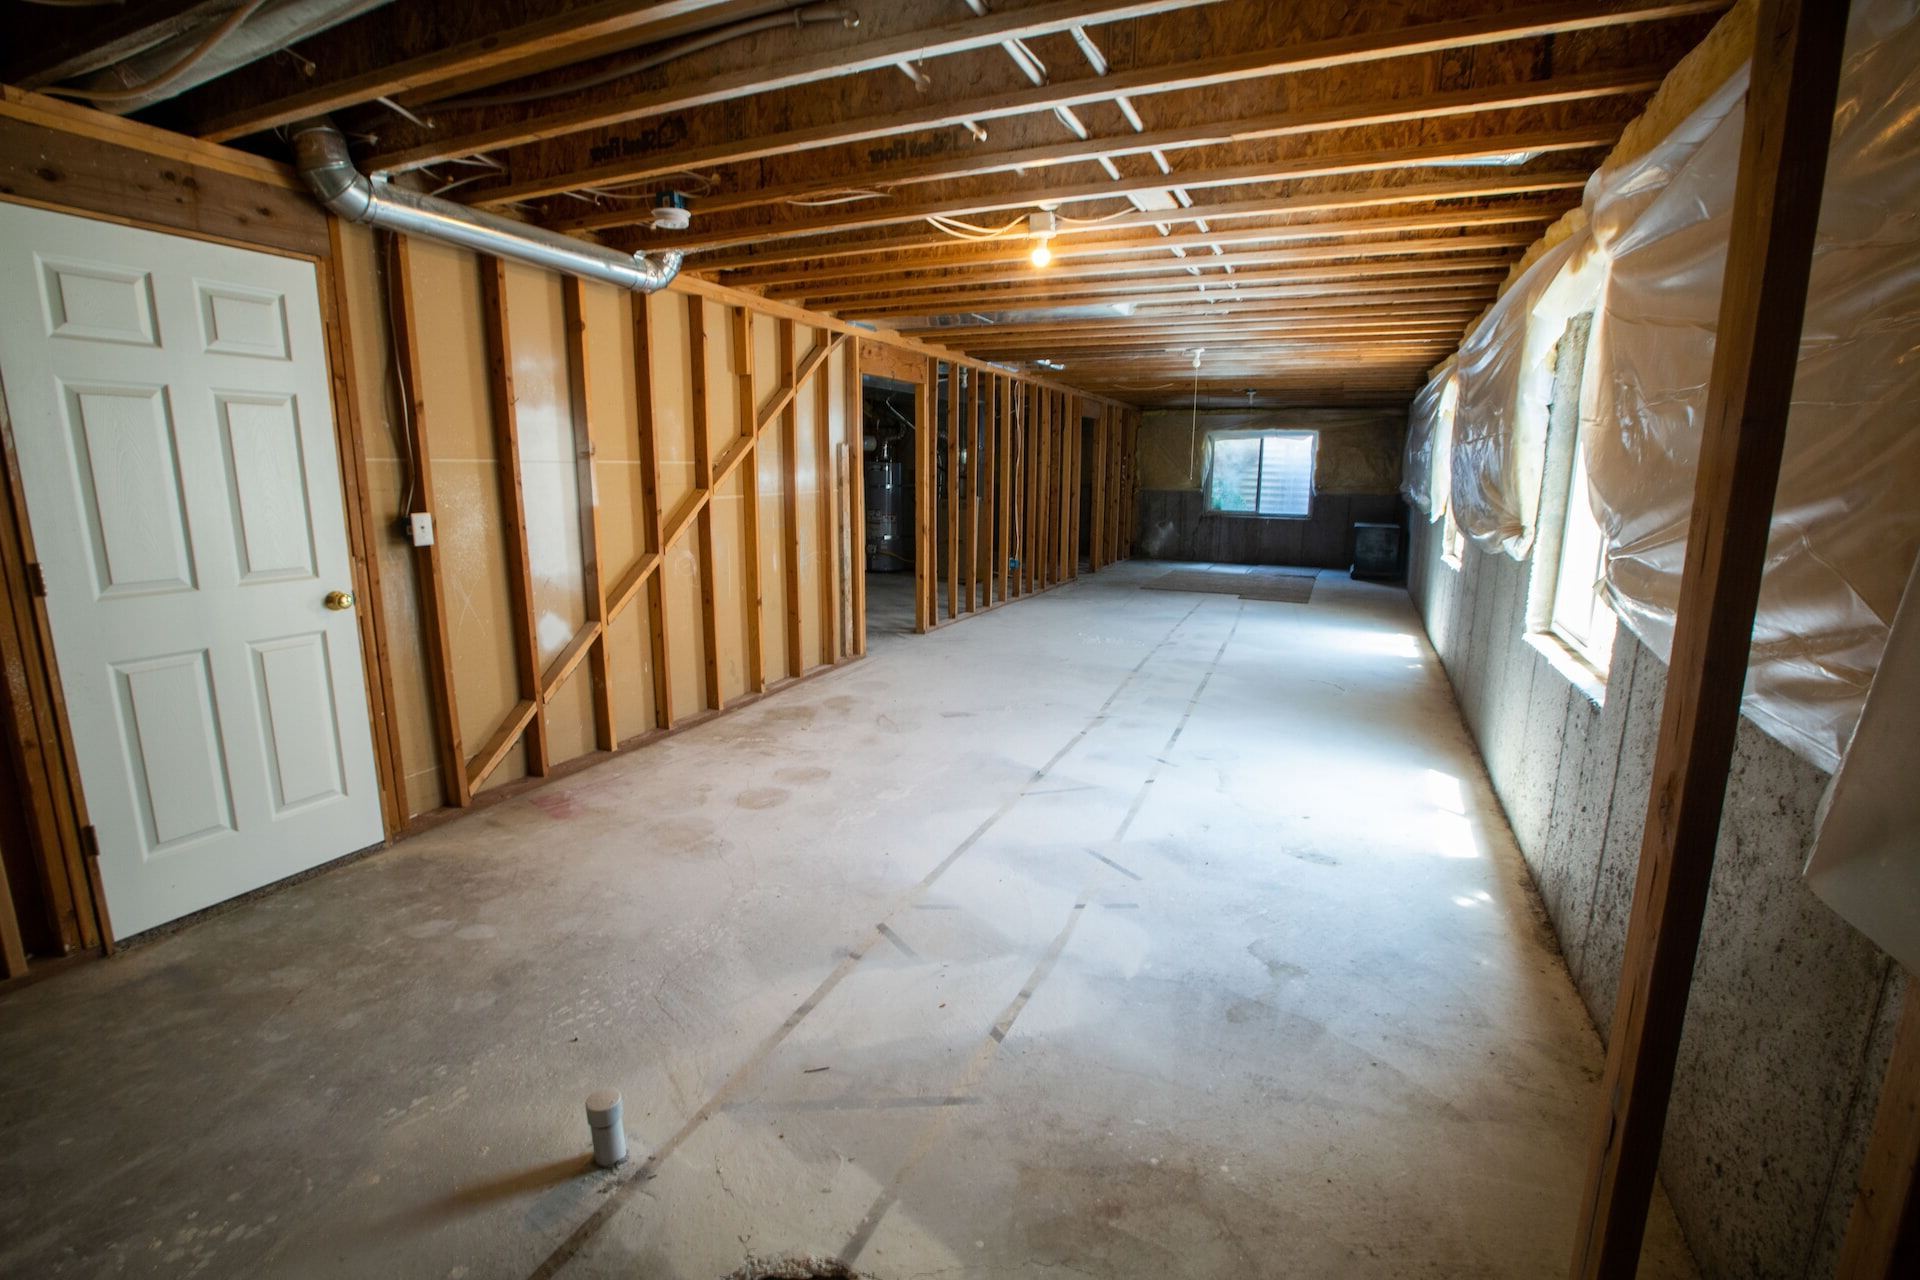
Step 3: Prepare the Basement for Installation
Before proceeding with the installation of the upflush toilet system, it’s important to properly prepare your basement to ensure a smooth and successful installation process. Follow these steps to prepare the basement:
- Clear the Area: Remove any obstacles or clutter from the designated installation area. This will provide you with ample space to work and maneuver during the installation process.
- Inspect the Plumbing Lines: Take a close look at the existing plumbing lines in the basement. Check for any leaks, damages, or necessary repairs. If you encounter any issues, it’s recommended to address them before proceeding with the installation.
- Check the Ventilation: Ensure that the ventilation in the basement is adequate to prevent any moisture buildup or odors. Consider installing additional ventilation fans or improving the existing ventilation as needed.
- Plan the Layout: Use a measuring tape and plan out the layout of the upflush toilet system. Determine the placement of the toilet bowl, macerator or grinder pump, and the discharge pipe. Take accurate measurements to ensure precise installation.
- Prepare the Plumbing Connections: If necessary, install the required plumbing connections in the designated location. This may include adding a drain pipe and water supply lines to connect to the upflush toilet system.
- Ensure Proper Drainage: Confirm that the floor slope in the installation area is suitable for drainage. If needed, make adjustments to ensure proper flow towards the drain pipe.
By properly preparing your basement for the installation process, you’ll set yourself up for a seamless and efficient installation of the upflush toilet system. With the basement ready, it’s time to move on to the next step: installing the upflush toilet system itself.
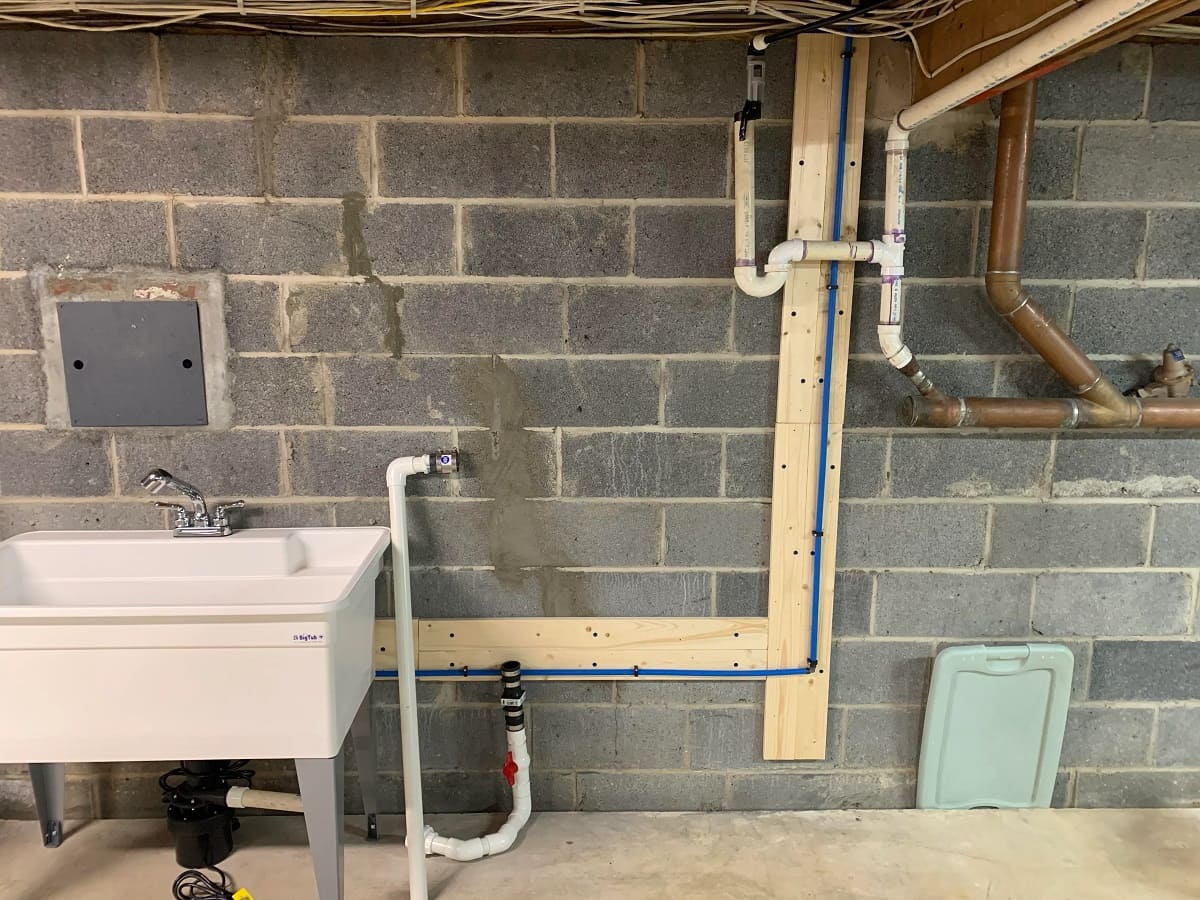
Step 4: Install the Upflush Toilet System
Now that you have prepared the basement for installation, it’s time to move on to actually installing the upflush toilet system. Follow these steps to ensure a successful installation:
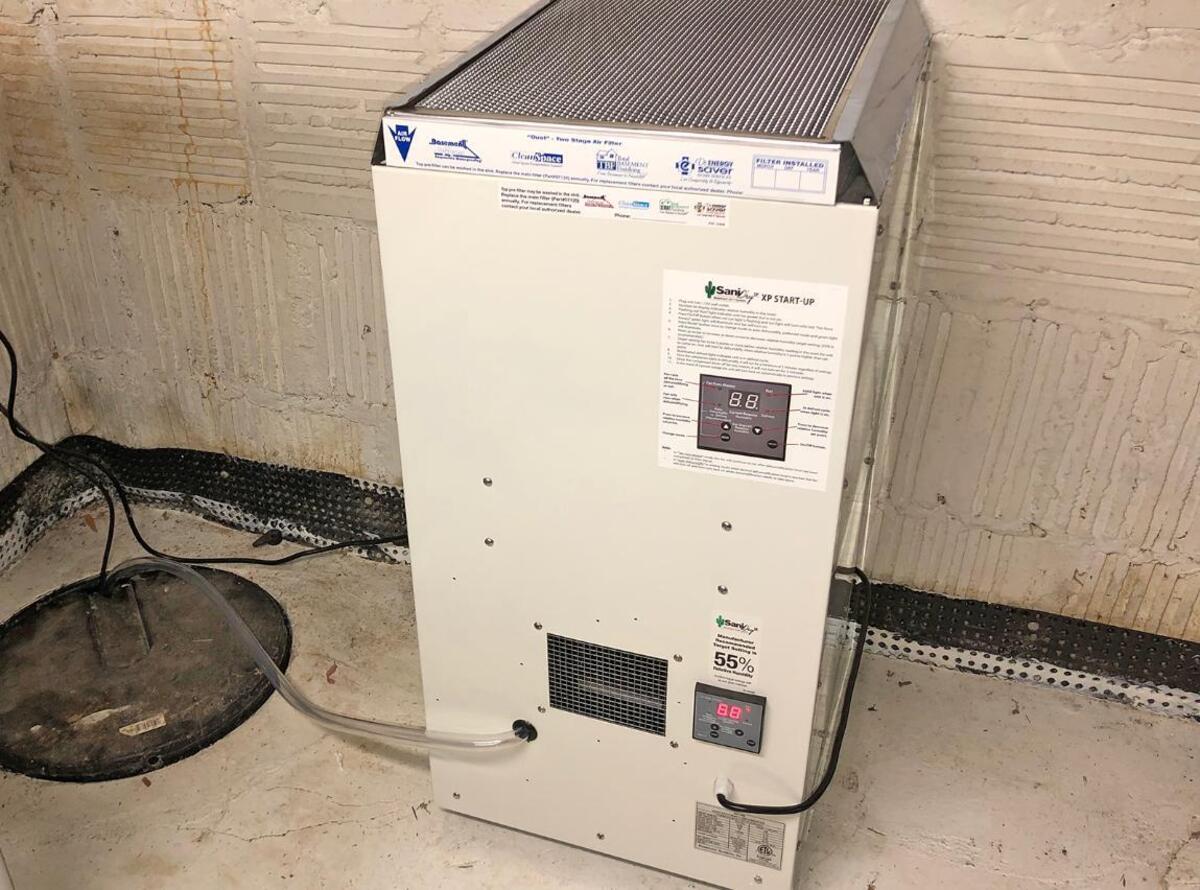
- Install the Macerator or Grinder Pump: Begin by installing the macerator or grinder pump in the designated location. Secure the pump to the floor or wall using the appropriate mounting hardware. Make sure the pump is level to ensure proper operation.
- Connect the Toilet Bowl: Next, connect the toilet bowl to the macerator or grinder pump. Align the bowl with the pump’s discharge outlet and secure it using the provided bolts or screws. Ensure a tight and secure connection.
- Attach the Discharge Pipe: Connect the discharge pipe to the macerator or grinder pump’s outlet. Use fittings and connectors that provide a watertight seal. If necessary, cut the pipe to the appropriate length using a pipe cutter.
- Secure the Discharge Pipe: Use pipe straps or brackets to secure the discharge pipe to the wall or ceiling. This will prevent any movement or strain on the pipes. Ensure that the pipe is sloped properly to allow for efficient drainage.
- Install the Vent Pipe: Depending on your local building codes, you may need to install a vent pipe for proper ventilation. Connect the vent pipe as required, making sure it extends above the roofline to prevent any odors or gas buildup.
- Check the Connections: After installing the upflush toilet system, thoroughly inspect all connections for any leaks. Tighten any loose connections as necessary to ensure a watertight seal.
Take your time during the installation process and refer to the manufacturer’s instructions for any specific guidelines or recommendations. Once you have successfully installed the upflush toilet system, it’s time to move on to the next step: connecting the plumbing and electrical connections.
When installing an upflush toilet in your basement, make sure to carefully follow the manufacturer’s instructions for proper installation and use the recommended tools and materials for a successful and efficient setup.
Read more: How To Install Insulation In Basement
Step 5: Connect the Plumbing and Electrical Connections
With the upflush toilet system installed, it’s time to connect the necessary plumbing and electrical connections. Follow these steps to ensure proper connectivity:
- Connect the Water Supply: Install the water supply lines that will provide water to the upflush toilet system. Connect the lines to the appropriate inlet valves, ensuring a secure and leak-free connection.
- Check for Leaks: Turn on the water supply and check for any leaks in the plumbing connections. If you notice any leaks, tighten the connections or consider using Teflon tape to create a proper seal.
- Connect the Electrical Wiring: If your upflush toilet system requires electrical power, connect the wiring according to the manufacturer’s instructions. Ensure that the power source is properly grounded and that all connections are secure.
- Test the Electrical Components: Turn on the electricity and test the operation of the macerator or grinder pump. Ensure that it is functioning correctly and not causing any electrical issues or disruptions.
- Test the Water Supply: Flush the upflush toilet system and check if water flows smoothly through the system. Ensure that there are no clogs or blockages in the plumbing lines.
During the connection process, it’s crucial to prioritize safety. If you’re unsure about any electrical connections, it’s recommended to consult a professional electrician to ensure proper installation. Once you have successfully connected the plumbing and electrical components, it’s time to move on to the next step: testing the upflush toilet system.
Step 6: Test the Upflush Toilet System
After completing the plumbing and electrical connections, it’s important to thoroughly test the upflush toilet system to ensure it is functioning properly. Follow these steps to test the system:
- Fill the Toilet Bowl with Water: Pour a bucket of water into the toilet bowl to simulate a flush. Observe how effectively the upflush toilet system disposes of the water.
- Check for Proper Pumping and Disposal: As the water is flushed, monitor the operation of the macerator or grinder pump. Ensure that it properly breaks down waste and pumps it through the discharge pipe.
- Inspect for Leaks or Overflow: Watch for any leaks or overflow during the testing process. If you notice any leaks, check the connections and seals to determine the cause and make necessary adjustments.
- Listen for Unusual Noises: Pay attention to any unusual noises coming from the upflush toilet system. Noise may indicate a mechanical issue that needs to be addressed.
- Flush Multiple Times: Repeat the flushing process multiple times to ensure consistent and reliable performance of the upflush toilet system.
By thoroughly testing the upflush toilet system, you can identify any potential issues or concerns before regular use. If you encounter any problems during testing, refer to the manufacturer’s instructions or consider contacting a professional for assistance. Once you’re confident that the upflush toilet system is functioning properly, it’s time to move on to the final step: finishing the installation with proper sealant and insulation.
Step 7: Finish the Installation with Proper Sealant and Insulation
After successfully testing the upflush toilet system, it’s time to finish the installation by applying proper sealant and insulation. This step will help ensure the longevity and efficiency of your newly installed system. Follow these steps to complete the installation:
- Seal the Connections: Inspect all plumbing connections and apply plumber’s tape or sealant to create a watertight seal. This will prevent any leaks or water damage in the future.
- Insulate the Discharge Pipe: Consider insulating the discharge pipe to reduce the noise and prevent condensation. Use insulation sleeves or foam pipe insulation to cover the pipe.
- Apply Caulk or Sealant: Use caulk or sealant around the base of the toilet bowl to create a seal between the bowl and the floor. This will prevent any water or sewage from seeping underneath.
- Secure Access Panels: If your installation includes access panels for maintenance and repairs, ensure they are securely in place. Test their functionality to ensure easy access when needed.
- Clean and Set Up: Give the surrounding area a thorough cleaning, removing any debris or tools used during the installation. Set up the rest of the bathroom accessories, such as towel racks or shower curtains, to complete the space.
Finishing the installation with proper sealant and insulation is essential for the overall functionality and longevity of the upflush toilet system. It will provide peace of mind, knowing that your installation is secure and well-protected against potential issues.
With the completion of Step 7, you have successfully installed an upflush toilet system in your basement. Congratulate yourself on a job well done and enjoy the convenience and flexibility of having an additional bathroom in your home!
Before concluding, it’s important to note that if you encounter any difficulties during the installation process or are unsure about any steps, it is recommended to consult a professional plumber or follow the manufacturer’s instructions for guidance.
Conclusion
Congratulations on successfully installing an upflush toilet system in your basement! By following the step-by-step guide outlined in this article, you have gained the knowledge and confidence to tackle this project on your own. The addition of an upflush toilet provides convenience and flexibility, allowing you to create a functional bathroom in areas where traditional plumbing is not easily accessible.
Throughout the installation process, you learned how to gather the necessary tools and materials, choose the right location for the upflush toilet, prepare the basement, install the upflush toilet system, connect the plumbing and electrical connections, test the system, and finish the installation with proper sealant and insulation.
Remember, safety should always be a priority, so if you encounter any difficulties or are unsure about any steps, it’s recommended to consult a professional plumber or follow the manufacturer’s instructions for guidance.
Now that you have successfully installed the upflush toilet system, enjoy the convenience of having an additional bathroom in your basement. Whether you’re creating a guest suite, home office, or expanding your living space, the upflush toilet system offers a reliable and efficient solution.
Thank you for choosing to follow our comprehensive guide. We hope that this information has been helpful and that your installation project is a success. Enjoy your newly installed upflush toilet system!
Frequently Asked Questions about How To Install An Upflush Toilet In Your Basement
Was this page helpful?
At Storables.com, we guarantee accurate and reliable information. Our content, validated by Expert Board Contributors, is crafted following stringent Editorial Policies. We're committed to providing you with well-researched, expert-backed insights for all your informational needs.


0 thoughts on “How To Install An Upflush Toilet In Your Basement”