
Articles
How To Drywall Basement Ceiling
Modified: April 22, 2024
Learn how to drywall your basement ceiling with step-by-step articles, tips, and techniques. Transform your space with ease and create a professional finish.
(Many of the links in this article redirect to a specific reviewed product. Your purchase of these products through affiliate links helps to generate commission for Storables.com, at no extra cost. Learn more)
Introduction
Welcome to the comprehensive guide on how to drywall your basement ceiling. Transforming your basement into a functional and comfortable living space is an excellent way to maximize the square footage of your home. One crucial step in this process is properly finishing the ceiling, and drywalling is a popular and effective option. With the right tools, materials, and techniques, you can achieve a smooth and professional-looking ceiling that adds value to your home.
Drywalling a basement ceiling requires careful planning, precision measurements, and attention to detail. It may seem like a daunting task, especially for those with limited experience in construction or home improvement projects. However, with the right guidance and a willingness to learn, anyone can successfully complete this project and enjoy the benefits of a beautifully finished basement.
In this guide, we will walk you through the step-by-step process of drywalling your basement ceiling. From preparing the area and measuring the drywall sheets to installing and finishing the drywall, we will cover each stage in detail. We will also provide valuable tips and expert advice to ensure a successful outcome.
Before we dive into the process, it is important to note that safety should always be a top priority when undertaking any home improvement project. Make sure to have the necessary safety equipment, such as gloves, goggles, and a dust mask, and follow all safety guidelines.
Now, let’s gather the tools and materials needed for this project and get ready to transform your basement ceiling!
Key Takeaways:
- Transform your basement into a functional and aesthetically pleasing space by following the comprehensive guide to drywalling your basement ceiling. With the right tools, materials, and techniques, you can achieve a professional finish that adds value to your home.
- Prioritize safety, attention to detail, and patience throughout the drywalling process. From preparation and installation to taping, sanding, and painting, each step contributes to creating a beautifully finished basement ceiling that enhances your home.
Read more: How To Drywall A Basement Ceiling
Safety Precautions
Before you begin the drywalling process, it is crucial to prioritize safety. Working with construction materials and tools can pose certain risks, but by following these safety precautions, you can minimize the likelihood of accidents or injuries.
1. Wear Proper Safety Gear: Always wear protective gear, such as goggles, gloves, and a dust mask, to shield yourself from dust, debris, and potential hazards.
2. Use a Sturdy Ladder: If you need to access your basement ceiling through a ladder, ensure that it is stable, secure, and positioned on a level surface. Use caution while climbing and descending the ladder, and always maintain a firm grip.
3. Turn Off Electricity: Before starting any work on the ceiling, switch off the electricity to avoid the risk of electrical shocks. If necessary, work with a licensed electrician to disconnect any electrical connections in the area.
4. Proper Ventilation: Ensure that the basement area has proper ventilation. Open windows or use fans to increase airflow and prevent the buildup of fumes or dust. Consider using a dust collection system when cutting or sanding drywall.
5. Use Tools Safely: Familiarize yourself with the proper use and handling of the tools necessary for drywall installation, such as a utility knife, tape measure, drill, and screw gun. Follow the manufacturer’s instructions and exercise caution when using power tools.
6. Lift Heavy Objects with Care: Drywall sheets can be heavy, so it is important to use proper lifting techniques to prevent strain or injury. Enlist the help of another person to assist with lifting and positioning the drywall sheets securely.
7. Be Mindful of Cables and Pipes: Take note of any electrical cables or plumbing pipes running through your basement ceiling. Exercise caution when cutting or screwing into the drywall to avoid damage to these vital systems.
8. Clean Up Regularly: Clean up any debris or dust accumulation as you work to maintain a safe and tidy environment. Dispose of waste materials properly, following local regulations and guidelines.
By adhering to these safety precautions, you can ensure a secure and accident-free work environment while drywalling your basement ceiling. Always prioritize your well-being and take the necessary steps to protect yourself throughout the project.
Tools and Materials Needed
Before you begin the process of drywalling your basement ceiling, it is essential to gather all the necessary tools and materials. Having everything organized and readily available will make the project run more smoothly and efficiently. Here’s a list of the tools and materials you will need:
Tools:
- Utility knife: For cutting the drywall sheets to size.
- Tape measure: To accurately measure the length and width of the ceiling area.
- Drill: For any necessary pre-drilling or pilot holes.
- Screw gun: To drive screws into the drywall and secure it to the ceiling joists.
- T-square or straightedge: To ensure straight and precise cuts.
- Mud pan: Used to hold and mix joint compound.
- Taping knife: For applying joint compound to the drywall joints.
- Sanding block or sanding pole: To smooth the surface of the drywall after applying joint compound.
- Ladder or scaffolding: Depending on the height of your basement ceiling, you may need a ladder or scaffolding to reach the ceiling for installation.
- Safety equipment: Safety goggles, gloves, and a dust mask to protect yourself from dust and debris.
Materials:
- Drywall sheets: Choose the appropriate thickness and size for your project. Measure the ceiling area to determine the quantity needed.
- Drywall screws: Get enough screws to securely attach the drywall sheets to the ceiling joists.
- Joint compound: Also known as mud, this is used to fill in the joints between the drywall sheets.
- Drywall tape: Self-adhesive or paper tape used to reinforce the joints and prevent cracking.
- Primer: A primer is applied to the drywall before painting to improve adhesion and create a smooth surface.
- Paint: Choose a paint color and finish that complements your basement decor.
Having all these tools and materials readily available will streamline the drywalling process and prevent unnecessary delays. Ensure that you have enough of each item to complete the project smoothly without interruptions.
Step 1: Prepare the Basement Ceiling
Before installing the drywall on your basement ceiling, it is crucial to prepare the area properly. Follow these steps to ensure a smooth and successful installation:
- Clear the space: Remove any furniture, decorations, or obstructions from the area. Cover the floor with drop cloths or plastic sheets to protect it from dust and debris.
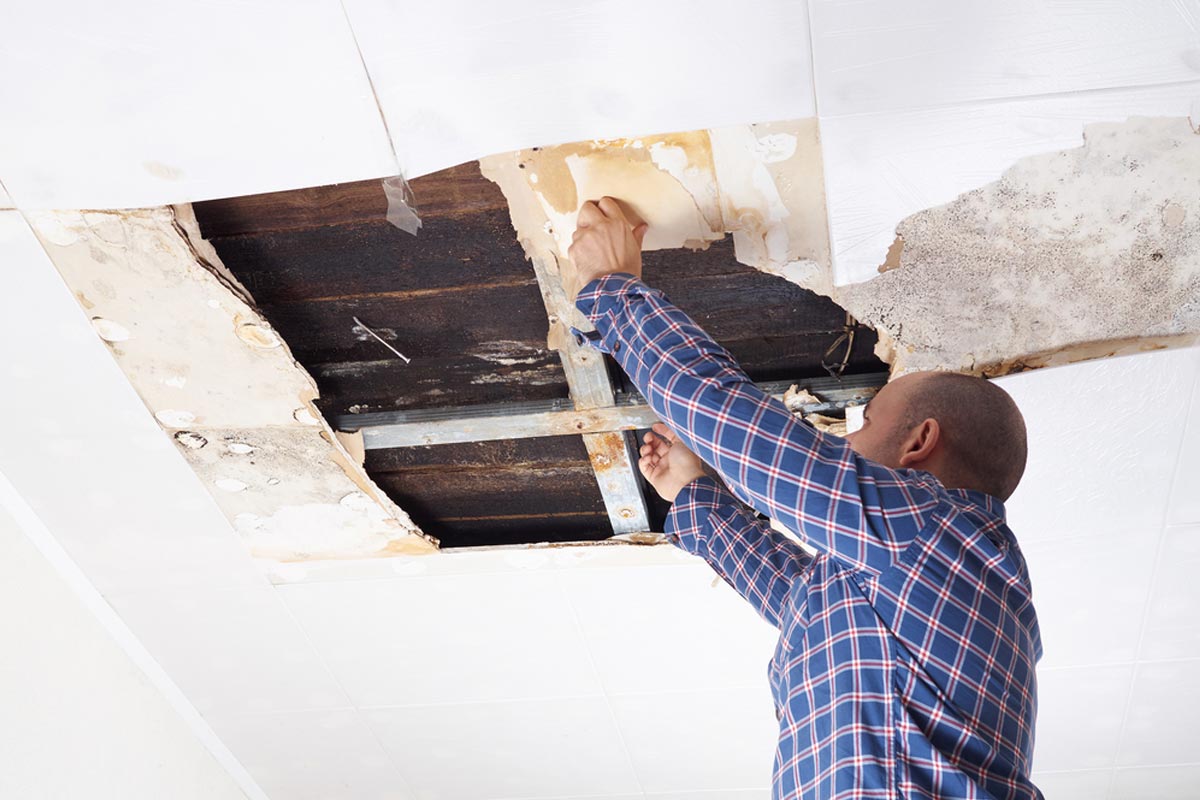
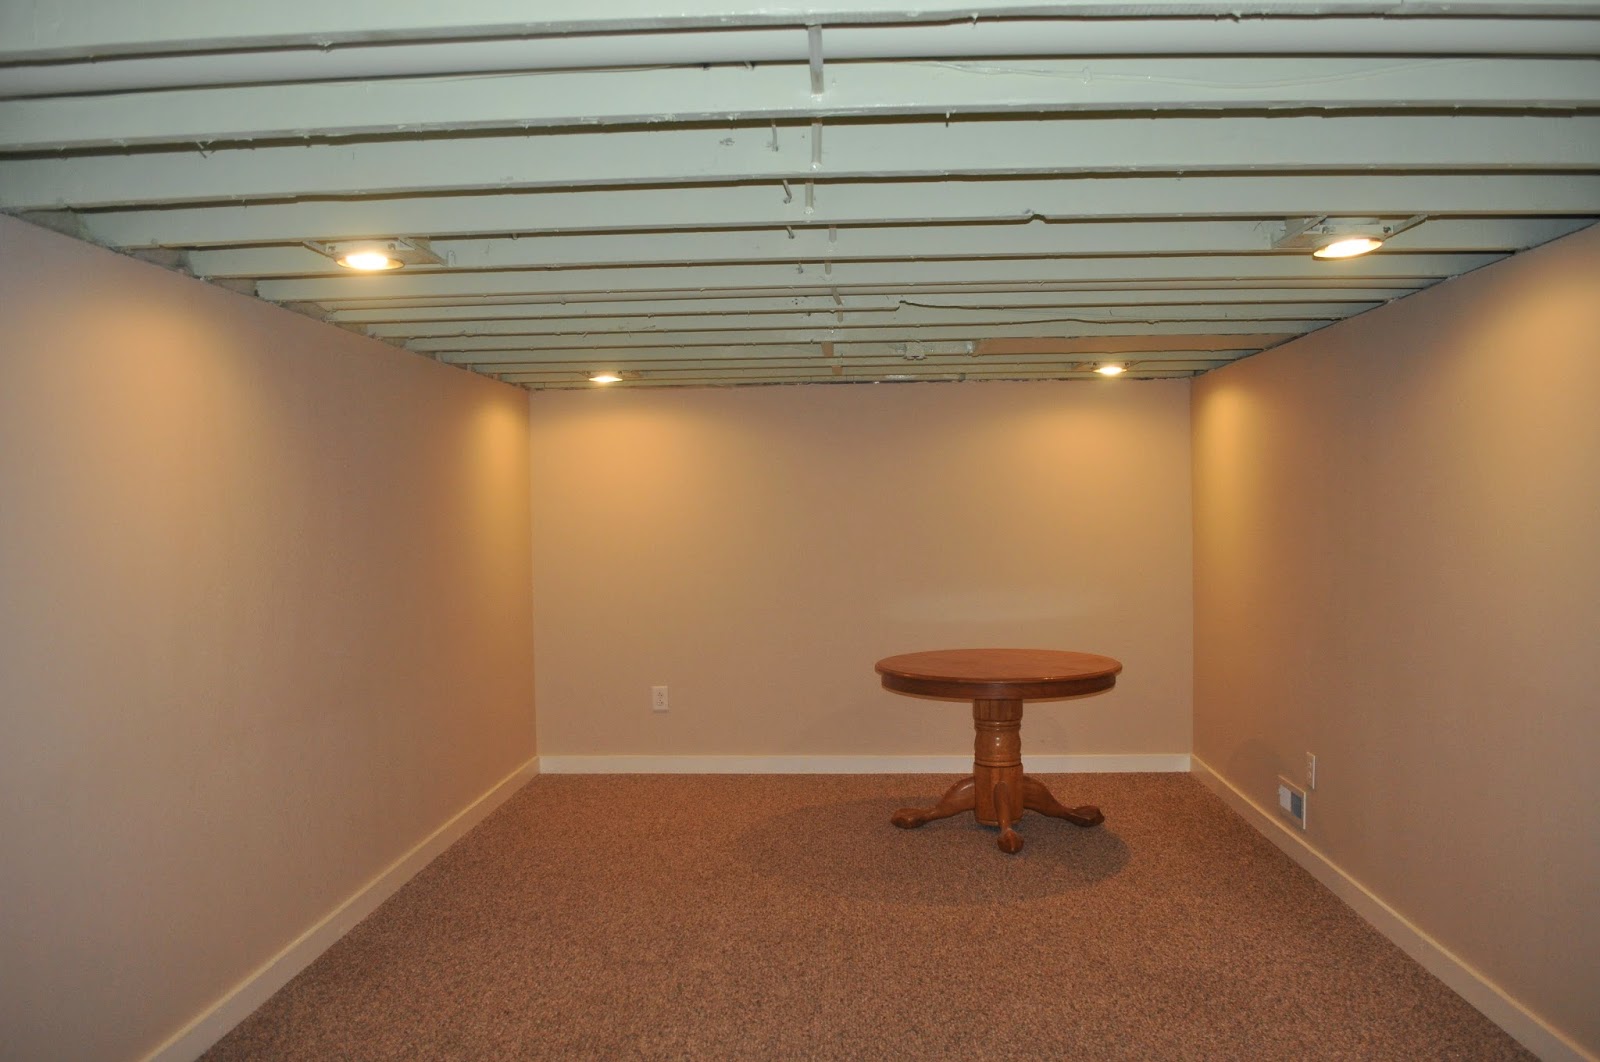
- Inspect the ceiling: Check the condition of the ceiling for any signs of damage, such as water stains or cracks. Address any issues and make any necessary repairs before proceeding with the drywall installation.
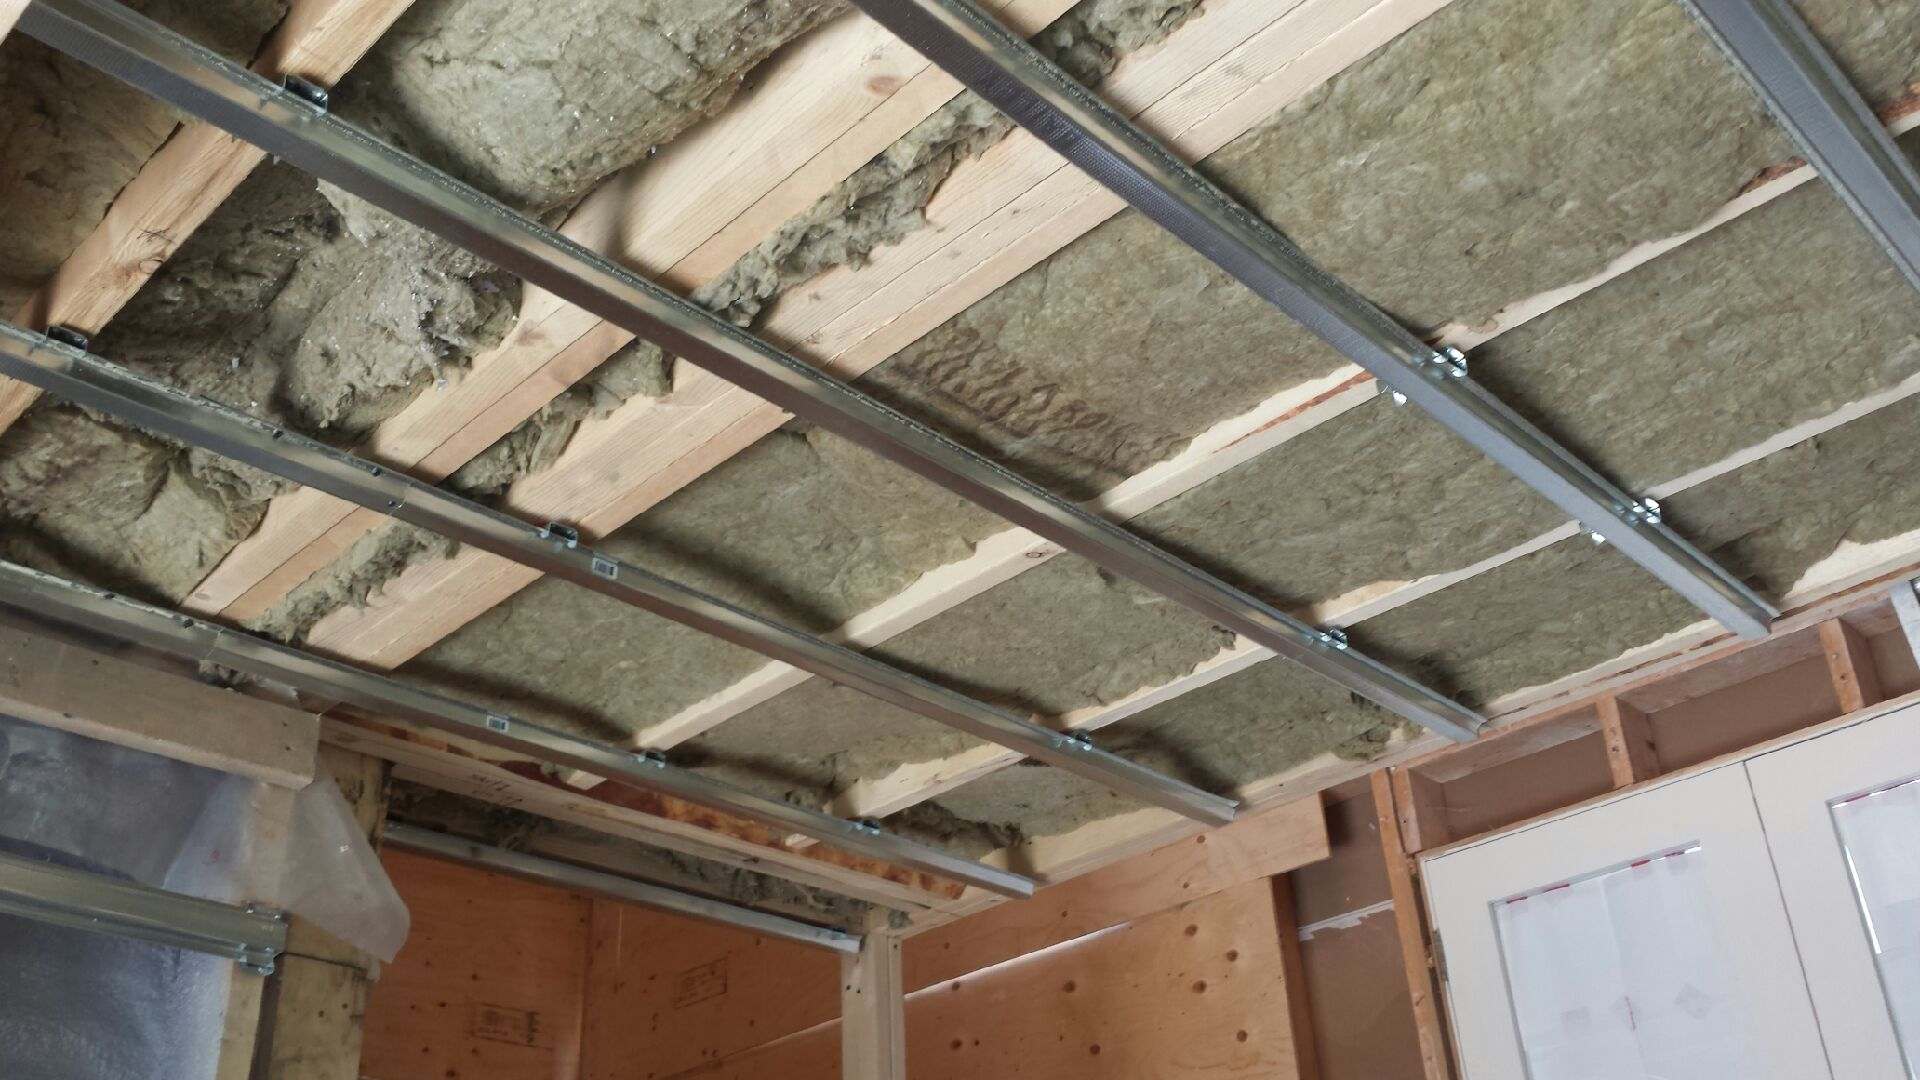
- Locate the ceiling joists: Use a stud finder to locate the ceiling joists. Mark their positions with a pencil or tape measure. This step is essential as you will be attaching the drywall sheets to the joists for stability.
- Plan electrical outlets and fixtures: Identify the locations of any electrical outlets, light fixtures, or vents on the ceiling. Make sure to plan around these fixtures, leaving appropriate gaps or cutouts in the drywall for easy access.
- Apply vapor barrier (optional): Consider installing a vapor barrier on the ceiling if you live in an area with high humidity or moisture. This additional layer helps prevent moisture infiltration and protects the drywall from potential damage.
- Clean the ceiling: Use a broom or vacuum to remove any dust, cobwebs, or debris from the ceiling surface. A clean and smooth surface will ensure proper adhesion of the drywall sheets.
By properly preparing your basement ceiling, you create a solid foundation for the drywall installation. This step is crucial for ensuring a professional-looking finished product. Take your time during this stage and address any issues that may hinder the installation process.
Step 2: Measure and Cut the Drywall
Once you have prepared the basement ceiling, it’s time to measure and cut the drywall sheets to fit the space. Accurate measurements and precise cuts are essential for a seamless installation. Follow these steps:
- Measure the ceiling: Use a tape measure to determine the length and width of the ceiling area. Measure each section separately, as there may be variations in size. Record these measurements for reference.
- Transfer the measurements to the drywall: Place a drywall sheet on a work surface with the front side facing down. Transfer the measurements from the ceiling onto the drywall. Use a pencil or a utility knife to mark the cut lines.
- Cut the drywall: Using a utility knife, carefully score along the marked lines. Apply gentle pressure to create a shallow groove in the drywall. Once scored, carefully snap the drywall along the scored line. Use the utility knife to cut through the paper backing on the other side of the drywall to complete the cut.
- Trim for electrical outlets and fixtures: If there are electrical outlets, light fixtures, or vents on the ceiling, measure and mark their locations on the drywall. Use a keyhole saw or a drywall saw to cut out the necessary openings, ensuring a precise fit around the fixtures.
- Label the drywall pieces: To easily identify where each drywall piece goes, label them with numbers or letters corresponding to the sections of the ceiling you measured earlier.
- Inspect the cut drywall pieces: Once all the drywall pieces are cut, inspect them for any imperfections or irregularities. Make any necessary adjustments or recuts.
Remember to wear safety goggles, gloves, and a dust mask while cutting the drywall to protect yourself from dust and debris. Take your time with the measurements and cuts to ensure accuracy. It’s better to double-check your measurements before cutting rather than ending up with ill-fitting drywall pieces.
With the drywall pieces cut and labeled, you’re now ready to proceed with the installation process in the next step.
Read more: How To Drywall Your Basement
Step 3: Install Drywall Sheets
With the drywall pieces measured and cut, it’s time to start installing them on your basement ceiling. This step requires precision and attention to detail. Follow these steps to ensure a smooth and secure installation:
- Start from the corner: Choose a corner of the ceiling to begin the installation. Ideally, it’s best to start from a corner that is visible or easily accessible.
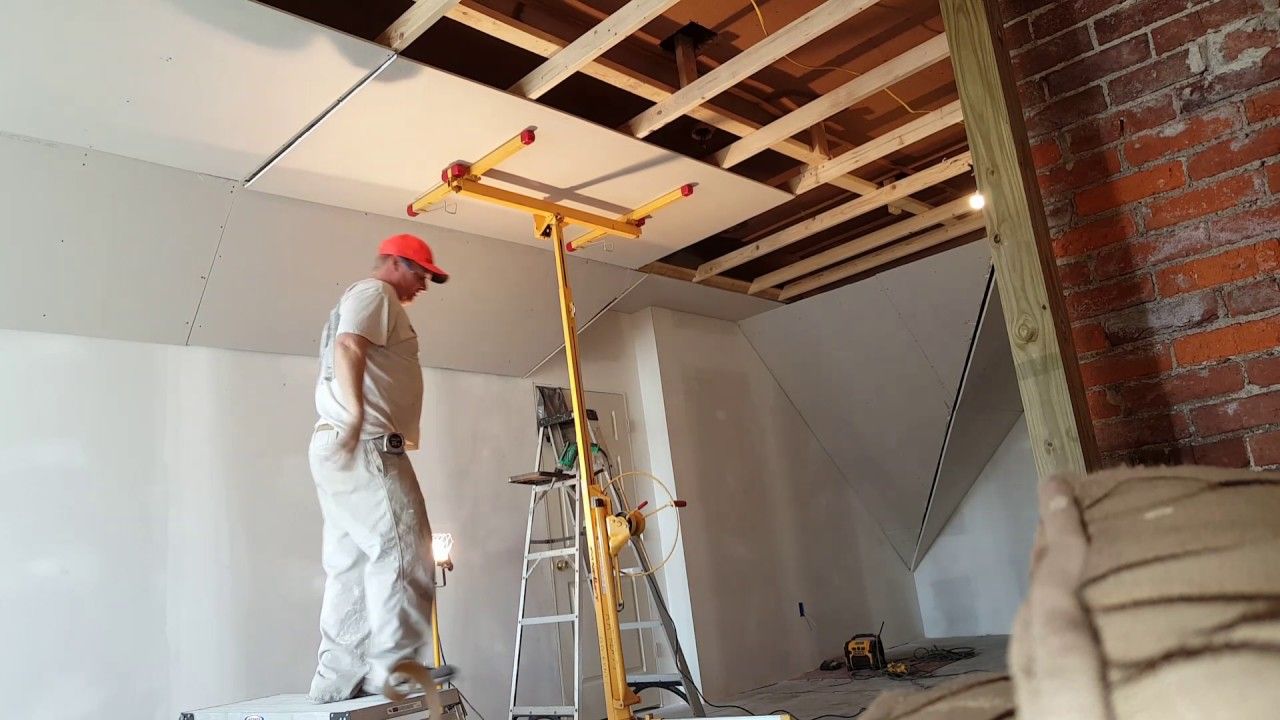
- Have a helper: Enlist the help of another person to hold the drywall sheet in place while you secure it. This person will ensure the drywall is correctly positioned and flush against the ceiling.
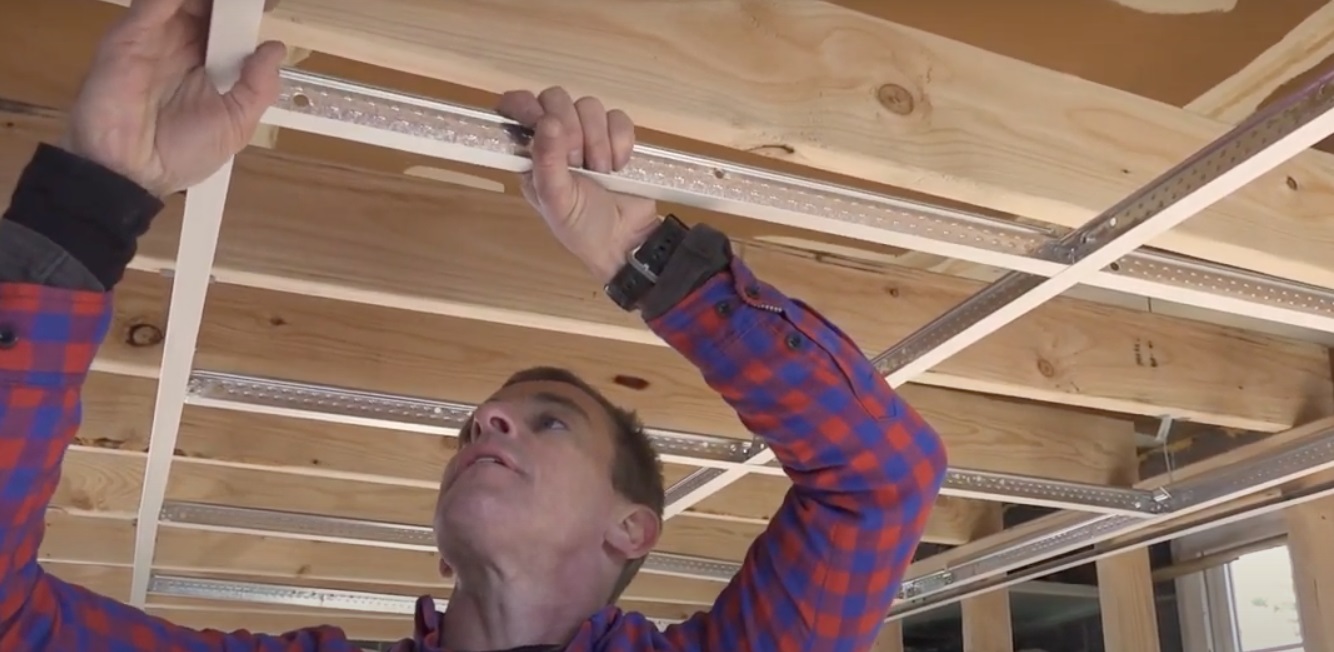
- Position the drywall sheet: Lift the first drywall sheet into position against the ceiling, aligning it with the marked edges and corners. Ensure that the sheet covers the ceiling joists for stability.
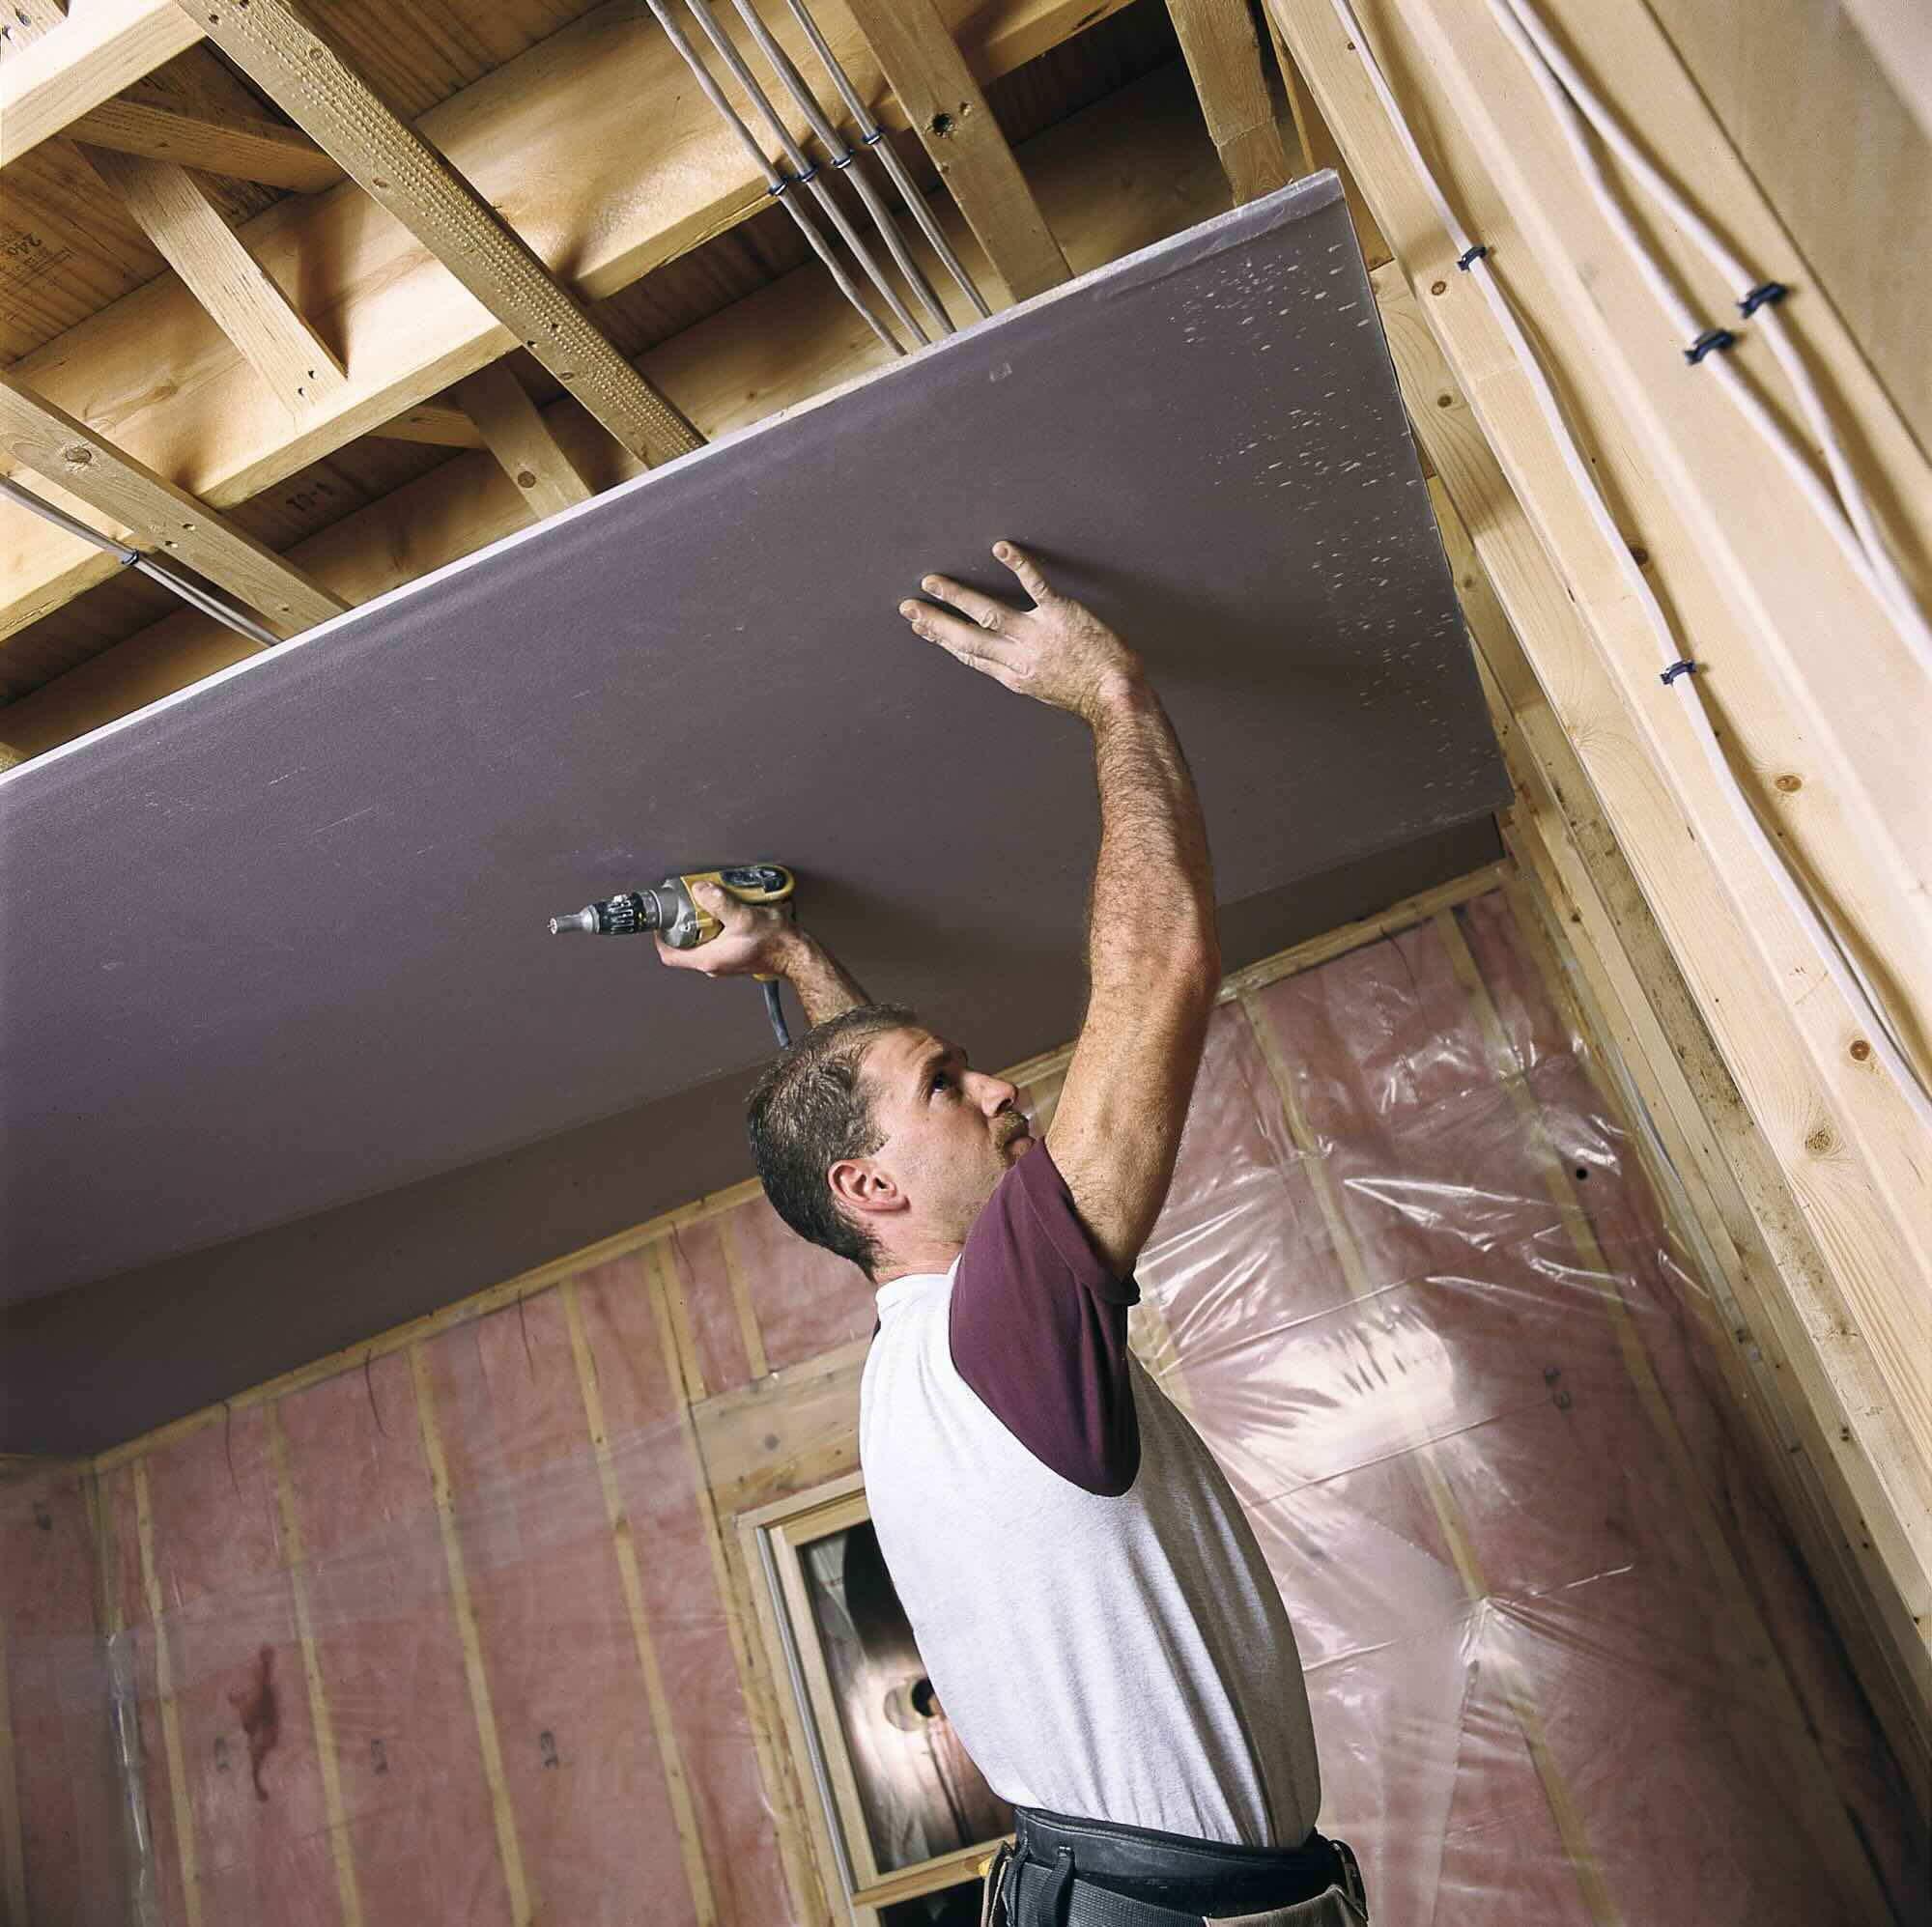
- Secure the drywall: Use a screw gun to drive drywall screws into the drywall, attaching it to the ceiling joists. Start by screwing into the center of the sheet and work your way towards the edges, spacing the screws about 12 inches apart. Avoid over-tightening the screws, as it could break or damage the drywall.
- Continue with the remaining sheets: Install additional drywall sheets, aligning their edges with each other and the marked lines. Use the same process of positioning and securing the sheets with drywall screws.
- Cut smaller pieces if needed: If there are smaller areas or gaps that require drywall coverage, measure and cut smaller pieces accordingly. Install them using the same method as the full-size sheets.
- Stagger the seams: To increase stability and minimize visible seams, stagger the edges of the drywall sheets. This means that the end joints of one row should not align with the end joints of the adjacent row.
As you install the drywall sheets, it’s important to maintain a level and even surface. Check for any gaps or unevenness and make adjustments as necessary. A smooth installation will make the finishing process much easier.
During this step, it may be helpful to have a ladder or scaffolding to reach the ceiling. Ensure that the ladder or scaffolding is stable and secure before climbing on it. Work cautiously and take breaks if needed to prevent fatigue or injuries.
Once all the drywall sheets are installed, you can move on to the next step of securing the drywall with screws.
Step 4: Secure Drywall with Screws
After you have installed the drywall sheets on your basement ceiling, it’s time to secure them in place using drywall screws. This step ensures that the drywall is firmly attached to the ceiling joists, providing strength and stability. Follow these steps to properly secure the drywall:
- Locate the ceiling joists: Use a stud finder or refer to the markings made during the preparation stage to identify the location of the ceiling joists.
- Apply screws to the drywall: Starting from the center of each drywall sheet, use a screw gun to drive drywall screws into the drywall and secure it to the ceiling joists. Place the screws approximately every 12 inches along the joists. Make sure the screw heads are slightly countersunk into the drywall, without breaking the paper surface.
- Countersink any raised screw heads: As you secure the drywall with screws, occasionally check for any raised or protruding screw heads. Use a screwdriver to gently countersink these screw heads slightly below the surface of the drywall. This will ensure a smooth surface for the next steps of the finishing process.
- Continue securing the remaining drywall sheets: Move on to the adjacent drywall sheets and repeat the process of attaching them to the ceiling joists with screws. Make sure the edges of the drywall sheets are snugly fitted together.
- Inspect for any loose or insufficiently secured areas: After securing the drywall with screws, carefully examine the entire ceiling to ensure that all areas are properly attached. If you notice any loose or insufficiently secured areas, reinforce them by adding additional screws.
Properly securing the drywall with screws is crucial for a sturdy and durable ceiling. Take your time during this step and pay attention to detail. Ensure that the screws are inserted at the correct depth, just below the surface of the drywall, without causing any damage.
As you work, be mindful of any electrical cables or plumbing pipes that may be running through the ceiling. Avoid driving screws into these areas to prevent damage.
Once you have securely attached all the drywall sheets, you are now ready to move on to the next step, which is taping the drywall joints.
When drywalling a basement ceiling, use moisture-resistant drywall to prevent damage from potential moisture and humidity in the basement. This will help to ensure the longevity of the ceiling.
Step 5: Tape the Drywall Joints
After securing the drywall sheets to your basement ceiling, the next step is to tape the joints. Taping the joints creates smooth and seamless transitions between the drywall sheets, making the finished ceiling look professional. Follow these steps for successful taping:
- Prep the joints: Use a utility knife to remove any rough or uneven edges along the joints of the drywall sheets. This will ensure a clean surface for the tape to adhere to.
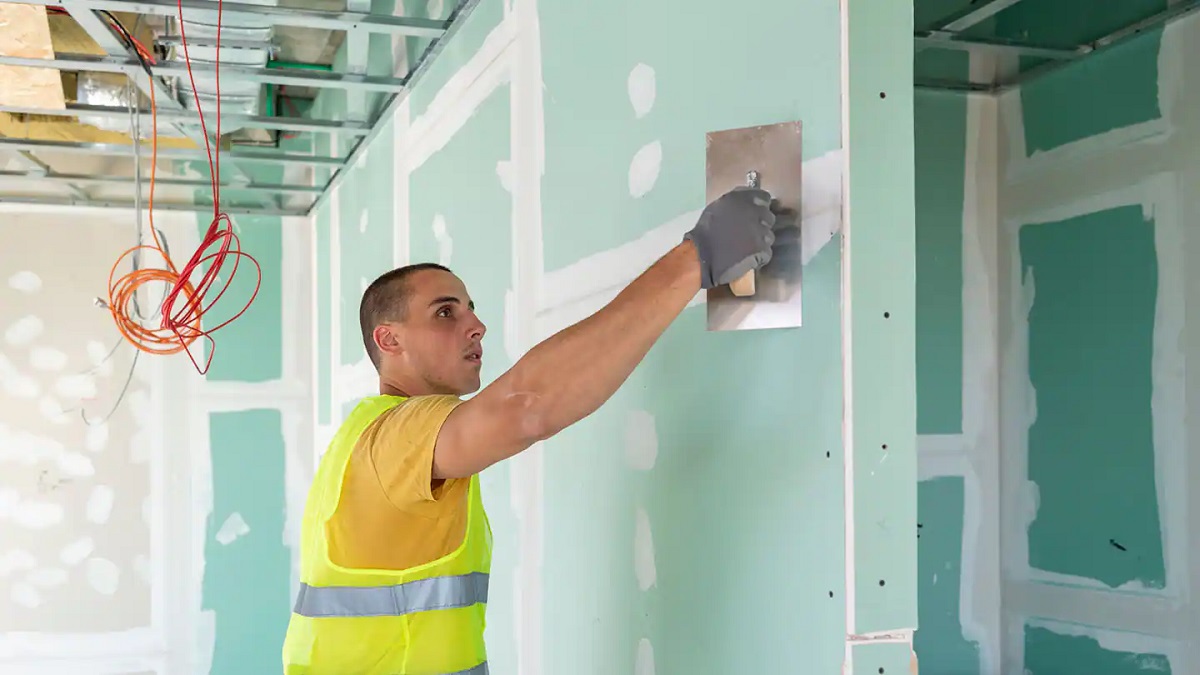
- Apply joint compound: Using a taping knife, spread a thin layer of joint compound over the joints. Extend the compound beyond the edges of the joints to ensure full coverage.
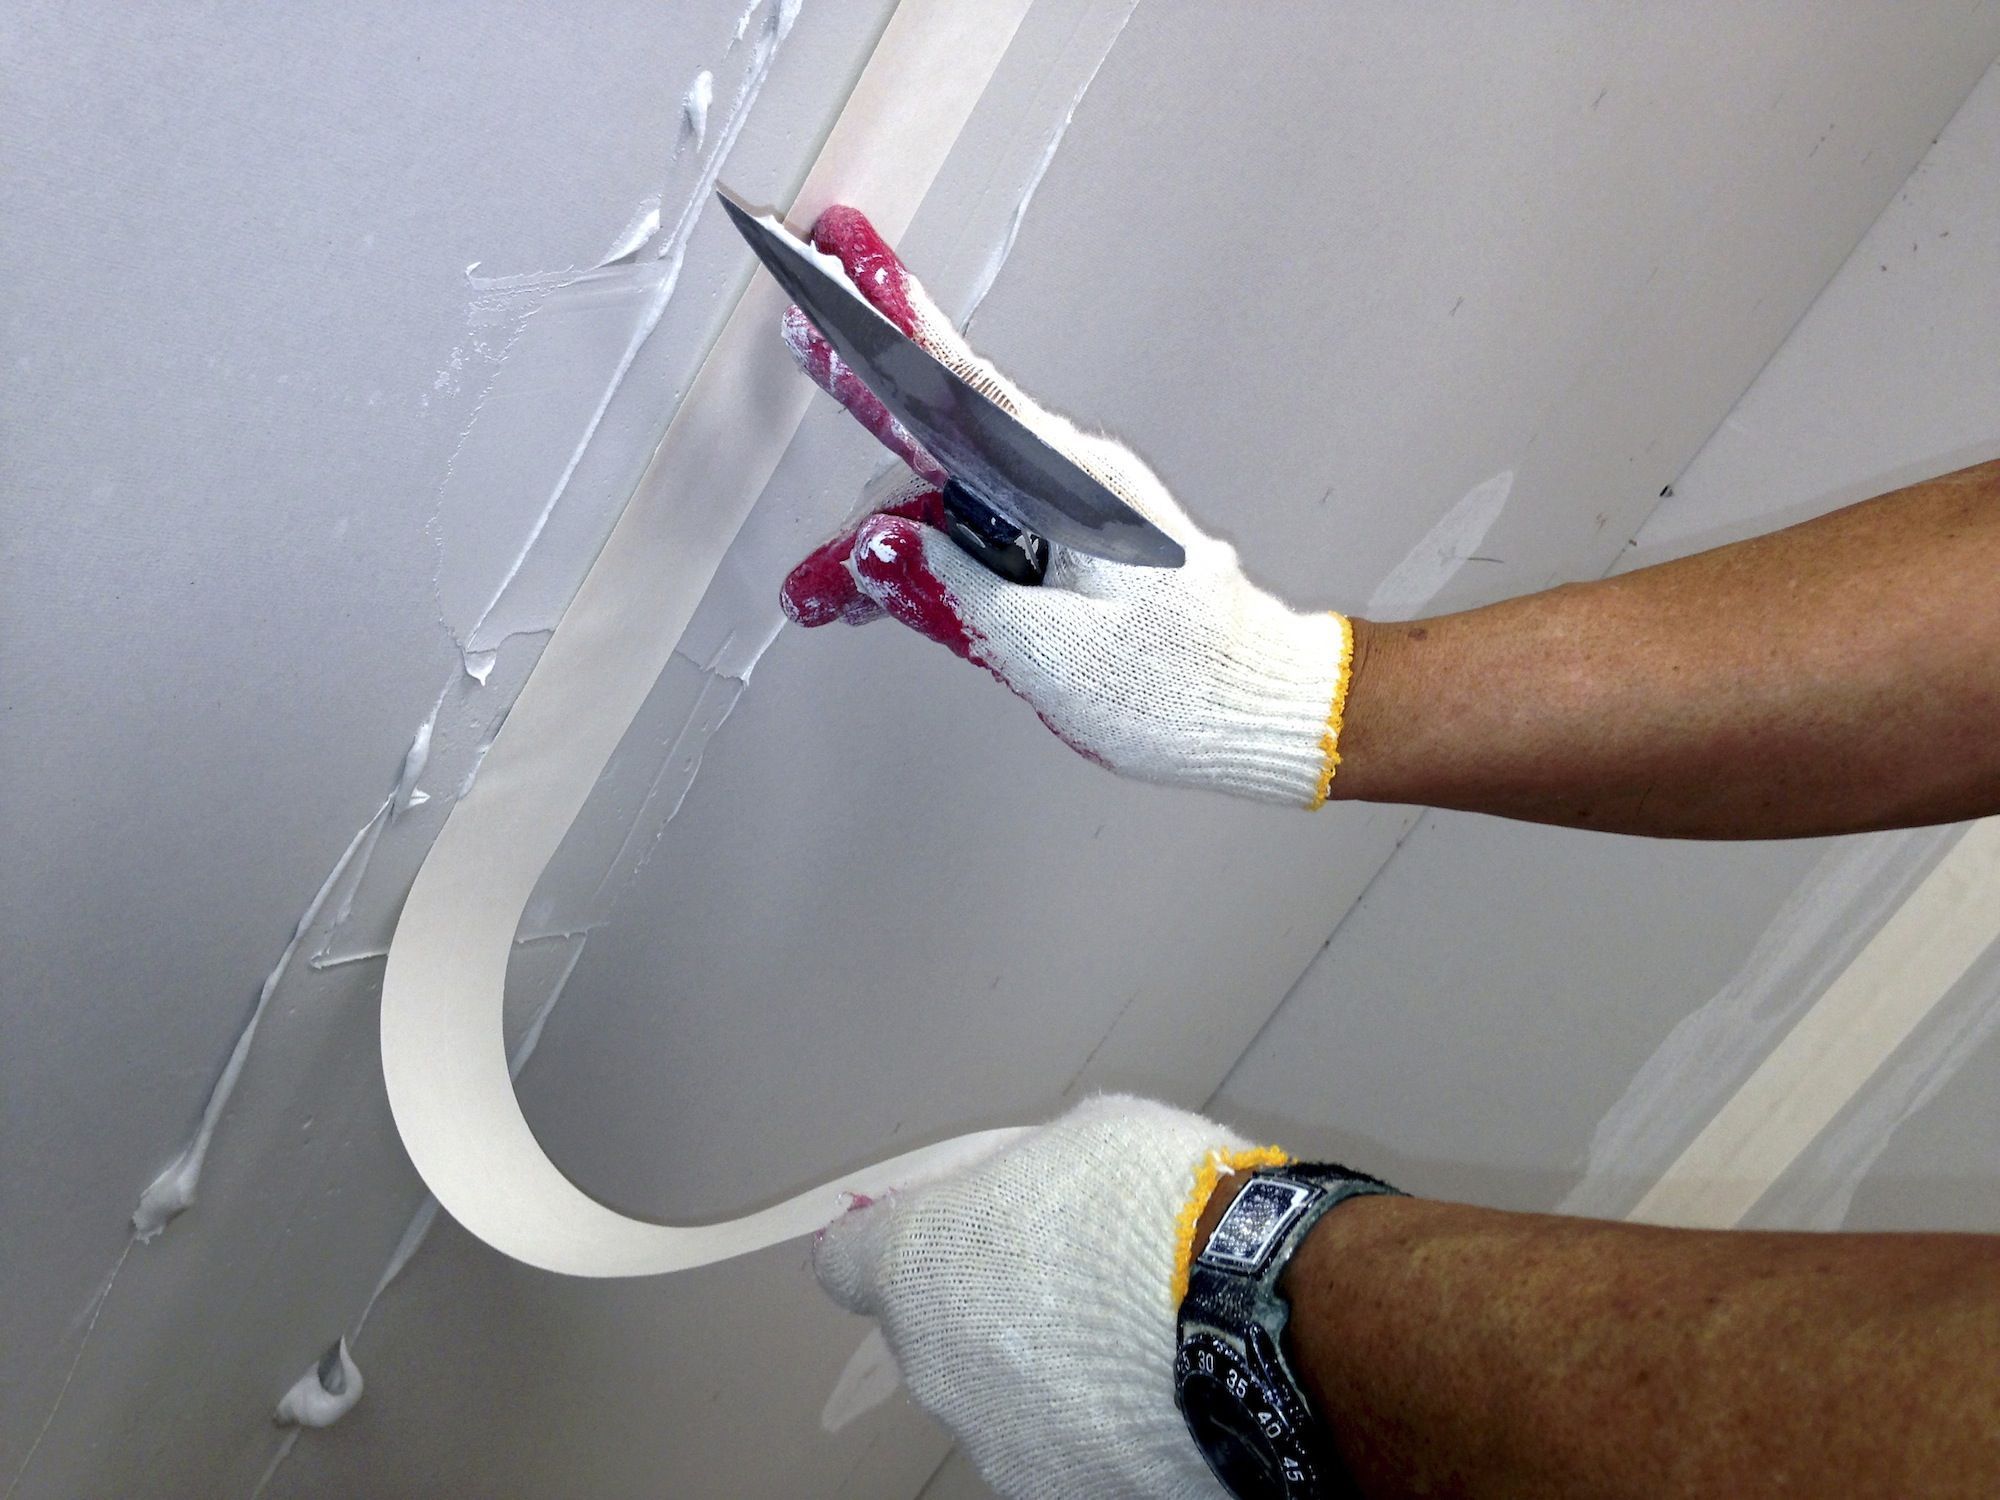
- Place the tape: Press drywall tape onto the wet joint compound. Use your taping knife to smooth out any air bubbles or wrinkles in the tape. Ensure that the tape is centered over the joint and fully covers it.
- Embed the tape: With the taping knife, carefully press the tape into the joint compound. Smooth out any excess compound and ensure that the tape is firmly embedded in the compound. This will help create a strong bond.
- Apply a second coat: Once the first coat of joint compound is dry, apply a second thin coat over the tape. Extend the compound slightly beyond the edges of the first coat to create a smooth transition. Feather the edges of the compound to blend it with the surrounding drywall.
- Allow the compound to dry: Follow the drying time specified by the manufacturer for the joint compound. This usually takes around 24 hours. Keep the area well-ventilated to aid in the drying process.
- Sand the joints: Once the compound is completely dry, use sandpaper or a sanding sponge to smooth out any imperfections or ridges on the joints. Be careful not to sand too much, as you want to preserve the integrity of the joint compound.
- Remove dust: Use a dry cloth or vacuum cleaner to remove any dust or debris from sanding. The area should be clean and free of particles before proceeding to the next step.
Proper taping of the drywall joints is essential for achieving a seamless and professional-looking ceiling. Take your time during this step and focus on achieving even and smooth application of the joint compound and tape.
Remember to follow the manufacturer’s instructions for drying time and safety precautions when working with joint compound. Once the joints are taped, you are ready to move on to the next step of applying joint compound on the rest of the ceiling in the following step.
Step 6: Apply Joint Compound
With the drywall joints taped and smoothed, it’s time to apply joint compound to the rest of the basement ceiling. Joint compound, also known as mud, is used to fill in any gaps, indentations, or imperfections on the surface of the drywall. Follow these steps for applying joint compound:
- Prep the joint compound: Start by mixing the joint compound according to the manufacturer’s instructions. Use a mud pan or a clean container to hold the compound. Stir it well to ensure a smooth and consistent consistency.
- Load the taping knife: Take a taping knife and load it with joint compound from the mud pan. Spread a thin layer of compound onto the taping knife by pressing its edge into the compound and filling it up.
- Apply the compound: Starting from one corner of the ceiling, use the loaded taping knife to spread the compound onto the drywall surface. Apply it in a smooth and even layer, feathering the edges to blend with the surrounding areas. Work in small sections at a time.
- Smooth the compound: After applying the compound, use a clean taping knife or a drywall knife to smooth out the surface. Gently press the knife against the compound and drag it along the area to remove any excess and create a flat, even surface.
- Continue applying compound: Move along the ceiling, applying and smoothing the compound until the entire ceiling is covered. Take breaks as needed and maintain consistency in the thickness of the applied compound.
- Allow the compound to dry: Follow the drying time specified by the manufacturer for the joint compound. This can vary depending on humidity and temperature. Keep the area well-ventilated to aid in the drying process
- Sand the compound: Once the compound is completely dry, use sandpaper or a sanding sponge to gently sand the surface. This will smooth out any bumps or ridges and create a uniform texture.
- Remove dust: After sanding, use a dry cloth or vacuum cleaner to remove any dust or debris from the ceiling. The area should be clean and free of particles before moving on to the next step.
Applying joint compound is a crucial step in achieving a smooth and flawless finish on your basement ceiling. Take your time during this step to ensure an even application and feather the edges for a seamless transition. Proper drying and sanding will result in a surface ready for priming and painting in the next steps.
Once the joint compound is applied and sanded, you are now ready to move on to the next step of sanding and smoothing the ceiling.
Read more: How To Repair A Drywall Ceiling
Step 7: Sand and Smooth the Ceiling
After applying joint compound to your basement ceiling, it’s important to sand and smooth out any imperfections or rough areas. Sanding helps create a smooth and even surface in preparation for priming and painting. Follow these steps to sand and smooth the ceiling:
- Prep the area: Before sanding, cover any furniture or objects in the room with plastic sheets or drop cloths to protect them from dust. Open windows or use a fan for ventilation, and wear a dust mask to avoid inhaling particles.
- Select the right sandpaper: Choose a fine-grit sandpaper, such as 150 or 220 grit, for sanding the drywall. Avoid using abrasive or coarse sandpaper, as it can damage the surface.
- Sand the joints and compound: Gently sand the joints and compound areas using a sanding block or a sanding pole. Work in smooth, circular motions, applying even pressure. Be careful not to press too hard and damage the drywall or create uneven spots.
- Check for smoothness: As you sand, periodically run your hand over the surface to check for smoothness. Pay attention to any ridges, bumps, or rough spots and focus on smoothing them out. Continue sanding until the surface feels uniform and smooth.
- Clean up the dust: After sanding, use a vacuum cleaner or a soft cloth to remove the dust from the ceiling. Wipe down the surface gently to ensure it is clean and free of debris.
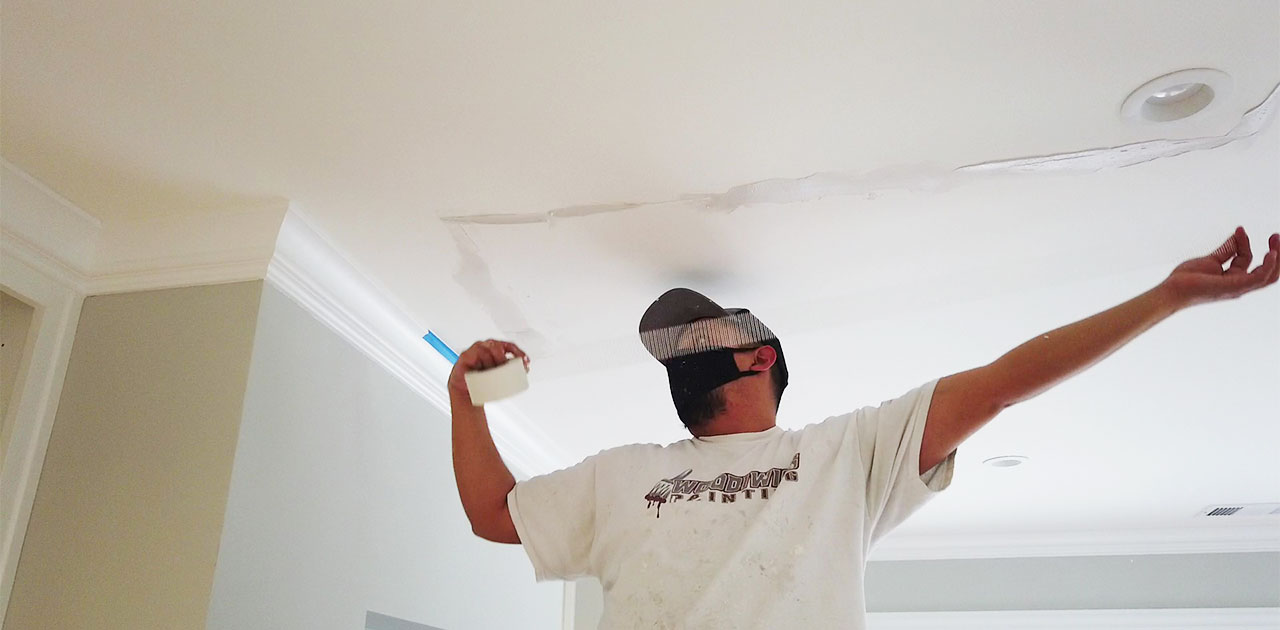
- Inspect the ceiling: Once the dust has settled, inspect the entire ceiling for any remaining imperfections. Take note of any areas that require additional touch-ups with joint compound or sanding.
- Repeat the sanding process if necessary: If you find any areas that need further attention, apply another thin layer of joint compound, allow it to dry, and repeat the sanding process until you achieve the desired smoothness.
Sanding the ceiling is a crucial step in achieving a professional and flawless finish. Take your time during this step and be meticulous in identifying and smoothing out any uneven areas. The smoother the surface, the better the final result will be when you move on to priming and painting the ceiling.
Once you have completed the sanding process and ensured a smooth surface, you are now ready to move on to the next step of priming the drywall in preparation for painting.
Step 8: Prime the Drywall
After sanding and smoothing the basement ceiling, it’s time to prime the drywall. Priming is an important step that prepares the surface for paint and ensures better adhesion and durability. Follow these steps to properly prime the drywall:
- Prep the area: Clear the space around the ceiling and protect any furniture or objects with drop cloths or plastic sheets. Ensure proper ventilation by opening windows or using fans, and wear a mask to protect yourself from primer fumes.
- Choose the right primer: Select a high-quality drywall primer that is specifically designed for sealing and prepping drywall surfaces. Consider factors such as stain-blocking properties, coverage, and compatibility with your chosen paint.
- Stir the primer: Open the can of primer and thoroughly stir it using a stir stick or a paint mixing tool. This helps to ensure an even consistency and proper blending of any settling or separation that may have occurred.
- Apply the primer: Pour a small amount of primer into a paint tray. Using a roller or a brush, apply an even coat of primer onto the drywall surface. Start from one corner and work your way across the ceiling, following the natural flow of the room.
- Focus on coverage: Ensure that the primer covers the entire surface of the drywall, including the joints and any repaired areas. Apply the primer in smooth, even strokes, without leaving any brush marks or streaks.
- Allow the primer to dry: Follow the drying time specified by the manufacturer. Typically, it takes about 1-2 hours for the primer to dry, but it may vary depending on temperature and humidity levels. Avoid touching the primed surface until it is fully dry.
- Inspect the primed surface: Once the primer is dry, inspect the surface for any missed spots or areas that may require a second coat. If necessary, touch up those areas with primer and allow it to dry again.
- Clean up: Clean your brushes and rollers with water or the recommended cleaning solution. Dispose of any remaining primer or packaging according to local regulations.
Priming the drywall is a crucial step to ensure a smooth and long-lasting paint job. It helps seal the drywall surface, improves paint adhesion, and enhances the overall appearance of the finished ceiling. Take your time during this step to achieve thorough coverage and a consistent application of the primer.
Once the primer is dry and the surface is properly prepped, you are now ready to move on to the final step of painting the basement ceiling.
Step 9: Paint the Ceiling
After priming the drywall, it’s time to paint your basement ceiling. This final step will bring your project to life and add the finishing touch to your renovated space. Follow these steps to achieve a professional and seamless paint finish:
- Prep the area: Clear the room of any furniture or objects and protect the floor with drop cloths or plastic sheets. Cover any fixtures or electrical outlets with painter’s tape to avoid accidental paint splatters.
- Select your paint: Choose a high-quality interior paint that is specifically formulated for ceilings. Consider factors such as the desired color, finish (such as flat or satin), and coverage. It’s often recommended to use a roller with an extension pole for easier application.
- Stir the paint: Open the paint can and gently stir the paint using a stir stick or a paint mixing tool. Ensure that the paint is properly mixed and smooth before starting the application process.
- Start from the edges: Begin by “cutting in” the edges of the ceiling using a brush. Paint a strip along the perimeter of the ceiling, working around light fixtures or other obstacles. This will create a smooth transition between the painted area and the unpainted section.
- Apply paint with a roller: Pour the paint into a paint tray and roll the roller in the tray to absorb an even coat of paint. Starting from one corner of the ceiling, work in small sections and apply the paint in a “W” or “M” pattern. Feather the edges as you go to achieve a seamless finish.
- Keep a wet edge: To ensure a consistent finish, always maintain a wet edge while painting. This means overlapping each fresh stroke with the previous one while the paint is still wet. This technique prevents visible lap marks or uneven drying patterns.
- Allow the first coat to dry: Follow the drying time specified by the paint manufacturer. Typically, it takes around 2-4 hours, but it may vary depending on the paint type, temperature, and humidity. Do not rush the drying process to avoid smudging or ruining the paint finish.
- Apply a second coat: Once the first coat is completely dry, apply a second coat of paint following the same process. This second coat will ensure proper coverage and enhance the richness and depth of the color.
- Inspect the painted surface: After the final coat is dry, inspect the painted surface for any missed spots or uneven areas. Touch up any imperfections with a small brush or roller, ensuring a consistent finish throughout the entire ceiling.
- Clean up: Clean your brushes, roller, and paint tray with water or the recommended cleaning solution. Remove any painter’s tape while the paint is still slightly damp to avoid peeling. Dispose of any remaining paint or packaging responsibly.
Painting the basement ceiling is the final step in your drywalling project. Take your time during this step and ensure proper coverage and a smooth finish. The right paint color and finish can help enhance the overall look and feel of your finished space.
Once the paint is dry and the ceiling is beautifully painted, take a step back and admire your newly transformed basement. It’s time to enjoy the results of your hard work and creativity!
Conclusion
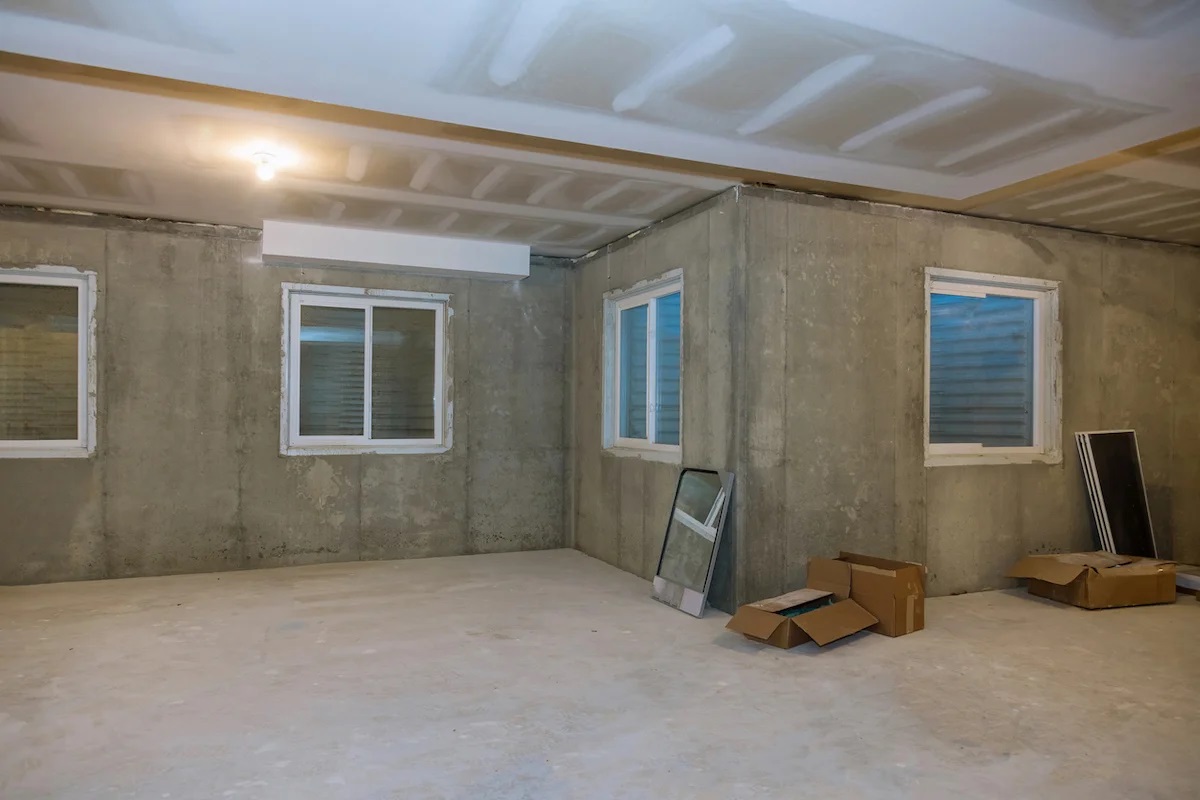
Congratulations! You have successfully completed the process of drywalling your basement ceiling. What was once a blank and unfinished space now boasts a beautifully finished and functional area in your home.
Throughout this comprehensive guide, we have walked you through each step, from preparing the basement ceiling to painting it. By following the safety precautions, gathering the necessary tools and materials, and utilizing the proper techniques, you have created a smooth and professional-looking ceiling that adds value and appeal to your home.
Remember, patience and attention to detail are key when undertaking a project like drywalling a basement ceiling. Take the time to measure and cut the drywall precisely, secure it properly with screws, tape the joints meticulously, and apply joint compound and primer with care. Sanding and smoothing the surface ensures a flawless finish, preparing it for the final touch of paint.
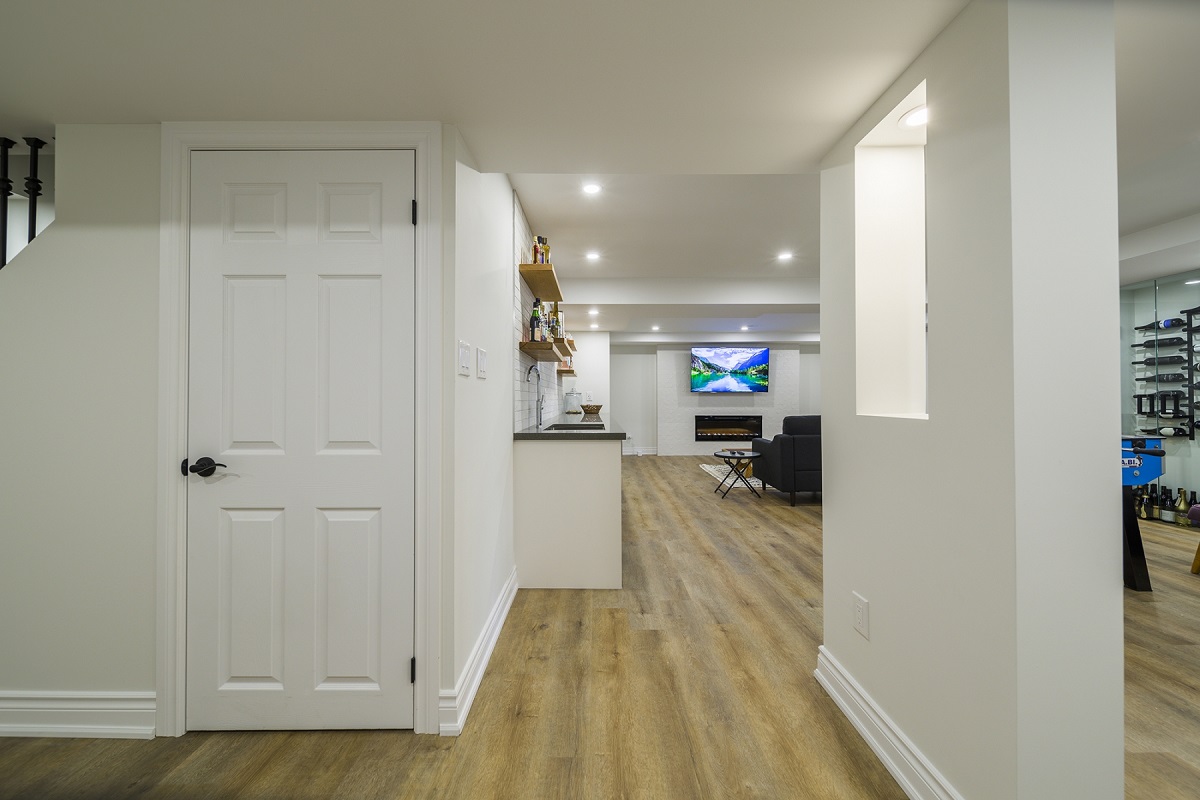
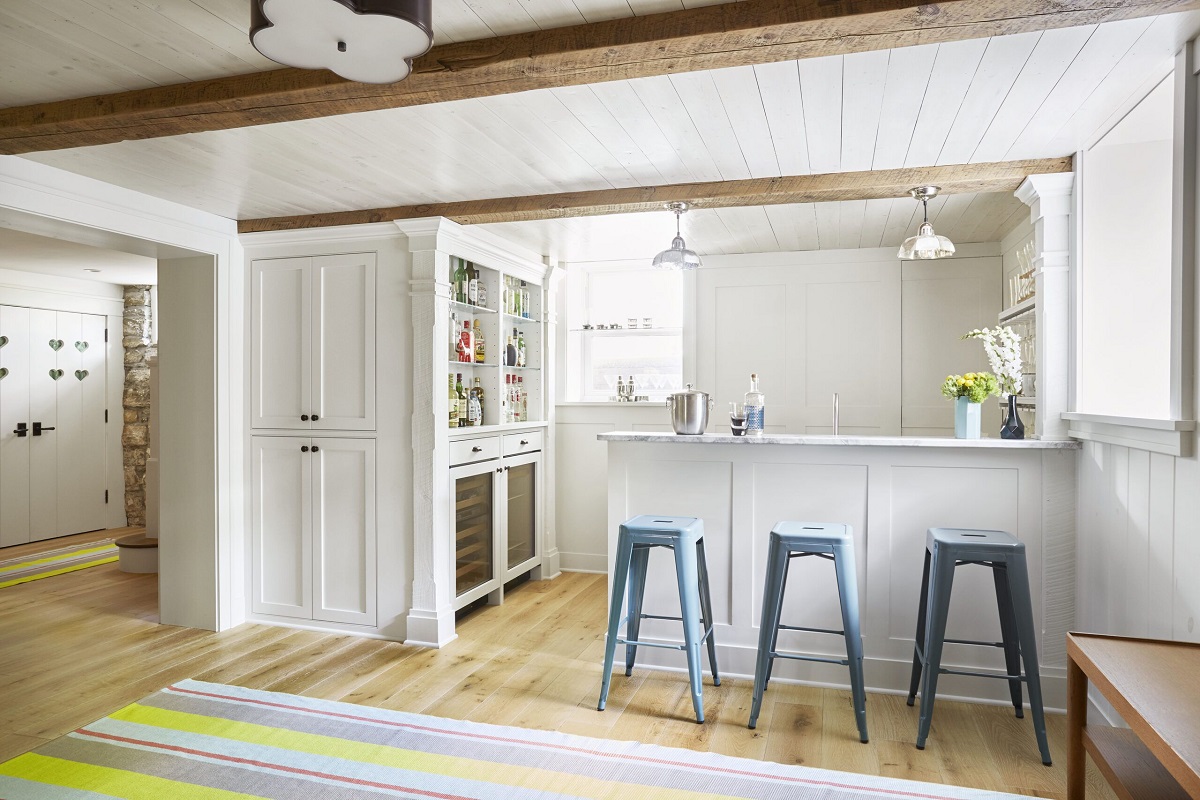
Now that your basement ceiling is complete, you can take pride in knowing that you have transformed the space into a functional and aesthetically pleasing area. Whether you plan to use it as a recreation room, home office, or additional living space, your finished basement will undoubtedly enhance your home’s value and provide years of enjoyment for you and your family.
Remember, proper maintenance and care will help keep your newly finished basement ceiling in excellent condition. Regularly inspect the ceiling for any signs of damage or wear, and address them promptly to prevent further issues.
We hope this guide has been informative and helpful in guiding you through the process of drywalling your basement ceiling. Enjoy your newly finished space, and may it bring you comfort, functionality, and joy for years to come!
Frequently Asked Questions about How To Drywall Basement Ceiling
Was this page helpful?
At Storables.com, we guarantee accurate and reliable information. Our content, validated by Expert Board Contributors, is crafted following stringent Editorial Policies. We're committed to providing you with well-researched, expert-backed insights for all your informational needs.


0 thoughts on “How To Drywall Basement Ceiling”