Articles
How To Sew A Pillowcase With A Flap
Modified: August 27, 2024
Learn how to sew a pillowcase with a flap with our step-by-step articles. Discover the best techniques and tips for creating beautiful pillowcases.
(Many of the links in this article redirect to a specific reviewed product. Your purchase of these products through affiliate links helps to generate commission for Storables.com, at no extra cost. Learn more)
Introduction
Have you ever wanted to add a personal touch to your home decor by creating your own pillowcases? Sewing pillowcases can be a fun and rewarding project that allows you to unleash your creativity while making something practical for your living space. In this article, we will guide you through the process of sewing a pillowcase with a flap, adding an extra touch of elegance and functionality to your cushions.
Creating a pillowcase with a flap is not only aesthetically pleasing but also practical, as the flap helps keep the pillow securely in place. Whether you’re an experienced seamstress or a beginner looking to improve your sewing skills, this tutorial will provide you with all the necessary steps to successfully complete your very own pillowcase with a flap.
Before we get started, let’s gather all the materials you will need for this project.
Key Takeaways:
- Add elegance and functionality to your home decor by sewing a pillowcase with a flap. Personalize your cushions with creative fabric choices and decorative embellishments for a unique touch.
- Master the art of sewing pillowcases with flaps using our step-by-step guide. From selecting materials to adding finishing touches, create beautiful and practical home decor with your own personal touch.
Read more: How To Sew A Cuffed Pillowcase
Materials Needed
To sew a pillowcase with a flap, you will need the following materials:
- Fabric: Choose a fabric of your preference. Cotton or linen fabrics work well for pillowcases as they are soft, durable, and easy to work with.
- Thread: Select a thread color that complements or matches your fabric.
- Scissors: A pair of sharp fabric scissors will be essential for cutting the fabric accurately.
- Pins: Pins will help you hold the fabric in place while sewing and ensure that the pieces align properly.
- Sewing machine: While it is possible to sew the pillowcase by hand, using a sewing machine will save you time and make the process smoother.
- Iron and ironing board: Ironing your fabric before and after sewing will produce a more professional-looking finished product.
- Measuring tape: This will help you accurately measure the dimensions of your pillow and the fabric pieces.
- Optional: Trim or embellishments, such as lace or decorative buttons, can be added for a personalized touch.
Make sure you have all of these items ready before you start sewing your pillowcase with a flap. Now that you have everything you need, let’s move on to the step-by-step instructions.
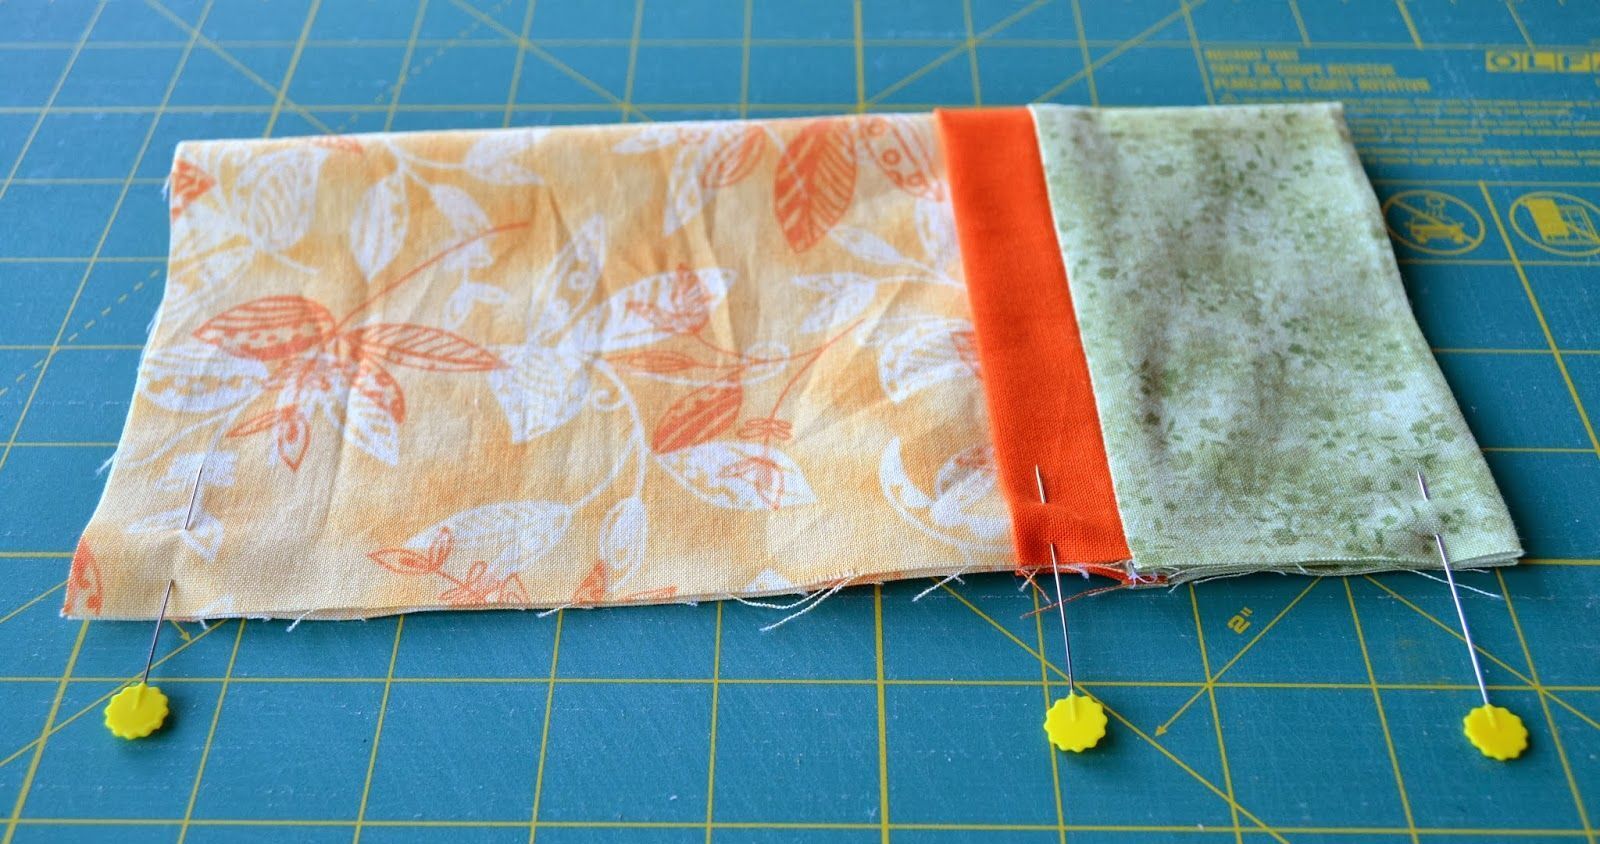
Step 1: Preparing the Fabric
The first step in sewing a pillowcase with a flap is to prepare your fabric. Take your chosen fabric and lay it out on a clean and flat surface. If the fabric is wrinkled, iron it to ensure a smooth and even surface for sewing.
Next, measure and cut the fabric to the desired dimensions for your pillowcase. To determine the fabric dimensions, measure the length and width of your pillow, adding an extra inch to each measurement for seam allowance.
Once you have your measurements, use a fabric scissors to cut two identical rectangular pieces of fabric. One piece will serve as the front of the pillowcase, and the other piece will be the back.
After cutting the fabric pieces, fold each piece in half, with the right sides facing inward, to create a smaller rectangle. This will ensure that the fabric is aligned properly when sewing.
Now that you have prepared the fabric, it’s time to move on to the next step: cutting the fabric pieces.
Step 2: Cutting the Fabric Pieces
In this step, we will be cutting the fabric pieces that will form the front and back of the pillowcase.
Take one of the folded fabric pieces and place it on your cutting mat or flat surface. Using a ruler or measuring tape, measure and mark the desired length and width of your pillowcase on the fabric. Make sure to add an additional inch to each measurement for seam allowance.
Once you have marked the measurements, carefully cut along the lines using fabric scissors. Take your time to ensure clean and precise cuts.
Repeat the same process with the other folded fabric piece to obtain the second set of fabric pieces.
Now you should have two sets of fabric pieces, each consisting of a front and back piece. These fabric pieces will be used to create the main body of the pillowcase.
Before moving on to the next step, take a moment to iron the fabric pieces to remove any creases or wrinkles. This will ensure that the pillowcase looks neat and professional once it’s finished.
Now that the fabric pieces are cut and ready, it’s time to move on to the next step: sewing the flap.
When sewing a pillowcase with a flap, be sure to measure and cut the fabric accurately to ensure a proper fit. Also, press your seams for a professional finish.
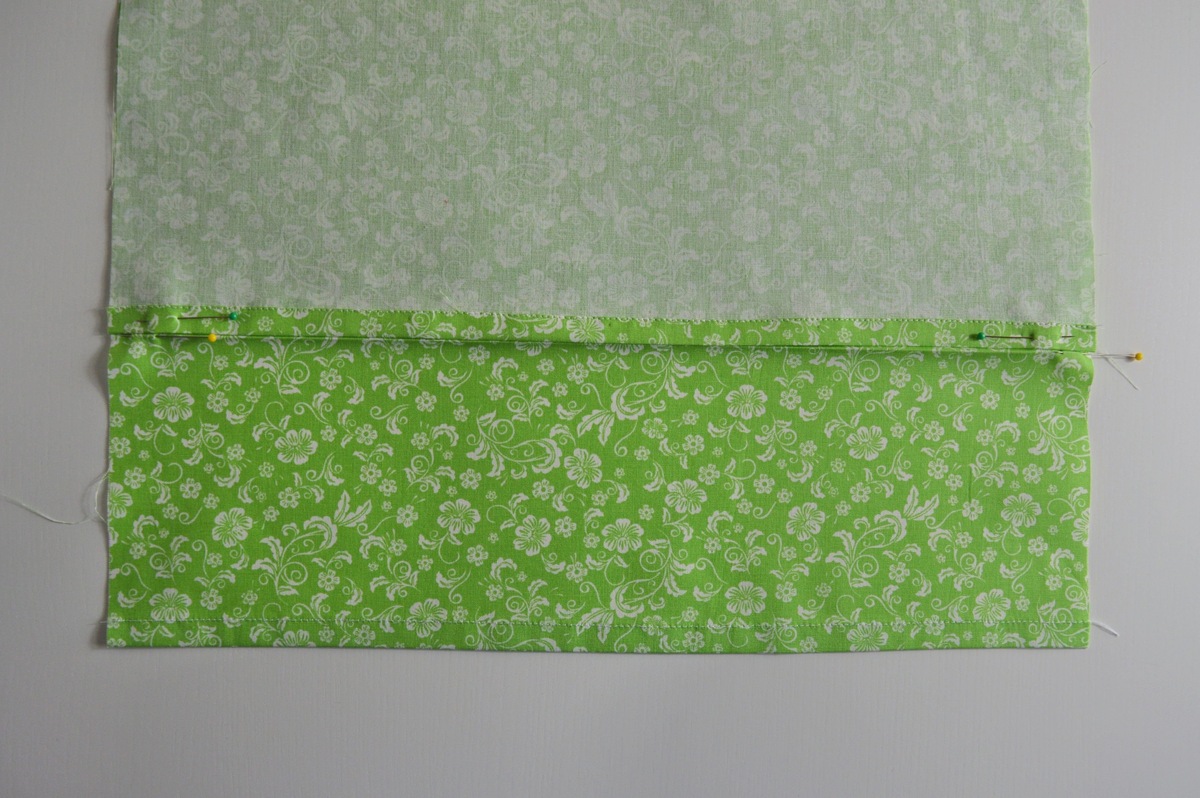
Step 3: Sewing the Flap
Now that you have your fabric pieces cut and ironed, it’s time to sew the flap of the pillowcase.
Take one of the fabric pieces, which will serve as the back of the pillowcase, and unfold it to reveal the full rectangle. This piece will be used to create the flap.
Measure and mark the desired length of the flap on the fabric. This will depend on how long you want the flap to be and how much overlap you want with the front of the pillowcase. Typically, a flap length of 1/3 to 1/2 the width of the fabric piece works well.
Once you have marked the measurements, fold the fabric at the mark to create the flap. Make sure the right sides of the fabric are facing inward.
Using pins, secure the fold in place to ensure it stays intact while sewing.
Now, it’s time to sew along the pinned edge to secure the flap. Using a straight stitch on your sewing machine, sew a straight line along the edge of the folded fabric, about 1/4 inch from the edge. Backstitch at the beginning and end of your seam to reinforce it.
Once the seam is complete, remove the pins and unfold the fabric to reveal the finished flap. The flap should now fold neatly over the front of the pillowcase.
With the flap sewn, it’s time to move on to the next step: sewing the pillowcase.
Read more: How To Sew The Burrito Method Pillowcase
Step 4: Sewing the Pillowcase
Now that the flap is sewn, it’s time to assemble and sew the pillowcase.
Take the fabric piece that will serve as the front of the pillowcase and place it right side up on your work surface.
Next, take the fabric piece that has the flap attached and place it on top of the front piece, aligning the raw edges along the sides and bottom.
Using pins, secure the four sides of the fabric together, making sure to leave the top edge (opposite the flap) open for inserting the pillow later.
Now, it’s time to sew the pinned edges. Using a straight stitch on your sewing machine, sew along the pinned edges, about 1/2 inch from the raw edges. Backstitch at the beginning and end of your seams to reinforce them.
Once the seams are sewn, remove the pins and trim any excess fabric if necessary.
Turn the pillowcase right side out through the open top edge. Use your fingers or a blunt object to gently push out the corners for a crisp finish.
At this point, you should have a fully sewn pillowcase, with the flap and the open top edge ready for finishing touches.
Now, let’s move on to the final step: adding the finishing touches.
Step 5: Finishing Touches
The pillowcase is almost complete, but let’s add some finishing touches to give it a polished look.
First, iron the pillowcase to remove any wrinkles and create a smooth surface.
If desired, you can add trim or embellishments to enhance the aesthetic appeal of the pillowcase. This could be lace, ribbon, decorative buttons, or any other type of embellishment that suits your taste. Sew the trim or embellishments onto the front of the pillowcase, securing it with a straight stitch.
Once you have added the desired decorative elements, fold the flap over the front of the pillowcase and admire your finished product.
To care for your pillowcase, ensure that you follow the fabric’s care instructions. Generally, it is recommended to wash pillowcases in cold water and tumble dry on low or air dry.
Now you have successfully completed sewing a pillowcase with a flap! You can make more pillowcases using different fabrics and patterns to add a personal touch to your home decor.
Remember, practice makes perfect, so don’t be discouraged if your first attempt is not flawless. With time and experience, you will improve your sewing skills and create beautiful pillowcases.
Enjoy the satisfaction of creating something handmade and functional for your home!
Happy sewing!
Conclusion
Sewing a pillowcase with a flap is a fulfilling and practical project that allows you to showcase your sewing skills while adding a personalized touch to your home decor. By following the step-by-step instructions outlined in this article, you can create beautiful pillowcases that are not only visually appealing but also functional.
Throughout the process, we explored the importance of selecting the right materials, cutting the fabric pieces accurately, sewing the flap securely, assembling the pillowcase, and adding finishing touches to enhance its appearance. By paying attention to these details, you can create a high-quality pillowcase that you can be proud of.
Remember, sewing takes practice, so don’t be discouraged if you encounter challenges along the way. Take your time, be patient, and enjoy the journey of creating something with your own two hands.
Now that you have learned how to sew a pillowcase with a flap, you can customize your pillowcases to match your home decor or create personalized gifts for your loved ones. Let your creativity run wild and have fun with your sewing projects!
So go ahead, gather your materials, set up your sewing machine, and start sewing your own beautiful pillowcases with flaps. Get ready to enjoy the satisfaction of creating something unique and functional for your home!
Happy sewing!
Frequently Asked Questions about How To Sew A Pillowcase With A Flap
Was this page helpful?
At Storables.com, we guarantee accurate and reliable information. Our content, validated by Expert Board Contributors, is crafted following stringent Editorial Policies. We're committed to providing you with well-researched, expert-backed insights for all your informational needs.


0 thoughts on “How To Sew A Pillowcase With A Flap”