Articles
Cheap Ways To Enclose A Porch
Modified: August 28, 2024
Learn how to enclose your porch on a budget with these helpful articles. Discover cost-effective tips and tricks for creating an inviting space.
(Many of the links in this article redirect to a specific reviewed product. Your purchase of these products through affiliate links helps to generate commission for Storables.com, at no extra cost. Learn more)
Introduction
Do you dream of having a cozy and functional enclosed porch where you can relax and enjoy the outdoors in any weather? Enclosing a porch can greatly extend its usability and add value to your home, but it can also come with a hefty price tag. However, with a little creativity and know-how, it is possible to enclose a porch on a budget without compromising on quality or style.
In this article, we will guide you through the steps to enclose a porch cheaply, while still achieving a professional and visually appealing result. Whether you have an existing porch that needs a makeover or you’re starting from scratch, our comprehensive guide will provide you with the necessary information to complete the project successfully.
Before we dive into the steps, it’s important to note that while cost savings are a priority, safety should never be compromised. Ensure you follow all necessary building codes and regulations, and consult with professionals when needed.
Now, let’s explore the step-by-step process of enclosing a porch on a budget:
Key Takeaways:
- Create a Cozy Enclosed Porch on a Budget
Transform your porch into a functional and stylish space by carefully planning the purpose, measuring the area, choosing cost-effective materials, and adding finishing touches to create a welcoming retreat. - Ensure Safety and Comfort in Your Enclosed Porch
Prioritize safety and compliance with building codes while sealing, insulating, and decorating your enclosed porch. Infuse your personal style and creativity to enjoy a cozy and versatile space year-round.
Read more: How Much Is It To Enclose A Porch
Step 1: Determine the Purpose and Design
The very first step in enclosing a porch cheaply is to determine the purpose and design of your enclosed space. Consider how you will be using the enclosed porch and what features you want to incorporate. Will it be a cozy reading nook, a play area for your children, or an extended dining space? Understanding the purpose will help you make informed decisions throughout the process.
Next, think about the design elements you want to include. Do you want large windows to let in natural light, or perhaps French doors to create an elegant entrance? Consider the overall style and aesthetic you want to achieve, whether it’s modern, rustic, or something entirely unique. Planning the design in advance will save you time and money in the long run.
Additionally, take into account the overall layout and size of your porch. Measure the area available for enclosure to ensure that it is feasible and that you have enough space for the desired features.
Researching and gathering inspiration is crucial at this stage. Browse through home improvement magazines, websites, and social media platforms like Pinterest to gather ideas and identify design elements that resonate with you. Make notes, create a vision board, and save images that capture your desired look. This will serve as a reference throughout the project and help you stay focused on your design goals.
Once you have a clear understanding of the purpose and design of your enclosed porch, it’s time to move on to the next step: measuring the porch area.
Step 2: Measure the Porch Area
Now that you have a clear vision of how you want your enclosed porch to look and the features you want to incorporate, it’s time to measure the porch area. Accurate measurements are essential for planning and purchasing materials, as well as ensuring a proper fit for the enclosure.
Start by measuring the length and width of your porch area, taking into account any architectural features, such as columns or irregular shapes. Use a tape measure and record the dimensions in feet and inches. Take multiple measurements to ensure accuracy, and double-check your numbers to avoid costly mistakes.
Next, measure the height of the porch. Consider the desired height for the enclosed space, taking into account factors such as ceiling fans, lighting fixtures, and any existing doors or windows. This will help you determine the height of the framing and panels that you will need.
Once you have measured the porch area, it’s helpful to create a scaled drawing or layout of the space. This will allow you to visualize the placement of walls, doors, and windows, and make any necessary adjustments before moving forward with the project. You can use graph paper or various design software tools to create the layout.
Remember to keep in mind any local building codes or restrictions when measuring your porch area. Certain areas may have specific regulations regarding the size and placement of enclosed spaces, so it’s important to familiarize yourself with these requirements before proceeding.
With accurate measurements and a layout in hand, you are now ready to move on to the next step: choosing the right materials for your enclosed porch.
Step 3: Choose the Right Materials
Choosing the right materials for your enclosed porch is crucial to achieving a professional and budget-friendly result. By selecting cost-effective yet durable materials, you can create a beautiful and functional space without breaking the bank.
When it comes to enclosing a porch, there are several materials you’ll need to consider:
- Frames: The frames form the structure of your enclosed porch. Opt for materials such as wood or metal that are sturdy and affordable. Depending on your design preference, you can choose between framed walls or a combination of framed and glass panels.
- Wall Panels: Choose cost-effective yet durable materials for the wall panels. Options include plywood, PVC panels, or composite materials. These materials are lightweight, easy to install, and provide insulation.
- Windows: If you plan to include windows in your enclosed porch, look for energy-efficient options that fit within your budget. Vinyl or aluminum windows are affordable and offer excellent insulation properties.
- Doors: Consider installing a durable and cost-effective exterior door for your enclosed porch. Fiberglass or steel doors are relatively inexpensive and provide security and insulation.
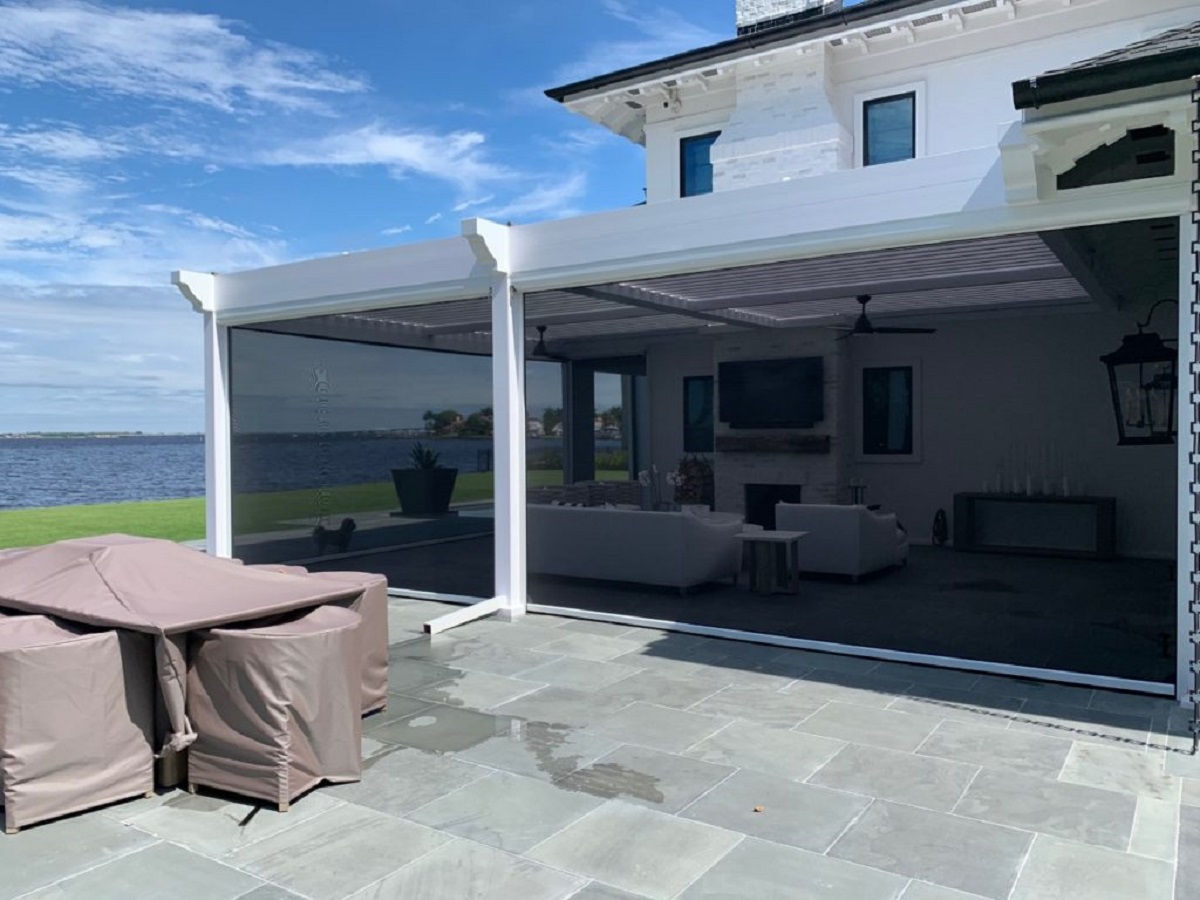
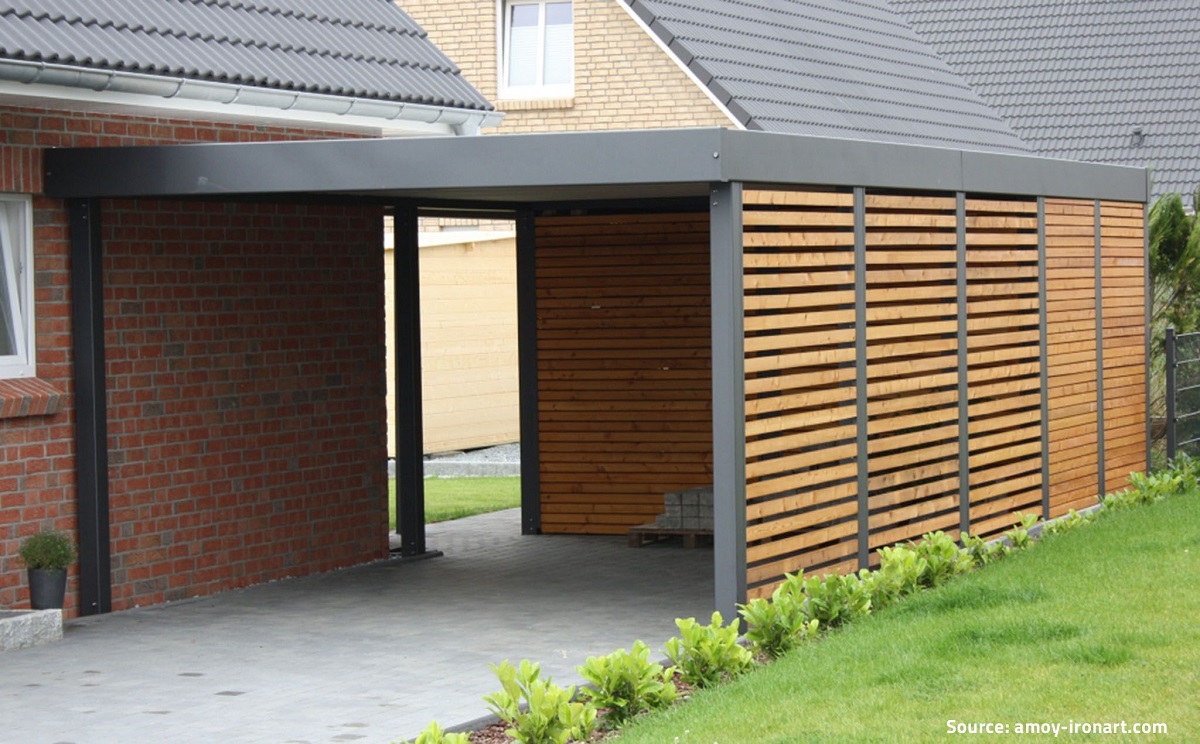
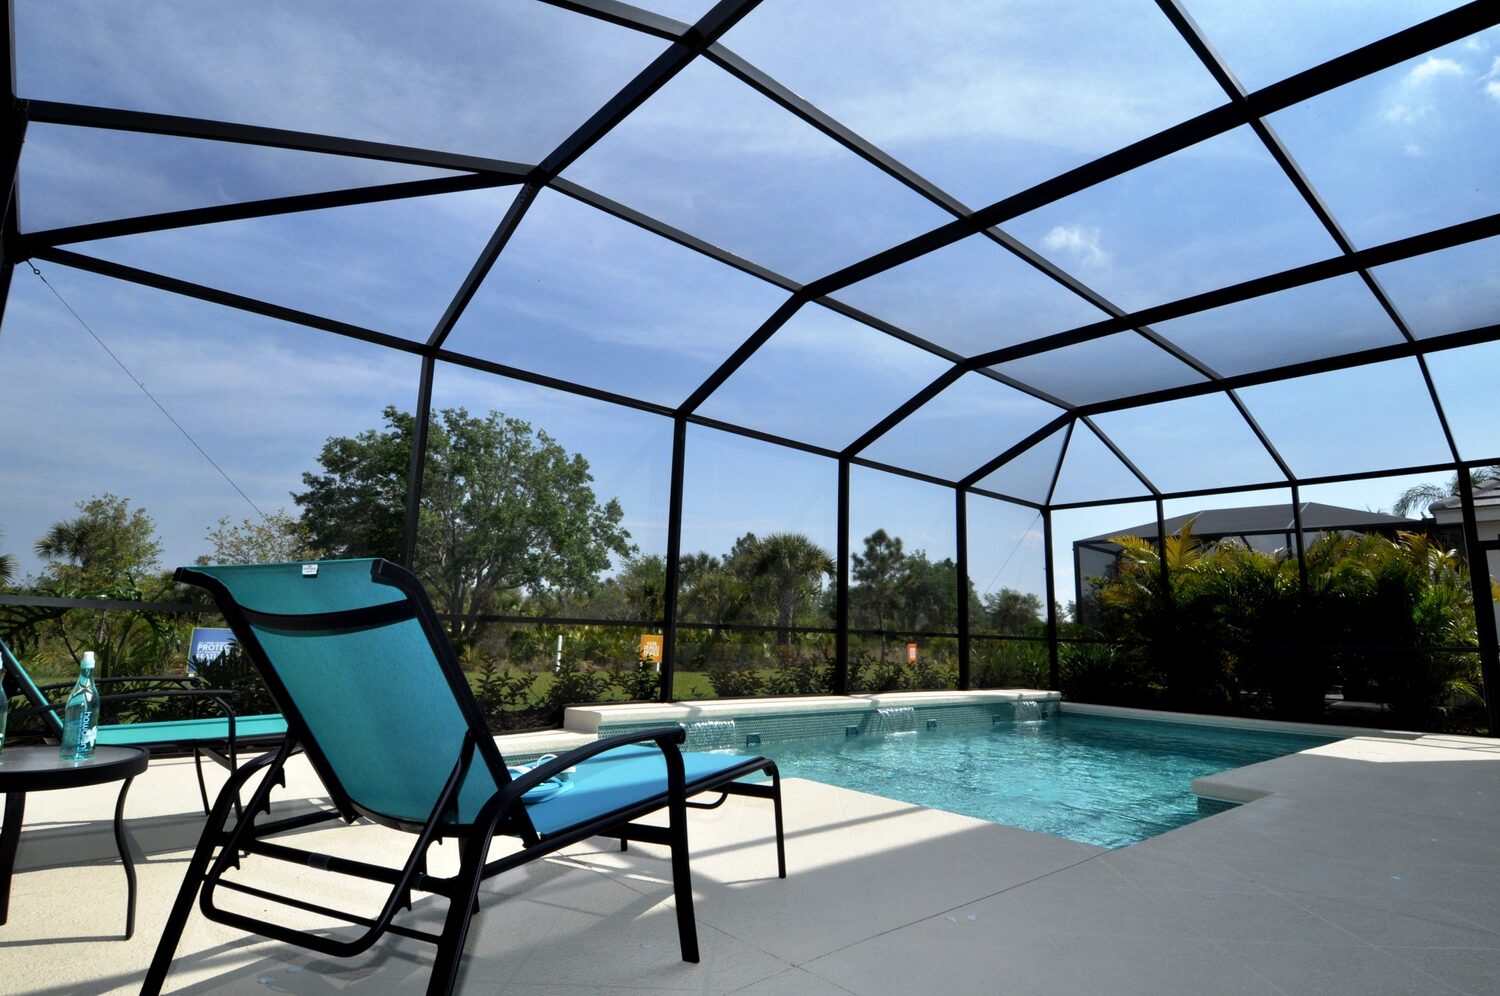
- Roofing: If your porch has an open roof, consider adding a roof to your enclosed space for protection against the elements. Depending on your budget, you can choose from options such as asphalt shingles, metal roofing, or polycarbonate panels.
While it is important to choose cost-effective materials, make sure not to compromise on quality. Investing in durable materials will ensure the longevity and functionality of your enclosed porch.
As you select the materials, don’t forget to consider their maintenance requirements. Opt for materials that are easy to clean and maintain, as this will save you time and effort in the long run.
Lastly, compare prices from different suppliers to find the best deals. Look for sales, discounts, or clearance items that can help you save money without compromising on quality. Take your time during this step to make informed decisions and choose materials that fit your budget and design goals.
With the right materials selected, you are now ready to move on to the next step in enclosing your porch on a budget: preparing the porch for enclosure.
Step 4: Prepare the Porch for Enclosure
Before you can begin the process of enclosing your porch, it’s important to properly prepare the area. This step involves cleaning, repairing, and making any necessary modifications to ensure a smooth and successful installation.
Start by cleaning the porch thoroughly. Remove any debris, dirt, and loose materials from the surface. Sweep or pressure wash the area to ensure a clean and smooth base for the enclosure. This will help achieve a professional finish and prevent any issues down the line.
Inspect the porch for any structural damage or issues that need to be addressed. Look for signs of rot, decay, or pest damage in the existing framework. If you notice any structural issues, it’s important to address them before proceeding with the enclosure. This may involve replacing damaged wood or reinforcing weak areas.
If your porch has electrical outlets or lighting fixtures, consider whether any adjustments are necessary. You may need to reposition or add additional outlets to accommodate the new enclosed space. Consult with a licensed electrician if you’re unsure about the electrical aspects of the project to ensure compliance with local building codes.
During the preparation phase, also consider the porch’s ventilation. Proper air circulation is essential for a comfortable and healthy enclosed space. Evaluate the existing ventilation options and determine if additional measures, like installing vents or fans, are needed to ensure proper airflow.
Additionally, if your porch has a concrete floor, inspect it for cracks or unevenness. Repair any visible damage and ensure that the surface is level before proceeding with the enclosure. Uneven flooring can cause issues during the installation process and may affect the final look and functionality of the enclosed porch.
By thoroughly preparing the porch for enclosure, you set the stage for a successful installation and a long-lasting result. With the porch clean and any necessary repairs completed, it’s time to move on to the next step: installing the framing and panels.
Consider using clear vinyl sheeting to enclose your porch. It’s an affordable option that provides protection from the elements while still allowing you to enjoy the view.
Read more: What Is An Enclosed Porch Called
Step 5: Install Framing and Panels
With the porch prepared, it’s time to install the framing and panels for your enclosed porch. The framing provides the structure and support for the walls, windows, and doors, while the panels fill in the spaces between the framing.
Begin by installing the horizontal top and bottom plates along the perimeter of the porch. These plates will serve as the base for the wall framing. Use pressure-treated lumber for added durability and resistance to moisture.
Next, measure and cut the vertical studs for the walls. Space them evenly along the top and bottom plates, leaving openings for windows and doors as needed. Secure the studs to the plates using nails or screws, ensuring they are plumb and level.
If you are incorporating windows in your enclosed porch, follow the manufacturer’s instructions for installation. Ensure they are properly sealed and secure within the framing. Similarly, if you plan to add a door, take the necessary steps to install it according to the manufacturer’s recommendations.
Once the framing is complete, it’s time to install the panels. Depending on your budget and design preferences, you can choose from a variety of paneling materials, such as plywood, PVC, or composite materials. Attach the panels securely to the framing using nails, screws, or appropriate adhesives.
Ensure that the panels are level and aligned properly to create a smooth and cohesive appearance. Consider adding insulation between the studs to improve energy efficiency and create a more comfortable enclosed space.
As you install the framing and panels, periodically check for any gaps or areas that may require additional reinforcement or sealing. Pay attention to the corners and around windows and doors, ensuring they are properly secured and weatherproofed.
Keep safety in mind throughout the installation process. Use appropriate safety equipment, such as gloves and goggles, and follow safe practices when handling tools and materials.
With the framing and panels installed, you’ve made significant progress in enclosing your porch. The next step is to add doors and windows to complete the enclosure.
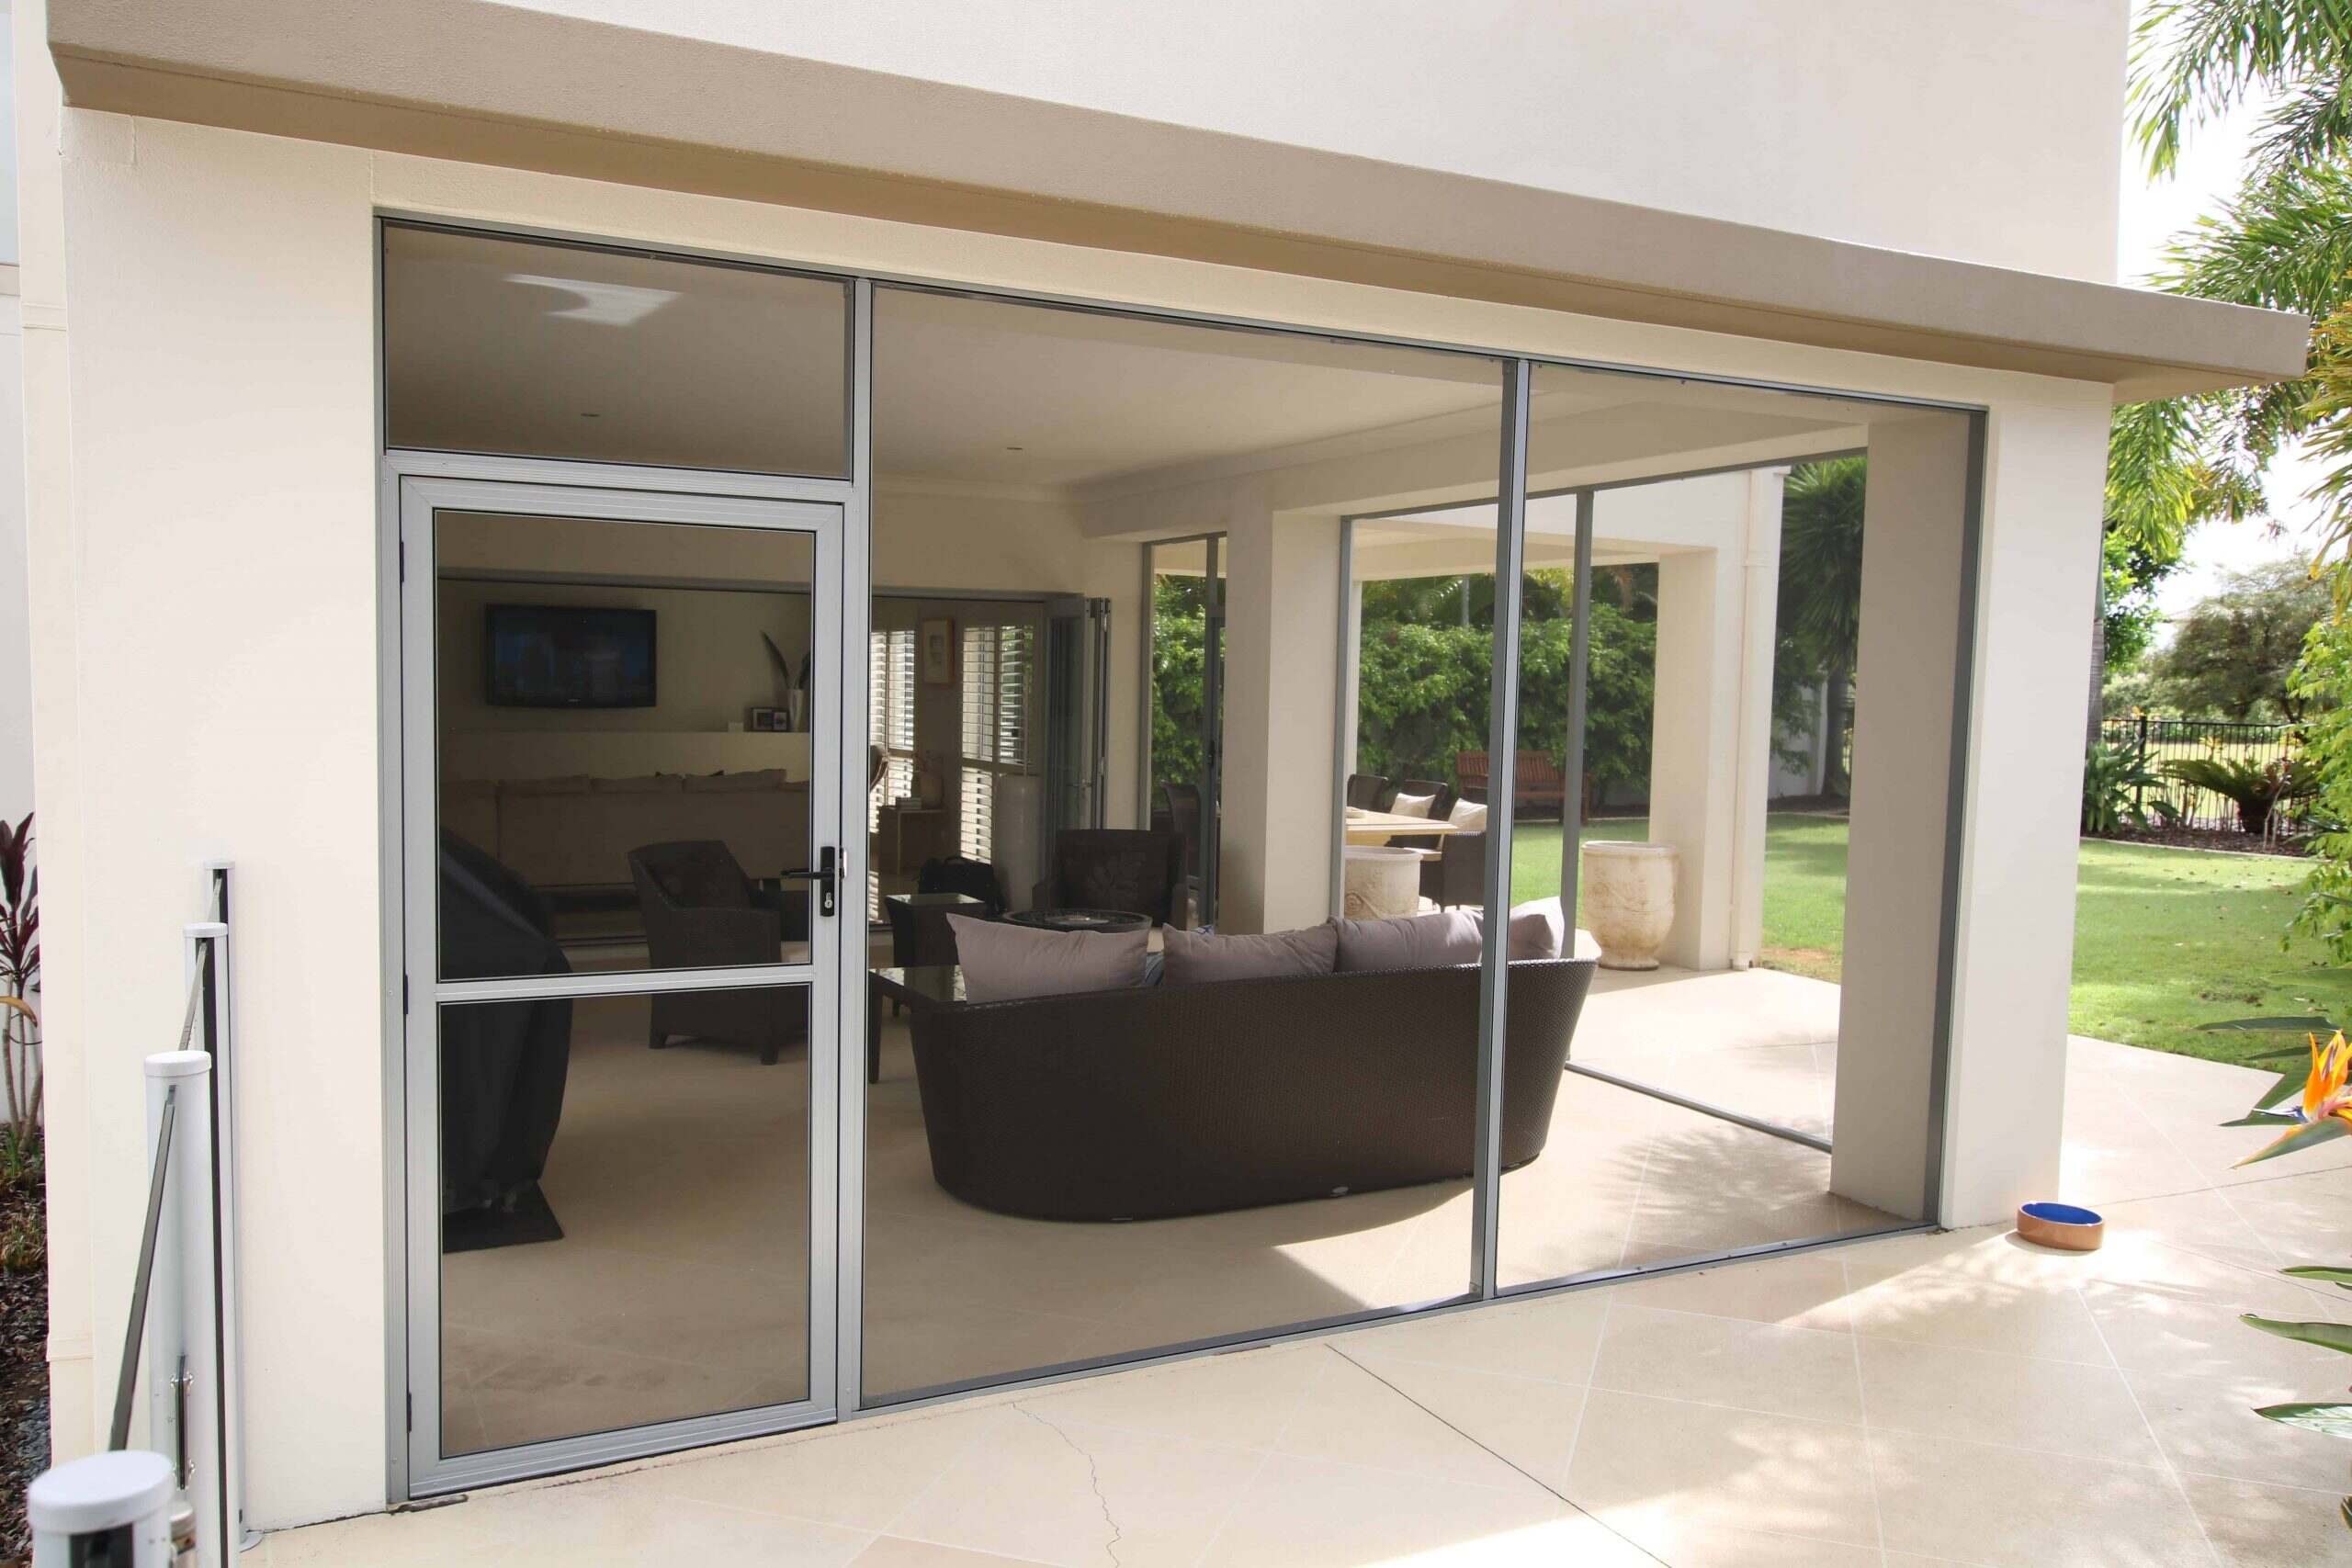
Step 6: Add Doors and Windows
Adding doors and windows to your enclosed porch is a crucial step that enhances both functionality and aesthetics. Doors provide entry and exit points, while windows allow natural light to fill the space and offer views of the outdoors. Here’s how you can incorporate these elements:
Doors: Choose a door that fits your budget, style, and functional needs. Consider factors such as durability, energy efficiency, and security. Fiberglass or steel doors are affordable options that offer strength and insulation. Measure the door opening in the framed wall and follow the manufacturer’s instructions for installation. Ensure that the door is properly aligned, level, and securely mounted to the framing.
Windows: Select windows that align with your design vision and budget. Energy-efficient vinyl or aluminum windows are cost-effective options that provide insulation and durability. Depending on your design preference, you can choose single-hung, double-hung, or sliding windows. Measure the openings in the framed walls and follow the manufacturer’s instructions for installation. Seal around the windows properly to prevent air leakage and enhance energy efficiency.
When installing doors and windows, ensure they are weatherproofed and properly sealed. Use appropriate caulking or weatherstripping to prevent drafts and water intrusion. Consider adding window coverings, such as blinds or curtains, for privacy and light control.
Remember to follow local building codes and regulations when installing doors and windows. Certain areas may have specific requirements for safety and energy efficiency, so it’s important to ensure compliance.
If you’re unsure about the installation process or want to ensure a professional finish, consult with a contractor or experienced DIYer. They can provide guidance and assistance to ensure that your doors and windows are installed correctly and function properly.
Once the doors and windows are in place, you’re nearing the completion of your enclosed porch project. The next step involves sealing and insulating the enclosed porch to enhance comfort and energy efficiency.
Step 7: Seal and Insulate the Enclosed Porch
To ensure that your enclosed porch is comfortable, energy-efficient, and protected from the elements, it’s important to seal and insulate the space properly. This step will help regulate temperature, prevent air leaks, and reduce energy consumption. Here’s how you can seal and insulate your enclosed porch:
Sealing: Begin by inspecting the areas where the framing, panels, doors, and windows meet. Look for any gaps or cracks and seal them using caulk or weatherstripping. Pay special attention to corners, edges, and around windows and doors. Proper sealing will prevent drafts, water intrusion, and pests from entering the enclosed porch.
Insulation: Insulation is essential for maintaining a comfortable temperature inside the enclosed porch and reducing energy costs. Consider using fiberglass insulation batts or foam insulation boards. Install insulation between the wall studs, ensuring good coverage and proper fitting. Pay attention to areas such as ceilings, floors, and any space between the framing and panels. Follow manufacturer instructions for correct installation methods and safety precautions.
When insulating, it’s important to consider ventilation. Proper airflow helps prevent moisture buildup and maintains a healthy indoor environment. Don’t block or cover existing vents or exhaust fans, and consider utilizing additional ventilation options if necessary, such as ceiling fans or venting systems.
After sealing and insulating, take the time to inspect the enclosed porch for any potential air leaks or weak points. Use a smoke pen or incense stick to detect any airflow, particularly around windows, doors, and electrical outlets. If leaks are found, seal them promptly to ensure optimal energy efficiency and comfort.
Remember, insulation and sealing requirements may vary based on your climate and the intended use of the enclosed porch. If you’re uncertain about the insulation and sealing needs, consult with a professional or building expert who can provide specific guidance based on your location and project requirements.
With the enclosed porch sealed and properly insulated, you’re nearly finished with your project. The final step is to add the finishing touches and decorate the space to create a welcoming and inviting atmosphere.
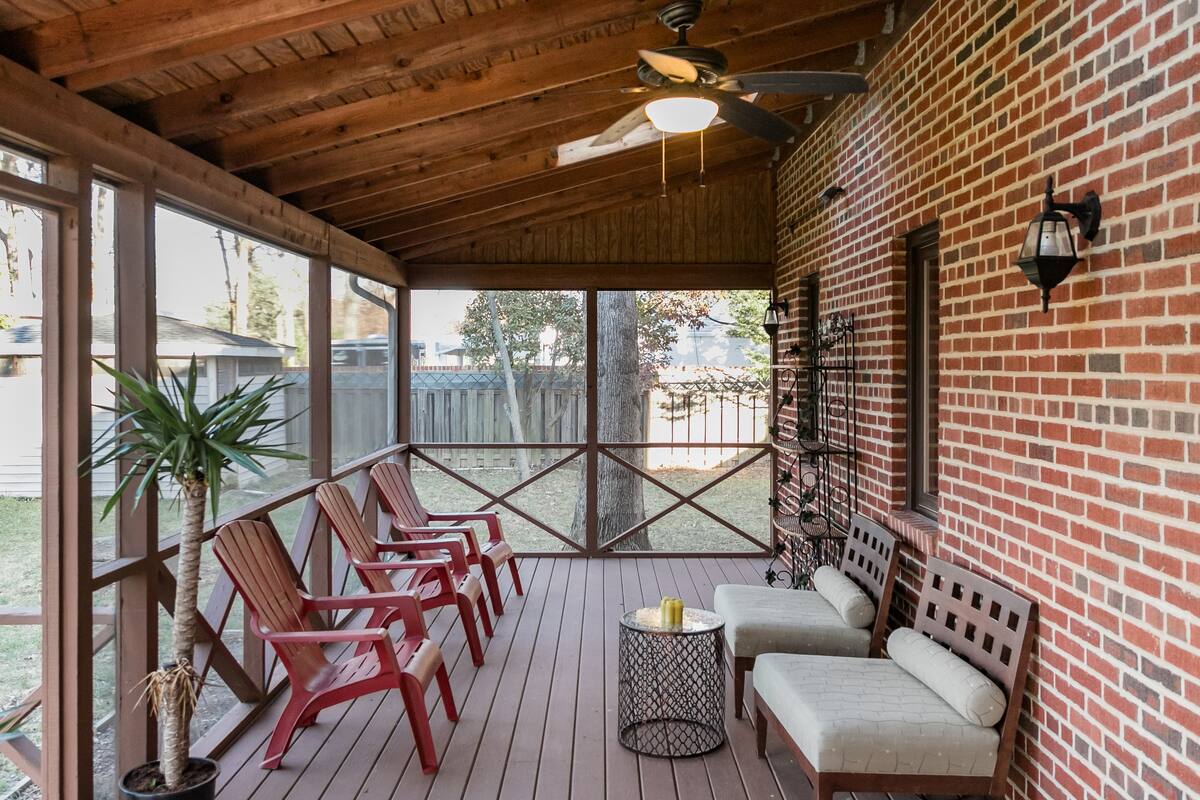
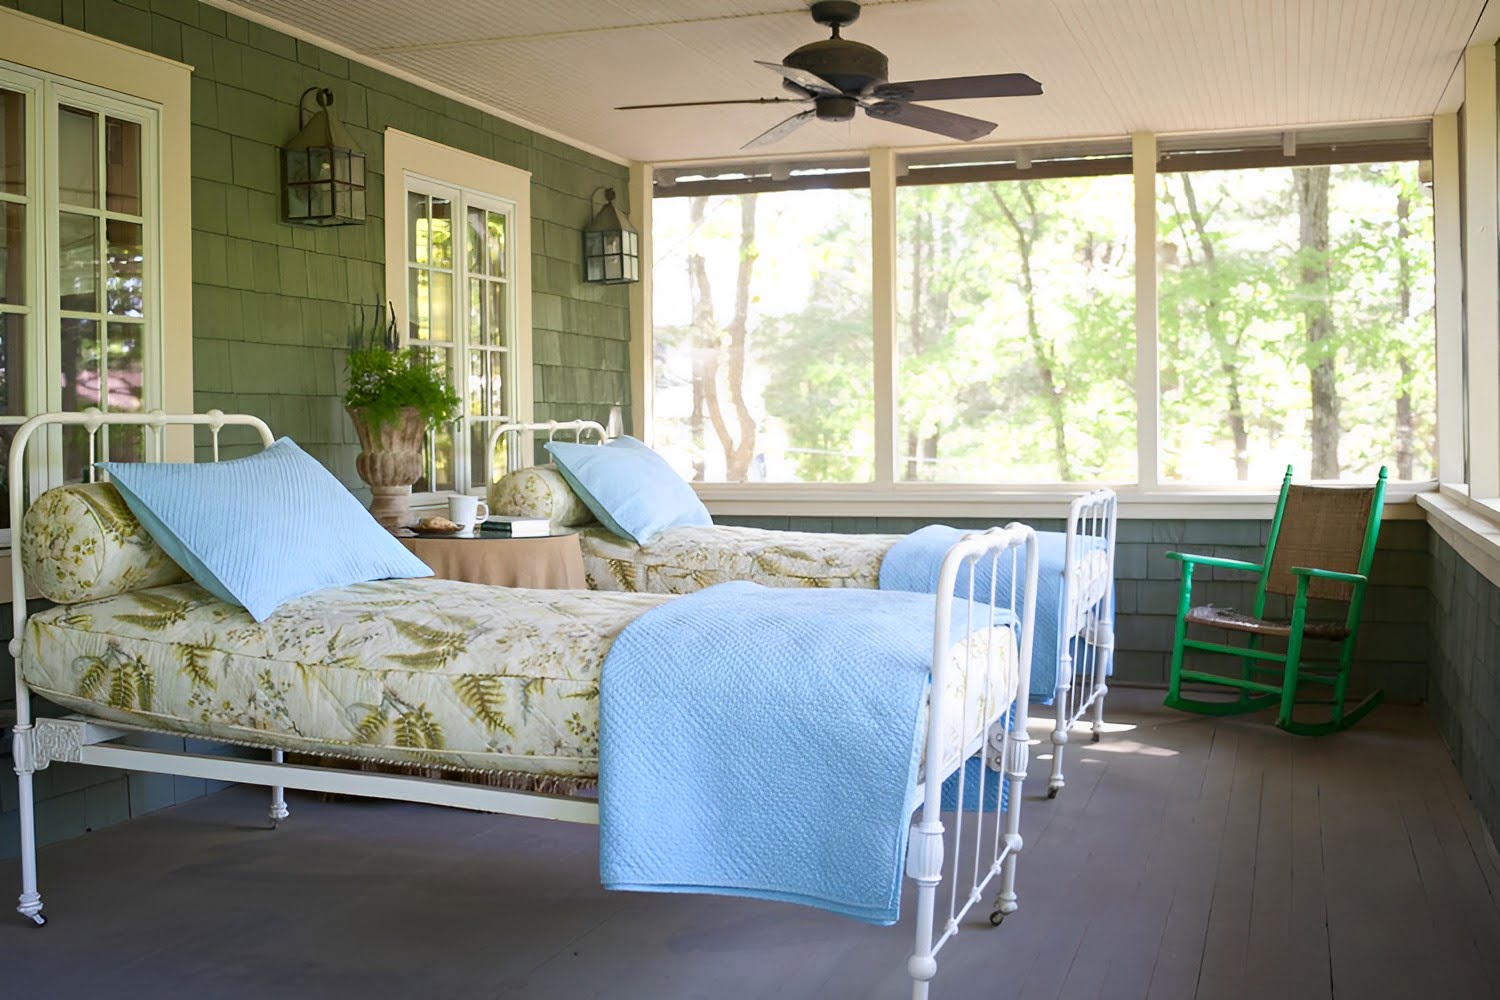
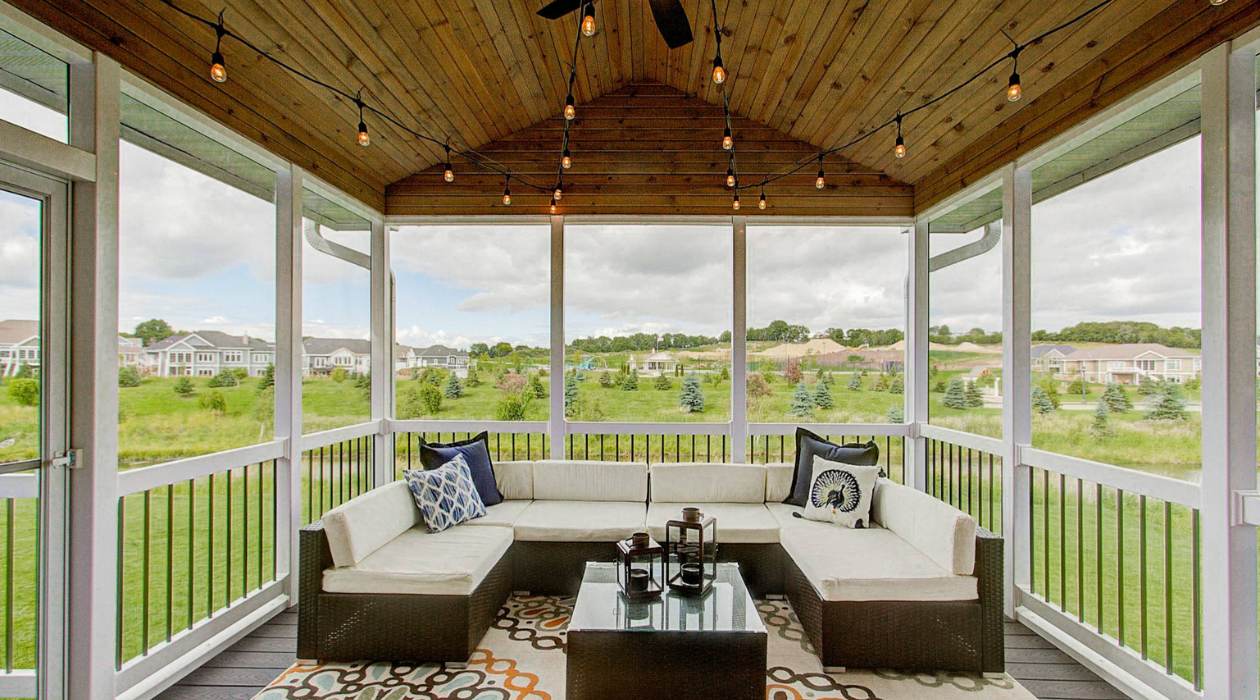
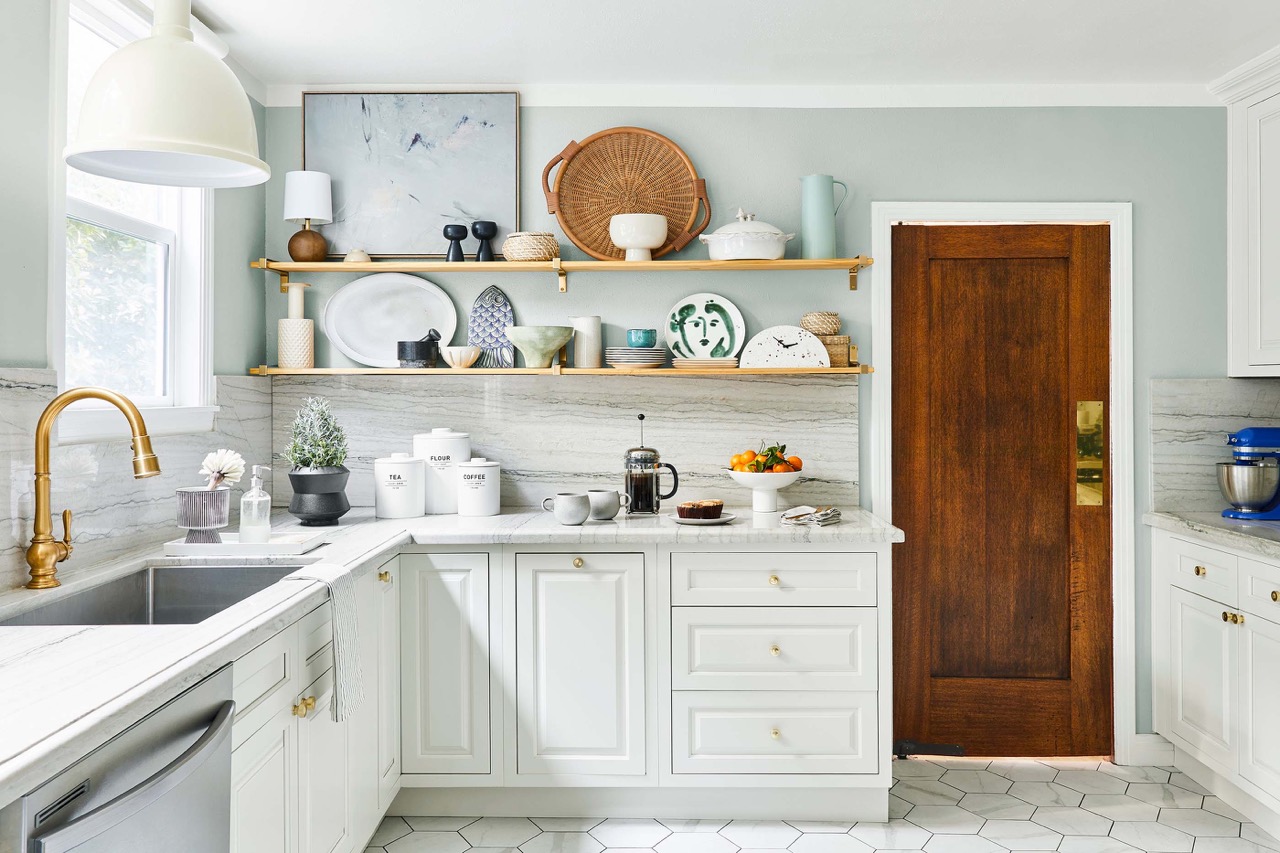
Step 8: Finish and Decorate the Enclosed Porch
The final step in enclosing your porch is to add the finishing touches and decorate the space to make it functional and visually appealing. This step allows you to personalize your enclosed porch and create a cozy retreat that reflects your style and suits your needs. Here are some tips to help you finish and decorate your enclosed porch:
Flooring: Choose a flooring option that fits your budget and complements the design of your enclosed porch. Popular choices include laminate flooring, vinyl planks, or indoor/outdoor carpet. Consider factors such as durability, ease of cleaning, and resistance to moisture. Install the flooring according to the manufacturer’s instructions, ensuring a smooth and even surface.
Paint and Trim: Apply a fresh coat of paint to the walls, ceiling, and trim to enhance the overall appearance of your enclosed porch. Opt for light and neutral colors to create a bright and airy feel. Consider adding decorative trim or molding to create visual interest and add a touch of elegance to the space.
Furniture: Select furniture that suits your specific needs and the intended purpose of the enclosed porch. Consider the available space and choose pieces that are appropriately sized and comfortable. Look for weather-resistant options if your enclosed porch is not climate-controlled. Arrange the furniture in a way that promotes conversation and functionality.
Lighting: Install appropriate lighting fixtures to create a warm and inviting atmosphere in your enclosed porch. Consider a combination of ambient, task, and accent lighting to meet different needs. Choose energy-efficient bulbs and fixtures that complement the design of the space. Natural light sources, such as skylights or strategically placed windows, can also enhance the overall brightness and ambiance.
Accessories: Add personal touches and accessories to make the enclosed porch feel like a true extension of your home. Incorporate comfortable cushions and pillows, throw blankets, and rugs to create a cozy and inviting space. Consider adding plants, artwork, and decorative accents to add texture and color to the enclosed porch.
Functional Elements: Don’t forget to include functional elements in your enclosed porch. Consider adding shelving units, storage bins, or hooks to keep the space organized and clutter-free. Incorporate amenities such as a small refrigerator, a coffee station, or a bar area if desired. These additions can make your enclosed porch more versatile and convenient.
Take the time to carefully plan and arrange the finishing touches and decorations in your enclosed porch. Consider your personal style, the purpose of the space, and the overall aesthetic you want to achieve. The goal is to create a comfortable and inviting environment where you can truly enjoy spending time.
Once you have finished decorating your enclosed porch, take a step back and admire your hard work. Celebrate the transformation of your porch into a beautiful and functional space that enhances the value of your home.
By following these steps and infusing your own creativity, you can enclose your porch on a budget and create a space that you can enjoy year-round. So, go ahead and embark on this exciting DIY project to transform your porch into a cozy retreat!
Read more: How To Stop Condensation In Enclosed Porch
Conclusion
Enclosing a porch on a budget is a rewarding DIY project that can add valuable living space to your home. With careful planning, attention to detail, and some creativity, you can create a cozy and functional enclosed porch without breaking the bank.
Throughout this comprehensive guide, we’ve explored the step-by-step process of enclosing a porch cheaply. We’ve discussed determining the purpose and design of the enclosed space, measuring the porch area, choosing the right materials, preparing the porch for enclosure, installing framing and panels, adding doors and windows, sealing and insulating the space, and finishing and decorating the enclosed porch.
Each step is essential to achieving a successful and budget-friendly result. By following these guidelines and infusing your own personal touch, you can transform your porch into a welcoming and versatile space that can be enjoyed year-round.
Remember, safety should always be a priority. Consult with professionals when necessary, ensure compliance with local building codes, and use appropriate safety equipment throughout the project.
Take your time and make informed decisions when selecting materials, measuring the porch area, and planning the design of your enclosed porch. Comparison shop for the best deals and explore cost-effective options that still meet your desired style and quality.
Once your enclosed porch is complete, you’ll have a wonderful addition to your home that can serve multiple purposes. Whether it’s a relaxing sanctuary, a playroom for the kids, or an extended dining area, your enclosed porch will provide a comfortable space that allows you to fully enjoy the outdoors, regardless of the weather.
Now it’s time to embark on your porch enclosure project and turn your vision into reality. Get creative, think outside the box, and enjoy the process of creating your dream enclosed porch on a budget. With a little effort and ingenuity, you’ll be able to enjoy year-round outdoor living in your own personalized and affordable space.
Frequently Asked Questions about Cheap Ways To Enclose A Porch
Was this page helpful?
At Storables.com, we guarantee accurate and reliable information. Our content, validated by Expert Board Contributors, is crafted following stringent Editorial Policies. We're committed to providing you with well-researched, expert-backed insights for all your informational needs.


0 thoughts on “Cheap Ways To Enclose A Porch”