
Articles
How To Extend Front Porch
Modified: October 27, 2024
Learn how to extend your front porch with our informative articles. Enhance the curb appeal of your home and create a welcoming outdoor space.
(Many of the links in this article redirect to a specific reviewed product. Your purchase of these products through affiliate links helps to generate commission for Storables.com, at no extra cost. Learn more)
Introduction
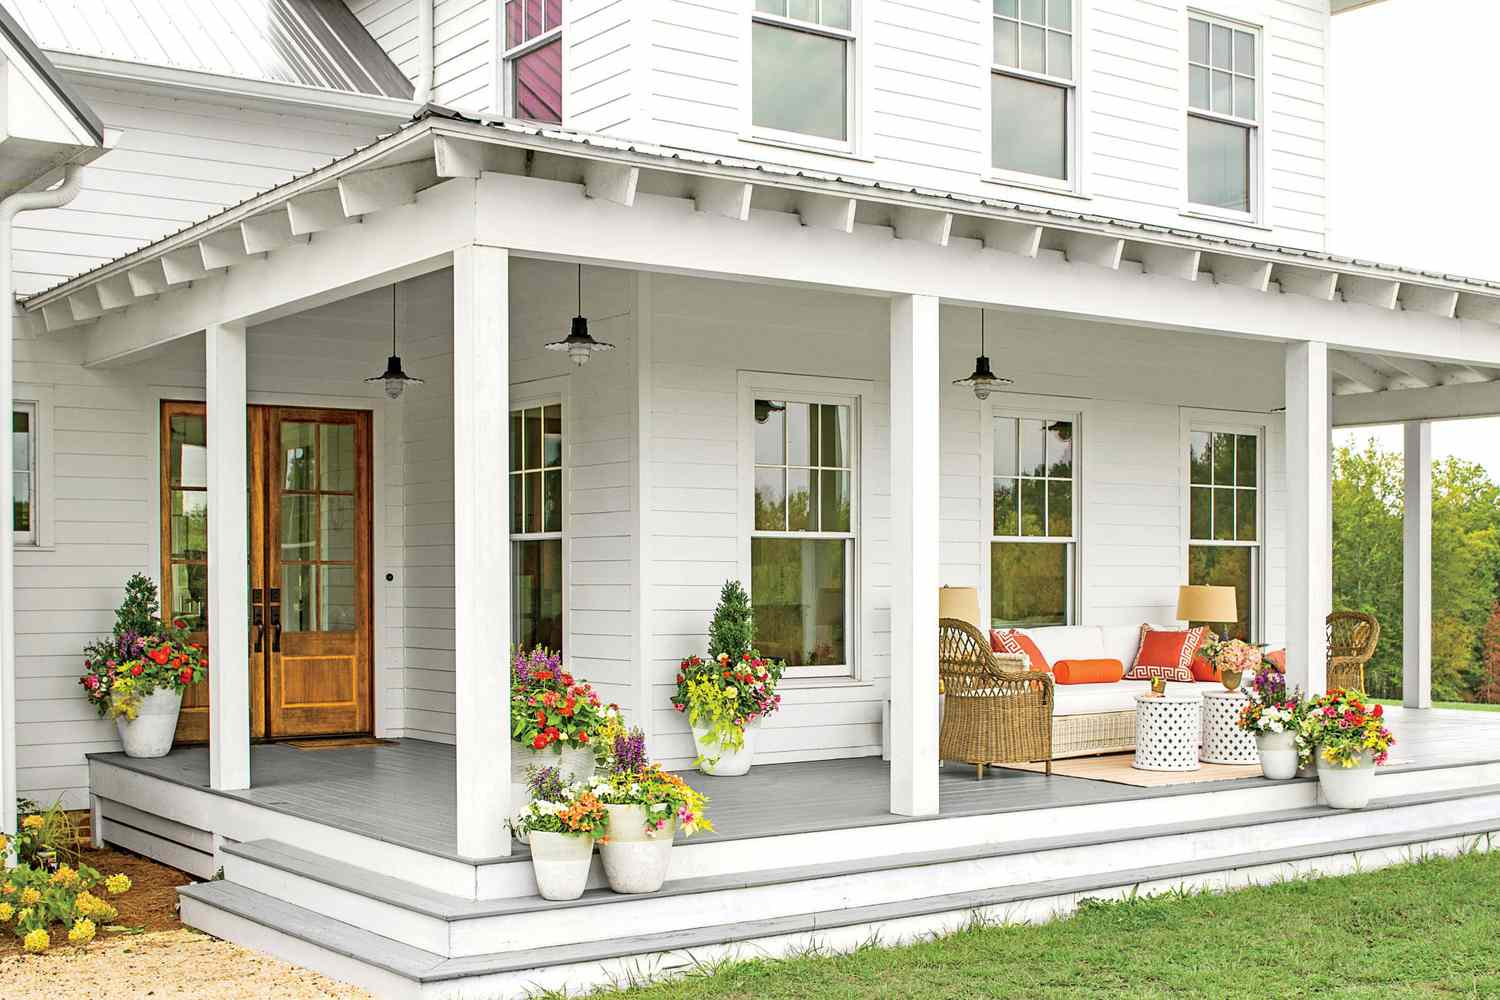
Extending your front porch is a great way to enhance the curb appeal of your home and create additional outdoor living space. Whether you need more room for entertaining guests, want a cozy spot to relax with a cup of coffee, or simply desire a larger area to enjoy the fresh air, a front porch extension can provide the perfect solution.
However, before diving into the extension process, it’s essential to assess your current porch and plan accordingly. This article will guide you through the steps to extend your front porch, from assessing the existing structure to obtaining permits, gathering materials, and completing the construction.
By following these steps and adding your personal touch, you can transform your front porch into a welcoming and functional space that complements your home’s architecture and meets your outdoor living needs.
Key Takeaways:
- Transform your front porch into a welcoming and functional oasis by following a step-by-step process, from assessing the existing structure to adding finishing touches like siding, trim, and landscaping.
- Prioritize safety, consult professionals when needed, and ensure compliance with local building codes and regulations to successfully extend your front porch and create a beautiful outdoor living area.
Read more: How To Extend Porch Roof
Assessing the Front Porch
The first step in extending your front porch is to thoroughly assess the existing structure. This assessment will help you determine the feasibility of extending the porch and identify any necessary modifications or repairs.
Start by examining the foundation of the porch. Check for any signs of cracks, sagging, or other structural issues. If you notice any major problems, it’s important to consult with a professional contractor or engineer to evaluate the situation and provide guidance on the best course of action.
Next, take a close look at the porch flooring. Determine if it is in good condition and sturdy enough to support the extension. If the existing flooring is deteriorated or insufficient, you may need to replace it before proceeding with the extension.
Consider the size and layout of the current porch. Evaluate whether it provides enough space for your intended purposes, such as seating, dining, or other activities. If your porch is too small, expanding it may be necessary to accommodate your needs.
Take into account the style and design of your home. Your porch extension should seamlessly blend with the existing architectural elements. Consider the roofline, siding, and other aesthetic features to ensure the extension looks cohesive and enhances the overall appearance of your home.
Finally, think about the accessibility and functionality of the porch. Assess whether any changes are required to improve ease of entry, mobility, or use. This may include adding handrails, ramps, or other accessibility features to make the porch safe and inclusive for everyone.
By thoroughly assessing your front porch, you will have a clear understanding of its condition and any necessary modifications or repairs needed to support the extension. This assessment will also help you determine the size, layout, and design of your porch extension, ensuring it meets your needs and enhances the beauty of your home.
Determining Extension Options
Once you have assessed your front porch and determined that an extension is feasible, the next step is to explore the various extension options available to you. Consider the following factors to determine the best approach for extending your porch:
- Size and Shape: Decide on the desired size and shape of your extended porch. Determine if you want a simple rectangular extension or if you prefer a more elaborate design with angles and curves.
- Materials: Consider the materials you want to use for your porch extension. This includes the flooring, support beams, and railing. Select materials that will complement the existing porch and match the architectural style of your home.
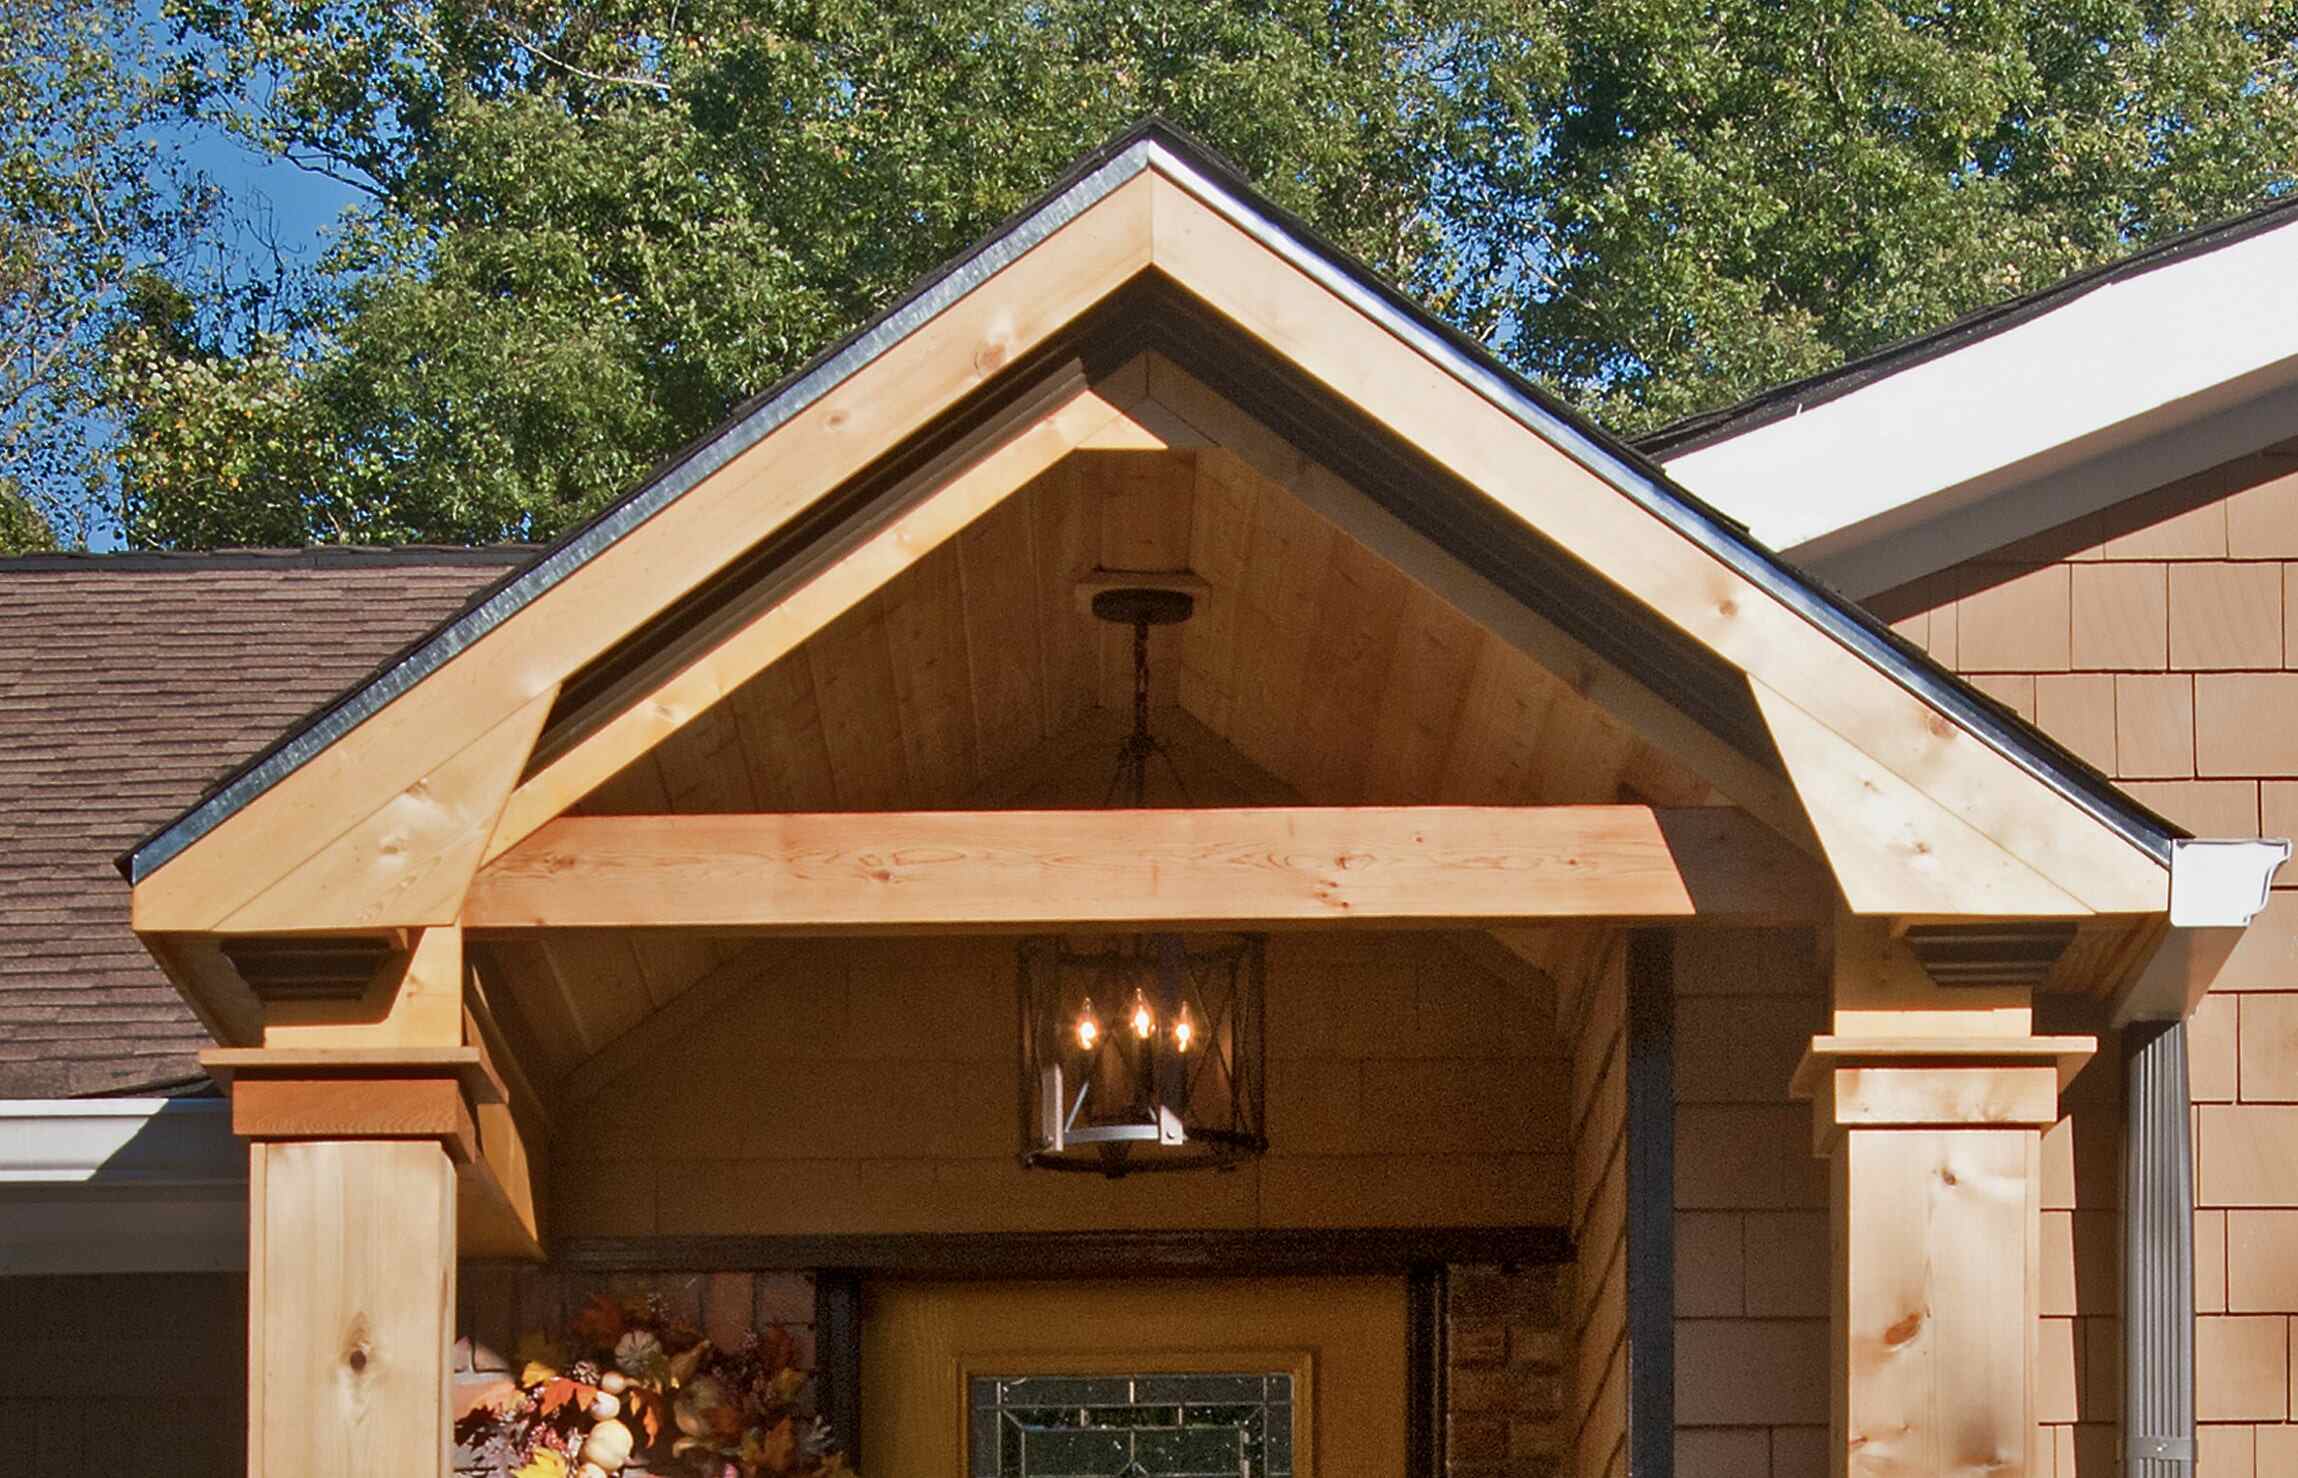
- Roofing: Determine whether you want to extend the roof of your porch or if you prefer to leave it open. Extending the roof will provide shelter from the elements, while an open design allows for more natural light and airflow.
- Functionalities: Think about the functionalities you want your extended porch to have. Do you want to include seating areas, a dining space, or a built-in grill? Consider how you will use the space and plan accordingly.
- Budget: Set a budget for your porch extension project. Consider the cost of materials, labor, and any additional features you want to include. It’s important to have a clear understanding of your budget to make informed decisions throughout the process.
Once you have determined your extension options based on these factors, it’s a good idea to consult with a professional contractor or architect. They can provide valuable insights, offer design suggestions, and help you create a plan that meets your needs and fits within your budget.
Remember, the goal is to create a porch extension that seamlessly integrates with your home and provides an enjoyable outdoor space. By considering the size, shape, materials, functionalities, and budget, you can make informed decisions and create the porch of your dreams.
Obtaining Necessary Permits
Before starting any construction or renovation project, it is crucial to ensure that you have obtained the necessary permits and approvals from your local building authority. This step is essential to ensure compliance with building codes and regulations while protecting the safety and integrity of your porch extension.
The specific permits required for a porch extension may vary depending on your location and the scope of the project. However, common permits typically include:
- Building Permit: A building permit is usually required for any structural modifications or additions to your home. This includes extending the porch or making changes to the foundation, beams, or roof.
- Zoning Permit: A zoning permit ensures that your porch extension complies with local zoning regulations, such as setback requirements, height restrictions, and property line considerations.
- Electrical Permit: If your porch extension involves electrical work, such as installing lighting fixtures or outlets, you may need an electrical permit to ensure compliance with electrical codes and safety standards.
- Plumbing Permit: If you plan to add plumbing fixtures, such as an outdoor sink or a water fountain, a plumbing permit may be required to ensure proper installation and adherence to plumbing codes.
To obtain the necessary permits, you will typically need to submit detailed plans and specifications of your porch extension to the building department. This may include architectural drawings, structural calculations, and other relevant documentation. It is advisable to work with a professional architect or contractor who is experienced in obtaining permits, as they can assist in preparing the necessary paperwork and ensure compliance with local regulations.
Keep in mind that the permit process can take time, so it is important to plan ahead and factor in the potential delay when scheduling your porch extension project. Failure to obtain the required permits can result in costly fines and delays, so it is best to comply with the regulations from the start.
By obtaining the necessary permits, you can proceed with confidence, knowing that your porch extension is compliant with the local building codes and regulations. This will ensure the safety of your project and protect your investment in the long run.
Gathering Materials and Tools
Once you have obtained the necessary permits for your porch extension, it’s time to gather the materials and tools needed to bring your project to life. Having the right materials and tools on hand will ensure a smooth and efficient construction process. Here are some essential items you’ll need:
- Materials: Depending on the design and materials you’ve chosen for your porch extension, you’ll need various supplies such as lumber for framing and decking, concrete for the foundation, nails or screws, and any additional materials for finishing touches like paint or stain.
- Tools: To complete the porch extension, you’ll need a range of tools such as a circular saw, drill, hammer, level, tape measure, framing square, and a variety of hand tools like screwdrivers and wrenches. It’s also helpful to have safety equipment like goggles, gloves, and a dust mask.
- Equipment: Depending on the scale of your porch extension, you may need to rent or purchase certain equipment. This could include a cement mixer for mixing concrete, a power auger or post hole digger for digging foundation holes, and a ladder or scaffolding for reaching elevated areas.
- Hardware: Don’t forget to stock up on necessary hardware such as brackets, anchors, joist hangers, and connectors. These small but crucial components will ensure the structural stability and longevity of your porch extension.
- Finishing Touches: Consider any additional items you may need to complete the project, such as lighting fixtures, railings, or decorative elements. These finishing touches will add a personalized and stylish touch to your extended porch.
Before purchasing materials, make a detailed list of everything you’ll need based on your plans and measurements. This will help you stay organized and ensure you don’t miss anything essential. It’s also a good idea to consult with a professional contractor or experienced DIYer to confirm your list and get recommendations on specific materials and brands.
Once you have gathered all the necessary materials and tools, store them in a safe and organized manner, making sure they are easily accessible during the construction process. This will help streamline your porch extension project and ensure that you have everything you need at your fingertips.
By carefully gathering the materials and tools required for your porch extension, you’ll be well-prepared to tackle the construction process efficiently and successfully. With the right supplies and equipment, you can bring your porch extension vision to life and create an inviting outdoor space to enjoy for years to come.
Read more: How To Extend A Concrete Porch
Preparing the Porch for Extension
Before you begin the actual extension work, it’s essential to properly prepare the existing porch for the construction process. This preparation ensures that the extension is seamlessly integrated with the current structure and ensures a solid foundation for the new addition. Here are the steps to prepare your porch for extension:
- Clean and Remove Obstacles: Start by cleaning the existing porch, removing any debris, furniture, or plants. Clear the area to create a clean and safe workspace for the construction process.
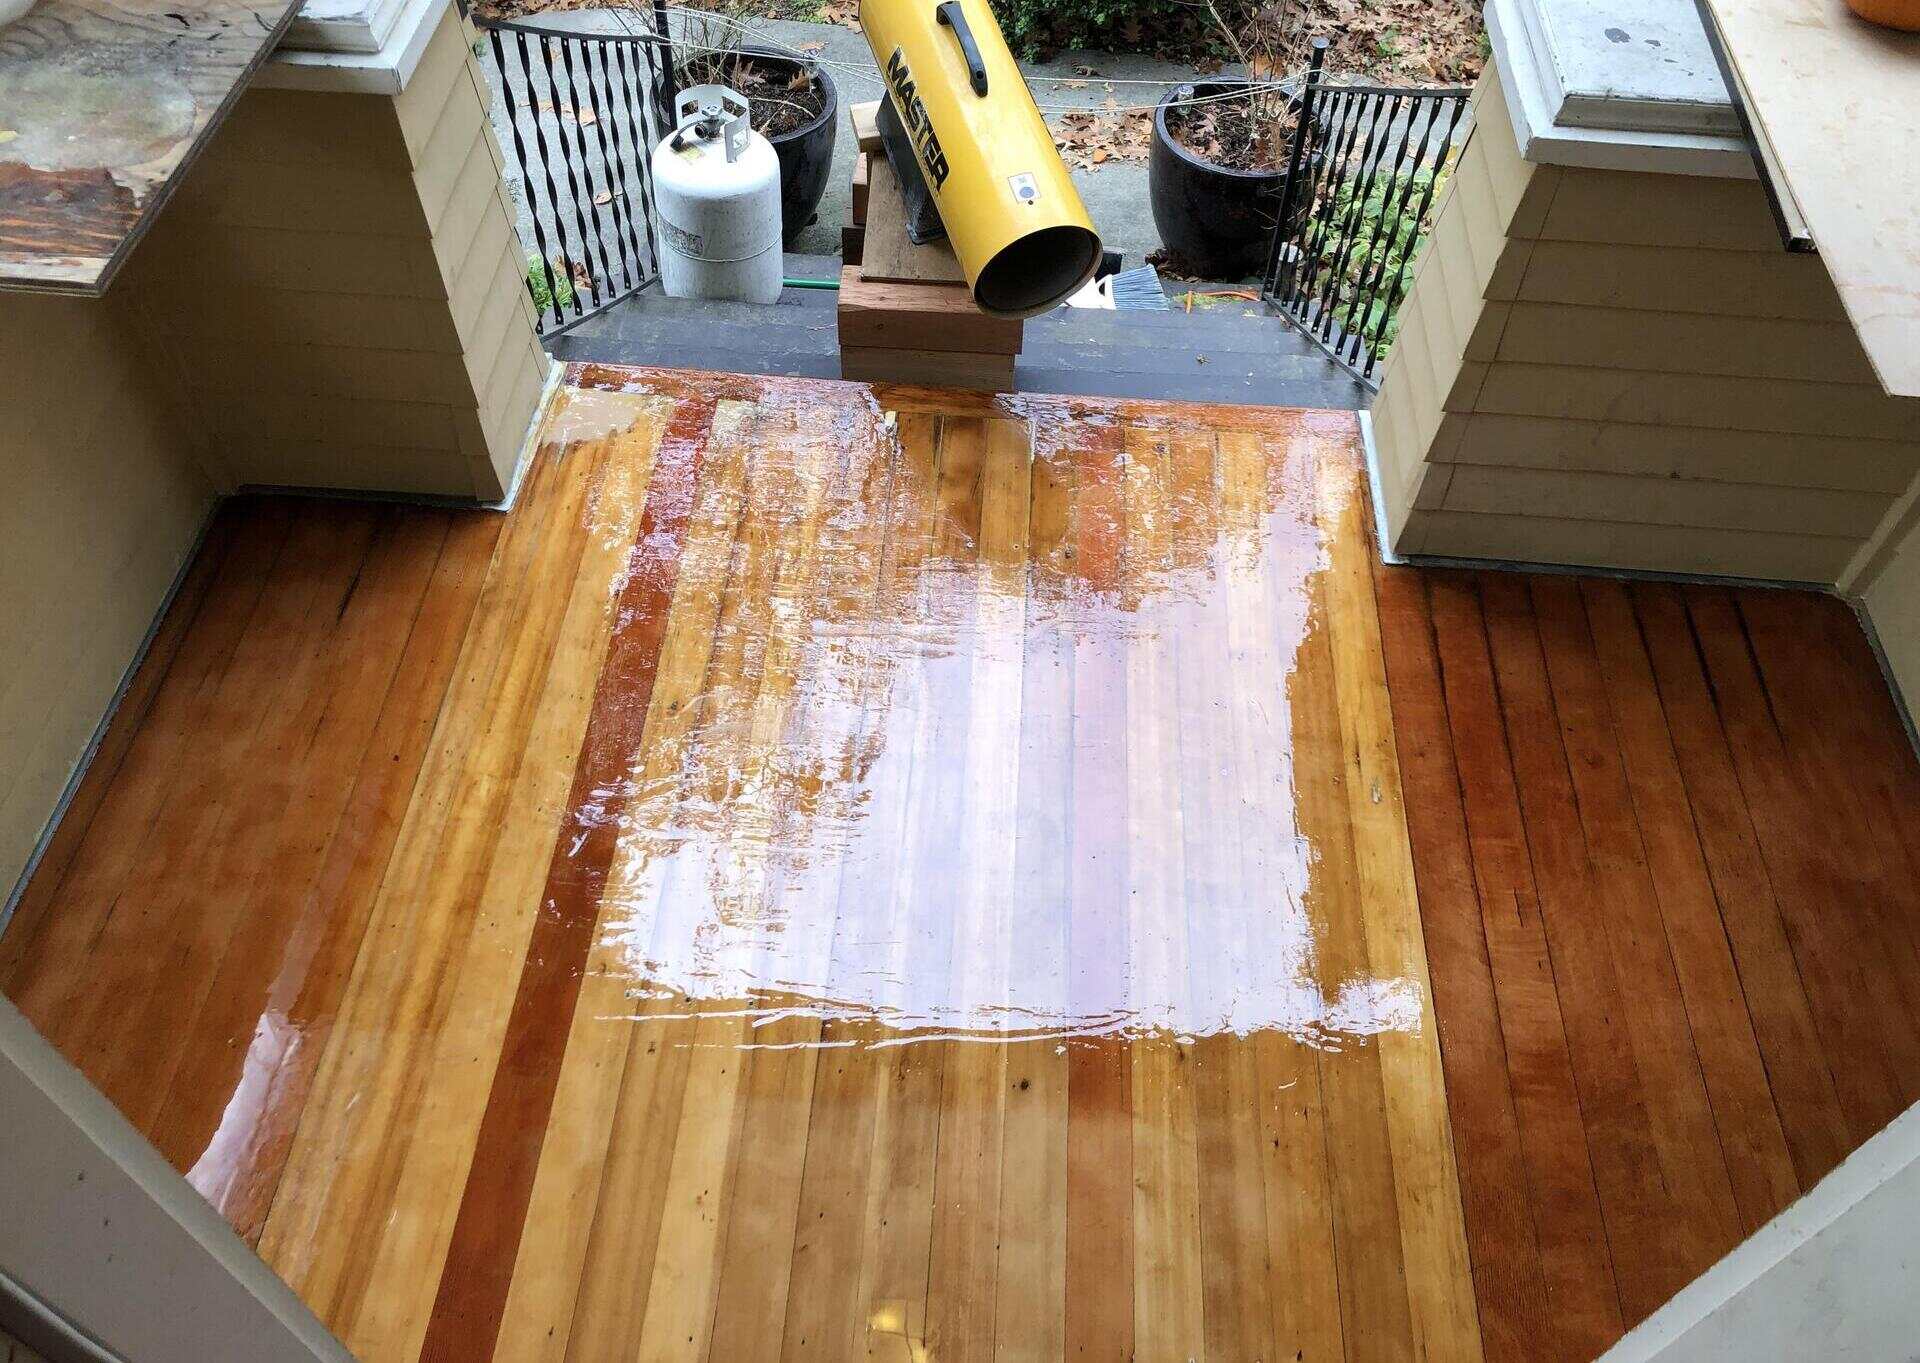
- Inspect and Repair: Thoroughly inspect the existing porch for any damage or weak spots. Check for rotting wood, loose boards, or damaged support beams. Make any necessary repairs or replacements to ensure the porch is structurally sound.
- Remove Existing Flooring: If your porch extension involves extending the flooring, you may need to remove a section of the existing flooring. Carefully remove the boards or tiles, making sure to retain any reusable materials.
- Measure and Mark: Measure and mark the areas where the porch will be extended. Use tape or chalk to create clear boundaries and ensure accurate construction. Double-check your measurements to ensure everything aligns with your plans.
- Isolate Utilities: If your porch extension requires any utility lines to be relocated, such as electrical or plumbing, consult with professionals to isolate and reroute the necessary services before construction begins.
- Protect Existing Structure: Use tarps or plastic sheeting to cover and protect any exposed areas of the existing porch during the construction process. This will help prevent damage to the porch and ensure its longevity.
- Secure Perimeter: Install temporary barriers or fencing around the construction area to keep it secure and prevent unauthorized access. This step is crucial for safety purposes and to maintain privacy during the construction process.
By properly preparing your porch for extension, you set the stage for a smooth construction process. This preparation ensures that the existing porch is in good condition, provides clear boundaries for the extension, and safeguards the structure throughout the construction process.
Remember, safety should be a top priority during preparation and construction. If you’re unsure about any aspect of the preparation process, consult with a professional contractor or experienced builder who can provide guidance and ensure that everything is done correctly.
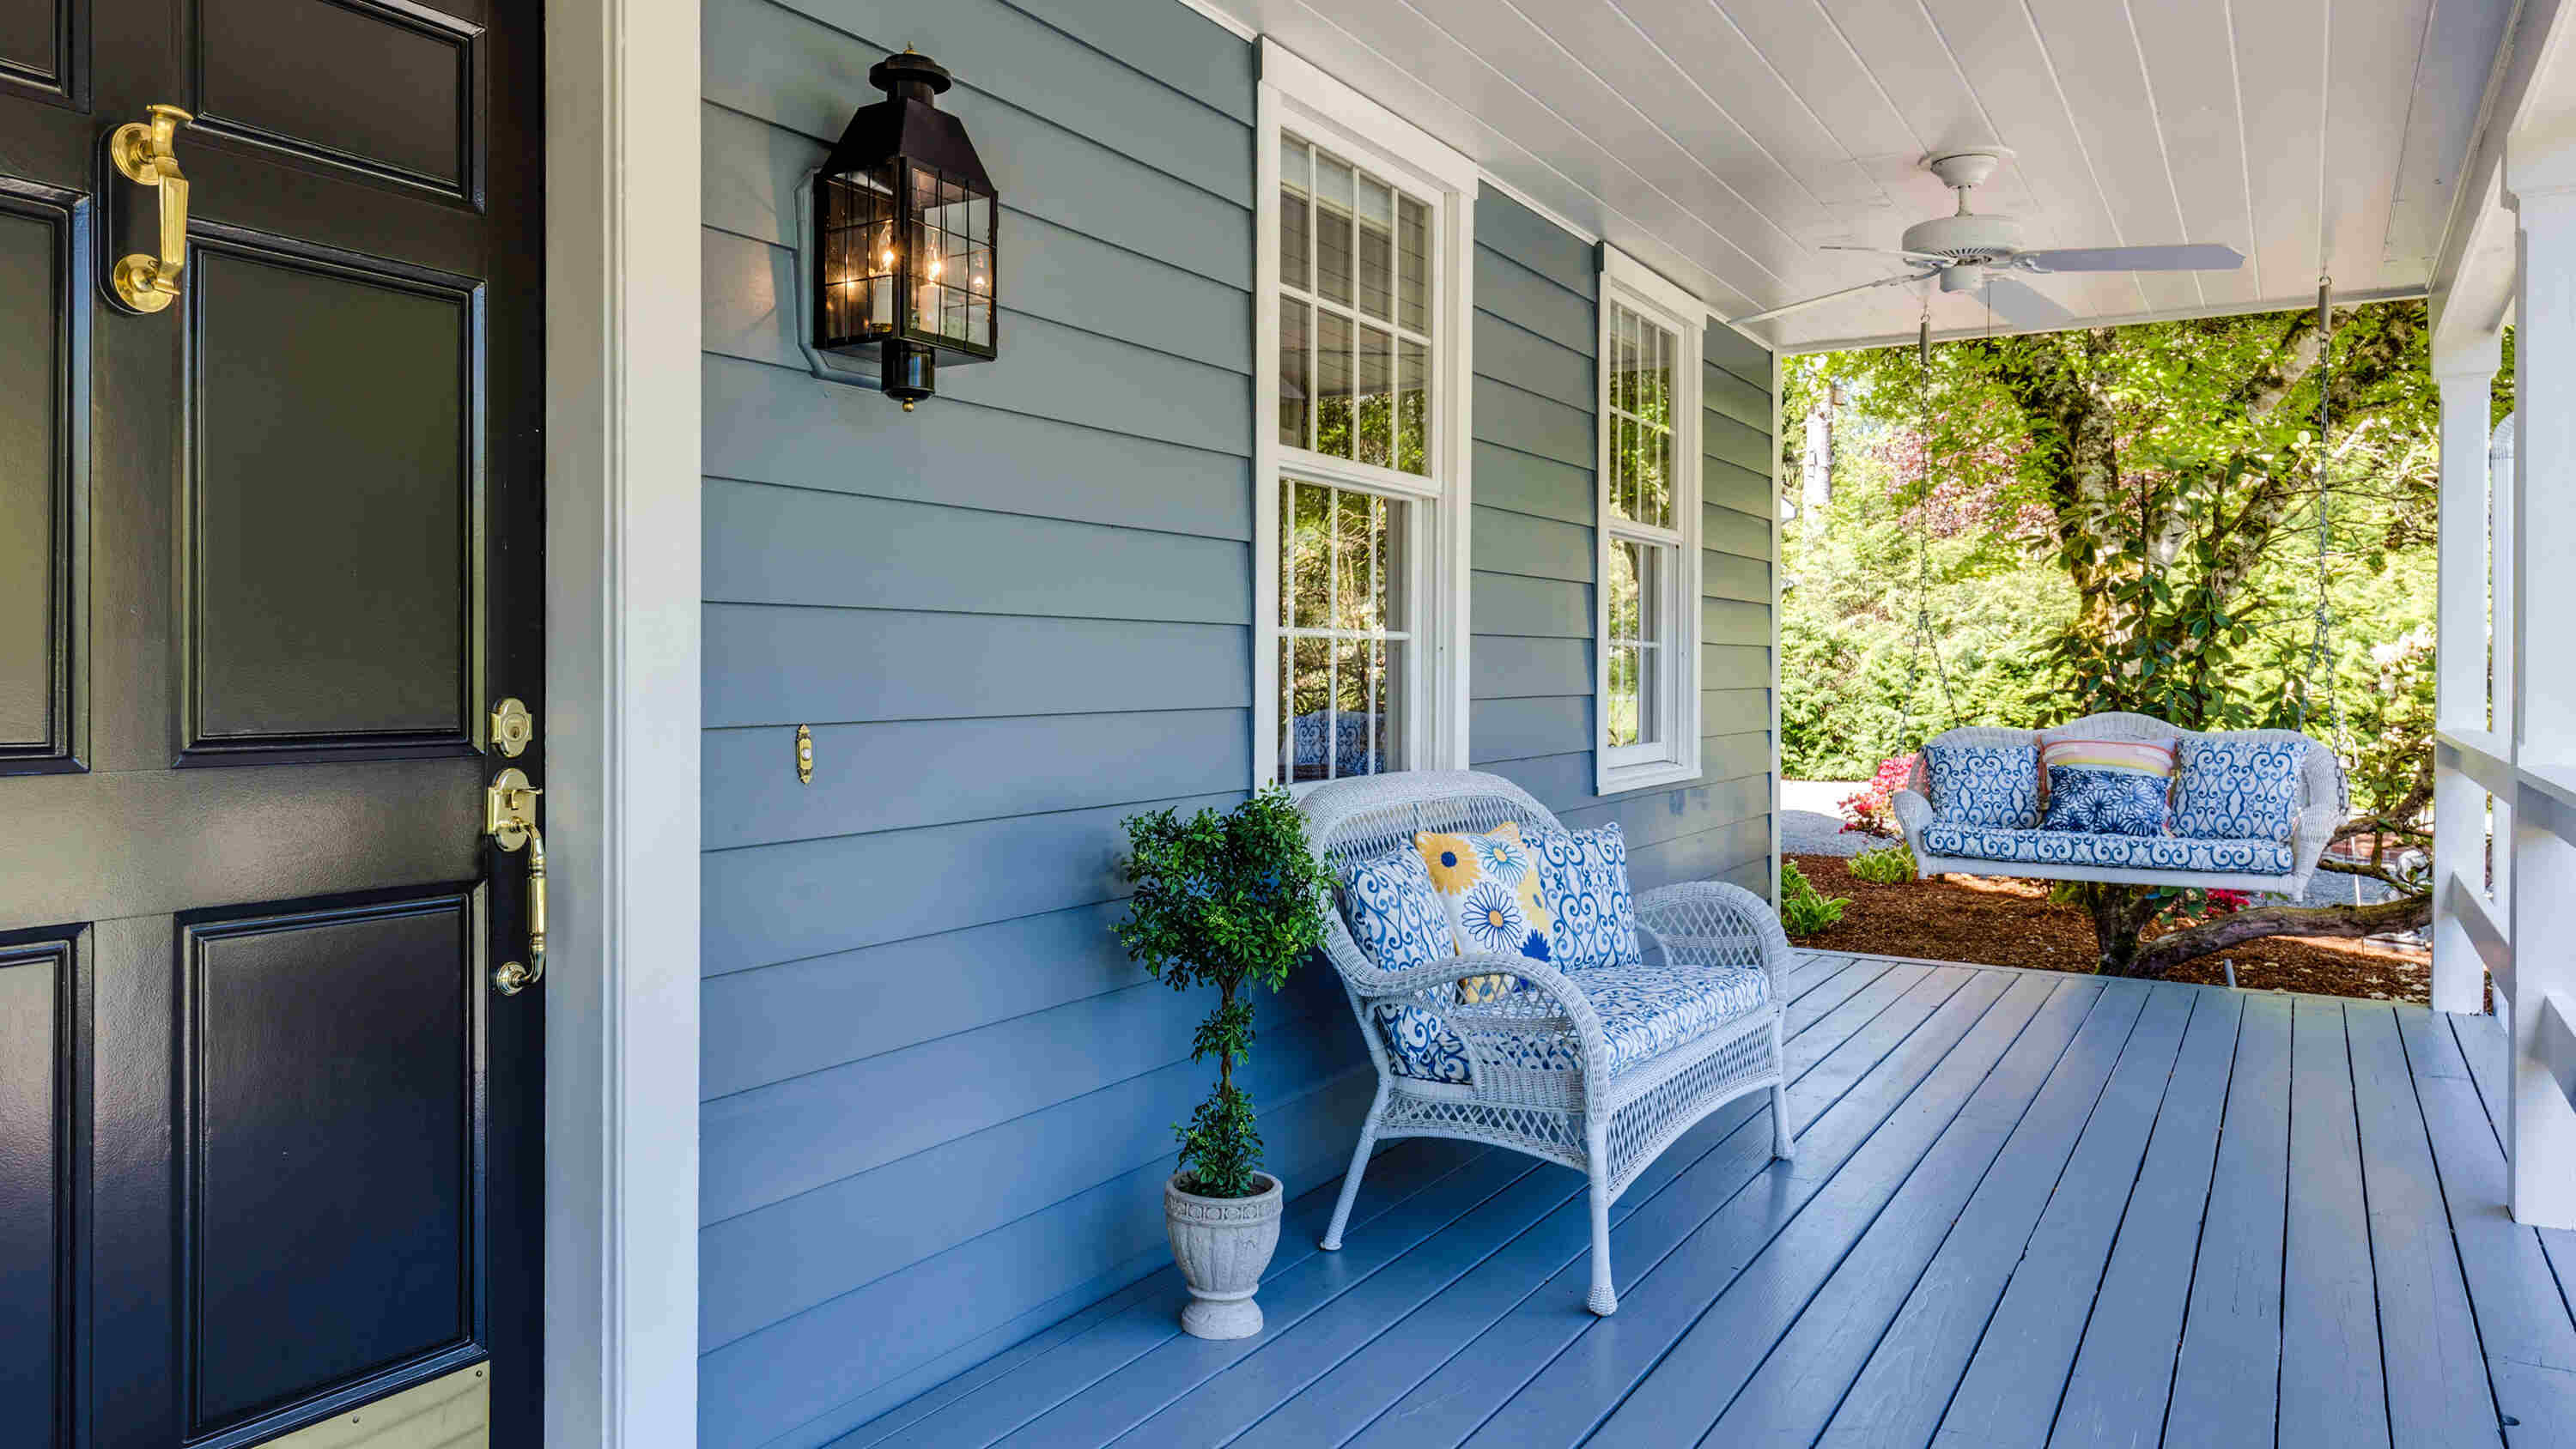
Consider adding a roof extension to your front porch to create more space and provide protection from the elements. This can also enhance the overall aesthetic of your home.
Extending the Porch Foundation
The foundation is a critical component of any porch extension, as it provides the stability and support needed for the structure. Extending the porch foundation requires careful planning and precise execution. Here are the steps to extend the porch foundation:
- Excavation: Start by digging trenches for the new foundation where the porch extension will be located. The depth of the trenches will depend on the frost line and local building codes. Ensure that the trenches are level and properly aligned with the existing foundation.
- Formwork: Create formwork using plywood or boards to hold the concrete in place during pouring. Make sure the formwork is secure and level, as it will determine the shape and dimensions of the new foundation.
- Reinforcement: Install rebar or wire mesh to reinforce the foundation. This will provide additional strength and prevent cracks or shifting over time. Place the reinforcement evenly throughout the trenches, following the design specifications provided by a professional or structural engineer, if necessary.
- Concrete Pouring: Mix and pour concrete into the formwork, ensuring it fills the trenches completely. Use a shovel or rake to level the concrete and remove any air pockets. Smooth the surface using a trowel, ensuring a clean and even finish.
- Curing: Allow the concrete to cure for the recommended duration, typically 24 to 48 hours. During this time, protect the foundation from extreme weather conditions and temperature fluctuations. This will ensure the concrete achieves maximum strength and durability.
- Waterproofing: Apply a waterproofing membrane or coat to the cured foundation. This will prevent moisture penetration and protect the foundation from potential damage caused by water and weather elements.
It is important to note that extending the porch foundation may require professional assistance, especially if it involves complex structural modifications or significant changes to the existing foundation. Consulting with a professional contractor or engineer can help ensure a proper and safe foundation extension.
Keep in mind that local building codes and regulations may impact the specific requirements for extending the foundation. Ensure that your extension meets all necessary standards to ensure the stability and structural integrity of your porch.
By following these steps and considering professional guidance when needed, you can extend your porch foundation effectively and create a sturdy base for your porch extension.
Adding Support Beams and Joists
Support beams and joists play a crucial role in providing structural stability and load-bearing capacity to your porch extension. These components distribute the weight evenly, ensuring a safe and durable structure. Here are the steps to add support beams and joists to your porch extension:
- Measure and Cut: Measure the distance between the existing porch structure and the outer edge of the extension. Cut the support beams to the appropriate length, ensuring they fit securely in place.
- Position the Support Beams: Install the support beams perpendicular to the existing porch structure, positioning them at regular intervals along the width of the extension. Use a level to ensure the beams are straight and level.
- Secure the Support Beams: Attach the support beams to the existing porch structure using galvanized screws or nails. Make sure the connections are tight and secure to provide proper support for the extension.
- Add Joist Hangers: Install joist hangers on the support beams. These metal brackets will hold the joists in place and provide additional stability. Ensure the joist hangers are properly aligned and securely attached to the support beams.
- Measure and Cut Joists: Measure the distance between the support beams and cut the joists to fit. Leave a small gap between each joist to allow for expansion and contraction. Use a circular saw or miter saw to make precise cuts.
- Install the Joists: Slide the joists into the joist hangers, ensuring they are level and properly aligned. Double-check the spacing between the joists to maintain stability and accommodate the planned decking material.
- Secure the Joists: Attach the joists to the joist hangers using galvanized nails or screws. Make sure they are securely fastened to prevent any movement or instability.
It is essential to follow local building codes and regulations when adding support beams and joists to ensure structural integrity and safety. If you are unsure about any aspect of the installation, consult with a professional contractor or engineer for guidance.
During the installation process, periodically check for levelness and alignment to ensure that the support beams and joists are properly positioned. This will ensure that your porch extension is sturdy, safe, and able to support the intended load.
By carefully adding support beams and joists, you will create a solid foundation for your porch extension. These components will provide the necessary structural support and stability to ensure the longevity and safety of your extended porch.
Installing New Porch Boards
Installing new porch boards is a key step in the construction of your porch extension. These boards will serve as the foundation for the flooring and contribute to the overall aesthetic appeal of your extended porch. Follow these steps to properly install the new porch boards:
- Prepare the Boards: Ensure that the new porch boards are dry and acclimated to the surrounding environment. This will minimize the potential for future warping or shrinking.
- Start with a Starter Board: Begin by installing a starter board against the existing porch structure. Ensure that the board is level and aligned with the rest of the porch flooring. Secure it in place with galvanized screws or nails.
- Space the Boards: Use spacers between each porch board to ensure proper airflow and minimize the risks of moisture buildup. This gap also allows for expansion and contraction of the boards as the seasons change.
- Install Subsequent Boards: Continue installing the porch boards one by one, ensuring a snug fit and proper alignment. Secure each board with screws or nails, placing them at a slight angle to prevent the boards from splitting.
- Trim the End Boards: Trim the last porch board to fit snugly against the outer edge of the porch extension. Use a circular saw or miter saw to make precise cuts.
- Check for Levelness: Periodically check the levelness of the porch boards as you install them. Adjust as needed to ensure a smooth and even surface.
- Consider the Pattern: Determine the desired pattern for your porch boards, such as a diagonal layout or a traditional horizontal pattern. Plan the installation accordingly, making sure the pattern is consistent and visually appealing.
- Finishing Touches: Once all the porch boards are installed, check for any loose or raised boards. Secure them in place and sand any rough edges. Consider applying a weather-resistant finish or sealant to protect the porch boards from the elements.
Remember to prioritize safety during the installation process. Use appropriate personal protective equipment such as safety goggles and gloves when handling tools and materials.
Proper installation of the porch boards ensures a stable and visually pleasing porch extension. Take your time, measure accurately, and follow the manufacturer’s instructions for the specific porch boards you are using.
By installing new porch boards with care and attention to detail, you will create a solid foundation for the flooring and achieve a beautiful and functional porch extension.
Read more: How To Fix A Porch
Securing the Extended Porch Structure
Securing the extended porch structure is a crucial step in the construction process to ensure the stability and safety of your new porch extension. By following these steps, you can properly secure the structure:
- Check Connections: Inspect all connections, including support beams, joists, and porch boards, to ensure they are properly secured. Tighten any loose screws or nails and make any necessary adjustments.
- Bracing: Install additional bracing, if necessary, to reinforce the porch structure. Braces can be installed diagonally between support beams or joists to provide extra stability and prevent any potential swaying or shifting.
- Apply Construction Adhesive: Apply construction adhesive between the joints and connections of the porch structure. This adhesive will strengthen the connections and add an extra layer of security.
- Add Lateral Support: Install lateral support by adding metal brackets or braces between the support beams and the existing porch structure. This will prevent any lateral movement and enhance the stability of the extended porch.
- Secure the Railing: If your porch extension includes a railing, ensure it is securely attached to the porch structure. Use strong screws or brackets to firmly secure the railing to the support posts.
- Inspect for Levelness: Check the levelness of the extended porch using a carpenter’s level. Adjust as needed to ensure that the structure is even and balanced.
- Reinforce the Foundation: If required, reinforce the porch foundation by adding additional concrete supports or footings. This step may be necessary if the extension significantly increases the load-bearing capacity of the porch.
- Consult with a Professional: If you are unsure about any aspect of securing the porch structure, it is recommended to consult with a professional contractor or engineer. They can provide expert guidance and ensure that the structure is properly secured.
By properly securing the extended porch structure, you can have peace of mind knowing that your porch is safe, sturdy, and built to last. Take the time to make necessary adjustments and reinforce connections to ensure the structural integrity of your porch extension.
Remember to follow all local building codes and regulations during the securing process. This will ensure compliance and the safety of your extended porch structure.
Siding and Finishing Touches
Once the main structure of your extended porch is secure, it’s time to focus on the siding and finishing touches. These final details will add the desired aesthetic appeal and complete the overall look of your porch extension. Follow these steps to finish your porch extension:
- Choose the Siding Material: Select the siding material that best suits your home’s architecture and personal style. Common options include vinyl, wood, fiber cement, or composite siding. Consider factors such as durability, maintenance requirements, and visual appeal when making your decision.
- Prepare the Surface: Ensure the surface of the porch is clean and free of any dirt or debris. If necessary, use a power washer to thoroughly clean the porch before installing the siding.
- Install the Siding: Follow the manufacturer’s instructions for installing the chosen siding material. Begin at the bottom and work your way up, securing each piece according to the recommended method. Use proper techniques to maintain uniform spacing and alignment.
- Trim and Flashing: Install trim pieces around windows, doors, and corners to create a polished and finished look. Additionally, install flashing to redirect water away from vulnerable areas and to prevent water damage.
- Paint or Stain: If you are using wood siding, consider painting or staining it to enhance its appearance and protect it from the elements. Choose a color or finish that complements your home’s exterior and matches your personal style.
- Install Additional Features: Add any additional features or accessories to enhance the functionality and aesthetics of your porch extension. This may include lighting fixtures, ceiling fans, decorative moldings, or outdoor furniture.
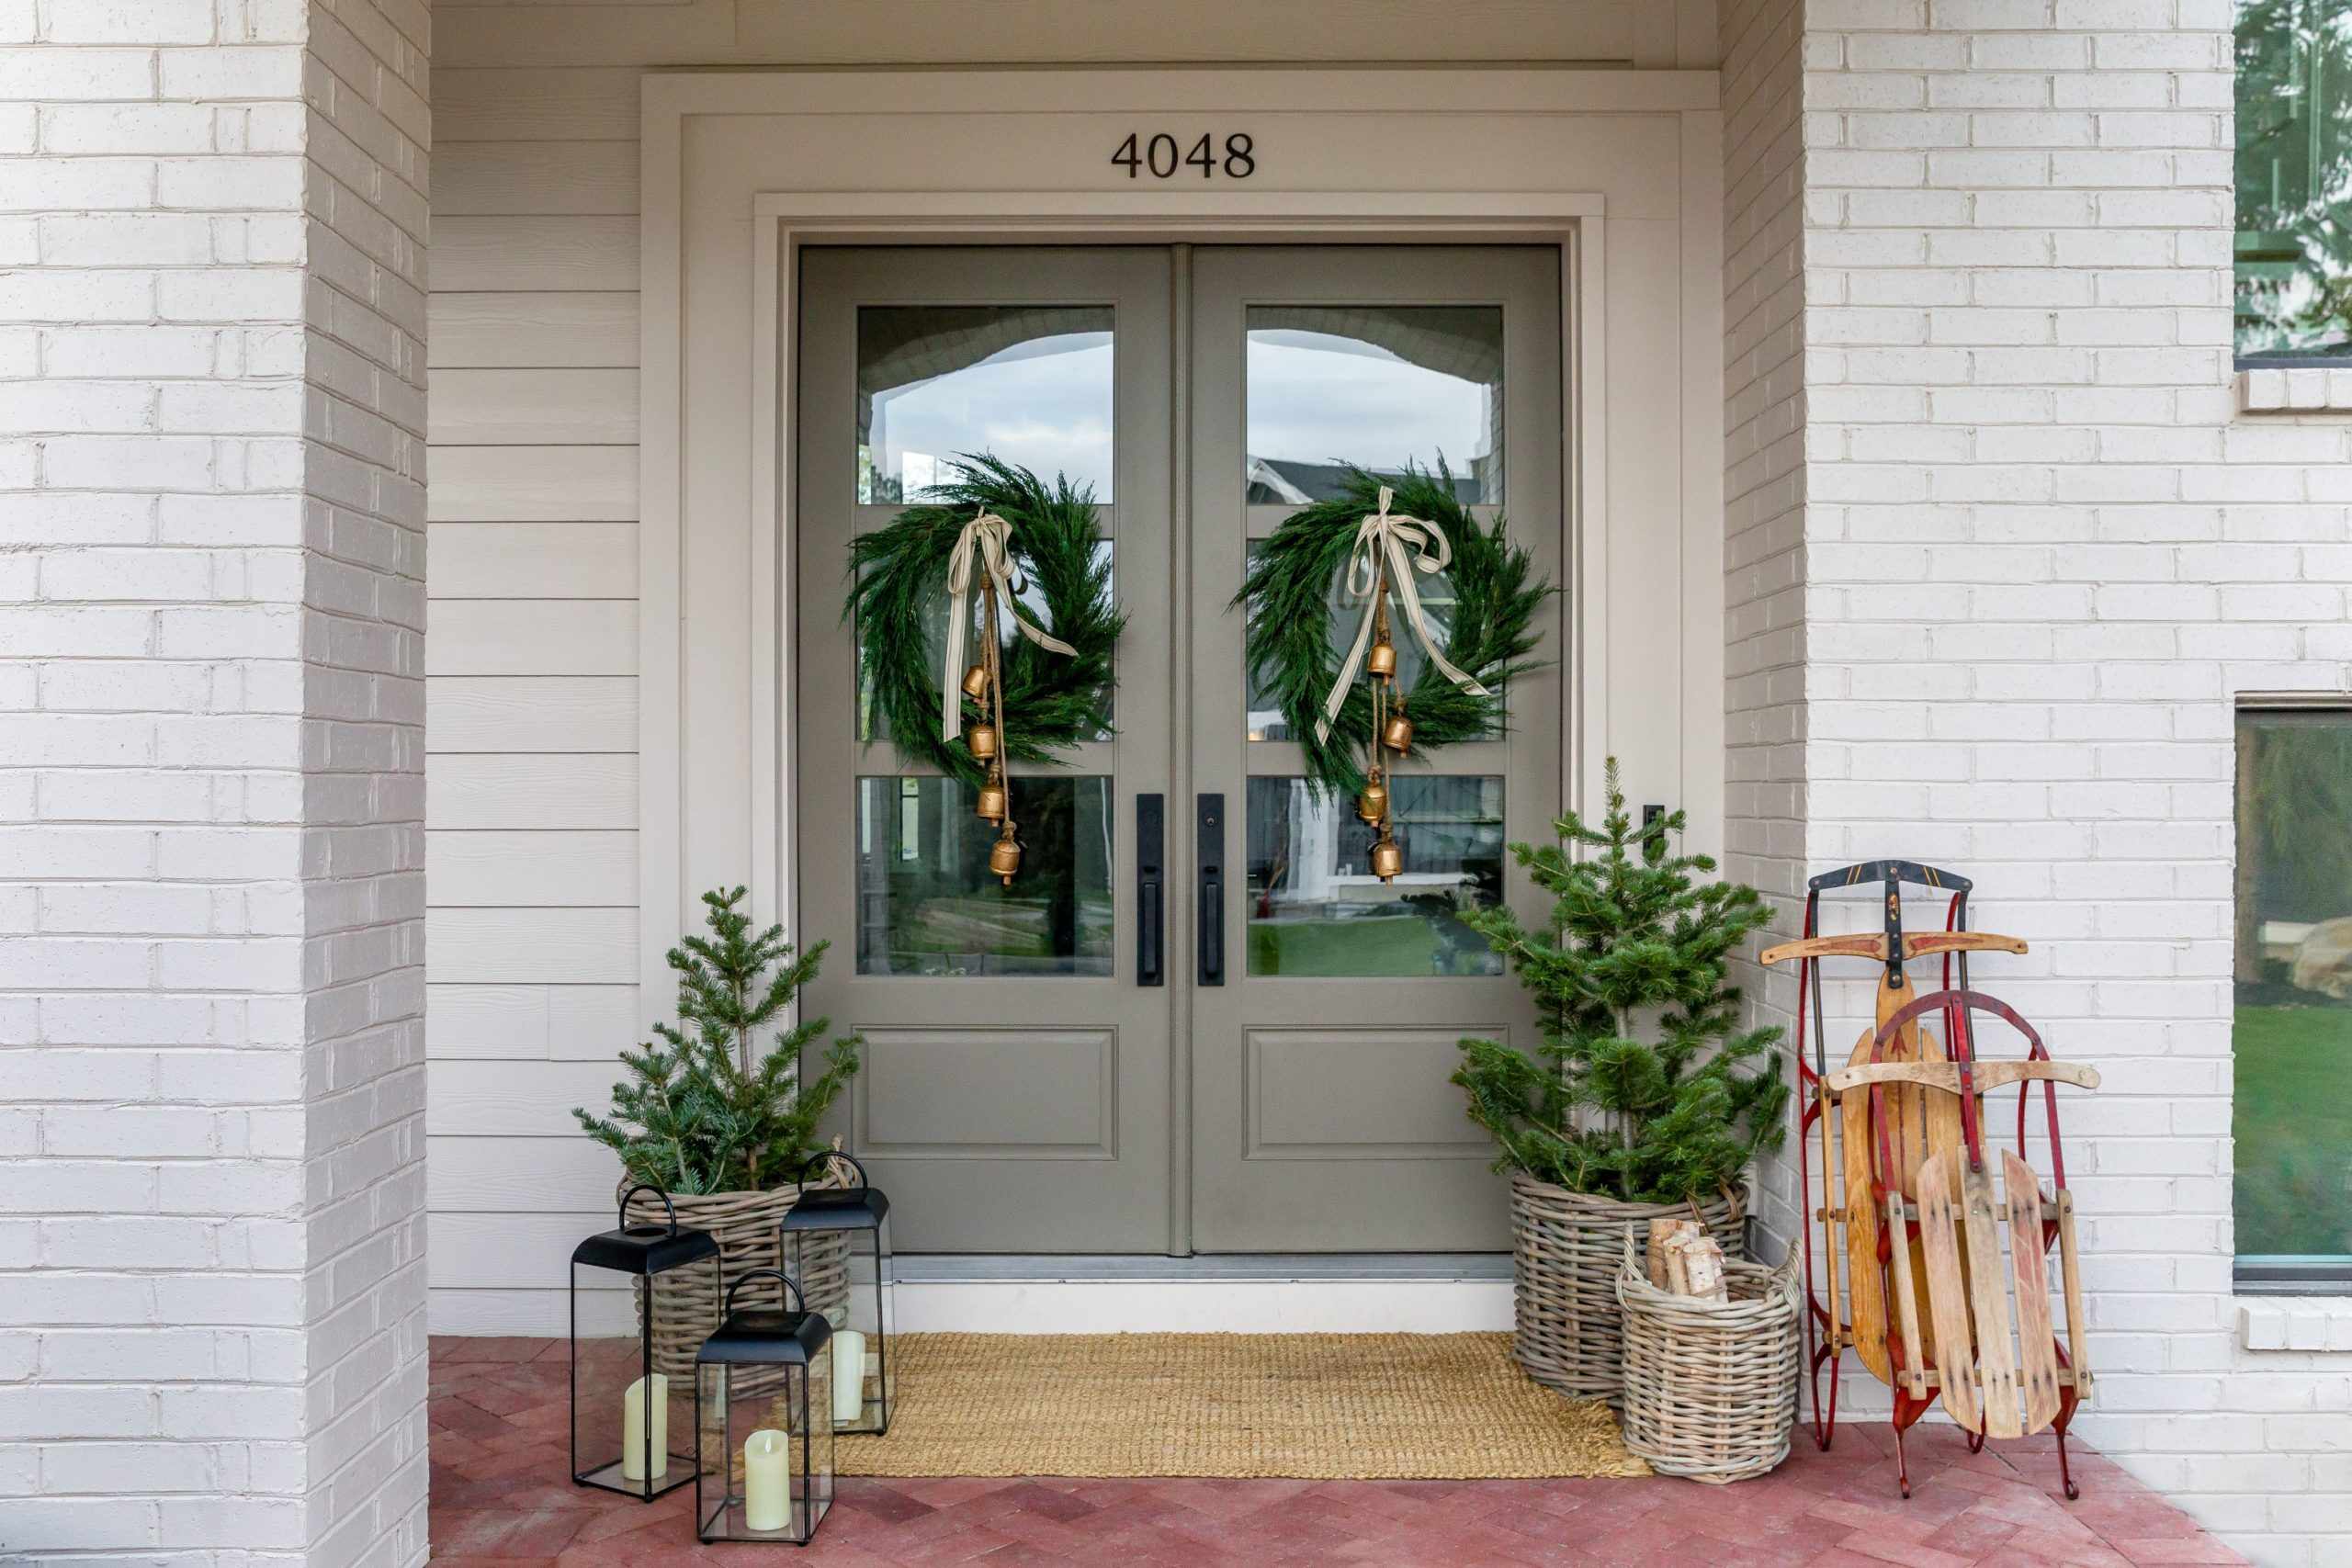
- Landscaping: Complete the look by adding landscaping elements around the porch extension. Plant flowers, shrubs, or install outdoor potted plants to beautify the surroundings and create a welcoming atmosphere.
- Maintain Regularly: To ensure the longevity and beauty of your porch extension, establish a regular maintenance routine. This may include cleaning, repainting, and inspecting for any potential damage or wear over time.
Remember to consult with professionals or experts in siding installation if you are unsure about any aspect of the process. They can provide guidance on best practices and ensure a seamless and professional finish.
By giving attention to the siding and finishing touches, you can transform your porch extension into a visually appealing and functional space that enhances the overall beauty of your home.
Conclusion
Extending your front porch is a rewarding project that not only enhances the curb appeal of your home but also provides additional space for relaxation and entertainment. By following the step-by-step process outlined in this article, you can successfully extend your porch and create a beautiful outdoor living area.
It all begins with a thorough assessment of your current porch, taking into consideration the condition, size, and functionality of the existing structure. Determining the extension options and obtaining necessary permits are crucial steps to ensure compliance with building codes and regulations.
Gathering the right materials and tools, as well as properly preparing the porch for extension, sets the foundation for a successful construction project. Extending the porch foundation, adding support beams and joists, and installing new porch boards create a solid and reliable structure.
Securing the extended porch structure ensures the stability and safety of your porch. Adding siding and finishing touches, such as trim, paint, and landscaping, completes the aesthetic appeal and adds the final touches to your porch extension.
Throughout the process, it’s essential to prioritize safety, consult with professionals when needed, and ensure compliance with local building codes and regulations. Regular maintenance and upkeep will help preserve the integrity and beauty of your porch extension for years to come.
By taking the time and effort to extend your front porch, you not only enhance your own enjoyment of your outdoor space but also increase the value and appeal of your home. So, roll up your sleeves, gather your materials, and get ready to transform your front porch into a welcoming and functional oasis.
Now that you've learned how to extend your front porch, why not spruce it up for some fantastic outdoor gatherings? Our article on adding vibrant decor can transform any deck into a perfect spot for relaxation and entertainment. If you're keen on more hands-on activities, our guide on the merits of DIY projects will surely pique your interest. Both provide useful insights and practical tips to enhance your living space creatively and affordably.
Frequently Asked Questions about How To Extend Front Porch
Was this page helpful?
At Storables.com, we guarantee accurate and reliable information. Our content, validated by Expert Board Contributors, is crafted following stringent Editorial Policies. We're committed to providing you with well-researched, expert-backed insights for all your informational needs.


0 thoughts on “How To Extend Front Porch”