
Articles
How To Cover Porch
Modified: October 20, 2024
Discover helpful articles on how to cover your porch, including step-by-step guides, expert tips, and creative ideas for all your porch remodeling needs.
(Many of the links in this article redirect to a specific reviewed product. Your purchase of these products through affiliate links helps to generate commission for Storables.com, at no extra cost. Learn more)
Introduction
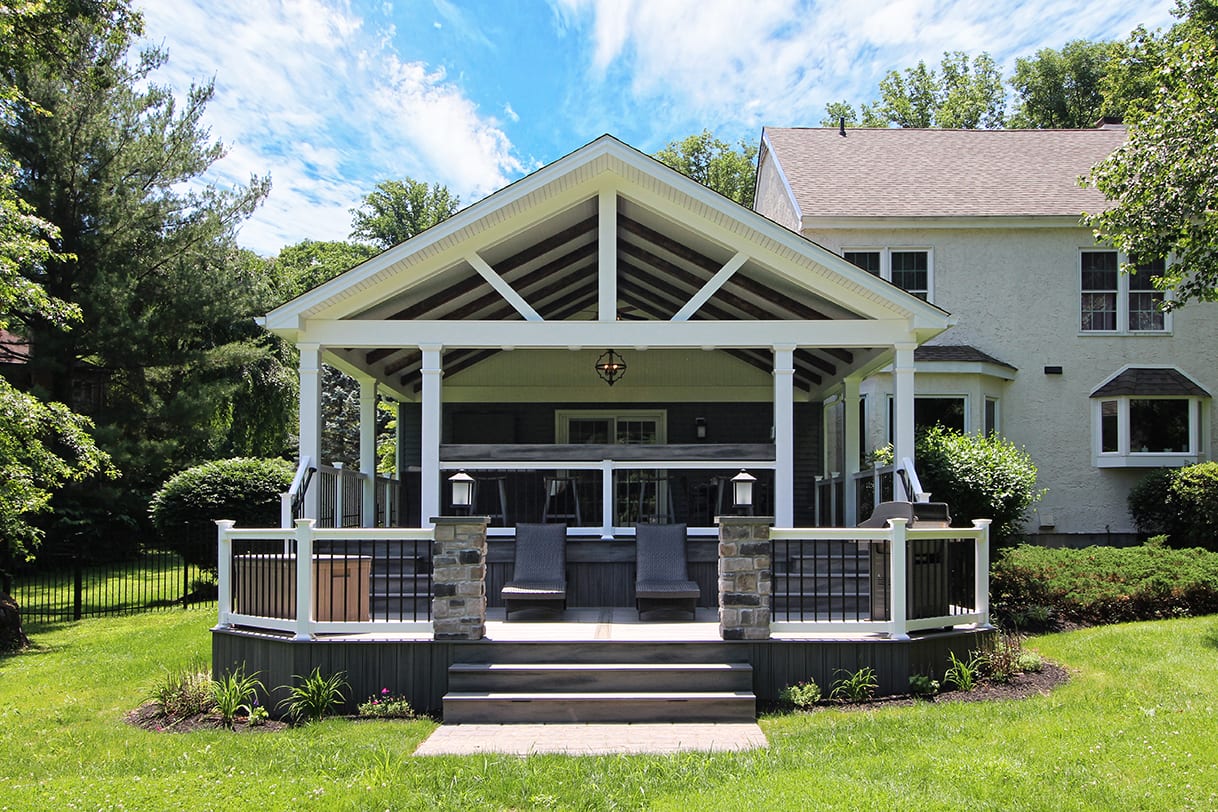
Welcome to this comprehensive guide on how to cover your porch. If you’re looking to transform your porch into a more usable space, adding a covering can provide protection from the elements and create a cozy outdoor area for relaxation and entertaining. Whether you’re planning to install a roof, awning, or pergola, this step-by-step guide will walk you through the process of covering your porch.
A covered porch not only enhances the overall appearance of your home but also offers practical benefits. It shields your porch furniture, flooring, and décor from sun, rain, and snow, prolonging their lifespan. Additionally, a covered porch allows you to spend more time outdoors, regardless of the weather, providing a comfortable retreat for you and your guests.
Before diving into the installation process, it’s important to consider your specific needs and preferences. Think about the purpose of your covered porch—is it meant for relaxation, entertaining, or both? This will help you determine the size, design, and materials needed for your project.
Additionally, check with your local building codes and regulations to ensure that you comply with any necessary permits or restrictions. It’s always best to be informed and follow the proper procedures to avoid any issues down the line.
Once you have a clear idea of your goals and have taken the necessary precautions, it’s time to move on to the steps involved in covering your porch. From preparing your tools and materials to adding the finishing touches, this guide will provide you with all the information you need to successfully complete your porch covering project.
So, grab your tools, roll up your sleeves, and let’s get started on creating a beautifully covered porch that blends aesthetic appeal with functionality!
Key Takeaways:
- Transform your porch into a cozy, weather-resistant outdoor space by following this step-by-step guide to covering your porch. From measuring and planning to adding finishing touches, create a functional and inviting retreat.
- Enhance the longevity and enjoyment of your covered porch with regular maintenance and care. Keep your outdoor space looking its best by addressing small issues promptly and following manufacturer guidelines for optimal upkeep.
Read more: How To Cover Concrete Porch With Wood
Step 1: Prepare Tools and Materials
Before you begin covering your porch, it’s important to gather all the necessary tools and materials. Having everything prepared in advance will save you time and ensure a smoother installation process. Here’s a list of the tools and materials you’ll need:
- Measuring tape
- Level
- Power drill
- Screwdriver (or screw gun)
- Hammer
- Saw
- Ladder or scaffolding (if needed)
- Safety glasses
- Gloves
- Porch covering material (e.g., roofing panels, awning fabric, pergola beams)
- Fasteners (screws, nails, or brackets, depending on the material)
- Sealing materials (caulking, weatherstripping)
- Gutter system (if desired)
Ensure that you have the correct tools for the type of porch covering you’ve chosen. For example, if you opt for a roof, you’ll need roofing panels and the corresponding fasteners. If you decide on an awning, make sure you have the fabric, frame, and necessary hardware.
When selecting materials, consider their durability and weather resistance. Choose high-quality options that can withstand the elements and will require minimal maintenance over time. It’s worth investing in materials that will stand up to sun, rain, and wind, ensuring a long-lasting porch covering.
Once you have gathered all the necessary tools and materials, double-check that everything is in good condition and ready to use. Replace any damaged or worn-out tools and ensure that you have enough of each item to complete the project without interruptions.
Preparing your tools and materials ahead of time will streamline the process and make for a more efficient installation. With everything at hand, you’re now ready to move on to the next step: measuring and planning your porch cover.
Step 2: Measure and Plan
Before you start the installation process, it’s crucial to accurately measure your porch and develop a detailed plan for your cover. This step will help ensure that you have the correct dimensions and materials for a seamless installation. Here’s how to measure and plan for your porch cover:
- Measure the porch area: Use a measuring tape to determine the width and length of your porch. Take into account any corners, angles, or irregularities in the shape of the porch. It’s important to measure both the height of the porch and the distance between support posts, if applicable.
- Determine the type of cover: Based on your preferences and needs, decide on the type of porch cover you want to install. This can include a roof, awning, pergola, or a combination of these options. Consider factors such as the level of protection you desire, aesthetic appeal, and budget.
- Create a detailed plan: Sketch out a plan that includes the dimensions of your porch, as well as the measurements and specifications of your chosen cover. Note any specific considerations, such as the location of support posts, entranceways, and windows. This plan will serve as your reference throughout the installation process.
- Consult with professionals: If you’re unsure about any aspect of the measurement or planning process, it’s wise to consult with professionals, such as contractors or architects. They can provide valuable insights and ensure that your plan aligns with building codes and regulations.
Remember, taking accurate measurements and having a well-thought-out plan is crucial to the success of your porch cover installation. It will help you determine the amount of materials needed, as well as any additional features or accessories required.
By measuring and planning carefully, you can avoid costly mistakes and ensure that your porch cover fits perfectly, providing the desired level of protection and aesthetic enhancement. Once you have completed the measuring and planning stage, you’re ready to move on to the next step: removing any old covering (if applicable).
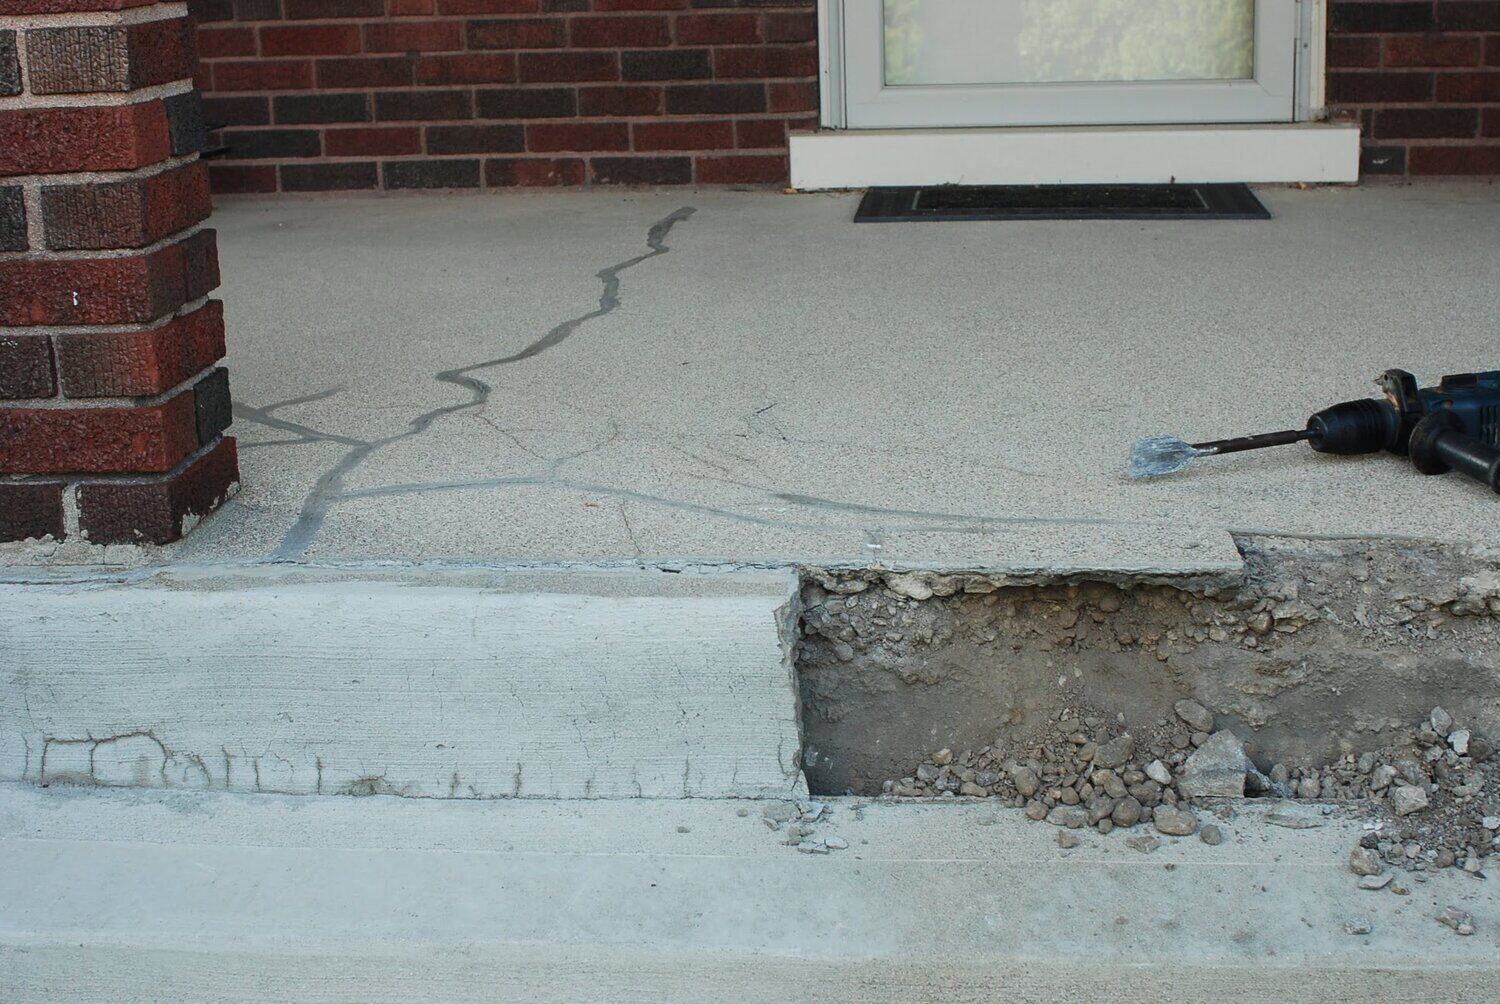
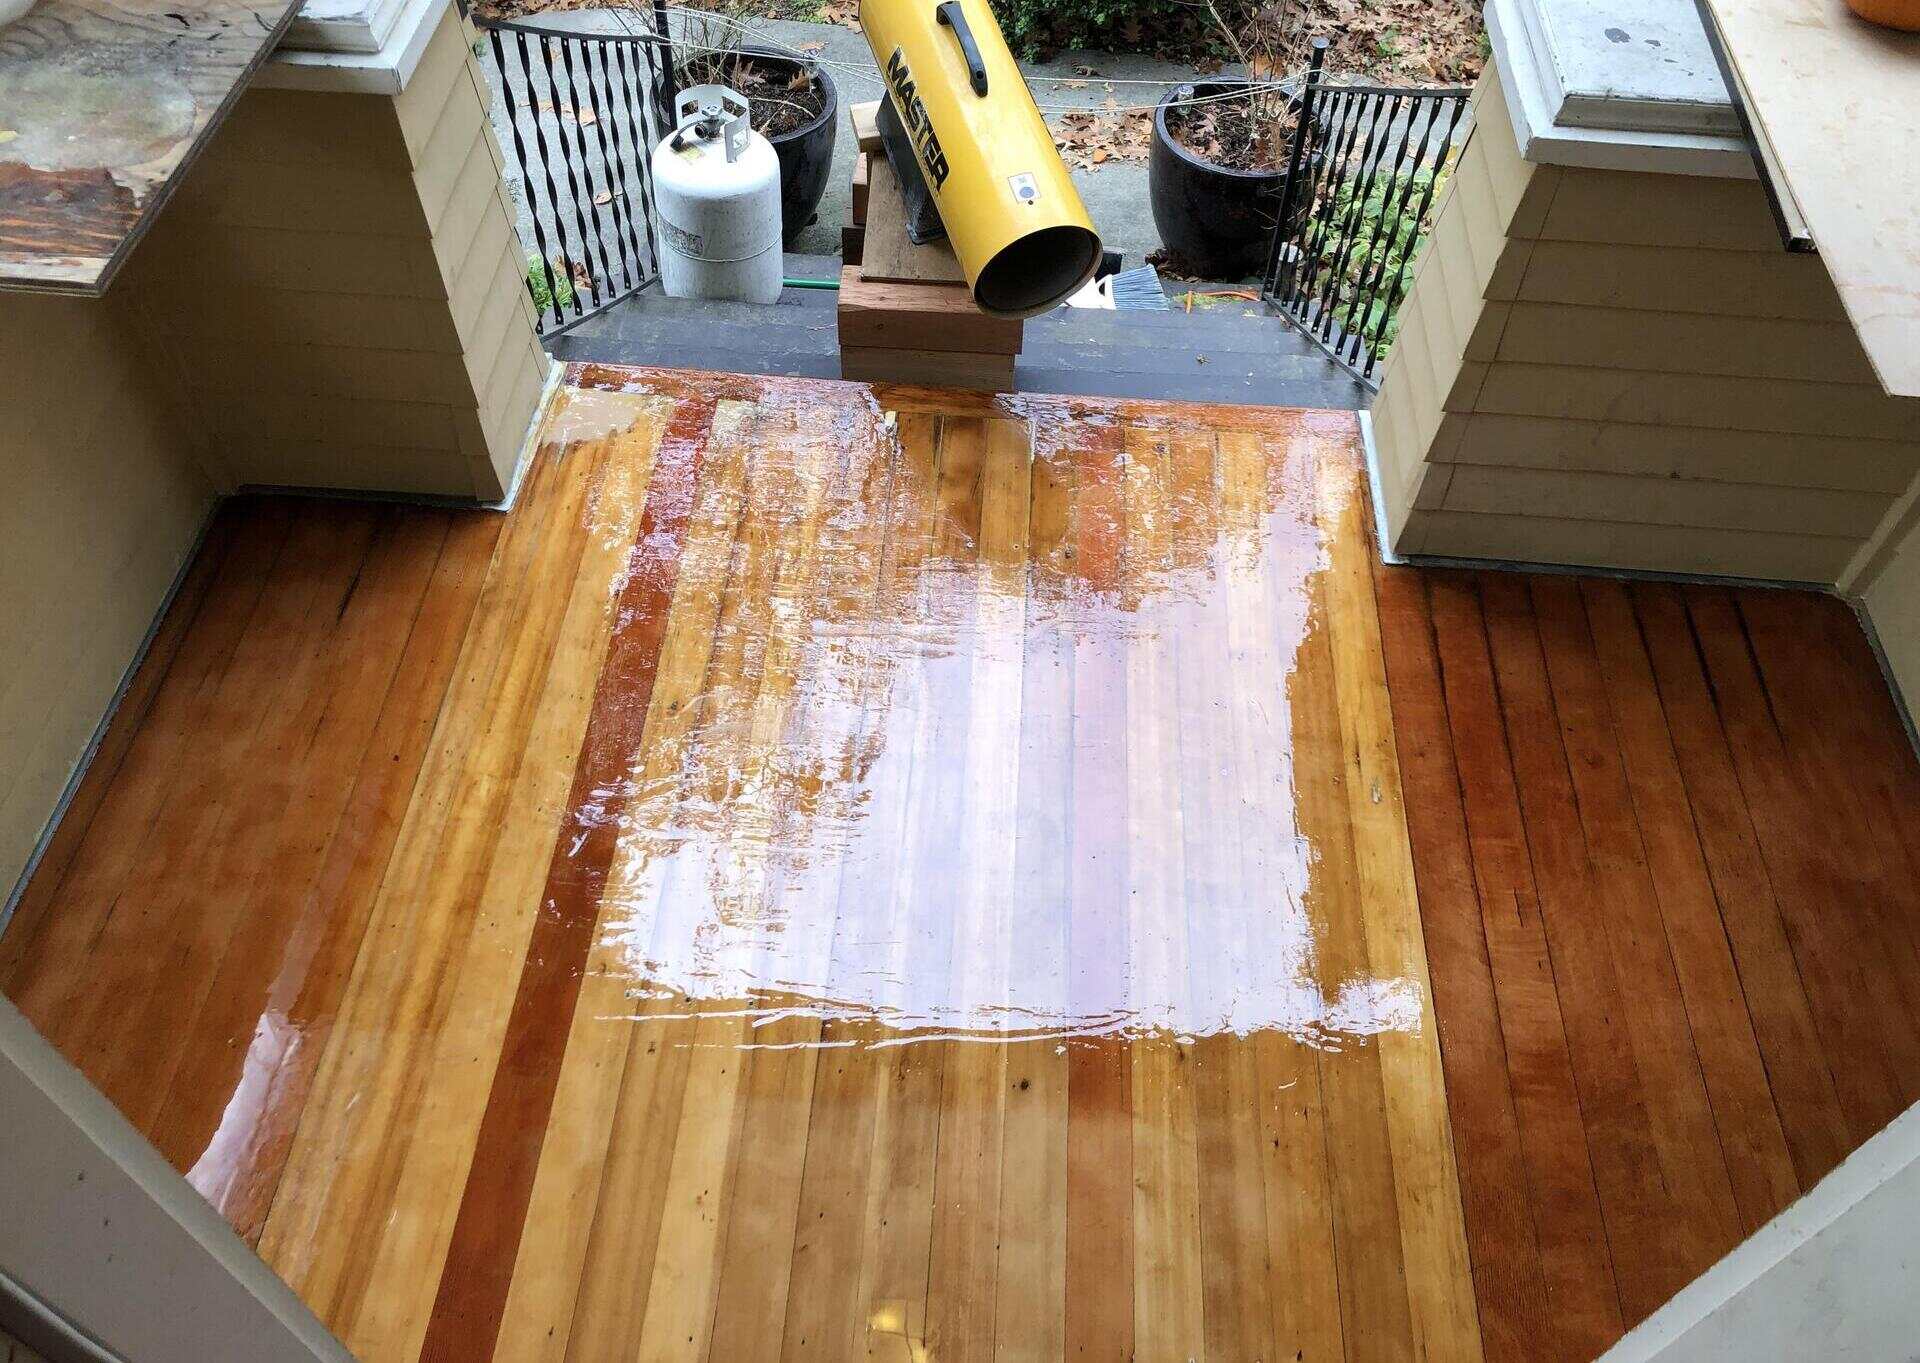
Step 3: Remove Old Covering (if applicable)
If your porch already has an existing covering, such as an old roof, awning, or pergola, you’ll need to remove it before installing your new porch cover. This step ensures a clean surface for the installation and allows you to assess the condition of the underlying structure. Here’s how to remove the old covering:
- Assess the condition: Take a close look at the existing covering to evaluate its condition. Look for any signs of damage, rot, or structural issues. This assessment will help you determine the necessary repairs or modifications needed before installing the new porch cover.
- Gather the necessary tools: Depending on the type of covering, you may need a combination of tools such as a crowbar, hammer, screwdriver, or saw. Ensure you have the appropriate tools for the job.
- Work methodically: Start at one end of the porch and carefully remove the old covering, working your way towards the other end. Take your time to avoid causing damage to the porch’s structure or surrounding areas.
- Dispose of the old materials: Properly dispose of the old covering materials, adhering to any waste disposal regulations in your area. Recycle or repurpose materials whenever possible to reduce environmental impact.
- Inspect the underlying structure: After removing the old covering, thoroughly inspect the porch’s underlying structure. Look for any signs of damage, rot, or weakness. If necessary, make any repairs or reinforce the structure before proceeding with the new cover installation.
Removing the old covering allows you to start fresh and ensure that your new porch cover is installed on a solid, stable surface. It also provides an opportunity to address any structural issues that may have been hidden by the previous covering.
If you’re unsure about the removal process or encounter any obstacles, it’s wise to consult with professionals who have experience in porch cover installations. They can provide guidance and assistance, ensuring a smooth transition from the old covering to the new one.
Once you have removed the old covering and made any necessary repairs, you’re ready to move on to the next step: installing support posts for your porch cover.
Step 4: Install Support Posts
Support posts are essential for providing stability and structural integrity to your porch cover. They act as the foundation and hold up the weight of the covering material. Here’s how to install support posts for your porch cover:
- Determine the number of support posts: Based on the dimensions of your porch and the design of your cover, determine how many support posts you’ll need. The spacing between the posts will depend on the load-bearing requirements and the type of covering material you’re using.
- Mark the locations: Use a measuring tape and level to mark the exact locations where the support posts will be installed. Ensure that they are evenly spaced and aligned with the design plan.
- Prepare the post holes: Dig post holes using a post hole digger or an auger. The depth and diameter of the holes will depend on the size and weight of the support posts. Typically, they should be deep enough to reach below the frost line for stability.
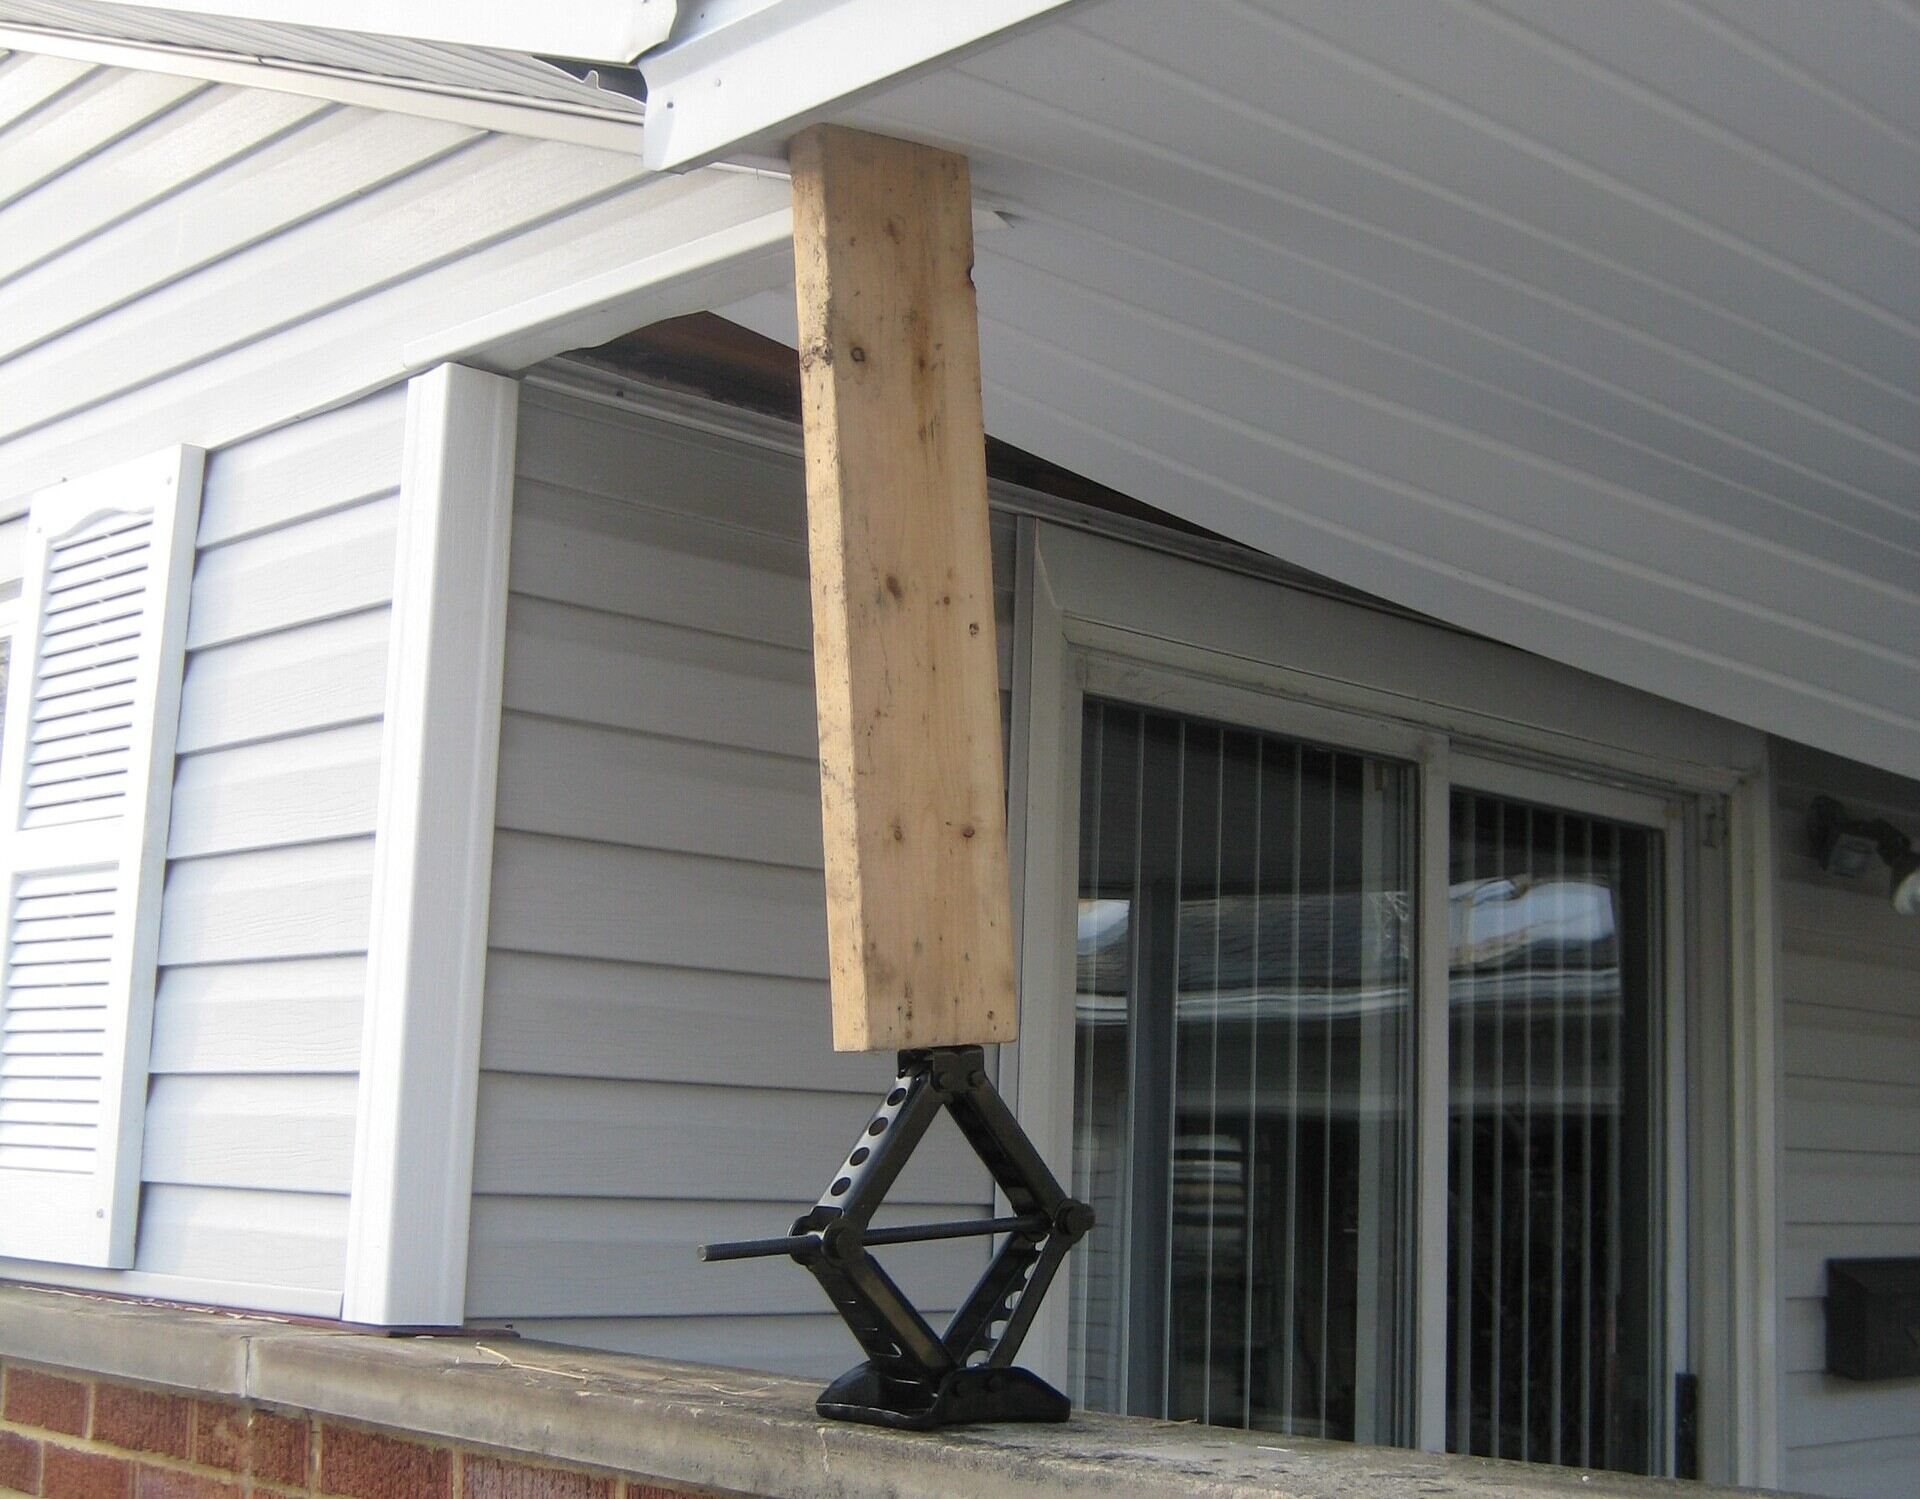
- Insert the support posts: Place the support posts into the prepared holes. Use a level to ensure that they are perfectly vertical. Adjust as necessary and brace the posts if needed until the next step.
- Secure the support posts: Fill the holes with concrete mix to secure the support posts in place. Follow the manufacturer’s instructions on the concrete mix packaging. Use a level to ensure that the posts remain vertical during the curing process.
- Allow the concrete to cure: Give the concrete ample time to cure, usually for at least 24 to 48 hours, before applying any weight or pressure on the support posts.
- Check for stability: Once the concrete is fully cured, check the stability of the support posts. Ensure that they are securely in place and can withstand the weight of the porch cover.
Installing strong and stable support posts is essential to the overall durability and safety of your porch cover. It’s important to follow the manufacturer’s instructions for the specific type of support posts you’re using, as installation methods may vary.
If you’re unsure about any aspect of installing support posts or if you’re working with specialized materials, consider consulting with a professional contractor or builder who has experience in porch cover installations. They can provide guidance, ensure proper installation, and help you navigate any unique challenges that may arise.
Once the support posts are securely in place, you’re ready to move on to the next step of installing the roofing panels for your porch cover.
Step 5: Install Roofing Panels
Installing roofing panels is a crucial step in creating a covered porch that offers protection from weather elements. These panels will not only shield your porch from rain, sun, and snow but also contribute to the overall aesthetics of your outdoor space. Here’s how to install roofing panels for your porch cover:
- Measure and cut the panels: Use a measuring tape to measure the dimensions of the area that needs to be covered with the roofing panels. Transfer these measurements onto the panels and use a saw or appropriate cutting tool to cut the panels to the desired size. Take caution and wear safety glasses when cutting the panels.
- Start at one end: Begin installing the roofing panels at one end of the porch. Position the first panel flush against the support posts or the edges of the porch, depending on the design. Ensure that the panel is level and securely in place.
- Secure the panels: Use a power drill or screwdriver to attach the roofing panels to the support posts or framework of the porch. Follow the manufacturer’s guidelines for the appropriate type and size of screws or fasteners to use. It’s essential to evenly space the screws to ensure a secure and uniform attachment.
- Overlap the panels: As you install each subsequent panel, overlap it with the previous panel to prevent water from seeping through the gaps. This overlapping pattern will create a watertight barrier and enhance the durability of your porch cover.
- Ensure proper alignment: Continually check the alignment and levelness of the roofing panels as you progress. Adjust as necessary to maintain a straight and even appearance. This step is crucial for achieving a professional and visually appealing porch cover.
- Seal the panels: Apply a high-quality sealant or caulk along the joints and edges of the roofing panels to further enhance their weatherproofing capabilities. This sealing process will prevent any water infiltration and help prolong the lifespan of your porch cover.
- Inspect and clean: After installing all the roofing panels, thoroughly inspect for any loose screws, gaps, or imperfections. Tighten any loose screws and clean the panels to remove any debris or residue that may have accumulated during the installation process.
Properly installing roofing panels will not only create a functional and weather-resistant porch cover but also enhance the overall aesthetic appeal of your outdoor area. Take the time to ensure precise measurements, secure attachment, and proper alignment for a beautiful and durable result.
If you’re unsure about any aspect of installing roofing panels or if your porch cover requires specialized panels, consider consulting with a professional contractor or roofing expert. They can provide guidance, recommend the best materials for your specific needs, and ensure a successful installation process.
With the roofing panels securely in place, your porch cover is starting to take shape. Let’s move on to the next step: adding a gutter system (optional) to further enhance the functionality of your porch cover.
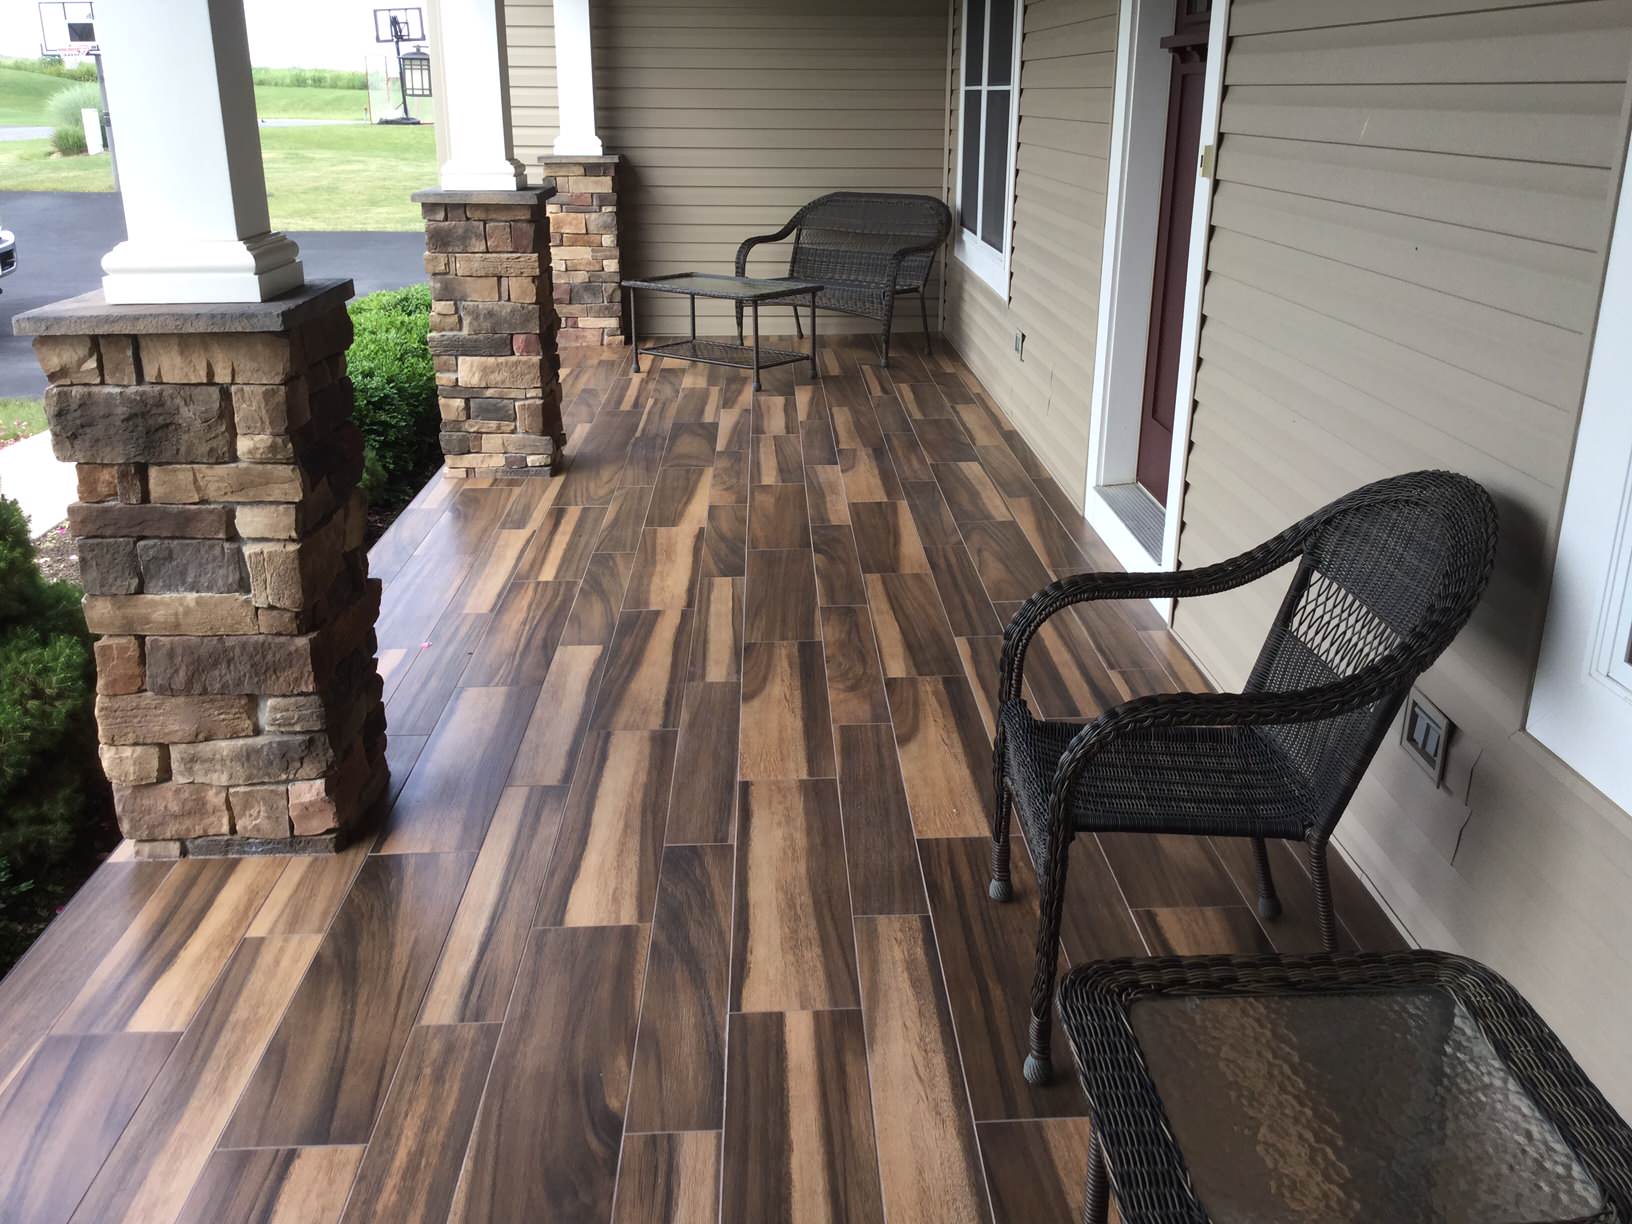
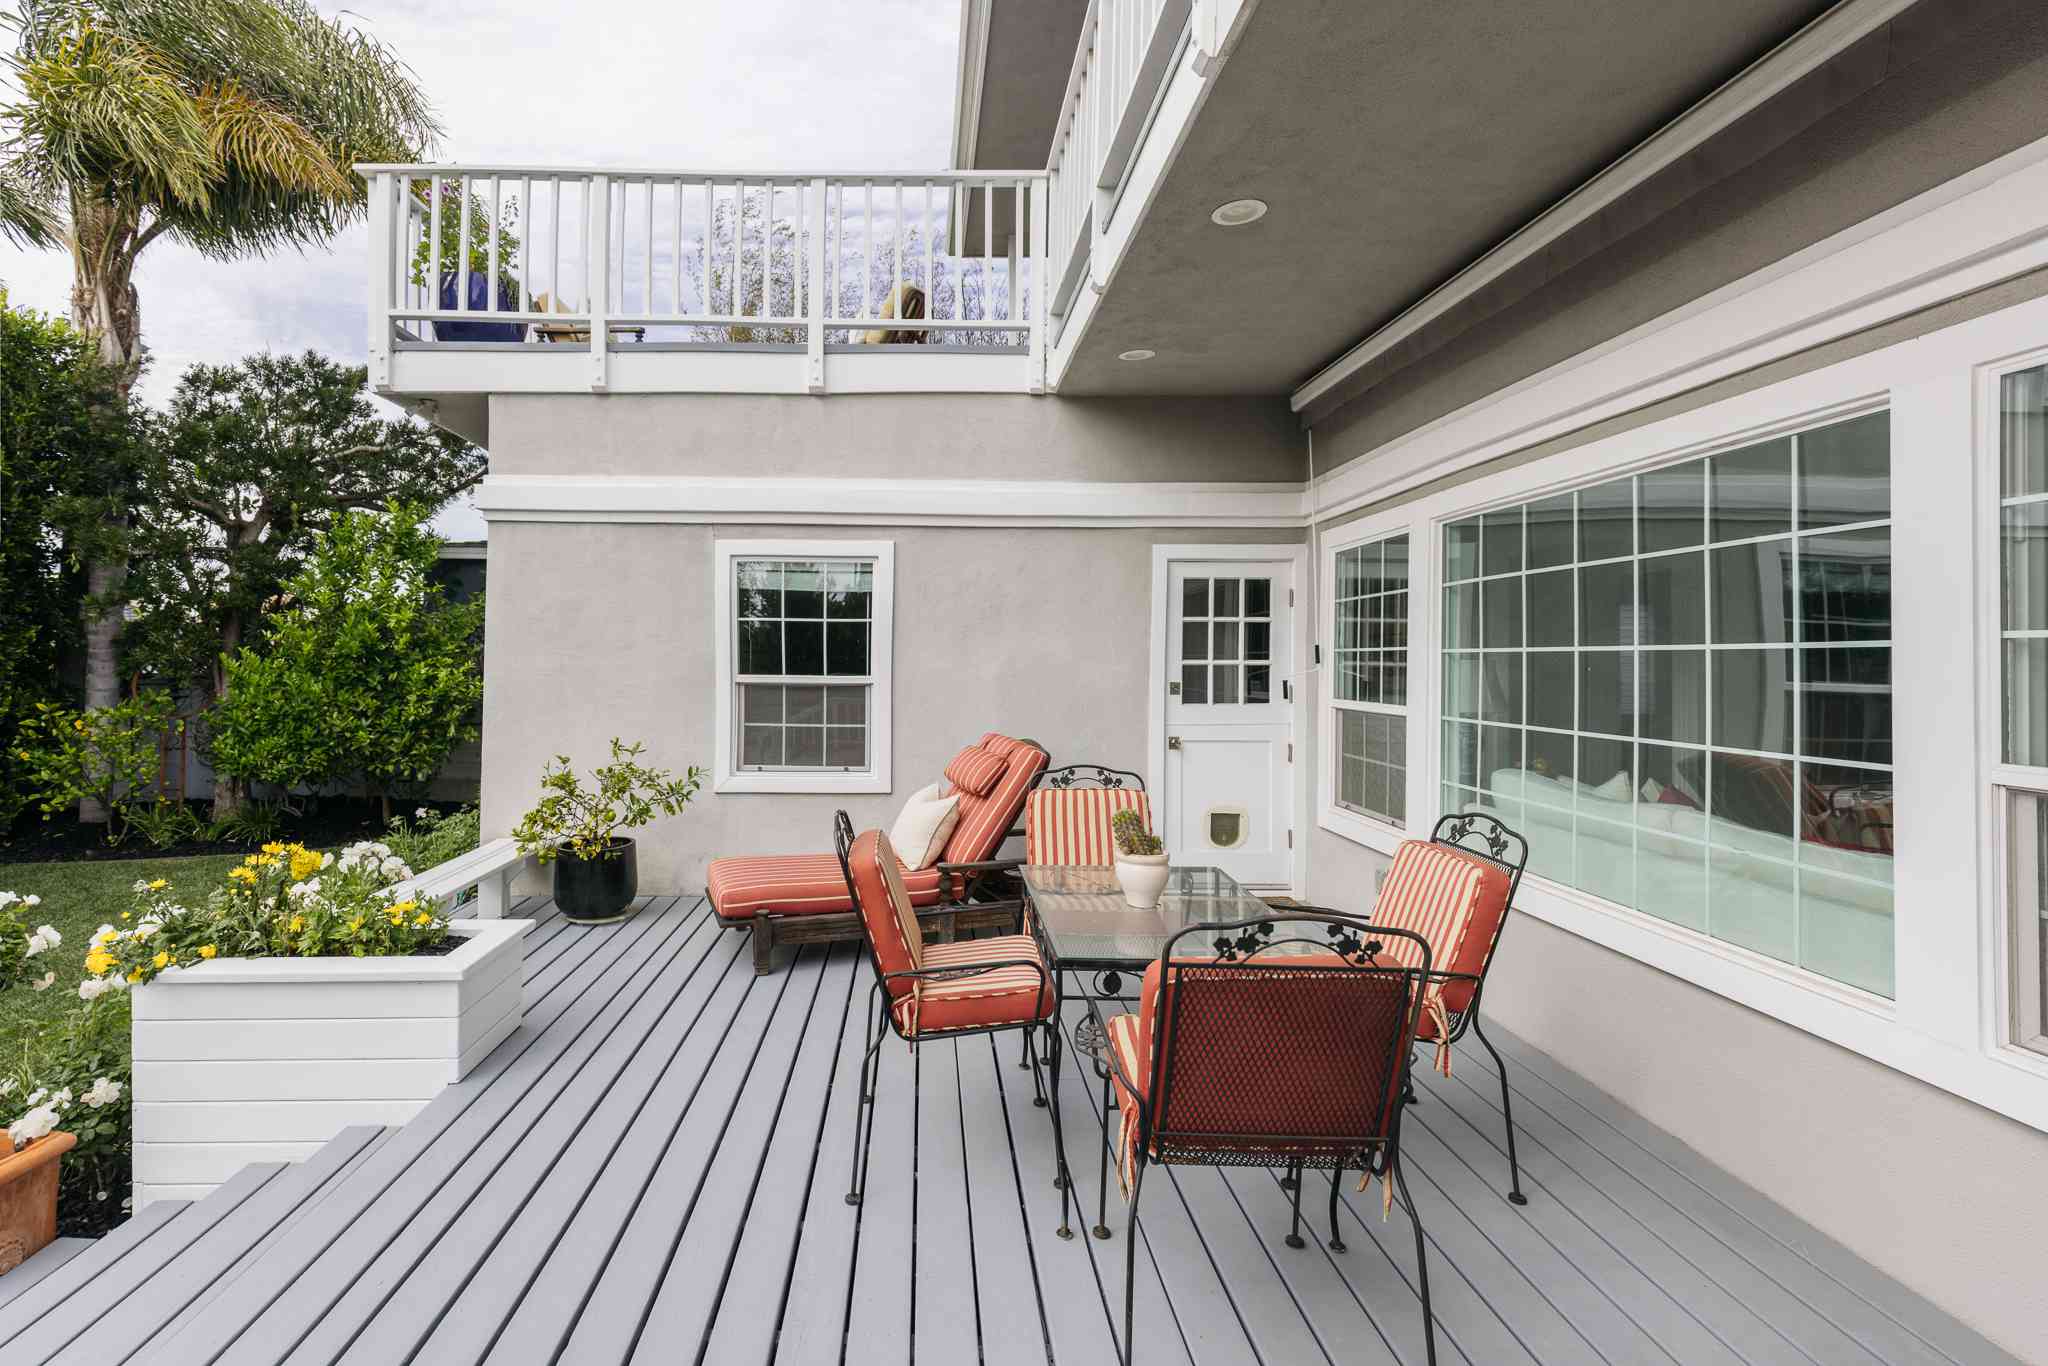
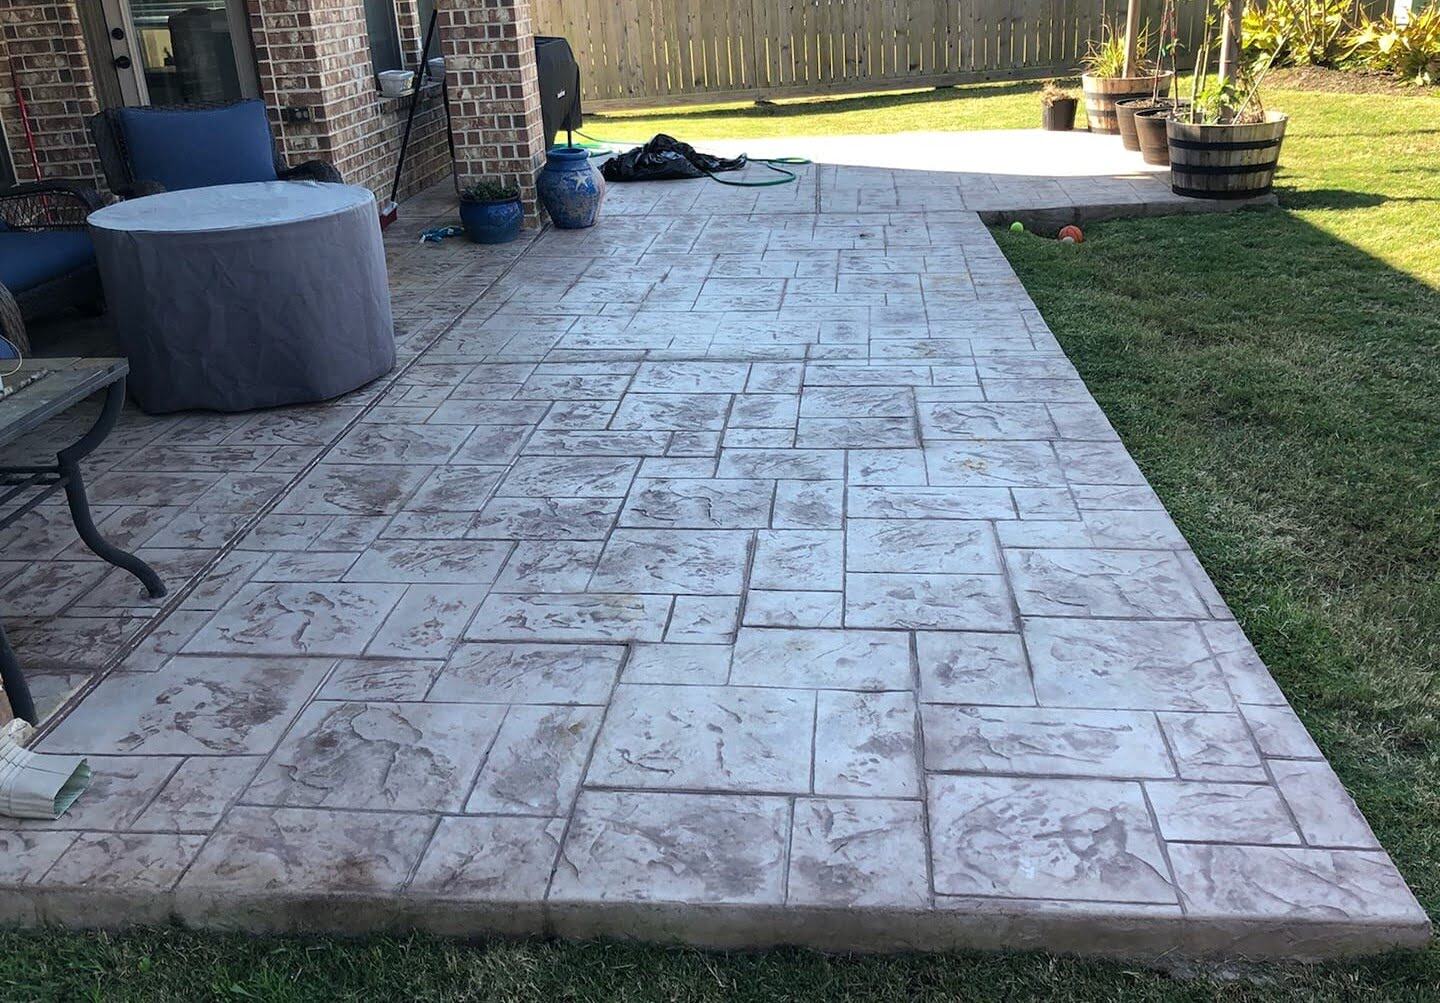
Consider using outdoor rugs or mats to cover the porch floor. They can add color, texture, and comfort, while also protecting the surface from wear and tear. Make sure to choose a material that is weather-resistant and easy to clean.
Step 6: Add Gutter System (optional)
Adding a gutter system to your porch cover can provide numerous benefits, including directing rainwater away from your porch and preventing water damage to the structure and foundation. While the installation of a gutter system is optional, it is highly recommended to optimize the functionality and durability of your covered porch. Here’s how to add a gutter system:
- Choose the right gutter type: Consider the style and design of your porch cover when selecting the gutter system. There are various types available, including seamless gutters, K-style gutters, and half-round gutters. Choose the one that complements the overall aesthetics of your porch cover.
- Measure and mark the placement: Determine the length of the gutters needed by measuring the perimeter of your porch cover. Mark the placement and ensure that it aligns with the slope and pitch necessary for proper water flow towards the downspouts.
- Install the gutter brackets: Begin by installing gutter brackets along the marked areas, spacing them according to the manufacturer’s specifications. These brackets provide support for the gutters and keep them securely in place.
- Attach the gutters: Once the brackets are securely installed, connect the gutters using gutter connectors. Ensure that they are properly aligned and sit level along the length of the porch cover.
- Add downspouts: Install downspouts at strategic locations along the gutter system to effectively channel water away from your porch. Ensure that the downspouts are securely attached and slope away from the foundation of your home.
- Check for proper water flow: After installing the gutter system, test it by pouring water into the gutters and observing the flow towards the downspouts. Adjust the slope and alignment if needed to ensure proper water drainage.
- Secure and seal: Once you’re satisfied with the installation, secure the gutters and downspouts firmly using screws or other appropriate fasteners. Additionally, seal any joints and connections with a high-quality gutter sealant to prevent leaks.
Adding a gutter system to your porch cover will help protect your porch and the surrounding areas from water damage, including erosion, rot, and mold. It is an investment that will significantly contribute to the overall longevity and maintenance of your covered porch.
If you’re unsure about installing a gutter system or if you prefer professional expertise for this task, consider hiring a gutter installation specialist who can ensure proper installation and provide guidance on the best gutter system for your specific porch cover.
With the gutter system in place, your porch cover is now better equipped to handle rainwater runoff. Let’s move on to the next step: installing sides or screens (optional) to further customize your covered porch.
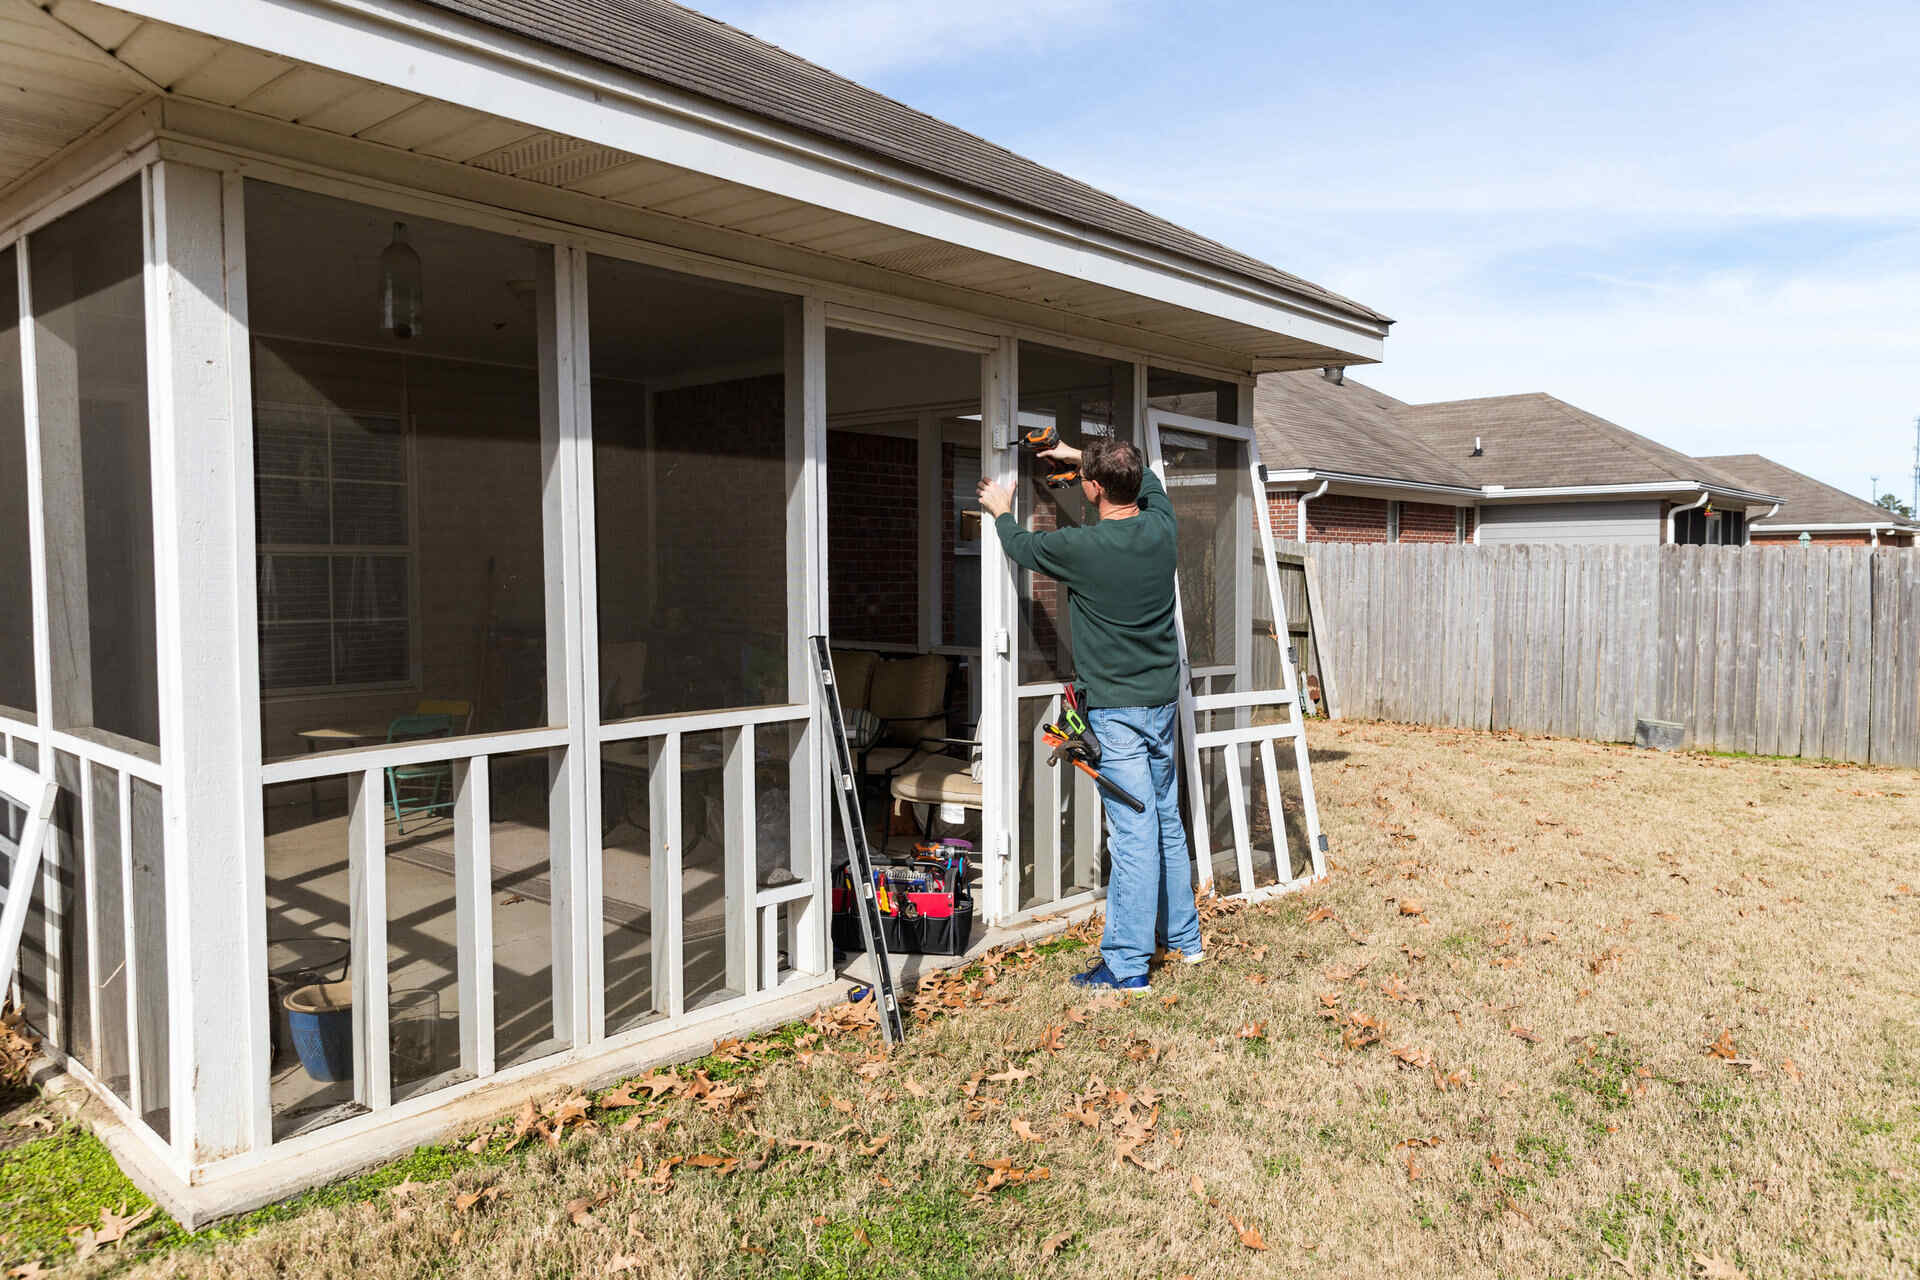
Step 7: Install Sides or Screens (optional)
Adding sides or screens to your porch cover can offer additional protection and privacy while allowing for airflow and keeping insects and debris out. This step is optional, but it can greatly enhance the functionality and versatility of your covered porch. Here’s how to install sides or screens:
- Determine the type of enclosure: Decide whether you want to install permanent sides, retractable screens, or removable panels. Consider factors such as your climate, desired level of privacy, and aesthetic preferences when making this decision.
- Choose the materials: Select the appropriate materials for your chosen type of enclosure. If you’re installing permanent sides, consider using weather-resistant materials such as vinyl, aluminum, or tempered glass. For screens, opt for durable mesh or fabric that provides protection against insects.
- Measure and mark: Measure the height and width of each section where the sides or screens will be installed. Mark these measurements on the porch frame or support posts to guide the placement of the enclosure.
- Install the sides or screens: Attach the sides or screens to the porch frame or support posts using appropriate hardware, such as screws, brackets, or clips. Ensure that they are securely fastened and properly aligned.
- Test functionality: Open and close retractable screens or panels to ensure smooth operation. If you’re installing removable panels, check that they can be easily removed and reinstalled as needed.
- Seal any gaps: Seal any gaps between the sides or screens and the porch frame or support posts using weatherstripping or caulk. This step will help minimize drafts, improve insulation, and keep insects out.
- Consider additional features: Depending on your preferences, you may want to add curtains, blinds, or shades to your porch enclosure for added privacy and sun control. Explore different options that suit your style and functional needs.
Installing sides or screens to your porch cover allows you to enjoy the outdoors while providing a level of privacy and protection. It also creates a versatile space that can be enjoyed in various weather conditions.
If you’re unsure about installing sides or screens or if you’d like professional guidance on the best materials and methods for your porch cover, consider consulting with a contractor or specialist who specializes in porch enclosures. They can provide recommendations and ensure a seamless installation process.
With the sides or screens in place, your covered porch becomes a more flexible and enjoyable space. Let’s move on to the next step: adding the finishing touches to complete your porch cover.
Step 8: Add Finishing Touches
Adding the finishing touches to your porch cover will elevate its appearance and make it more inviting and comfortable. These final touches will help create a cohesive and aesthetically pleasing outdoor space that complements your home’s design and your personal style. Here’s how to add the finishing touches:
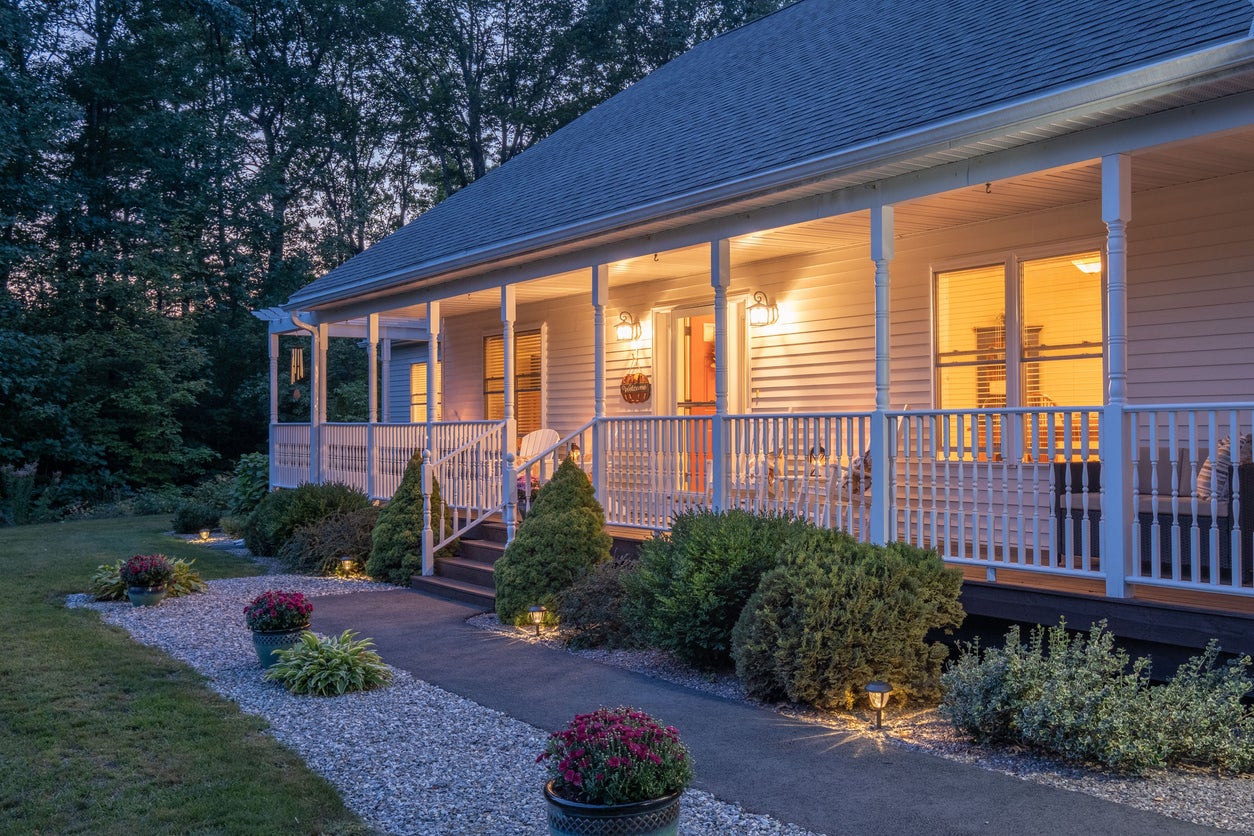
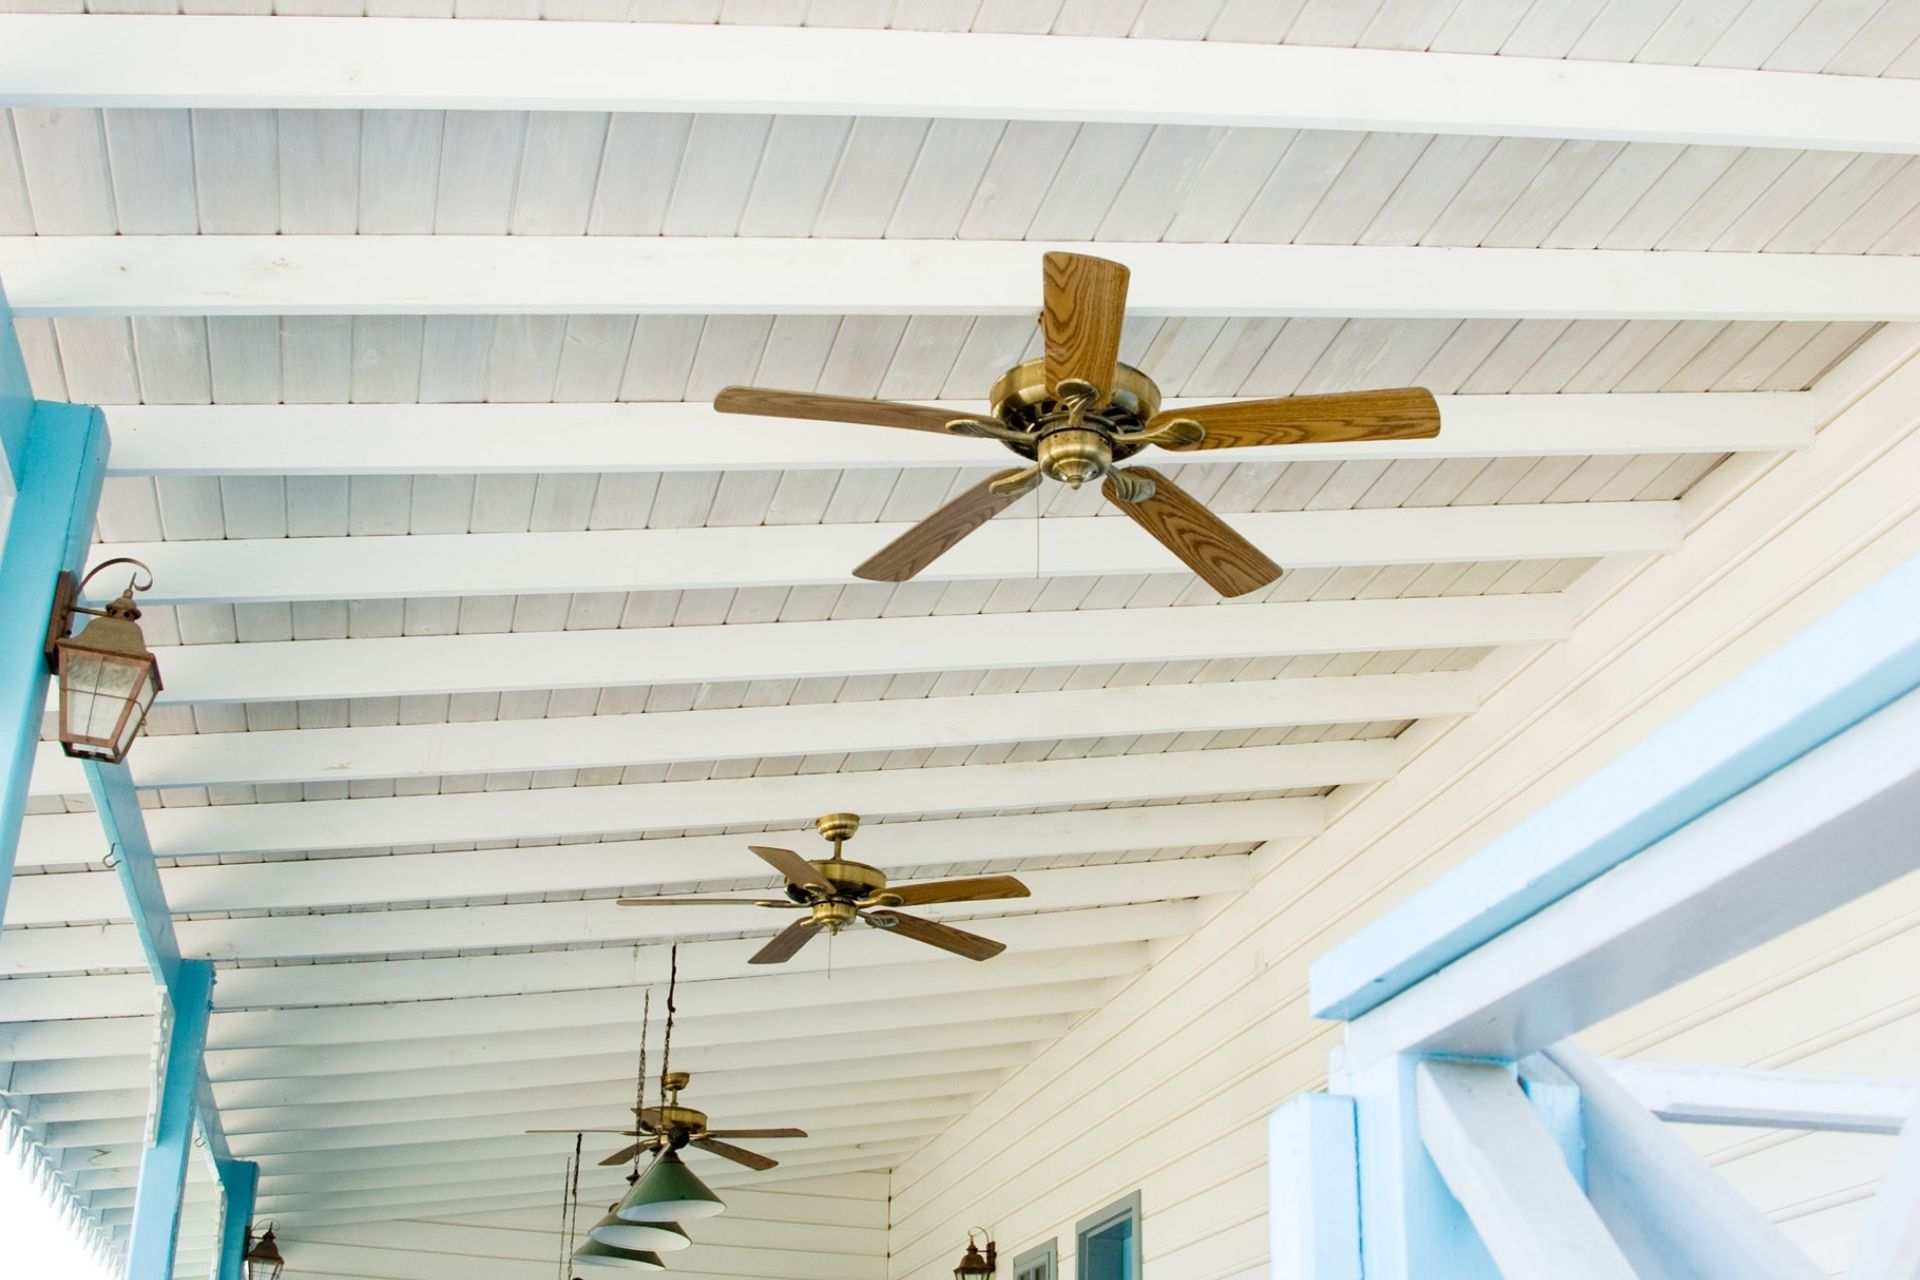
- Choose lighting options: Install outdoor lighting fixtures that provide ample illumination for your porch cover. Consider options such as wall sconces, string lights, or overhead lighting to create a warm and welcoming ambiance.
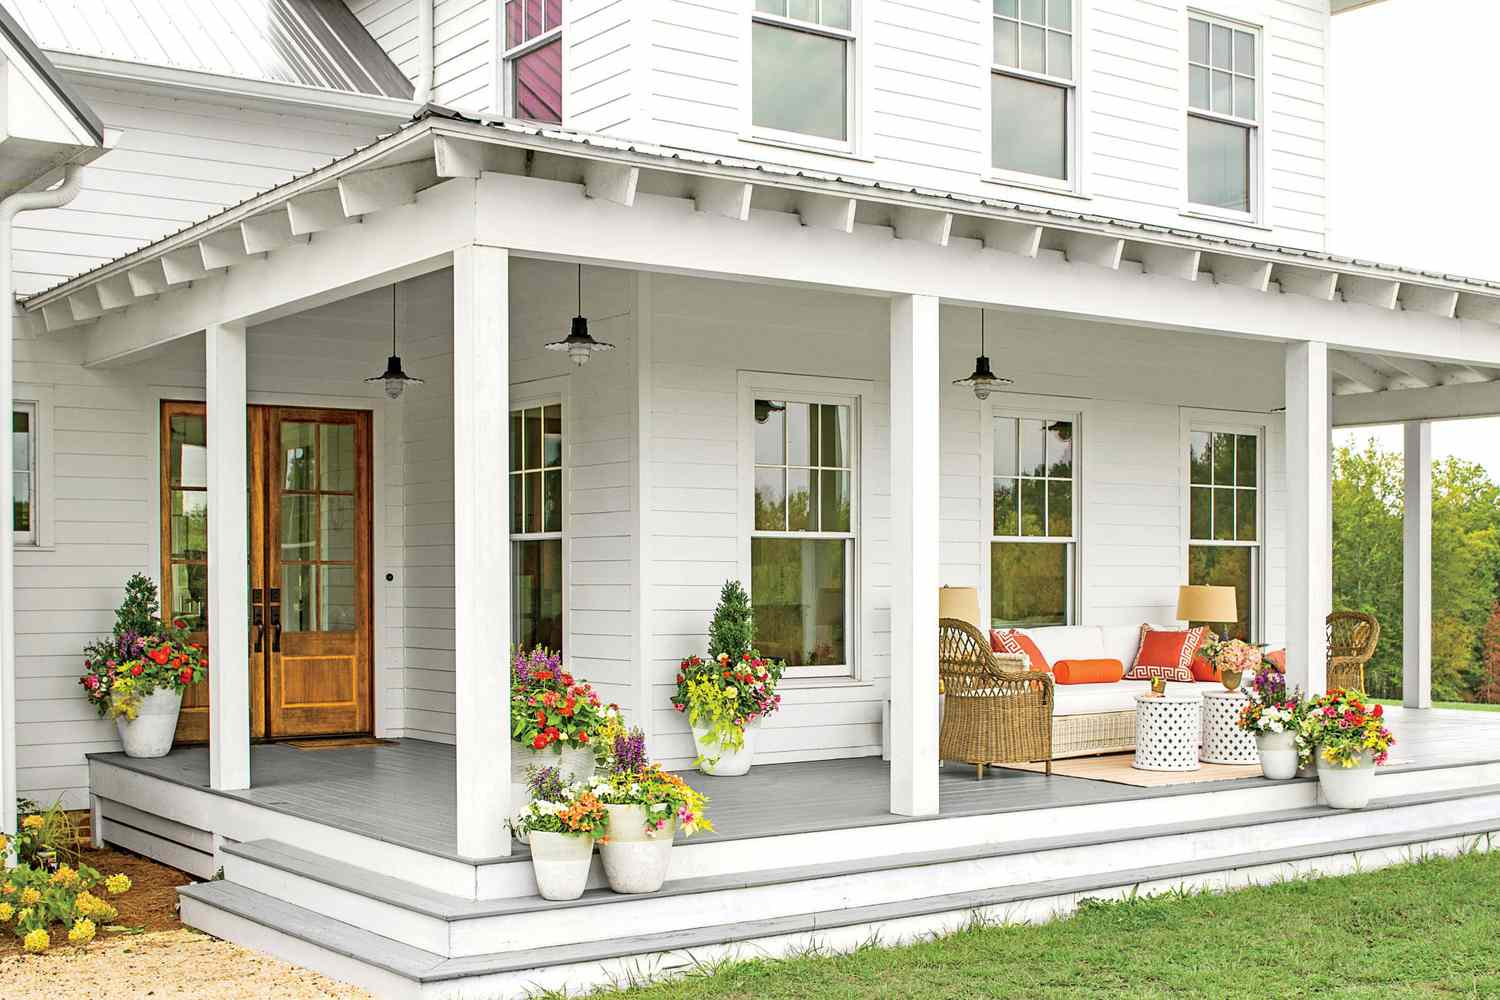
- Add decorative elements: Incorporate decorative elements that reflect your style and enhance the visual appeal of your porch cover. This can include potted plants, outdoor artwork, outdoor rugs, or decorative furniture pieces.
- Consider seating and furniture: Select comfortable and weather-resistant furniture pieces that are suitable for your intended use of the porch. This can include outdoor sofas, chairs, tables, and ottomans.
- Install blinds or shades: If you’ve opted for an open-air porch cover, consider installing blinds or shades that can be easily adjusted to control sunlight and privacy levels.
- Accessorize with cushions and pillows: Add cushions and pillows to your outdoor furniture for added comfort and style. Choose fabrics that are specially designed for outdoor use and are durable and resistant to fading.
- Customize with personal touches: Consider incorporating personal touches, such as decorative lanterns, artworks, or family photographs, to make the porch cover uniquely yours.
- Maintain cleanliness and organization: Regularly clean and maintain your porch cover to keep it looking its best. Sweep away debris, wipe down surfaces, and ensure that any storage areas or shelves are organized and clutter-free.
The finishing touches will help transform your porch cover into a functional and inviting space that reflects your personal style. Take the time to select elements and accessories that create a harmonious and comfortable outdoor environment.
If you’re unsure about the right lighting, furniture, or decorative elements to choose for your porch cover, consider consulting with an interior designer or outdoor living specialist who can provide valuable insights and recommendations tailored to your specific needs and preferences.
By focusing on the details and adding the finishing touches, your porch cover will become a delightful and enjoyable extension of your home. Let’s move on to the final step: maintenance tips to ensure the longevity and beauty of your porch cover.
Read more: How To Cover Wrought Iron Porch Columns
Step 9: Maintenance Tips
Maintaining your porch cover is essential for preserving its functionality and appearance over time. Regular care and upkeep will help extend its lifespan, prevent damage, and ensure that you continue to enjoy your covered porch for years to come. Here are some maintenance tips to keep in mind:
- Regularly clean the surface: Sweep away leaves, dirt, and debris from the surface of your porch cover. Use a soft brush or cloth to remove any stains or spills. Avoid using abrasive cleaners that could damage the materials.
- Inspect for damage: Periodically inspect your porch cover for any signs of damage or wear, such as loose screws, cracked panels, or torn screens. Address these issues promptly to prevent further damage and ensure the structural integrity of your porch cover.
- Trim nearby vegetation: Trim back any overhanging branches or foliage that could rub against or damage your porch cover. This will help prevent scratching, staining, or potential structural damage caused by falling debris.
- Check and clean gutters: If you have a gutter system, regularly check and clean them to prevent clogging and ensure proper water drainage. Remove any leaves, dirt, or debris that may accumulate in the gutters and downspouts.
- Inspect and maintain seals: Check the seals and caulk along the edges and joints of your porch cover. If they show signs of deterioration or cracking, reapply weather-resistant sealant to maintain their effectiveness and prevent water intrusion.
- Perform necessary repairs: Address any repairs promptly to prevent further damage. Repair or replace damaged panels, screens, or support posts as needed. Consult with professionals if you’re unsure about any repair work or if you’re dealing with specialized materials.
- Protect during extreme weather: In the face of severe weather conditions, such as storms or heavy snowfall, take precautions to protect your porch cover. Remove any loose items, secure movable furniture, and consider installing additional supports or reinforcements, if necessary.
- Follow manufacturer guidelines: Refer to the manufacturer’s guidelines and recommendations for specific care instructions and maintenance tips. Each porch cover material may have unique care requirements, so ensure that you follow the appropriate guidelines.
Regular maintenance and care will help keep your porch cover in excellent condition and maximize its longevity. By addressing small issues promptly and following proper maintenance practices, you can avoid costly repairs and ensure that your porch cover continues to provide you with a comfortable and enjoyable outdoor space.
If you need assistance with maintenance or repairs, consider consulting with professionals who specialize in porch cover maintenance or contacting the manufacturer for guidance on specific care instructions.
Congratulations! You have successfully completed all the steps to cover your porch. Enjoy your newly transformed and functional outdoor space!
Conclusion
Covering your porch is a valuable investment that enhances the appearance, functionality, and comfort of your outdoor space. By following the step-by-step guide provided in this article, you can successfully transform your porch into a versatile area that protects you from the elements while providing a cozy and inviting atmosphere.
Throughout this guide, we’ve covered everything from preparing tools and materials to installing support posts, roofing panels, and optional features like a gutter system, sides or screens, and the finishing touches. Each step is crucial in creating a porch cover that suits your needs and complements your home’s style.
Remember to measure and plan carefully, taking into account your porch’s dimensions and your desired design. Take the time to select high-quality materials and consider adding optional features like a gutter system or sides and screens to enhance the functionality of your porch cover.
Maintenance is also key to ensuring the longevity of your porch cover. Regularly clean the surface, inspect for damages, and perform necessary repairs to keep your porch cover in excellent condition. Following manufacturer guidelines and seeking professional assistance when needed will further contribute to its longevity and safety.
Now that you have completed all the steps and have a well-covered porch, it’s time to enjoy your outdoor space. Whether you’re lounging with a book, hosting gatherings with friends and family, or simply appreciating the beauty of nature, your covered porch provides a comfortable haven.
Remember to personalize your porch with decorative elements that reflect your style and create a welcoming environment. With proper care and maintenance, your porch cover will continue to be a source of joy and relaxation for years to come.
Congratulations on your successful porch cover installation! Enjoy the many benefits that it brings, and savor the moments spent in your newfound outdoor sanctuary.
Frequently Asked Questions about How To Cover Porch
Was this page helpful?
At Storables.com, we guarantee accurate and reliable information. Our content, validated by Expert Board Contributors, is crafted following stringent Editorial Policies. We're committed to providing you with well-researched, expert-backed insights for all your informational needs.


0 thoughts on “How To Cover Porch”