
Articles
How To Extend Porch Roof
Modified: October 18, 2024
Learn how to extend your porch roof with these helpful articles. Find expert tips and step-by-step instructions to ensure a successful project.
(Many of the links in this article redirect to a specific reviewed product. Your purchase of these products through affiliate links helps to generate commission for Storables.com, at no extra cost. Learn more)
Introduction
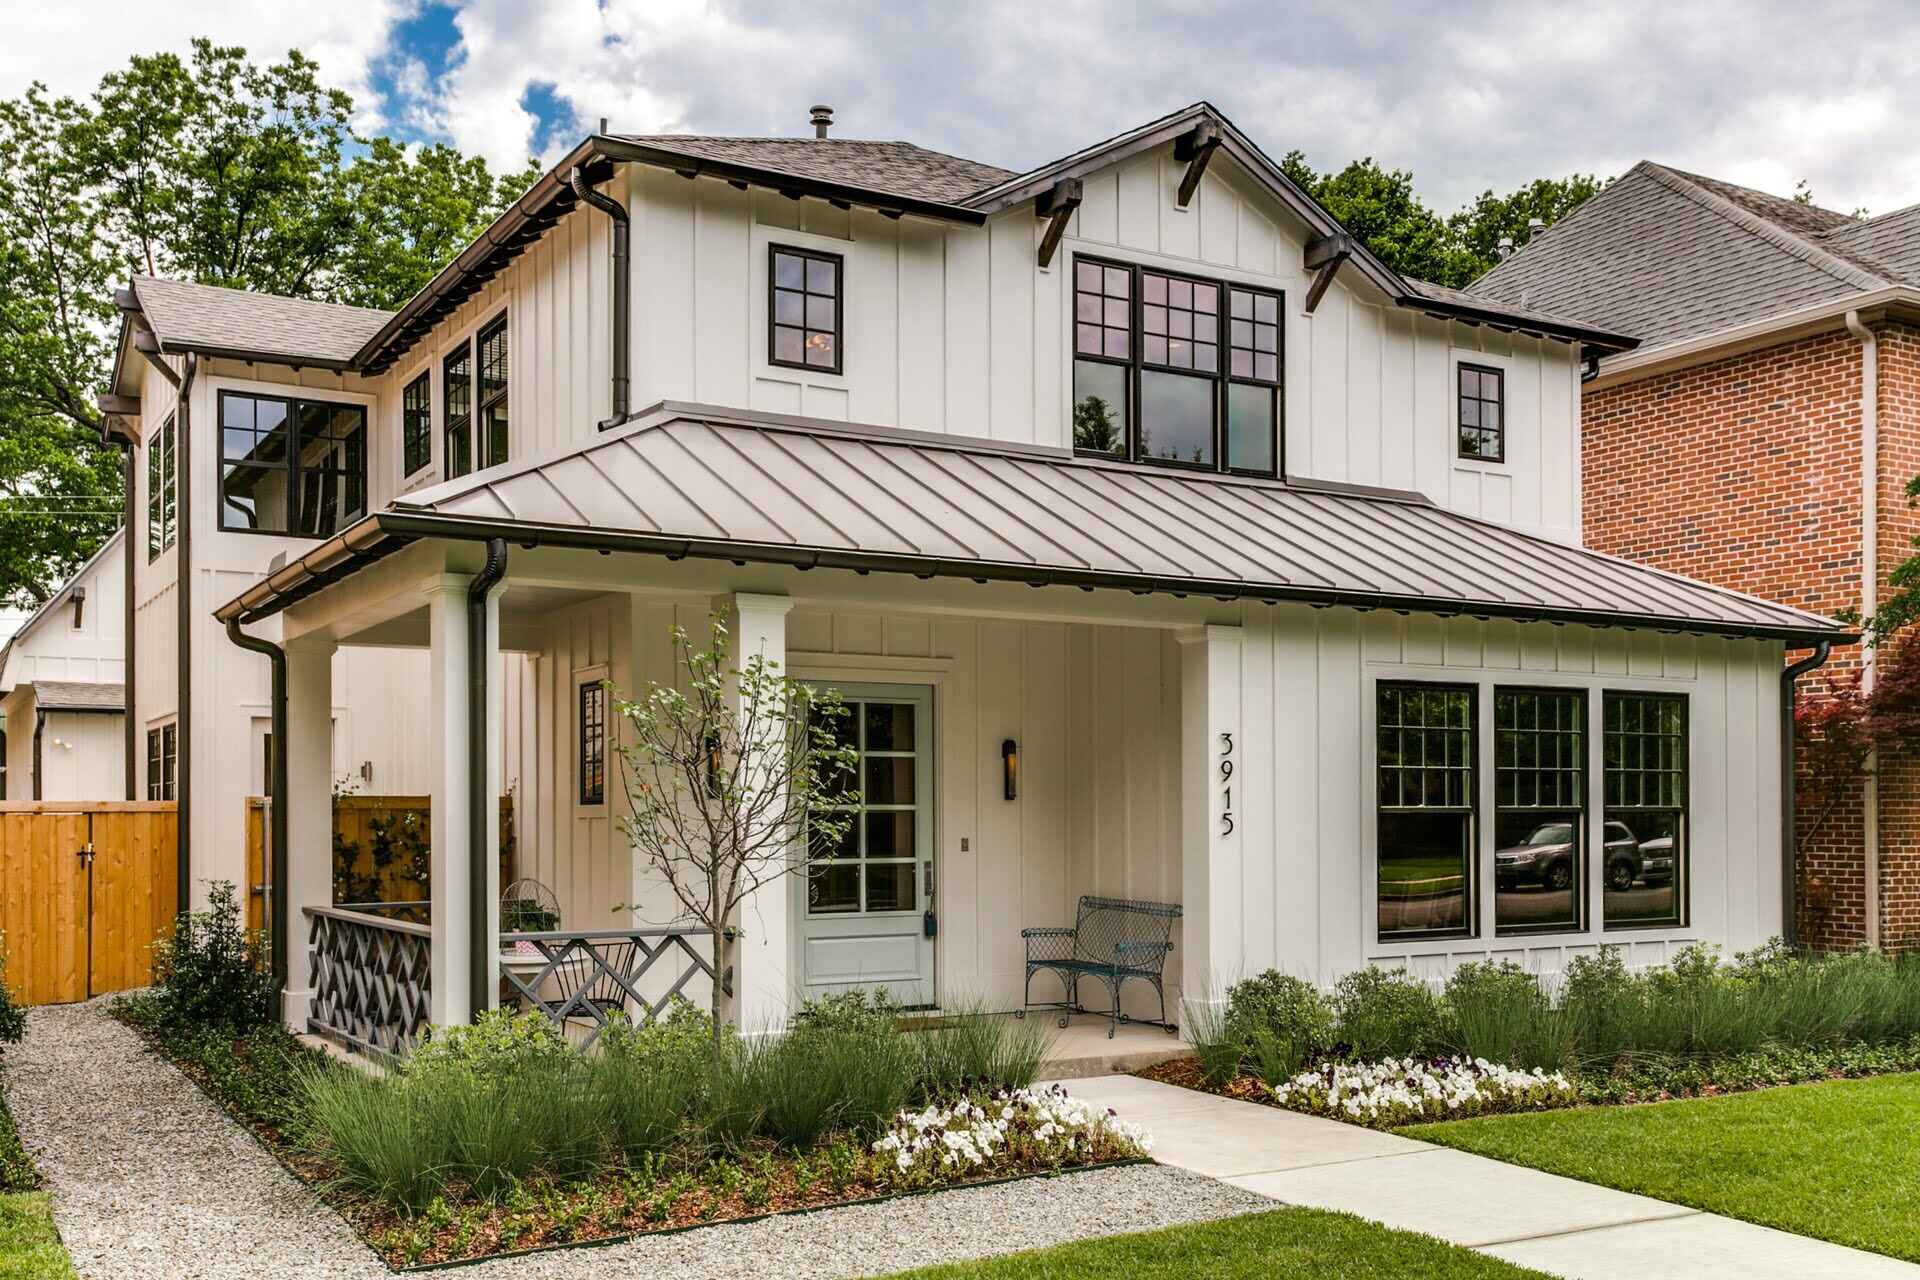
Welcome to our comprehensive guide on how to extend your porch roof! If you’re looking to create additional space or provide shelter for outdoor activities, extending your porch roof is an excellent way to achieve both functionality and aesthetic appeal. Whether you want to create a covered area for relaxing, dining, or hosting gatherings, this article will take you through the step-by-step process of extending your porch roof.
Before we dive into the details, it’s important to note that extending a porch roof is a project that requires careful planning, consideration of local building codes, and some basic carpentry skills. By following this guide, you’ll gain the knowledge and confidence to tackle this project and create a beautiful extension that seamlessly integrates with your existing porch.
In the following sections, we’ll cover everything from assessing your porch roof to installing roofing materials. We’ll also discuss the various methods you can use to extend your porch roof, as well as the materials and tools you’ll need for the project. So let’s get started and turn your porch into a functional and inviting space!
Key Takeaways:
- Careful planning, assessment, and adherence to local building codes are crucial when extending a porch roof. From determining the extension method to installing roofing materials, attention to detail ensures a successful and visually appealing project.
- Adding finishing touches such as gutters, soffit, and lighting enhances the functionality and aesthetics of a porch roof extension. Regular maintenance and attention to detail contribute to the longevity and enjoyment of the extended outdoor space.
Read more: How To Extend Front Porch
Assessing Your Porch Roof
Before you begin extending your porch roof, it’s crucial to assess the current condition and design of your existing roof. This step will help you determine the feasibility of the extension and ensure that it integrates seamlessly with your home’s structure. Here are some key factors to consider:
- Roof Pitch: Take note of the pitch or slope of your existing porch roof. This measurement will affect the design and construction of the extension. It’s important to maintain a consistent pitch to ensure proper drainage and stability.
- Roof Material: Identify the type of roofing material used on your porch roof. This information will help you select compatible materials for the extension, ensuring a cohesive look.
- Roof Structure: Examine the structural integrity of your porch roof. Look for signs of damage, such as sagging or rotting, and address any necessary repairs before proceeding with the extension.
- Roof Overhang: Measure the length and width of the existing roof overhang. This will determine the size and dimensions of the extension and guide you in estimating the amount of additional material required.
- Permits and Codes: Consult your local building codes and regulations to ensure compliance. Depending on your area, you may need to obtain permits for roof extensions. It’s essential to follow all legal requirements to avoid any issues in the future.
Once you have thoroughly assessed your porch roof, you’ll have a better understanding of its current condition and suitability for extension. If you encounter any structural issues or believe the project exceeds your skills, it’s wise to consult a professional contractor or architect for guidance. Remember, safety should always be a priority when working on any construction project.
With a thorough assessment in hand, you’re now ready to move on to the next step: determining the best method for extending your porch roof.
Determining the Extension Method
When it comes to extending your porch roof, there are several methods to choose from, depending on your preferences, budget, and the design of your home. Here are three common extension methods:
- Match Existing Roofs: This method involves extending the existing roofline of your porch by mirroring the design and materials used in your home’s main roof. It creates a seamless and cohesive look, making the extension appear as if it were part of the original structure. While this method requires more complex construction, it provides a visually appealing and architecturally consistent result.
- Gable Extension: A gable extension adds a triangular-shaped roof to the side or front of your existing porch roof, creating a peaked or sloped extension. This method is relatively straightforward and allows for additional ceiling height and ventilation. It also provides a distinct design element and can enhance the overall aesthetics of your porch.
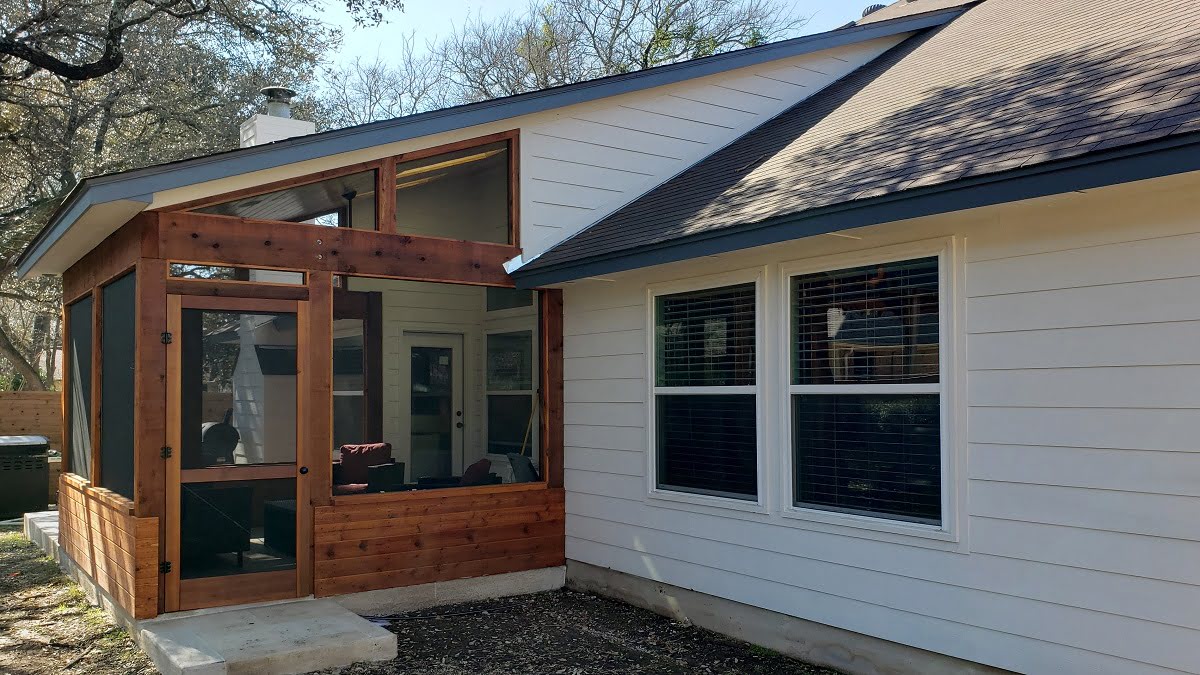
- Lean-To Extension: Also known as a shed roof extension, this method involves extending your porch roof with a single, slanted roof that slopes away from your home. It’s a simpler and more cost-effective option compared to matching existing roofs or gable extensions. Lean-to extensions are ideal for homeowners looking for a practical and straightforward solution.
When determining the best extension method for your porch roof, consider factors such as your home’s architectural style, the purpose of the extension, and your budget. It’s also important to consult with a professional to assess the feasibility and structural integrity of your chosen method.
In addition, it’s essential to take into account any local building codes and regulations that may impact your extension method. Consult with your local building authority or hire a professional contractor to ensure that your planned extension complies with all requirements and obtain any necessary permits before starting the construction process.
By carefully considering your options and selecting the most suitable extension method, you’ll be well on your way to creating a functional and visually appealing porch roof extension. The next step is gathering the materials and tools you’ll need for the project.
Gathering Materials and Tools
Before you begin extending your porch roof, it’s important to gather all the necessary materials and tools to ensure a smooth and efficient construction process. Here’s a list of commonly needed materials and tools:
Materials:
- Roofing materials: Depending on the desired extension method, you may need additional roofing shingles, metal panels, or other suitable materials that match your existing roof.
- Wood or metal framing materials: This includes beams, rafters, joists, and other structural components necessary for extending the roof.
- Fasteners: Ensure you have an adequate supply of nails, screws, brackets, and other hardware to secure the roofing materials and structural elements.
- Flashing: Use flashing to create a waterproof barrier between the extension and the existing roof to prevent leaks.
- Insulation: If you plan to insulate the porch roof extension, gather the necessary insulation materials such as fiberglass batts or rigid foam insulation.
- Sealant and caulk: These are essential for ensuring a weather-tight and secure installation.
Read more: How To Extend A Concrete Porch
Tools:
- Tape measure: Accurate measurements are crucial for proper fitting and alignment.
- Saw: Choose a saw appropriate for cutting the framing materials, such as a circular saw or reciprocating saw.
- Hammer and/or screwdriver: These basic hand tools are essential for fastening components together.
- Level: A level will help ensure that the extension is properly aligned and squared during construction.
- Roofing tools: Depending on the roofing material, you may need tools like a roofing nail gun, pneumatic stapler, or tin snips.
- Safety equipment: Don’t forget safety goggles, gloves, a hard hat, and appropriate footwear to protect yourself during construction.
Before purchasing materials, take accurate measurements and consult your design plans to ensure you buy the correct quantities. It’s also a good idea to invest in high-quality materials and tools to ensure the longevity and durability of your porch roof extension.
Once you have gathered all the necessary materials and tools, you’ll be ready to move on to the next step: preparing your porch for the extension.
Preparing the Porch for Extension
Before you can begin extending your porch roof, it’s important to properly prepare your porch for construction. This involves several crucial steps to ensure a smooth and successful extension. Here’s what you need to do:
1. Clear the Area:
Remove any furniture, plants, or decorations from the porch to create an unobstructed work area. Clearing the space will allow for easier access and prevent any damage to your belongings during the construction process.
2. Inspect the Existing Structure:
Thoroughly inspect the porch’s existing structure for any signs of damage, rot, or instability. Pay close attention to the beams, posts, and connections. If you notice any issues, it’s crucial to address them before proceeding with the extension. Repair or replace any damaged or compromised components to ensure the structural integrity of your porch.
Read more: How To Extend A Roof Over A Patio
3. Measure and Mark:
Using a tape measure, measure and mark the area where you plan to extend the porch roof. Ensure your measurements are accurate and align with your design plans. This step will guide you in framing the extension and positioning the roof materials correctly.
4. Install Temporary Weather Protection:
If your porch roof extension will take more than a day to complete, it’s essential to install temporary weather protection. This can be achieved using tarps or plastic sheeting to cover the area and protect it from rain or other adverse weather conditions.
5. Secure Perimeter and Access Points:
Block off the construction area to prevent unauthorized access and ensure safety. Use caution tape or fences to clearly mark boundaries and restrict entry. This step will help prevent accidents and maintain a secure work environment.
6. Obtain Necessary Permits:
Check with your local building authority to determine if you need any permits for the porch roof extension. Make sure to complete all the necessary paperwork and pay any required fees before proceeding with the construction. It’s essential to comply with local building codes and regulations to avoid potential issues in the future.
By properly preparing your porch for the extension, you’re laying the groundwork for a successful and efficient construction process. Once the porch is ready, it’s time to move on to building the roof extension frame.
Read more: How To Extend An Existing Patio Roof
Building the Roof Extension Frame
Now that your porch is prepared, it’s time to start building the frame for your roof extension. The frame will provide the structural support for the new roof and ensure its stability. Follow these steps to construct the roof extension frame:
1. Gather the Necessary Materials:
Refer to your design plans and gather the required framing materials, including beams, joists, and rafters. Ensure that the materials are of the appropriate size and quality to support the weight of the roof and withstand weather conditions.
2. Cut and Install the Beams:
Measure and cut the beams to the appropriate length, following your design plans. Position and secure them to the existing porch structure using sturdy brackets or connectors. Use a level to ensure that the beams are plumb and properly aligned.
3. Install the Joists:
Measure, cut, and install the joists between the beams, evenly spaced according to your design plans and local building codes. Attach them securely using appropriate fasteners, such as joist hangers or galvanized nails. Again, use a level to ensure that the joists are level and properly aligned.
Read more: How To Frame Porch Roof
4. Add Rafters:
Measure and cut the rafters to the desired length, taking into account the pitch of the roof. Secure the rafters to the beams and joists, following your design plans. Use appropriate connectors or toe-nail the rafters for added stability. Ensure that the spacing between the rafters is even for proper support.
5. Reinforce the Frame:
Depending on the size and design of your roof extension, additional reinforcement may be necessary. Consider adding collar ties, ridge beams, or braces to enhance the rigidity and strength of the frame. Consult a professional if needed to ensure the frame can withstand anticipated loads.
6. Double-Check Alignment and Stability:
Before proceeding with the next steps, double-check the alignment and stability of the roof extension frame. Use a level to ensure that all components are straight and correctly positioned. Make any necessary adjustments or reinforcements as needed.
By following these steps, you’ll have a sturdy and reliable roof extension frame in place. The next step is attaching the extension to the existing roof, which we’ll cover in the next section.
Attaching the Extension to Existing Roof
After building the frame for your roof extension, the next step is to securely attach it to the existing roof. This connection is crucial for ensuring a watertight seal and structural integrity. Follow these steps to attach the extension to the existing roof:
Read more: How To Replace A Porch Roof
1. Cut Roof Opening:
Measure and mark the area on the existing roof where the extension will be attached. Use a circular saw or reciprocating saw to carefully cut through the roofing material and create an opening. Ensure that the opening is slightly larger than the dimensions of the extension to allow for proper fitting.
2. Install Flashing:
To prevent water infiltration, install flashing along the edges of the roof opening. This will create a waterproof seal and protect against leaks. Use appropriate roofing adhesive or sealant to secure the flashing in place, ensuring that it extends over the edges of the opening.
3. Align and Secure Extension Frame:
Carefully position the roof extension frame onto the existing roof, aligning it with the opening. Ensure that the frame is level and properly aligned with the surrounding structure. Secure the frame to the existing roof by driving screws or nails through the connecting beams and into the roof framework. Use appropriate fasteners and connectors for a secure attachment.
4. Apply Roofing Adhesive:
To create a waterproof and durable connection, apply roofing adhesive on the surface where the extension frame meets the existing roof. Spread the adhesive evenly and ensure full coverage. This will provide an additional layer of protection against water penetration.
Read more: How To Build A Front Porch Roof
5. Install Flashing on the Extension:
Just like with the existing roof opening, install flashing along the edges of the extension where it meets the existing roof. This will again create a watertight seal and prevent potential leaks. Secure the flashing using roofing adhesive or sealant.
6. Seamlessly Integrate Roofing Materials:
Install the roofing materials on the extension, ensuring a seamless integration with the existing roof. This could involve using matching shingles, metal panels, or any other roofing material that complements your porch and home’s design. Follow the manufacturer’s instructions for proper installation techniques.
By carefully following these steps, you’ll securely attach the roof extension to the existing roof, ensuring a strong and weather-resistant connection. With the extension in place, it’s time to move on to installing the roofing materials and adding the finishing touches.
Installing Roofing Materials
With the roof extension frame securely attached to the existing roof, it’s time to install the roofing materials. The choice of roofing materials will depend on your personal preference, budget, and the style of your home. Follow these general steps to install the roofing materials:
1. Prep the Surface:
Before installing the roofing materials, make sure the surface is clean and free from debris. Remove any loose nails, dirt, or dust. Additionally, check for any damage or irregularities and address them before proceeding.
Read more: What Is The Roof Of A Porch Called
2. Start at the Bottom:
When installing roofing materials, it is generally recommended to start from the bottom and work your way up. Begin by installing the first row of roofing materials along the bottom edge of the roof extension. Make sure they are aligned evenly and securely attached, following the manufacturer’s guidelines and using appropriate fasteners.
3. Overlap and Seal:
Each subsequent row of roofing materials should overlap the previous row to form a watertight barrier. Follow the manufacturer’s instructions on the specific overlap requirements for the roofing material you are using. Secure each row with appropriate fasteners and ensure a snug fit.
4. Use Proper Techniques:
Each roofing material may require specific installation techniques. For example, if using asphalt shingles, you’ll need to use a combination of nails and adhesive to secure them in place. Metal panels may require special clamps or fasteners. Either way, be sure to follow the recommended installation methods for the specific type of roofing material.
5. Pay Attention to Flashing:
As you progress with the roofing installation, it’s important to pay attention to the flashing around any openings or transitions on the roof extension. Flashing is essential for creating a watertight seal and preventing leaks. Make sure it is properly installed and securely attached to the roofing materials.
Read more: How To Build A Porch Deck With Roof
6. Perform Quality Checks:
Throughout the roofing installation process, regularly assess the quality of your work. Check for proper alignment, secure attachment, and overall aesthetics. Fix any issues you come across promptly to maintain the integrity of the roof and ensure a professional finish.
Remember to take safety precautions while working at heights and to consult the manufacturer’s instructions for specific installation guidelines for your chosen roofing materials. By following these steps, you’ll successfully install the roofing materials for your porch roof extension.
Now that the roofing materials are in place, it’s time to add the finishing touches to complete your porch roof extension.
Adding Finishing Touches
With the roofing materials installed, it’s time to add the finishing touches to complete your porch roof extension. These final touches will enhance both the functionality and visual appeal of your extended porch. Here’s what you need to consider:
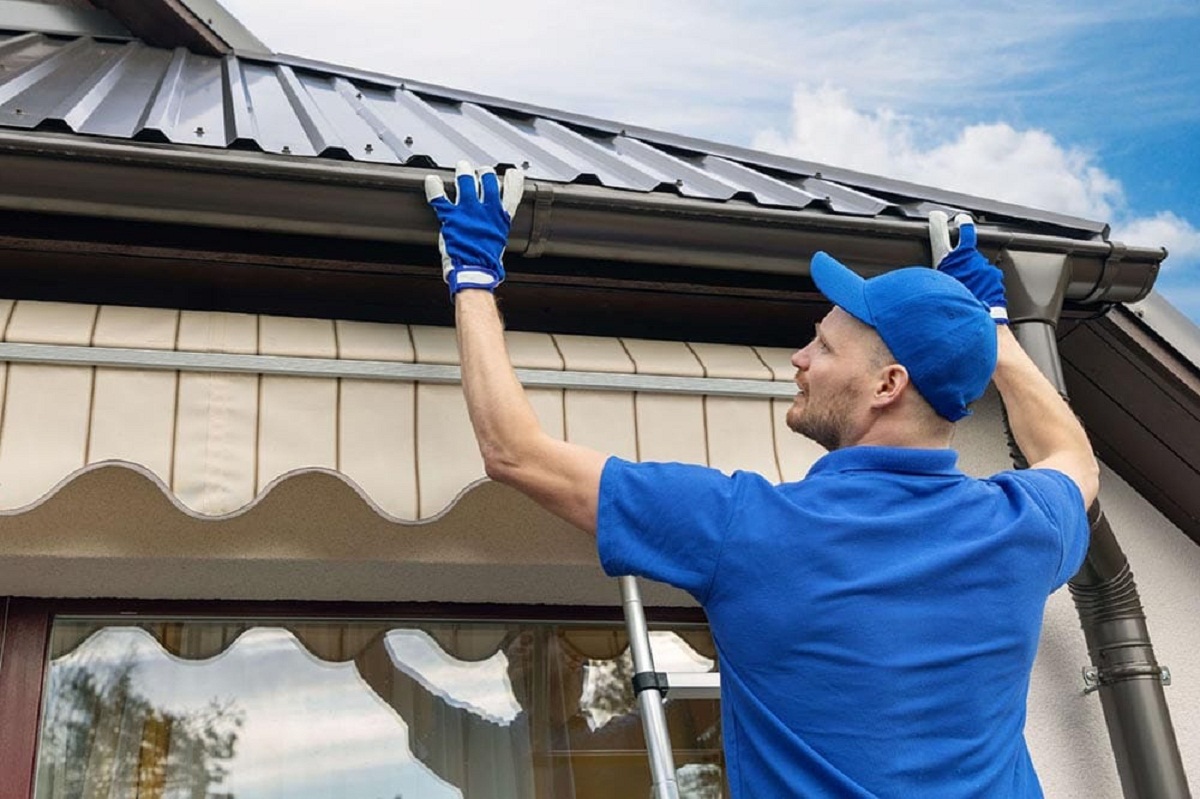
1. Gutter Installation:
Installing gutters and downspouts is crucial for proper drainage and preventing water damage. Attach gutters along the eaves of the roof extension, ensuring they slope slightly towards the downspouts. Make sure they are securely fastened and free from debris to allow for efficient water flow.
2. Soffit and Fascia:
Consider adding soffit and fascia to your porch roof extension. Soffit covers the underside of the roof overhang, while fascia protects the roof edges and provides a clean, finished appearance. Ensure they are properly installed, aligned, and securely attached to the roof frame.
Read more: How To Build A Gable Porch Roof
3. Painting or Staining:
If desired, paint or stain the porch roof extension to match the existing porch and home’s exterior. Choose a weather-resistant finish that complements the overall aesthetics of your property. Before painting or staining, ensure that the surface is clean and properly prepared for the best results.
4. Lighting and Electrical:
Consider incorporating lighting into your porch roof extension for both safety and ambiance. Install outdoor light fixtures or string lights to illuminate the space after dark. If you plan to have electrical outlets or other electrical components, make sure they are properly installed by a licensed electrician.
5. Decorative Elements:
Add decorative elements to personalize your porch roof extension. This could include hanging plants, comfortable outdoor furniture, or other decorative accents that reflect your style and enhance the functionality of the space. Choose weather-resistant materials suitable for outdoor use.
6. Regular Maintenance:
To ensure the longevity and proper functioning of your porch roof extension, regular maintenance is essential. Clean the roof surface, gutters, and downspouts regularly to remove debris and prevent clogs. Inspect the roof for any signs of damage or wear and address them promptly to avoid more significant issues.
By adding these finishing touches, you’ll complete your porch roof extension and create a functional and visually pleasing outdoor space. Remember to enjoy and make the most of your extended porch for years to come!
Congratulations on successfully extending your porch roof and transforming your outdoor living area into a beautiful and functional space!
Conclusion
Extending your porch roof is a rewarding project that can significantly enhance your outdoor living space. With careful planning, assessment, and the right materials and tools, you can successfully create a functional and visually appealing porch roof extension. Whether you choose to match existing roofs, add a gable extension, or opt for a lean-to design, the possibilities are endless.
Throughout this comprehensive guide, we’ve covered the key steps involved in extending a porch roof. We started with assessing your porch roof’s condition and determining the best extension method for your needs and budget. We then discussed gathering the necessary materials and tools and preparing the porch for construction.
Next, we explored the process of building the roof extension frame, ensuring its alignment, stability, and structural integrity. We then moved on to attaching the extension to the existing roof, creating a secure and watertight connection. Installing the roofing materials and adding the finishing touches were the final steps, transforming your porch roof extension into a functional and visually pleasing space.
Throughout the project, it’s important to adhere to local building codes and regulations, obtain any necessary permits, and prioritize safety. Consulting with professionals when needed and performing regular maintenance will help ensure the longevity and proper functioning of your porch roof extension.
Now, sit back, relax, and enjoy your newly extended porch roof. Whether you’re hosting gatherings, enjoying peaceful moments, or simply adding value to your home, your porch roof extension is sure to enhance your outdoor living experience for years to come.
Happy extending!
Now that you've got the know-how to extend your porch roof, why not spruce up that new space with some vibrant decor? Our guide on enhancing decks for outdoor living will show you how to transform your extended porch into a cozy, inviting retreat. Feeling inspired to tackle more projects yourself? Dive into our discussion on DIY projects and discover how rolling up your sleeves can lead to rewarding, personalized improvements around your home. Both articles are packed with creative ideas and practical advice to keep improving your living space!
Frequently Asked Questions about How To Extend Porch Roof
Was this page helpful?
At Storables.com, we guarantee accurate and reliable information. Our content, validated by Expert Board Contributors, is crafted following stringent Editorial Policies. We're committed to providing you with well-researched, expert-backed insights for all your informational needs.


0 thoughts on “How To Extend Porch Roof”