Articles
How To Waterproof A Porch
Modified: January 8, 2024
Learn how to waterproof your porch with our informative articles. Discover the best techniques and products for a durable and long-lasting solution
(Many of the links in this article redirect to a specific reviewed product. Your purchase of these products through affiliate links helps to generate commission for Storables.com, at no extra cost. Learn more)
Introduction
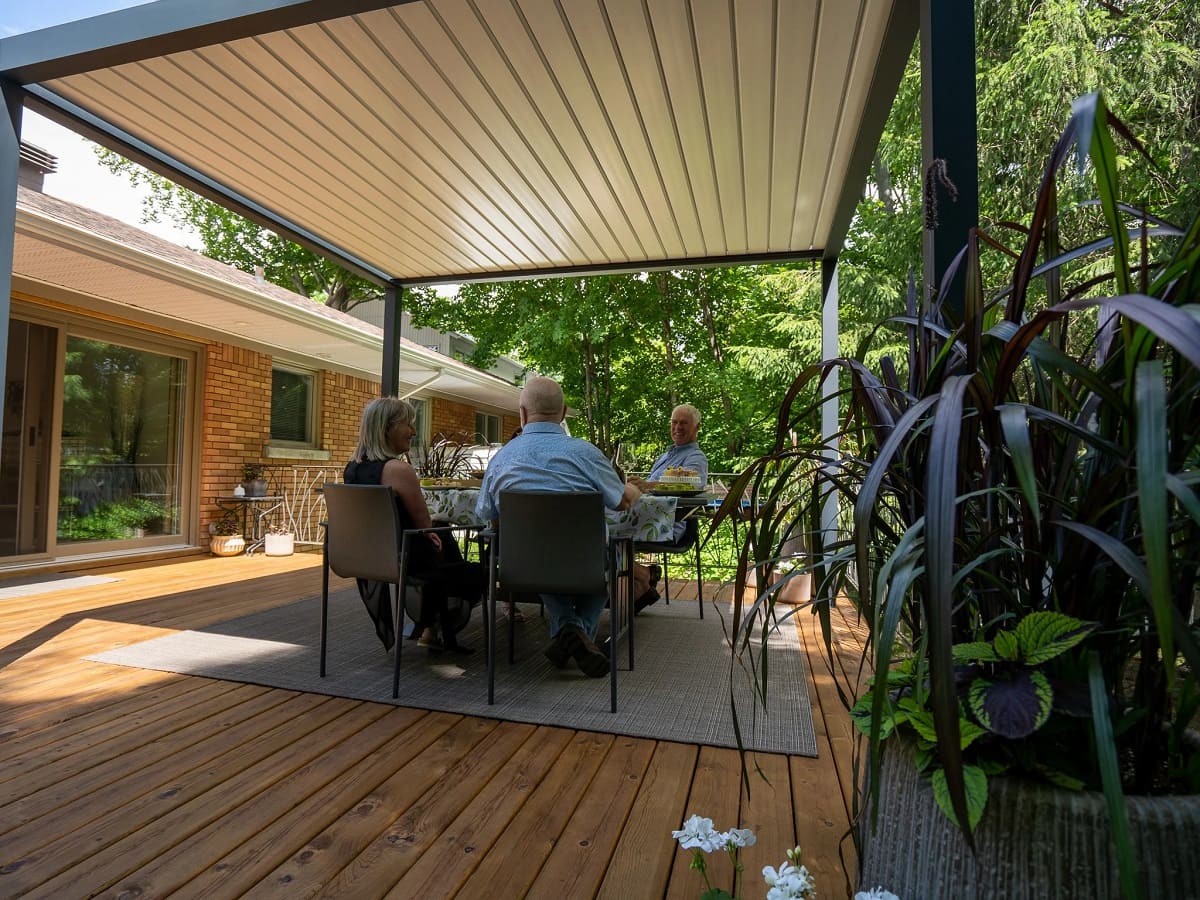
Welcome to the ultimate guide on how to waterproof a porch! Having a porch is a wonderful addition to any home. It provides a cozy space to relax, entertain guests, or simply enjoy the outdoors. However, without proper waterproofing, your porch can quickly become damaged and deteriorated due to exposure to the elements.
Water damage is one of the leading causes of porch deterioration. Rain, snow, and even humidity can seep into the porous materials of your porch, leading to rot, mold, and structural issues. Waterproofing your porch is essential to prolong its lifespan, maintain its beauty, and protect your investment.
In this comprehensive guide, we will walk you through the step-by-step process of waterproofing your porch. Whether you have a wooden, concrete, or composite porch, these techniques can be applied to keep it protected from moisture damage. So, let’s get started!
Key Takeaways:
- Properly waterproofing your porch involves cleaning, repairing, sealing, and applying protective coatings. This process ensures longevity, beauty, and protection from moisture-related issues, preserving your outdoor space for years to come.
- Installing a drainage system, sealing gaps, and applying a waterproofing membrane are crucial steps in safeguarding your porch from water damage. These measures help manage water flow and reinforce the effectiveness of the waterproofing process.
Read more: How To Waterproof Balcony
Step 1: Clean the porch
Before you begin the waterproofing process, it’s important to start with a clean surface. Remove any furniture, plants, or other items from your porch to create a clear space to work.
Next, give your porch a thorough cleaning to remove dirt, debris, and any existing coatings. Start by sweeping away loose dirt and leaves. Use a stiff brush or broom to scrub away any stubborn stains or grime. If necessary, you can use a pressure washer or a mixture of mild detergent and water to deep clean the surface.
Pay close attention to the corners, edges, and hard-to-reach areas of your porch. These are common spots where dirt and debris can accumulate and cause problems later on if not properly cleaned.
Once you’ve finished cleaning, allow your porch to fully dry before moving on to the next step. This is important because the presence of moisture can interfere with the effectiveness of the waterproofing materials.
Cleaning your porch thoroughly sets the foundation for a successful waterproofing project. By removing dirt and old coatings, you ensure that the waterproofing materials can adhere properly to the surface, providing long-lasting protection against moisture.
Step 2: Repair any damage
After cleaning your porch, it’s time to assess the condition of the surface and make any necessary repairs. Inspect the porch carefully for any signs of damage, such as cracks, chips, or rot.
If you have a wooden porch, check for any loose or damaged boards. Replace any boards that are cracked or rotted, ensuring that the new boards are properly secured and aligned with the existing ones.
For concrete porches, inspect the surface for cracks. Small hairline cracks can be repaired using a concrete patching compound. Fill the cracks with the compound, following the manufacturer’s instructions, and smooth the surface with a trowel. For larger cracks or structural damage, it may be necessary to consult a professional for repairs.
In addition to repairing the surface, also check for any issues with the porch’s structure. Look for sagging or unstable areas that may require additional reinforcement. Address any structural issues before proceeding with the waterproofing process.
Repairing any damage is essential to ensure the longevity of your porch. By addressing issues early on, you prevent further deterioration and ensure that the waterproofing materials can be applied to a solid and stable surface.
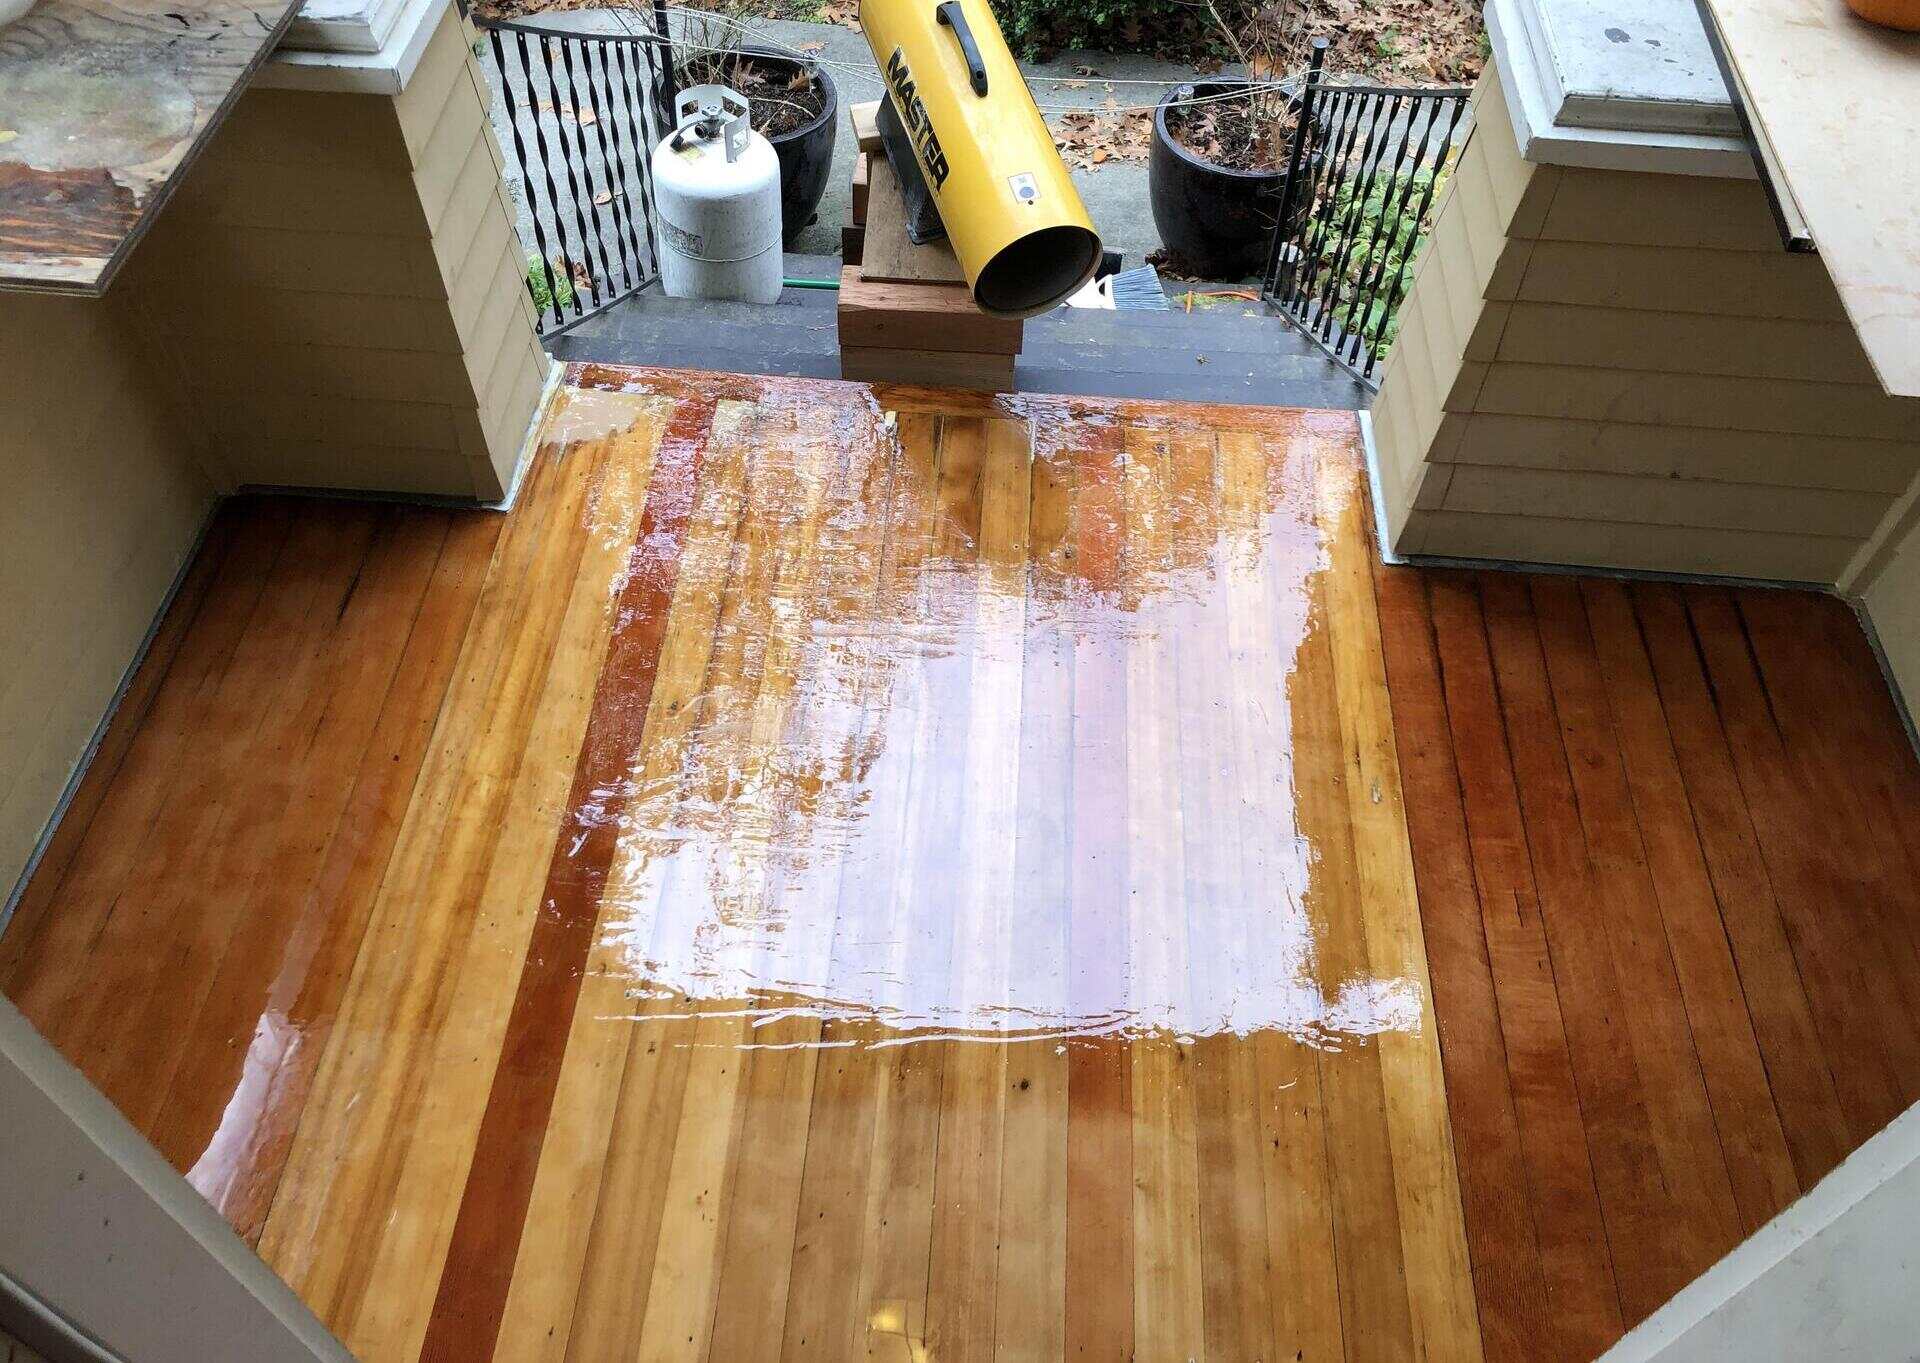
Step 3: Apply waterproofing sealant
Now that your porch is clean and any necessary repairs have been made, it’s time to apply a waterproofing sealant. This sealant will create a protective barrier that prevents water from penetrating the surface of your porch.
Before applying the sealant, carefully read and follow the instructions provided by the manufacturer. Different sealants may have specific application methods and drying times.
Start by applying the sealant to the horizontal surfaces of your porch, such as the floor and steps. Use a brush or roller to evenly spread the sealant across the surface, working in small sections. Be sure to cover the entire area, including the edges and corners.
If you have a wooden porch, choose a sealant specifically designed for wood surfaces. This will help to nourish the wood and protect it against moisture damage, rot, and insect infestation.
For concrete or composite porches, select a sealant that is compatible with the material. These sealants are designed to fill in the pores and create a waterproof barrier.
Allow the sealant to dry completely according to the manufacturer’s instructions. This may take several hours or even days, depending on the product and environmental conditions.
Applying a waterproofing sealant is an essential step in protecting your porch from moisture damage. The sealant acts as a shield, preventing water from seeping into the porous materials and causing issues such as cracking, splitting, or rotting.
Step 4: Install a drainage system
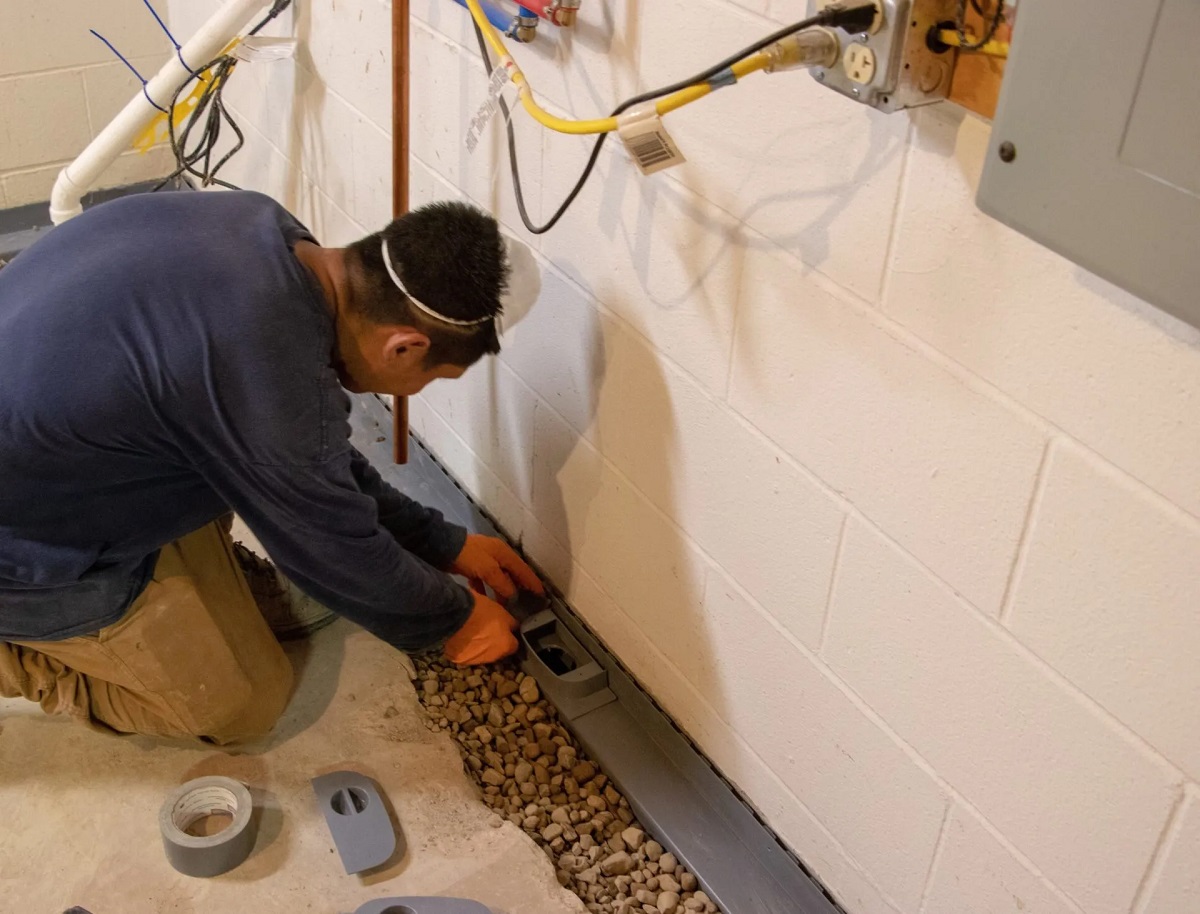
Installing a proper drainage system is crucial to ensure that water is efficiently diverted away from your porch. Without adequate drainage, water can accumulate and cause damage over time.
Start by examining the layout and slope of your porch. Ideally, the porch should be slightly sloped away from the house to allow water to flow naturally. If your porch lacks proper slope, you may need to make adjustments by adding additional supports or using a leveling compound.
Next, consider installing a gutter system along the edge of your porch’s roofline. Gutters collect rainwater and direct it away from your porch. Be sure to clean the gutters regularly to prevent clogs and ensure proper water flow.
In addition to gutters, you may also need to install downspouts. Downspouts are vertical pipes that guide water from the gutters down to the ground. Position the downspouts to direct water away from the porch and towards a drainage area, such as a grading trench or a storm drain.
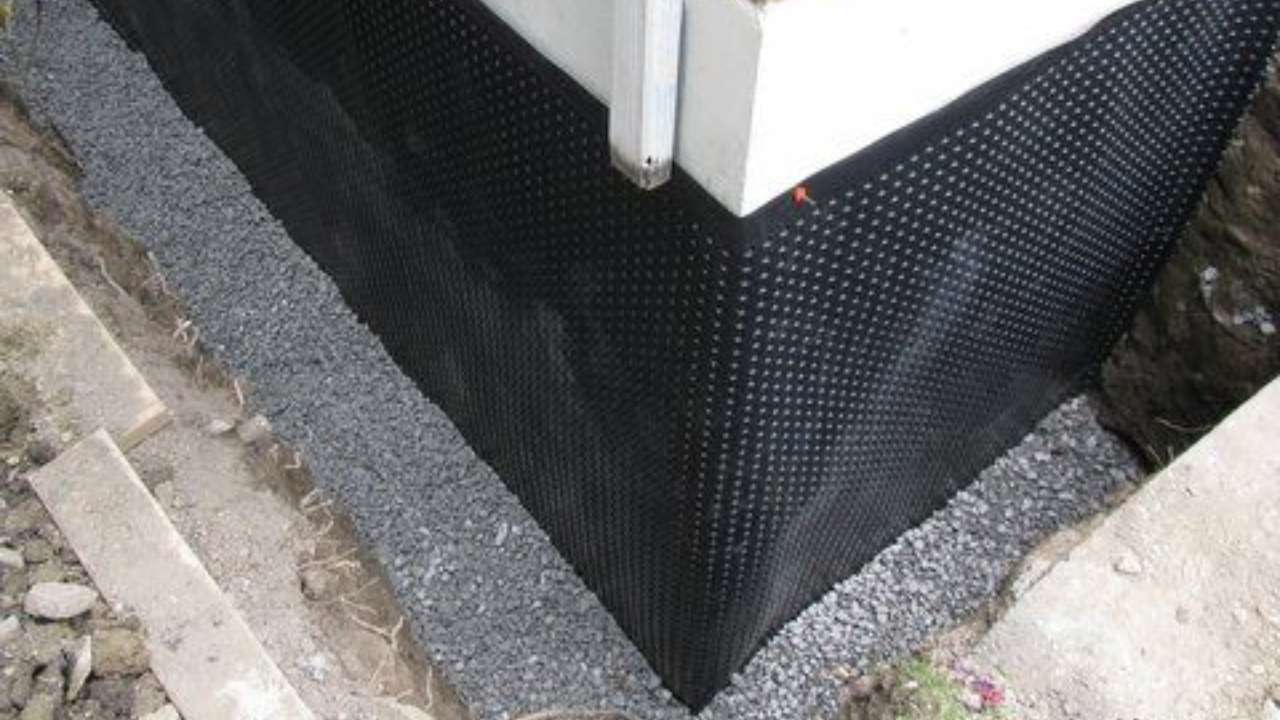
Another option to consider is the installation of a French drain system. A French drain helps to collect and redirect excess water away from the porch. It consists of a perforated pipe laid in a gravel-filled trench and covered with a geotextile fabric to prevent soil from entering the drain.
By installing a drainage system, you ensure that water is effectively managed and directed away from your porch. This helps to prevent pooling and water damage, keeping your porch in optimal condition for years to come.
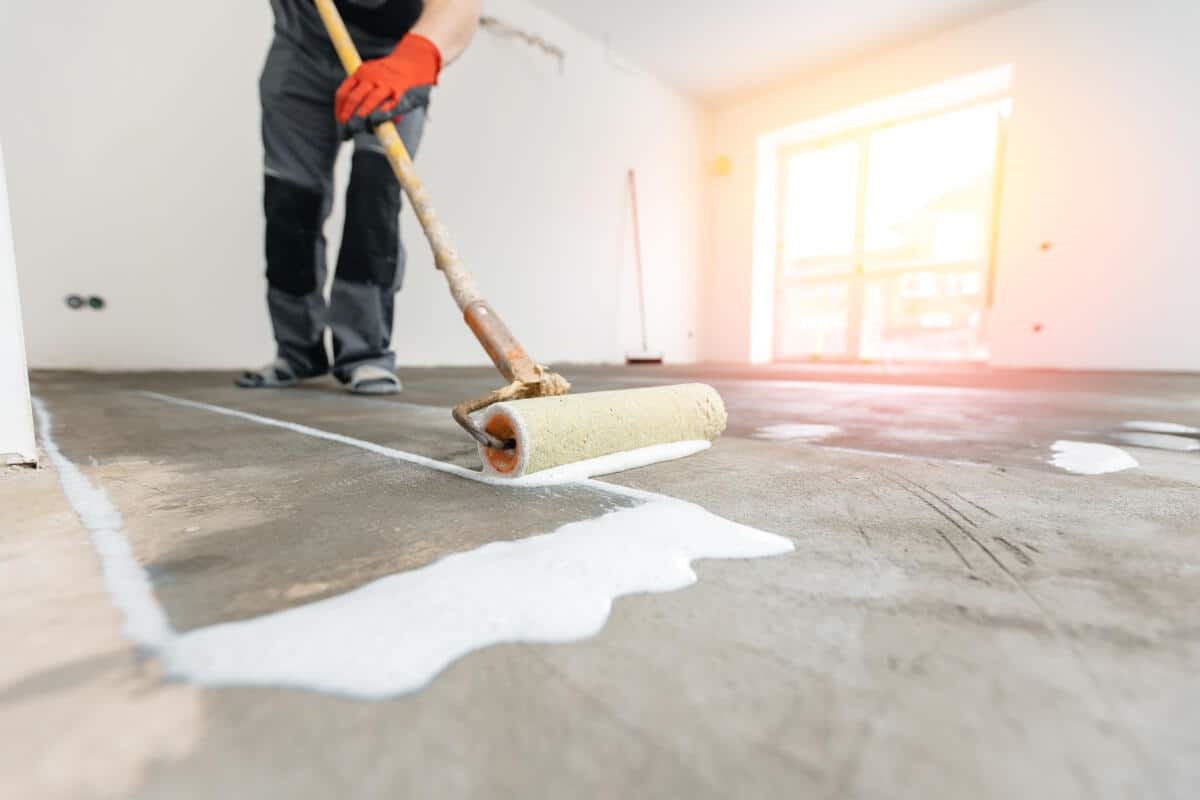
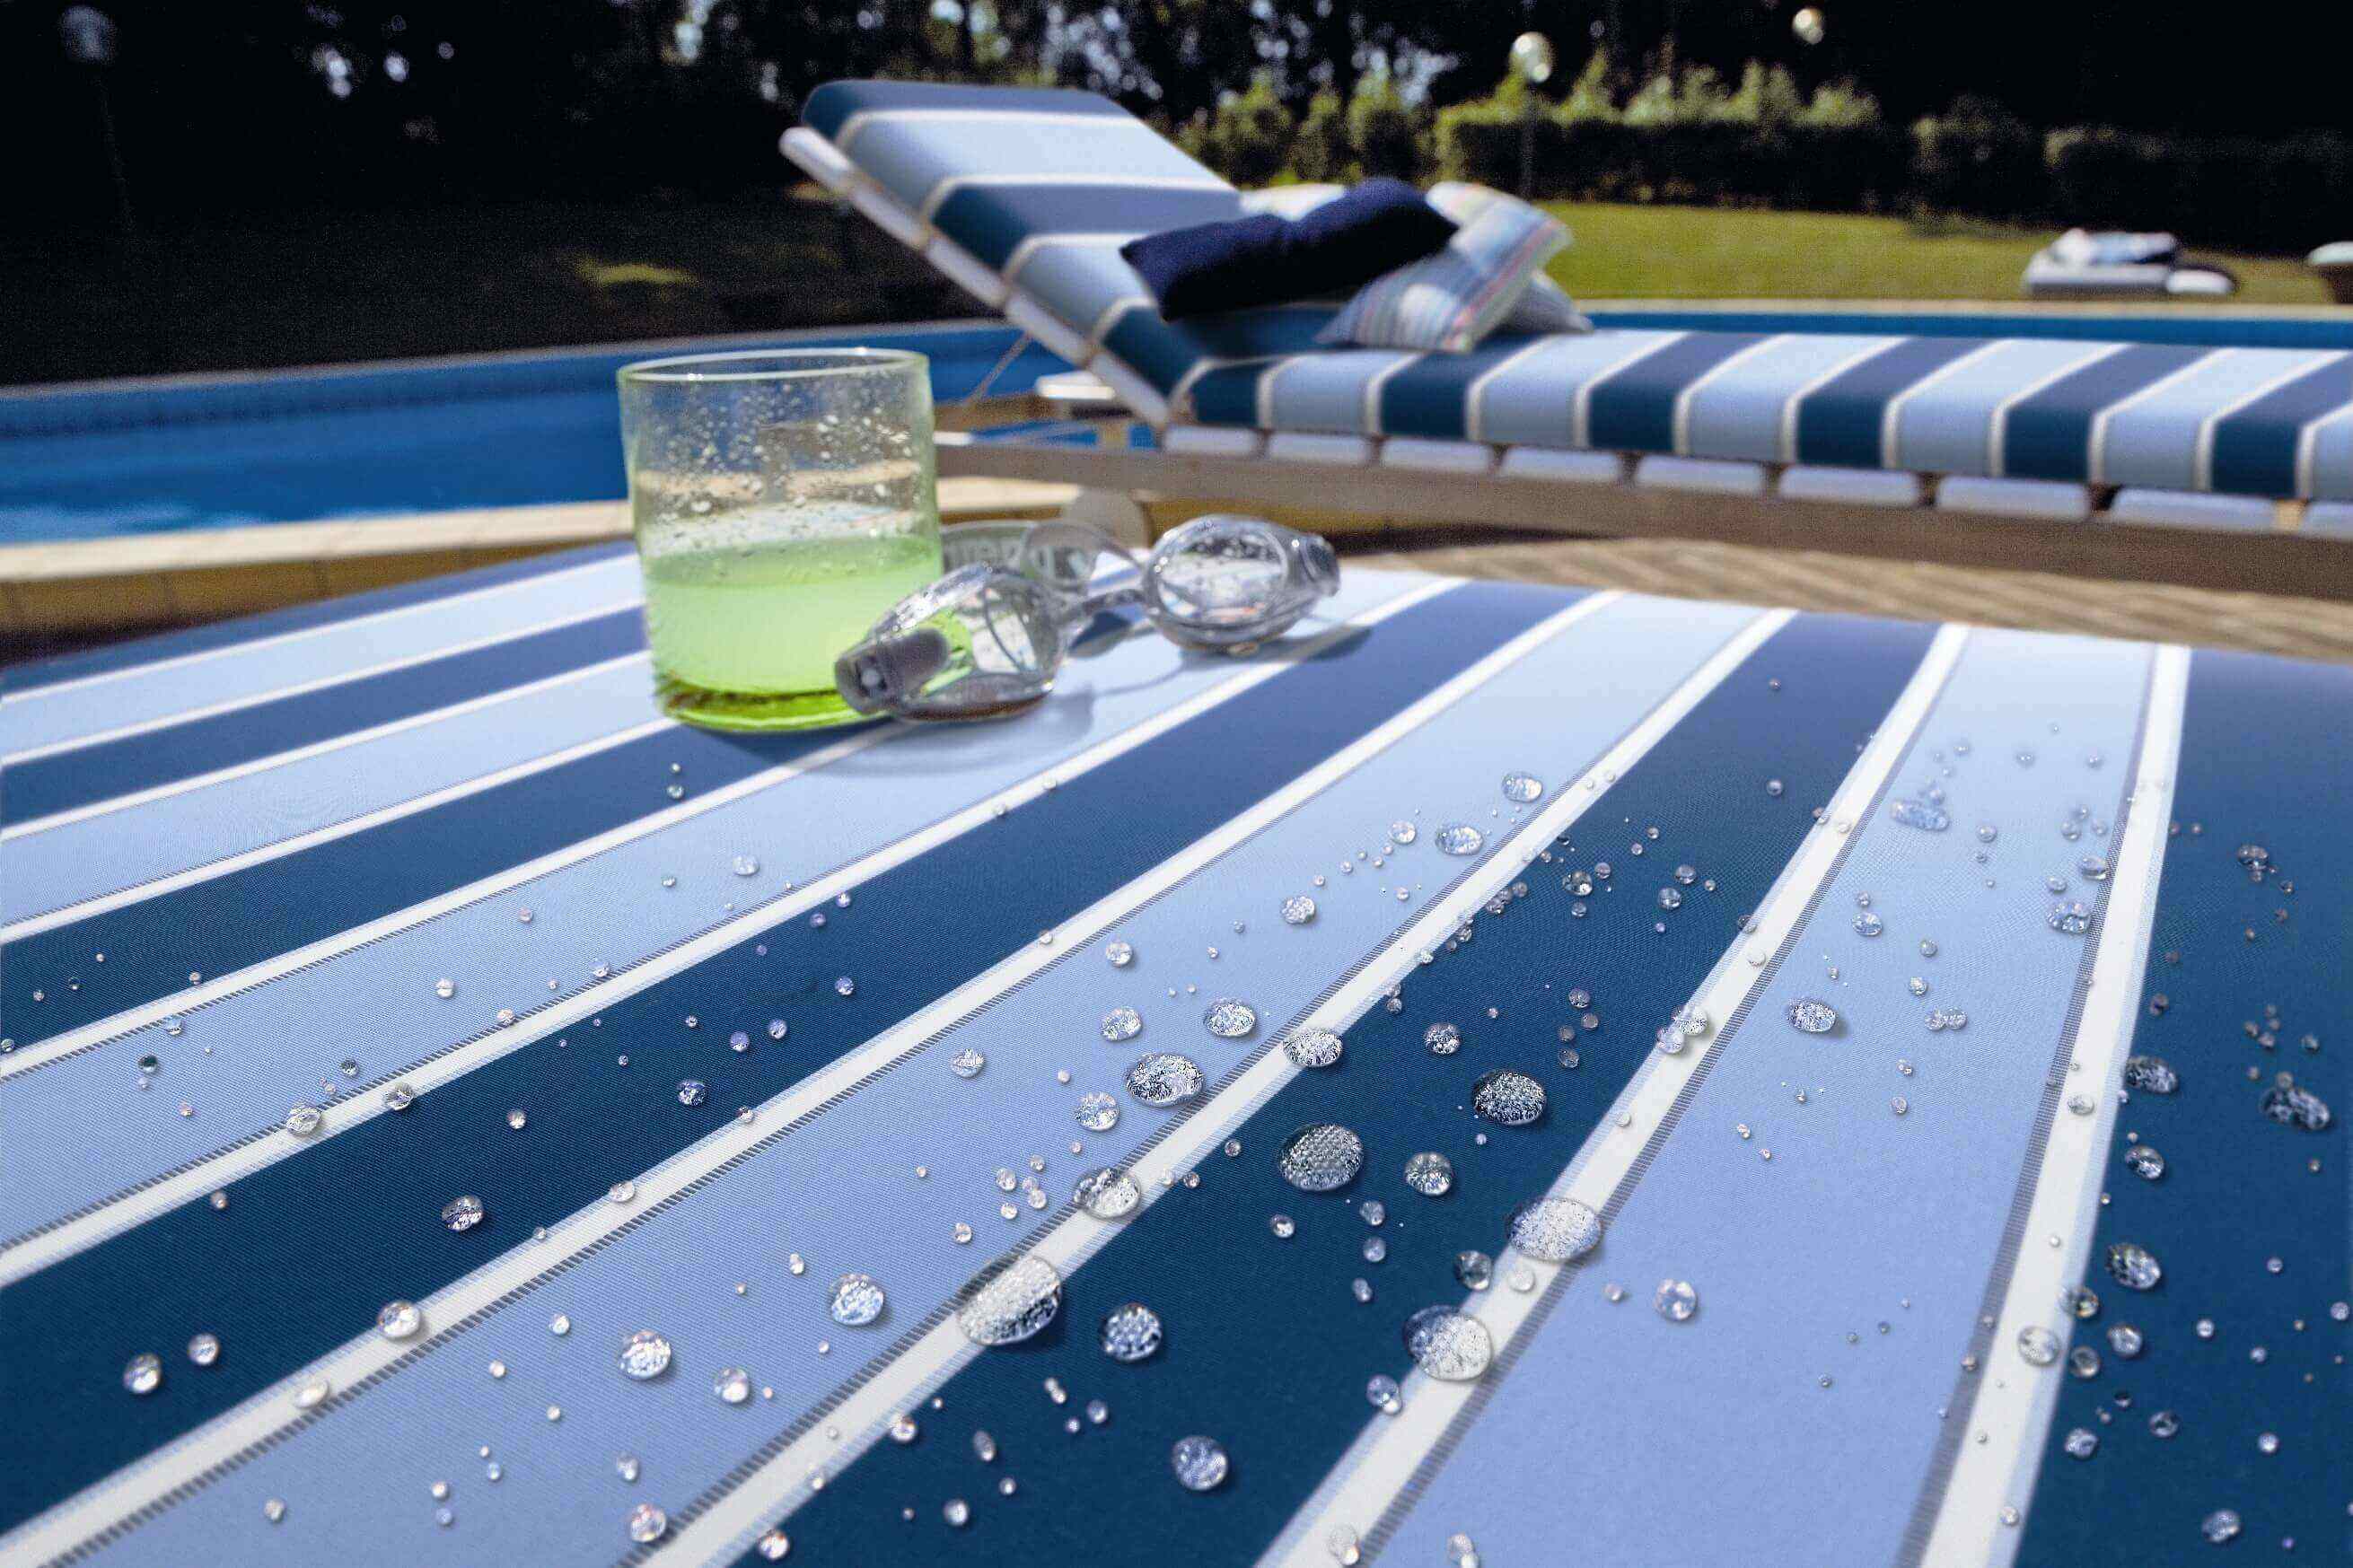
Apply a waterproof sealant to the porch surface to protect it from moisture and water damage. Make sure to clean and dry the surface thoroughly before applying the sealant for best results.
Read more: How To Waterproof Stucco
Step 5: Seal gaps and cracks
To further enhance the waterproofing of your porch, it’s essential to seal any gaps and cracks that may allow water to penetrate the surface. These openings can be found around windows, doors, and any joints or seams in the porch structure.
Begin by inspecting the perimeter of your porch and identifying any gaps or cracks. Use a caulk gun to apply a waterproof caulk along these areas, ensuring a complete and even seal. Smooth the caulk with a caulk smoothing tool or your finger for a neat and seamless finish.
Pay close attention to areas where the porch meets the house or any vertical structures. These are common areas for water infiltration, and sealing them properly is crucial.
In addition to caulk, consider using weatherstripping or door sweeps to seal any gaps around doors or windows. These materials create a barrier, preventing water from seeping through and improving energy efficiency.
For larger cracks or gaps in concrete porches, you may need to use a concrete patching compound. Follow the manufacturer’s instructions to fill in the cracks and smooth the surface.
Sealing gaps and cracks is an important step in waterproofing your porch. By eliminating entry points for water, you significantly reduce the risk of moisture damage and maintain the integrity of your porch.
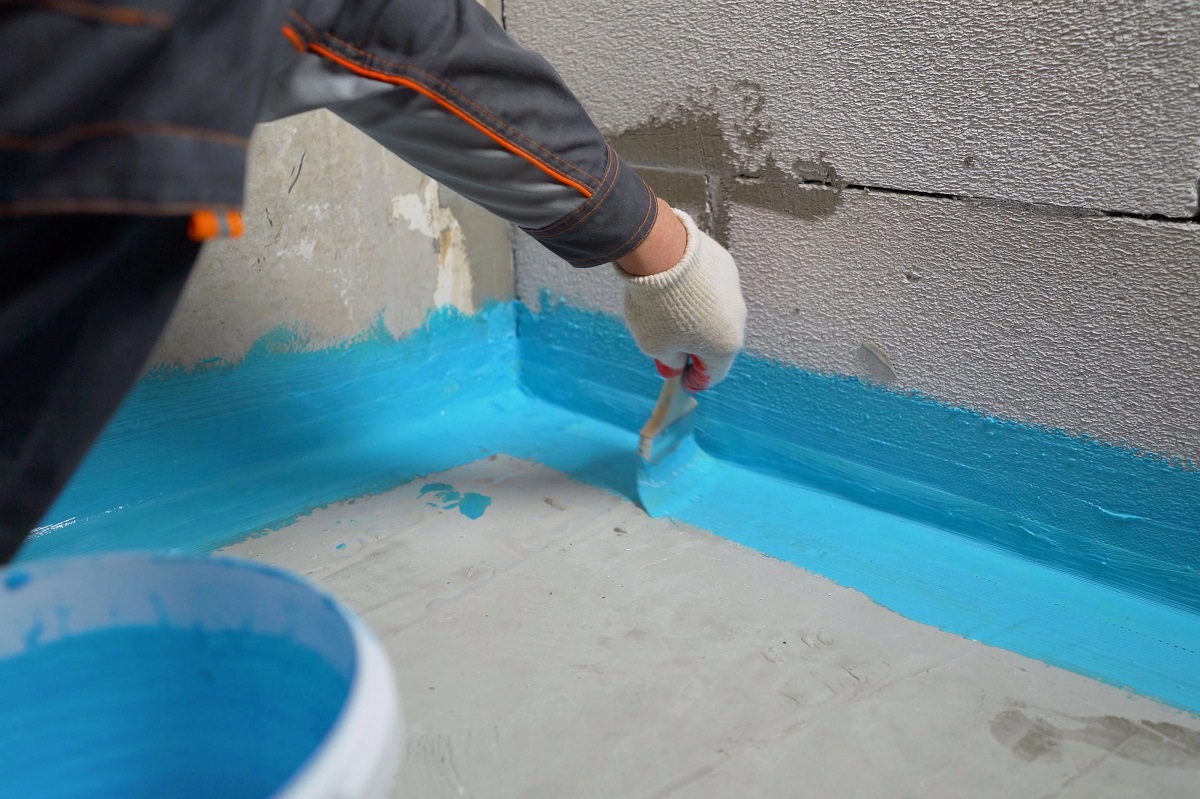
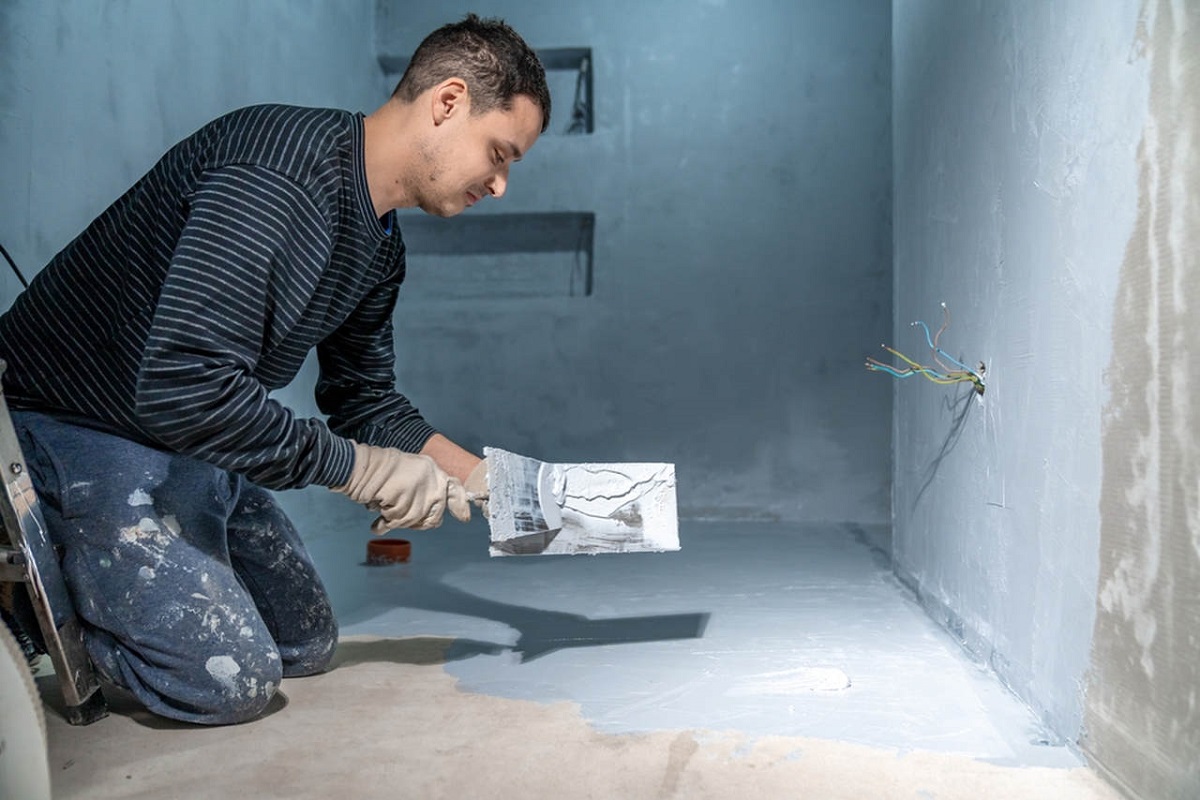
Step 6: Apply a waterproofing membrane
Applying a waterproofing membrane is an effective way to provide an extra layer of protection to your porch. This membrane creates a barrier that prevents water from seeping through the surface and causing damage.
Before applying the waterproofing membrane, ensure that your porch is clean and dry. Remove any dirt or debris that may interfere with the adhesion of the membrane.
There are different types of waterproofing membranes available, such as liquid membranes and sheet membranes. Follow the manufacturer’s instructions for the specific product you choose.
If you opt for a liquid membrane, use a brush or roller to apply it evenly over the entire surface of your porch. Be sure to cover all areas, including corners and edges. Allow the first coat to dry, and then apply a second coat for added durability.
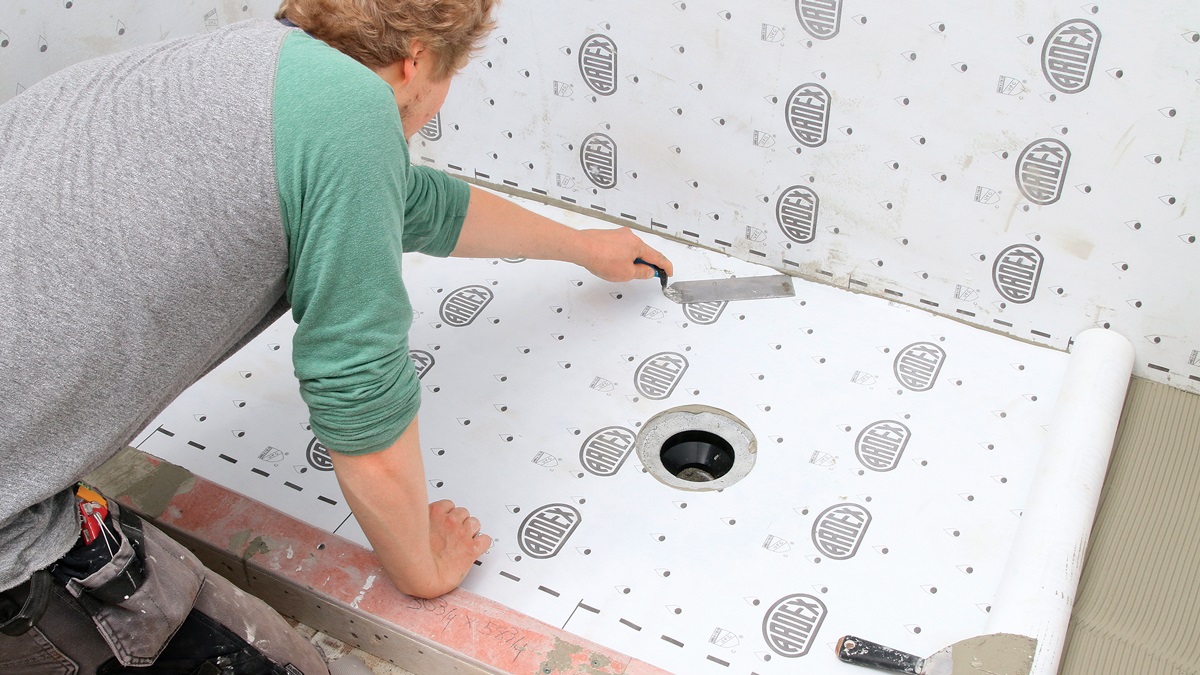
If you prefer a sheet membrane, cut the membrane to fit the dimensions of your porch. Lay it down, starting from one end, and smooth it out to remove any wrinkles or air bubbles. Secure the membrane in place with a suitable adhesive or fasteners.
Make sure the waterproofing membrane extends beyond the edges of your porch to ensure complete coverage. This will help to prevent water from seeping in through the sides.
Applying a waterproofing membrane adds an extra layer of protection to your porch, ensuring its longevity and resistance to moisture damage. It provides an additional barrier against water penetration and reinforces the effectiveness of the previous waterproofing steps.
Step 7: Apply a protective topcoat
The final step in waterproofing your porch is to apply a protective topcoat. This topcoat acts as a shield, providing an additional layer of protection against the elements and prolonging the lifespan of your porch.
Before applying the topcoat, ensure that the previous steps, such as cleaning, repairs, and the application of a waterproofing sealant or membrane, have been completed and allowed to dry fully.
Choose a topcoat that is specifically designed for outdoor use and compatible with the material of your porch. For example, if you have a wooden porch, opt for a topcoat that is suitable for wood surfaces.
Using a brush or roller, apply the topcoat evenly over the entire surface of your porch, including the floors, steps, and any exposed wood or concrete. Make sure to follow the manufacturer’s instructions regarding the number of coats to apply and the drying time between each coat.
A protective topcoat not only enhances the waterproofing of your porch but also provides added benefits such as UV protection and resistance to stains and mildew. It helps to maintain the appearance of your porch and prolong its lifespan by protecting it from the damaging effects of the sun, rain, and other environmental factors.
Once the topcoat has dried completely, your porch is ready to withstand the elements and remain protected for years to come.
Conclusion
Congratulations! You have successfully learned how to waterproof your porch. By following these steps, you have taken the necessary measures to protect your porch from water damage and ensure its longevity.
Remember, regular maintenance is key to preserving the waterproofing effectiveness of your porch. Inspect your porch periodically for any signs of wear or damage, and address any issues promptly to prevent further deterioration.
Properly waterproofing your porch not only extends its lifespan but also enhances its beauty and usability. You can now enjoy your outdoor space with peace of mind, knowing that it’s protected from moisture-related issues such as rot, mold, and structural damage.
Whether you have a wooden, concrete, or composite porch, the steps outlined in this guide can be applied to keep your porch in optimal condition. Clean the porch, repair any damage, apply a waterproofing sealant, install a drainage system, seal gaps and cracks, apply a waterproofing membrane, and finish with a protective topcoat.
Take pride in your investment and enjoy the benefits of a well-protected porch. As you embark on this waterproofing journey, make sure to consult with professionals or seek expert advice if needed.
Thank you for taking the time to learn how to waterproof your porch. We hope that this guide has been informative and helpful in your quest for an enduring and beautiful outdoor space.
Frequently Asked Questions about How To Waterproof A Porch
Was this page helpful?
At Storables.com, we guarantee accurate and reliable information. Our content, validated by Expert Board Contributors, is crafted following stringent Editorial Policies. We're committed to providing you with well-researched, expert-backed insights for all your informational needs.


0 thoughts on “How To Waterproof A Porch”