Articles
How To Redo A Front Porch
Modified: August 27, 2024
Learn how to redo your front porch with our informative articles. Get step-by-step instructions and expert tips for a stunning porch renovation.
(Many of the links in this article redirect to a specific reviewed product. Your purchase of these products through affiliate links helps to generate commission for Storables.com, at no extra cost. Learn more)
Introduction
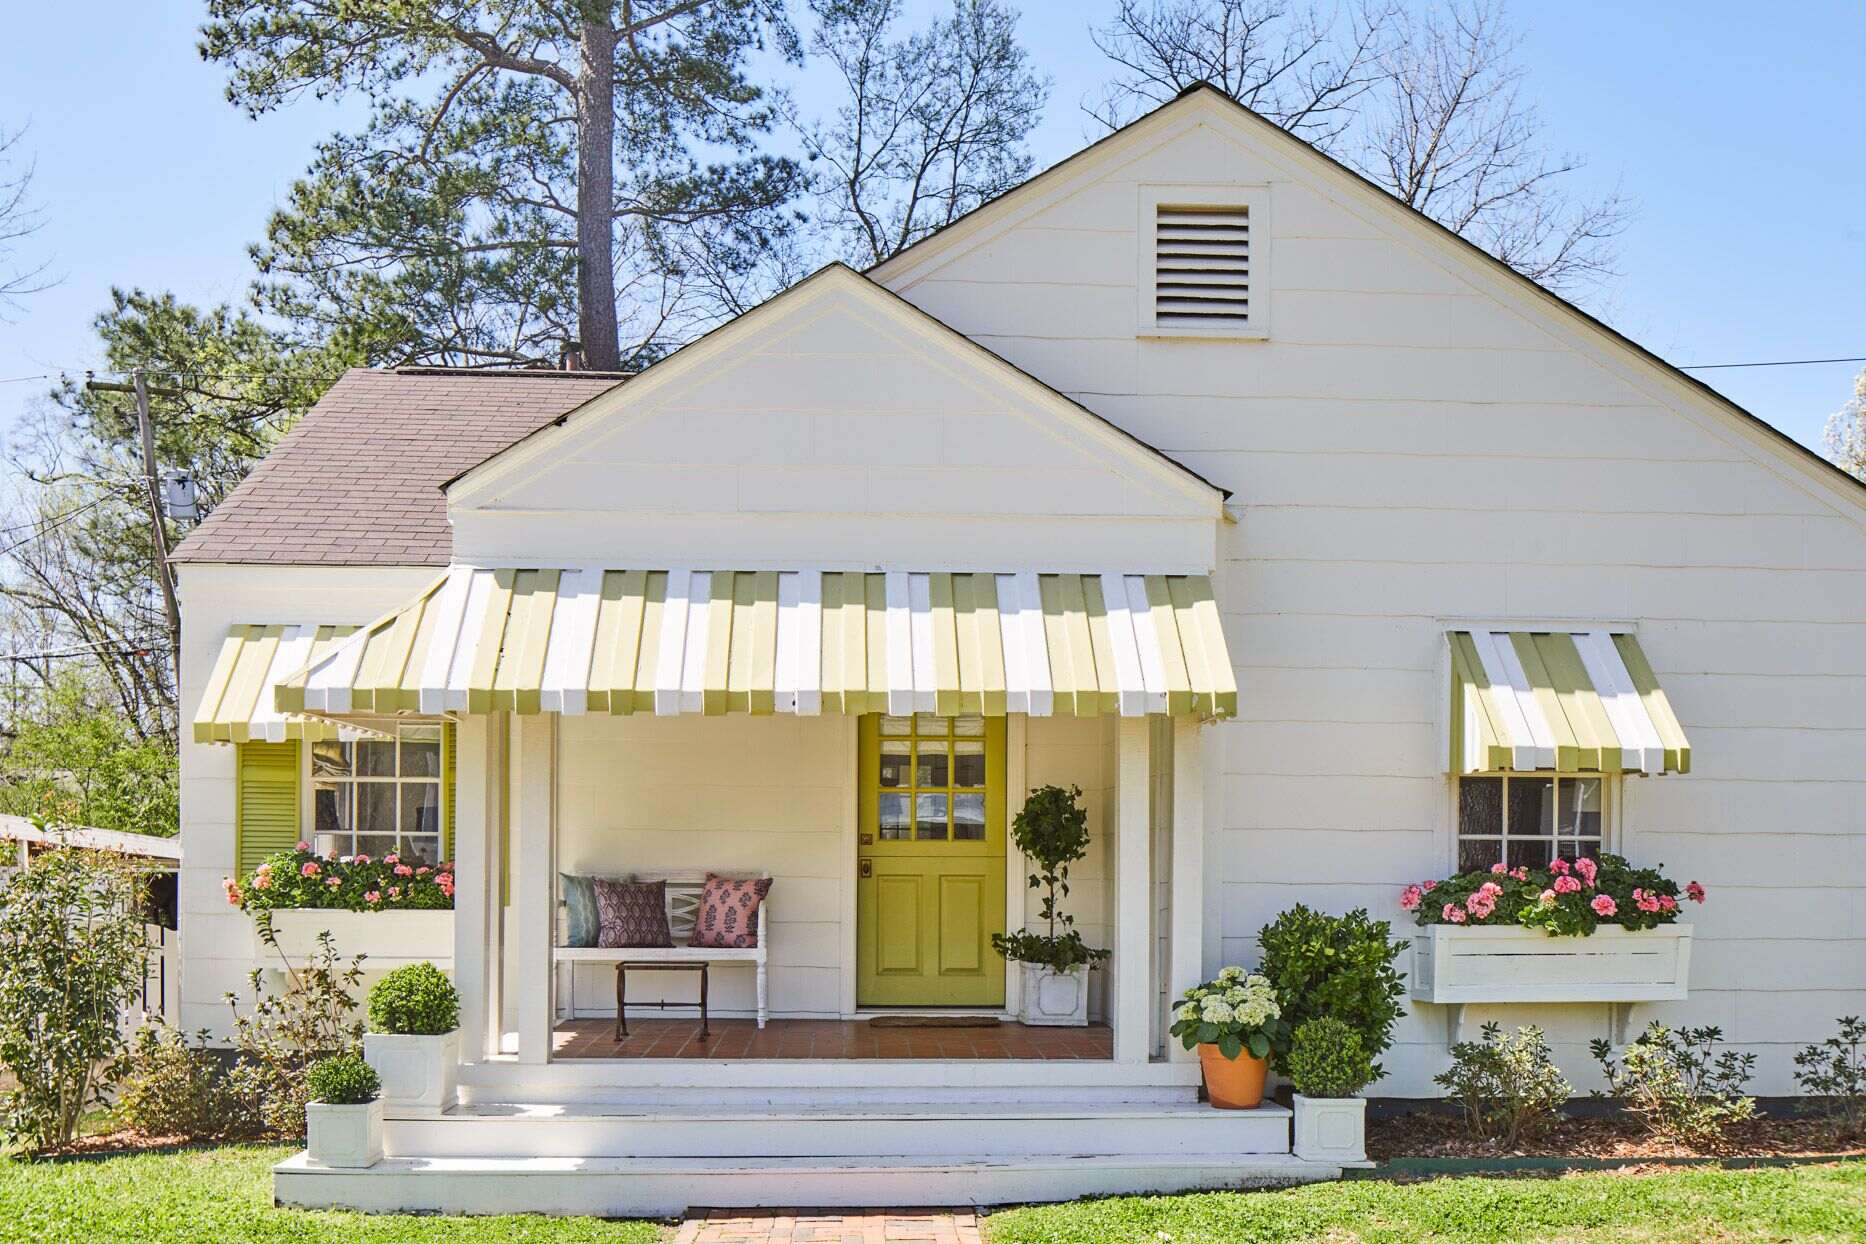
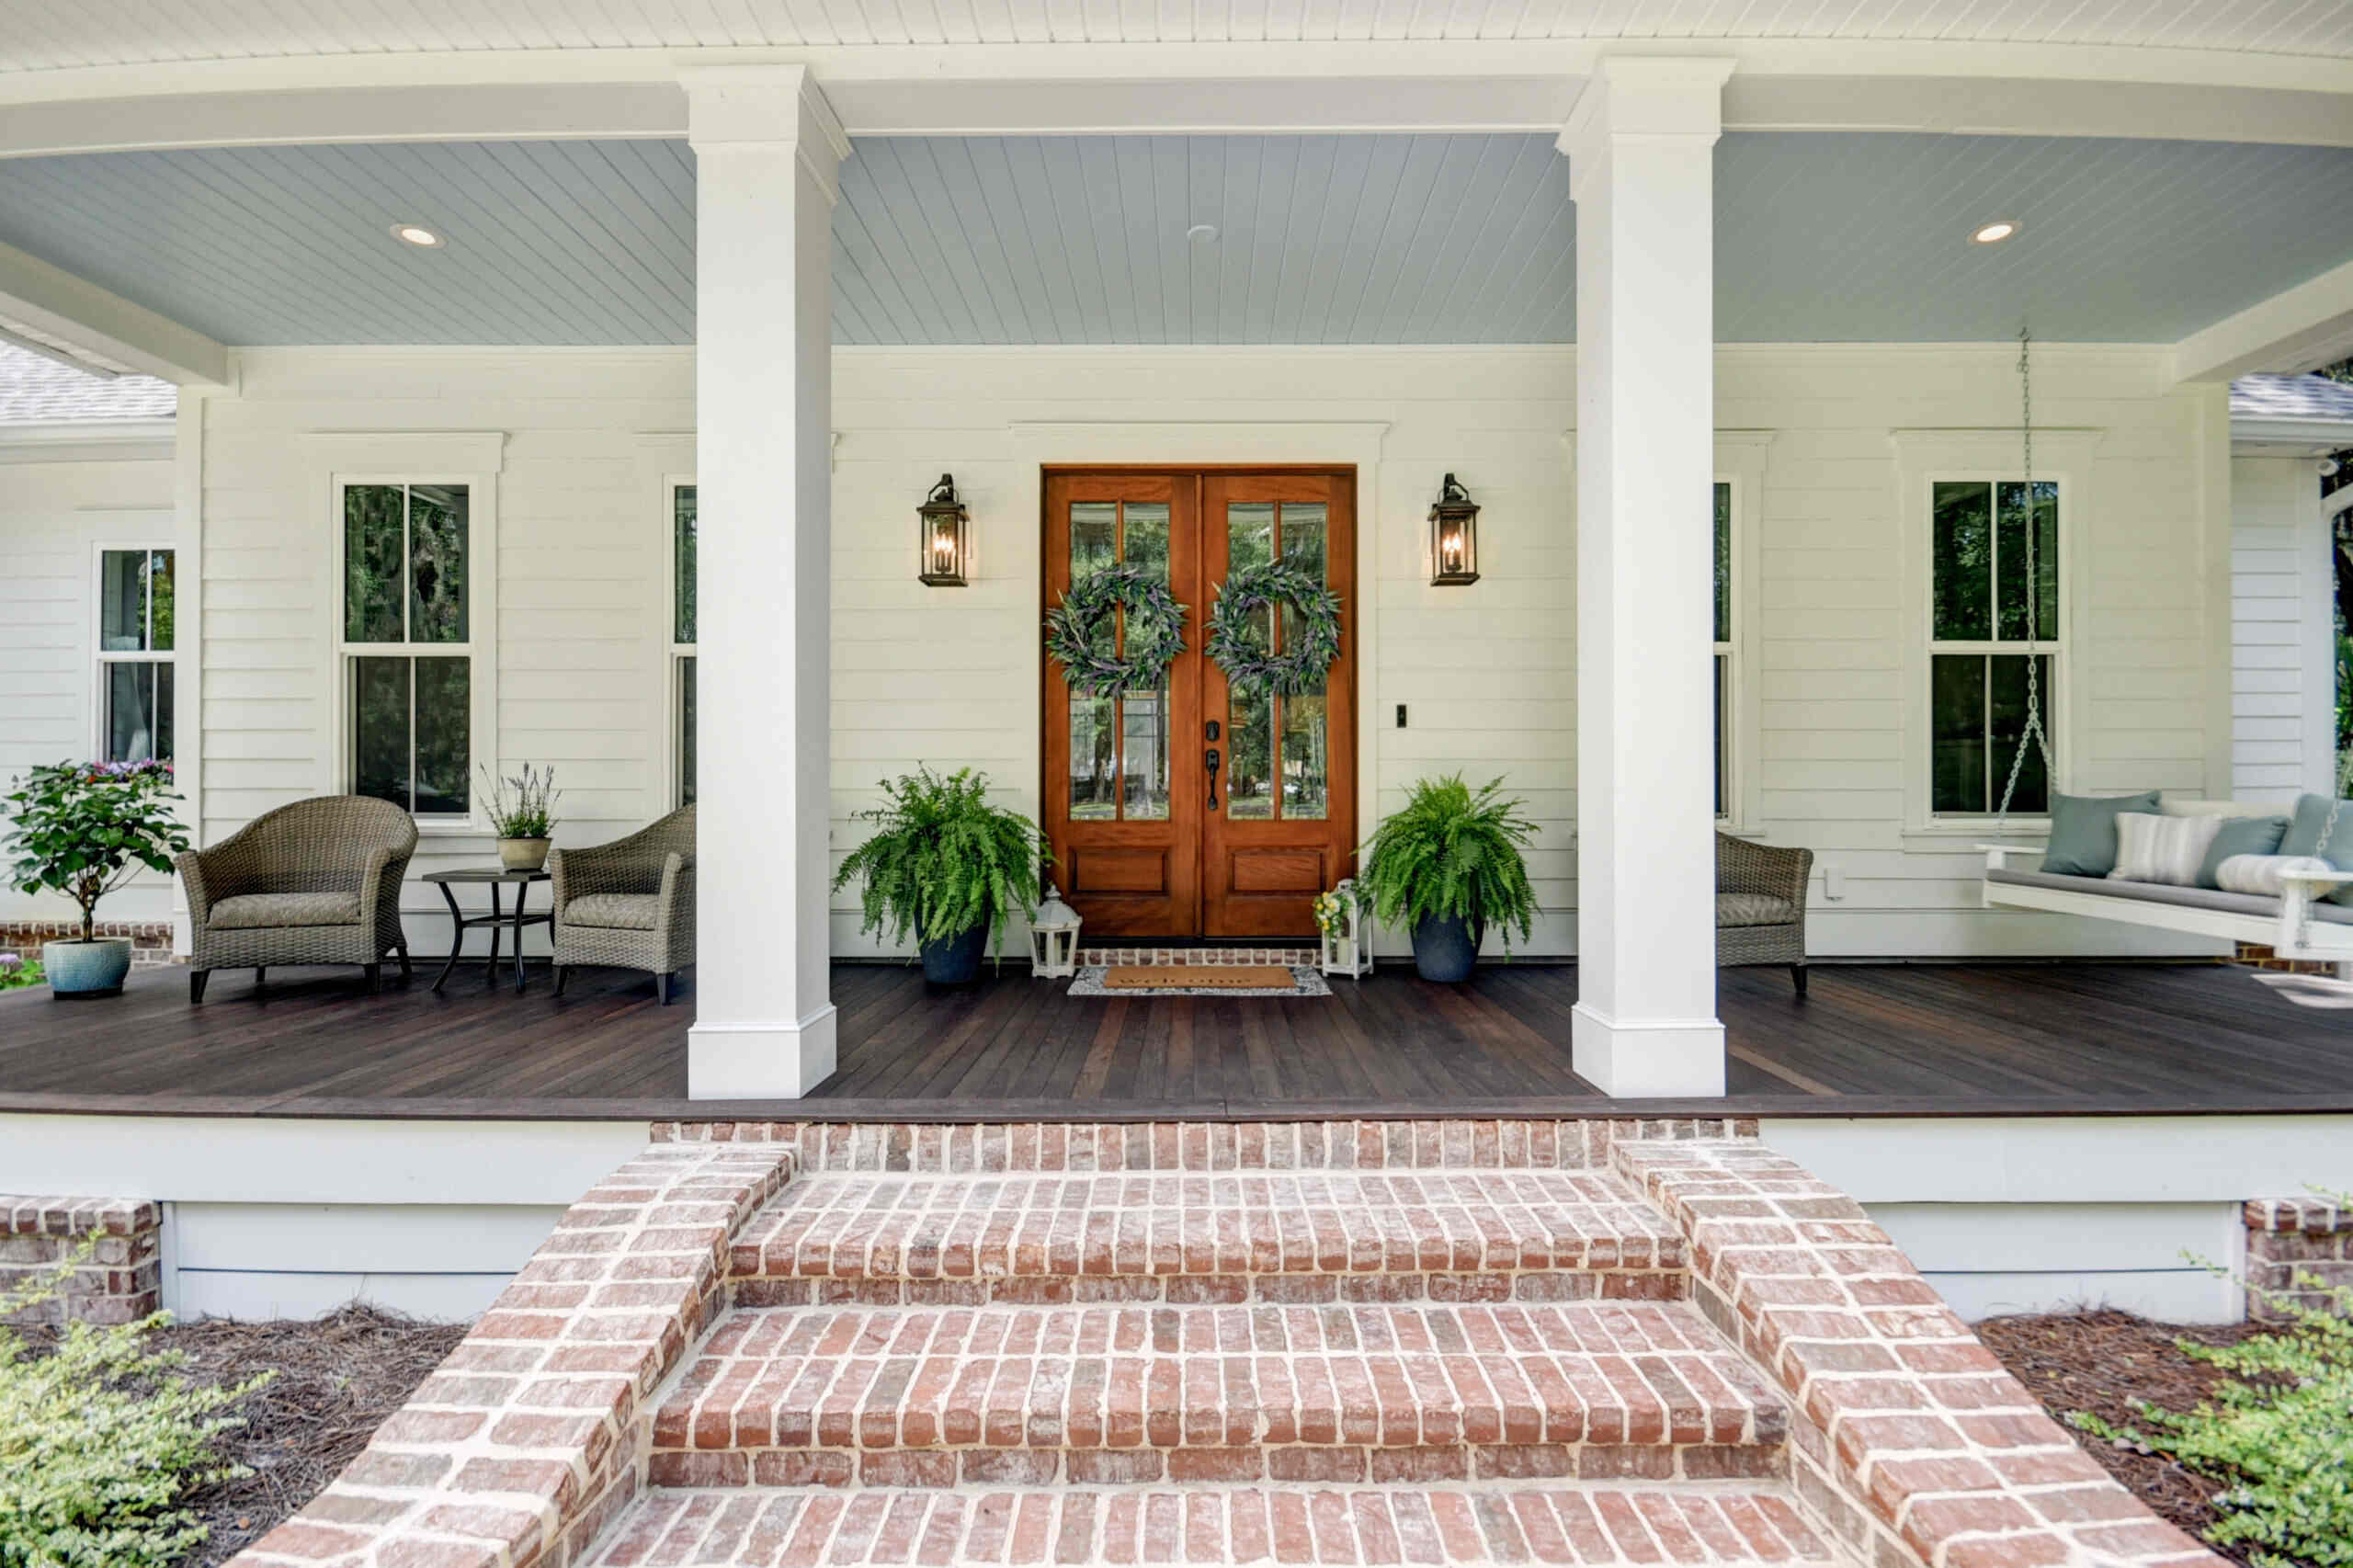
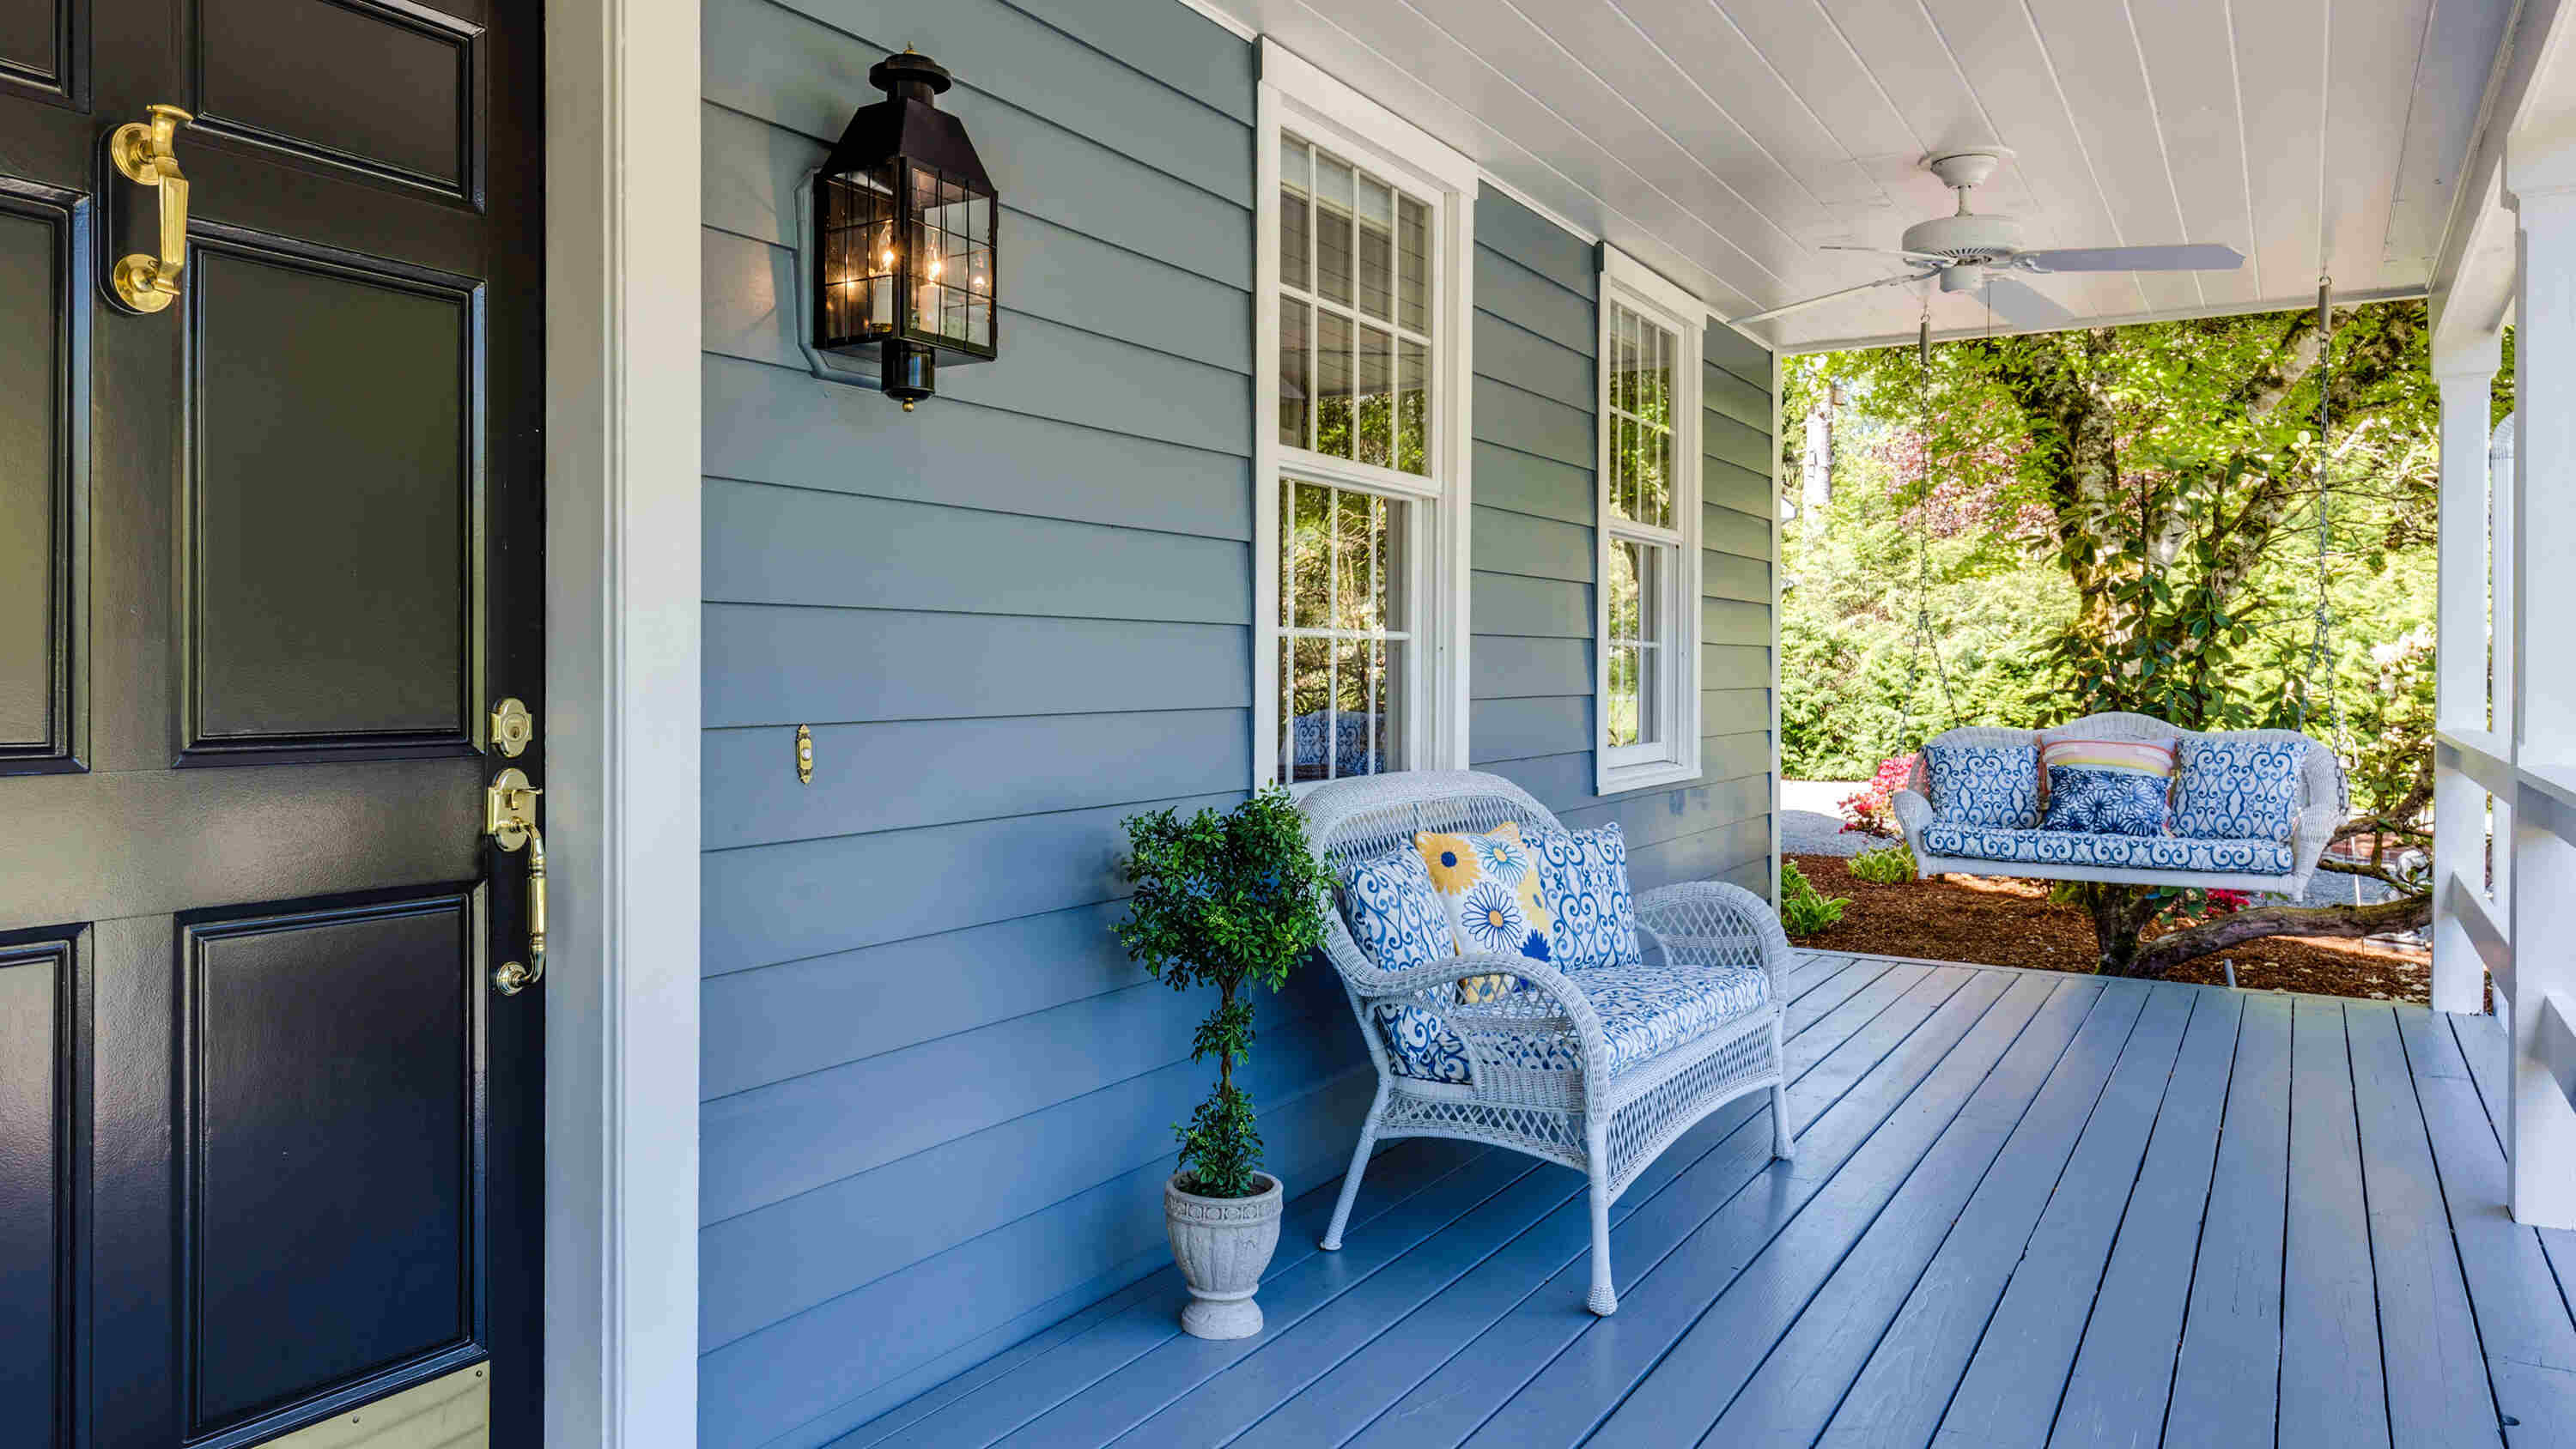
Redoing your front porch is an exciting and rewarding project that can instantly transform the curb appeal of your home. Whether your porch is old and worn out, or simply in need of a style update, revamping it can breathe new life into your outdoor space and make a lasting impression on visitors.
By following a step-by-step process and utilizing the right materials and tools, you can successfully redo your front porch and create a welcoming and inviting entrance to your home. From assessing the current condition of your porch to installing new materials and adding finishing touches, this article will guide you through the entire process.
Before you begin, it’s important to have a clear vision of what you want to achieve with your front porch redo. Consider factors such as the architectural style of your home, your personal design preferences, and the overall functionality you wish to achieve. This will help you plan and design the porch makeover effectively.
In the following steps, we will explore each phase of the front porch redo process, providing you with valuable tips and insights along the way. By the end of this article, you’ll be equipped with the knowledge and confidence to tackle your front porch project and create a beautiful and welcoming entrance that you can be proud of.
So, let’s dive in and begin transforming your front porch into a stunning space that sets the stage for your entire home.
Key Takeaways:
- Redoing your front porch involves a step-by-step process, from assessing the current condition to adding finishing touches. By carefully planning, gathering materials, and executing the redo, you can create a stunning and welcoming entrance to your home.
- Attention to detail and craftsmanship are essential when redoing a front porch. From repairing the structure to installing new materials and adding personalized touches, each step contributes to the transformation of your porch into a beautiful and functional space.
Read more: How To Fix A Porch
Step 1: Assessing the Current Porch Condition
Before you can start redoing your front porch, it’s important to assess its current condition. This step will help you identify any existing issues and determine the extent of the work that needs to be done.
Begin by thoroughly inspecting your porch for any signs of damage, such as cracks, rotting wood, loose or broken boards, or structural issues. Take note of any areas that require immediate attention and make a list of the repairs or replacements that need to be made.
Next, evaluate the overall layout and design of your porch. Consider factors such as the size and shape, the presence of railing or steps, and the functionality of the space. Assess whether the current layout meets your needs or if there are any changes or improvements you would like to make.
Additionally, take into account the aesthetic appeal of the porch. Examine the condition of any painted surfaces, such as the railings or columns, and consider whether a fresh coat of paint or stain is needed. Assess the condition of any existing flooring materials, such as wood or concrete, and determine if they need to be replaced or refinished.
During the assessment, it’s important to also consider the safety aspects of your front porch. Check for any trip hazards, uneven surfaces, or loose railing that could potentially cause accidents. A safe and secure porch is paramount for your peace of mind and the well-being of your family and guests.
Once you have completed a thorough assessment of your front porch, you can move on to the next step: planning and designing the redo. By understanding the current condition of your porch, you’ll be able to make informed decisions and create a solid plan for the transformation.
Remember to take pictures or make sketches of your porch during the assessment process. These visuals will come in handy when discussing your project with professionals or when referring back to your initial assessment as you move forward with your redo.
Step 2: Planning and Designing the Redo
Now that you have assessed the current condition of your front porch, it’s time to start planning and designing your redo. This step is crucial as it allows you to visualize your desired outcome and make informed decisions about the materials, colors, and layout of your new porch.
Begin by determining the functionality you want to achieve with your front porch. Will it serve primarily as a welcoming entrance? Will you be using it for outdoor seating or dining? By defining the purpose of your porch, you can better plan its layout and allocate space accordingly.
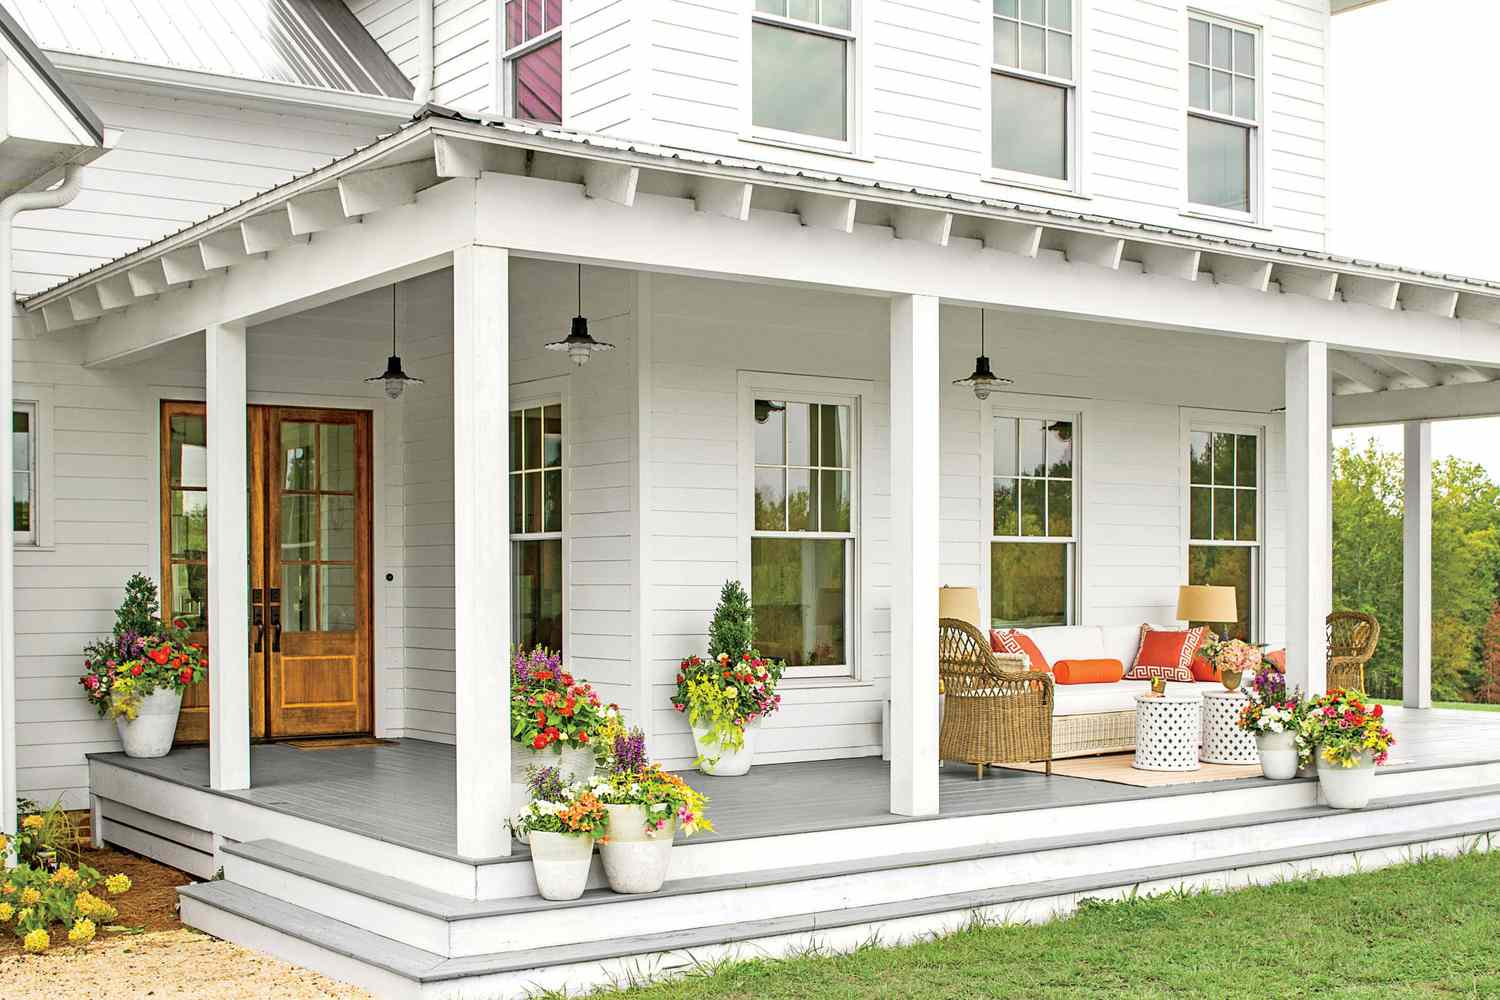
Next, consider the architectural style of your home. Your front porch should complement the overall design aesthetic and enhance the curb appeal of your property. Take inspiration from the architectural features of your home and incorporate them into the design of your porch.
When it comes to materials, carefully choose options that are both durable and aesthetically pleasing. If your current porch materials are severely damaged or outdated, you may need to replace them entirely. Common porch materials include wood, composite decking, brick, and concrete. Research the pros and cons of each material, taking into account factors such as maintenance requirements, longevity, and cost.
Don’t forget to consider the color scheme of your porch. Choose colors that coordinate with the exterior of your home and create a harmonious look. Consider the use of paint, stain, or decorative elements to enhance the visual appeal of your porch.
In addition to the functional and aesthetic aspects, it’s important to factor in your budget and timeline for the redo. Determine how much you’re willing to spend and create a realistic timeline for completing the project. This will help you prioritize tasks and make informed decisions on where to allocate your resources.
To assist with the planning and design process, consider seeking inspiration from magazines, online resources, or even neighboring homes. Take note of porch designs that resonate with you and incorporate elements that suit your personal preferences and style.
Finally, it’s a good idea to consult with professionals or seek advice from experienced DIYers. They can provide valuable insights and practical tips to ensure that your planning and design phase is well-executed.
Once you have a clear vision of your porch redo, you can move on to the next step: gathering the necessary materials and tools to bring your design to life.
Step 3: Gathering Materials and Tools
With your front porch redesign planned and finalized, it’s time to gather all the necessary materials and tools to bring your vision to life. This step is essential to ensure a smooth and efficient execution of the project.
Start by creating a comprehensive list of the materials you will need based on your design and the repairs or replacements identified during the assessment of your porch. This may include things such as decking materials, paint or stain, fasteners, handrails, and any other specific items required to complete the redo.
When selecting materials, consider their quality, durability, and suitability for your climate. If you’re unsure about specific materials, consult with professionals at your local hardware store or seek advice from experts in the field.
In addition to the materials, you should also gather the necessary tools for the project. The exact tools you’ll need will depend on the scope of your redo, but common tools include a circular saw, drill, level, tape measure, hammer, screwdrivers, and a paintbrush or roller.
If you don’t already own the required tools, consider renting or borrowing them to save on costs. Alternatively, you may choose to hire a professional contractor who will have their own set of tools to complete the project.
Ensure that you have all the necessary safety equipment as well. This may include gloves, safety glasses, dust masks, and knee pads. Safety should always be a top priority when working on any DIY project.
Once you have compiled a comprehensive list of materials and gathered the necessary tools, it’s time to proceed to the next step: preparing your front porch for the redo.
By being well-prepared and organized with your materials and tools, you can minimize any potential delays or setbacks during the project. This will allow you to focus on the task at hand and achieve the desired results in a timely manner.
Step 4: Preparing the Porch for Redo
Before you begin the actual work of redoing your front porch, it’s crucial to properly prepare the space for the upcoming renovations. By taking the time to prepare your porch, you can ensure a smoother and more successful project.
Start by clearing the porch of any furniture, potted plants, or décor items. Make sure the area is free from any obstacles that could hinder your work or potentially get damaged during the process. This will provide you with a clear and spacious area to work in.
Next, thoroughly clean the porch surface to remove any dirt, debris, or loose material. Sweep the area and use a power washer or a scrub brush with a mixture of mild detergent and water to cleanse the surface. If there are stubborn stains or discolorations, consider using a suitable cleaner or stain remover to restore the porch’s original appearance.
Once the porch is clean, inspect the structure and repair any additional damage that you might have missed during the initial assessment. Replace any loose or rotting boards, reinforce weak areas, and secure any loose handrails or balusters. Ensuring that your porch is structurally sound is essential for a long-lasting and safe result.
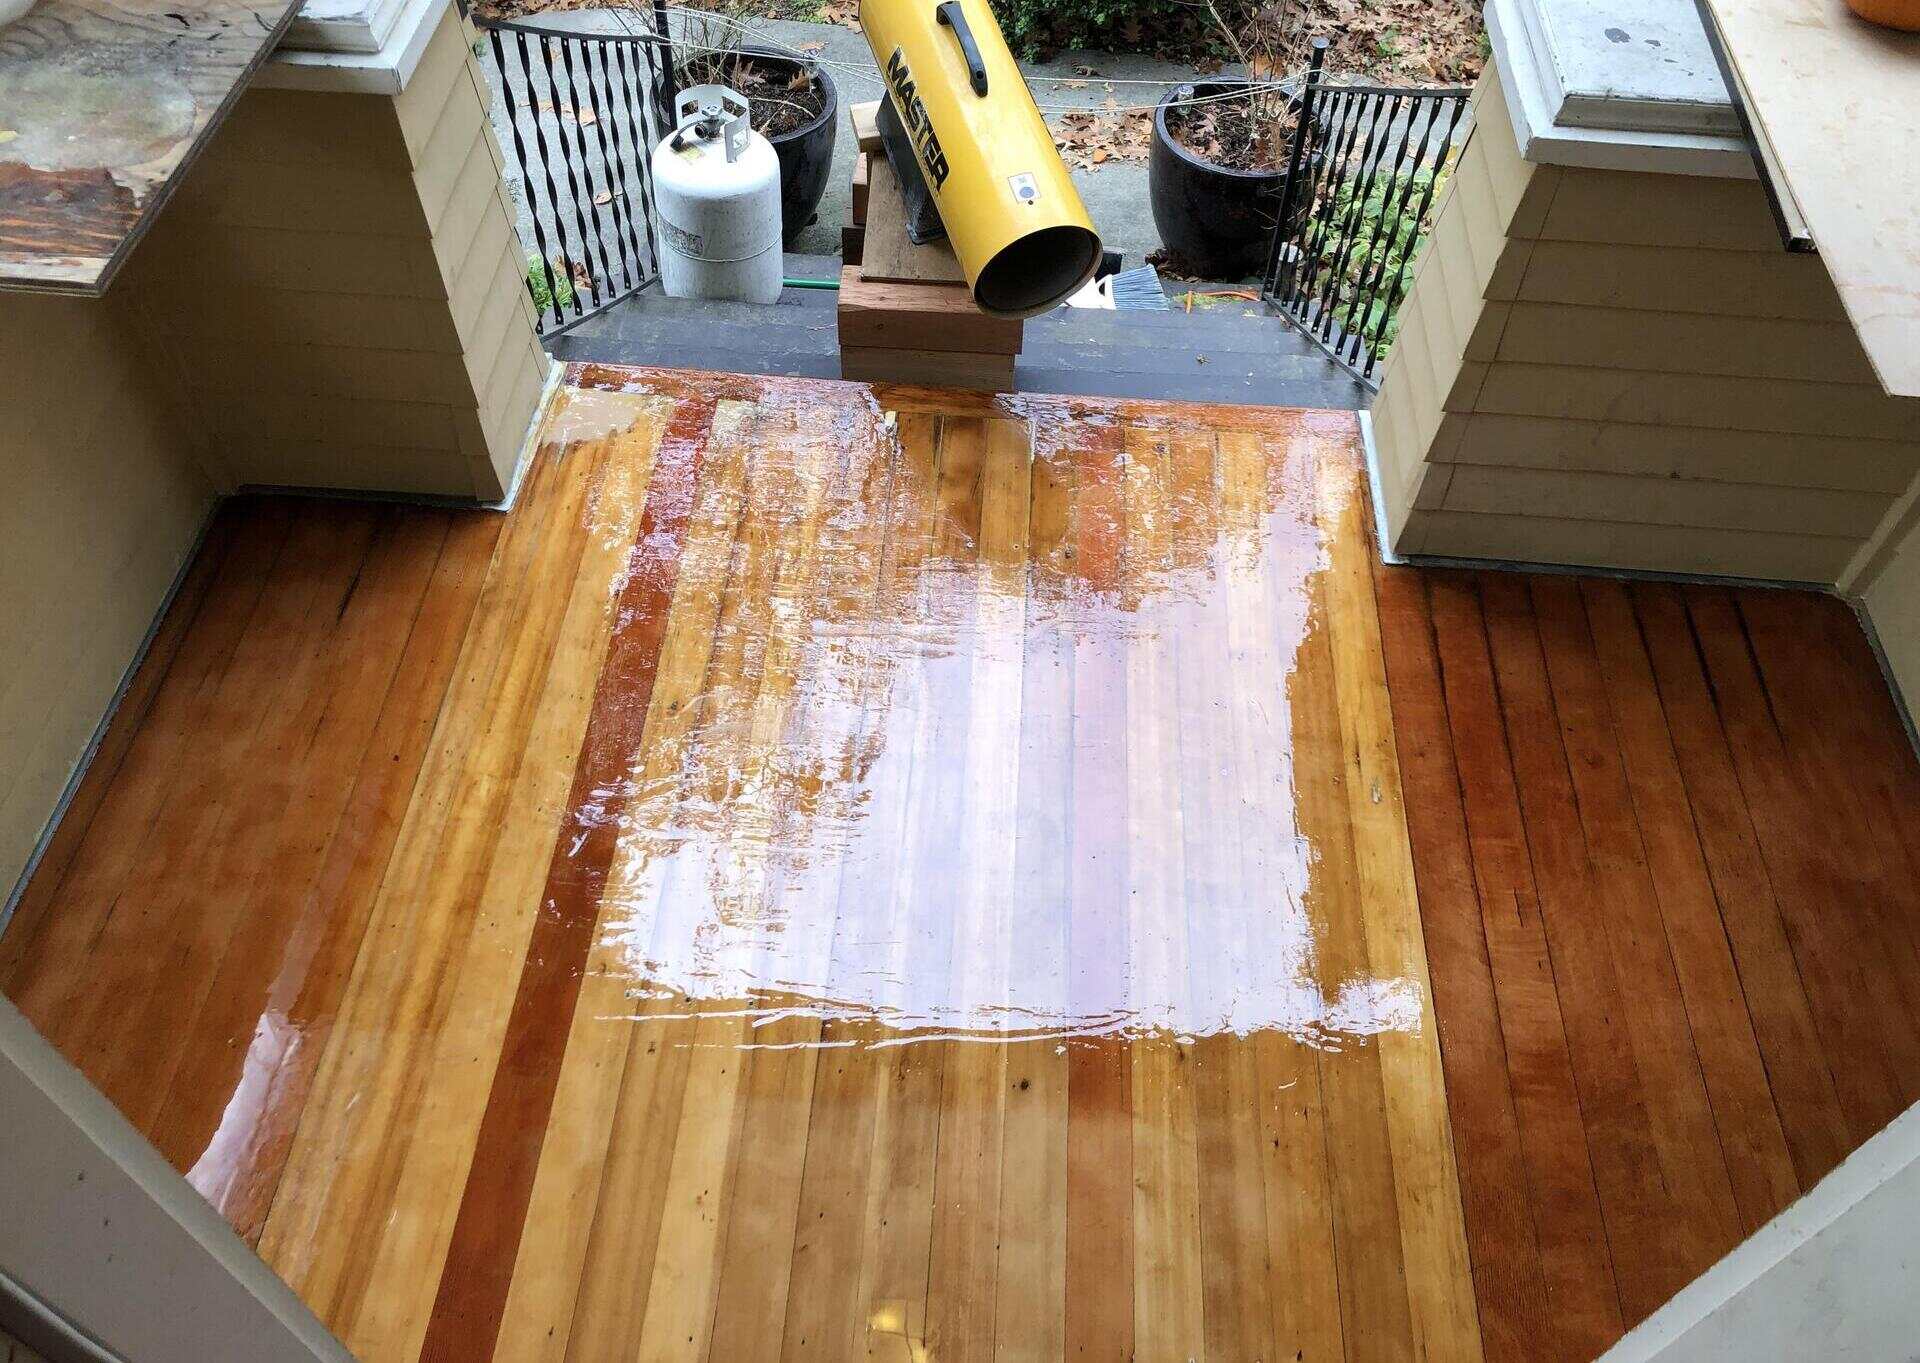
After assessing and repairing the structural components, it’s time to prepare any surfaces that require painting or staining. This may involve sanding the existing paint or stain to create a smooth and even surface for the new finish. Fill any cracks or holes with wood putty or appropriate filler to ensure a seamless and flawless result.
If you’re planning to change the layout or design of your porch, now is the time to mark out the new layout using masking tape or chalk lines. This will help guide you during the installation process and ensure accurate placement of new materials.
Lastly, consider taking measures to protect the surrounding areas and maintain a clean work environment. Cover nearby windows, doors, and landscaping with plastic or drop cloths to shield them from debris or potential damage. Use tarps or drop cloths on the floor to catch any falling materials or drips from paint or stain.
By properly preparing your porch for the redo, you’ll create a solid foundation for the upcoming work. This will result in a more efficient and professional-looking outcome as you move on to the next step: removing the old porch materials.
When redoing a front porch, consider the climate and choose materials that can withstand the weather. Opt for low-maintenance options like composite decking or concrete pavers for a durable and long-lasting finish.
Read more: How To Style A Front Porch
Step 5: Removing the Old Porch Materials
With your porch properly prepared, it’s time to remove the old materials to make way for the new ones. This step is necessary if you are replacing the flooring, handrails, or any other components of your front porch.
Start by identifying the specific materials that need to be removed. This could include old flooring, damaged or outdated handrails, or any other elements that are being replaced as part of your porch redo.
Depending on the type of material being removed, different techniques may be required. For example, if you’re removing wooden flooring, you may need to use a pry bar and hammer to gently pry up the boards. If you’re removing a concrete surface, you may need a jackhammer or a concrete saw to break it up.
Take caution when removing materials, ensuring you wear appropriate safety gear such as gloves and safety goggles. If you’re unsure about any aspect of the removal process, it’s best to consult with a professional or seek guidance from an experienced DIYer.
As you remove the old porch materials, take care not to cause any damage to the underlying structure. Inspect and repair any areas that may have been affected during the removal process. This will ensure a solid and stable foundation for the installation of the new materials.
Dispose of the old porch materials responsibly, following local regulations and guidelines for recycling or disposal. Some materials may be suitable for repurposing or donating, so consider exploring those options before discarding them.
Once you have successfully removed the old porch materials, you’re ready to move on to the next step: repairing or replacing the porch structure, if necessary.
Removing the old materials can be a labor-intensive task, but it’s a crucial step in the process of redoing your front porch. It paves the way for the installation of new materials and ensures a fresh start for your porch transformation.
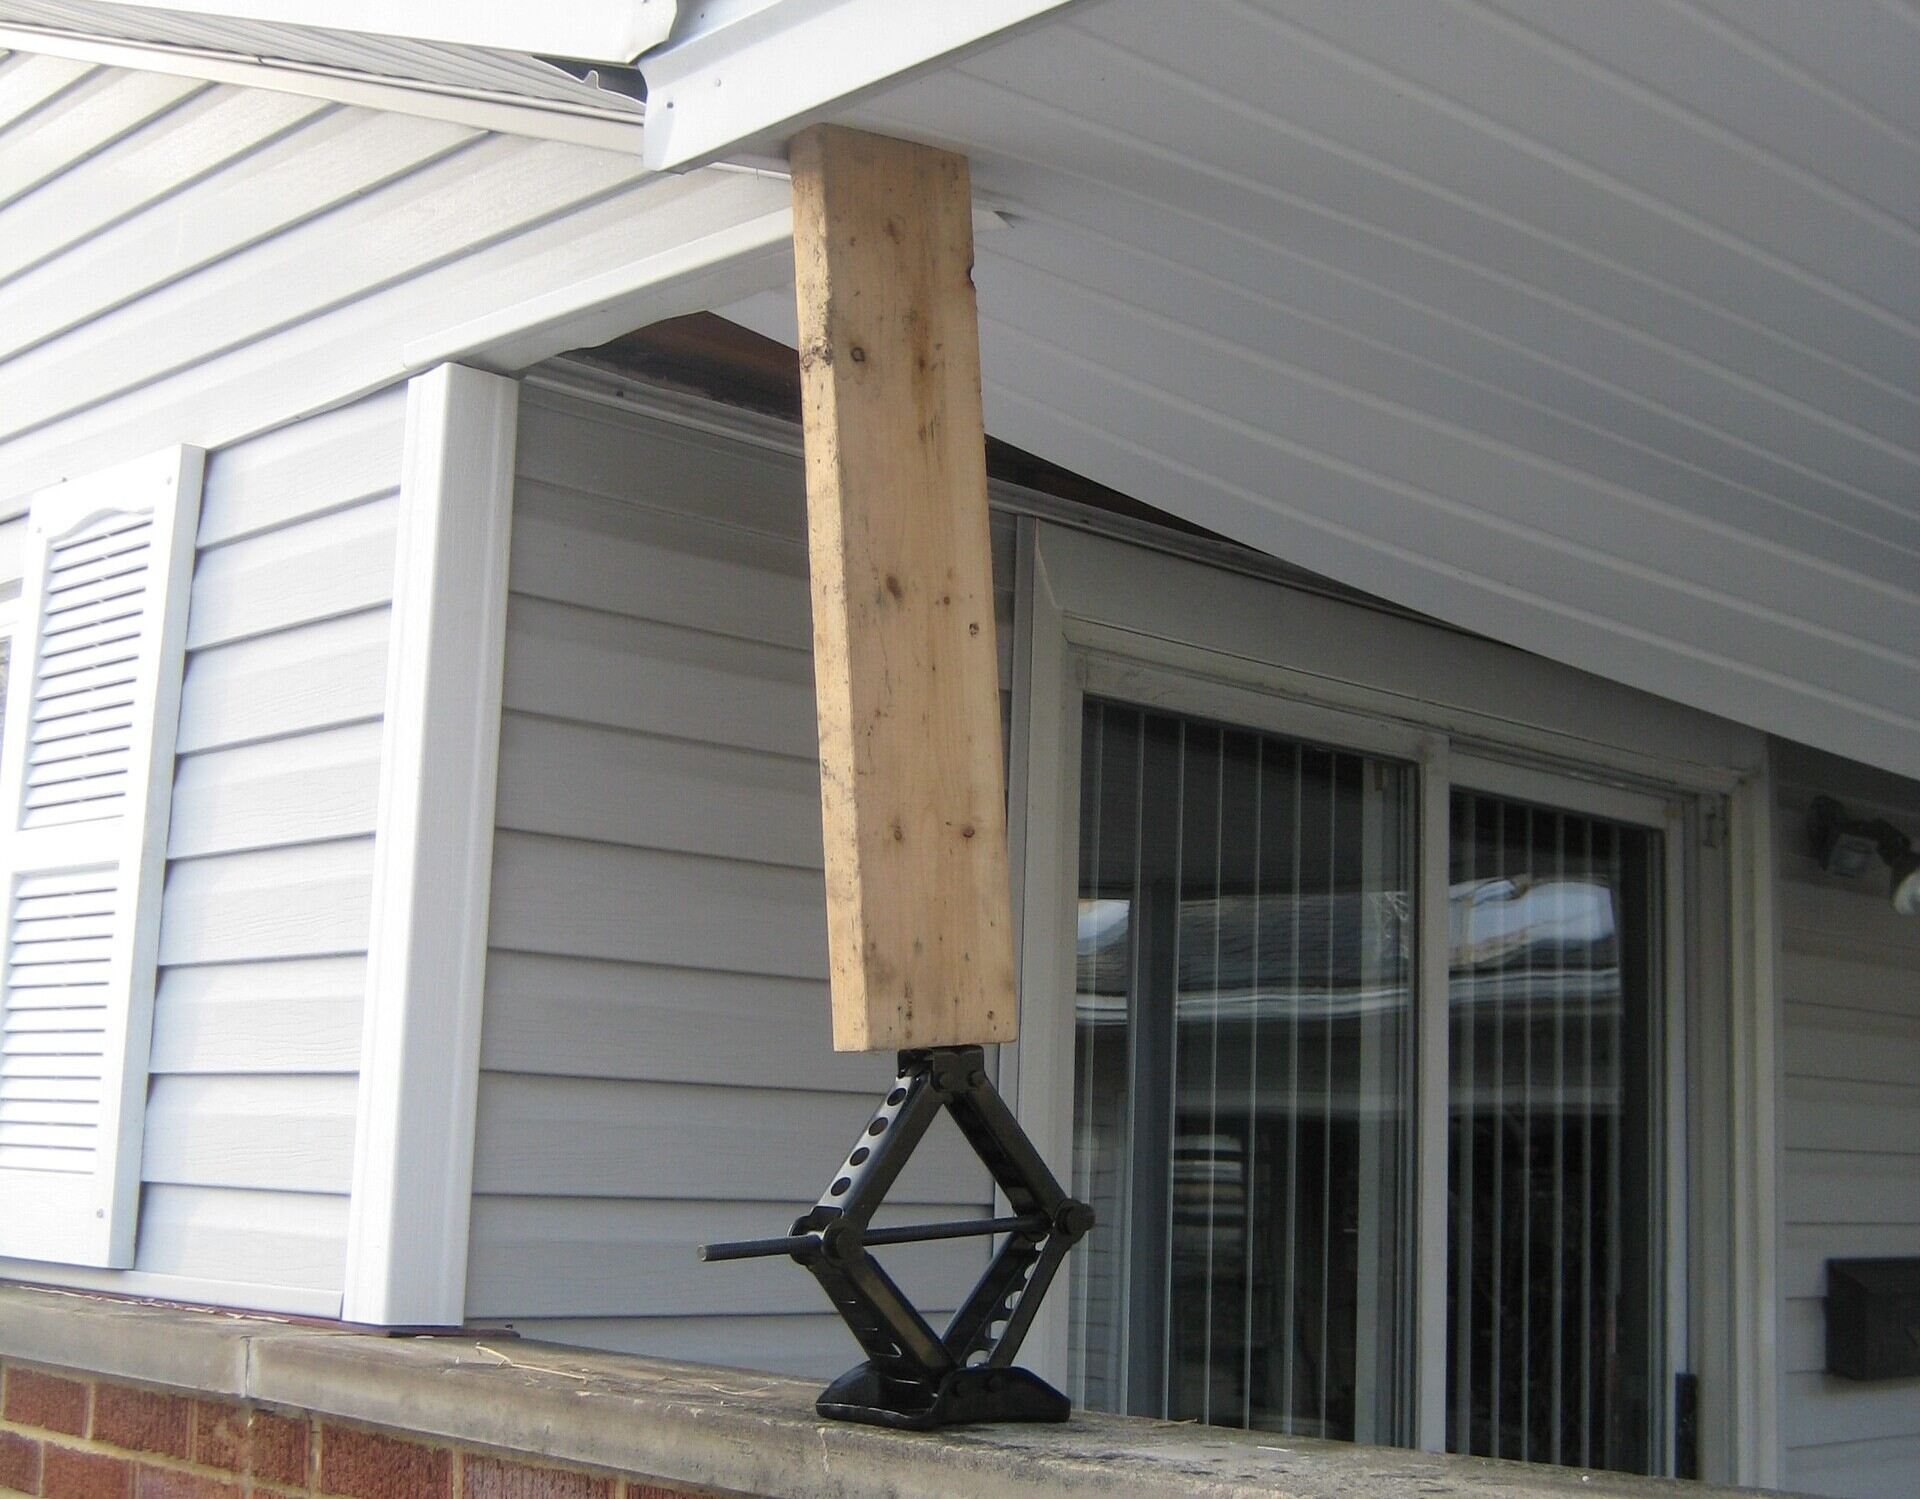
Step 6: Repairing or Replacing the Porch Structure
Now that the old porch materials have been removed, it’s time to assess the condition of the porch structure and address any necessary repairs or replacements. This step is crucial for ensuring the stability, safety, and longevity of your front porch.
Begin by thoroughly inspecting the porch structure for any signs of damage, including rotting wood, insect infestations, or structural weaknesses. Pay close attention to areas that were covered by the old materials, as they may have hidden issues.
If you notice any issues with the porch structure, such as rotted or deteriorated wood, it’s important to address them promptly. Replace any damaged or compromised beams, joists, or posts to ensure the structural integrity of the porch.
If your porch structure is in good condition overall but requires some reinforcements or adjustments, take the necessary steps to strengthen and stabilize it. This may involve adding additional support beams or straps, reinforcing connections, or bolstering weak areas.
Consult with professionals or experienced contractors if you’re unsure about the best approach for repairing or replacing your porch structure. They can provide specialized guidance and expertise to ensure that the repairs are done correctly and that your porch remains safe and structurally sound.
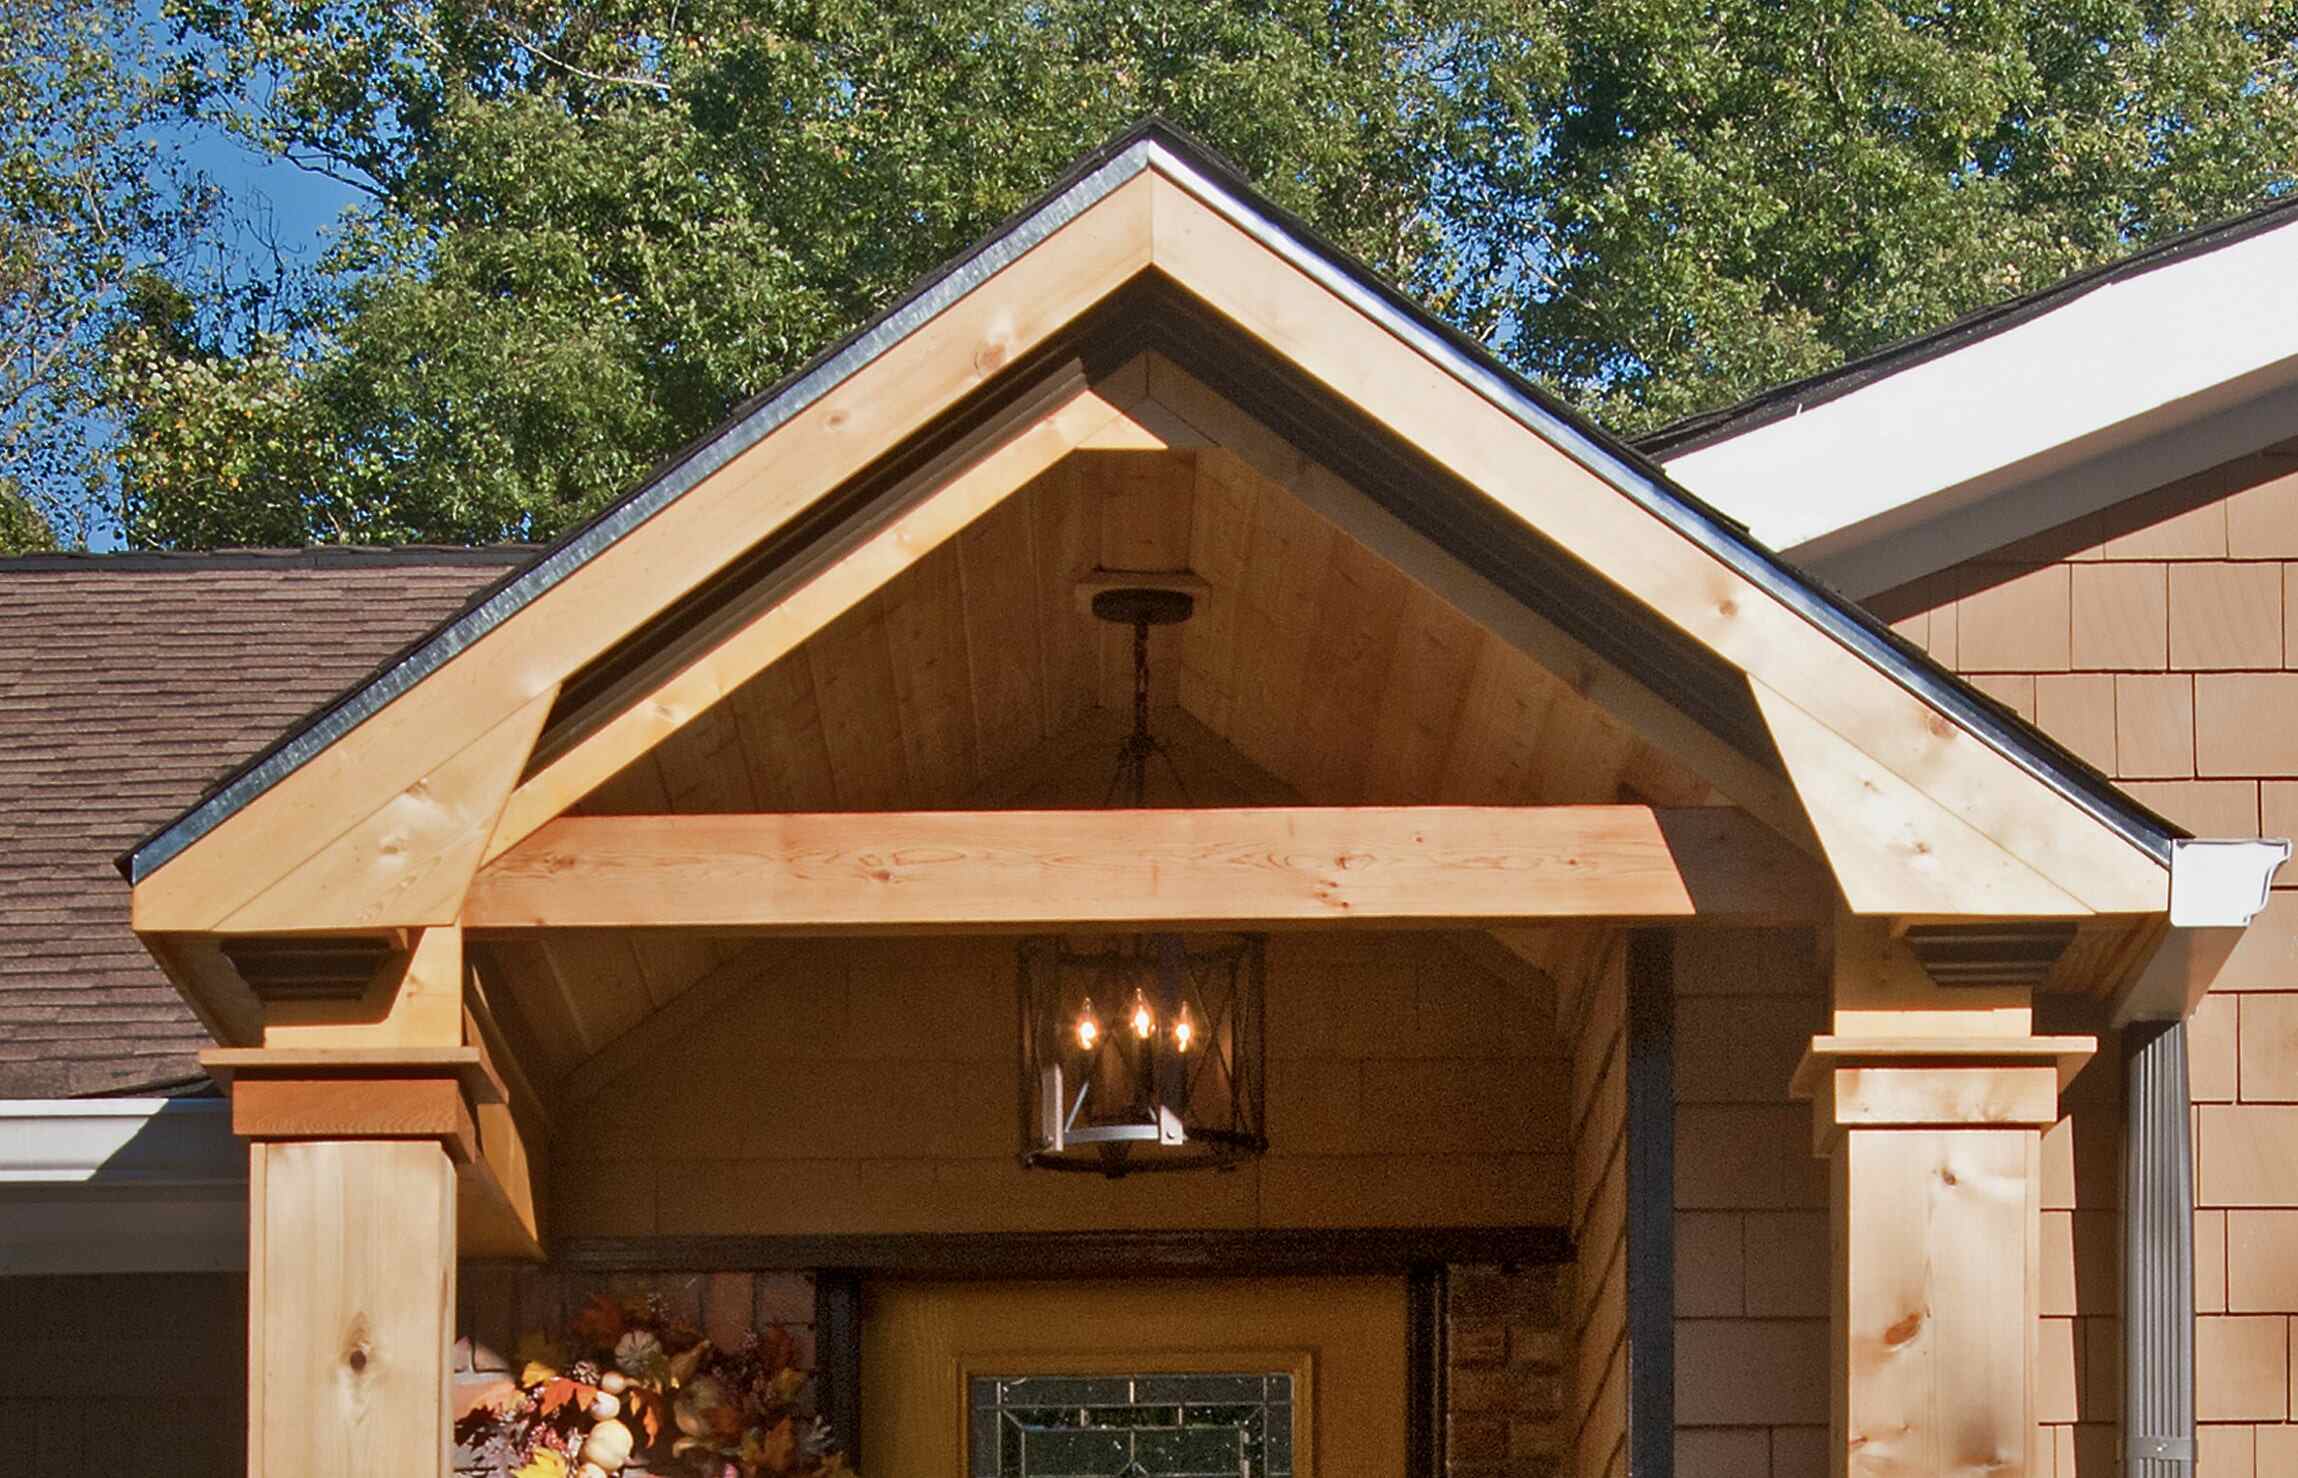
During this step, also consider any additional features or upgrades you’d like to incorporate into the porch structure. This could include adding new columns, pillars, or decorative elements that enhance the aesthetics and architectural appeal of your porch.
Once the necessary repairs or replacements have been made, take the time to inspect the porch structure one final time to ensure that everything is secure and in proper condition.
Repairing or replacing the porch structure is a critical step in the porch redo process. By addressing any underlying issues, you’ll set a strong foundation for the installation of the new porch materials, which we’ll cover in the next step: installing the new porch materials.
Step 7: Installing the New Porch Materials
With the porch structure repaired and ready, it’s time to move on to installing the new materials that will bring your front porch to life. This step is where your planning and design choices come together, transforming your porch into a beautiful and functional space.
Start by carefully following the manufacturer’s instructions for installing the specific materials you’ve chosen for your porch. Whether you’re installing new flooring, handrails, or any other components, it’s important to understand the proper techniques and guidelines to ensure a successful installation.
Begin with the flooring. Lay out the new material according to your planned design, following the proper installation method. This may involve cutting and fitting the flooring pieces, ensuring they are level and secured properly. Take your time to ensure a precise and professional-looking installation.
If you’re installing a new handrail system, carefully measure and mark the placement for the posts and balusters. Secure the posts securely to the porch structure and then attach the handrail and balusters according to the manufacturer’s instructions. Ensure that the handrail is at an appropriate height and that the spacing between the balusters meets safety standards.
As you install the new materials, periodically step back and assess the progress to ensure that everything is aligning and fitting correctly. Make any necessary adjustments or modifications along the way to ensure a seamless and cohesive result.
Additionally, consider any additional features or elements you may want to incorporate into your porch, such as lighting fixtures or accessories. Install these features in a thoughtful and strategic manner to enhance the functionality and ambiance of your porch space.
Throughout the installation process, pay attention to details and take pride in the craftsmanship of your work. Ensure that the materials are installed securely and that all connections and joints are properly sealed to prevent any potential water damage or deterioration.
Once the new porch materials are installed, step back and admire your handiwork. You’ve successfully transformed your front porch into a fresh, updated, and welcoming space.
With the new materials in place, it’s time to add the finishing touches, which we’ll cover in the next step: adding finishing touches.
Step 8: Adding Finishing Touches
Congratulations! You’re nearing the completion of your front porch redo. Step 8 involves adding the finishing touches that will truly bring your porch to life and make it a standout feature of your home.
Start by applying any final coats of paint or stain to the porch materials. Take your time and ensure an even and smooth application for a professional finish. Consider using a protective coating to enhance the durability and longevity of the new materials.
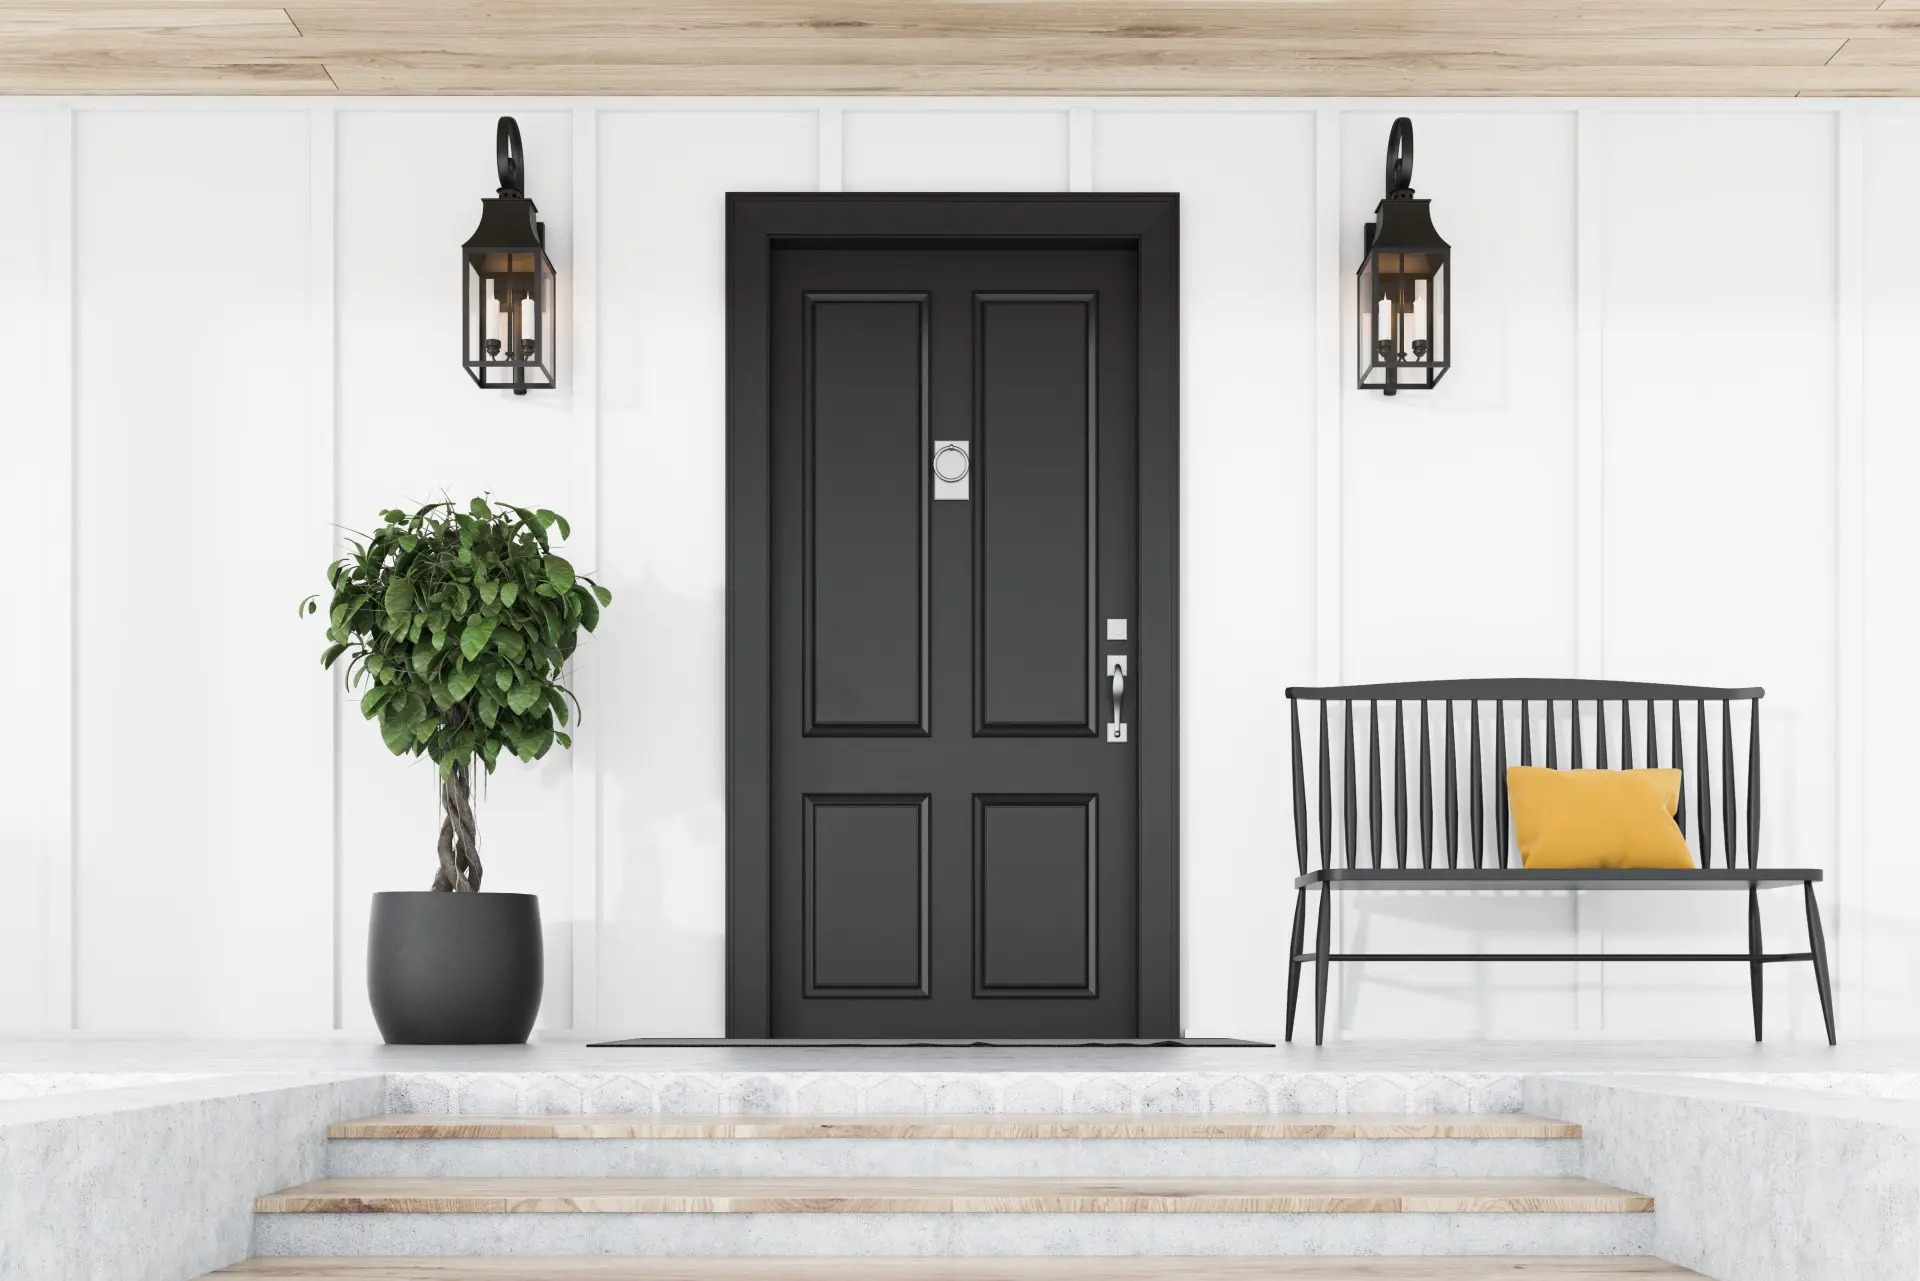
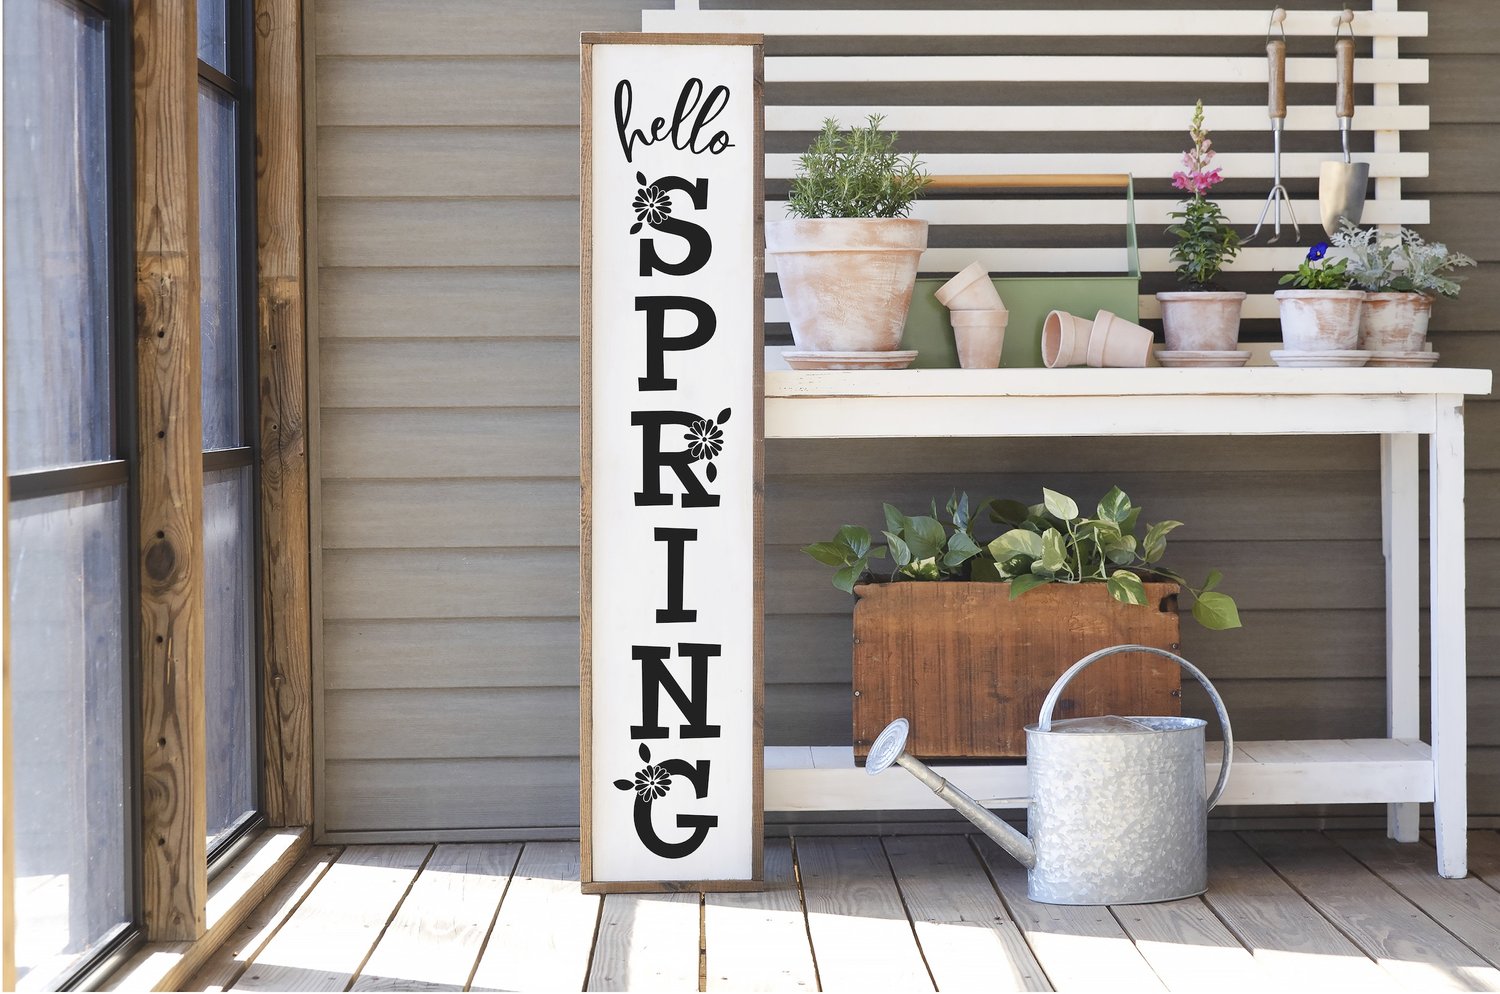
Once the paint or stain has dried, it’s time to focus on the details. Install any decorative elements or accessories that will enhance the aesthetic appeal of your porch. This could include adding potted plants, installing outdoor lighting fixtures, or hanging decorative accents.
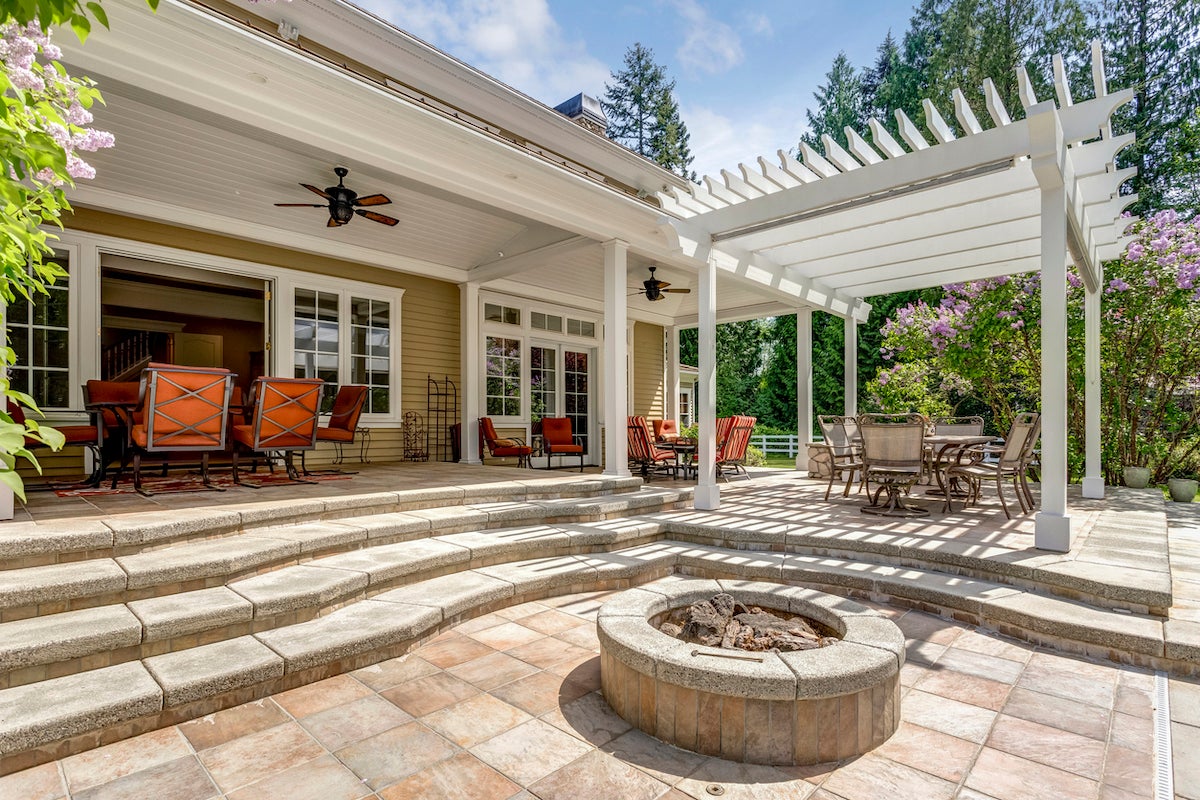
Consider incorporating furniture and seating options that complement the style of your porch. Choose materials and colors that are both durable and comfortable for outdoor use. Place these in strategic areas, creating inviting spaces for relaxation or entertainment.
Don’t forget about the finer details, such as door hardware, house numbers, or porch accents. These small touches can make a big difference in the overall look and feel of your porch. Choose elements that match the style of your home and enhance the overall curb appeal.
Finally, take some time to clean up and organize your porch space. Sweep away any debris, wipe down surfaces, and ensure everything is tidy and presentable. This will create a welcoming atmosphere and showcase the efforts you’ve put into your porch renovation.
As you add the finishing touches, step back and take a moment to appreciate the transformation you’ve achieved. Your front porch is now rejuvenated, inviting, and an extension of your personal style.
Remember to regularly maintain and care for your new porch. Clean and inspect it regularly, addressing any issues promptly to maintain its beauty and functionality for years to come.
By following these step-by-step instructions, you’ve successfully redone your front porch, creating a welcoming and impressive entrance to your home. Take pride in your accomplishment and enjoy the renewed beauty and functionality of your porch space.
With your front porch redo completed, it’s time to sit back, relax, and enjoy the fruits of your labor!
Read more: How To Cover Porch
Conclusion
Redoing your front porch is a rewarding project that can transform the curb appeal of your home and create a welcoming entrance for you and your guests. By following the step-by-step process outlined in this article, you can successfully revamp your front porch and enjoy the results for years to come.
From assessing the current condition of your porch to planning and designing the redo, gathering materials and tools, and preparing the space, each step plays a vital role in ensuring a successful outcome. Removing the old porch materials, repairing or replacing the structure, and installing the new materials are key stages that require careful attention to detail and craftsmanship.
Adding the finishing touches is the final step that gives your porch a personalized touch, creating a space that reflects your style and enhances the overall aesthetic appeal. Whether it’s choosing the right paint colors, incorporating decorative elements, or selecting comfortable and functional furniture, the finishing touches bring your porch to life.
Throughout the process, it’s important to maintain a balance between functionality and design. Consider the architecture of your home, your personal preferences, and the overall purpose of your front porch. By incorporating these elements into your design choices, you can create a porch that not only looks beautiful but also meets your specific needs.
Remember, redoing your front porch is a significant investment of time and effort, so it’s important to plan carefully, gather the necessary materials and tools, and seek advice from professionals when needed. Safety should always be a priority, so take precautions and use appropriate safety gear during the process.
Once your front porch redo is complete, take a moment to admire your work and enjoy the transformation. Your porch is now a welcoming and impressive space that adds value and charm to your home. Keep up with regular maintenance and continue to make small updates over time to keep your front porch looking its best.
Now it’s time to sit back, relax, and soak up the joy of your newly redone front porch. Enjoy spending time outdoors, greeting visitors, and creating lasting memories in this beautiful and rejuvenated space.
Frequently Asked Questions about How To Redo A Front Porch
Was this page helpful?
At Storables.com, we guarantee accurate and reliable information. Our content, validated by Expert Board Contributors, is crafted following stringent Editorial Policies. We're committed to providing you with well-researched, expert-backed insights for all your informational needs.


0 thoughts on “How To Redo A Front Porch”