Articles
How To Face A Quilt
Modified: August 22, 2024
Learn how to face a quilt with our informative articles. Find step-by-step guides, tips, and techniques for achieving beautiful quilt finishes.
(Many of the links in this article redirect to a specific reviewed product. Your purchase of these products through affiliate links helps to generate commission for Storables.com, at no extra cost. Learn more)
Introduction
Quilting is a beloved craft that allows us to create beautiful and functional pieces of art. When it comes to finishing a quilt, there are several options to choose from. While most quilters are familiar with methods like binding and adding a border, there is another technique that can give your quilt a unique and modern look – facing.
In this article, we will explore the process of facing a quilt. Facing a quilt involves creating a fabric edge that wraps around the outer perimeter of the quilt, eliminating the need for binding. This method is particularly useful when you want to showcase the design of the quilt without any interruptions from a binding fabric.
In addition to its aesthetic benefits, facing a quilt can also provide a clean and seamless finish. It lays flat against the edges of the quilt, giving a smooth and professional appearance. So, whether you’re a beginner quilter or a seasoned pro, learning how to face a quilt is a valuable skill that will take your quilting projects to the next level.
Before we dive into the step-by-step process of facing a quilt, let’s gather the materials you’ll need:
- Fabric for the facing: Choose a fabric that complements or matches the quilt top.
- Quilt sandwich: This includes the quilt top, batting, and backing fabric.
- Basic sewing supplies: This includes a sewing machine, thread, scissors, pins, and a rotary cutter.
- Ruler and cutting mat: These tools will be handy for measuring and cutting the facing fabric.
- Iron and ironing board: An essential tool for pressing the fabric and creating crisp edges.
Now that you have all the necessary materials, let’s move on to the next step – preparing the quilt.
Key Takeaways:
- Embrace the modern and sleek finish of facing a quilt, allowing the design to shine without traditional binding. Follow the step-by-step process to achieve a clean and professional look for your quilting projects.
- With the facing technique, your quilts can take center stage, showcasing your talent and creativity. Experiment with different fabrics and designs to add a personal touch and create stunning, gallery-worthy pieces.
Read more: What Is Facing In Construction
Step 1: Gathering Materials
Gathering the right materials is the first step in facing a quilt. Here are the materials you will need:
- Fabric for the facing: Choose a fabric that complements or matches the quilt top. You will need enough fabric to create a strip that is at least 2 inches wider than the quilt around all four sides. This will ensure that you have enough fabric to wrap around the edges.
- Quilt sandwich: This includes the quilt top, batting, and backing fabric. Make sure your quilt sandwich is properly basted and ready for quilting.
- Basic sewing supplies: You will need a sewing machine, thread, scissors, pins, and a rotary cutter. Having these tools on hand will make the process smoother and more efficient.
- Ruler and cutting mat: These tools will be handy for measuring and cutting the facing fabric. A clear quilting ruler and a self-healing cutting mat are recommended.
- Iron and ironing board: An iron and ironing board are essential for pressing the fabric and creating crisp edges.
Once you have gathered all the materials, ensure that your workspace is clear and organized. This will make the facing process easier and more enjoyable.
Now that you have everything ready, let’s move on to the next step – preparing the quilt.
Step 2: Preparing the Quilt
Before you can start facing your quilt, it’s important to prepare it properly. Follow these steps to ensure your quilt is ready for the facing process:
- Trim the excess batting and backing fabric: Use your ruler and rotary cutter to trim the excess batting and backing fabric, leaving a clean and even edge all around the quilt top. This will make it easier to attach the facing later on.
- Press the quilt top: Use an iron set on a low heat setting to gently press the quilt top. This will remove any wrinkles and prepare the quilt for the facing fabric.
- Measure and cut the facing fabric: Measure the length and width of your quilt, including the trimmed edges. Add 4 inches to both measurements to account for the width of the facing strips. Cut two strips of fabric according to these measurements.
- Join the facing strips: If your quilt is larger than the width of your fabric, you will need to join the facing strips together. Align the ends of the strips with right sides together and sew a ¼ inch seam to create a continuous strip that matches the length of your quilt.
- Press the facing fabric: Use the iron to press the facing fabric, making sure to fold in the seam allowances along the joined edges. This will create a smooth and finished look.
Now that your quilt is properly prepared, it’s time to move on to the next step – facing the quilt.
Step 3: Facing the Quilt
Now that your quilt is prepared, it’s time to start facing it. Follow these steps to successfully face your quilt:
- Position the facing fabric: Lay your quilt on a flat surface, right side up. Take one of the facing strips and align one edge of the strip with the top edge of your quilt. The facing fabric should overlap the edge of the quilt by at least 1 inch. Pin the strip in place.
- Pin the facing fabric: Continue pinning the facing fabric along the entire top edge of the quilt, ensuring that it is aligned evenly. Place pins approximately 4-6 inches apart to secure the facing fabric in place.
- Repeat for the remaining sides: Repeat the process for the sides and bottom edges of the quilt, pinning the facing fabric in place and ensuring it overlaps the quilt edges by at least 1 inch. Trim any excess fabric if necessary.
- Adjust and pin corners: When you reach the corners, carefully fold and miter the facing fabric to create a neat corner. Pin the fabric securely in place, making sure the folded edges meet evenly.
Once you have pinned the facing fabric all around the quilt, take a moment to double-check the placement and alignment. Ensure that the fabric is smooth and flat against the quilt’s edges.
Now that the facing fabric is properly positioned, it’s time to move on to attaching the facing in the next step.
When facing a quilt, use a sharp needle and a matching thread color. Start from the center and work your way out to avoid puckering. Smooth the fabric as you go to prevent wrinkles.
Step 4: Attaching the Facing
With the facing fabric pinned in place, it’s time to sew it to the quilt. Follow these steps to attach the facing:
- Remove the pins: Start by carefully removing the pins that were securing the facing fabric to the quilt. Take your time to avoid any accidental shifting or misalignment of the fabric.
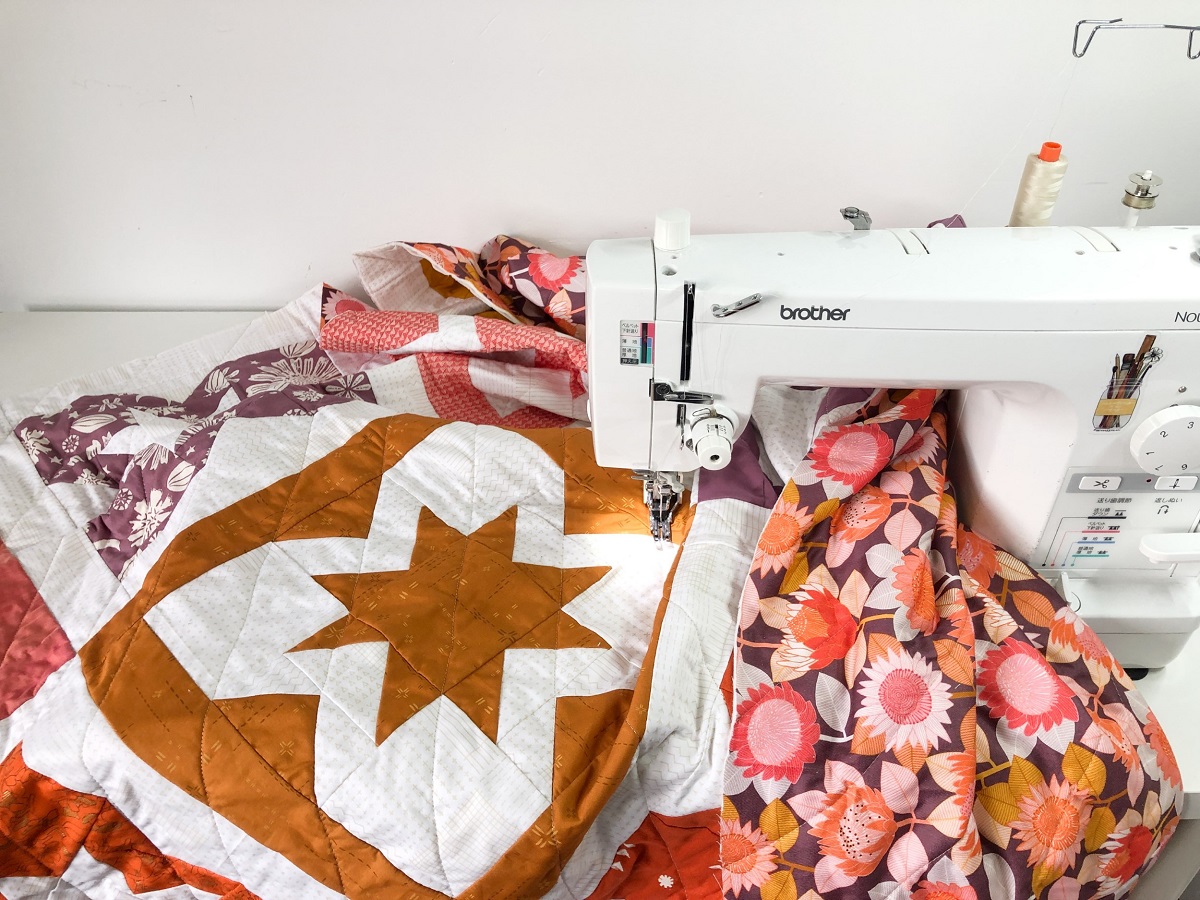
- Start sewing: Begin sewing along one side of the quilt, using a ¼ inch seam allowance. Backstitch at the beginning and end of the seam for extra reinforcement. As you sew, make sure to keep the quilt flat and smooth to prevent any puckering or gathering.
- Continue sewing around the quilt: Sew all the way around the quilt, removing the pins as you go. Take your time to ensure that the facing fabric is securely stitched to the quilt, keeping an even seam allowance as you sew.
- Backstitch and trim excess fabric: When you reach the starting point, backstitch to secure the seam and then trim the excess facing fabric, leaving a small overlap. This will create a clean and finished edge.
Once you have finished attaching the facing fabric, take a moment to inspect the edges of your quilt. Ensure that the facing is securely attached and that there are no loose seams or fabric.
Now that the facing is attached, it’s time for the final step – adding the finishing touches.
Read more: How To Store Face Mask
Step 5: Finishing Touches
With the facing fabric securely attached to the quilt, it’s time to add the final touches to complete the facing process. Follow these steps to give your quilt a polished and professional finish:
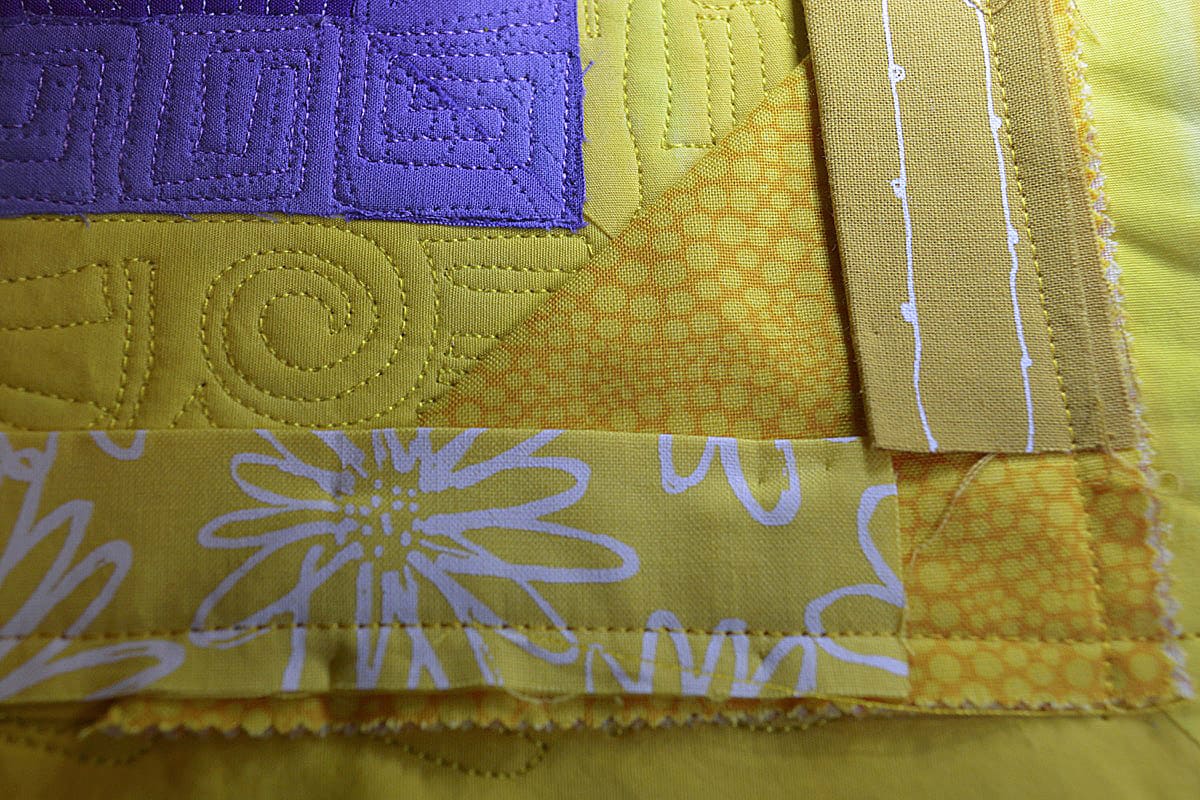
- Press the facing: Use an iron set on a low heat setting to press the facing away from the quilt. Press from the quilt side, ensuring that the facing lays flat and creates a clean edge.
- Turn the facing to the back: Carefully flip the quilt over and fold the facing fabric to the back of the quilt. Use your fingers to press the folded edge along all four sides, creating a sharp and crisp fold.
- Hand stitch the facing: To secure the facing to the back of the quilt, hand stitch along the folded edge. Use a needle and thread that matches the facing fabric, and take small, invisible stitches to create a neat and discreet finish. Make sure to stitch through all layers of the quilt sandwich.
- Secure corners and edges: Pay special attention to the corners of the quilt when hand stitching. Fold and tuck the excess fabric neatly to create mitered corners. Secure the corners and edges with extra stitches for added durability.
- Trim loose threads: After completing the hand stitching, take a moment to trim any loose threads or excess fabric that may be visible on the back of the quilt. This will give your quilt a clean and professional appearance.
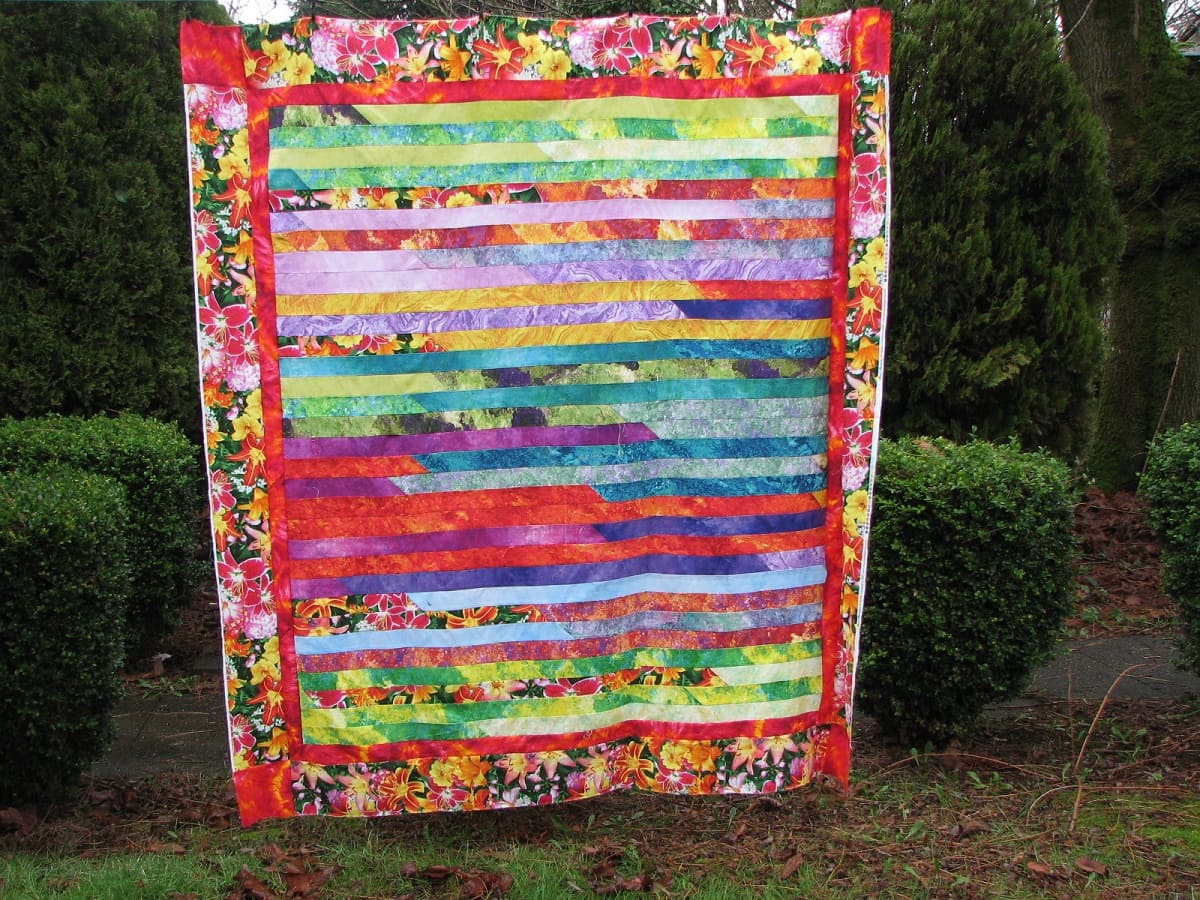
Once you have finished the finishing touches, step back and admire your beautifully faced quilt. The facing technique adds a contemporary and sleek finish to your quilt, allowing the design to shine without the interruption of binding.
Now that you’ve learned how to face a quilt, you can apply this technique to your future quilting projects and create stunning, gallery-worthy pieces. Don’t be afraid to experiment with different fabrics and designs to add your own personal touch to the facing process.
Congratulations on completing the facing process! Your quilt is now ready to be displayed or gifted, showcasing your talent and creativity in the world of quilting.
Happy quilting!
Conclusion
Facing a quilt is a wonderful technique that offers a modern and clean finish to your quilting projects. By eliminating the need for traditional binding, facing allows the design of your quilt to take center stage without any interruptions.
In this article, we explored the step-by-step process of facing a quilt. We began by gathering the necessary materials, including fabric for the facing, a quilt sandwich, basic sewing supplies, a ruler and cutting mat, and an iron and ironing board. These materials are essential for a successful facing process.
We then moved on to preparing the quilt, which involved trimming the excess batting and backing fabric, pressing the quilt top, and measuring and cutting the facing fabric. Taking the time to properly prepare the quilt ensures a smooth and professional finish.
The next step was facing the quilt, where we positioned and pinned the facing fabric along the edges of the quilt, adjusting and pinning the corners to create a clean and even overlap. This step sets the foundation for attaching the facing fabric securely to the quilt.
In step four, we attached the facing fabric by sewing it to the quilt with a ¼ inch seam allowance. Starting from one side of the quilt, we carefully sewed all the way around, removing the pins as we went. After backstitching and trimming any excess fabric, the facing was securely attached.
Lastly, we added the finishing touches to the quilt by pressing the facing, turning it to the back, hand stitching along the folded edge, and securing the corners and edges. These final steps give the quilt a professional and polished appearance.
With the completion of the facing process, your quilt is now ready to be showcased and admired. The clean and seamless finish achieved through facing not only enhances the visual appeal of the quilt but also adds a touch of sophistication.
Remember to experiment with different fabrics, colors, and designs to personalize your facing technique and create unique and stunning quilts. Whether you’re a novice quilter or a seasoned expert, facing a quilt opens up a world of possibilities for creating beautiful and modern quilted masterpieces.
So, grab your materials, follow the steps outlined in this article, and let your creativity soar as you face your quilts with confidence and flair. Happy quilting!
Frequently Asked Questions about How To Face A Quilt
Was this page helpful?
At Storables.com, we guarantee accurate and reliable information. Our content, validated by Expert Board Contributors, is crafted following stringent Editorial Policies. We're committed to providing you with well-researched, expert-backed insights for all your informational needs.


0 thoughts on “How To Face A Quilt”