
Articles
How To Machine Sew On Binding On A Quilt
Modified: December 7, 2023
Learn how to machine sew on binding to give your quilt a professional finish. Our articles provide step-by-step instructions and tips for flawless results.
(Many of the links in this article redirect to a specific reviewed product. Your purchase of these products through affiliate links helps to generate commission for Storables.com, at no extra cost. Learn more)
Introduction
Welcome to the world of quilting! Quilting is a beautiful and rewarding craft that allows you to create cozy and personalized pieces that can be cherished for years to come. One essential technique in quilting is sewing on binding, which gives the quilt a finished look and helps bind the layers together. In this article, we will guide you through the process of machine sewing on binding on a quilt, ensuring a professional and polished result.
Sewing on binding might seem like a daunting task, especially for beginners, but with a little practice and some helpful tips, you’ll be able to master this technique in no time. So, gather your materials, set up your sewing machine, and let’s get started!
Key Takeaways:
- Master the art of machine sewing on binding to give your quilts a professional and polished finish, ensuring durability and a decorative touch.
- Don’t be intimidated by sewing on binding – with practice and patience, you can personalize your quilts and enjoy the timeless craft of quilting.
Read more: How To Sew A Quilt Binding
Materials Needed
Before we begin, let’s gather the necessary materials. To sew on binding on a quilt, you’ll need the following:
- Fabric for the binding – This can be a matching or contrasting fabric to add a decorative touch to your quilt.
- Quilt – The quilt top, batting, and backing layers should already be assembled and quilted.
- Ruler – A clear, acrylic ruler is ideal for accurately measuring and cutting your binding strips.
- Cutting mat – A self-healing cutting mat protects your work surface and helps provide precise cuts.
- Rotary cutter – Using a rotary cutter makes cutting fabric strips quick and easy.
- Sewing machine – A basic sewing machine with a straight stitch and zigzag stitch capability is all you need for sewing on binding.
- Thread – Choose a thread color that matches your binding fabric or complements it.
- Quilting pins – These will help hold the binding in place as you sew.
- Iron and ironing board – Pressing your fabric and seams is essential for achieving professional results.
- Scissors – A pair of sharp, fabric scissors will help you trim excess fabric and thread.
With these materials at hand, you’re ready to move on to the next steps of preparing the quilt and cutting the binding strips.
Preparing the Quilt
Before you can sew on the binding, it’s important to prepare the quilt by trimming the excess batting and backing fabric. Follow these steps to get your quilt ready:
- Lay your quilt flat on a clean and smooth surface. Smooth out any wrinkles or puckers.
- Using a ruler and fabric scissors, carefully trim the excess batting so that it aligns with the edges of the quilt top. Be cautious not to cut through the quilt top fabric.
- Next, trim the excess backing fabric, ensuring that it is even with the quilt top. Again, be careful not to cut through the layers or quilt top fabric.
- Give the quilt a final press with an iron to smooth out any creases or wrinkles.
Once your quilt is prepped and ready, you can move on to cutting the binding strips.
Note: If you prefer, you can also add a quilt label at this stage. A quilt label is a small fabric piece that contains information about the quilt, such as the maker’s name, date, and a special message. Simply secure the label to the back of the quilt before attaching the binding.
Now that your quilt is properly prepared, let’s move on to the next step of cutting the binding strips.
Cutting the Binding Strips
Now that your quilt is prepped and ready, it’s time to cut the binding strips. Follow these steps to ensure accurate and precise cuts:
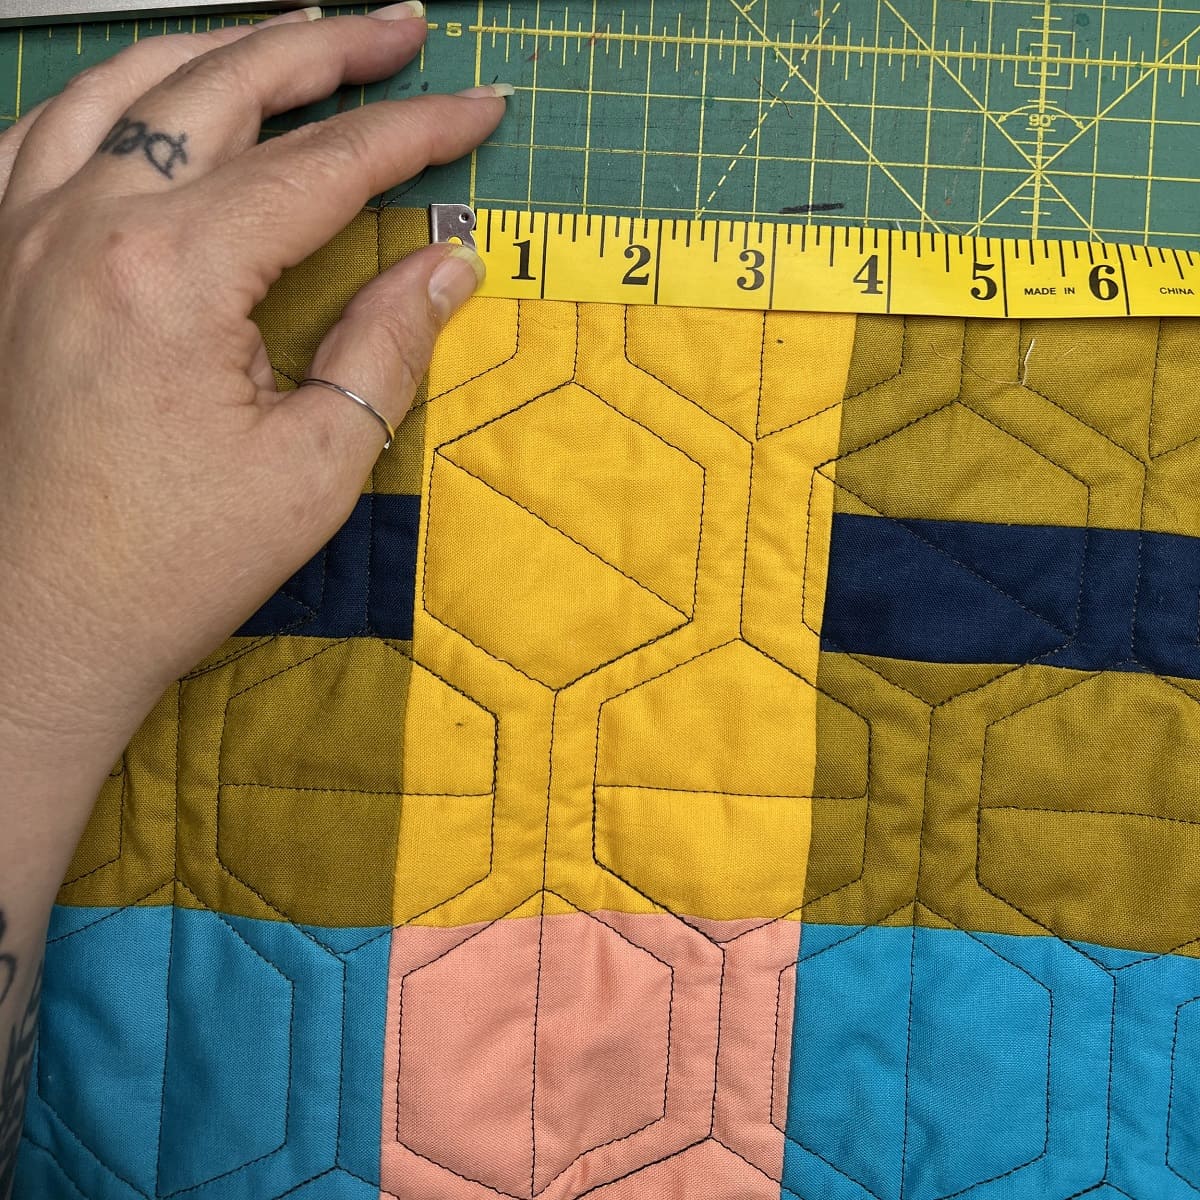
- Start by determining the width of your binding. The most common binding width is 2.5 inches, but you can adjust it according to your preference.
- Measure the perimeter of your quilt by adding up all four sides. Add a few extra inches to allow for mitering corners and joining strips together.
- Calculate the number of binding strips you’ll need by dividing the total length by the width of your binding. Round up to the nearest whole number.
- Using a ruler and rotary cutter, cut multiple fabric strips that are the determined width (e.g., 2.5 inches) and the length of your quilt’s perimeter.
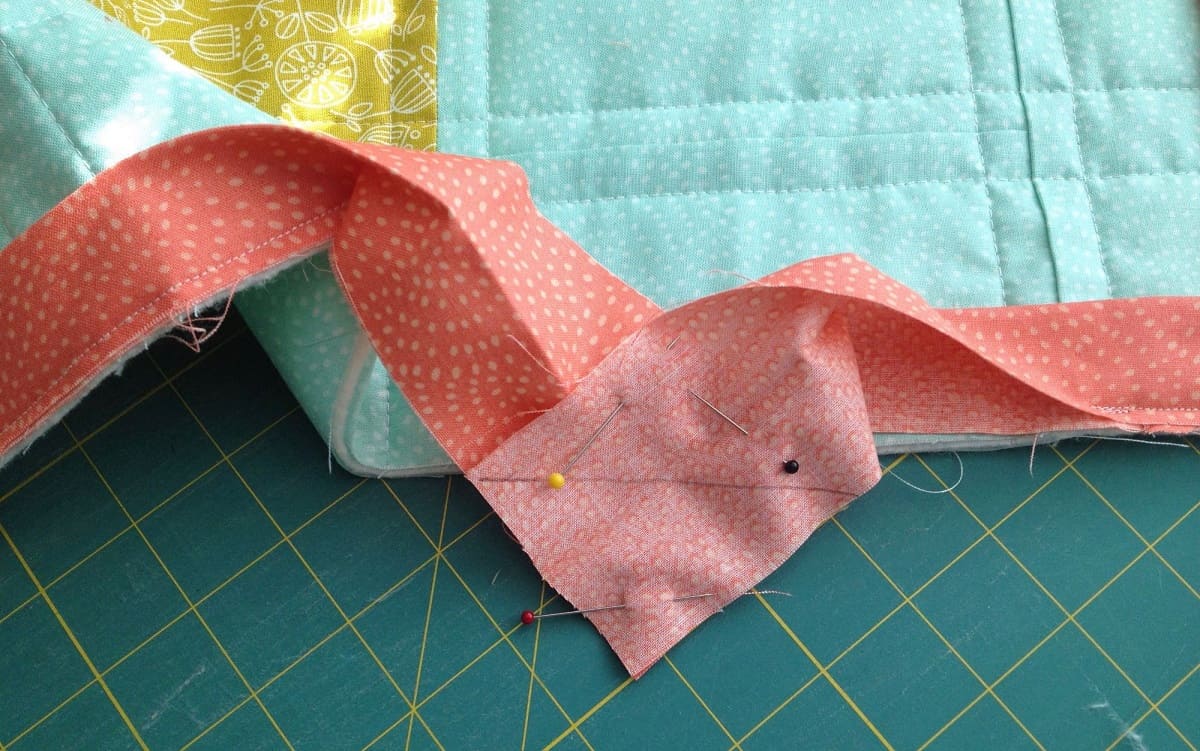
- For continuous binding, join the binding strips together by placing two strips perpendicular to each other at a 90-degree angle. Sew diagonally across the corner from one corner to the other, creating a diagonal seam. Trim the excess fabric, leaving a 1/4 inch seam allowance, and press the seam open.
- Continue joining the remaining binding strips using the same diagonal seam method until you have one long continuous strip of binding.
- Once all the binding strips are joined, give the strip a good press with an iron to ensure a crisp and smooth finish.
With your binding strips cut and prepared, you’re ready to move on to attaching the binding to the quilt.
Joining the Binding Strips
Now that you have your binding strips cut and ready, it’s time to join them together to create one long continuous strip. Follow these steps to ensure a seamless and sturdy binding:
- Take two binding strips and place them at a 90-degree angle, right sides together.
- Mark a diagonal line from one corner to the other, creating a stitching line for the seam.
- Pin the strips together along the diagonal line to secure them in place.
- Using a sewing machine, stitch along the marked line, backstitching at the beginning and end to secure the seam.
- Trim the excess fabric, leaving a 1/4 inch seam allowance. Press the seam open.
- Repeat this process to join all the remaining binding strips, creating one long continuous strip.
- Once your binding strips are joined, give the entire strip a thorough pressing with an iron to ensure smooth and flat binding.
By joining the binding strips using this method, you’ll create a continuous and seamless binding that will be easier to attach to your quilt.
Now that you have your binding strip ready, let’s move on to attaching it to the quilt.
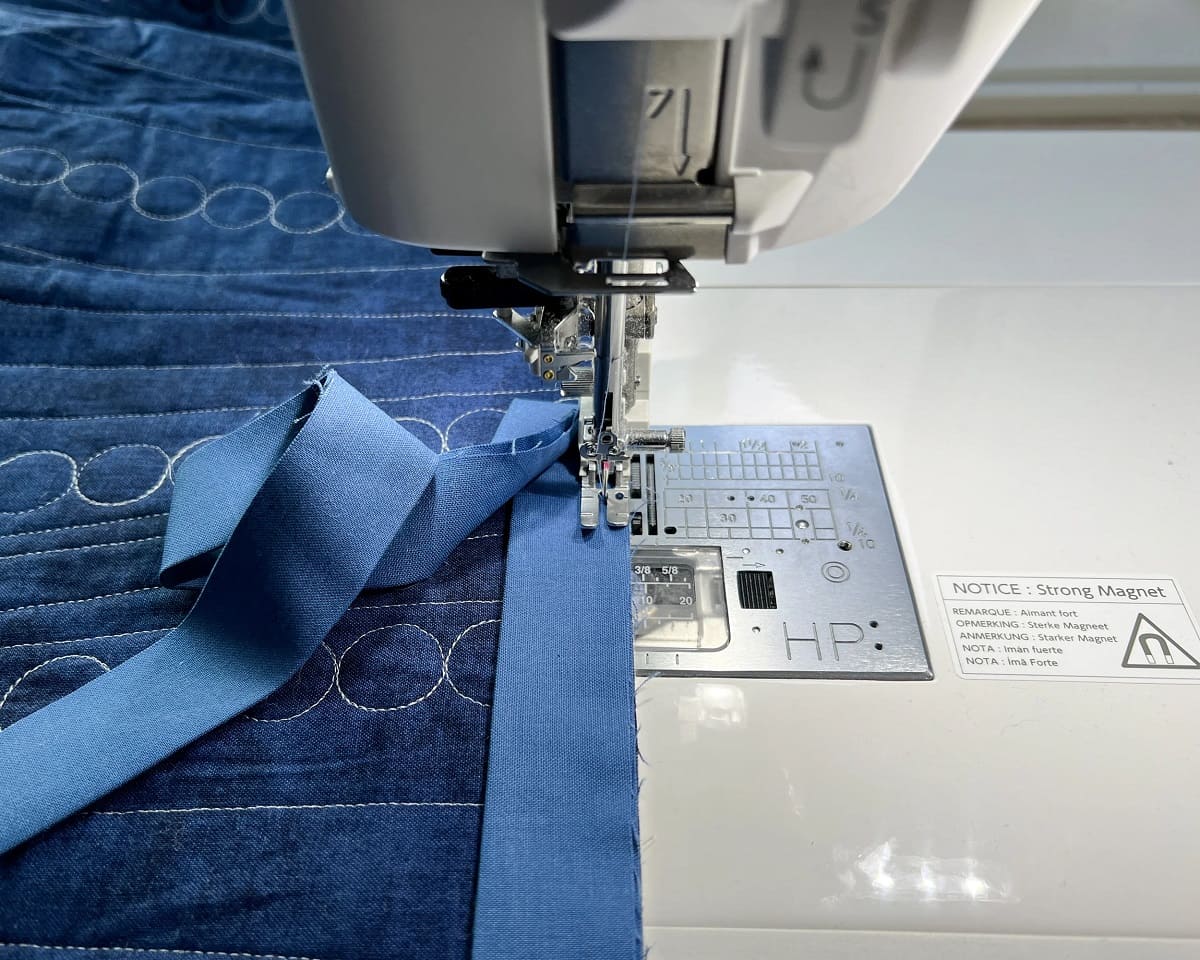
When sewing on binding, use a walking foot to help feed the layers evenly and prevent stretching. This will result in a neater and more professional finish.
Read more: How To Sew Satin Binding On A Quilt
Attaching the Binding to the Quilt
With your binding strip joined into one long continuous piece, it’s time to attach it to the quilt. Follow these steps to ensure a secure and professional look:
- Starting in the middle of one side of your quilt, align the raw edges of the binding strip with the raw edges of the quilt’s perimeter. Leave a tail of binding strip that is approximately 8-10 inches long, as this will be used later for joining the ends.
- Pin the binding strip in place, ensuring that it lays flat and is evenly distributed along the quilt’s edge.
- Using a sewing machine, stitch the binding to the quilt using a 1/4 inch seam allowance. Backstitch at the beginning and end to secure the stitching.
- Continue stitching all the way around the quilt, stopping approximately 8-10 inches before reaching the starting point.
- Trim the excess binding, leaving a small tail.
- Now, it’s time to join the binding ends. Open up the tail of the binding strip and fold back the end to create a clean, squared edge.
- Place the other end of the binding strip inside the folded end, overlapping them by 1/4 inch.
- Pin the ends together and stitch along the fold, securing the ends together.
Once the ends are joined, finish stitching the remaining section of binding to the quilt. Trim any excess binding, leaving a small tail to fold under.
To ensure a neat and professional finish, fold the binding strip over to the back of the quilt, covering the raw edges, and pin it in place.
Now, you’re ready to move on to mitering the corners of your quilt binding.
Mitering the Corners
Mitering the corners of your quilt binding adds a clean and professional touch to the finished look. Follow these steps to miter the corners:
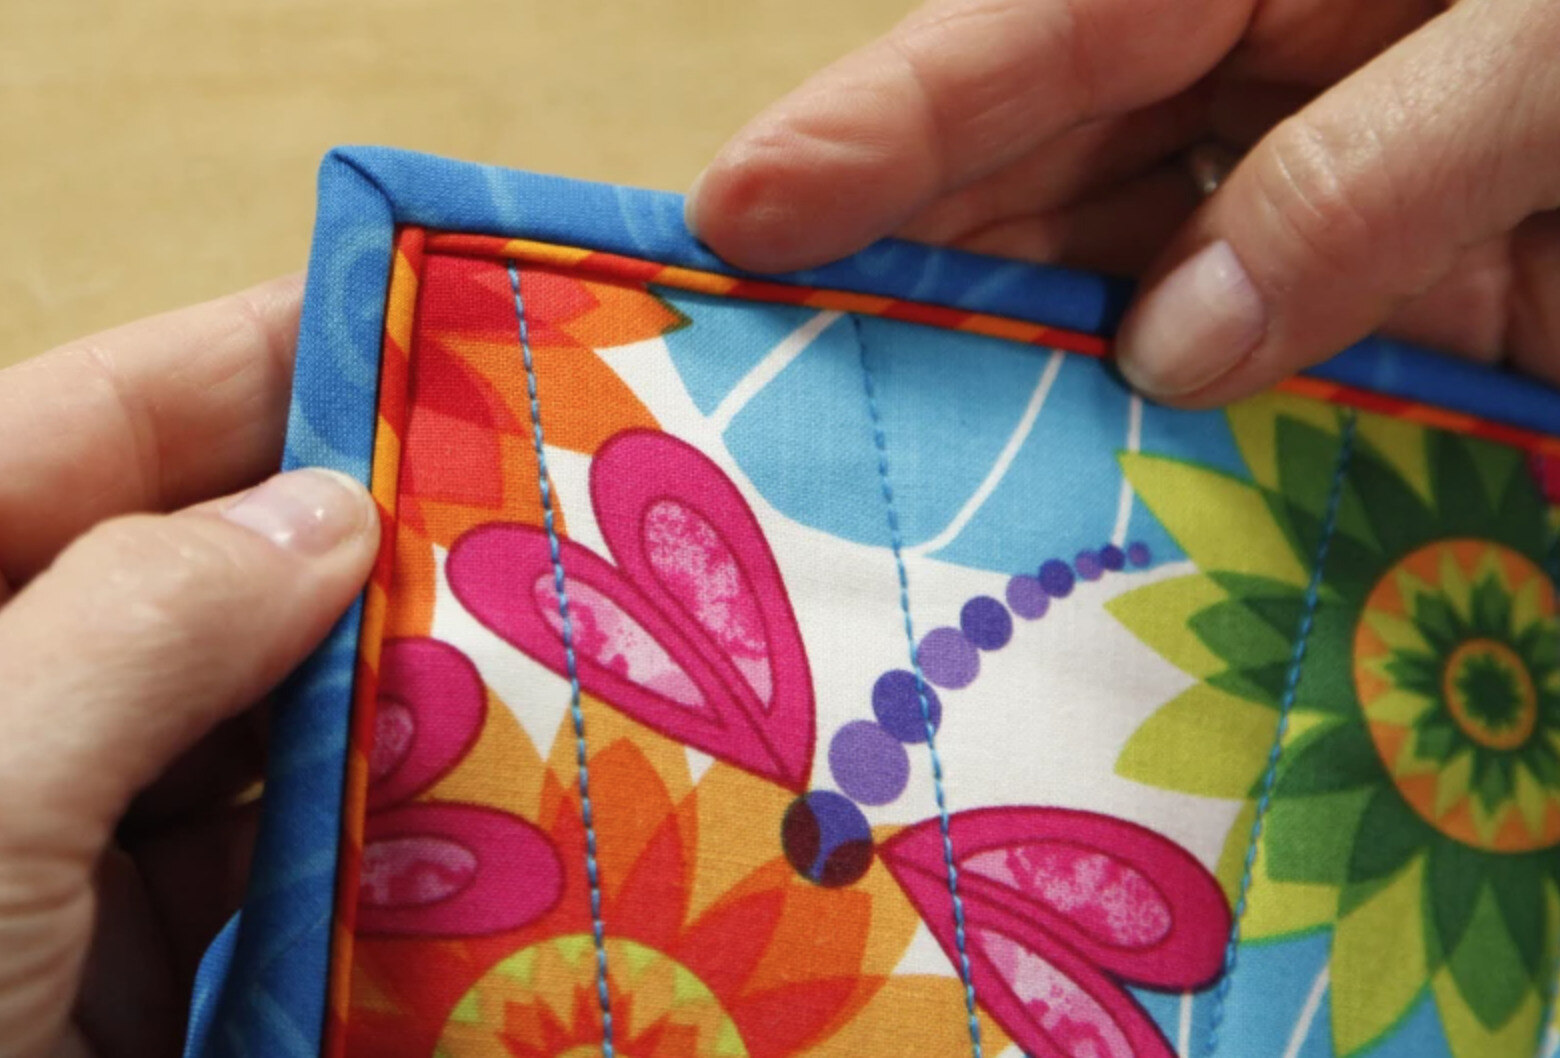
- Stop stitching approximately 1/4 inch away from the first corner of your quilt.
- Fold the binding strip up, away from the quilt, forming a 45-degree angle at the corner.
- Next, fold the binding strip down, aligning it with the edge of the next side of the quilt.
- Pin the folded corner in place, making sure it forms a neat and diagonal fold.
- Continue stitching along the next side, starting at the folded corner and backstitching at the beginning and end.
- Repeat this process for all the corners, always folding the binding strip up, then down, to create mitered corners.
Mitering the corners of your quilt binding creates a clean, angled fold that enhances the overall look of your quilt. It’s important to take your time and ensure that the corners are neatly folded and pinned in place.
Once all the corners are mitered, continue sewing the binding to the quilt until you have completed all sides. Trim any excess binding, leaving a small tail to fold under.
Now that the binding is attached and the corners are mitered, it’s time to complete the final step of finishing the binding.
Completing the Binding
With the binding attached to the quilt and the corners mitered, it’s time to complete the final steps to finish the binding. Follow these steps to ensure a clean and professional finish:
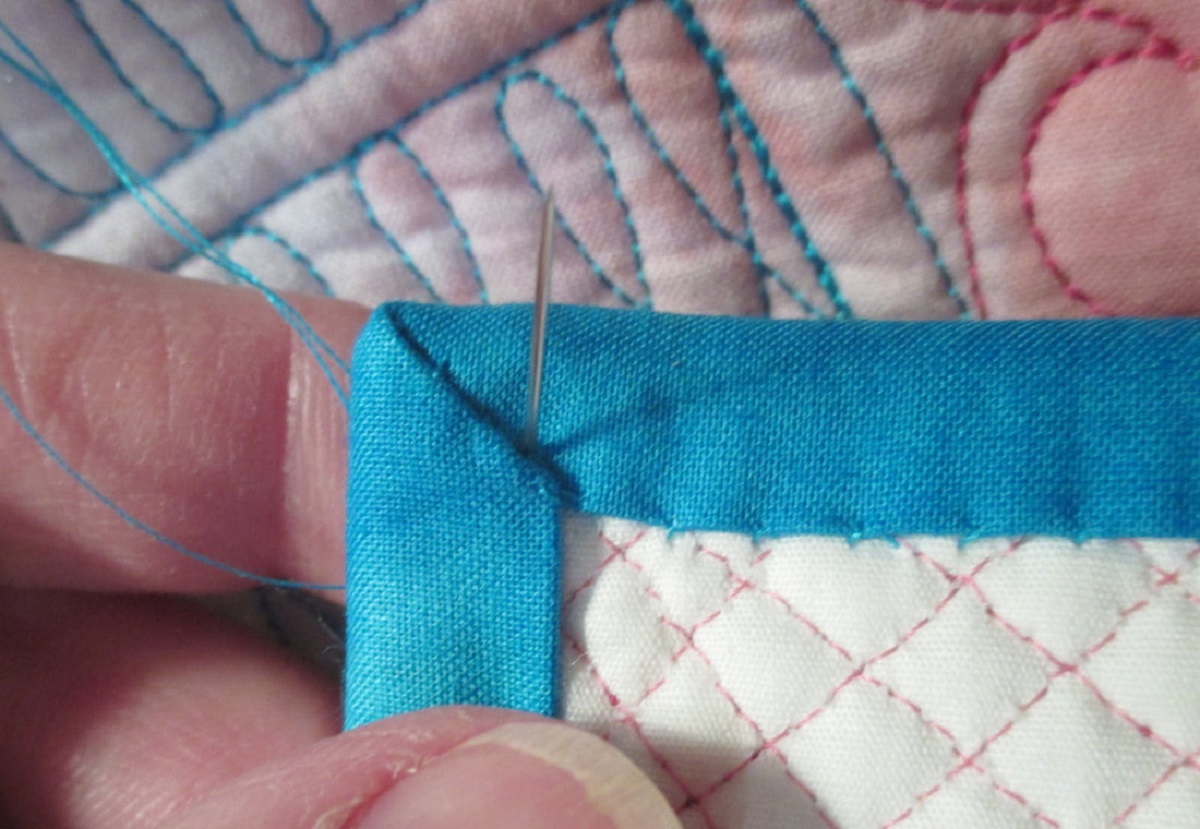
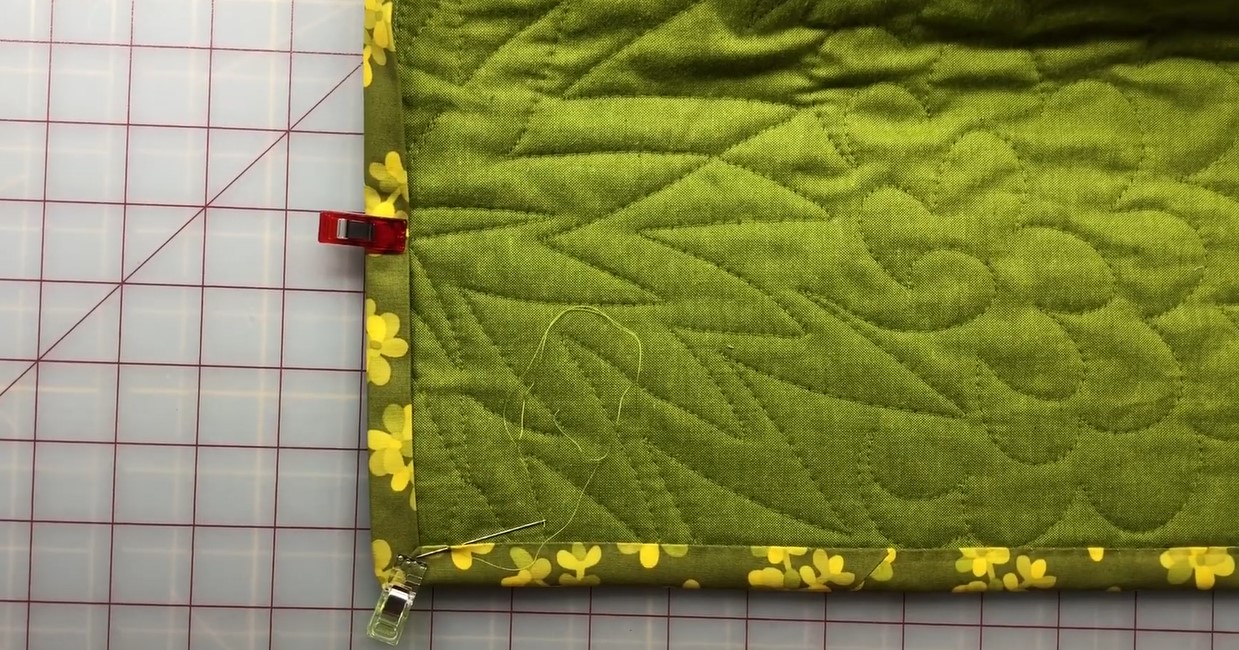
- Fold the remaining binding strip to the back of the quilt, covering the raw edges.
- Secure the folded binding in place with quilting pins, making sure it is evenly spaced along the quilt’s edge.
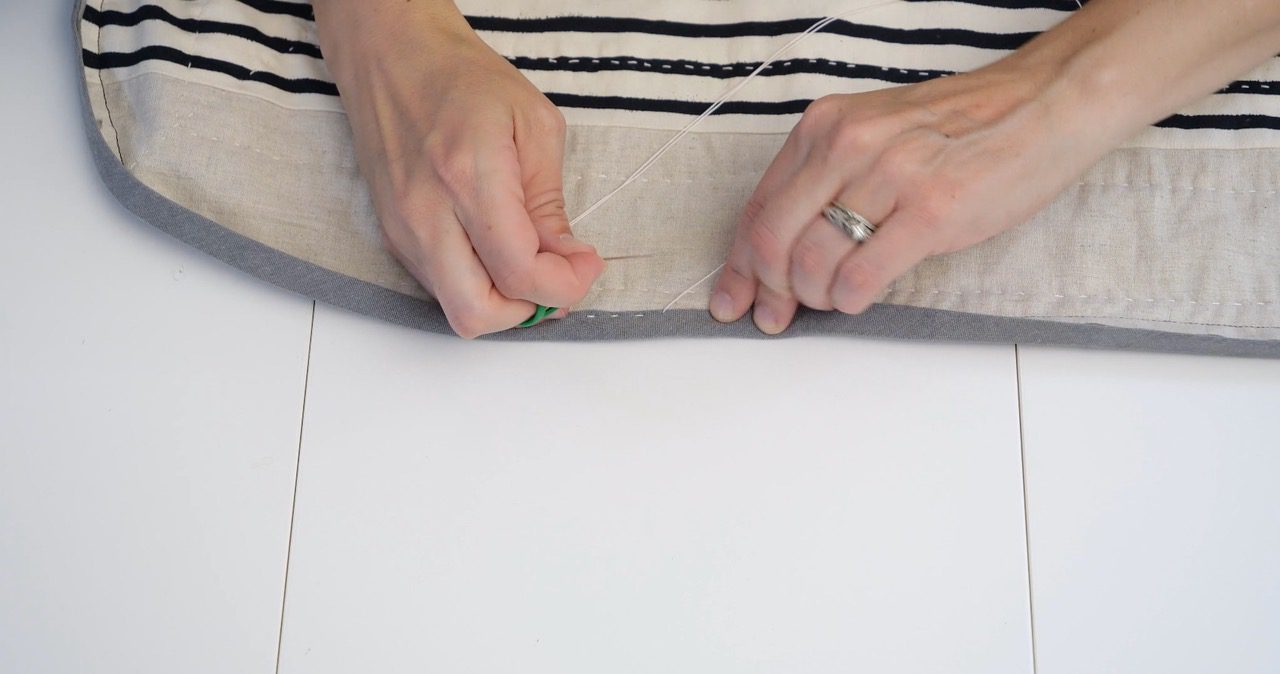
- Using a sewing machine, stitch in the ditch or close to the folded edge of the binding on the front side of the quilt.
- Take your time as you sew, ensuring that you catch the folded binding on the back of the quilt with your stitching.
- Continue stitching all the way around the quilt, removing the pins as you go.
- Once you reach the starting point, backstitch and secure the stitching.
- Trim any excess thread or loose threads.
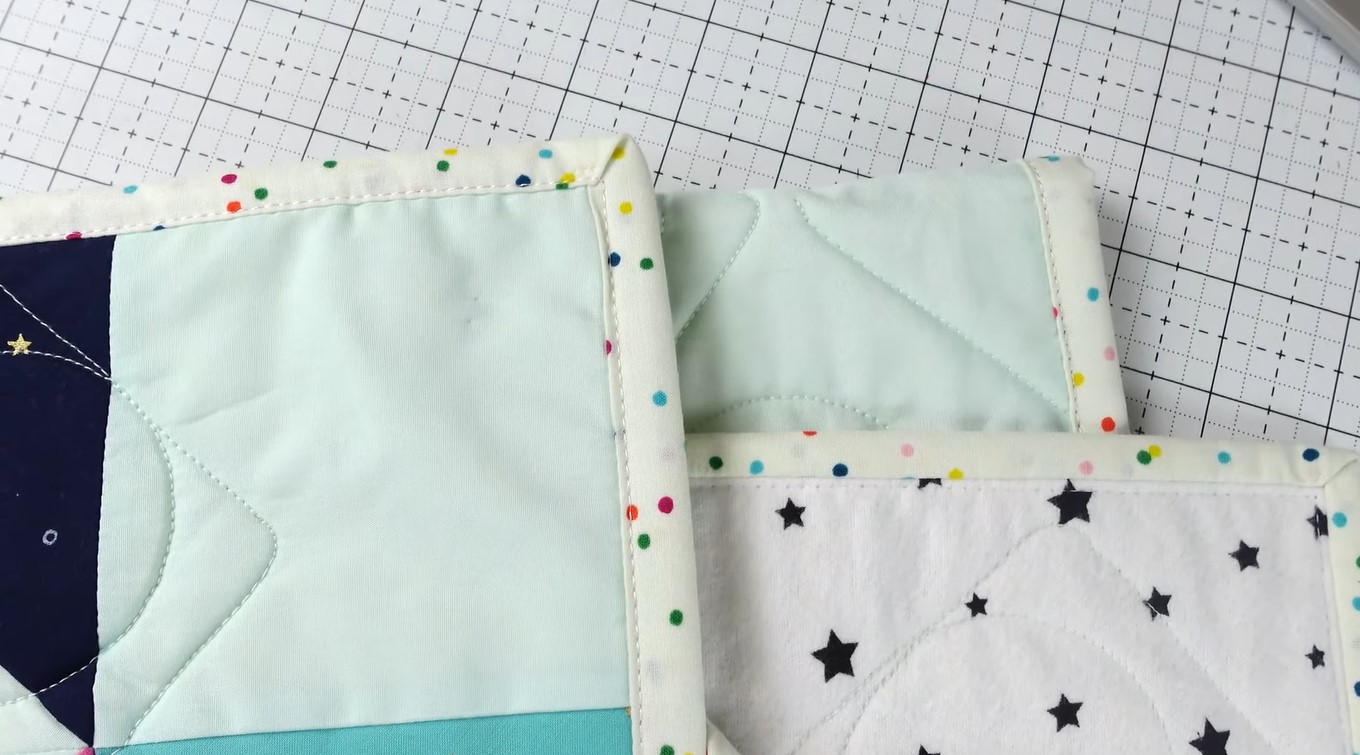
By stitching close to the folded edge of the binding, you’ll create an invisible or nearly invisible stitch line, resulting in a clean and finished look on the front side of the quilt.
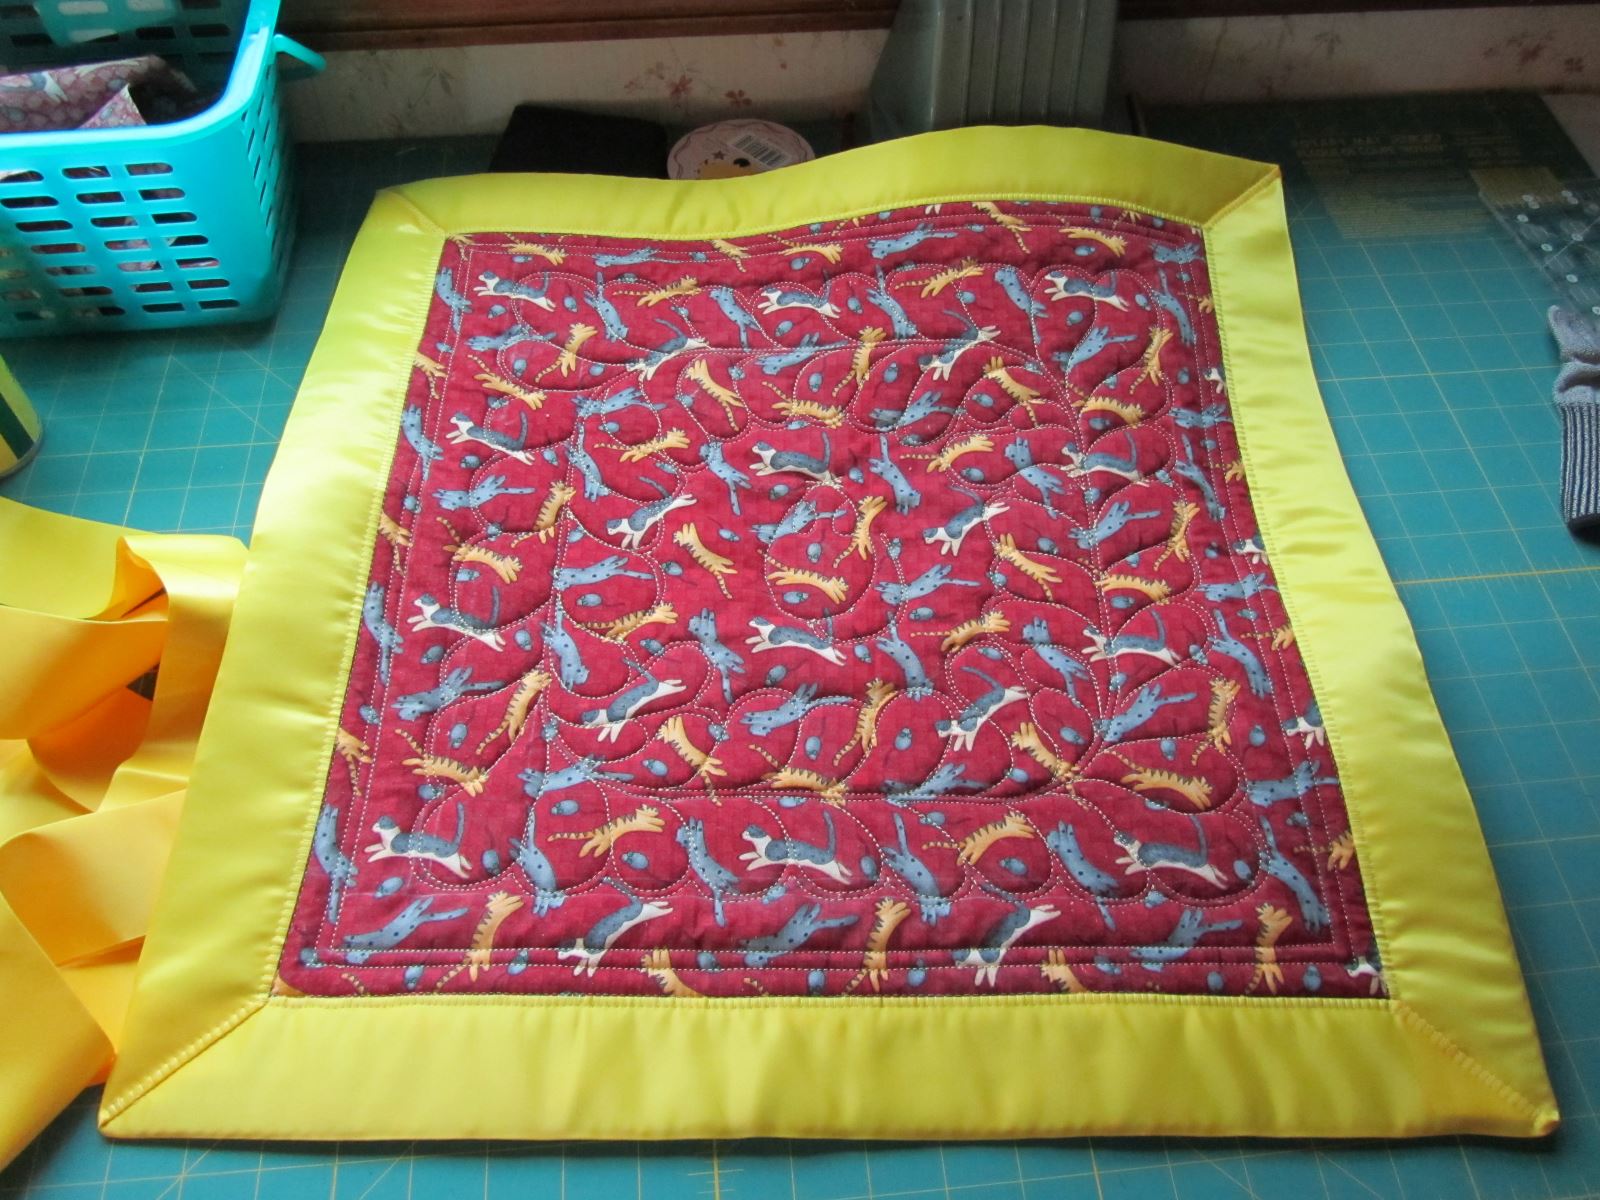
After completing the final stitching, give your quilt a final press with an iron to ensure smooth and wrinkle-free binding. Admire your finished quilt with its beautifully attached and completed binding!
Congratulations! You have successfully machine-sewn the binding onto your quilt, giving it a professional and polished finish.
Now, take a step back and admire your hard work. Your quilt is now ready to be enjoyed, cherished, and even gifted to a loved one. Happy quilting!
Conclusion
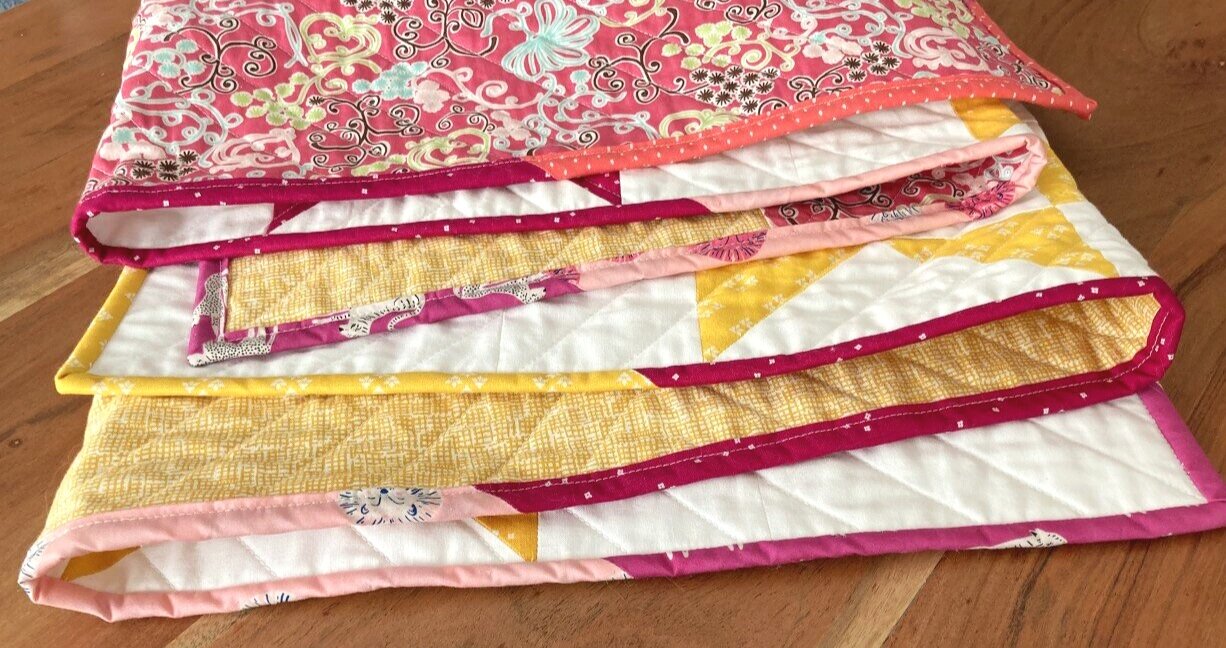
Congratulations on successfully completing the process of machine sewing on binding for your quilt! By following the steps outlined in this article, you have achieved a professional and polished finish. Your quilt now has a beautiful binding that not only adds a decorative touch but also helps bind the layers together, ensuring durability.
Sewing on binding may have seemed intimidating at first, but with practice and the right techniques, you have mastered this essential quilting skill. Remember to take your time, be patient, and enjoy the process. Each quilt project is a labor of love, and the binding is the final touch that brings it all together.
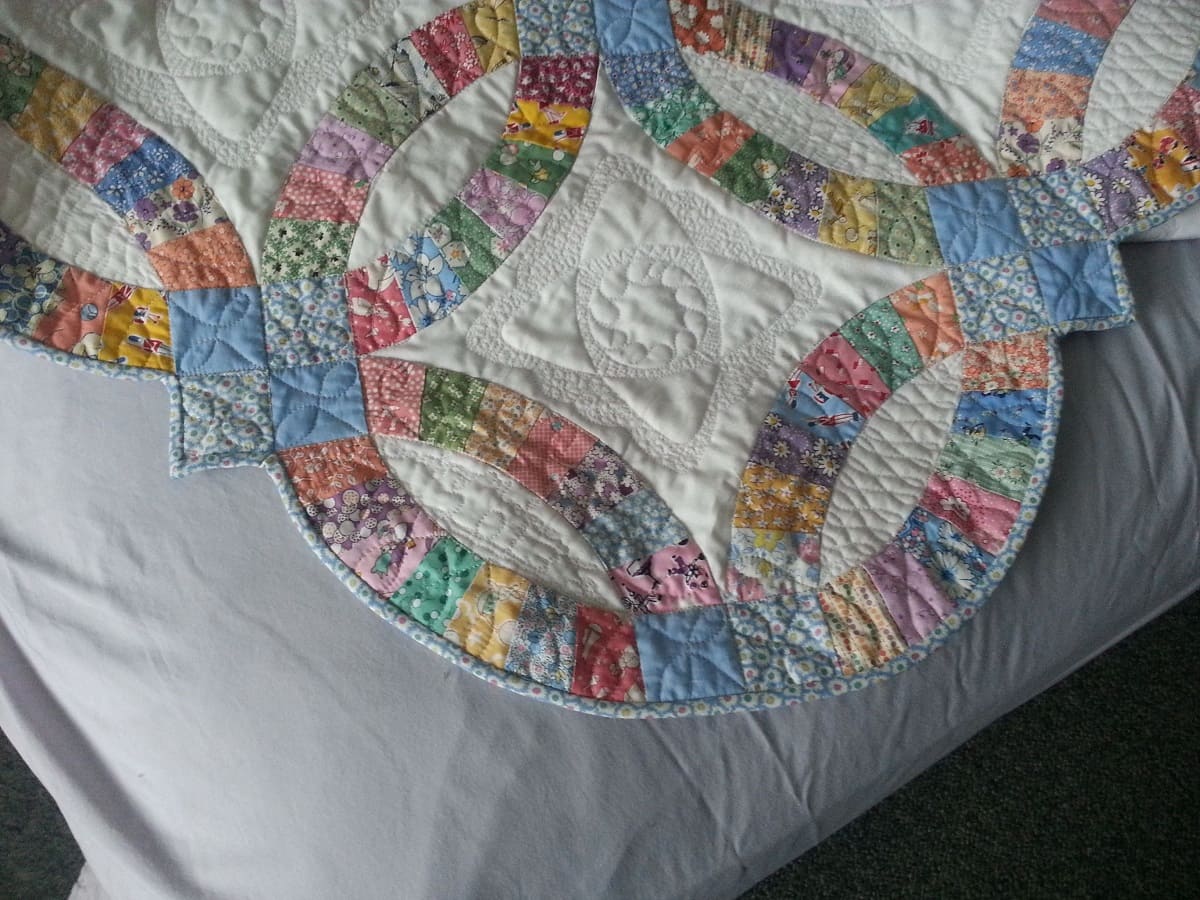
As you continue your quilting journey, don’t be afraid to experiment with different binding widths, fabric choices, and decorative techniques. Binding can be a creative way to personalize your quilt and add your unique style. Whether you opt for a matching or contrasting fabric, a narrow or wide binding, or even incorporating embellishments, the possibilities are endless.
Remember to take care of your quilt by washing it according to the fabric’s care instructions. Binding can withstand regular use, but it is important to treat your quilt with care to ensure its longevity.
Now that you have learned the art of machine sewing on binding, you can confidently tackle future quilting projects. Share your knowledge and skills with others, and don’t hesitate to experiment and push your creative boundaries. Quilting is a timeless craft that brings joy and warmth to both the creator and the recipient of a handmade quilt.
Keep quilting, keep creating, and enjoy the journey of making beautiful and treasured quilts!
Frequently Asked Questions about How To Machine Sew On Binding On A Quilt
Was this page helpful?
At Storables.com, we guarantee accurate and reliable information. Our content, validated by Expert Board Contributors, is crafted following stringent Editorial Policies. We're committed to providing you with well-researched, expert-backed insights for all your informational needs.

0 thoughts on “How To Machine Sew On Binding On A Quilt”