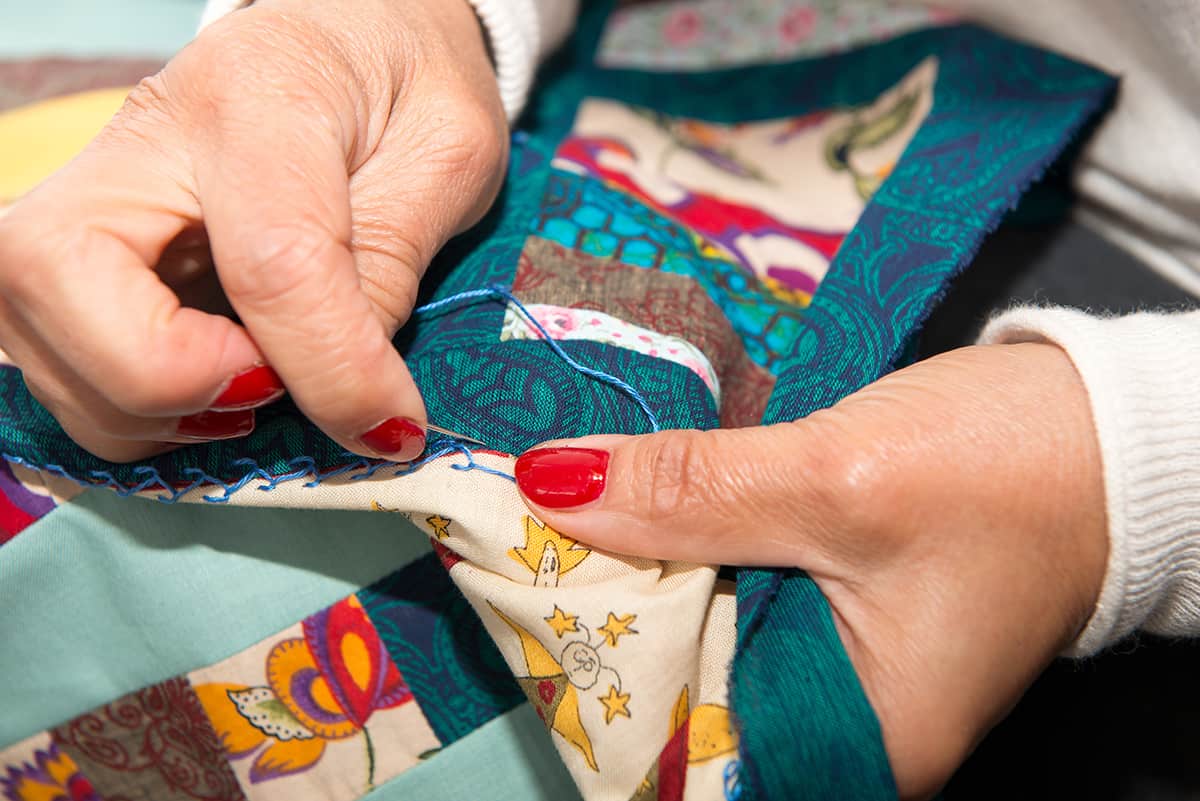

Articles
How To Stitch A Quilt
Modified: January 5, 2024
Learn how to stitch a quilt with our informative articles. Find step-by-step tutorials and expert tips to create beautiful quilts for any occasion.
(Many of the links in this article redirect to a specific reviewed product. Your purchase of these products through affiliate links helps to generate commission for Storables.com, at no extra cost. Learn more)
Introduction
Welcome to the wonderful world of quilt stitching! Quilting is a beloved craft that allows you to create beautiful and functional pieces of art that can be cherished for generations. Whether you’re a seasoned quilter or just starting out, this article will guide you through the process of stitching a quilt from start to finish.
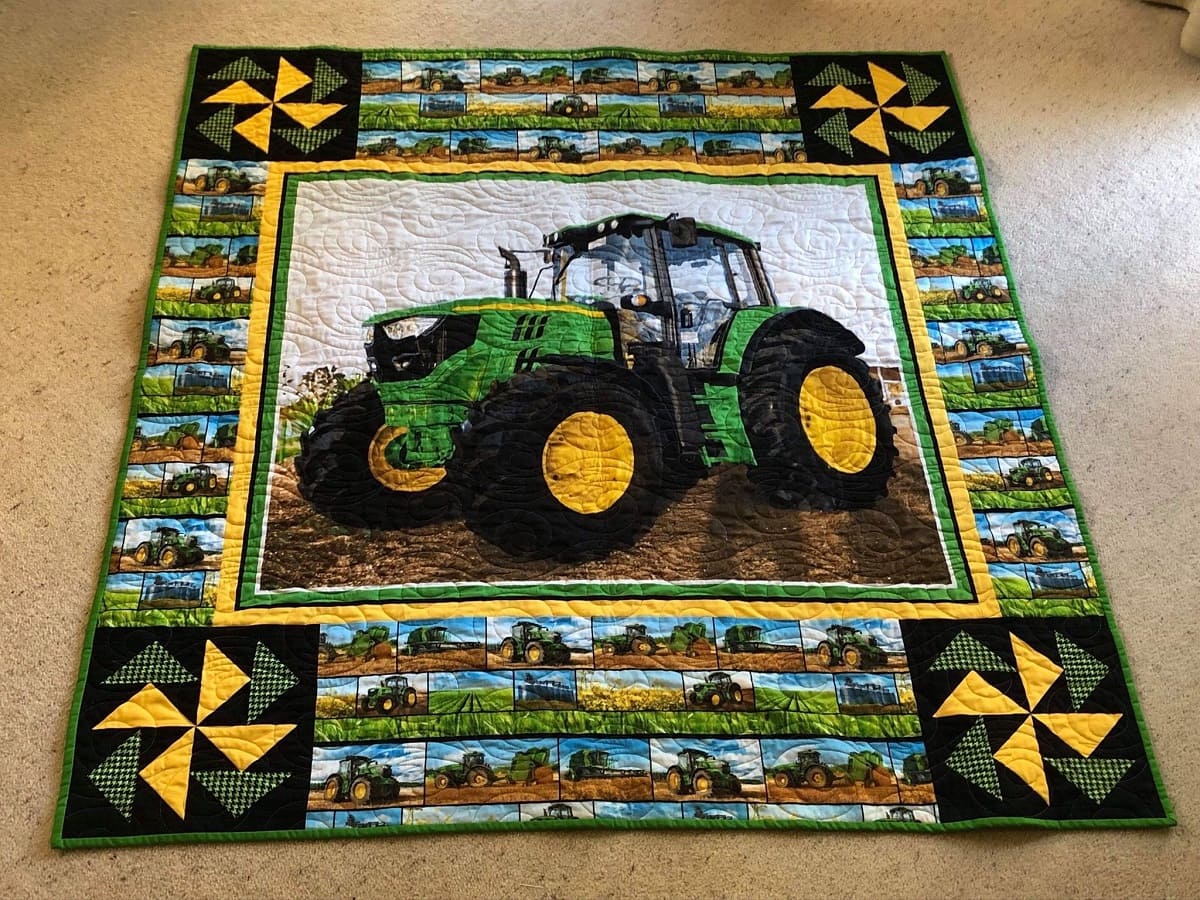
Quilting is not only a creative outlet but also a way to relax and unwind. The rhythmic motion of stitching and the satisfaction of seeing your design come to life can be incredibly rewarding. Plus, the end result is a cozy and personalized quilt that can be used as a bedspread, wall hanging, or cherished gift.
Before we dive into the step-by-step process, let’s take a moment to gather all the materials you’ll need for your quilting project. Having everything at hand will ensure a smooth and efficient quilting experience.
Key Takeaways:
- Quilting is a creative and rewarding craft that allows you to express your unique style and personality through fabric, color, and design. From gathering materials to adding the final binding, each step is an opportunity to create a cherished work of art.
- The quilting process is a journey of learning, growth, and patience. Embrace the joy of experimentation and the beauty of every stitch as you create extraordinary quilts that will be treasured for generations to come.
Step 1: Gather Your Materials
Before you start stitching your quilt, it’s important to gather all the necessary materials. Here’s a list of items you’ll need:
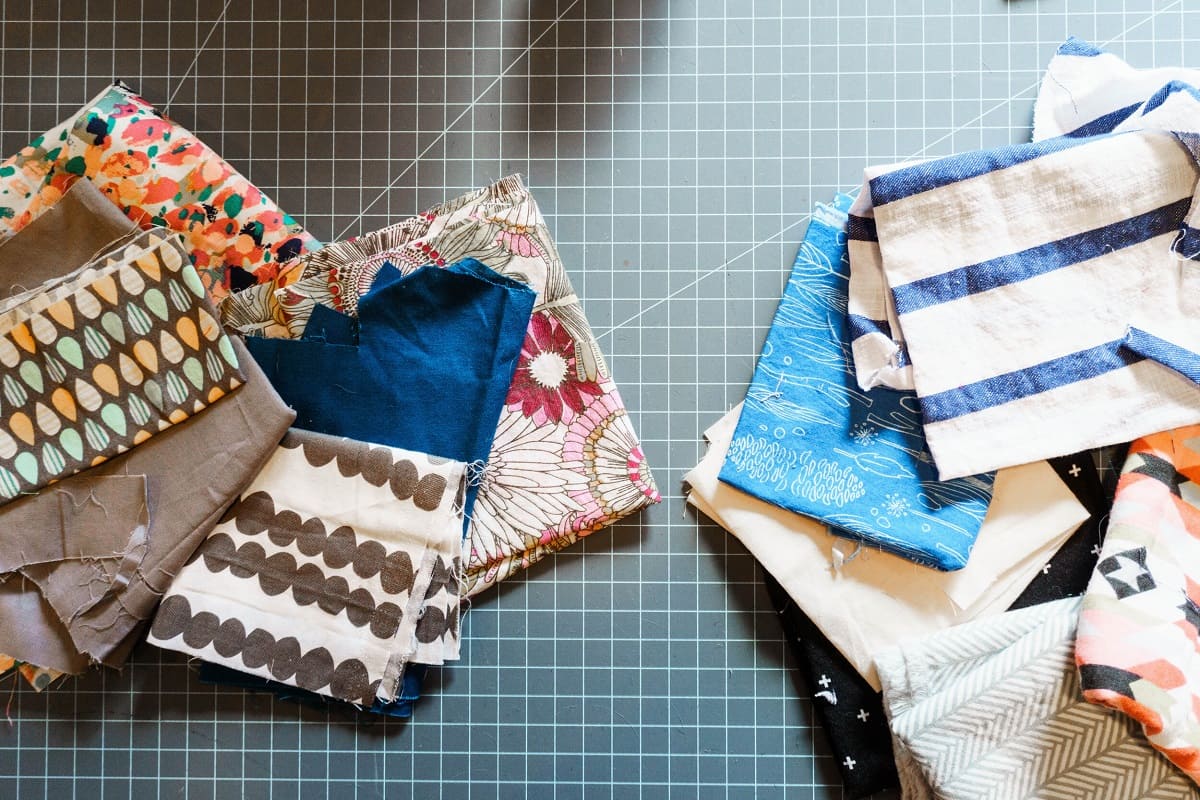
- Fabric: Choose a variety of fabrics in different colors and patterns. You’ll need fabric for the quilt top, backing, and binding.
- Batting: This is the middle layer of the quilt that provides warmth and thickness. Choose a batting that suits your desired level of insulation.
- Thread: Select a thread color that complements your fabric choices. You’ll use this for sewing the quilt blocks and quilting the layers together.
- Quilt Template: If you’re following a specific quilt design, have your template ready. This can be a pre-made template or a pattern you’ve created yourself.
- Quilting Tools: Gather your quilting tools, including a cutting mat, rotary cutter, quilting ruler, pins, and scissors.
- Sewing Machine: A sewing machine will make the quilting process faster and more efficient, but you can also hand stitch your quilt if you prefer.
Once you have all your materials ready, you can move on to the next step: choosing the design for your quilt.
Step 2: Choose Your Quilt Design
Choosing the right quilt design is an exciting part of the quilting process. The design you choose will determine the overall look and feel of your quilt. Here are a few popular quilt designs to consider:
- Classic Patchwork: This design involves sewing together small fabric squares to create a pattern. It’s a timeless and versatile design that can be adapted to various styles.
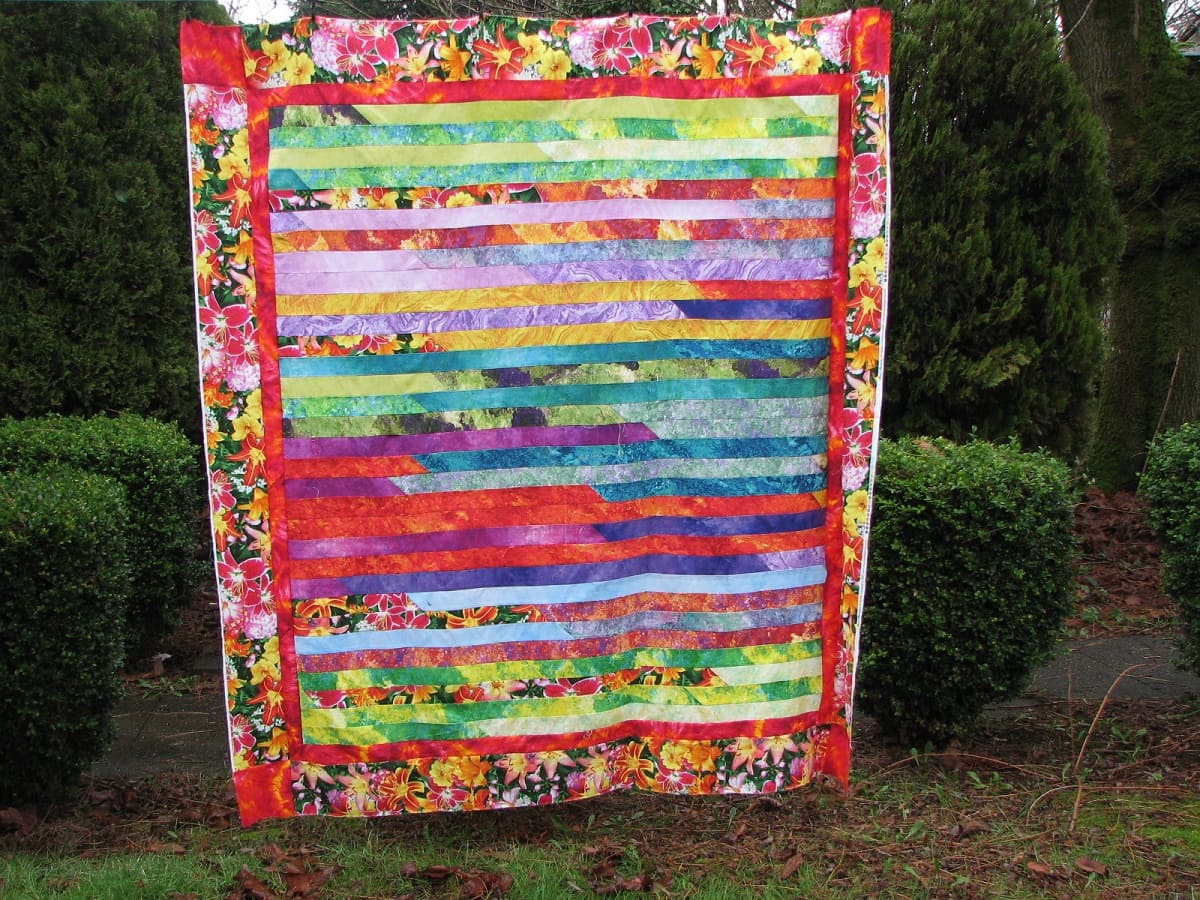
- Strip Quilt: In this design, fabric strips of different widths are sewn together to create a visually striking quilt. It’s a great design for showcasing bold prints or creating a modern look.
- Log Cabin: The log cabin design features strips of fabric that radiate from a central square, resembling the logs of a cabin. It’s a traditional design that is loved for its warmth and simplicity.
- Appliqué: Appliqué involves attaching fabric shapes onto a background fabric to create a design. It allows for intricate and detailed patterns, making it a popular choice for decorative quilts.
When choosing a quilt design, consider the skill level required, your personal preferences, and the intended use of the quilt. If you’re a beginner, start with a simpler design and gradually work your way up to more complex patterns.
Once you’ve settled on a design, it’s time to select the fabrics that will bring your quilt to life. In the next step, we’ll explore how to choose the perfect fabrics for your quilt.
Step 3: Select Your Fabrics
Choosing the right fabrics for your quilt is an important step in the quilting process. The fabrics you select will determine the overall look, feel, and durability of your quilt. Here are some tips to help you choose the perfect fabrics:
- Consider the Theme or Color Scheme: Think about the theme or color scheme you want for your quilt. Do you prefer bright and bold colors, or subtle and muted tones? Having a cohesive color palette will create a harmonious and visually pleasing quilt.
- Think about the Fabric Quality: It’s important to choose high-quality fabrics that will stand the test of time. Look for fabrics that are durable, easy to work with, and have a tight weave.
- Consider the Fabric Content: Fabrics come in various materials, such as cotton, flannel, or polyester. Consider the intended use of the quilt and choose fabrics that are suitable for that purpose. For example, if you’re making a cozy winter quilt, flannel fabrics would be a great choice.
- Mix and Match Patterns: Adding different patterns and prints to your quilt can create visual interest. Experiment with combining florals, stripes, polka dots, and solids to create a dynamic and eye-catching quilt.
- Consider Scale and Contrast: When selecting fabrics, consider the scale of the prints and the contrast between different fabrics. Mixing fabrics with different scales and levels of contrast can create depth and dimension in your quilt.
Don’t be afraid to get creative and trust your instincts when choosing fabrics. Remember, quilting is a personal art form, and your fabric choices should reflect your own unique style and preferences.
Once you have selected your fabrics, it’s time to prepare them for quilting. In the next step, we’ll discuss how to properly prepare your fabrics before stitching your quilt blocks together.
Step 4: Prepare Your Fabrics
Before you start stitching your quilt blocks together, it’s important to properly prepare your fabrics. Proper preparation ensures that your fabrics are clean, pressed, and ready for the quilting process. Here are some steps to follow:
- Wash and Dry: If your fabrics are brand new, it’s essential to pre-wash them to remove any sizing or chemicals. This step prevents unwanted shrinkage or color bleeding in your finished quilt. Follow the washing instructions on the fabric labels and dry them thoroughly.
- Press: After washing, press your fabrics using an iron on the appropriate setting. Pressing removes any wrinkles and ensures that your fabric pieces lay flat and align accurately when sewing.
- Trim the Edges: Before cutting your fabric squares, trim the edges to ensure they are straight and even. This step helps in creating precise quilt blocks and aligning the seams correctly.
- Apply Stabilizer (Optional): If you’re working with stretchy or lightweight fabrics, applying a stabilizer can help prevent distortion during the quilting process. Follow the manufacturer’s instructions for applying the stabilizer.
Properly preparing your fabrics not only ensures that your finished quilt looks professional but also improves the overall quilting experience. Taking the time to prepare your fabrics will result in well-constructed and long-lasting quilt blocks.
With your fabrics prepared, your next step is to cut them into squares or other desired shapes. In the following step, we’ll discuss how to cut your fabric squares accurately and efficiently.
Read more: How To Crochet Mattress Stitch
Step 5: Cut Your Fabric Squares
Now that your fabrics are prepared, it’s time to cut them into fabric squares. Cutting accurately is essential for creating crisp and uniform quilt blocks. Follow these steps to cut your fabric squares:
- Gather Your Tools: Before you begin cutting, make sure you have all the necessary tools at hand. This includes a cutting mat, rotary cutter, and quilting ruler.
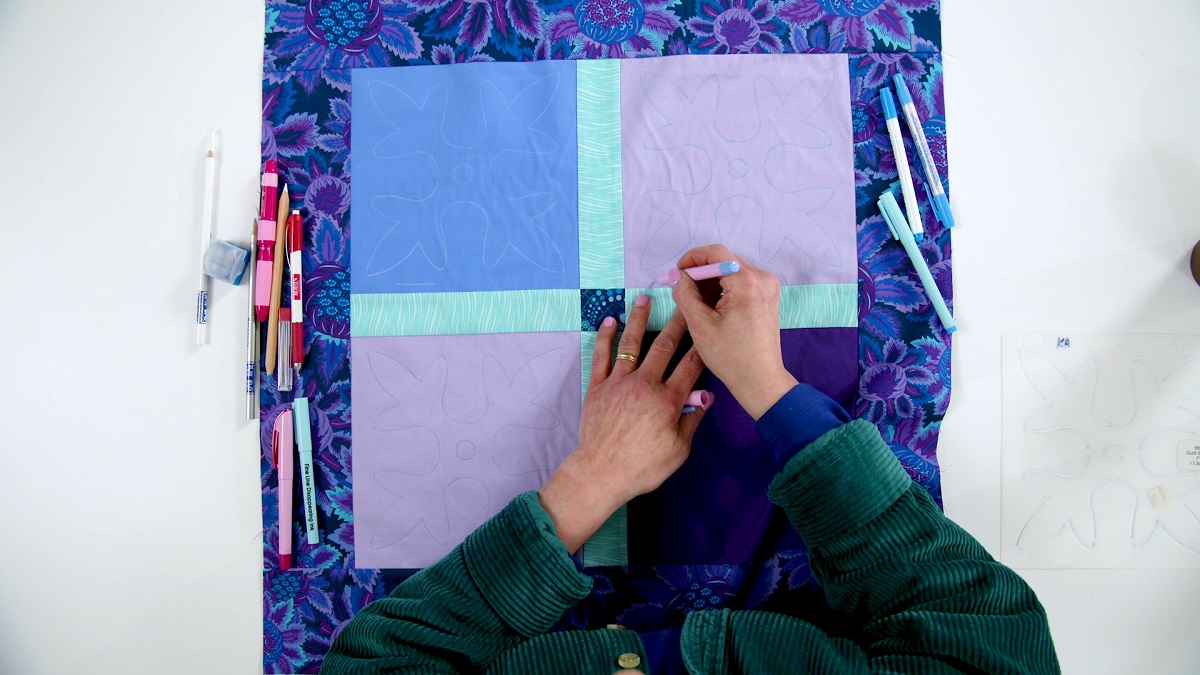
- Measure and Mark: Determine the desired size of your fabric squares. Use a quilting ruler to measure and mark the dimensions on the fabric. Make sure your markings are clear and accurate.
- Secure the Fabric: Place your fabric on a cutting mat and use pins or weights to secure it in place. This prevents the fabric from shifting during the cutting process.
- Align the Ruler: Position the quilting ruler on top of the fabric, aligning it with the marked lines. Ensure that the ruler is straight and secure.
- Cut Carefully: Gripping the rotary cutter firmly, carefully cut along the edge of the ruler. Apply light and even pressure to achieve a clean and straight cut. Remember to always cut away from your body to avoid accidents.
- Repeat and Double-check: Repeat the cutting process for all your fabric pieces, double-checking the dimensions and alignment each time.
By following these steps, you’ll be able to cut your fabric squares accurately and efficiently. Consistent and precise cutting will result in perfectly matched seams and a visually appealing quilt.
With your fabric squares ready, you’re now ready to arrange them and bring your quilt design to life. In the next step, we’ll discuss how to arrange your quilt blocks in a visually pleasing pattern.
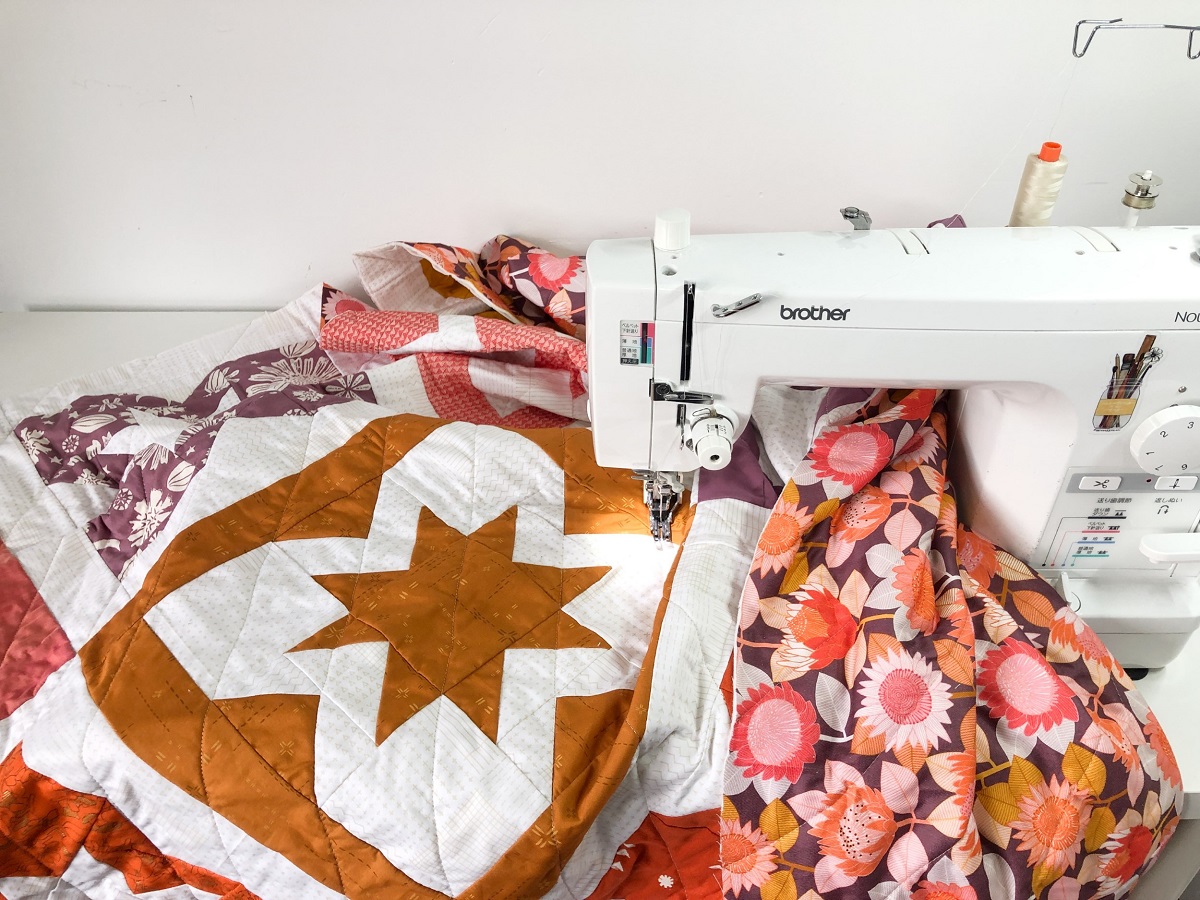
When stitching a quilt, use a walking foot attachment on your sewing machine to help prevent shifting and puckering of the layers. This will ensure a more professional-looking finished quilt.
Step 6: Arrange Your Quilt Blocks
Now that you have your fabric squares cut, it’s time to arrange them in a visually pleasing pattern. This step allows you to experiment with different layouts and create a design that best suits your aesthetic preferences. Follow these steps to arrange your quilt blocks:
- Clean and Clear Workspace: Clear a space on a large table or design wall where you can spread out your fabric squares. Make sure the area is clean and well-lit for better visibility.
- Experiment with Layouts: Start by arranging a few fabric squares on your workspace, playing with different combinations and orientations. Take a step back and observe how the colors, patterns, and shapes interact with each other.
- Balance and Contrast: Aim for a balanced composition by distributing colors, patterns, and shapes evenly throughout your design. Consider incorporating contrast to create visual interest. This could be achieved by alternating light and dark fabrics or utilizing complementary colors.
- Consider the Quilt Design: If you’re following a specific quilt design or pattern, refer to the instructions or template and arrange your fabric squares accordingly. Pay attention to the placement of each block to maintain the integrity of the design.
- Take Photos and Compare: As you experiment with different arrangements, take photos of each layout. This allows you to compare and evaluate them more objectively. Sometimes, viewing the design through a photograph can offer a fresh perspective.
- Make Adjustments: Don’t be afraid to rearrange your quilt blocks multiple times until you’re satisfied with the final layout. The beauty of quilting is the ability to adapt and tweak the design to achieve the desired outcome.
Remember, arranging your quilt blocks is a creative and personal process. Trust your instincts and have fun with it. Once you’ve settled on a layout that resonates with you, it’s time to sew the blocks together. In the next step, we’ll discuss how to sew your quilt blocks and bring your design together.
Step 7: Sew Your Quilt Blocks Together
Now that you have your quilt blocks arranged in the desired pattern, it’s time to sew them together. This step involves joining the fabric squares to create rows or larger blocks, allowing your quilt design to come together. Follow these steps to sew your quilt blocks:
- Organize Your Blocks: Group your fabric squares according to the arrangement you’ve chosen. This will help you stay organized and ensure that you sew the blocks in the correct order.
- Prepare Your Sewing Machine: Set up your sewing machine with the appropriate thread and needle. Ensure that your machine is in good working condition and that the tension is set correctly.
- Align the Blocks: Take the first two fabric squares and place them right sides together, aligning the edges that will be sewn. Use pins or clips to secure the pieces in place.
- Sew with a Seam Allowance: Sew with a ¼ inch seam allowance along the aligned edges, backstitching at the beginning and end to secure the stitches. Repeat this process for all the seams you need to sew.
- Press the Seams: After sewing each seam, press the seams open or to one side using an iron. This step helps create flat and even quilt blocks and makes it easier to join them together.
- Continue Sewing Rows or Blocks: Repeat the process of aligning, sewing, and pressing for each row or larger block in your quilt design. Take your time to ensure that each seam is straight and securely stitched.
- Join Rows or Blocks: Once you have sewn all the rows or blocks, it’s time to join them together. Align the seams and fabric edges, pinning or clipping them in place before sewing. Sew along the edge with a ¼ inch seam allowance, making sure to backstitch at the beginning and end.
As you sew your quilt blocks together, stay mindful of the design and pattern you’ve chosen. Take breaks to step back and assess your progress to ensure the blocks are being sewn together accurately.
In the next step, we’ll explore how to create the quilt sandwich by layering the quilt top, batting, and backing.
Step 8: Create the Quilt Sandwich
Creating the quilt sandwich involves layering the quilt top, batting, and backing to prepare for the quilting process. This step ensures that your quilt is well-padded and provides a stable foundation for stitching. Follow these steps to create the quilt sandwich:
- Prepare the Backing Fabric: Start by preparing your backing fabric. Ensure it has been washed, dried, and pressed. The backing should be larger than the quilt top to account for any shifting during the quilting process.
- Lay the Backing: Lay the backing fabric right side down on a flat and clean surface. Smooth out any wrinkles or creases to ensure a flat surface for layering the other components.
- Add the Batting: Place the batting on top of the backing fabric, aligning the edges. Smooth out any wrinkles or bumps in the batting to ensure an even layer.
- Position the Quilt Top: Carefully place the quilt top on top of the batting, right side up. Ensure that it is centered and aligned with the backing fabric and batting.
- Smooth Out the Layers: Gently smooth out the layers starting from the center and working your way outwards. This helps to minimize any creases or wrinkles and ensures that the layers are evenly distributed.
- Secure the Layers: Pin or baste the layers together to hold them in place. Use safety pins or specialized quilting pins to secure the layers, making sure to space them evenly across the quilt.
Creating the quilt sandwich is an essential step in the quilting process, as it provides stability and prevents shifting of the layers during the stitching process. Take the time to carefully layer and secure the components to ensure a well-constructed quilt.
With the quilt sandwich prepared, it’s time to move on to the next step: quilting the layers together. In the following step, we’ll explore various quilting techniques to bring your quilt to life.
Read more: How Many Stitches To Cast On For A Blanket
Step 9: Quilt the Layers Together
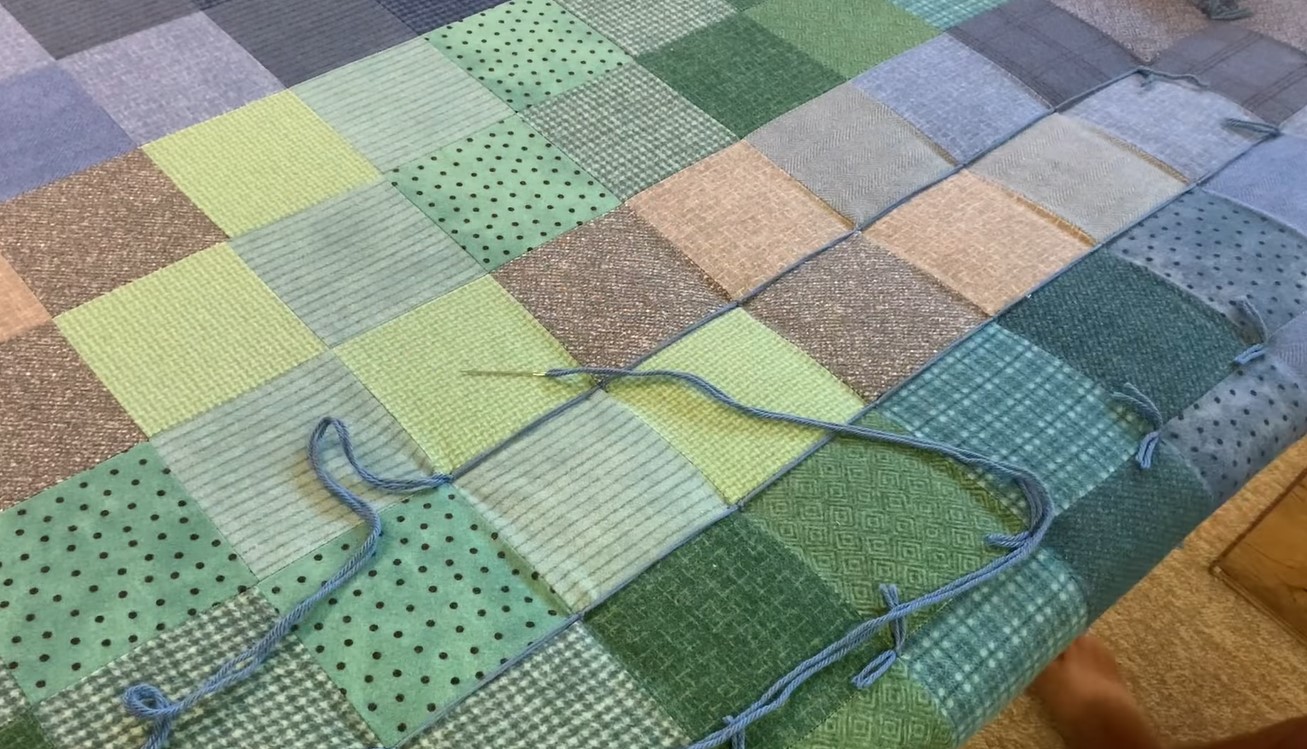
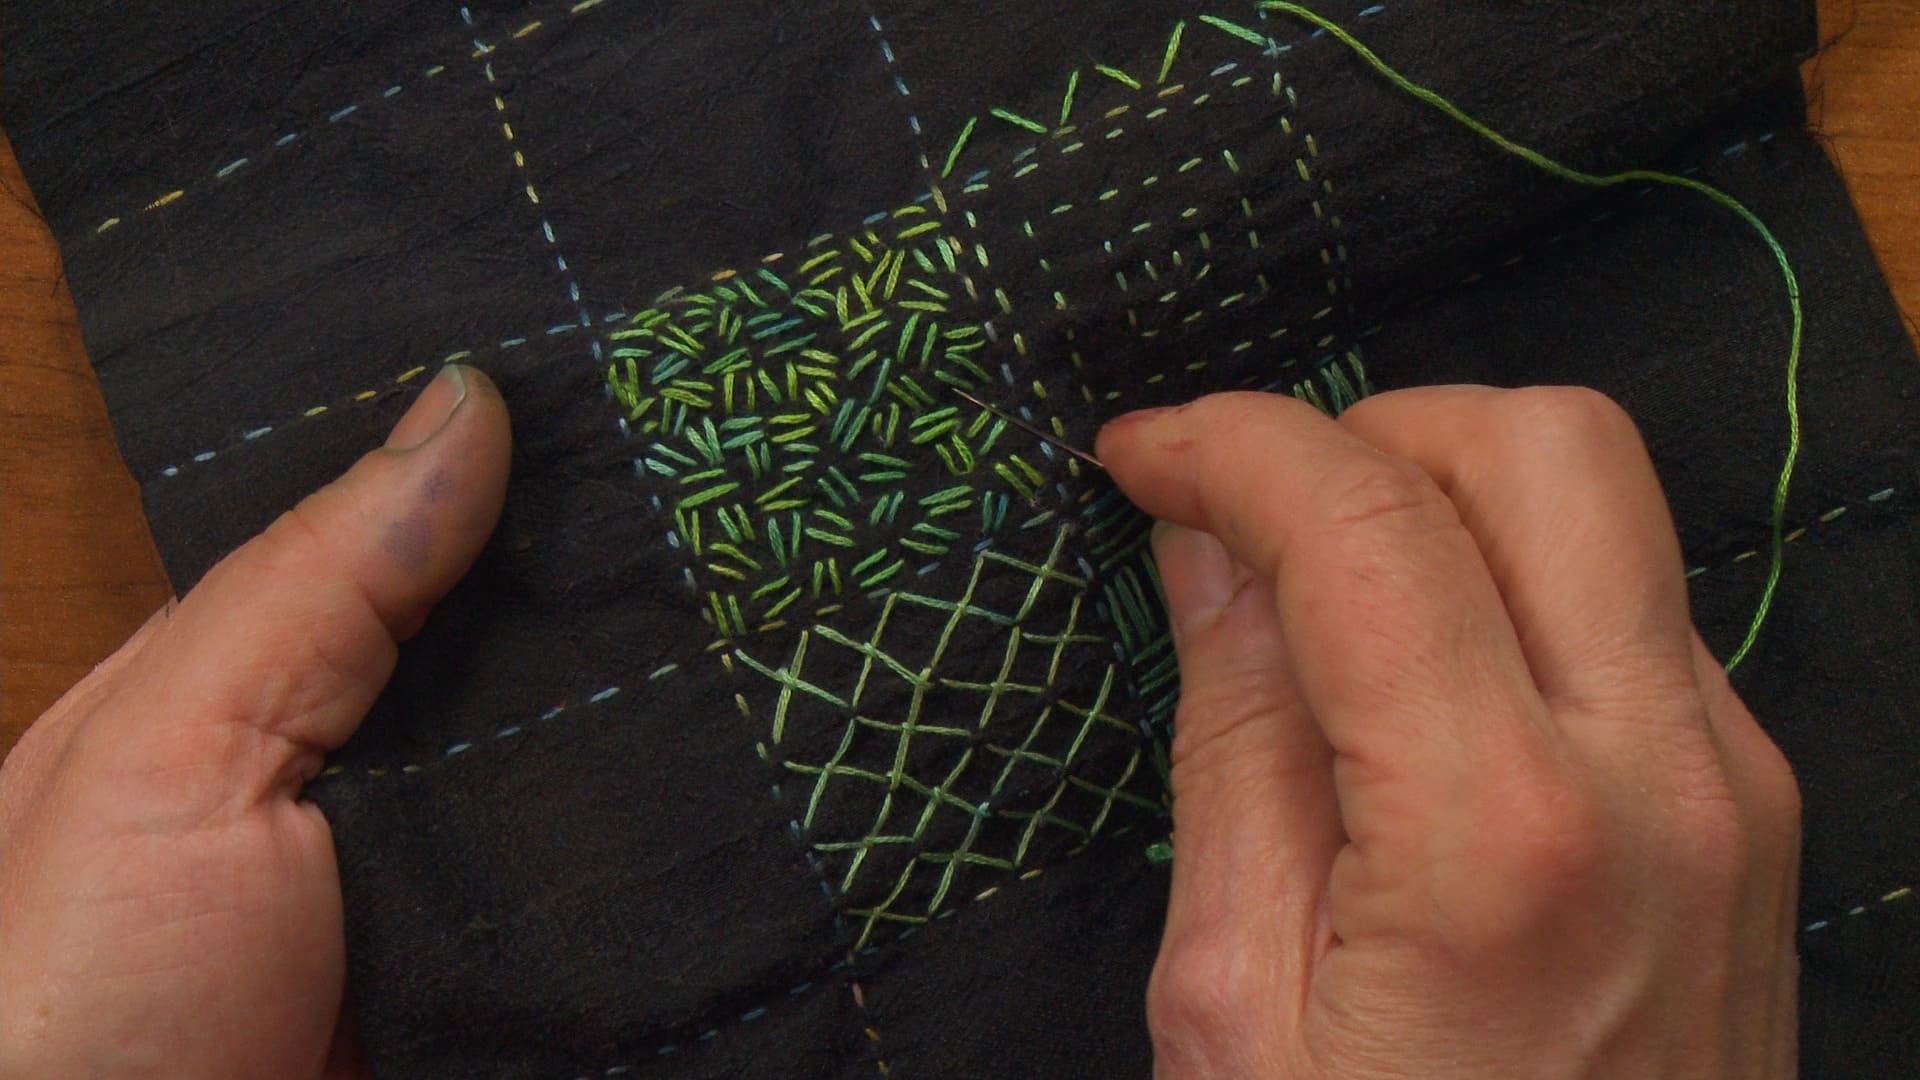
Quilting the layers together is the process of stitching through the quilt top, batting, and backing to secure them and add decorative or structural elements. It’s where your quilt truly comes to life. There are several quilting techniques you can choose from to achieve different effects. Here’s how to quilt the layers together:
- Choose a Quilting Technique: Decide on the type of quilting you want to do. Some common options include:
- Stitch in the Ditch: This technique involves quilting along the seams to create a subtle and classic look.
- Free Motion Quilting: With this technique, you can create intricate and decorative designs by moving the quilt sandwich freely under the machine needle.
- Straight Line Quilting: Quilt straight lines across the quilt top, either parallel or diagonal, to create a clean and modern look.
- Curved or Meandering Quilting: Add flowing and organic lines by quilting curves or meandering patterns throughout the quilt top.
- Custom Quilting: If you’re feeling adventurous, you can create your own unique quilting design by combining different techniques and patterns.
- Prepare Your Sewing Machine: Ensure your sewing machine is equipped with the appropriate quilting foot and needle for your chosen technique. Adjust the tension and stitch length as needed.
- Start Quilting: Begin quilting by either following the marked lines or quilting freehand, depending on your chosen technique. Take your time, stay consistent with your stitching, and pivot or stop to reposition the quilt as necessary.
- Work in Sections: If your quilt is large, consider working in sections rather than trying to quilt the entire quilt at once. This allows for better maneuverability and reduces the risk of puckering or distortion.
- Secure Loose Threads: Trim and secure any loose threads as you quilt to maintain a neat appearance.
Quilting the layers together requires patience and attention to detail, but it’s also an opportunity to add your personal touch and creativity to the quilt. Enjoy the process and take breaks when needed to avoid fatigue.
With the quilting complete, it’s time to add the final finishing touch – the binding. In the next step, we’ll discuss how to add binding to finish the edges of your quilt.
Step 10: Add Binding to Finish the Edges
Adding binding is the final step in completing your quilt. Binding not only provides a neat and finished look to the edges but also strengthens and protects them. Follow these steps to add binding to your quilt:
- Prepare Your Binding Strips: Cut fabric strips for binding, ensuring they are wide enough to cover the thickness of the quilt sandwich. The length of the strips should be enough to go around the entire quilt perimeter, with some extra for joining and overlapping.
- Join the Binding Strips: If needed, join the binding strips together to create one continuous strip. To do this, place two ends of the binding strips at a 90-degree angle, right sides together. Stitch diagonally from corner to corner, trim the excess fabric, and press the seam open.
- Attach the Binding: Starting in the middle of one side of the quilt, align the raw edges of the binding strip with the raw edges of the quilt. Leave a small tail of binding fabric overlapping the starting point.
- Stitch the Binding: Using a ¼ inch seam allowance, stitch along the edge of the quilt, securing the binding to the quilt sandwich. Continue stitching until you reach a corner, then pivot the quilt and sew diagonally across the corner, creating a mitered corner.
- Continue Binding: Continue stitching along the remaining sides, mitering the corners as you go. When you reach the starting point, fold the excess binding fabric to the back of the quilt and overlap it with the starting tail. Trim any excess fabric.
- Secure the Binding: Fold the binding over the quilt edge to the back, covering the raw edges. Use pins or clips to hold the binding in place. Then, hand stitch or use a sewing machine to secure the binding to the back of the quilt, creating a clean and invisible stitch line.
- Finishing Touches: Once the binding is securely attached, give your quilt a final press to ensure all the edges and corners are crisp and smooth. Trim any loose threads and inspect for any missed spots or uneven stitching.
Adding binding completes your quilt, giving it a polished and professional finish. Take pride in your quilting accomplishment and showcase your quilt as a beautiful and functional work of art.
Congratulations! You have now completed all the steps to stitch a quilt from start to finish. Enjoy the satisfaction of creating a handmade masterpiece!
Feel free to explore new quilt designs, techniques, and color schemes as you continue your quilting journey. The possibilities are endless, and the joy of quilting is a never-ending source of creativity and relaxation.
Happy quilting!
Conclusion
Congratulations! You’ve reached the end of this comprehensive guide on stitching a quilt. From gathering your materials to adding the final binding, you’ve learned the step-by-step process of creating a beautiful and personalized quilt. Quilting is not only a creative outlet but also a way to unwind and create functional art that can be cherished for years to come.
Throughout this journey, you’ve learned how to gather the necessary materials, choose a quilt design, select the perfect fabrics, prepare them for stitching, cut fabric squares accurately, arrange the quilt blocks in a visually pleasing pattern, sew them together to create rows and blocks, create the quilt sandwich, quilt the layers together with different techniques, and finally, add binding to finish the edges.
Remember, quilting is an art form that allows you to express your creativity and individuality. Don’t be afraid to experiment with different designs, fabrics, and quilting techniques. Each quilt you create will be a unique reflection of your personality and style.
Quilting is also a journey of learning and growth. As you gain experience, you’ll develop your own techniques and approach to quilting. Embrace the process, be patient with yourself, and enjoy the beauty of every stitch.
Whether you’re making a quilt for yourself, a loved one, or as a gift, know that the time and effort you put into it will be cherished and appreciated. A handmade quilt is a symbol of love, warmth, and comfort.
So, gather your materials, let your creativity soar, and embark on the wonderful world of quilting. Stitch by stitch, piece by piece, you’ll create extraordinary quilts that will be treasured for generations to come.
Happy quilting!
Frequently Asked Questions about How To Stitch A Quilt
Was this page helpful?
At Storables.com, we guarantee accurate and reliable information. Our content, validated by Expert Board Contributors, is crafted following stringent Editorial Policies. We're committed to providing you with well-researched, expert-backed insights for all your informational needs.

0 thoughts on “How To Stitch A Quilt”