Articles
How To Hand Quilt Without A Frame
Modified: January 5, 2024
Learn how to hand quilt without using a frame with these helpful articles. Discover techniques, tips, and tricks for a seamless quilting experience.
(Many of the links in this article redirect to a specific reviewed product. Your purchase of these products through affiliate links helps to generate commission for Storables.com, at no extra cost. Learn more)
Introduction
Hand quilting is a timeless craft that allows you to create beautiful and intricate designs on your quilts. Traditionally, hand quilting is done using a quilting frame, where the layers of the quilt are stretched taut to create a smooth surface for stitching.
However, not everyone has access to a quilting frame or the space to set one up. The good news is that you can still enjoy the art of hand quilting without a frame. In this article, we will guide you through the steps to hand quilt without a frame, so you can enjoy the satisfaction of creating a hand-stitched quilt from start to finish.
Before we dive into the process, let’s talk about the materials you will need to get started.
Key Takeaways:
- Embrace the freedom and accessibility of hand quilting without a frame, from preparing the quilt sandwich to finishing the quilt, and enjoy the satisfaction of creating unique, stitched designs with artistic expression and skill.
- Master the basic hand quilting stitches, monitor your progress, and take pride in each stitch as you embark on a rewarding journey of creating one-of-a-kind quilts without the need for a quilting frame.
Read more: How To Make A Quilt Frame
Materials Needed
Before you begin hand quilting without a frame, gather the following materials:
- A quilt top – This is the pieced or appliquéd fabric that forms the top layer of your quilt.
- Batting – This is the middle layer that provides warmth and loft to your quilt. Choose a batting that suits your preferences, such as cotton, polyester, or wool.
- A quilt backing – This is the fabric that forms the bottom layer of your quilt. Choose a fabric that complements your quilt top.
- Quilting thread – Select a high-quality, durable thread specifically designed for hand quilting. Choose a color that coordinates with your quilt.
- Quilting needles – Use quilting needles with a small eye and a sharp point. These needles are designed to smoothly glide through multiple layers of fabric.
- A marking tool – You’ll need a marking tool to transfer your quilting design onto the quilt top. Choose a method that is easily visible and can be easily removed later, such as a washable or disappearing ink pen.
- Scissors – You’ll need a pair of sharp scissors to trim the threads and snip the quilted stitches.
- Thimble – While not mandatory, a thimble can help protect your finger as you push the needle through the layers of fabric.
Once you have gathered these materials, you’re ready to start hand quilting without a frame. Now let’s move on to the first step: preparing the quilt sandwich.
Step 1: Preparing the Quilt Sandwich
Before you can start hand quilting, you need to assemble what is known as the “quilt sandwich.” This consists of the quilt top, batting, and backing fabric. Follow these steps to prepare the quilt sandwich:
- Lay the quilt backing fabric flat on a clean and smooth surface, right side down.
- Smooth out any wrinkles or creases in the fabric to ensure a flat surface for quilting.
- Place the batting on top of the backing fabric, centering it as best as possible.
- Carefully lay the quilt top on top of the batting, aligning the edges with the backing fabric.
- Smooth out any wrinkles or folds in the quilt top.
- Pin or baste the layers together to keep them from shifting during the quilting process.
Once your quilt sandwich is assembled and secure, you’re ready to move on to the next step: marking the quilting design.
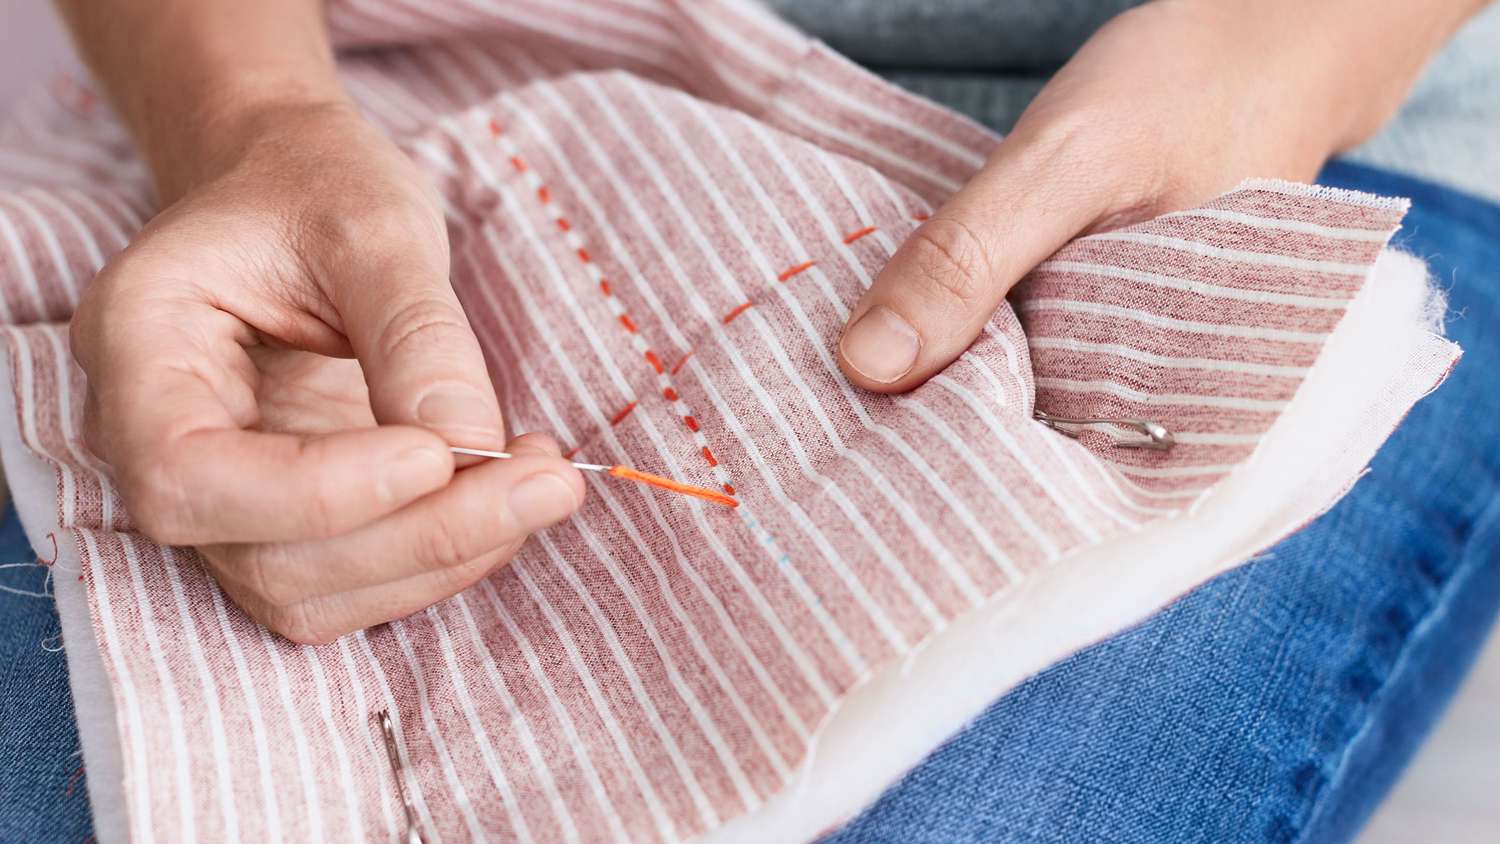
Step 2: Marking the Quilting Design
Before you start stitching, it’s important to mark the quilting design on your quilt top. This will serve as a guide for your hand quilting stitches. Here’s how to mark the quilting design:
- Select a quilting design that complements your quilt top. You can choose from traditional geometric patterns, free-motion designs, or create your own unique design.
- Using a marking tool of your choice, carefully transfer the design onto the quilt top. Take your time to ensure accurate marking, as this will guide your stitching.
- Start by marking the main lines or motifs of the design, and then fill in the smaller details.
- Consider using a temporary marking method, such as a washable or disappearing ink pen, so that the marks can be easily removed later. Test the marking tool on a scrap piece of fabric before using it on your quilt.
Once you have marked your quilting design, you’re ready to move on to the next step: learning the basic hand quilting stitches.
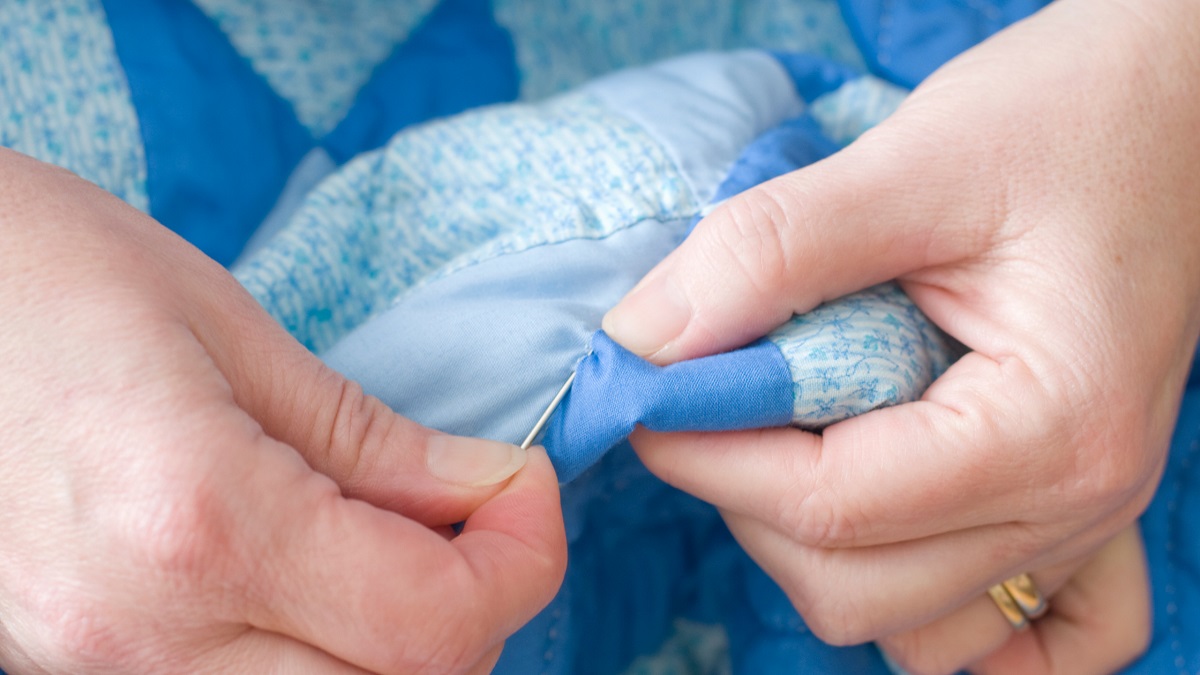
Step 3: Basic Hand Quilting Stitches
Mastering the basic hand quilting stitches is essential for creating beautiful and durable quilting stitches. Here are the main stitches you will use while hand quilting:
- Running stitch: This is the most basic hand quilting stitch. It involves inserting the needle in and out of the fabric at regular intervals. The stitches on the back of the fabric should be the same length as those on the front.
- Backstitch: The backstitch is stronger than the running stitch and is often used for outlining and creating fine details. Start by taking a small backstitch, then insert the needle forward through the fabric and bring it back to the starting point, stitching backward. Repeat this process to create a continuous line of stitches.
- Rocker stitch: The rocker stitch is a rocking motion where the needle goes up and down, gliding through the layers of fabric. This stitch is great for larger areas or straight lines.
- Quilter’s knot: To secure your thread at the beginning and end of your quilting, learn how to make a quilter’s knot. This knot is small and tight, preventing your thread from coming undone.
Practice these stitches on a scrap piece of fabric before moving on to your quilt. This will help you gain confidence and refine your technique.
Now that you know the basic hand quilting stitches, it’s time to move on to the exciting part – actually quilting your project!
Use a hoop or lap frame to hold the quilt taut while hand quilting. This will make the process easier and more precise, allowing for better stitches.
Read more: How To Hand Baste A Quilt
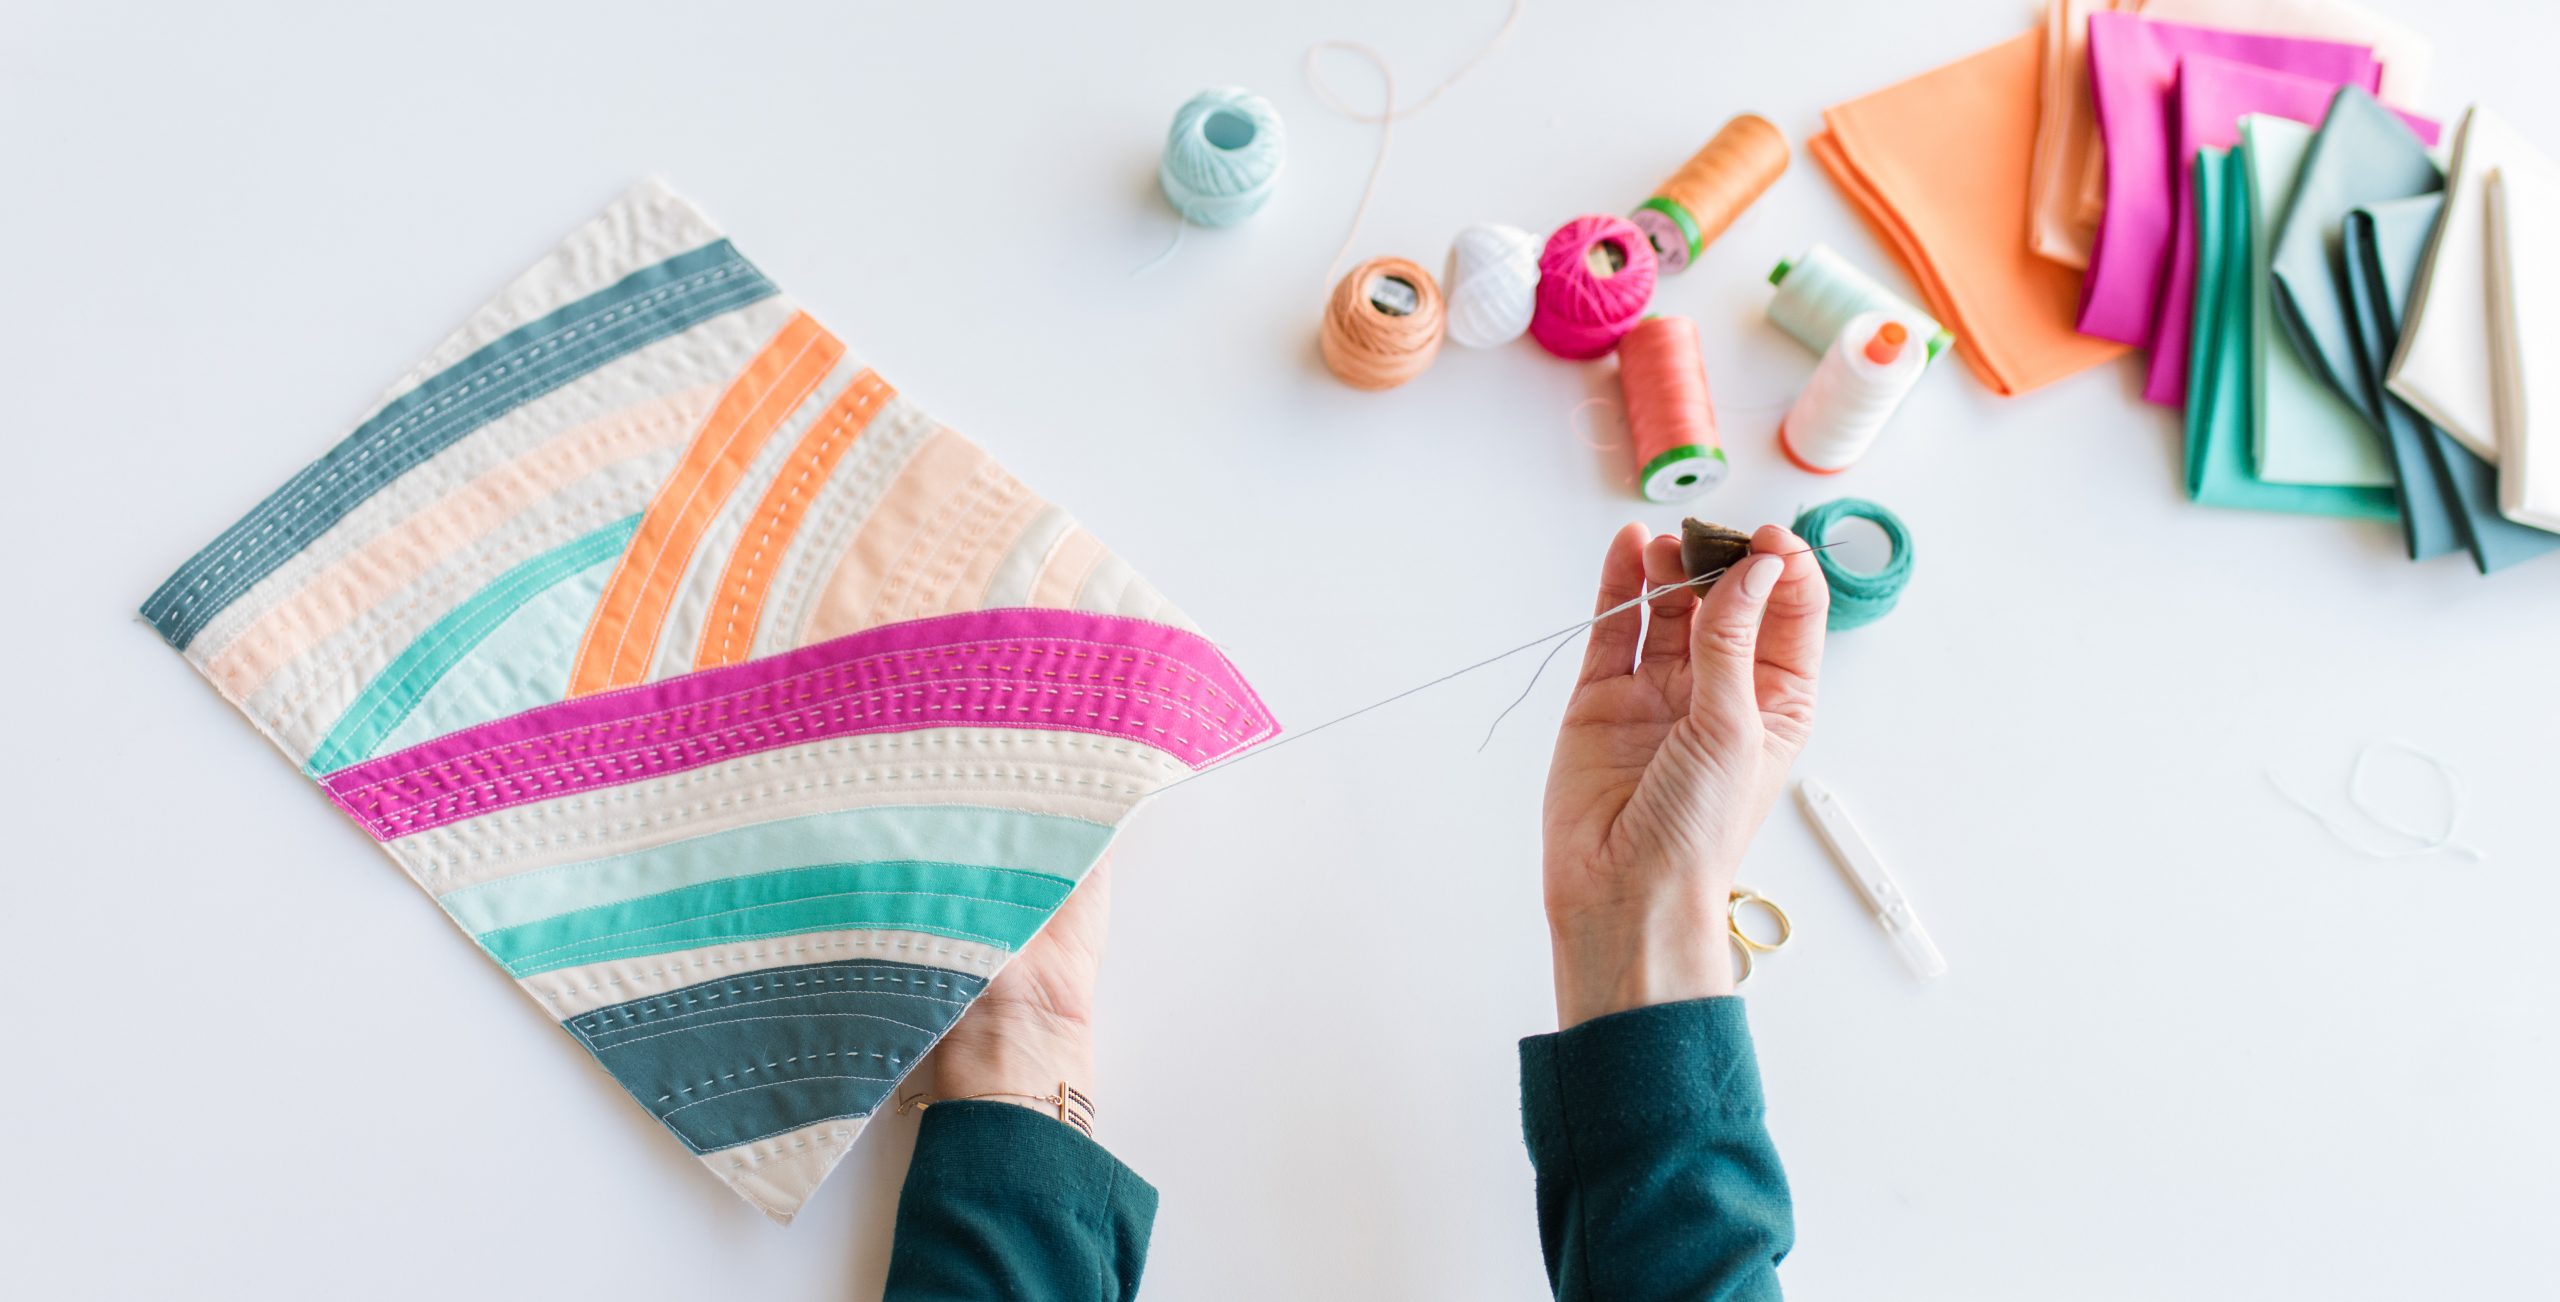
Step 4: Starting to Quilt
Now that you’ve prepared the quilt sandwich, marked your quilting design, and familiarized yourself with the basic hand quilting stitches, it’s time to start quilting! Follow these steps to begin your quilting journey:
- Thread your needle with a length of quilting thread, typically around 18-24 inches long. Knot one end of the thread or use a quilter’s knot to secure it.
- Hold the quilt securely in your non-dominant hand, making sure the area you want to quilt is easily accessible.
- Start quilting from the center of your design and work your way outwards. This will help distribute any tension evenly and prevent puckering.
- Insert the needle through all the layers of fabric, following the marked design. Use a gentle rocking motion or the hand quilting stitch of your choice.
- Pull the needle and thread through to the back of the quilt, taking care to keep your stitches even and consistent.
- Continue stitching along the marked lines, spacing your stitches evenly and maintaining a smooth, continuous motion.
- Take breaks as needed to rest your hand and reposition the quilt to access different areas.
- Remember to enjoy the process and take pride in each stitch you create. Hand quilting is a labor of love and requires patience and dedication.
As you gain more experience, you can experiment with different stitch lengths, patterns, and thread colors to add depth and texture to your quilt.
Now that you’ve started quilting, let’s move on to some tips for monitoring your quilting progress.
Step 5: Quilting Progress Tips
As you continue your hand quilting journey, it’s important to monitor your progress and make adjustments along the way. Here are some tips to help you stay on track and achieve the best results:
- Regularly step back and assess your quilting progress. Take breaks to observe your work from a distance, ensuring that your stitches are even and your design is coming together as intended.
- Don’t be afraid to make minor adjustments as you go. If you notice any stitching irregularities or tension issues, take the time to correct them before moving on to the next section.
- Keep your stitches consistent throughout the entire quilt. This will help maintain an even texture and appearance.
- Avoid pulling your stitches too tight, as this can create puckering and distort the fabric. Keep a gentle tension that allows the fabric to lay flat.
- Rotate your quilt as needed to accommodate different areas and angles. This will make the stitching process more comfortable and efficient.
- Take breaks and stretch your hands and fingers to prevent stiffness and fatigue. Hand quilting can be a repetitive motion, so it’s important to give your body a rest when needed.
- Embrace imperfections and enjoy the process. Hand quilting is a unique craft that showcases the beauty of handmade work. Small variations and irregularities add character to your quilt.
Remember, practice makes perfect. The more you quilt, the more your skills will develop, and the better your quilting results will be.
Now, let’s move on to the final step: finishing the quilt.
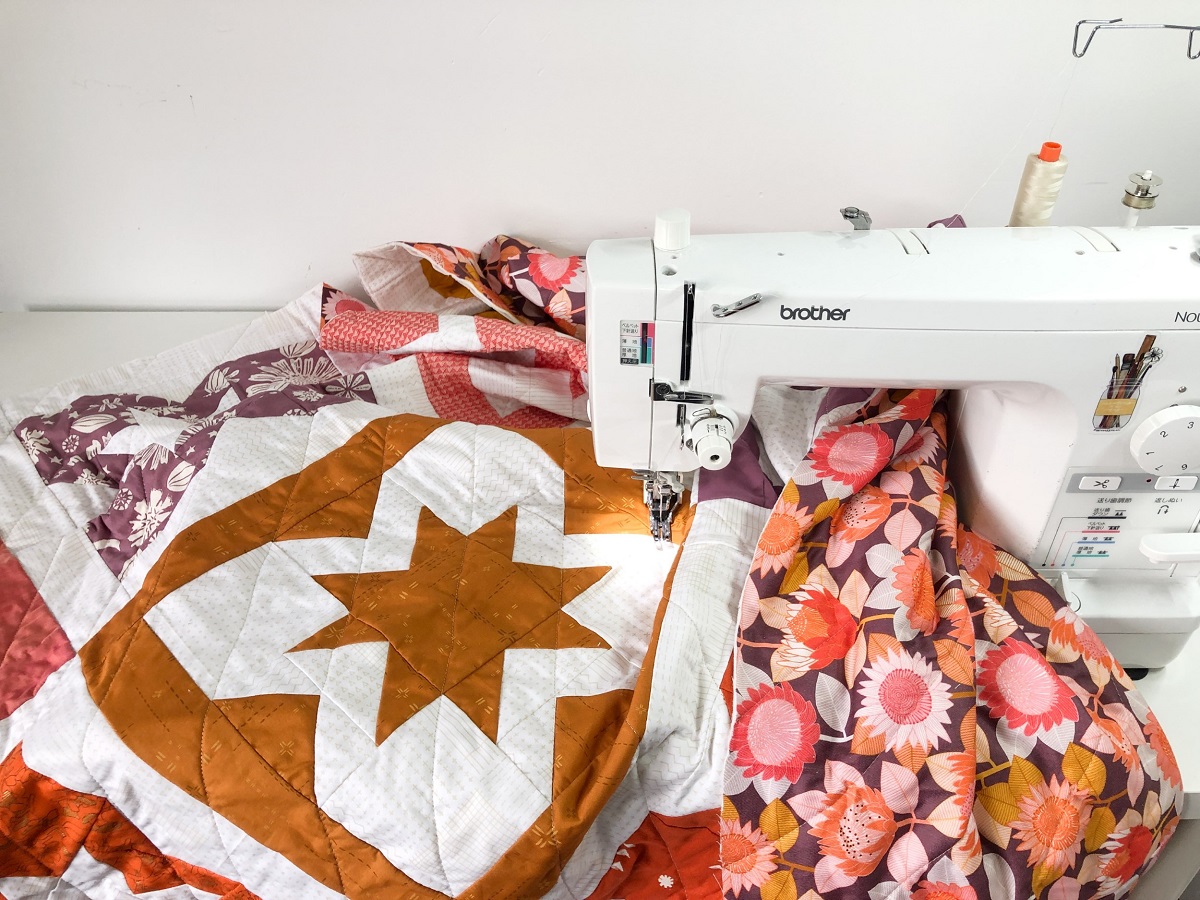
Step 6: Finishing the Quilt
Congratulations! You’ve reached the final step of hand quilting without a frame – finishing your quilt. Follow these steps to complete your quilt and give it a polished look:
- Once you have quilted the entire design, trim any excess batting and backing fabric, leaving a border around the quilt top.
- Consider adding a binding to the edges of your quilt for a clean and finished look. You can use a commercial binding or create your own using coordinating fabric.
- Attach the binding to the quilt, either by hand or by machine, following your preferred method. Ensure that the binding is secure and evenly stitched.
- After the binding is attached, carefully clip any threads and trim any loose fabric to give your quilt a neat and professional appearance.
- Inspect your quilt for any remaining markings and remove them according to the instructions of the marking tool you used.
- Give your quilt a final press with a warm iron to smooth out any wrinkles and enhance the quilting stitches.
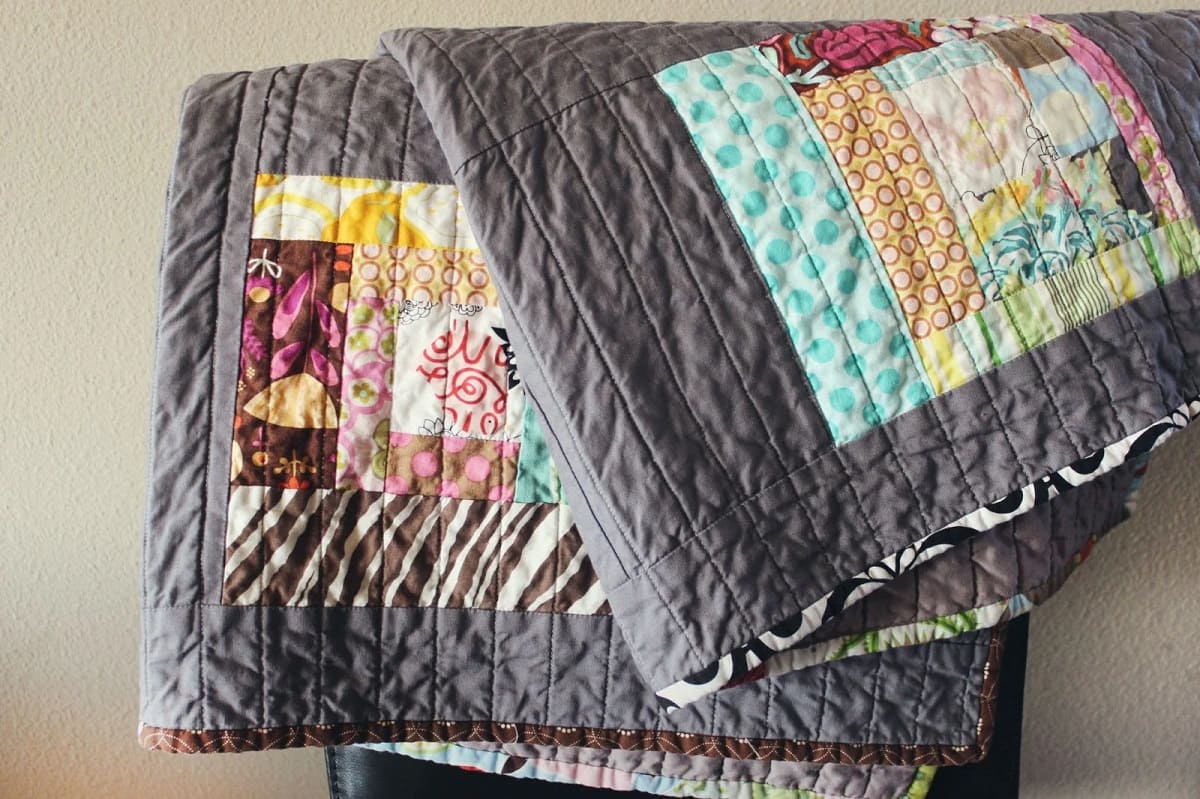
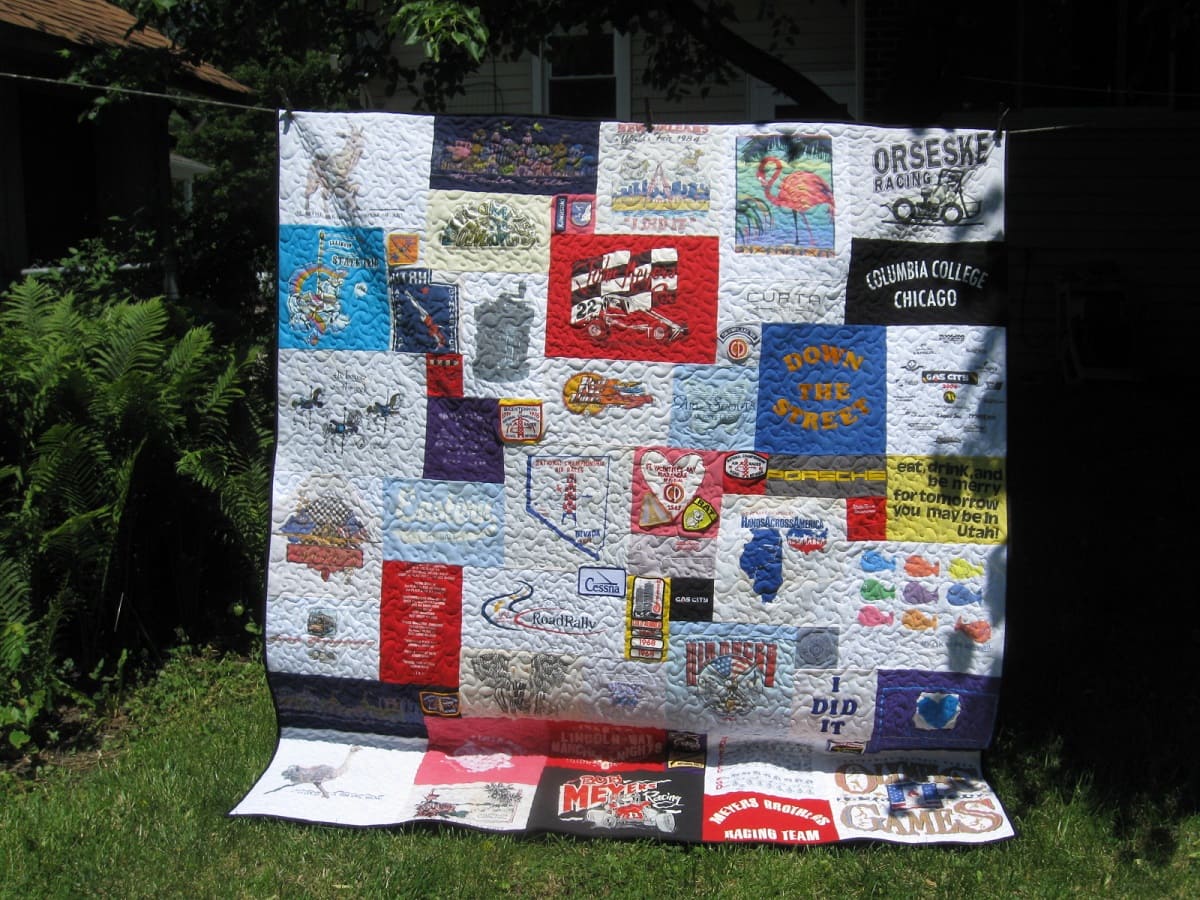
Once your quilt is finished, take a moment to appreciate your handiwork. Hand quilting is a labor-intensive craft that requires time, skill, and dedication. The end result is a beautiful, handmade quilt that can be cherished for generations.
Remember to care for your quilt properly by following the manufacturer’s instructions. Regularly inspect and mend any loose stitches to keep your quilt in top condition.
Now that you’ve completed your hand quilting journey, take pride in your accomplishment and enjoy the warmth and beauty of your handmade creation.
Thank you for joining us on this quilting adventure. Happy quilting!
Conclusion
Hand quilting without a frame is a rewarding and fulfilling craft that allows you to create beautiful, stitched designs on your quilts. While traditional hand quilting with a frame has its benefits, quilting without a frame provides flexibility and accessibility for those who may not have the space or resources for a dedicated quilting setup.
In this article, we have covered the step-by-step process of hand quilting without a frame, from preparing the quilt sandwich to finishing the quilt. By following these steps and practicing the basic hand quilting stitches, you can create stunning quilts filled with your artistic expression and skill.
During your quilting journey, remember to take breaks, assess your progress, and make adjustments as needed. Embrace the imperfections and enjoy the artistic freedom that comes with hand quilting. Each stitch is a testament to your dedication and love for the craft.
Whether you’re a beginner or an experienced quilter, hand quilting without a frame provides an opportunity to explore your creativity and create one-of-a-kind quilts. The satisfaction of seeing your quilt come to life, stitch by stitch, is truly incomparable.
So gather your materials, mark your quilting design, and dive into the world of hand quilting without a frame. Let your imagination soar as you stitch and create cherished heirlooms that will be treasured for years to come.
Happy quilting!
Frequently Asked Questions about How To Hand Quilt Without A Frame
Was this page helpful?
At Storables.com, we guarantee accurate and reliable information. Our content, validated by Expert Board Contributors, is crafted following stringent Editorial Policies. We're committed to providing you with well-researched, expert-backed insights for all your informational needs.


0 thoughts on “How To Hand Quilt Without A Frame”