Articles
How To Install Foil Faced Insulation Sheets
Modified: December 7, 2023
Discover the step-by-step process of installing foil faced insulation sheets in this informative article. Get expert tips and advice on how to properly insulate your space.
(Many of the links in this article redirect to a specific reviewed product. Your purchase of these products through affiliate links helps to generate commission for Storables.com, at no extra cost. Learn more)
Introduction
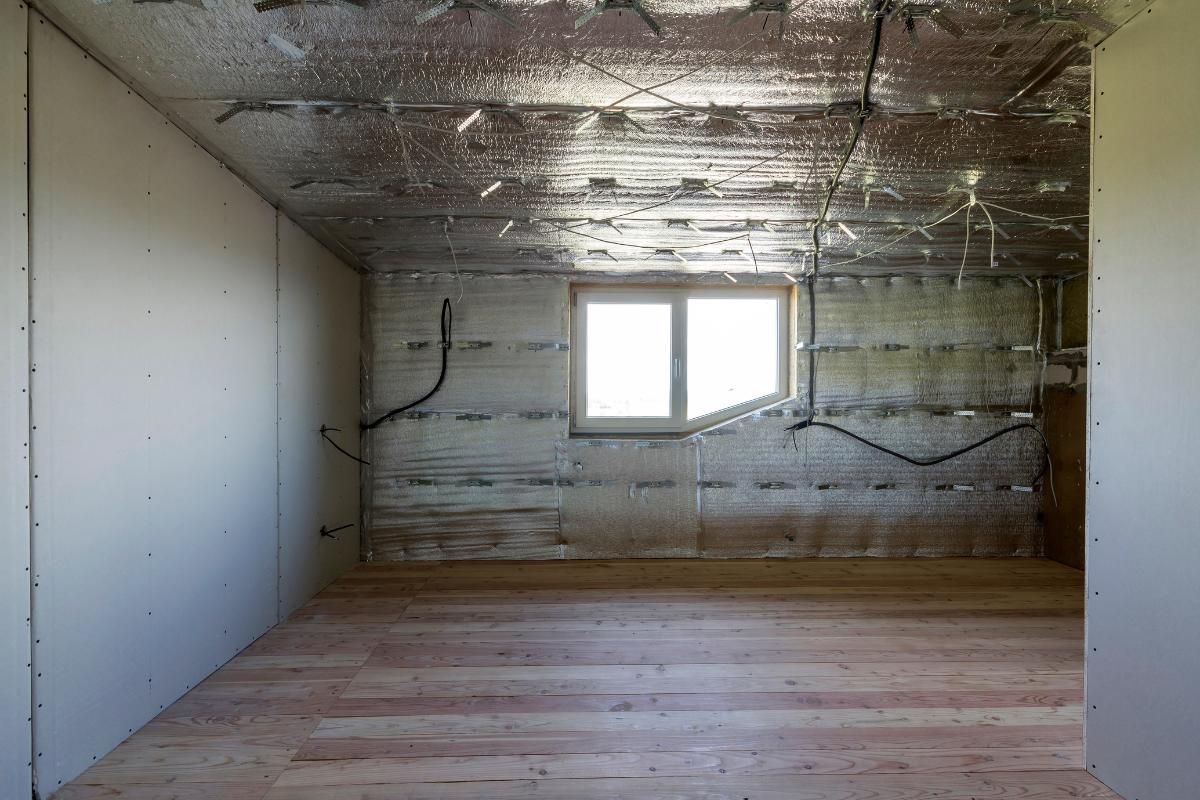
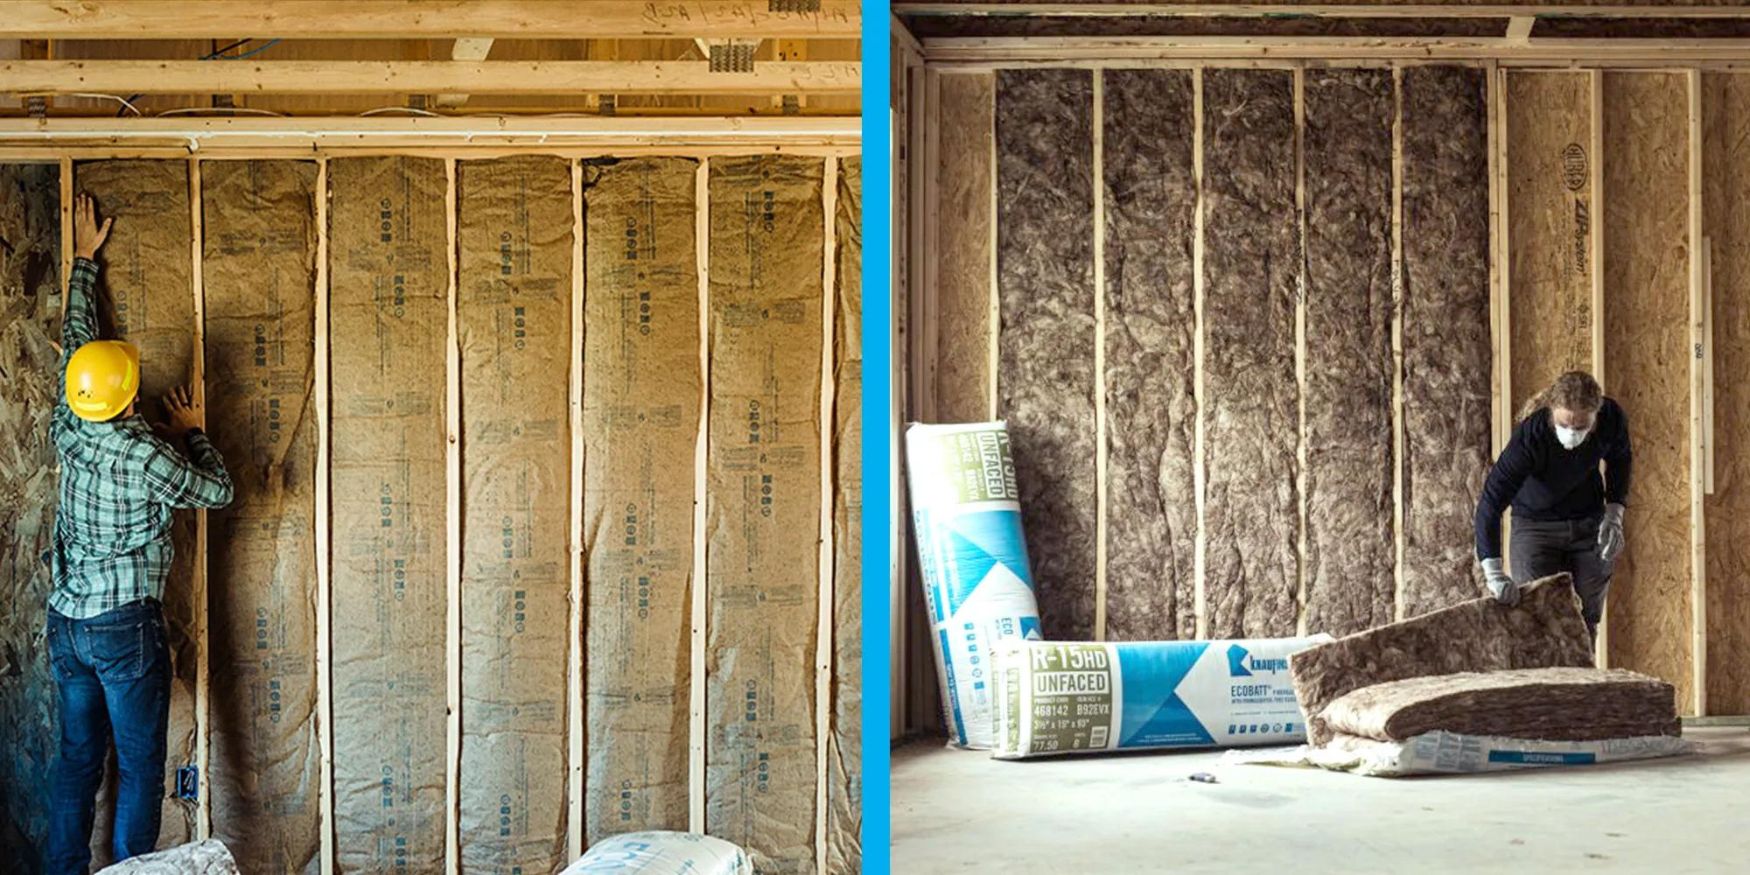
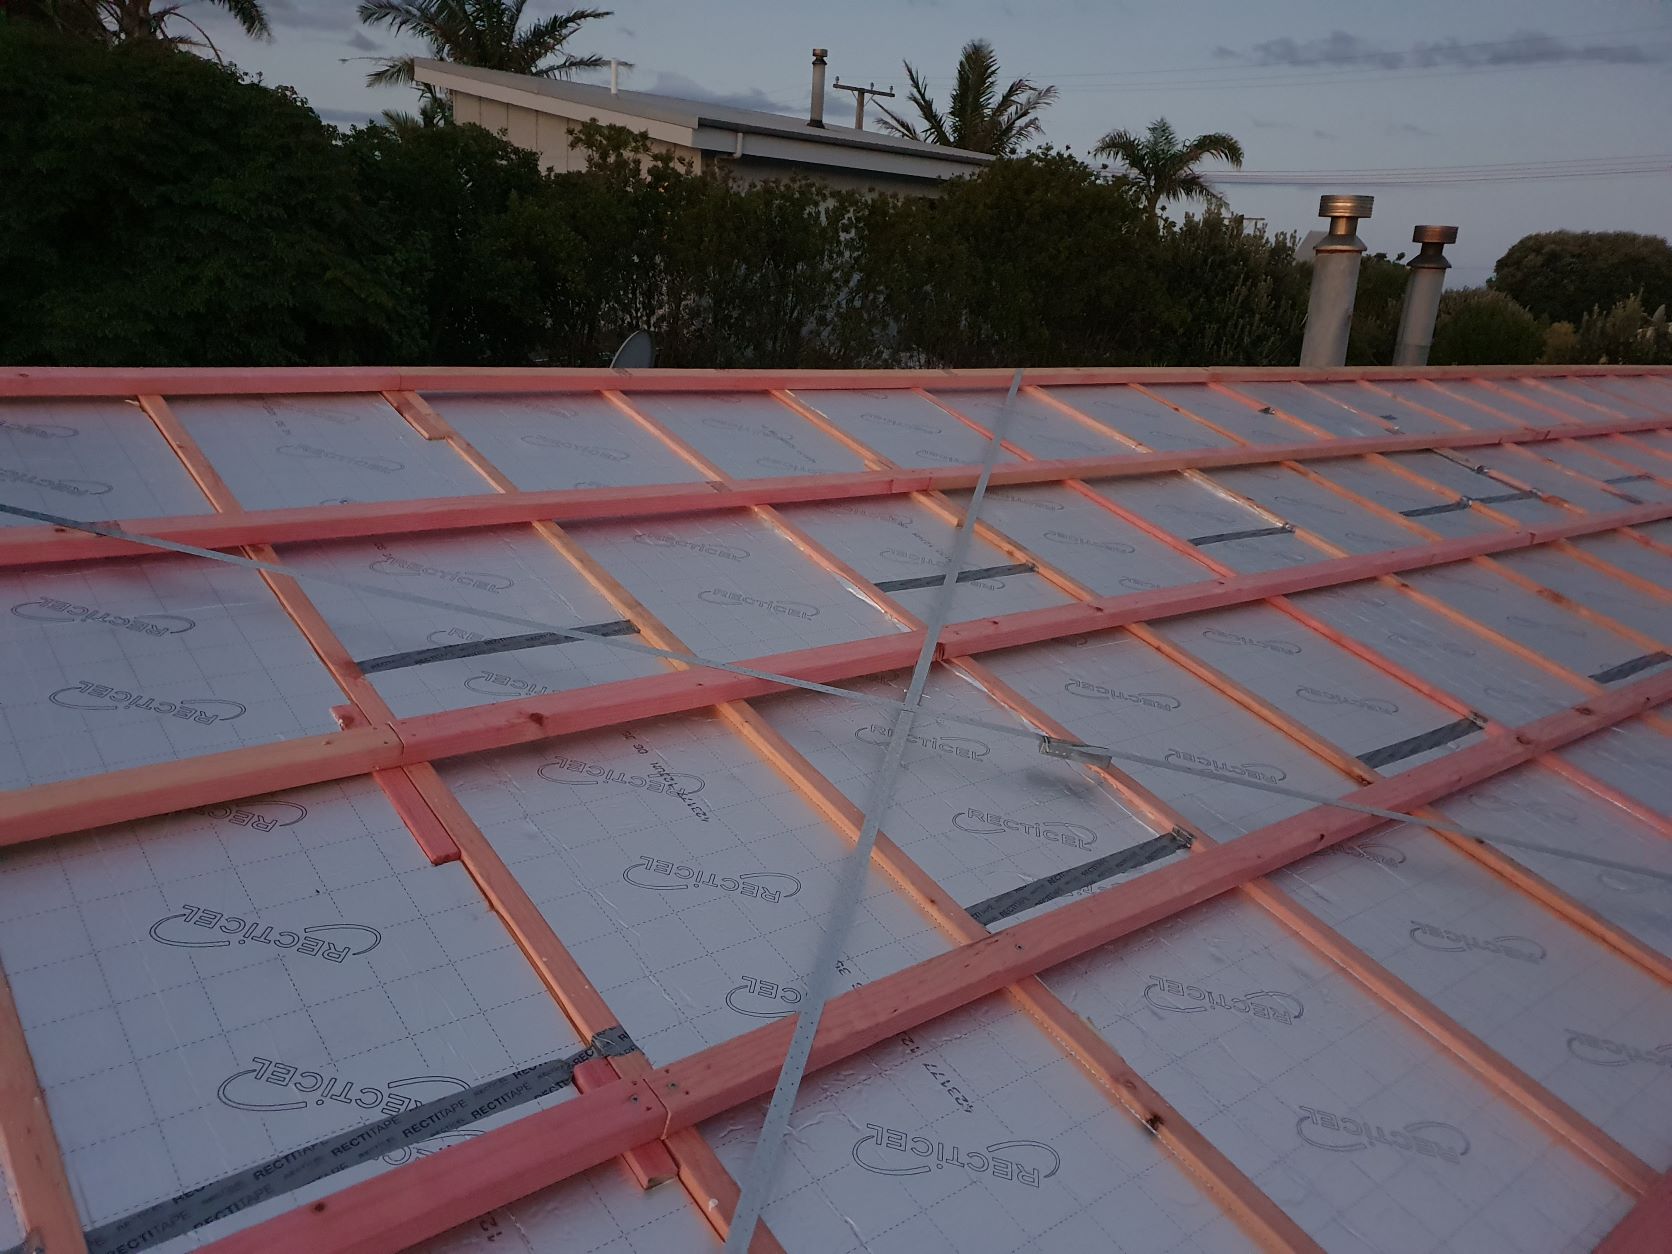
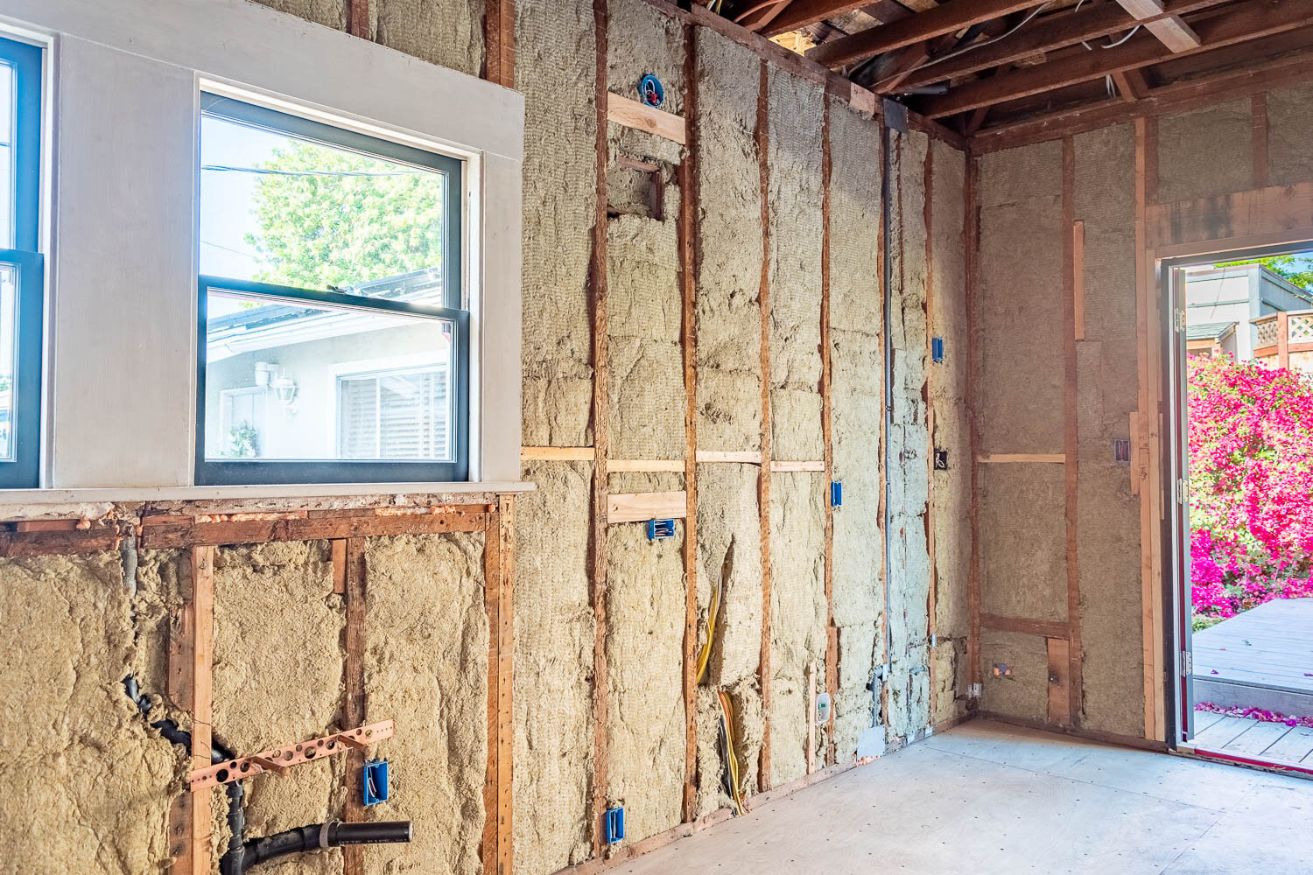
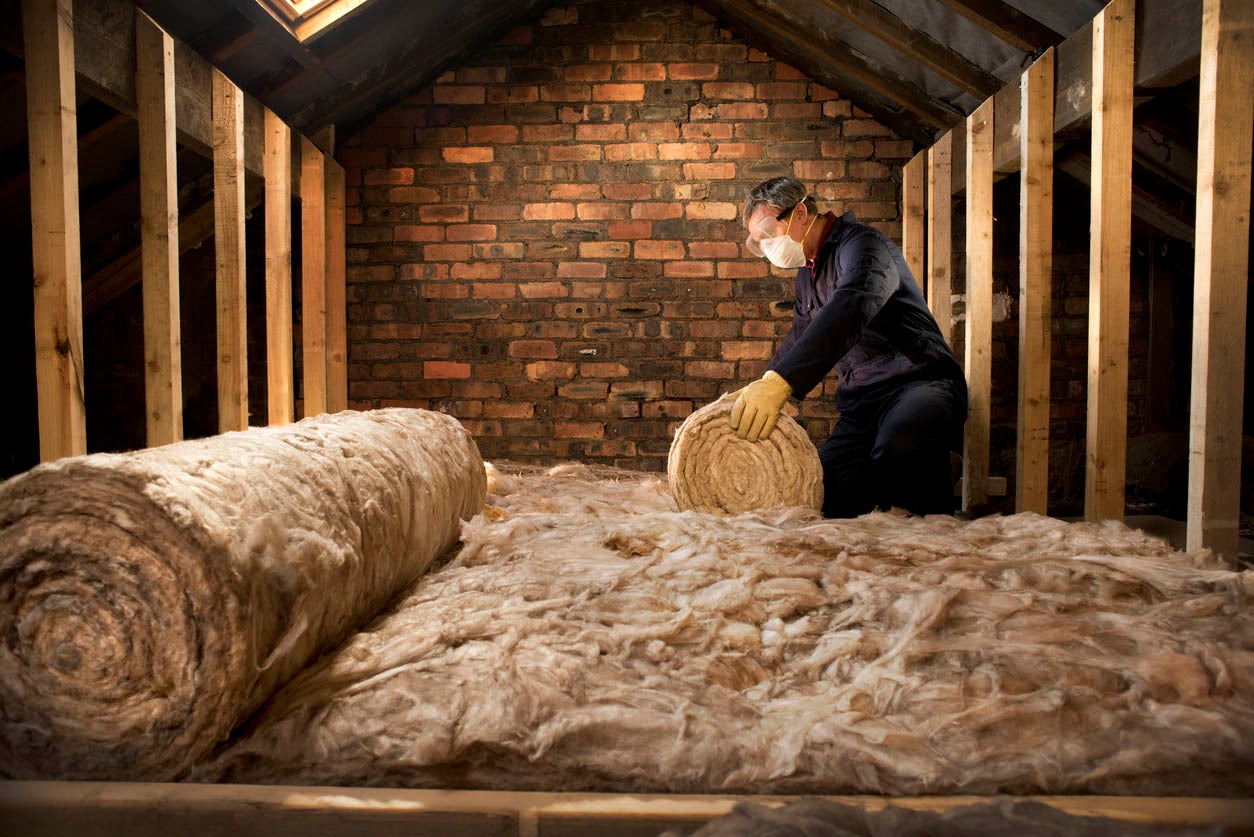
Installing foil faced insulation sheets is a great way to improve the energy efficiency of your home while also providing additional thermal protection. These sheets are designed to reduce heat transfer and keep your living spaces cool in the summer and warm in the winter. Whether you are looking to insulate your attic, walls, or basement, this step-by-step guide will walk you through the process of installing foil faced insulation sheets.
Before we dive into the installation process, it is important to understand how foil faced insulation works. The foil facing on these insulation sheets acts as a reflective barrier, preventing the penetration of radiant heat. This means that instead of absorbing the heat, the foil reflects it back, keeping your home comfortable and energy-efficient.
Now that we have covered the basics, let’s move on to the step-by-step instructions on how to install foil faced insulation sheets. By following these guidelines and taking the necessary precautions, you can successfully complete this project and enjoy the benefits of enhanced insulation in your home.
Key Takeaways:
- Properly installing foil faced insulation sheets can enhance energy efficiency and comfort in your home by reducing heat transfer and creating a thermal barrier for year-round comfort.
- From gathering materials to sealing joints, each step in the installation process is crucial for a professional and long-lasting outcome, contributing to reduced energy costs and a more sustainable living environment.
Read more: How To Install Foil Insulation
Step 1: Gather the Necessary Materials
The first step in installing foil faced insulation sheets is to gather all the necessary materials. Here is a list of items you will need for this project:
- Foil faced insulation sheets: Measure the areas you want to insulate and calculate the amount of insulation sheets you will need.
- Utility knife or insulation cutter: You will need this to cut the insulation sheets to the desired size.
- Adhesive: Choose a high-quality adhesive that is recommended for use with foil faced insulation.
- Measuring tape or ruler: You will need these tools to measure and mark the insulation sheets for cutting.
- Safety goggles and gloves: It is important to protect your eyes and hands while handling insulation materials.
- Straightedge or level: This tool will help you ensure that the insulation sheets are installed in a straight and level manner.
- Sealing tape or foil tape: This will be used to seal the joints and gaps between the insulation sheets.
- Drop cloths or plastic sheets: These will help protect your floors and furniture from any adhesive or insulation debris.
Before you start the installation process, it is essential to have all the materials readily available. This will make the installation process smoother and more efficient. Take the time to double-check your supplies and make sure you have everything you need. If any items are missing, make a trip to the hardware store to ensure you have everything ready for the installation.
Once you have gathered all the necessary materials, you are ready to move on to the next step: preparing the surface for insulation. This step is crucial to ensure proper adhesion and a long-lasting insulation system.
Step 2: Prepare the Surface
Before installing the foil faced insulation sheets, it is important to prepare the surface to ensure proper adhesion and a seamless installation. Follow these steps to prepare the surface:
- Clean the surface: Remove any debris, dust, or dirt from the area where you plan to install the insulation. This can be done by sweeping or vacuuming the surface.
- Repair any damage: Inspect the surface for any cracks, holes, or damage. Repair these areas using an appropriate filler or patching compound. Allow the repairs to fully dry and cure before proceeding.
- Ensure a smooth surface: If the surface is uneven or rough, consider sanding or using a scraper to create a smooth and even surface. This will help the insulation sheets adhere properly.
- Apply a vapor barrier (if necessary): In some cases, it may be necessary to install a vapor barrier before installing the insulation sheets. This will prevent moisture from seeping into the insulation and causing damage. Consult with a professional or follow local building codes to determine if a vapor barrier is needed.
Preparing the surface is essential for a successful insulation installation. It ensures that the insulation adheres properly and provides optimal performance. Take the time to thoroughly clean and repair the surface before moving on to the next step.
With the surface prepared, you can now proceed to measure and cut the insulation sheets in the next step of the installation process.
Step 3: Measure and Cut the Insulation Sheets
Accurate measurement and precision cutting are crucial for a proper and efficient installation of foil faced insulation sheets. Follow these steps to measure and cut the insulation sheets:
- Measure the area: Use a measuring tape or ruler to measure the dimensions of the area you want to insulate. Take accurate measurements, considering any obstacles or irregularities that may affect the size and shape of the insulation sheets needed.
- Transfer the measurements: Using a pencil or marker, transfer the measurements onto the foil faced insulation sheets. Double-check the measurements to ensure accuracy.
- Cut the insulation sheets: Using a utility knife or insulation cutter, carefully cut along the marked lines to create the desired size and shape of the insulation sheets. Ensure smooth and straight cuts for a neat installation.
When cutting the insulation sheets, it is important to wear safety goggles and gloves to protect yourself from any potential debris or sharp edges. Take your time while cutting and ensure that each piece is accurately measured and cut according to your specific requirements.
Remember, it’s better to double-check your measurements and make precise cuts to avoid wasting materials and ensure a proper fit. Once you have finished measuring and cutting the insulation sheets, you can move on to the next step: applying adhesive to the back of the sheets.
Step 4: Apply Adhesive to the Back of the Insulation Sheets
Applying adhesive to the back of the foil faced insulation sheets is crucial for secure and long-lasting installation. Follow these steps to properly apply adhesive:
- Read the instructions: Before you begin, carefully read and follow the instructions provided by the manufacturer of the adhesive. Different adhesives may have specific application guidelines and drying times.
- Prepare the adhesive: Mix or prepare the adhesive as instructed on the packaging. This may involve stirring, diluting, or activating the adhesive in a particular way.
- Apply the adhesive: Using a trowel or putty knife, spread a thin, even layer of adhesive onto the back of the insulation sheet. Ensure that the entire surface is covered, paying extra attention to the edges and corners.
- Allow for proper drying time: Follow the manufacturer’s guidelines for the recommended drying time of the adhesive. Avoid rushing this step, as proper drying ensures strong adhesion to the surface.
Be sure to work in a well-ventilated area when applying the adhesive, and wear appropriate safety gear such as gloves and a mask to protect yourself from any fumes or irritation. Adhering to the manufacturer’s instructions and guidelines will help ensure a successful application of the adhesive.
With the adhesive applied, you are now ready to press and secure the insulation sheets in place in the next step.
When installing foil faced insulation sheets, make sure to properly seal all seams and edges to prevent air leakage and maximize the insulation’s effectiveness. Use foil tape or adhesive to secure the sheets in place.
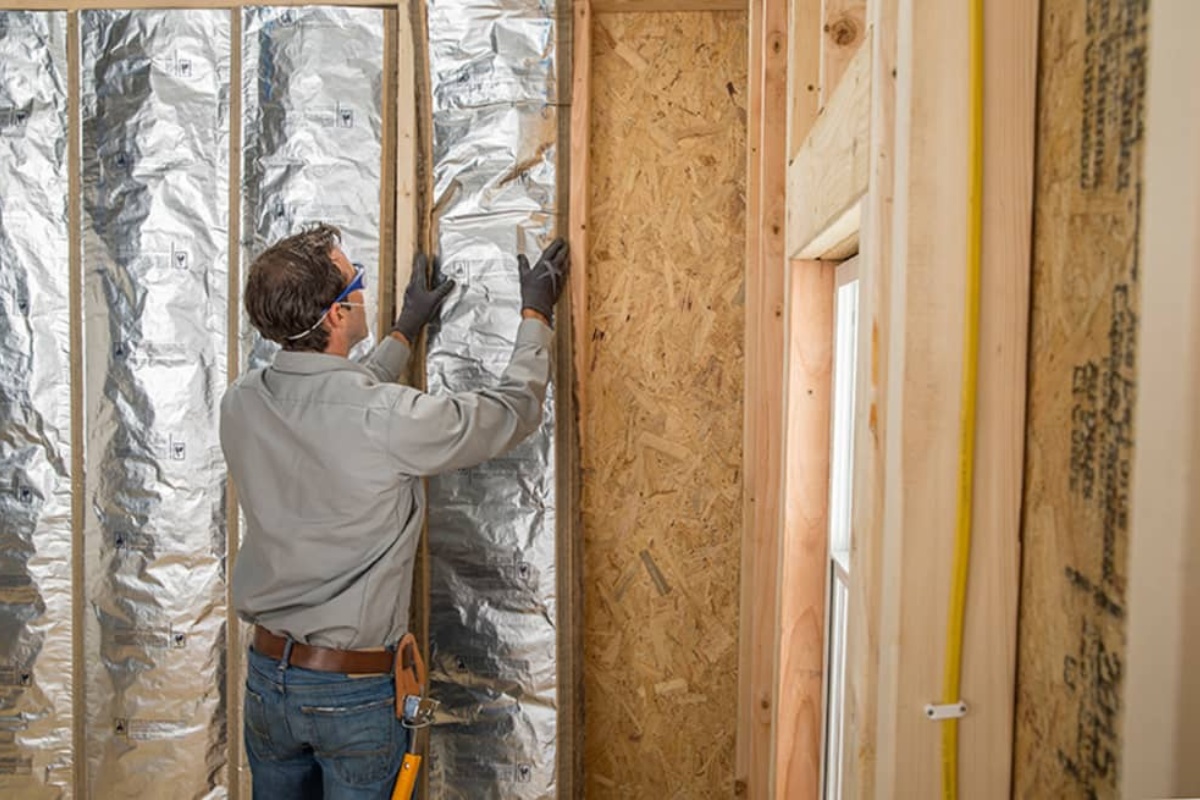
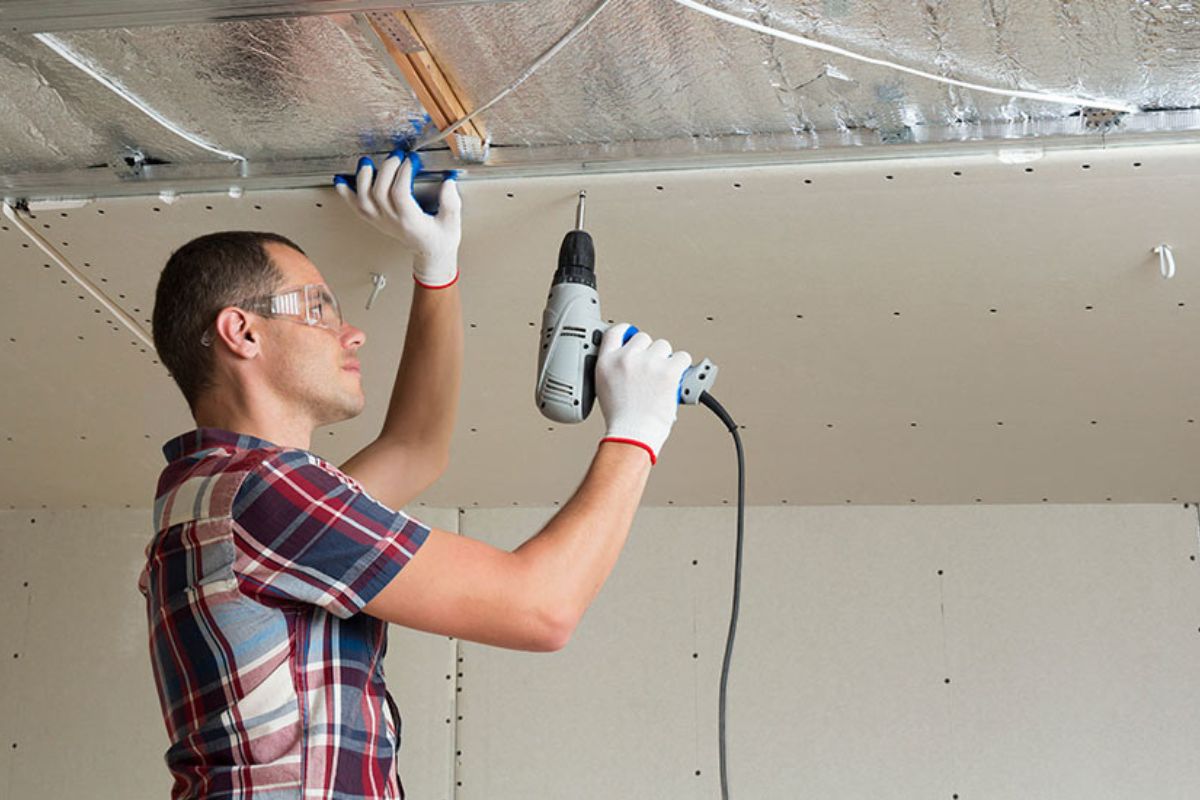
Step 5: Press and Secure the Insulation Sheets in Place
Now that you have applied the adhesive to the back of the foil faced insulation sheets, it’s time to press and secure them in place. Follow these steps for a proper and secure installation:
- Position the insulation sheets: Carefully position the first insulation sheet onto the prepared surface, ensuring that it aligns with the measurements you made earlier. Apply gentle pressure to adhere it to the surface.
- Press firmly: Using your hands or a roller, press firmly on the insulation sheet to ensure good contact with the surface and adhesive. This will help eliminate air pockets and maximize adhesion.
- Continue with additional sheets: Repeat the process for each additional insulation sheet, making sure to align them properly and press them firmly against the surface. Be mindful of any joints or overlaps between sheets, ensuring they are tightly pressed together.
- Use a straightedge or level: Periodically check the alignment and levelness of the installed insulation sheets using a straightedge or level. This will help maintain a uniform and neat appearance.
- Allow for proper curing time: Follow the adhesive manufacturer’s instructions for the recommended curing time. During this time, avoid any excessive movement or disturbance of the insulation sheets.
Properly pressing and securing the insulation sheets is essential to ensure they stay in place and provide effective insulation. By following these steps, you can achieve a secure and professional-looking installation that will contribute to the overall energy efficiency of your home.
Once you have successfully pressed and secured all the insulation sheets, it’s time to seal the joints and gaps in the next step.
Step 6: Seal the Joints and Gaps
After the insulation sheets are securely installed, it’s important to seal any joints and gaps to enhance the effectiveness of the insulation. Follow these steps to properly seal the joints and gaps:
- Inspect the installation: Take a close look at the installed insulation sheets and identify any gaps or areas where the sheets don’t align perfectly. These gaps can compromise the insulation’s effectiveness and allow air leakage.
- Cut sealing tape or foil tape: Cut strips of sealing tape or foil tape to the appropriate length to cover the gaps or joints.
- Apply sealing tape or foil tape: Position the tape over the gaps or joints and firmly press it down to create a seal. Make sure the tape adheres securely to both insulation sheets.
- Smooth and secure the tape: Use your fingers to smooth out any wrinkles or air bubbles and ensure a tight seal. If needed, use a roller to firmly press down the tape for better adhesion.
Sealing the joints and gaps is crucial to prevent air leakage and maintain the maximum insulation efficiency. By taking the time to seal these areas, you will create a more airtight and energy-efficient envelope in your home.
Once you have completed the sealing process, it’s time to move on to the final step: inspecting and cleaning up.
Step 7: Inspect and Clean Up
After completing the installation of foil faced insulation sheets and sealing the joints and gaps, it’s time to inspect your work and clean up any debris. Follow these steps to ensure a final inspection and tidy up:
- Inspect the installation: Carefully review the entire area where the insulation sheets have been installed. Look for any signs of loose sheets, gaps, or areas that may need touch-ups.
- Check for proper adhesion: Gently press on the insulation sheets to ensure they are securely attached to the surface. If you notice any areas that need reapplying adhesive, take the necessary steps to fix them.
- Trim any excess: If there are any areas where the insulation sheets extend beyond the desired coverage, use a utility knife or insulation cutter to trim off the excess material.
- Clean up the workspace: Collect any debris, insulation scraps, or adhesive residue and dispose of them properly. Use a broom, vacuum, or damp cloth to clean the area and remove any adhesives or fibers.
- Review overall appearance: Take a step back and assess the overall appearance of the installed foil faced insulation sheets. Ensure they are aligned, level, and provide a neat and professional finish.
A thorough inspection and clean-up process is essential to ensure that the installation is complete and meets your expectations. Addressing any issues or deficiencies at this stage will help ensure the long-term effectiveness and efficiency of the installed insulation.
Congratulations! You have successfully completed the installation of foil faced insulation sheets. Enjoy the benefits of improved energy efficiency and comfort in your home.
Conclusion
Installing foil faced insulation sheets is a practical and effective way to improve the energy efficiency of your home while providing additional thermal protection. By following the step-by-step guide outlined in this article, you can successfully install these sheets and enjoy the benefits they offer.
From gathering the necessary materials to preparing the surface, measuring and cutting the insulation sheets, applying adhesive, pressing and securing the sheets in place, sealing joints and gaps, and inspecting and cleaning up, each step plays a vital role in the installation process. Taking the time to properly complete each step ensures a professional and long-lasting outcome.
Foil faced insulation sheets, with their reflective barrier properties, can help reduce heat transfer and keep your living spaces comfortable throughout the year. By creating a thermal barrier, they help keep the heat out during hot summer months and retain warmth during cold winter months.
Remember to always follow safety guidelines and manufacturer instructions when working with adhesives and insulation materials. Proper preparation, measurement, and cutting are essential for a seamless installation, ensuring optimal performance and energy efficiency.
Inspecting your work and addressing any issues or gaps, as well as cleaning up the installation area, will contribute to a neat and professional finish. The sealed joints and properly secured insulation sheets will effectively prevent air leakage, maximizing the insulation’s effectiveness.
By completing the installation of foil faced insulation sheets, you have taken an important step towards improving the energy efficiency and comfort of your home. Enjoy the benefits of reduced energy costs, enhanced thermal insulation, and a more sustainable living environment.
Now that you have the knowledge and understanding of how to install foil faced insulation sheets, you can confidently tackle this project and create a more energy-efficient and comfortable home.
Frequently Asked Questions about How To Install Foil Faced Insulation Sheets
Was this page helpful?
At Storables.com, we guarantee accurate and reliable information. Our content, validated by Expert Board Contributors, is crafted following stringent Editorial Policies. We're committed to providing you with well-researched, expert-backed insights for all your informational needs.


0 thoughts on “How To Install Foil Faced Insulation Sheets”