Articles
How To Check For Gas Leak On Hot Water Heater
Modified: December 7, 2023
Learn how to safely check for gas leaks on your hot water heater with our informative articles. Ensure the safety of your home and family.
(Many of the links in this article redirect to a specific reviewed product. Your purchase of these products through affiliate links helps to generate commission for Storables.com, at no extra cost. Learn more)
Introduction
Gas leaks can pose a serious risk to your home and family, especially when it comes to appliances like hot water heaters. Gas leaks can lead to fire hazards, explosions, and carbon monoxide poisoning. Therefore, it is crucial to regularly check for gas leaks on your hot water heater to ensure the safety of your household.
In this article, we will guide you through the process of checking for gas leaks on your hot water heater. We will provide step-by-step instructions and safety precautions to follow to conduct a thorough inspection. By following these guidelines, you can identify potential gas leaks early on and take prompt action to prevent any accidents.
Before we proceed, it is essential to emphasize the importance of safety when dealing with gas appliances. If you are unsure or uncomfortable performing these inspections yourself, it is highly recommended to hire a professional plumber or gas technician who has the expertise and necessary equipment. Safety should always be the top priority.
Now let’s explore the steps involved in checking for gas leaks on a hot water heater, starting with the necessary safety precautions.
Key Takeaways:
- Regularly checking for gas leaks on your hot water heater is crucial for the safety of your home and family. Follow the step-by-step process outlined in this article to detect and address potential gas leaks early on, preventing potential hazards.
- Safety should always be the top priority when dealing with gas appliances. If you have any doubts or concerns about performing these inspections yourself, it is best to seek assistance from a professional plumber or gas technician.
Read more: How To Reset Gas Hot Water Heater
Safety Precautions
Before you begin inspecting your hot water heater for gas leaks, it is crucial to take certain safety precautions to minimize the risk of accidents. Here are some important safety measures to follow:
- Turn off the power: Before accessing your hot water heater, make sure to turn off the power supply to prevent any electrical hazards. This can be done by switching off the circuit breaker dedicated to the water heater.
- Wear protective gear: When working with gas appliances, it is important to wear appropriate protective gear, including safety goggles and gloves. This will protect you from any potential harm during the inspection.
- Ensure proper ventilation: Gas leaks can release harmful gases like carbon monoxide. To ensure proper ventilation, open windows and doors or use exhaust fans to allow fresh air to circulate while conducting the inspection.
- Avoid open flames and sparks: While inspecting for gas leaks, it is important to avoid open flames, sparks, or any other potential sources of ignition. This includes smoking or using any electrical devices that can produce sparks near the hot water heater.
- Keep a fire extinguisher nearby: In case of any emergencies, it is advisable to have a working fire extinguisher readily available. Make sure you know how to use it effectively and check its expiration date regularly.
- Do not attempt repairs unless qualified: If you do identify a gas leak or suspect any issues with your hot water heater, do not attempt to repair it yourself unless you are a qualified professional. Gas appliances should only be repaired by experienced technicians.
By following these safety precautions, you can significantly reduce the risk of accidents and ensure your well-being while inspecting your hot water heater for gas leaks.
Step 1: Prepare for the Inspection
Before you begin the inspection for gas leaks on your hot water heater, it is important to gather the necessary tools and prepare the area. Follow these steps to properly prepare for the inspection:
- Gather the tools: Collect the tools you will need, including a flashlight, adjustable wrench, leak detection solution or soap water mixture, and a gas leak detector (optional but recommended).
- Turn off the hot water heater: Locate the power switch or circuit breaker dedicated to the hot water heater and turn it off. This will prevent the heater from turning on during the inspection.
- Clear the area: Ensure that the area around the hot water heater is clear of any debris or clutter that may obstruct your access or present a safety hazard. Clearing the area will also give you better visibility during the inspection process.
- Have assistance if needed: If the hot water heater is located in a hard-to-reach area or if you require assistance, it is advisable to have another person present to help you.
By taking these preparatory steps, you will be ready to proceed with the inspection process smoothly and efficiently. Next, we will move on to turning off the gas supply to the hot water heater in Step 2.
Step 2: Turn Off the Gas Supply
Before you begin inspecting your hot water heater for gas leaks, it is crucial to turn off the gas supply to ensure your safety. This will prevent any gas from flowing while you conduct the inspection. Follow these steps to turn off the gas supply:
- Locate the gas valve: The gas valve is usually located near the hot water heater. It can be a lever or a dial that controls the flow of gas to the appliance.
- Turn the gas valve to the “Off” position: Carefully turn the valve clockwise until it is in the “Off” position. This will shut off the gas supply to the hot water heater. Ensure that the valve is completely closed.
- Wait for a few minutes: Allow a few minutes for any residual gas to dissipate before proceeding with the inspection. This will help minimize the risk of gas build-up.
Once the gas supply is turned off and you have allowed sufficient time for any remaining gas to disperse, you can proceed with inspecting the gas connections on your hot water heater. This will be covered in Step 3.
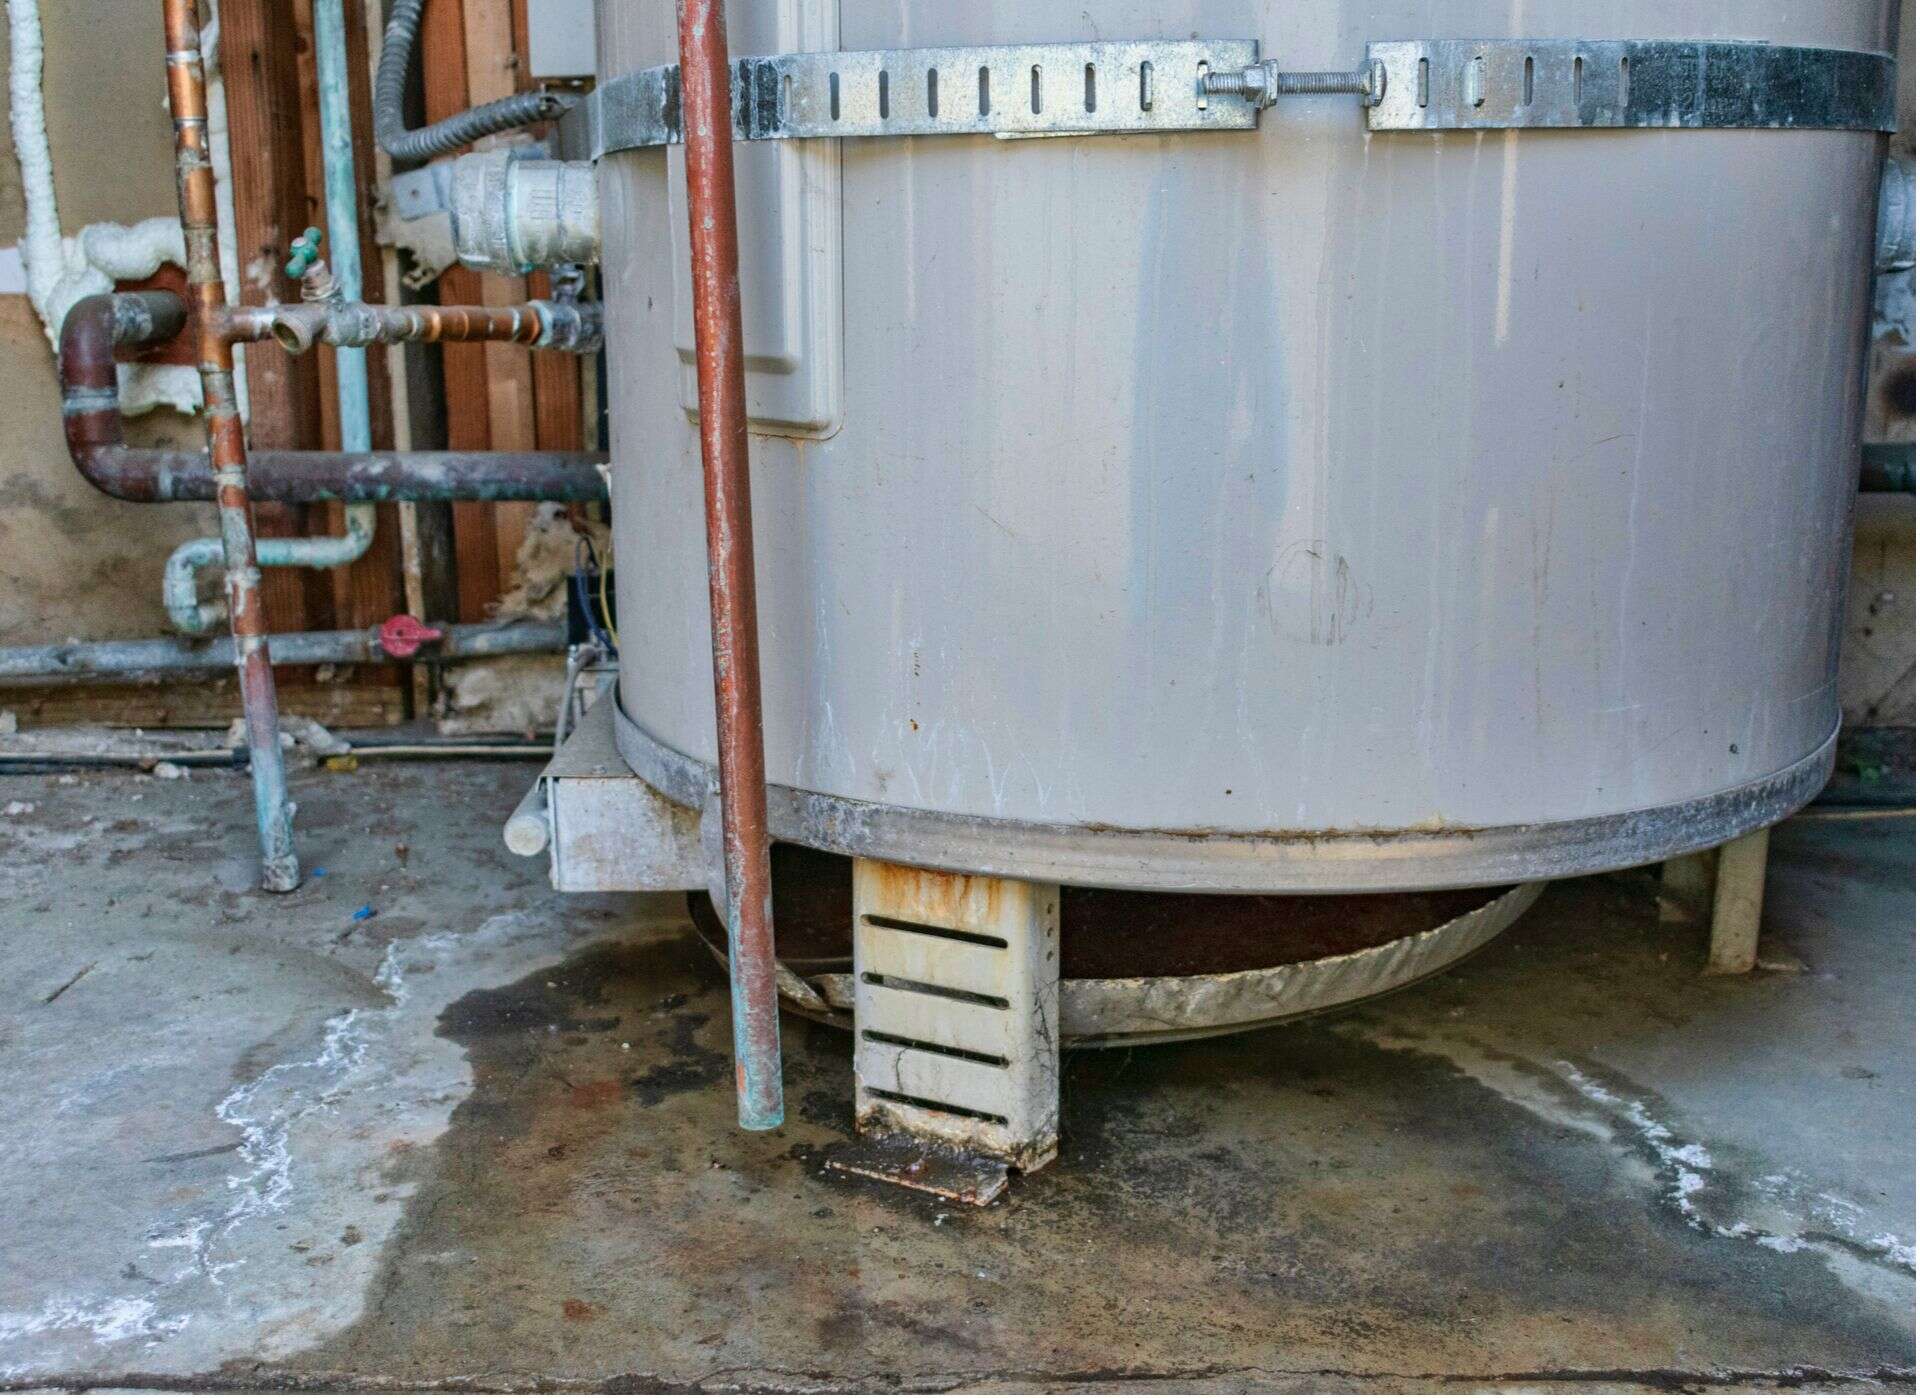
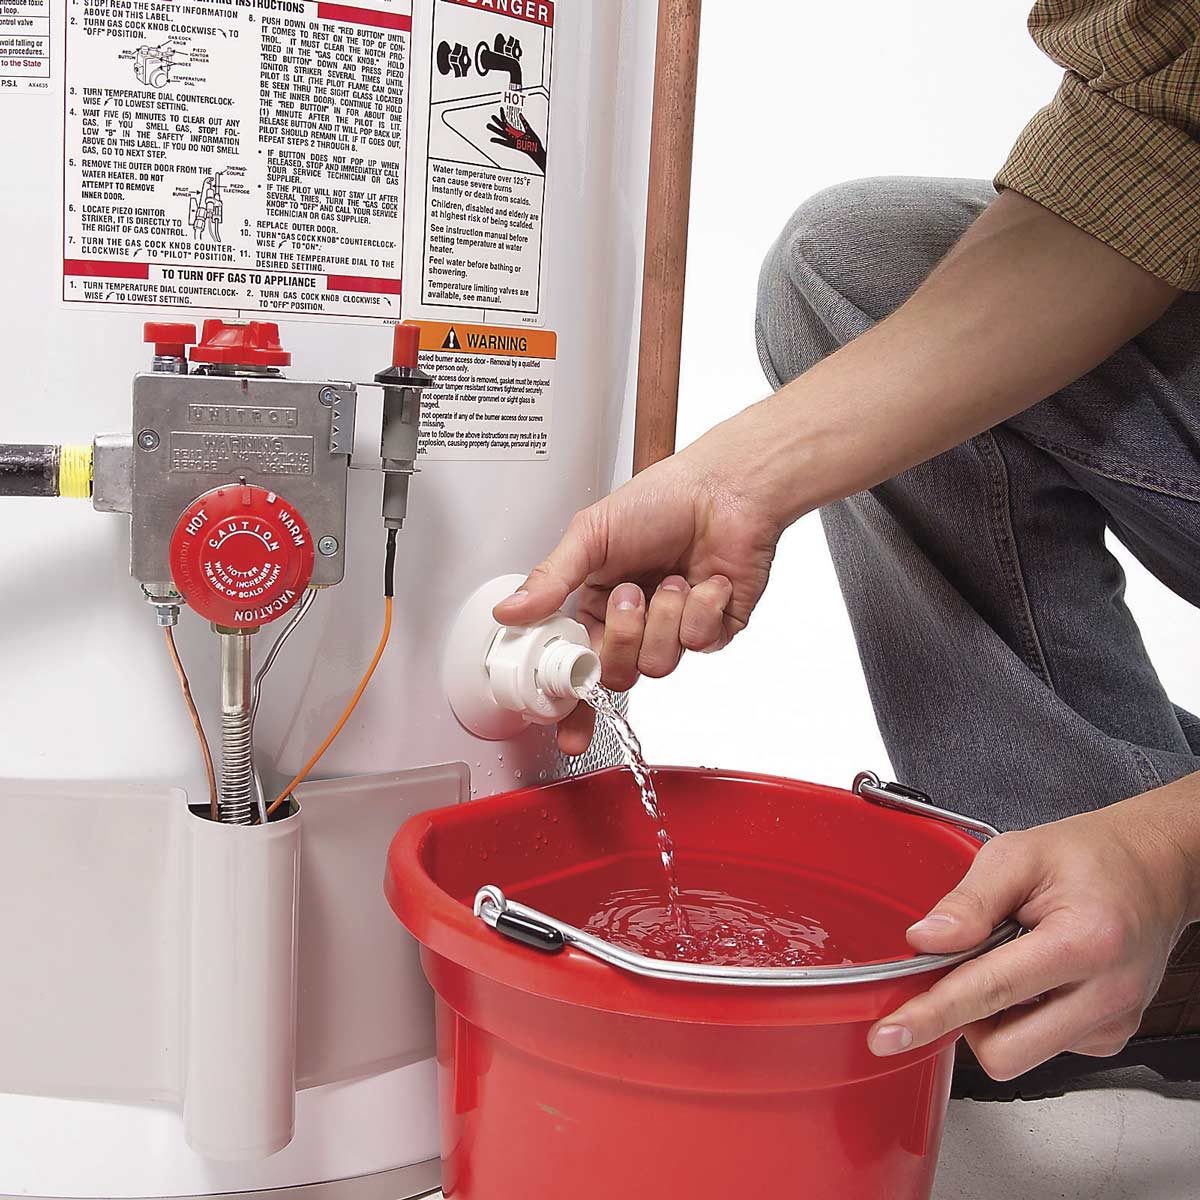
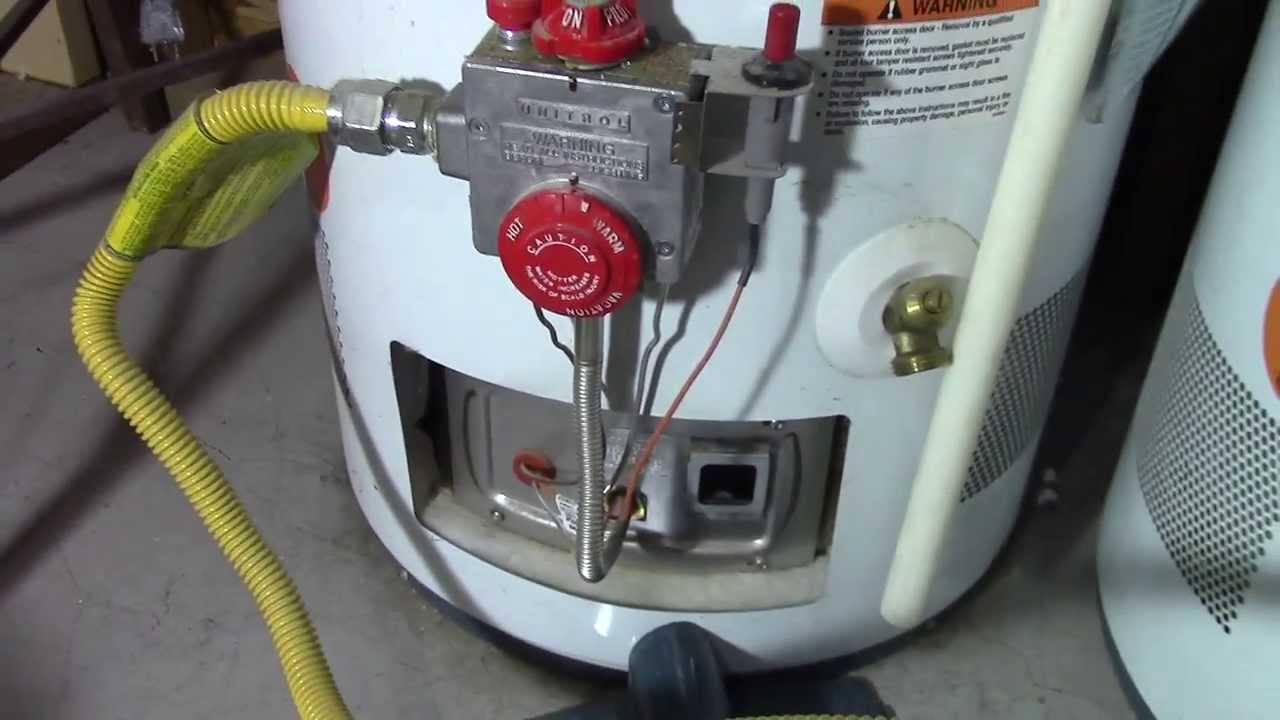
Step 3: Inspect the Gas Connections
Inspecting the gas connections on your hot water heater is an important step in checking for gas leaks. It involves visually examining the gas pipes and fittings to ensure there are no obvious signs of damage or leaks. Follow these steps to conduct a thorough inspection of the gas connections:
- Visually inspect the gas pipes: Carefully examine the gas pipes that connect to the hot water heater. Look for any signs of corrosion, cracks, or visible damage. If you notice any issues, it may indicate a potential gas leak, and you should consult a professional for further evaluation.
- Check the fittings and connections: Inspect the fittings and connections where the gas pipes attach to the hot water heater. Ensure that they are securely fastened and do not show any signs of wear or looseness. Loose connections can lead to gas leaks, so tighten any loose fittings using an adjustable wrench.
- Look for gas residue or soot: Check for any signs of gas residue or soot around the gas connections. These could be indications of a gas leak. If you notice any black or discolored areas, it is advisable to have a professional assess the situation.
During the inspection, if you identify any visible damage, loose fittings, or suspicious signs, it is crucial to address them promptly. Consult a qualified technician or plumber for further investigation and necessary repairs.
Once you have completed the inspection of the gas connections, it is time to move on to the next step: checking for the presence of gas odor.
Read more: How Does A Gas Hot Water Heater Work
Step 4: Check for Gas Odor
Checking for the presence of gas odor is an essential step in detecting gas leaks on your hot water heater. Natural gas is odorless, but a distinctive odorant called mercaptan is added to make it easily detectable. Follow these steps to check for gas odor:
- Use your sense of smell: Get close to your hot water heater and take a deep breath. If you detect a strong, unpleasant smell similar to rotten eggs or sulfur, it is a sign of a gas leak. Gas companies add this odorant specifically to help people identify gas leaks quickly.
- Do not rely solely on your sense of smell: It is important to note that some people may have a reduced ability to detect the smell of gas due to various factors. Therefore, it is recommended to use additional methods to confirm the presence of a gas leak.
- Look for other signs: Along with the odor, keep an eye out for other signs of a gas leak, such as a hissing sound, dead or dying vegetation near the hot water heater, or a white cloud or mist around the area.
If you detect any gas odor or notice any other signs of a gas leak, it is crucial to take immediate action. Evacuate the area, do not use any electrical devices or open flames, and call your gas provider’s emergency line to report the leak. It is important to follow the specific instructions provided by your gas provider for situations like these.
After checking for gas odor and ensuring no immediate signs of a gas leak are present, you can proceed to the next step: using a gas leak detector.
Use a gas leak detector solution or soapy water to check for bubbles at the connections and fittings of the hot water heater. If bubbles form, there may be a gas leak.
Step 5: Use a Gas Leak Detector
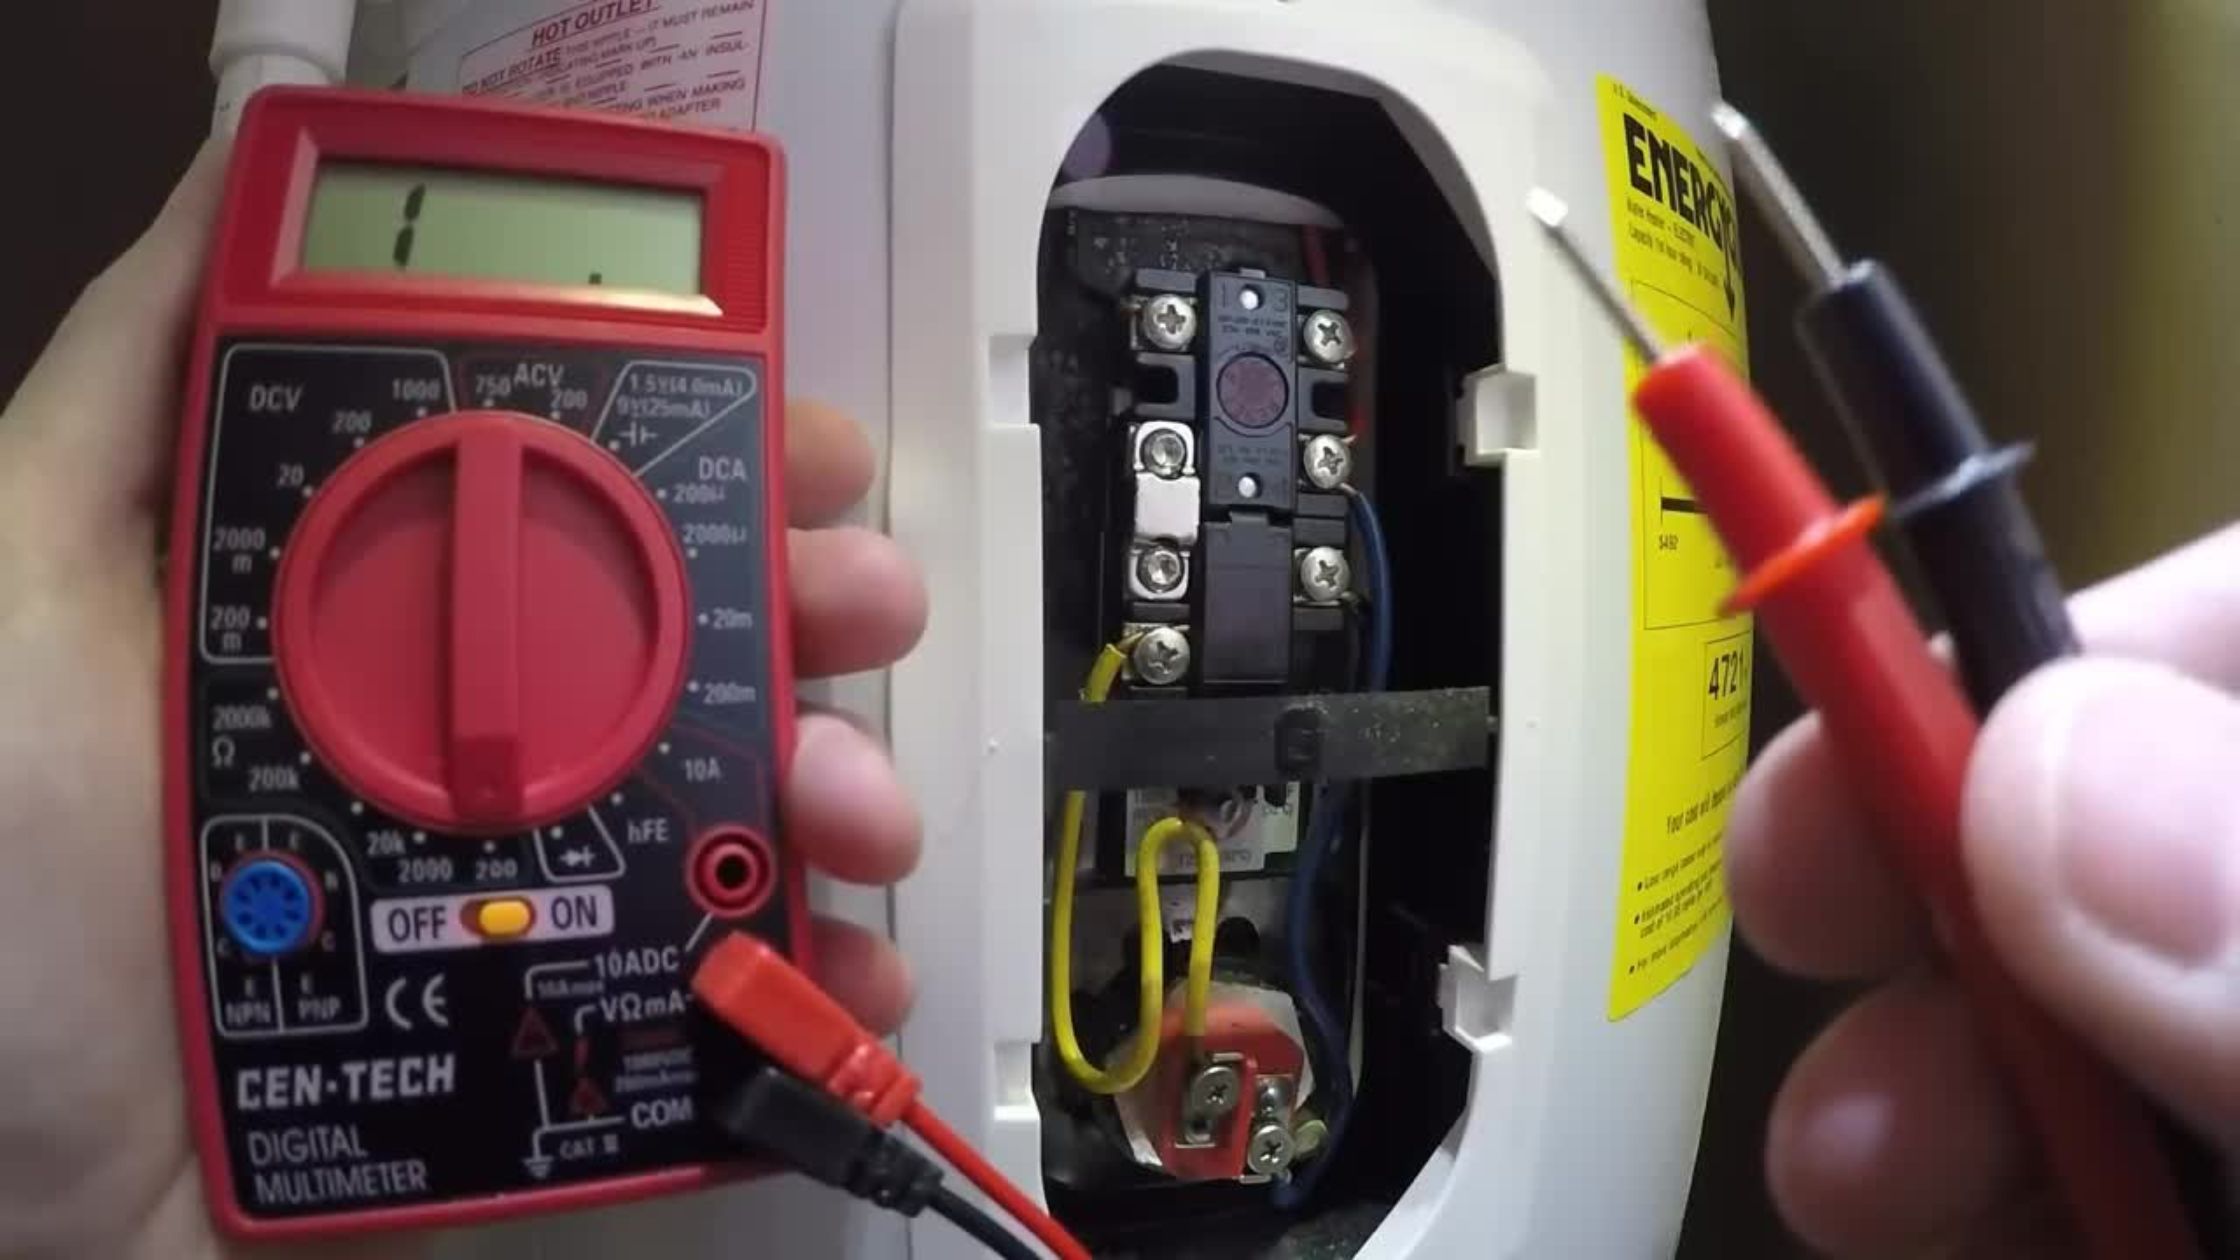
Using a gas leak detector is a reliable method to identify gas leaks on your hot water heater. A gas leak detector is a handheld device that can sense the presence of gas in the air and emit an audible alert or visual indication. Follow these steps to use a gas leak detector:
- Read the instructions: Familiarize yourself with the user manual or instructions provided with the gas leak detector. Each detector may have specific usage guidelines and operational instructions that you need to follow.
- Turn on the gas leak detector: Turn on the gas leak detector and ensure it is functioning properly. Some detectors require calibration or warm-up time before they can accurately detect gas leaks.
- Hold the detector near the gas connections: Position the gas leak detector close to the gas connections on your hot water heater. Slowly move the detector around the connections, paying attention to any areas that trigger an alarm or indication on the detector.
- Follow the detector’s alert: If the gas leak detector detects any gas leakage, it will emit an audible alarm or display a visual indication. Take this as a warning sign and immediately address the issue.
- Call a professional: If the gas leak detector indicates a gas leak, it is crucial to contact a professional plumber or gas technician. They will have the expertise and specialized equipment to locate and repair the gas leak.
Using a gas leak detector adds an extra layer of safety when inspecting your hot water heater for gas leaks. It can help identify leaks that may not be readily detectable by other means, ensuring early detection and timely action.
Once you have used a gas leak detector, you can proceed to the next step: applying a soapy water solution to check for leaks visually.
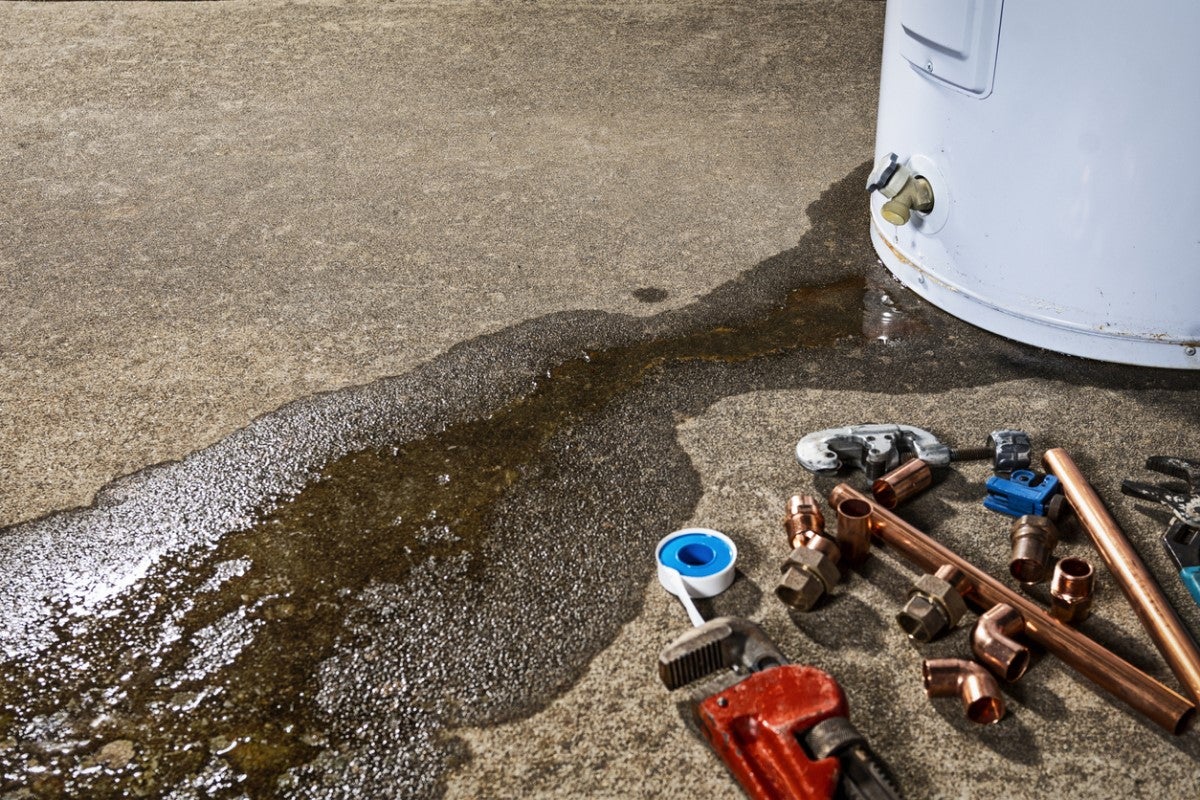
Step 6: Apply a Soapy Water Solution
Applying a soapy water solution is a simple yet effective method of visually detecting gas leaks on your hot water heater. When gas escapes from a connection or valve, it can create small bubbles when it comes in contact with the soapy water. Follow these steps to apply a soapy water solution:
- Prepare the solution: In a spray bottle or container, mix a few drops of liquid dish soap with water to create a soapy solution.
- Turn on the gas supply: Turn on the gas supply to the hot water heater.
- Spray the soapy solution: Spray or apply the soapy water solution to the gas connections, pipes, and fittings on the hot water heater. Ensure that you cover all the connections thoroughly.
- Observe for bubbles: As the gas flows through the connections, observe if any bubbles form on the surface of the soapy water. The presence of bubbles indicates a gas leak, and you should address it immediately.
If you notice any bubbles forming while applying the soapy water solution, it is vital to take precautions and consult a professional plumber or gas technician. They will be able to assess the situation and provide appropriate repairs to fix the gas leak.
Remember, using a soapy water solution is just one method of visually detecting gas leaks. It is recommended to use this method in combination with other inspection techniques, such as using a gas leak detector, to ensure thorough evaluation of your hot water heater.
Once you have applied the soapy water solution and checked for leaks visually, you can proceed to the next step: inspecting the burner assembly.
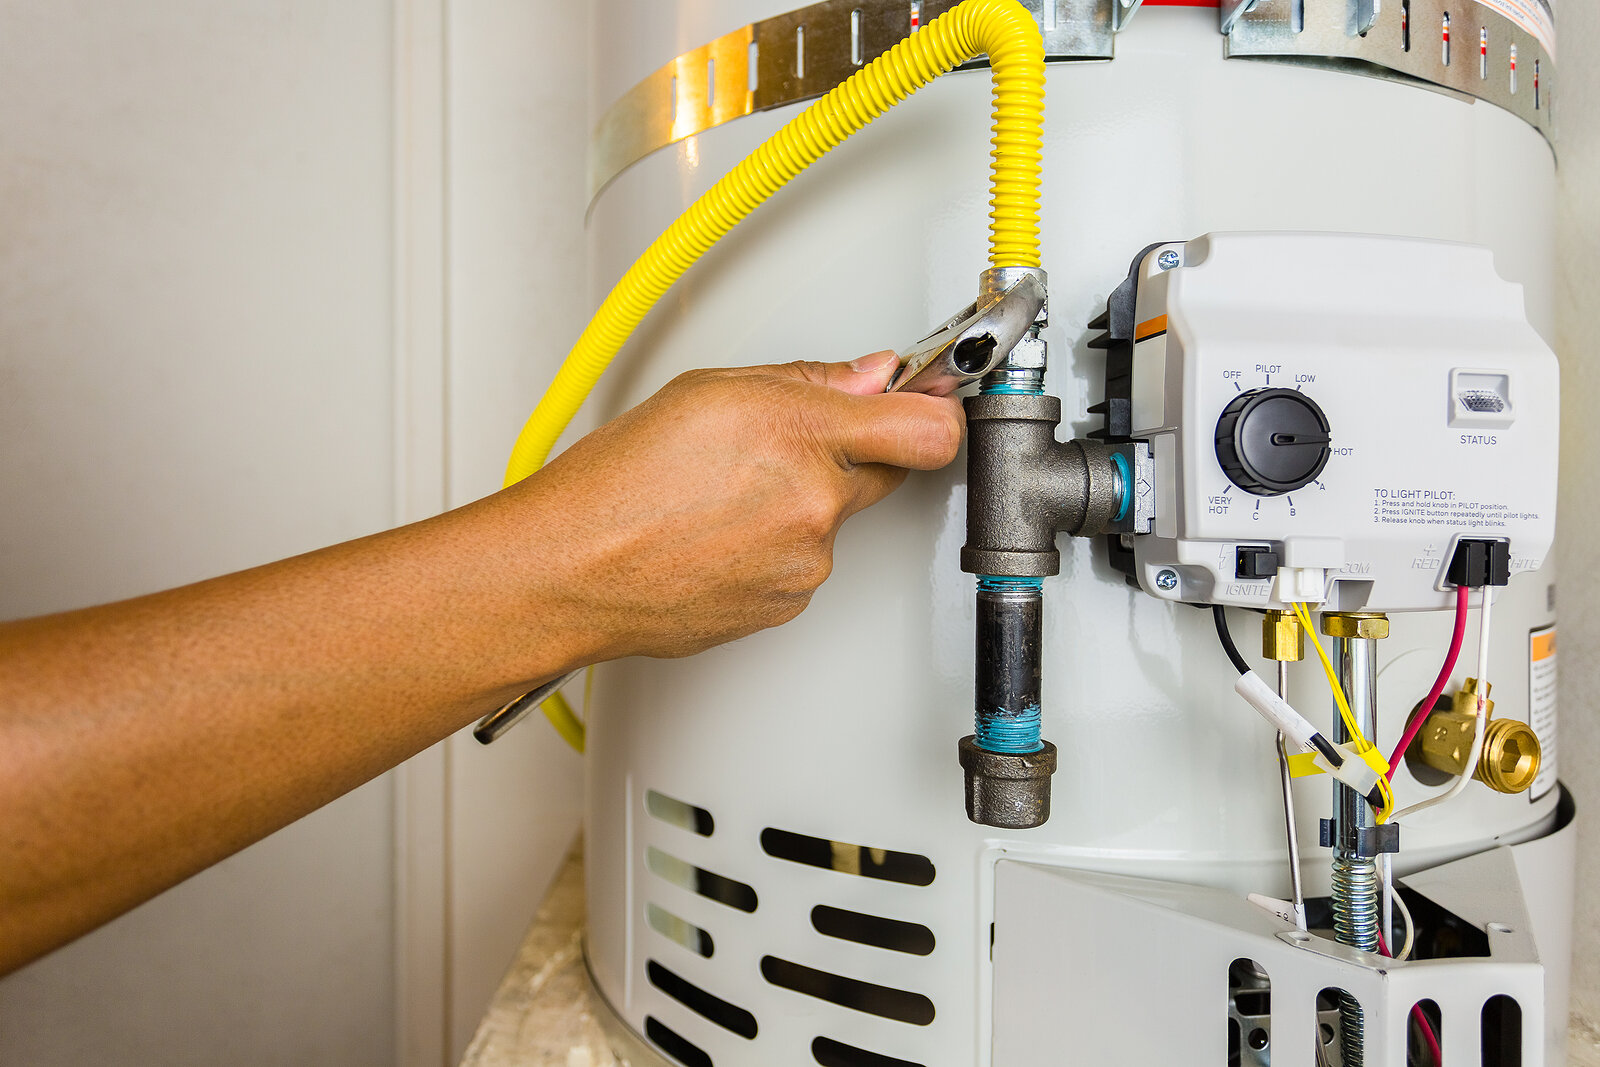
Step 7: Inspect the Burner Assembly
Inspecting the burner assembly is an important step in ensuring the proper functioning of your hot water heater and checking for potential gas leaks. The burner assembly is responsible for heating the water in the tank. Follow these steps to inspect the burner assembly:
- Turn off the gas supply: Before inspecting the burner assembly, ensure that the gas supply to the hot water heater is turned off. This will prevent any gas from flowing while you perform the inspection.
- Remove the access panel: Locate the access panel covering the burner assembly. Typically, it is located at the front or bottom of the hot water heater. Use a screwdriver or the appropriate tool to remove the panel and gain access to the burner assembly.
- Visually inspect the burner: Carefully examine the burner for any signs of damage, corrosion, or debris buildup. Look for any holes or cracks in the burner surface. These could indicate a gas leak or an issue with the combustion process.
- Clean the burner: If you notice any debris or buildup on the burner surface, use a soft brush or cloth to gently clean it. Ensure that any obstructions are removed to allow for proper and efficient combustion.
- Check for flame irregularities: Once the burner is cleaned, turn on the gas supply and ignite the burner according to the manufacturer’s instructions. Observe the flame pattern and color. The flame should be a steady blue color with a well-defined shape. If you notice any flickering, yellow flames, or uneven burn, it could indicate a gas leak or combustion issue.
- Replace the access panel: After completing the inspection of the burner assembly, securely replace the access panel and ensure it is properly fastened.
If you detect any issues with the burner assembly or notice any irregularities in the flame, it is recommended to contact a professional technician or plumber. They can further diagnose the problem and perform any necessary repairs.
By inspecting the burner assembly, you can ensure the efficient and safe operation of your hot water heater while checking for potential gas leaks.
Once you have completed the inspection of the burner assembly, you can proceed to the final step: reconnecting the gas supply.
Read more: How To Check Water Heater Element
Step 8: Reconnect the Gas Supply
After completing the inspection of your hot water heater for gas leaks, it is time to reconnect the gas supply to restore normal operation. Follow these steps to safely reconnect the gas supply:
- Ensure all connections are secure: Before turning on the gas supply, double-check that all gas connections, pipes, and fittings are securely tightened. This helps to prevent any potential gas leaks.
- Turn on the gas valve: Locate the gas valve that controls the flow of gas to the hot water heater. Carefully turn the valve counterclockwise to reopen it and allow gas to flow to the appliance.
- Check for gas leaks: As you gradually turn on the gas supply, pay close attention to the connections and listen for any hissing sounds. At the same time, you can also conduct a final visual inspection using the soapy water solution method to check for any possible leaks.
- Test the hot water heater: Once you have confirmed that there are no gas leaks, you can proceed to test the hot water heater. Turn on the power supply and follow the manufacturer’s instructions to ignite the burner and ensure the hot water heater is functioning properly.
It is important to remember that if at any point during the reconnection process you detect a gas leak or suspect any issues, immediately shut off the gas supply and seek assistance from a qualified technician. Your safety should always be the top priority.
By safely reconnecting the gas supply, you can resume the normal functioning of your hot water heater while ensuring that all connections are secure and free from leaks.
Congratulations! You have successfully completed all the steps to check for gas leaks on your hot water heater. Regularly repeating these steps as part of your maintenance routine will help ensure the safety and efficient operation of your hot water heater and protect your home and family from potential gas leaks.
Remember, if you have any doubts or concerns about performing these inspections yourself, it is always best to seek assistance from a professional plumber or gas technician who has the expertise and necessary equipment.
Conclusion
Checking for gas leaks on your hot water heater is a crucial task that should be done regularly to ensure the safety of your home and family. By following the step-by-step process outlined in this article and taking the necessary safety precautions, you can effectively detect and address gas leaks early on, preventing potential hazards.
We started by emphasizing the importance of safety and recommended hiring a professional if you are uncomfortable performing these inspections yourself. Safety should always be a top priority when dealing with gas appliances.
We then walked through each step of the inspection process, including preparing for the inspection, turning off the gas supply, inspecting the gas connections, checking for gas odor, using a gas leak detector, applying a soapy water solution, inspecting the burner assembly, and finally, reconnecting the gas supply.
Throughout the inspection, it is crucial to be vigilant and thorough in identifying potential gas leaks. Whether it’s visually inspecting the gas connections and burner assembly, using your senses to detect gas odor, or employing tools such as gas leak detectors and soapy water solutions, each method helps in detecting gas leaks promptly.
Remember that if you detect any sign of a gas leak or suspect any issues, it is essential to seek professional assistance. Gas leaks should be addressed by qualified plumbers or gas technicians to ensure proper repairs and avoid any further risks.
By incorporating these inspections into your regular maintenance routine, you can maintain the safety and optimal performance of your hot water heater. This not only offers peace of mind but also contributes to the longevity and efficient operation of the appliance.
Remember, if you ever feel unsure or uncomfortable during the inspection process, do not hesitate to seek professional help. It is better to be safe than sorry when dealing with gas leaks and any potential risks they may pose.
By following the guidelines and steps outlined in this article, you are taking important proactive measures to protect your home and loved ones from the potential dangers of gas leaks. Stay safe and maintain the well-being of your household by regularly checking for gas leaks on your hot water heater.
Frequently Asked Questions about How To Check For Gas Leak On Hot Water Heater
Was this page helpful?
At Storables.com, we guarantee accurate and reliable information. Our content, validated by Expert Board Contributors, is crafted following stringent Editorial Policies. We're committed to providing you with well-researched, expert-backed insights for all your informational needs.

0 thoughts on “How To Check For Gas Leak On Hot Water Heater”