Articles
How To Troubleshoot Hot Water Heater
Modified: October 31, 2024
Learn how to troubleshoot your hot water heater with these helpful articles. Find step-by-step guides and tips to fix common issues and ensure a reliable supply of hot water.
(Many of the links in this article redirect to a specific reviewed product. Your purchase of these products through affiliate links helps to generate commission for Storables.com, at no extra cost. Learn more)
Introduction
Having a hot water heater is a necessity in any modern household. It ensures that you have hot water readily available for various purposes, such as bathing, washing dishes, or doing laundry. However, when your hot water heater malfunctions, it can be quite frustrating and inconvenient.
In this article, we will discuss how to troubleshoot common issues with your hot water heater. By following these steps, you may be able to identify and fix the problem on your own, saving you time and money on professional repairs. So, let’s dive in and get your hot water flowing again.
Key Takeaways:
- Troubleshooting your hot water heater can save time and money by checking power supply, inspecting the pilot light, testing the thermostat, and considering gas supply issues before calling a professional.
- Regular maintenance, such as flushing the tank and insulating pipes, can help prevent hot water heater issues and ensure efficient performance for the long term.
Read more: How To Maintain Hot Water Heater
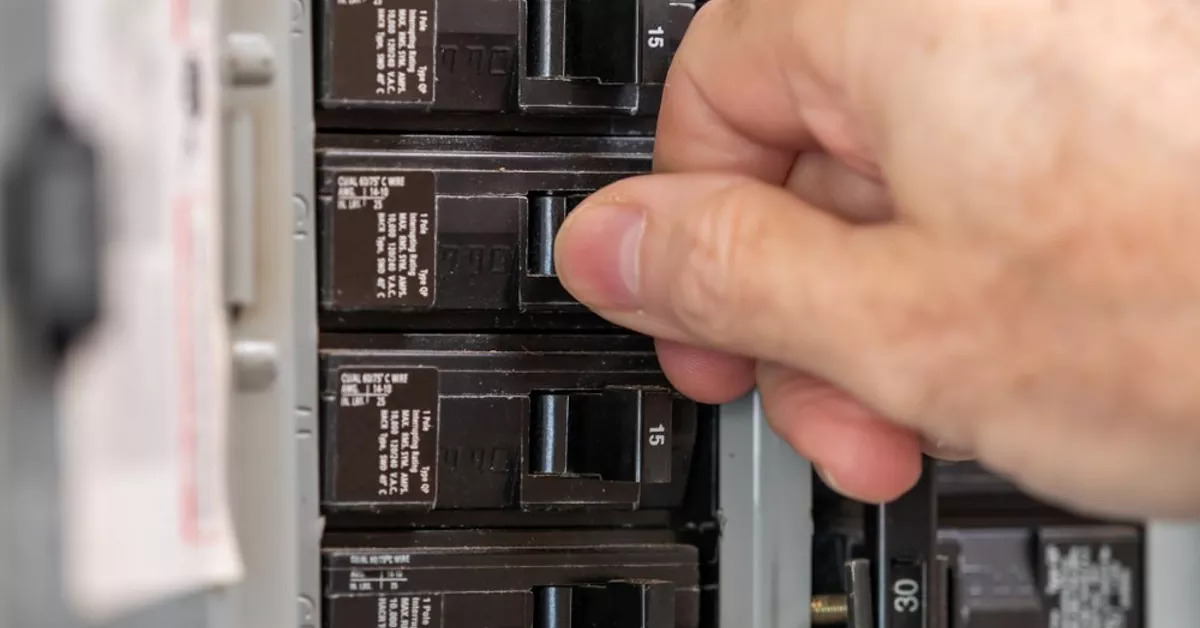
Step 1: Check for Power Supply
The first thing you should do when troubleshooting your hot water heater is to check if it is receiving power. Start by checking the electrical panel to ensure that the circuit breaker for the hot water heater is not tripped. If it is, simply flip it back on and see if the heater starts working again.
Next, check the power switch or button on the heater itself. Make sure it is turned on and has not been accidentally switched off. Sometimes, a power outage or a power surge can cause the switch to trip or reset, so it’s worth checking.
If you have an electric water heater, inspect the power cord and make sure it is securely plugged into a functioning outlet. Consider using a multimeter to test the outlet for proper voltage. If the outlet is not working, try plugging the cord into a different outlet to see if that resolves the issue.
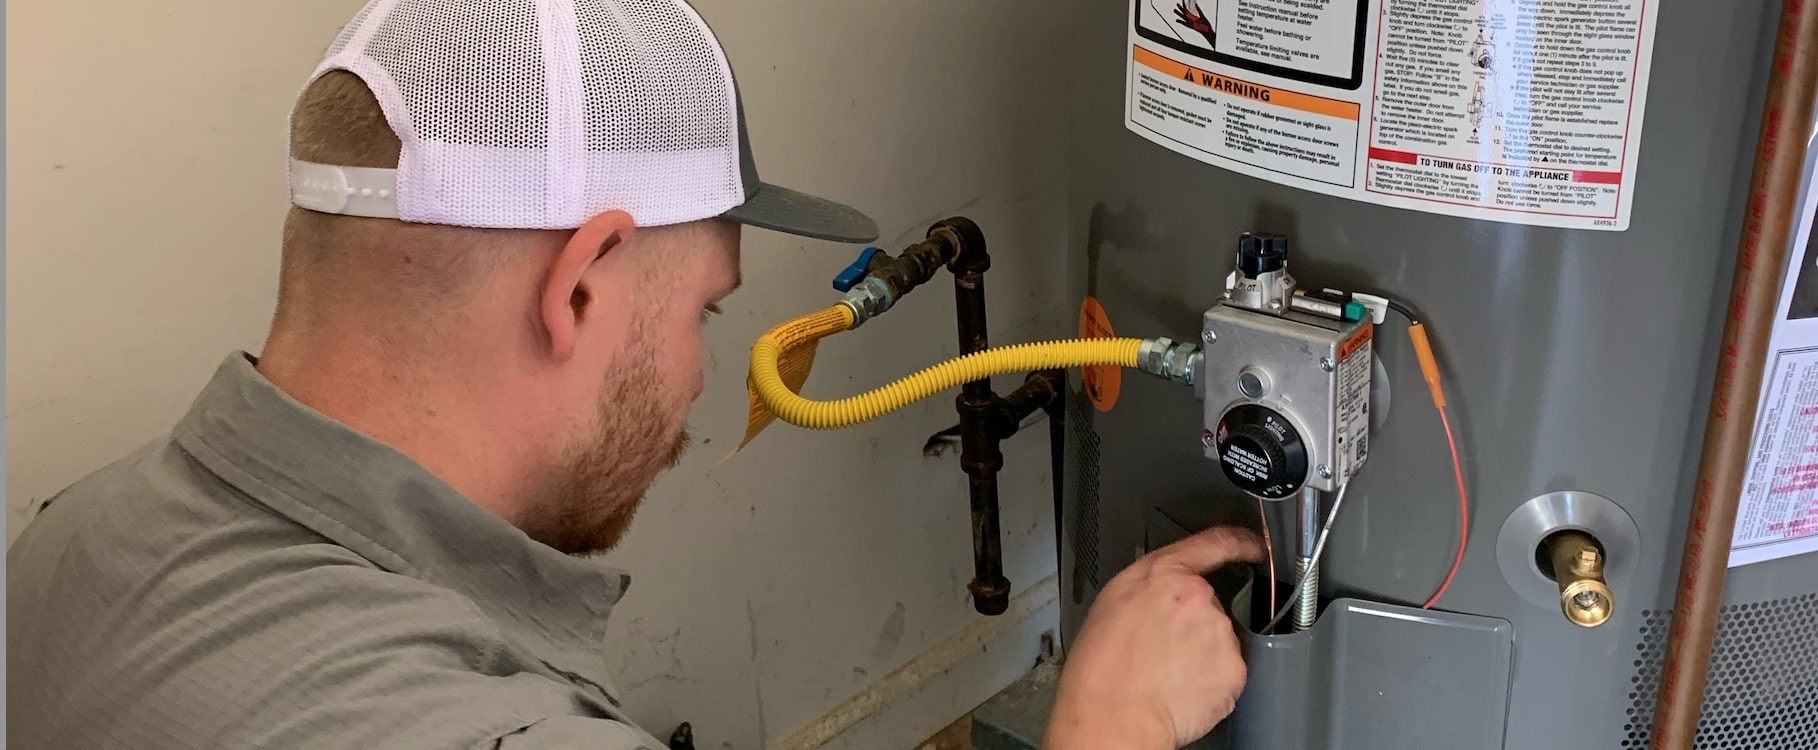
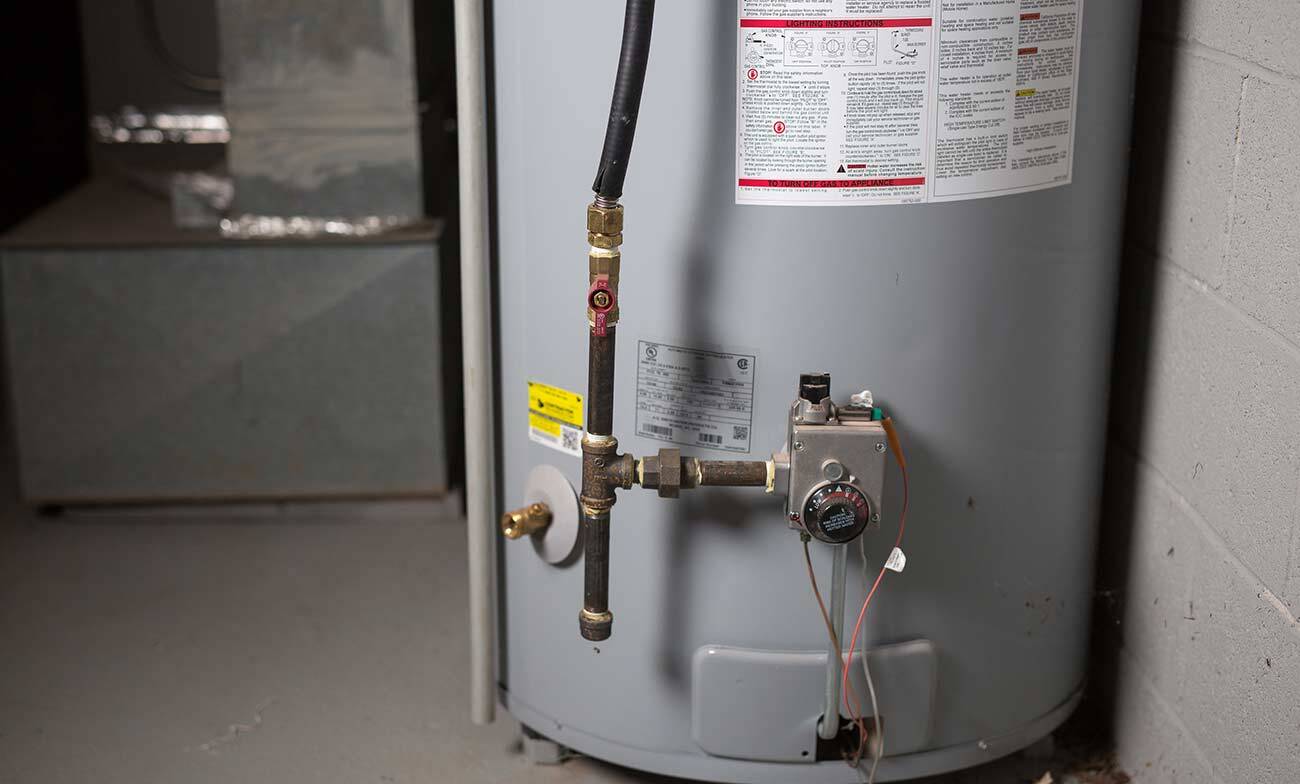
For gas water heaters, check if the pilot light is lit. If it’s not, you may need to relight it. Consult the manufacturer’s instructions on how to safely relight the pilot light. If the pilot light won’t stay lit after several attempts, there may be a problem with the gas supply or the thermocouple, which may require professional assistance.
Step 2: Inspect the Pilot Light
If you have a gas water heater, the pilot light is a crucial component. It ignites the burner, which in turn heats the water. If the pilot light is not lit or is flickering, it may be the cause of your hot water heater troubles.
Start by locating the pilot light assembly. It is usually located near the bottom of the heater, behind a small access panel. Carefully remove the panel to access the pilot light.
Inspect the pilot light flame. It should be a steady, blue flame. If the flame is yellow or orange, it could indicate a problem. A yellow or orange flame may be a sign of incomplete combustion, which can be caused by a dirty or clogged pilot tube or burner. In this case, you may need to clean or replace the affected parts.
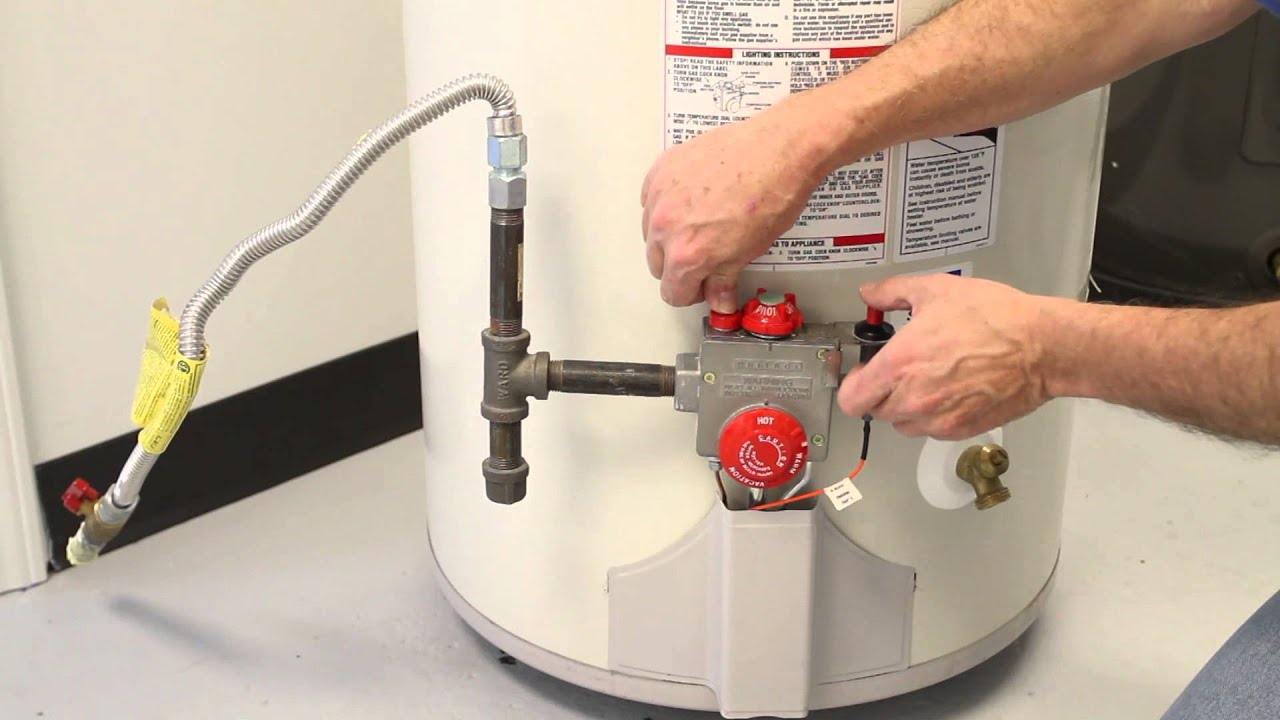
If the pilot light is completely out, follow the manufacturer’s instructions on how to relight it. Typically, you will need to turn the gas control valve to the “off” position and wait a few minutes before attempting to relight the pilot. Once the pilot is lit, hold down the reset button or knob for a minute or two to allow the thermocouple to heat up.
After relighting the pilot, observe its flame. It should remain steady and not flicker. If the flame continues to go out, there may be a problem with the thermocouple. The thermocouple is a safety device that senses the heat from the pilot light and prevents the gas valve from opening if the pilot light goes out. A faulty thermocouple may need to be replaced by a professional.
Remember to always exercise caution when working with gas appliances. If you are unsure or uncomfortable with relighting the pilot light, it is best to call a licensed plumber or gas technician for assistance.
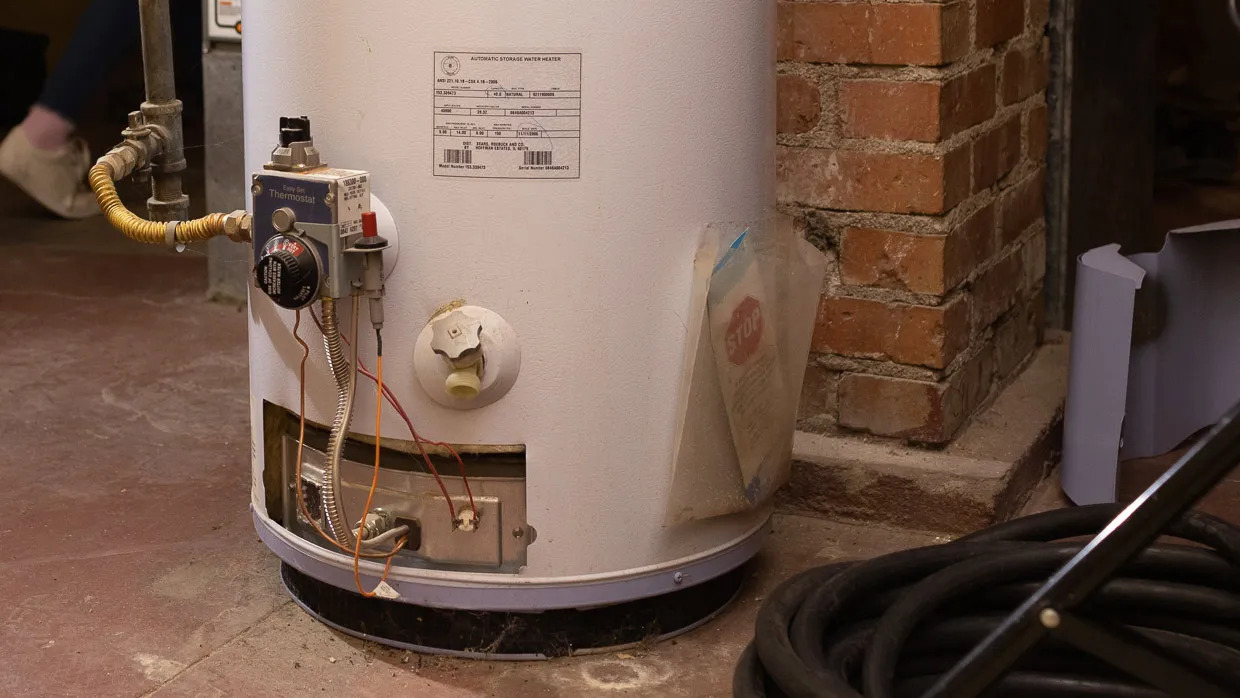
Step 3: Test the Thermostat
The thermostat is responsible for regulating the temperature of the water in your hot water heater. If the water is not getting hot enough or is too hot, it could indicate a problem with the thermostat. Testing the thermostat is an important step in troubleshooting your hot water heater.
Begin by locating the thermostat on your hot water heater. It is typically a dial or a digital display on the front or side of the unit. Make sure the power to the heater is turned off before proceeding.
First, set the thermostat to a high temperature setting. After waiting for a few minutes, check if you can hear any clicking sounds coming from the heater. The clicking sound indicates that the thermostat is sending a signal to the heating elements to turn on.
If you do not hear any clicking sounds, it may indicate a faulty thermostat. In this case, you may need to replace the thermostat. Consult the manufacturer’s instructions or seek professional assistance to ensure proper installation of the new thermostat.
If you do hear clicking sounds, the thermostat may be working fine. However, it does not necessarily mean that the water is heating up. You will need to perform a temperature test to determine if the water is being heated to the desired temperature.
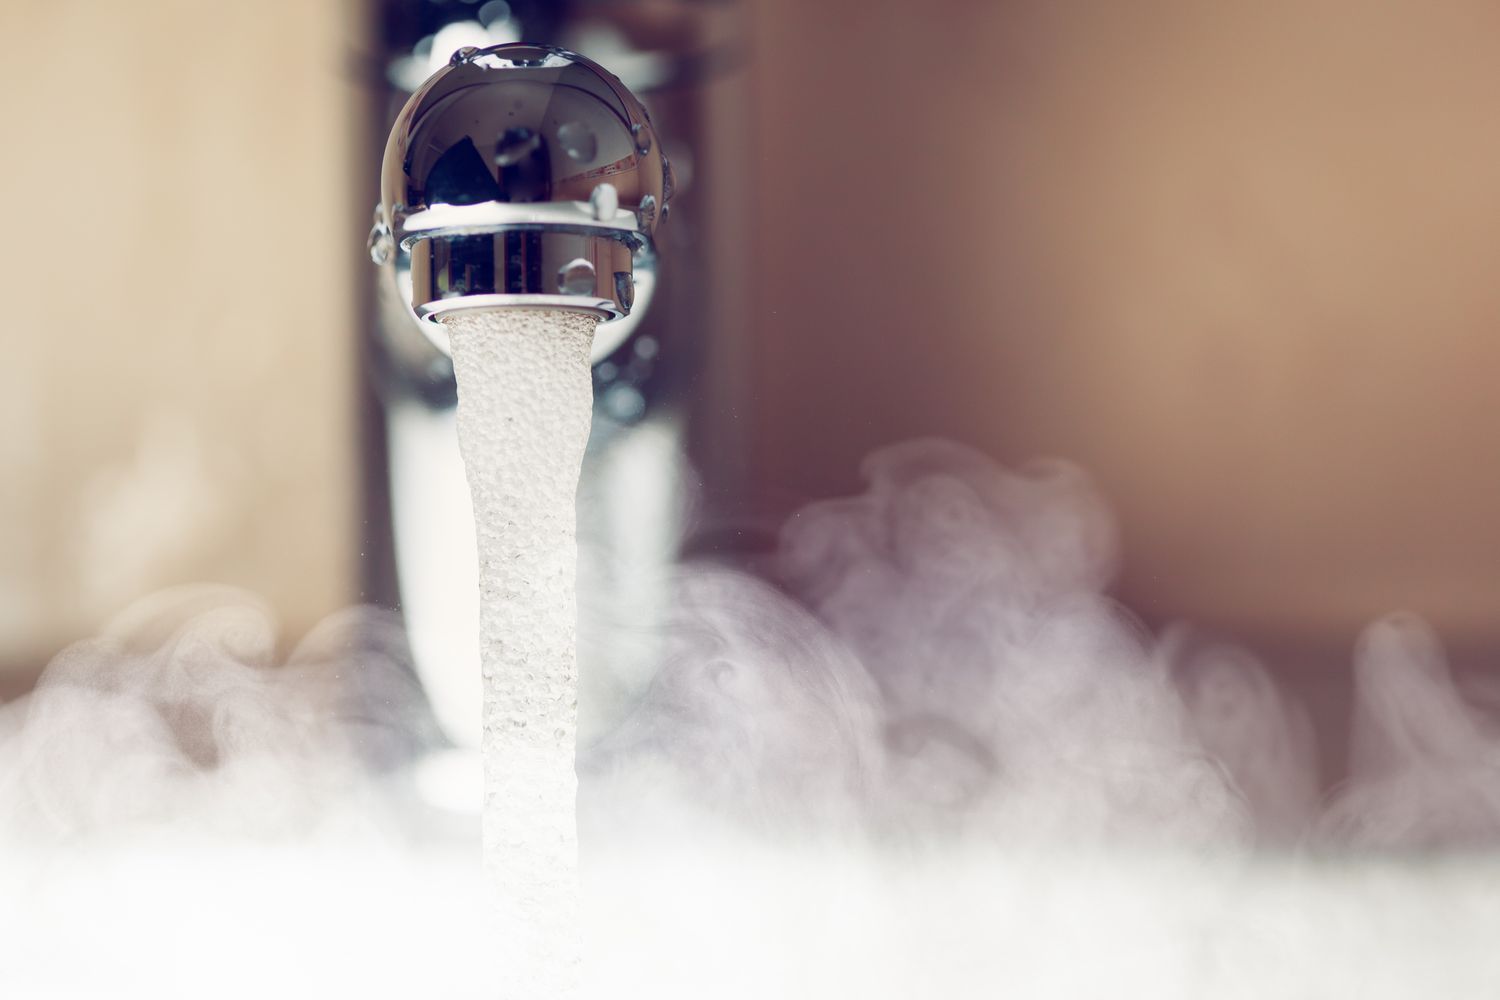
Use a thermometer to test the temperature of the water at the faucet farthest from the hot water heater. Run the faucet until the hot water starts flowing and measure the temperature. If the water is not reaching the temperature set on the thermostat, it may indicate a problem with the heating elements.
Testing the thermostat is an essential part of the troubleshooting process. It helps identify if the thermostat is functioning properly and if it is the cause of the hot water issues. If you are unsure or uncomfortable with testing the thermostat, it is best to consult a professional plumber or electrician.
Step 4: Check the Heating Element
The heating element is responsible for heating the water in your hot water heater. If the water is not getting hot or is taking a long time to heat up, it could indicate a problem with the heating element. Checking the heating element is a crucial step in troubleshooting your hot water heater.
Start by turning off the power to the hot water heater. This can typically be done by flipping the appropriate circuit breaker in your electrical panel or turning off the power switch connected to the heater.
Locate the access panel on the side of the hot water heater that covers the heating element. Remove the panel to expose the heating element.
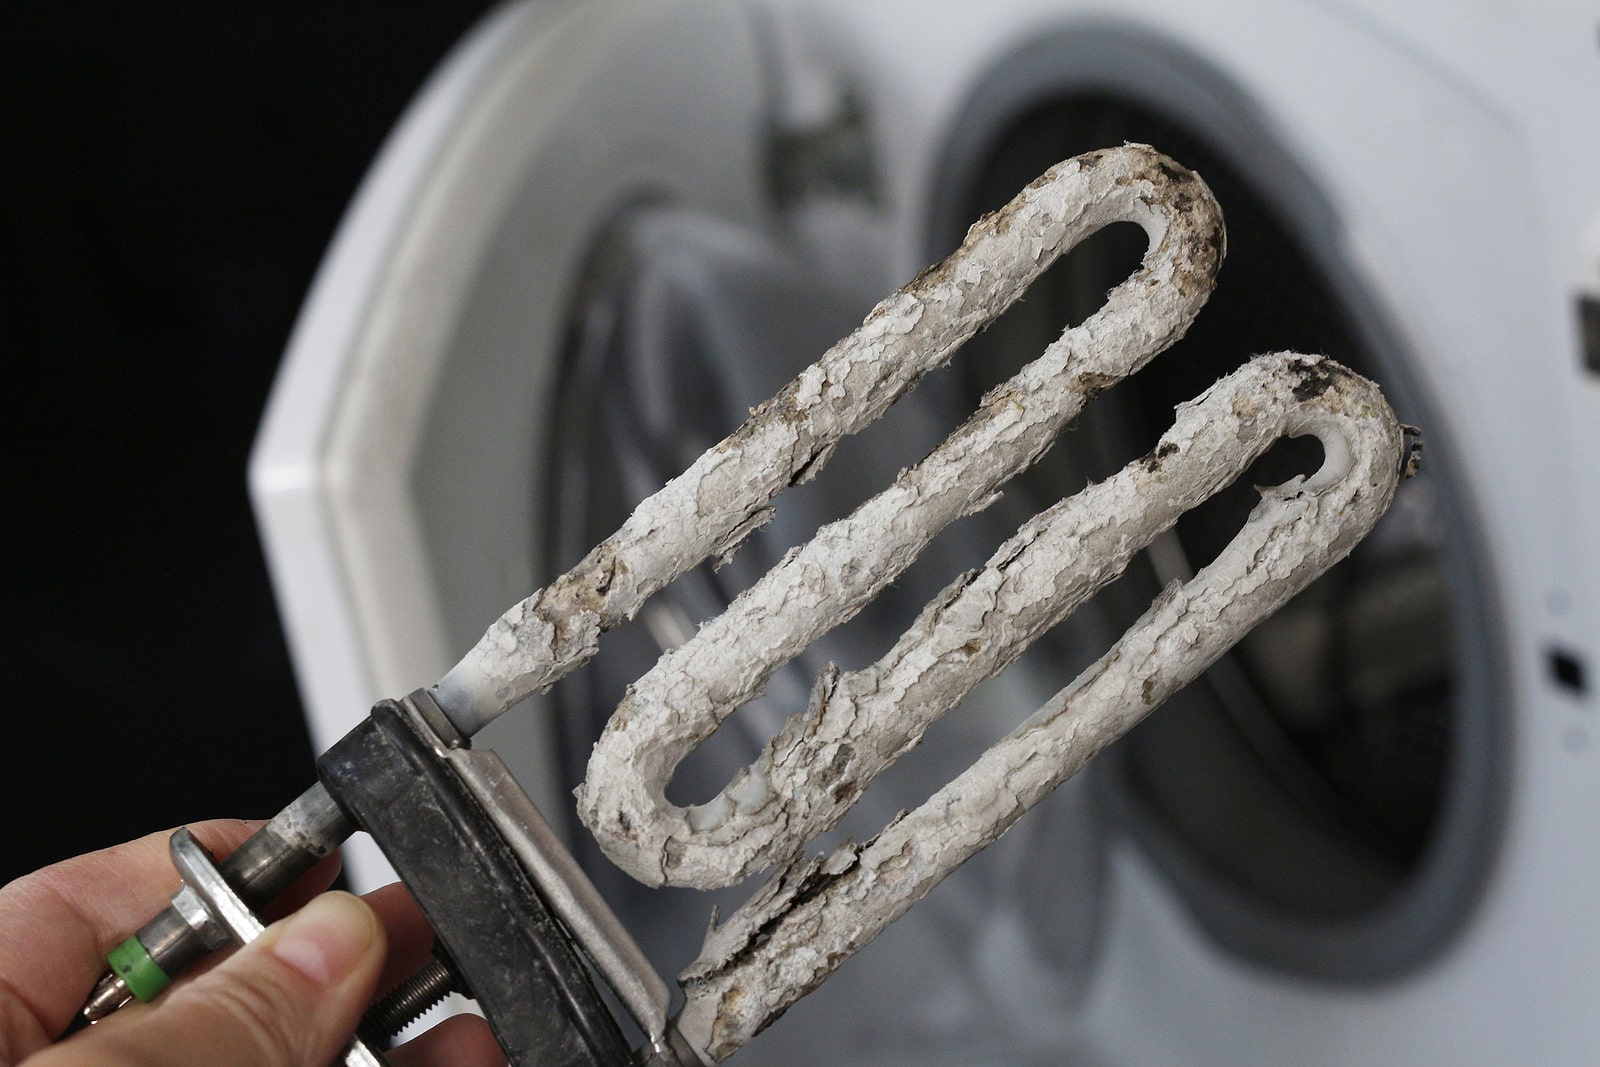
Inspect the heating element for any visible signs of damage or corrosion. Look for any loose connections or signs of burning. If you notice any issues, such as a damaged or corroded heating element, it will need to be replaced.
If the heating element appears to be in good condition, you can perform a continuity test using a multimeter to check if it is functioning properly. Set the multimeter to the ohms or resistance setting. Touch the multimeter probes to the terminals on the heating element. If the multimeter reading shows infinite resistance or no reading at all, it indicates a faulty heating element that needs to be replaced.
If the heating element passes the continuity test, it does not necessarily mean it is working optimally. It may still be functioning at a reduced capacity, causing the water to not heat up as quickly as it should. In this case, you may consider replacing the heating element for better performance.
Replacing a heating element in a hot water heater can be a challenging task and may require specialized tools. If you are not comfortable or skilled in doing so, it is recommended to seek the assistance of a professional plumber or electrician to ensure a safe and proper replacement.
Check the circuit breaker or fuse to ensure the hot water heater is receiving power. If the power supply is not the issue, check the thermostat and heating elements for any malfunctions.
Read more: How To Fill A Hot Water Heater
Step 5: Flush the Tank
Over time, sediment and mineral deposits can accumulate at the bottom of your hot water heater tank. This buildup can reduce the efficiency of the heating elements and potentially cause issues with the water temperature. Flushing the tank is an important step to maintain the performance of your hot water heater.
Before starting the flushing process, make sure to turn off the power and/or gas supply to the hot water heater.
Locate the drain valve at the bottom of the tank. It is usually a valve with a hose connection. Attach a garden hose to the drain valve and place the other end of the hose in a suitable drainage area or a bucket.
Open the pressure relief valve on top of the hot water heater to relieve any pressure in the tank. This will help prevent any potential injuries or damage during the flushing process.
Next, open the drain valve on the bottom of the tank to allow the water to flow out through the hose. Be cautious as the water may be hot and contain sediment.
Let the water flow until it appears clear and free of sediment. This may take a few minutes. If the water remains cloudy or discolored, you may need to repeat the flushing process or consider contacting a professional plumber for further assistance.
Once the water appears clear, close the drain valve and remove the hose. Make sure the pressure relief valve is closed tightly as well.
Finally, turn on the water supply to the hot water heater and allow it to fill up the tank. Once the tank is full, you can turn the power or gas supply back on.
Flushing the tank should be done periodically to prevent the buildup of sediment and maintain the efficiency of your hot water heater. It is recommended to consult your hot water heater manual or seek guidance from a professional if you are unsure about the flushing process.
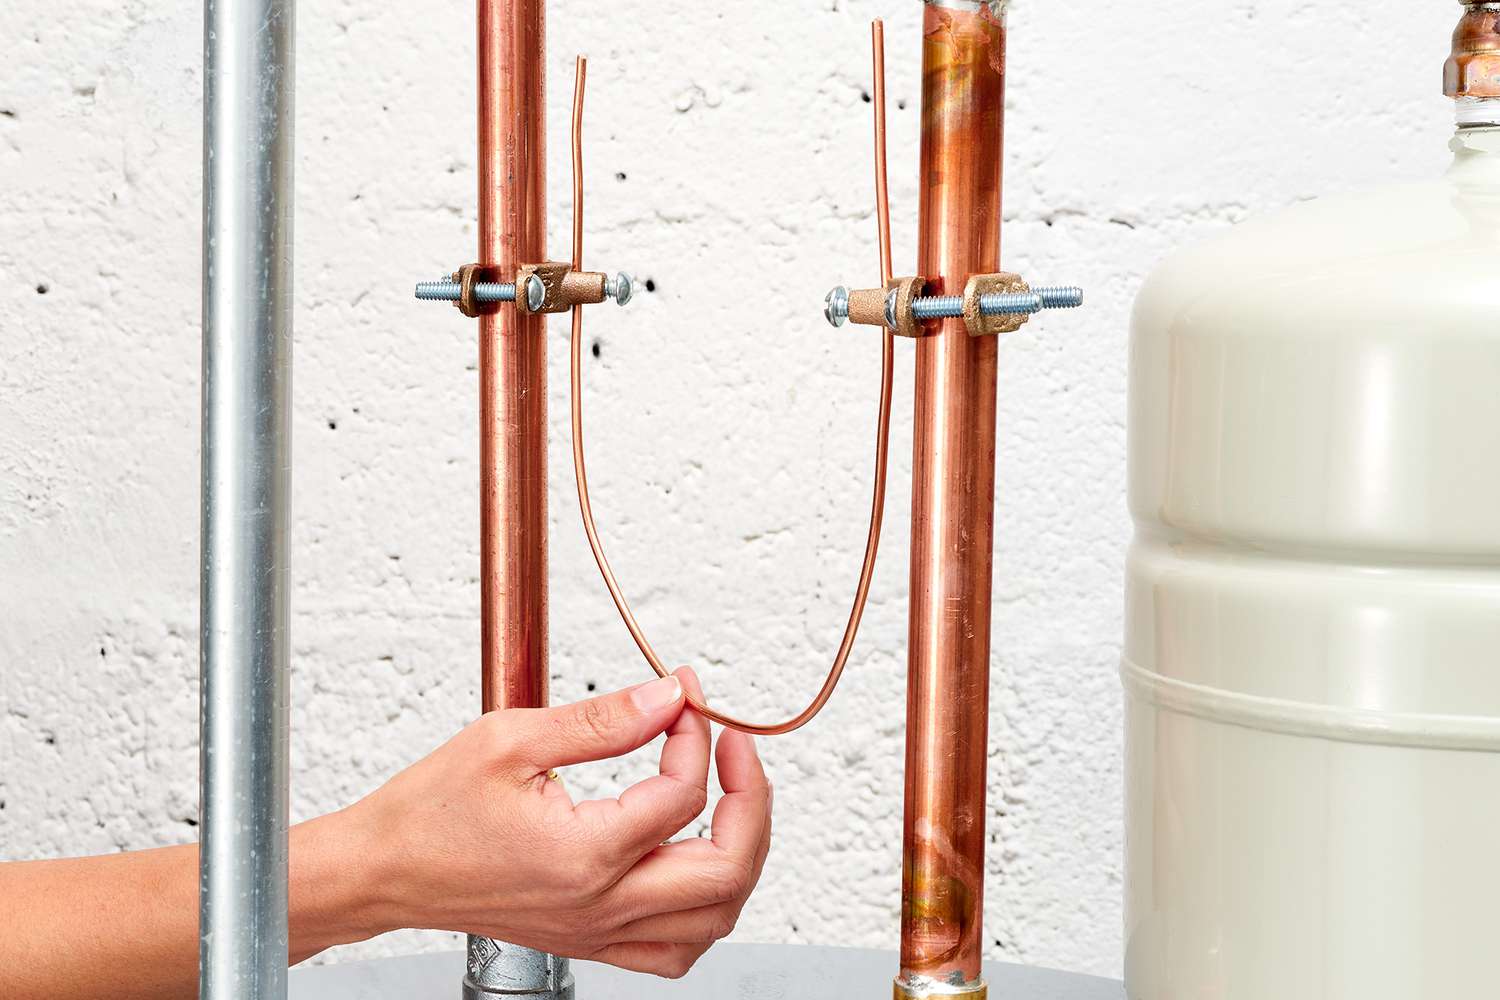
Step 6: Insulate Pipes and Tank
Insulating the pipes and tank of your hot water heater can help improve its efficiency and reduce heat loss, which can ultimately save you money on energy bills. Insulating the hot water pipes and tank is a relatively simple task that can be done by any homeowner.
Start by obtaining insulation materials specifically designed for hot water pipes and tanks. These can be found at most home improvement stores. Make sure to choose insulation with the appropriate thickness for your pipes and tank.
For pipes, begin by measuring the length of the hot water pipes from the hot water heater to the faucets in your home. Cut the insulation material to match the measured length and wrap it securely around the pipes. Use tape or zip ties to hold the insulation in place.
Focus on insulating the pipes that are exposed or located in unheated areas, such as the basement or attic. These are the areas where heat loss is more likely to occur.
For the hot water tank, measure the height and circumference of the tank to determine the amount of insulation needed. Cut the insulation material into appropriate sections and wrap it around the tank, securing it with tape or adhesive. Make sure to leave openings for access to the controls and fittings.
Insulating the tank can help maintain the water temperature and reduce standby heat loss, especially if your hot water heater is located in a colder area of your home.
By insulating both the pipes and tank, you can minimize heat loss during the water heating process, allowing your hot water heater to operate more efficiently and use less energy.
Remember to always follow the manufacturer’s instructions for installing the insulation materials and to consult a professional if you are unsure or uncomfortable with the process.
Step 7: Consider Gas Supply Issues
If you have a gas hot water heater and are experiencing issues with it, it’s important to consider potential gas supply issues as part of your troubleshooting process.
Start by checking if other gas appliances in your home, such as the stove or furnace, are working properly. If all gas appliances are affected, it could indicate a problem with the gas supply to your home. In this case, you should contact your gas supplier or utility company to report the issue and seek assistance.
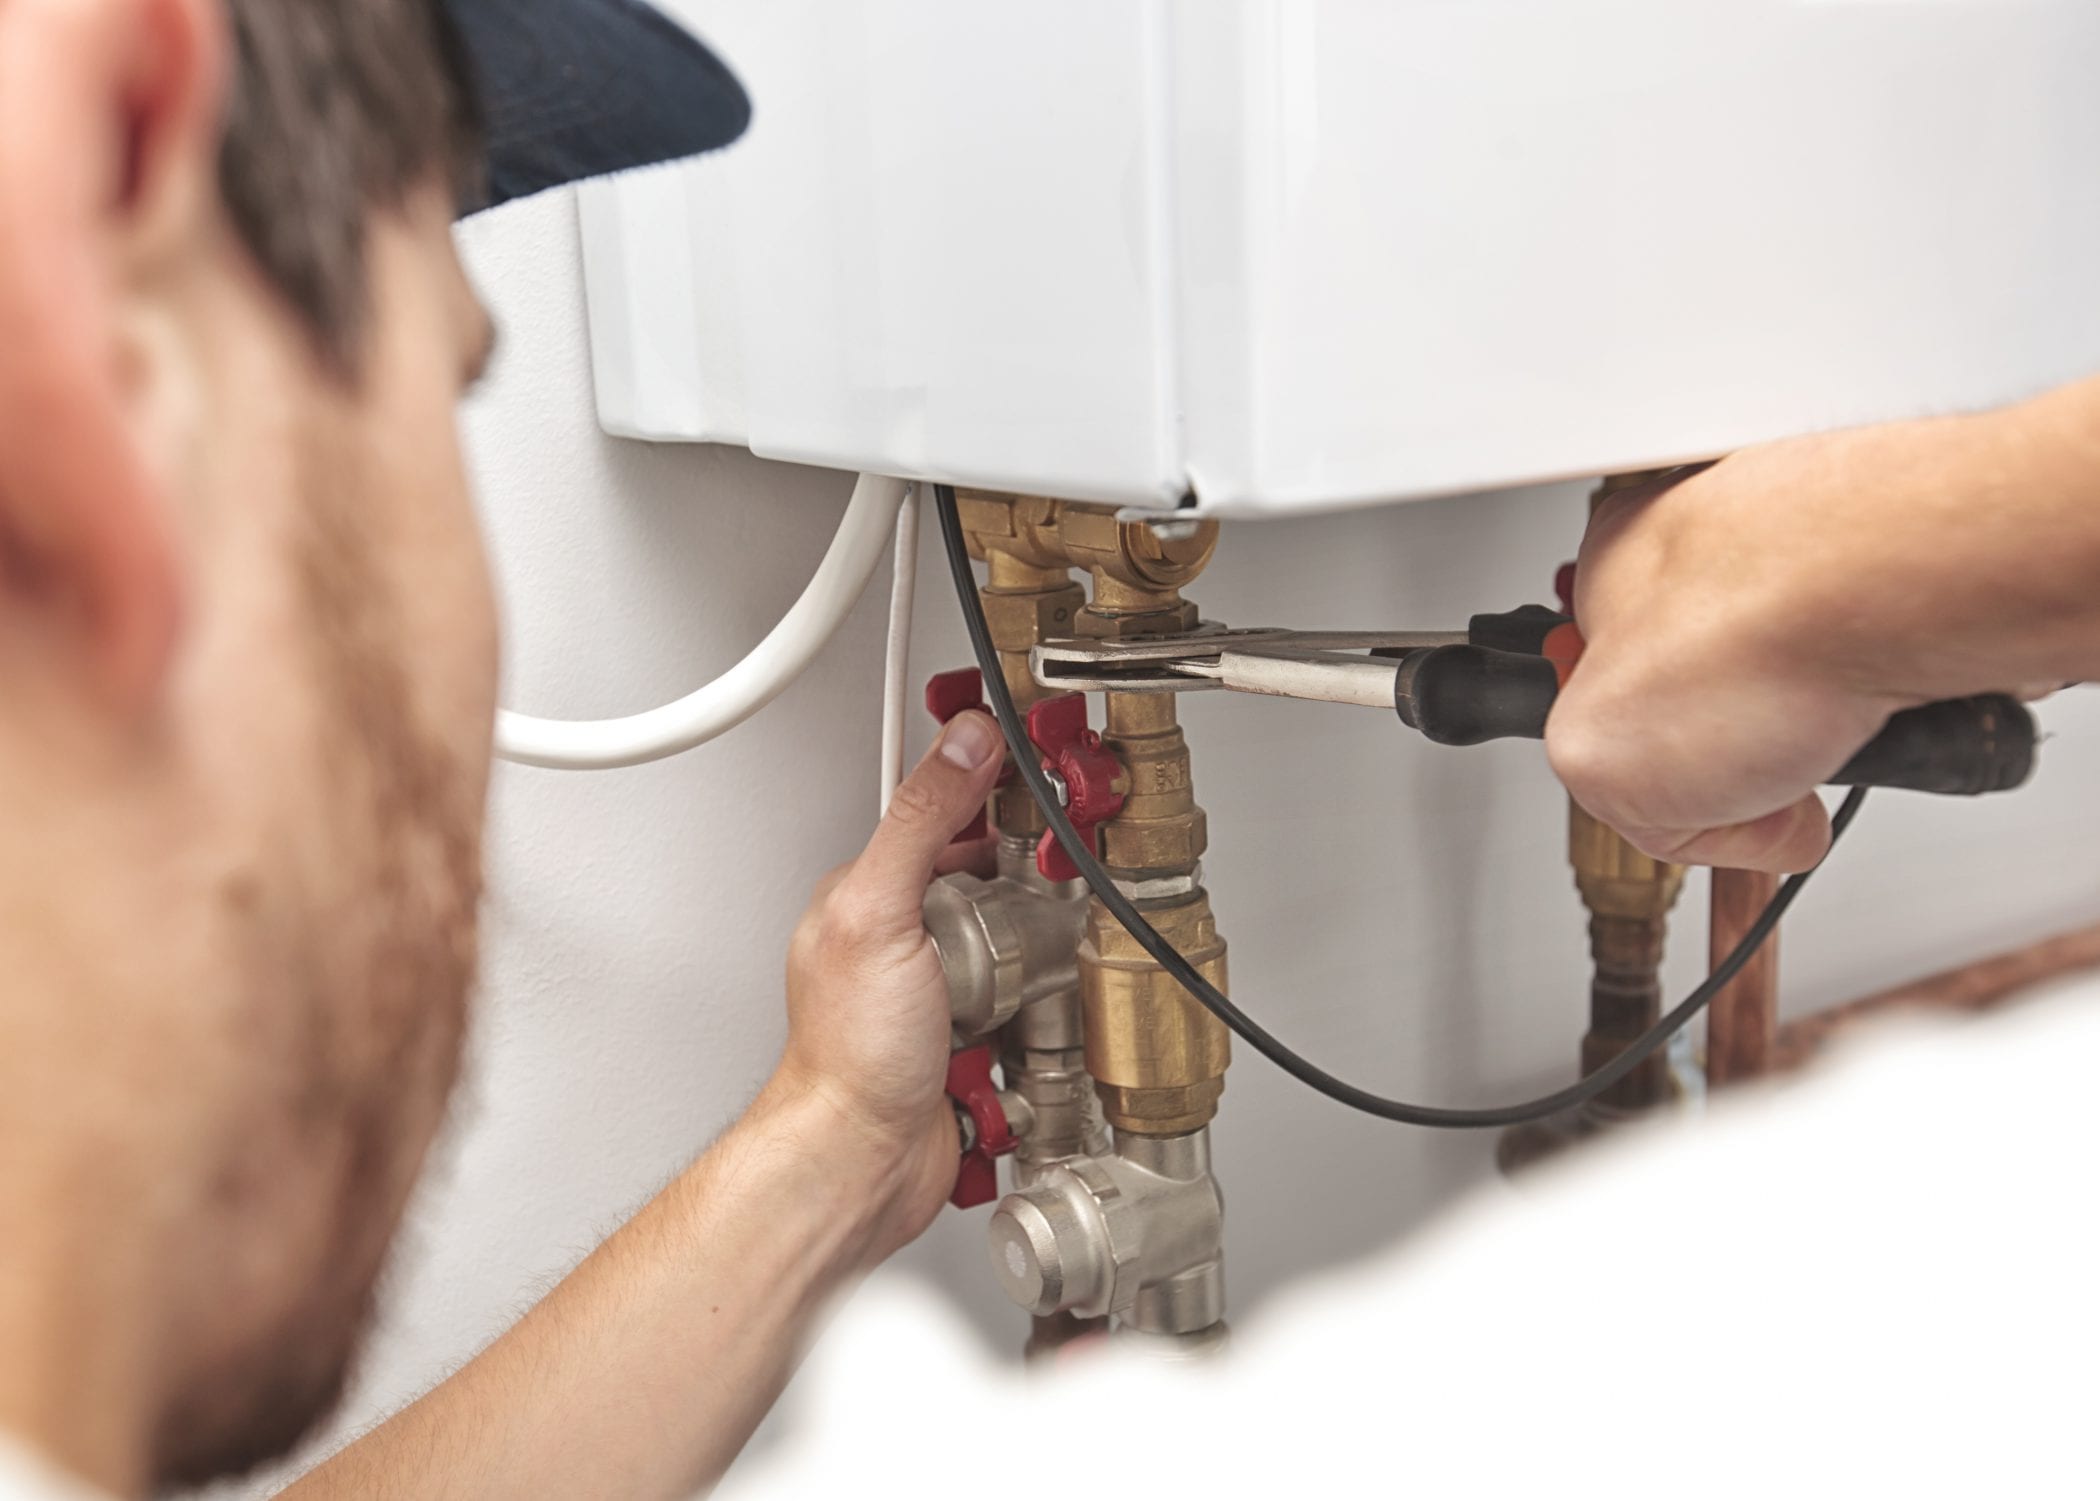
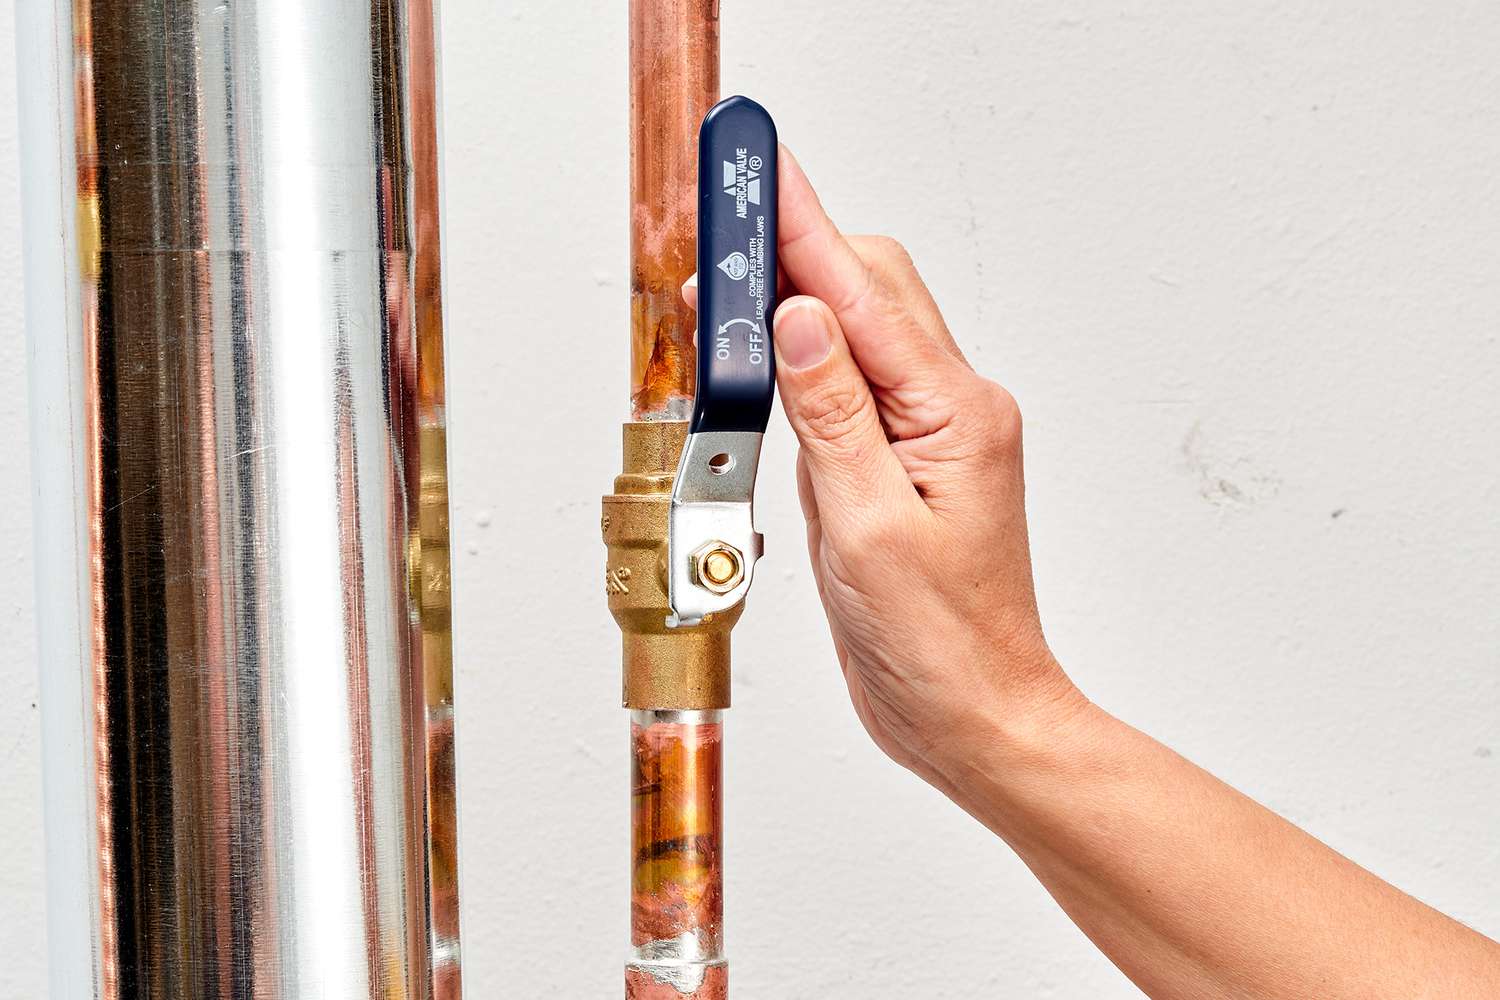
If only the hot water heater is experiencing issues, check the gas valve on the hot water heater. Ensure that it is fully open and not partially closed or turned off. Sometimes, the gas valve can accidentally be bumped or tampered with, leading to a disruption in the gas supply to the heater.
Inspect the gas line leading to the hot water heater for any signs of damage or leaks. If you notice a strong smell of gas or suspect a gas leak, immediately turn off the gas supply to the house and contact a professional gas technician or your local gas provider for immediate assistance.
If the gas valve and gas line appear to be in good condition, there may be an issue with the gas burner or ignition system. Check for any blockages or obstructions on the burner or pilot assembly. Clean or remove any debris that may be affecting the gas flow or ignition process.
It’s worth noting that working with gas appliances can be dangerous. If you’re not experienced or comfortable with troubleshooting gas supply issues, it is recommended to seek the help of a professional technician to ensure your safety and the proper resolution of the problem.
Step 8: Call a Professional if Necessary
After going through the previous troubleshooting steps, if you are still unable to resolve the issues with your hot water heater, it’s time to consider calling a professional for assistance. Some problems may require the expertise and tools of a licensed plumber or technician to diagnose and repair.
A professional can provide a thorough inspection of your hot water heater and accurately identify the root cause of the problem. They have the knowledge and experience to handle various types of hot water heaters, whether they are electric or gas-powered.
If you have attempted to troubleshoot the hot water heater yourself but are uncertain about the diagnosis or repair process, it’s always best to consult a professional. They can help prevent further damage or potential safety hazards.
It’s also important to remember that some hot water heater repairs may require specialized tools or replacement parts that are only available to professionals. Instead of attempting a complicated repair yourself, let a trained technician handle it to ensure it is done correctly.
When contacting a professional, provide them with as much information as possible regarding the issues you have encountered, any troubleshooting steps you have taken, and the model or type of your hot water heater. This will help them assess the situation and come prepared to handle the specific problem.
While it may involve an additional expense, calling a professional for assistance with your hot water heater can save you time, effort, and potentially costly mistakes. It’s a practical and reliable option to ensure the proper functioning and longevity of your hot water heater.
Read more: How To Relight A Hot Water Heater
Conclusion
Troubleshooting your hot water heater can be a frustrating task, but by following these steps, you can often identify and resolve common issues on your own. Taking the time to check for power supply, inspect the pilot light, test the thermostat, check the heating element, flush the tank, insulate pipes and tank, consider gas supply issues, and calling a professional if necessary can help keep your hot water flowing efficiently.
Remember to always prioritize safety when working with your hot water heater. Turn off the power or gas supply before performing any troubleshooting steps, and if you feel unsure or uncomfortable, it’s best to seek the assistance of a professional plumber or technician.
Regular maintenance of your hot water heater is also essential to prevent future problems. Flushing the tank, checking for leaks, and inspecting the heating elements can help extend the lifespan of your hot water heater and ensure optimal performance.
By taking the time to troubleshoot and maintain your hot water heater, you can enjoy the convenience of hot water whenever you need it. So, don’t let a malfunctioning hot water heater dampen your daily routine—put these troubleshooting steps into practice and get your hot water flowing again.
Frequently Asked Questions about How To Troubleshoot Hot Water Heater
Was this page helpful?
At Storables.com, we guarantee accurate and reliable information. Our content, validated by Expert Board Contributors, is crafted following stringent Editorial Policies. We're committed to providing you with well-researched, expert-backed insights for all your informational needs.

0 thoughts on “How To Troubleshoot Hot Water Heater”