Home>Articles>How To Install Hot Water Heater Expansion Tank
Articles
How To Install Hot Water Heater Expansion Tank
Modified: January 19, 2024
Learn how to properly install a hot water heater expansion tank in this informative article. Find step-by-step instructions and helpful tips.
(Many of the links in this article redirect to a specific reviewed product. Your purchase of these products through affiliate links helps to generate commission for Storables.com, at no extra cost. Learn more)
Introduction
Installing a hot water heater expansion tank is a crucial step in ensuring the optimal functionality and longevity of your water heating system. Expansion tanks help to alleviate the pressure buildup that occurs within the water heater as the water heats up and expands. Without an expansion tank, this increased pressure can lead to a range of issues, including leaks, water hammer, and even damage to the water heater itself.
In this comprehensive guide, we will walk you through the step-by-step process of installing a hot water heater expansion tank. By following these instructions and utilizing the right tools and materials, you can successfully install an expansion tank and protect your water heating system.
Before we dive into the installation process, it’s important to note that hot water heater expansion tanks are typically required in closed-loop plumbing systems or when a backflow preventer or pressure reducing valve is installed. If you are unsure whether your system requires an expansion tank or if you are unfamiliar with plumbing work, it is highly recommended to consult a professional plumber.
Now that you understand the importance of installing an expansion tank and the prerequisite knowledge, let’s get started with the step-by-step installation process.
Key Takeaways:
- Proper installation of a hot water heater expansion tank is essential for maintaining water heating system functionality and preventing issues caused by pressure buildup. Following manufacturer’s guidelines and consulting a professional plumber if needed is crucial.
- Prioritizing safety, selecting an ideal location, securing the expansion tank, and checking for leaks are key steps in the installation process. Regular pressure monitoring and adjustments ensure long-term efficiency and system protection.
Read more: What Is An Expansion Tank On A Water Heater
Step 1: Gather the Tools and Materials
Before you begin the installation process, it’s essential to have all the necessary tools and materials on hand. This will not only streamline the installation but also ensure that you have everything you need to complete the job successfully. Here is a list of the tools and materials you will need:
- Adjustable wrench
- Pipe wrench
- Teflon tape
- Thread sealant
- Expansion tank
- Correct size of brass nipple
- Copper adapter
- Pipe cutter (if necessary)
- Bucket or towels for potential leaks
By having these tools and materials ready, you can avoid any unnecessary interruptions or delays during the installation process.
It’s important to note that the specific tools and materials required may vary depending on the configuration of your water heating system and the type of expansion tank you are installing. Always refer to the manufacturer’s instructions and guidelines for the recommended tools and materials for your particular expansion tank model.
Once you have gathered all the necessary tools and materials, you’re ready to proceed to the next step – turning off the power and water supply to your water heater.
Step 2: Turn Off the Power and Water Supply
Before you begin any work on your water heater, it is essential to turn off the power and water supply. This will ensure your safety and prevent any potential damage.
Start by locating the circuit breaker that controls the power supply to your water heater. It is usually labeled on the breaker panel. Flip the switch to the “off” position to cut off the power. If you are unsure which breaker controls the water heater, it is always best to turn off the main power supply to the house.
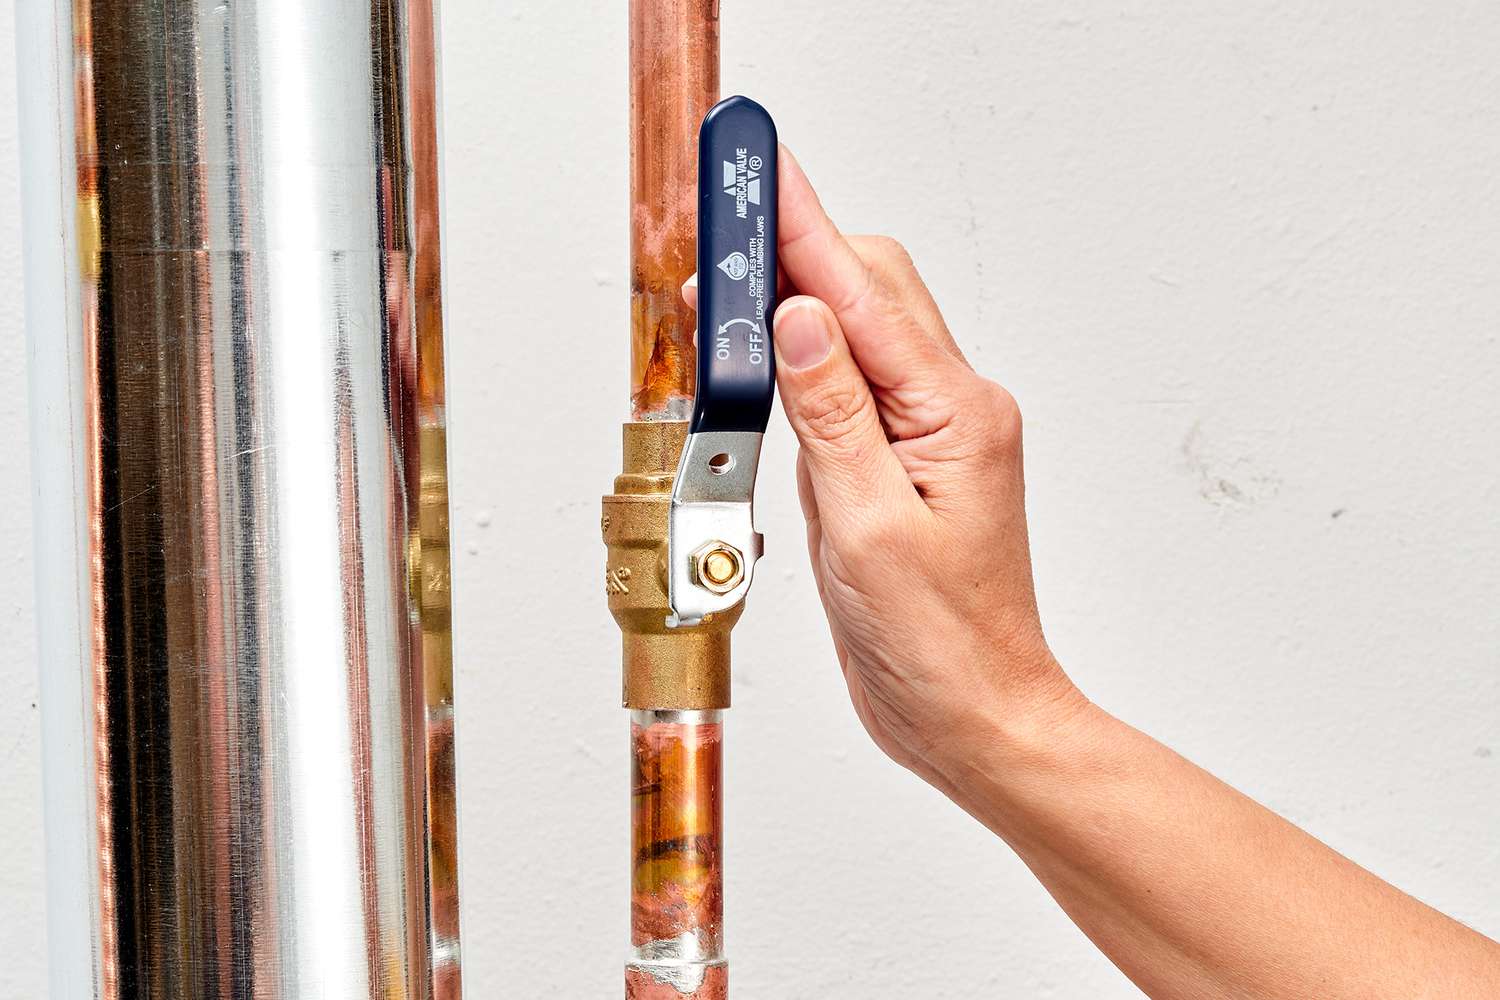
Next, locate the cold water supply valve that feeds water into the water heater. The valve is typically located near the top of the water heater and should have a handle that can be turned clockwise to close it. Turn the valve to the closed position to stop the water flow.
Once the power and water supply have been turned off, open a hot water faucet somewhere in your home to relieve the pressure in the system. This will allow any remaining hot water to drain out and prevent any potential accidents or injuries during the installation process.
Take a few minutes to ensure that both the power and water supply are completely off. Double-check that the circuit breaker for the water heater is in the “off” position and verify that no water is flowing from any faucets or fixtures connected to the water heater.
Now that the power and water supply are turned off, you can move on to the next step, determining the ideal location for the expansion tank.
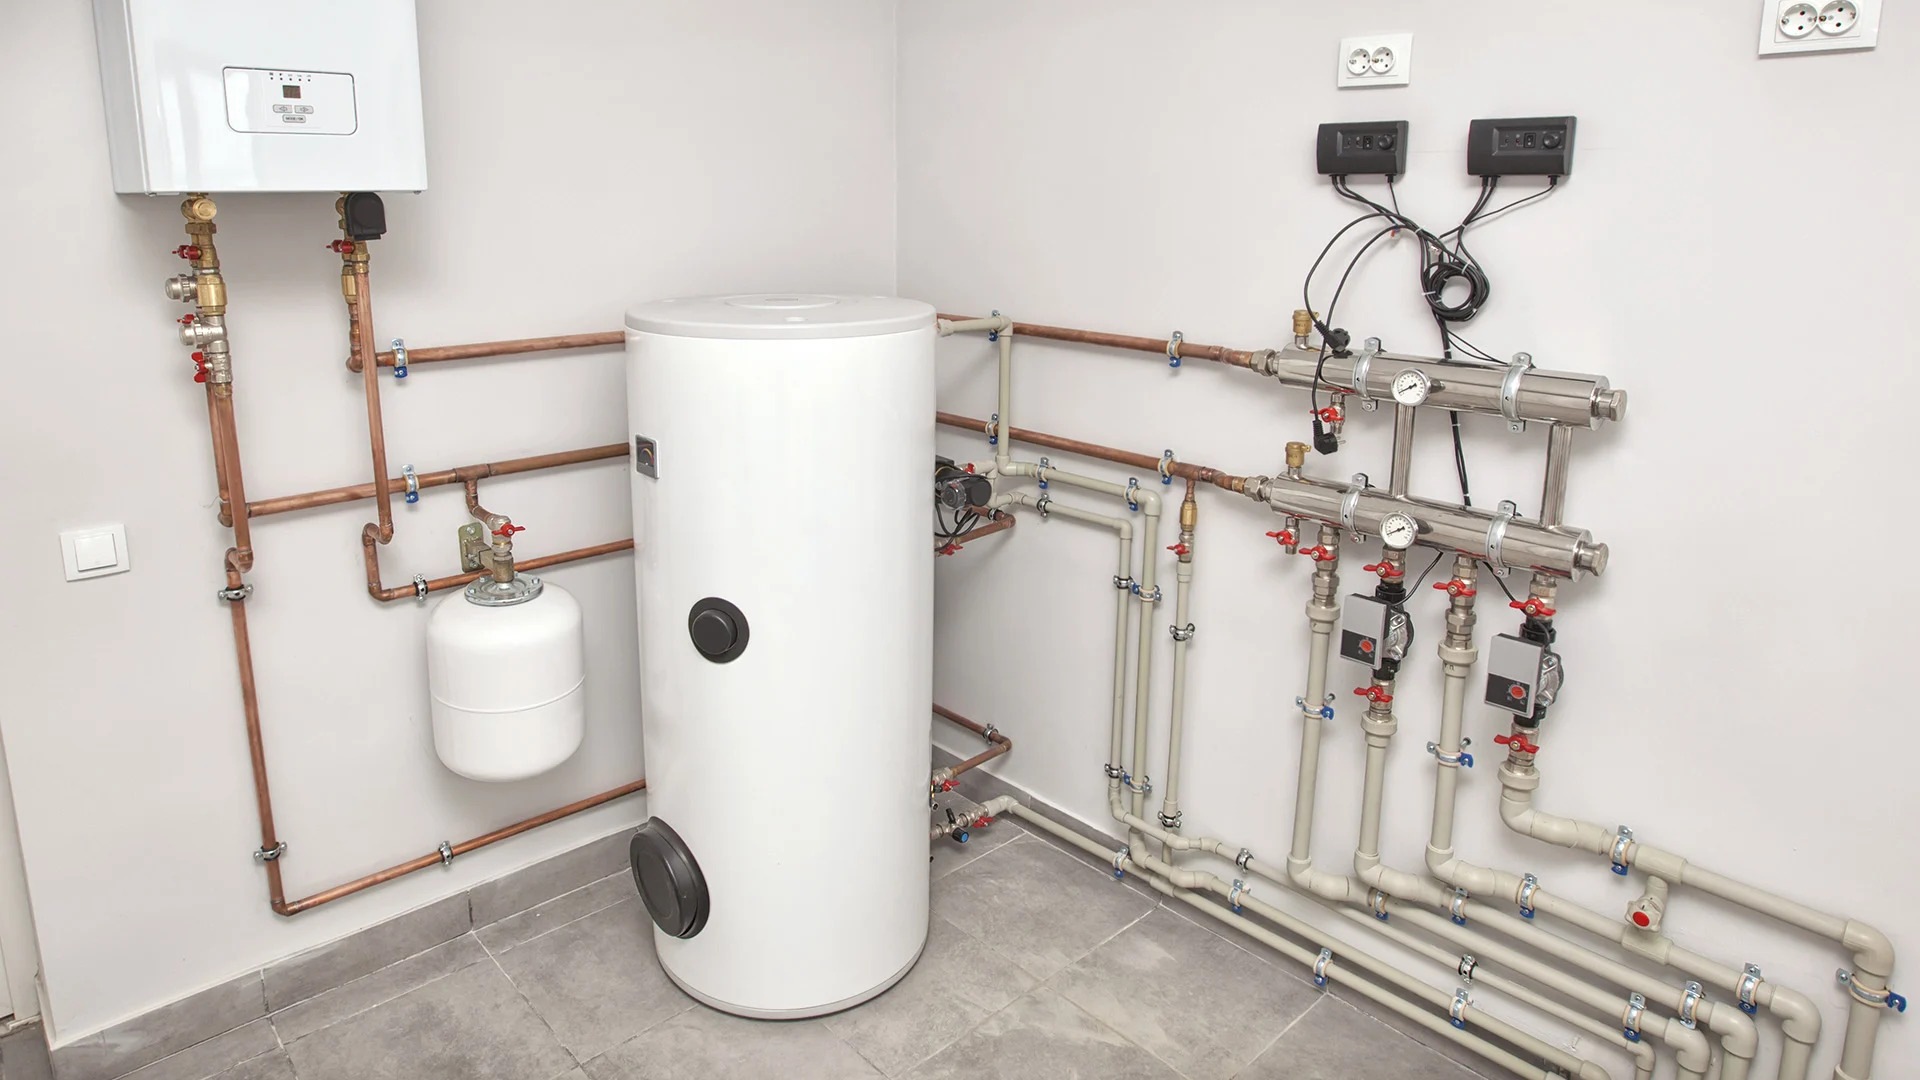
Step 3: Determine the Ideal Location for the Expansion Tank
Choosing the right location for your expansion tank is crucial for its proper functioning and ease of installation. The expansion tank should be installed on the cold water supply line, preferably close to the water heater.
Here are a few factors to consider when determining the ideal location:
- Proximity to the water heater: The expansion tank should be installed as close to the water heater as possible. This allows for efficient operation by minimizing the length of the plumbing lines between the tank and the heater.
- Accessibility: Ensure that the location you choose provides easy access to the expansion tank. This will make future maintenance or replacement easier.
- Orientation: The expansion tank should be installed in a vertical position. This allows for proper air cushioning, which is essential for its functionality.
- Support: Make sure that the chosen location provides adequate support for the weight of the expansion tank. The tank will have some weight, particularly when filled with water.
Keep in mind that the expansion tank should be installed on the cold water supply line, typically above the water heater. It should be connected between the shut-off valve and the water inlet of the water heater.
Once you have determined the ideal location for your expansion tank, you can proceed to the next step, preparing the area for installation.
Step 4: Prepare the Area for Installation
Before you begin installing the expansion tank, it’s important to prepare the area to ensure a smooth and efficient installation process. Here’s what you need to do:
- Clear the space: Remove any objects or obstacles near the chosen installation location. This will provide you with ample space to work and maneuver during the installation.
- Protect the surrounding area: Place a bucket or towels underneath the area where you will be working. This will help catch any potential leaks or spills during the installation process.
- Inspect the cold water supply line: Take a moment to inspect the cold water supply line for any signs of damage or leaks. If you notice any issues, such as cracks or corrosion, it’s best to address them before proceeding with the installation.
- Turn off any nearby valves: If there are any valves near the installation area, such as shut-off valves or isolation valves, ensure that they are tightly closed. This will prevent water from flowing while you are working on the installation.
By properly preparing the area, you can minimize potential complications and ensure a successful installation. Once you have completed these preparations, you are now ready to move on to the next step – installing the T&P valve.
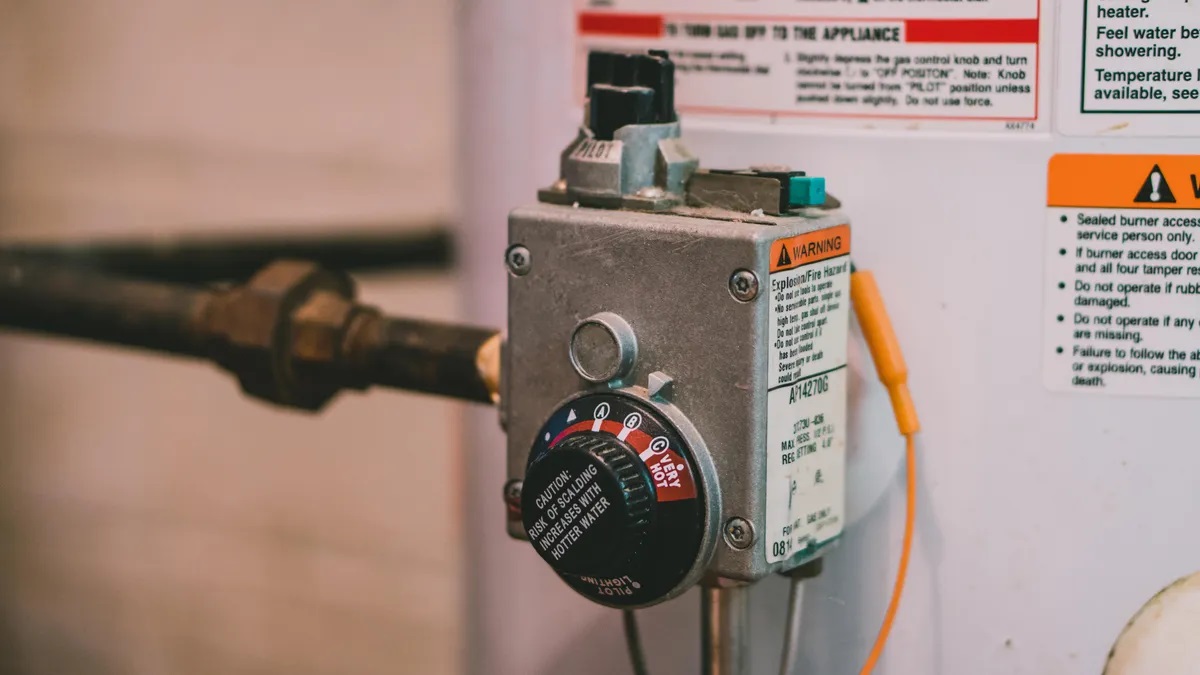
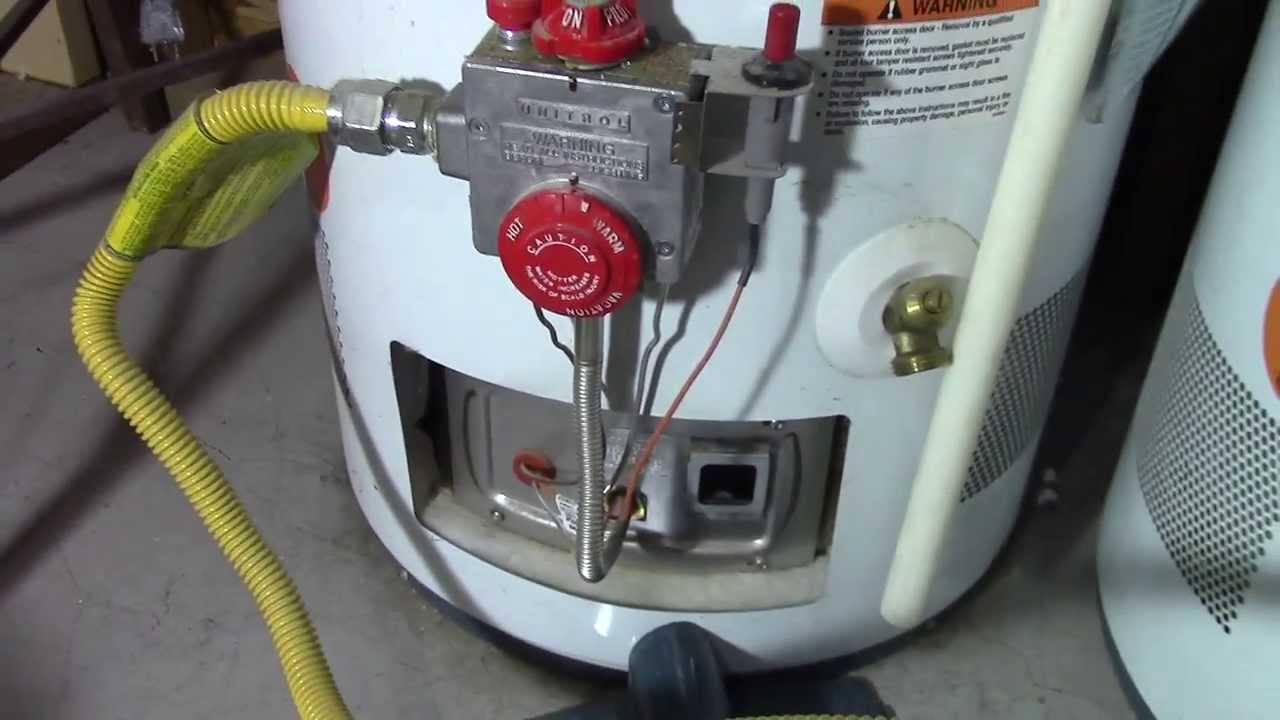
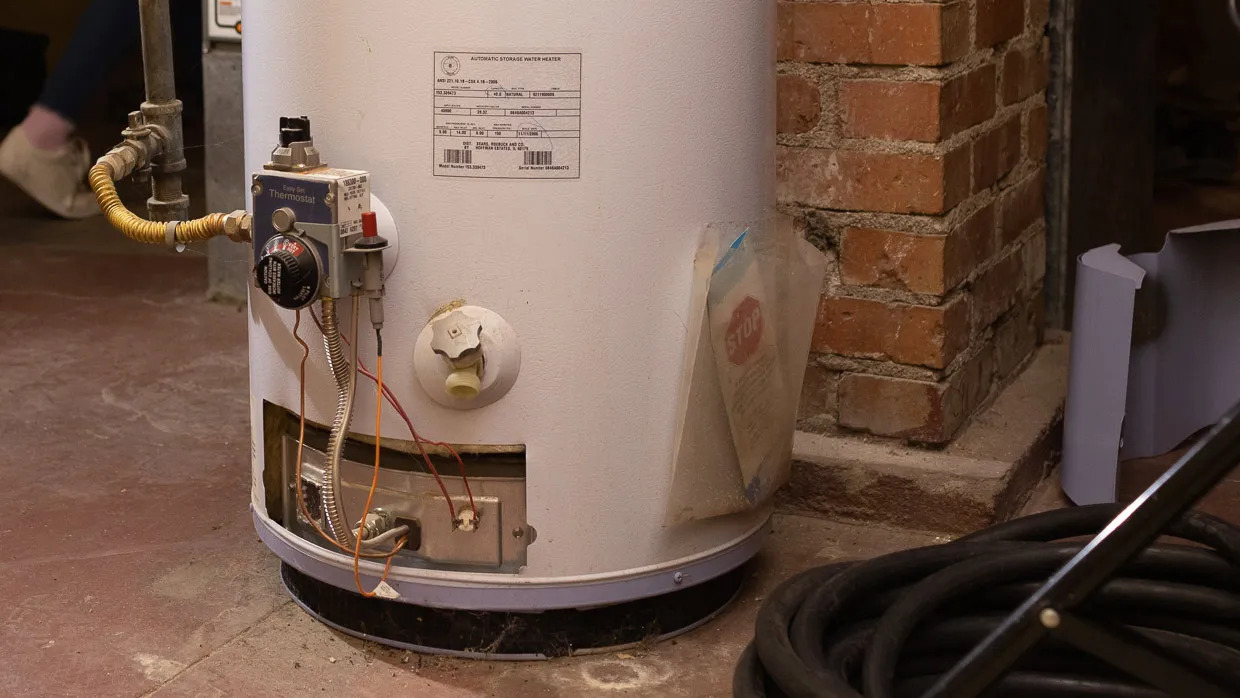
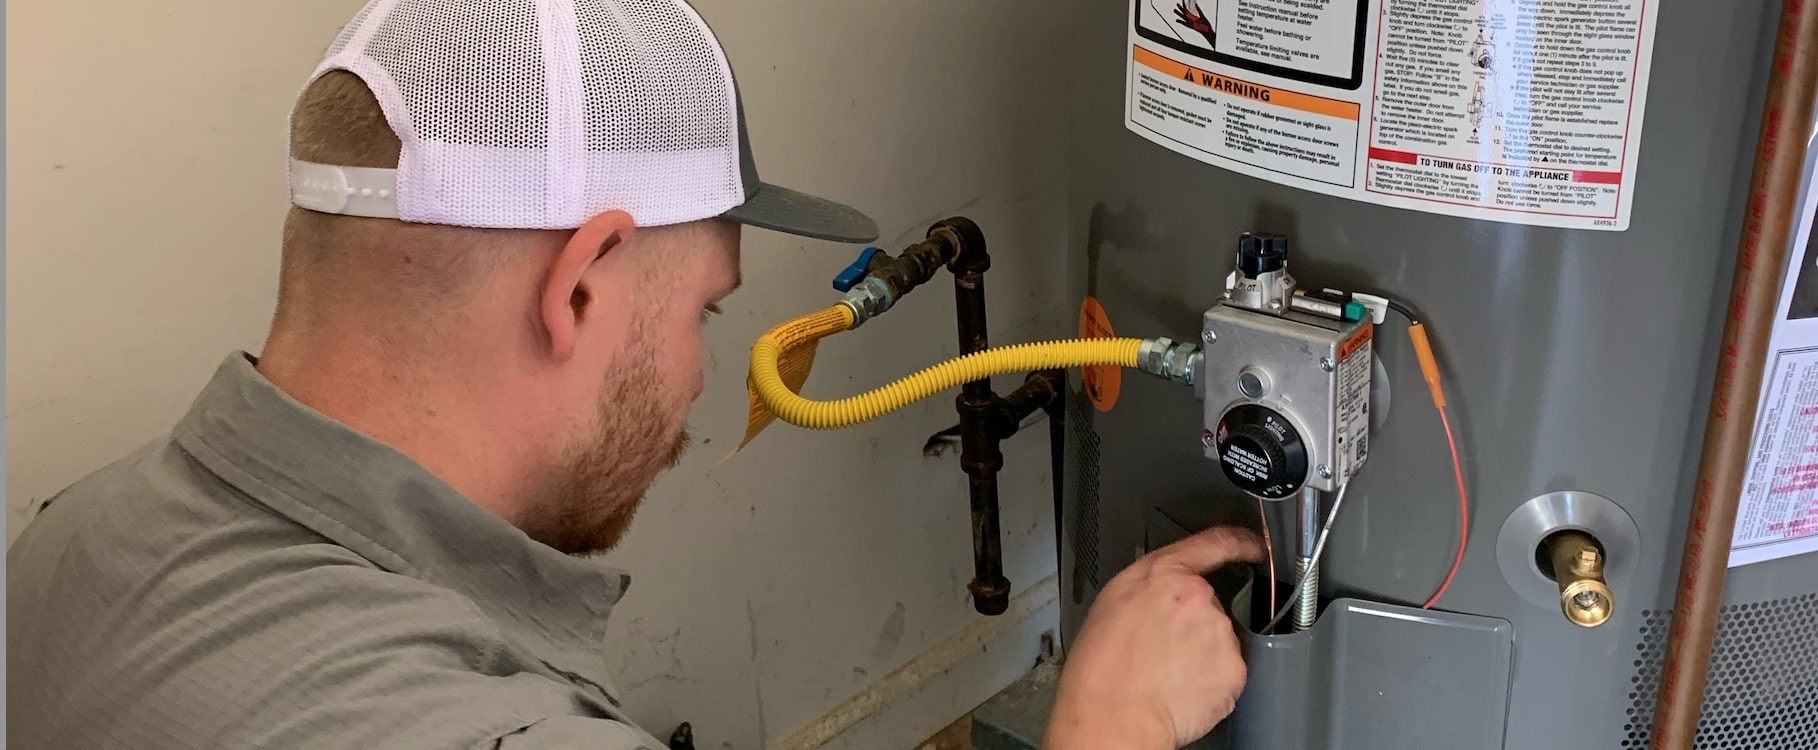
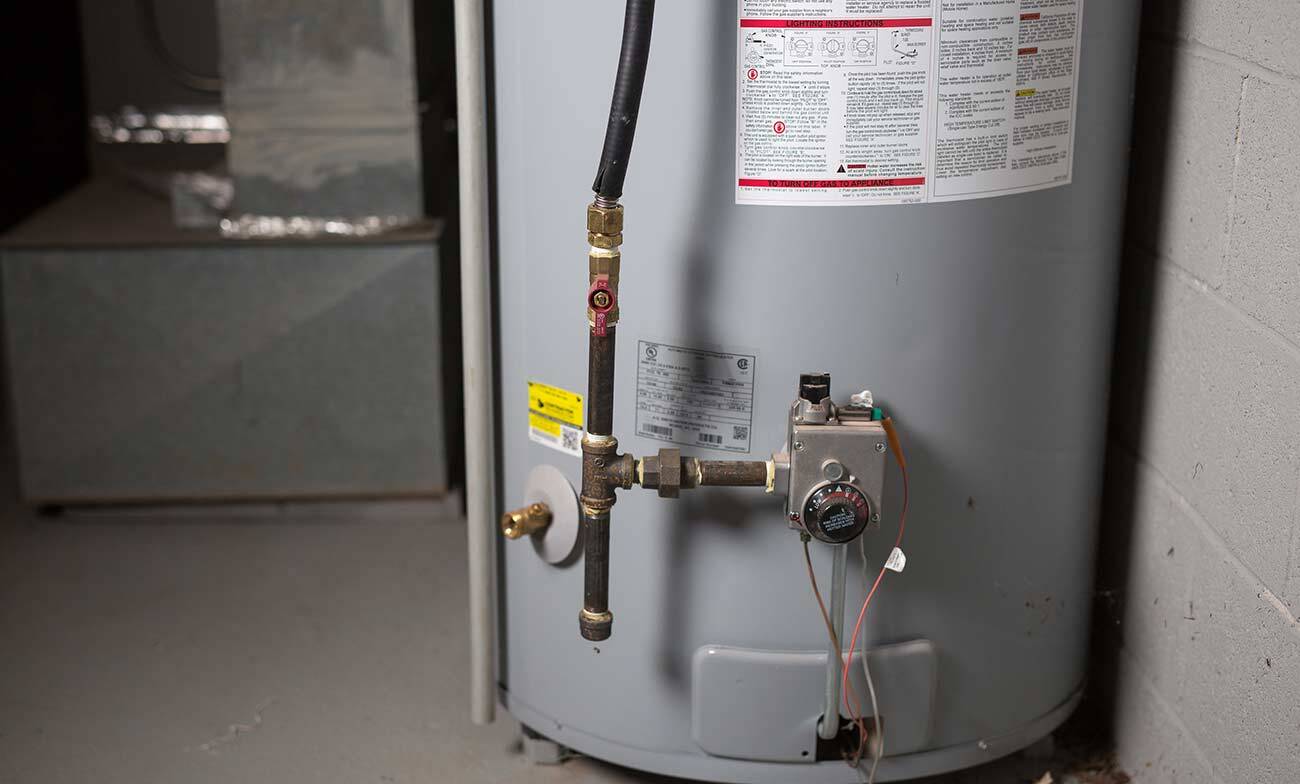
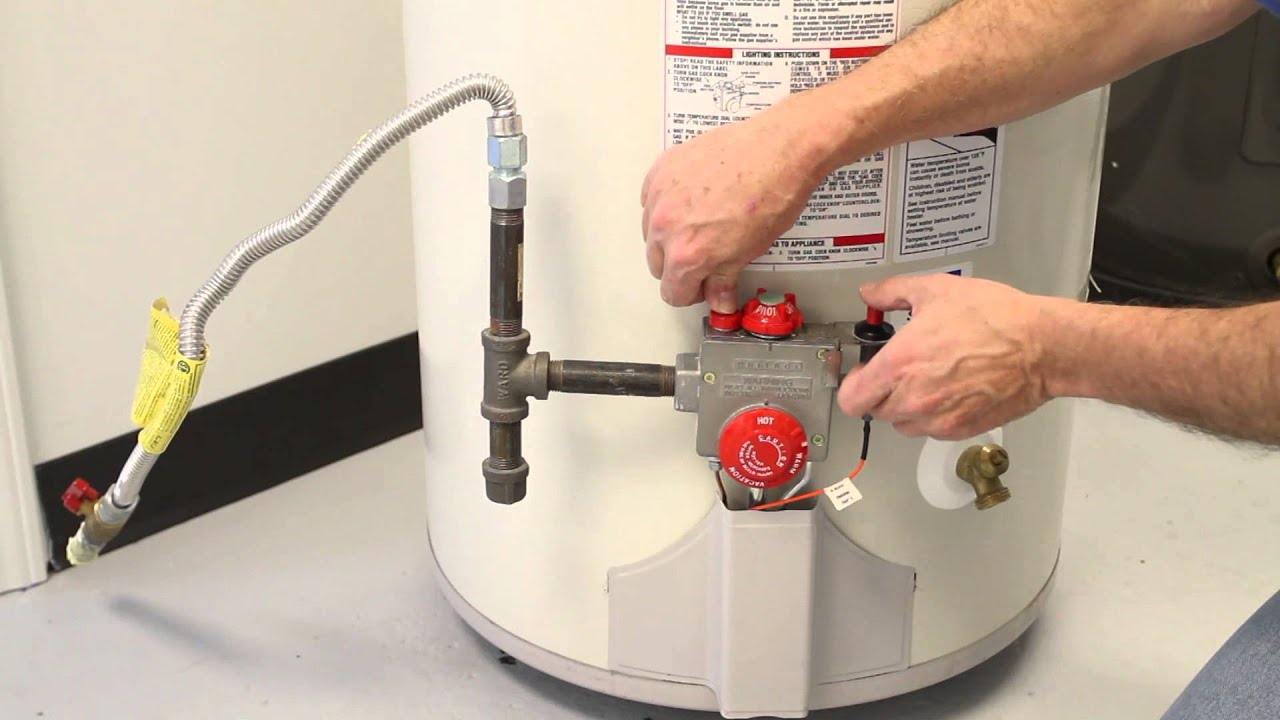
Step 5: Install the T&P Valve
The Temperature and Pressure (T&P) valve is an essential safety component of the water heating system. It helps regulate the temperature and pressure inside the water heater, preventing it from exceeding safe levels. Before installing the expansion tank, you need to install the T&P valve. Here’s how:
- Locate the T&P valve opening: On the top or side of the water heater, you will find a designated opening for the T&P valve. It is typically marked and threaded.
- Wrap the T&P valve threads: Use Teflon tape to wrap the threaded portion of the T&P valve. This will create a watertight seal when the valve is installed.
- Thread the T&P valve into the opening: Gently screw the T&P valve into the opening on the water heater. Use an adjustable wrench to tighten it securely, but avoid over-tightening, as it may damage the valve or the water heater.
- Position the discharge pipe: Attach a discharge pipe to the T&P valve’s discharge port. The pipe should be made of a suitable material, such as copper or PEX plastic, and should be directed towards a suitable drain or outside the house to safely channel any released water.
- Test the T&P valve: Before proceeding, it’s important to test the T&P valve to ensure it is functioning correctly. Open a nearby hot water faucet and lift the lever on the T&P valve. Water should flow out of the discharge pipe. Release the lever, and the flow should stop. If the valve doesn’t operate properly, you may need to replace it.
Once the T&P valve is securely installed and functioning correctly, you are now ready to move on to the next step – connecting the expansion tank to the cold water supply line.
When installing a hot water heater expansion tank, make sure to turn off the water supply and release the pressure from the system before connecting the tank. This will prevent any accidents or damage to the tank during installation.
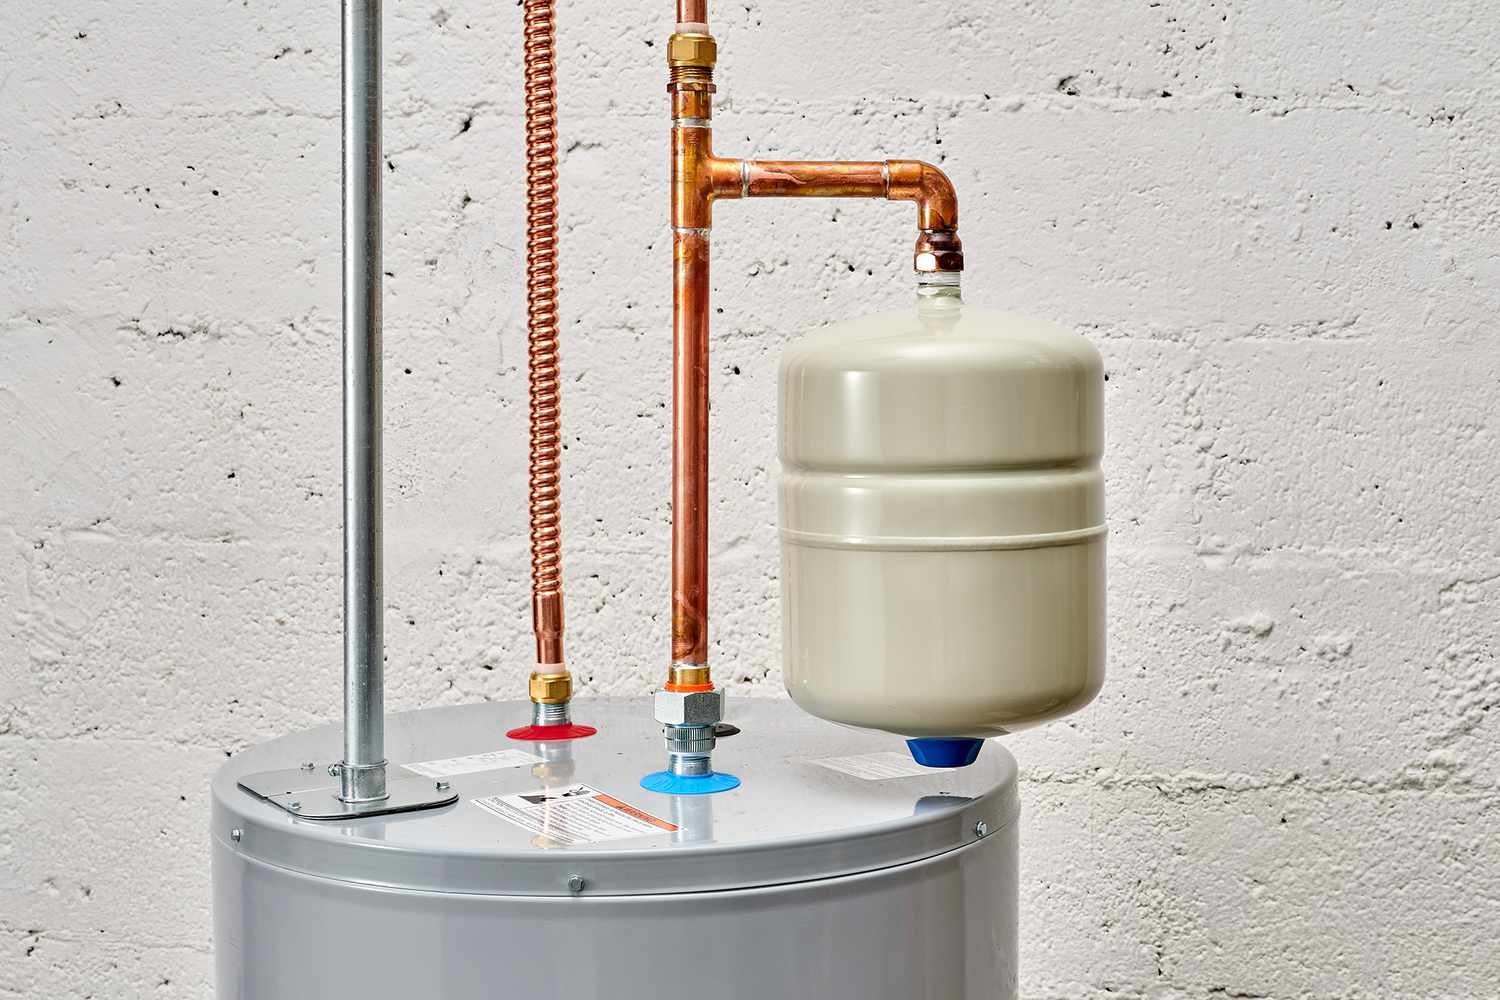
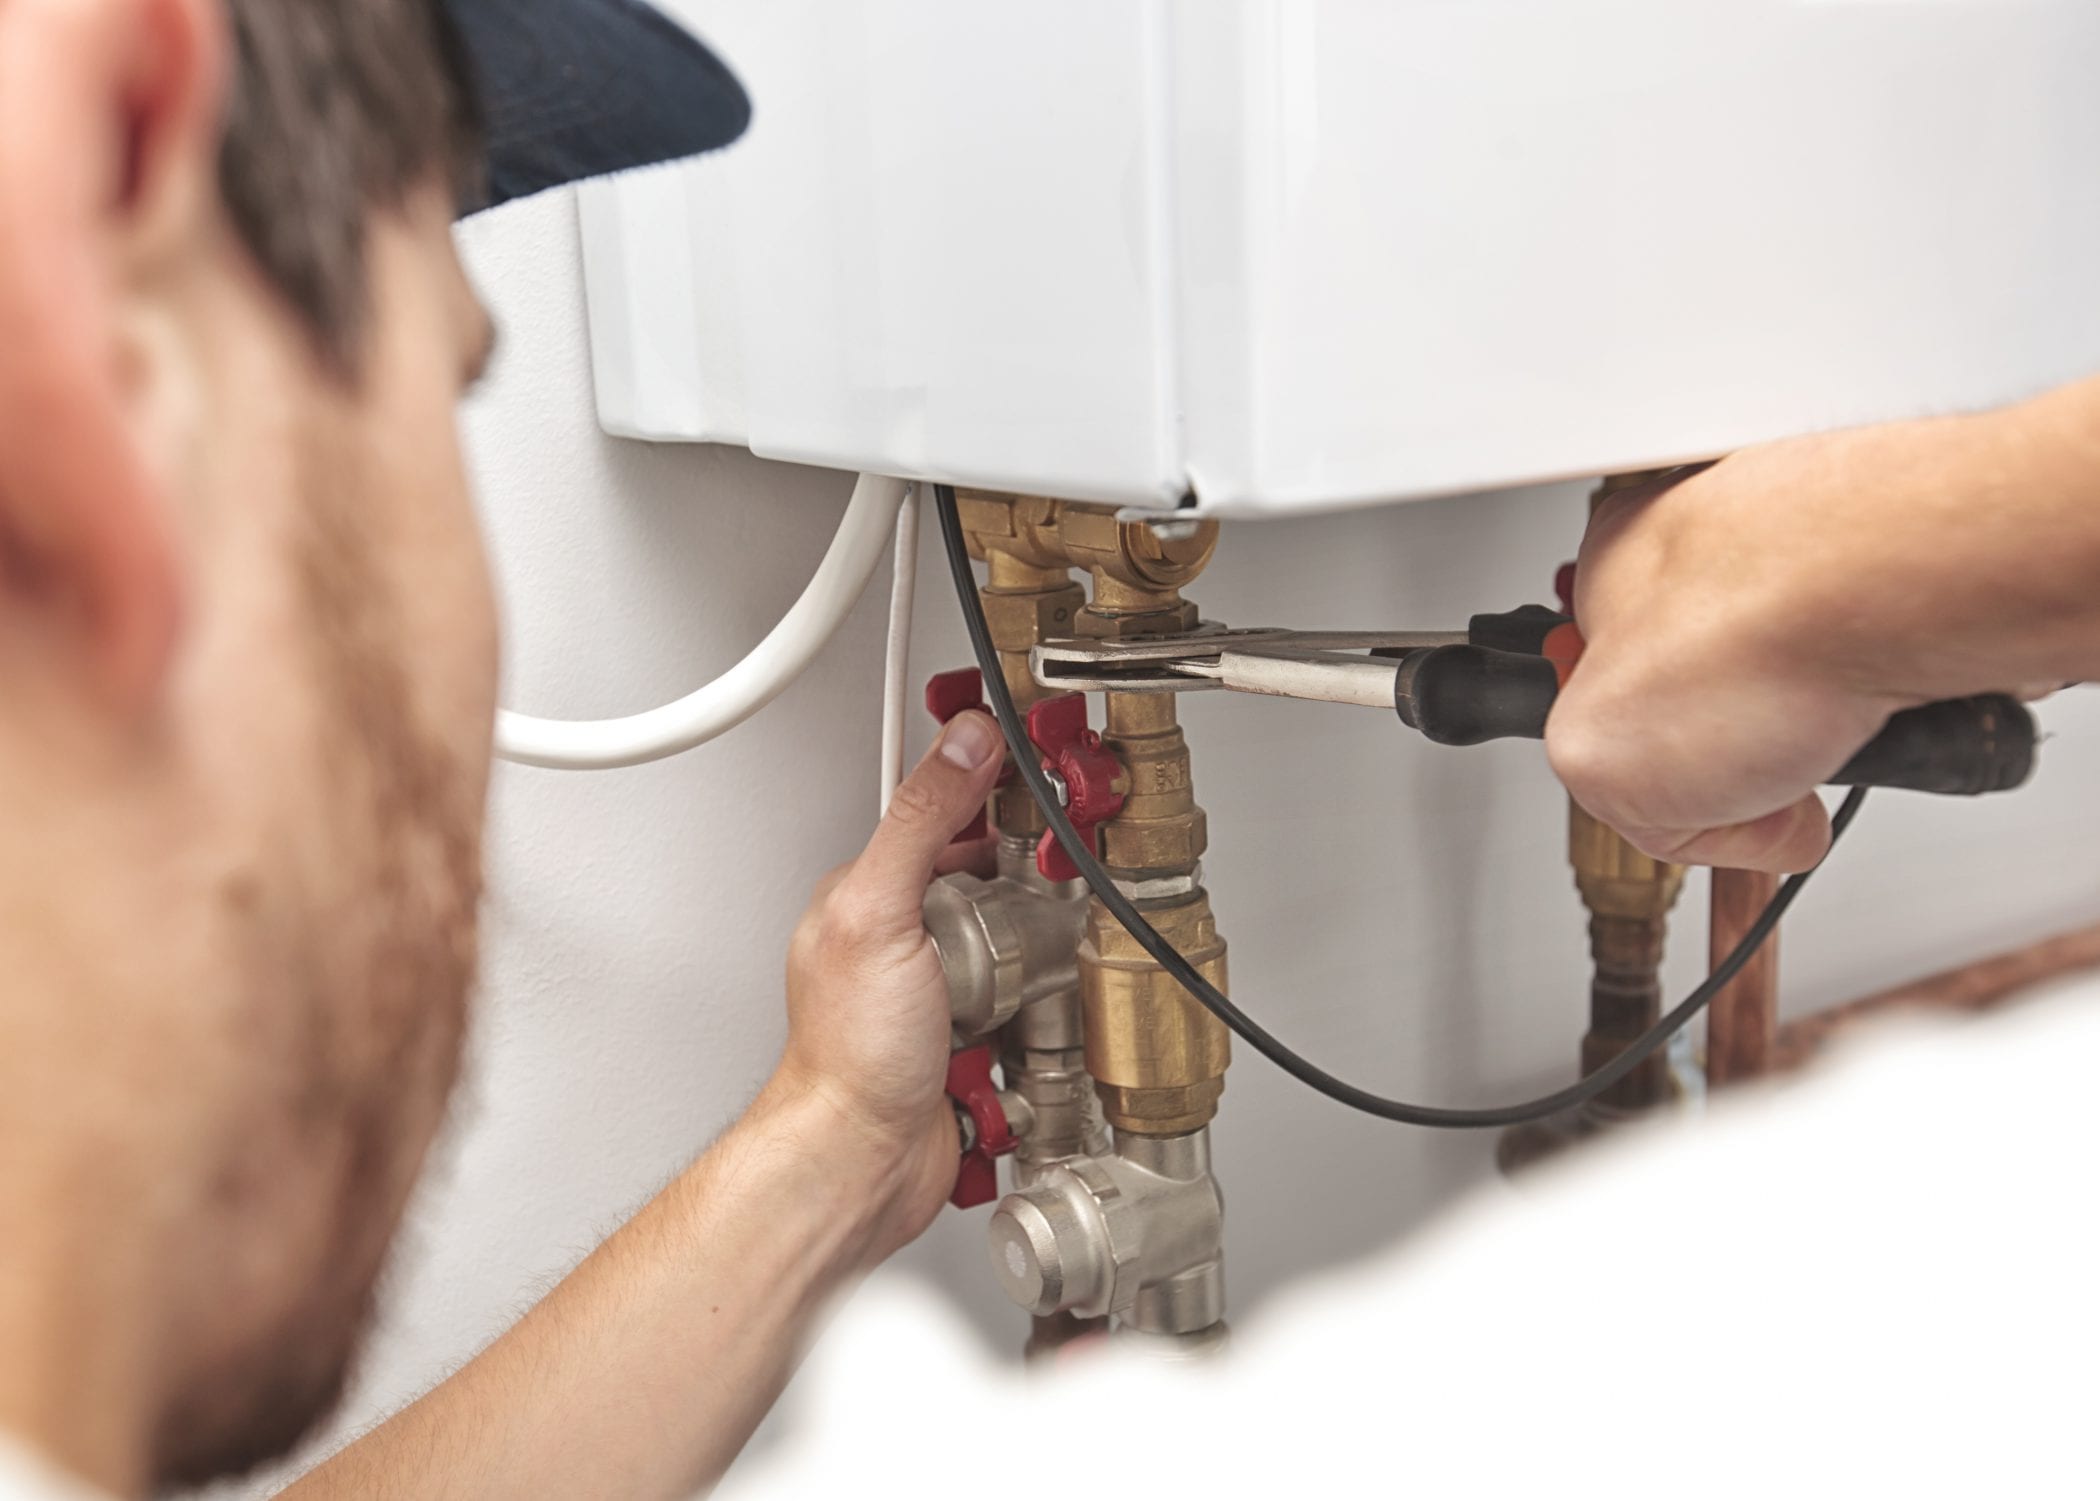
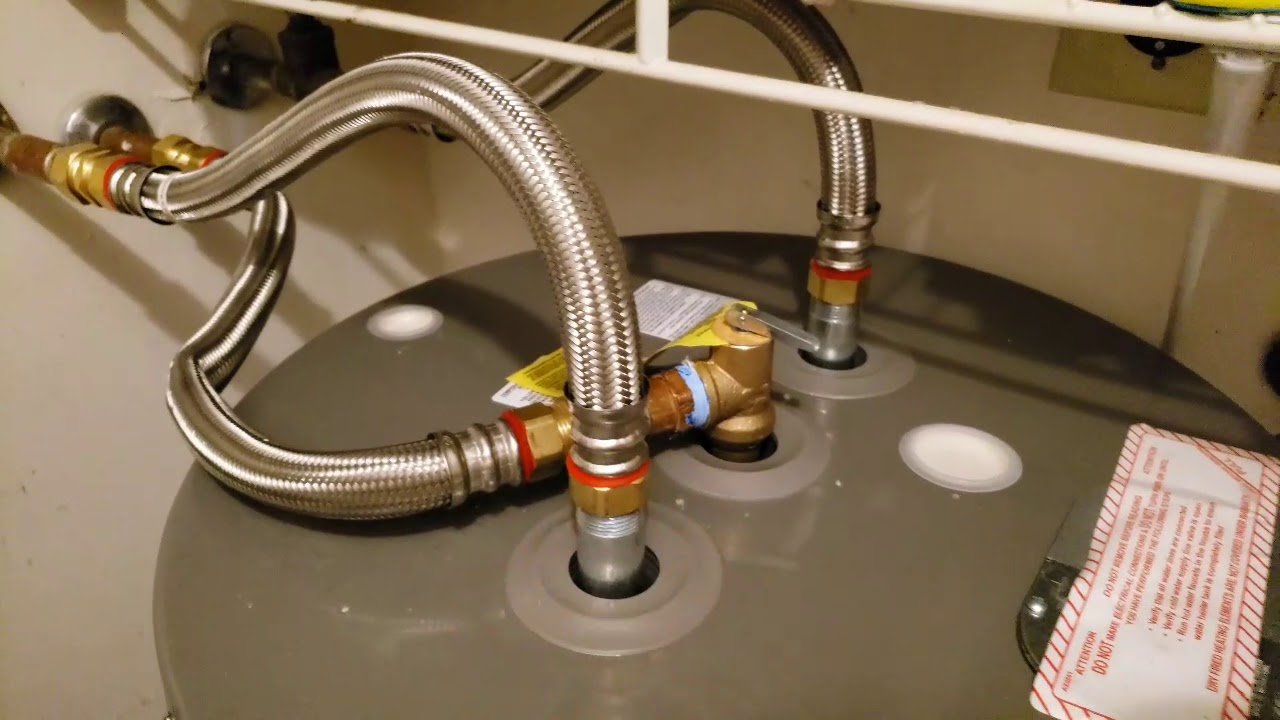
Step 6: Connect the Expansion Tank to the Cold Water Supply Line
Now that the T&P valve is installed, it’s time to connect the expansion tank to the cold water supply line. Here’s how you can do it:
- Measure and cut the cold water supply line: Using a pipe cutter, measure and cut the cold water supply line where you plan to install the expansion tank. Make sure to leave enough room for the expansion tank and necessary fittings.
- Prepare the pipe ends: Before proceeding, make sure to deburr and clean the cut ends of the pipe. This will ensure a proper and secure connection.
- Apply thread sealant or Teflon tape: To create a watertight connection, apply a thin layer of thread sealant or wrap Teflon tape around the male threads of the expansion tank’s connection point.
- Connect the expansion tank: Screw the expansion tank onto the cold water supply line. Use an adjustable wrench to tighten the connection securely. Make sure not to overtighten, as it may cause damage.
- Connect the adapter and nipple: Depending on the configuration of your water heater and expansion tank, you may need to install a brass nipple and a copper adapter to ensure a proper connection. Screw the nipple and adapter into the appropriate openings on the tank and water heater, using thread sealant or Teflon tape as needed.
It’s crucial to follow the manufacturer’s instructions and guidelines for the proper installation of the expansion tank and any required fittings or adapters.
Once you have securely connected the expansion tank to the cold water supply line, you can proceed to the next step – securing the expansion tank.
Step 7: Secure the Expansion Tank
Securing the expansion tank in place is a crucial step to ensure its stability and prevent any potential damage or leaks. Here’s how you can secure the expansion tank:
- Choose the mounting method: There are generally two common methods for securing the expansion tank – using straps or brackets. The specific method may depend on the type and model of your expansion tank.
- Locate the mounting points: Refer to the manufacturer’s instructions to determine the specific mounting points on the expansion tank. Typically, there will be designated holes or brackets for attaching the straps or brackets.
- Position the straps or brackets: Place the straps or brackets around the expansion tank, ensuring a snug fit. Make sure they are positioned in a way that will securely hold the tank in place without putting excessive pressure on the tank itself.
- Screw or tighten the straps or brackets: Use screws or other fasteners provided with the kit to secure the straps or brackets to the wall or other appropriate support structure. Make sure they are fastened tightly to prevent any movement or dislodging of the expansion tank.
It’s essential to follow the manufacturer’s instructions and guidelines for the specific mounting method and requirements of your expansion tank model.
Once the expansion tank is securely fastened in place, you can proceed to the next step – turning on the water supply and checking for leaks.
Step 8: Turn On the Water Supply and Check for Leaks
With the expansion tank securely installed, it’s time to turn on the water supply and check for any potential leaks. Follow these steps to do so:
- Ensure all nearby valves are closed: Before turning on the water supply, ensure that any nearby valves, such as shut-off valves or isolation valves, are tightly closed. This will prevent water from flowing prematurely.
- Slowly turn on the water supply valve: Begin by slowly opening the cold water supply valve that feeds into the water heater. This gradual approach helps prevent sudden water pressure surges and potential damage.
- Check for leaks: Once the water supply is turned on, closely inspect the connections between the expansion tank and the cold water supply line, as well as any other fittings or connections you made during the installation process. Look for any signs of leakage, such as water dripping or pooling.
- Monitor for a period of time: After checking for immediate leaks, allow the water to flow through the system for a few minutes. Keep a close eye on the expansion tank and surrounding areas to ensure there are no hidden leaks that may appear after some time.
If you notice any leaks during this process, it’s important to turn off the water supply immediately and address the issue. Depending on the severity of the leak, you may need to re-tighten connections or make necessary adjustments. If you are unsure of how to address the leak, it’s best to consult a professional plumber for assistance.
Once you have completely checked for and resolved any leaks, you can proceed to the next step – adjusting the pressure in the expansion tank.
Read more: How To Maintain Hot Water Heater
Step 9: Adjust the Pressure in the Expansion Tank
After successfully installing the expansion tank and ensuring there are no leaks, it’s essential to adjust the pressure inside the tank. This adjustment will help optimize its performance. Here’s how you can adjust the pressure:
- Locate the pressure valve: On the top or side of the expansion tank, there is a pressure valve or valve stem. This valve allows you to adjust the pressure inside the tank.
- Use a pressure gauge: Attach a pressure gauge to the valve to measure the current pressure inside the tank. The pressure should ideally match the recommended pressure range specified by the manufacturer.
- Adjust the pressure: If the pressure inside the tank is too high, you can reduce it by using a flathead screwdriver or similar tool to turn the valve stem counterclockwise. Conversely, if the pressure is too low, you can increase it by turning the valve stem clockwise.
- Check the pressure regularly: It’s important to periodically check the pressure inside the expansion tank, as it can fluctuate over time. Regularly monitor the pressure and make necessary adjustments to maintain optimal performance.
It’s crucial to follow the manufacturer’s instructions and recommendations for the correct pressure range for your specific expansion tank model. Improper pressure adjustment can impact the tank’s functionality and may lead to issues with your water heating system.
Finally, once you have adjusted the pressure, you have successfully completed the installation of the hot water heater expansion tank. Enjoy the benefits of improved pressure regulation and system protection!
If you are unsure about adjusting the pressure or have any concerns about the performance of the expansion tank, it is always recommended to consult a professional plumber for assistance.
By following these installation steps and properly maintaining the expansion tank, you can ensure the efficient and long-lasting operation of your hot water heating system.
Conclusion
Installing a hot water heater expansion tank is a crucial step in maintaining the optimal functionality and longevity of your water heating system. By following the step-by-step guide outlined in this article and gathering the necessary tools and materials, you can successfully install an expansion tank and protect your system from potential issues caused by high pressure.
Throughout the installation process, it’s important to prioritize safety by turning off the power and water supply and taking precautions to prevent leaks and accidents. By carefully selecting the ideal location for the expansion tank and securing it in place, you can ensure its stability and proper operation.
Checking for leaks and adjusting the pressure within the expansion tank are critical steps that should not be overlooked. Regularly monitoring the pressure and making necessary adjustments will help maintain the tank’s efficiency and protect your water heating system.
Remember, if you are unsure about any aspect of the installation or encounter any difficulties, it’s always best to consult a professional plumber for assistance. They have the expertise and experience to handle the installation with precision and ensure it is done correctly.
By installing a hot water heater expansion tank, you are taking a proactive step to enhance the safety and efficiency of your water heating system. With proper installation and maintenance, you can enjoy reliable hot water and peace of mind for years to come.
Frequently Asked Questions about How To Install Hot Water Heater Expansion Tank
Was this page helpful?
At Storables.com, we guarantee accurate and reliable information. Our content, validated by Expert Board Contributors, is crafted following stringent Editorial Policies. We're committed to providing you with well-researched, expert-backed insights for all your informational needs.


0 thoughts on “How To Install Hot Water Heater Expansion Tank”