Home>Articles>How To Find Roof Pitch With A Speed Square In A Plumb Bob
Articles
How To Find Roof Pitch With A Speed Square In A Plumb Bob
Modified: August 16, 2024
Learn how to find the roof pitch using a speed square and plumb bob with informative articles on this topic.
(Many of the links in this article redirect to a specific reviewed product. Your purchase of these products through affiliate links helps to generate commission for Storables.com, at no extra cost. Learn more)
Introduction
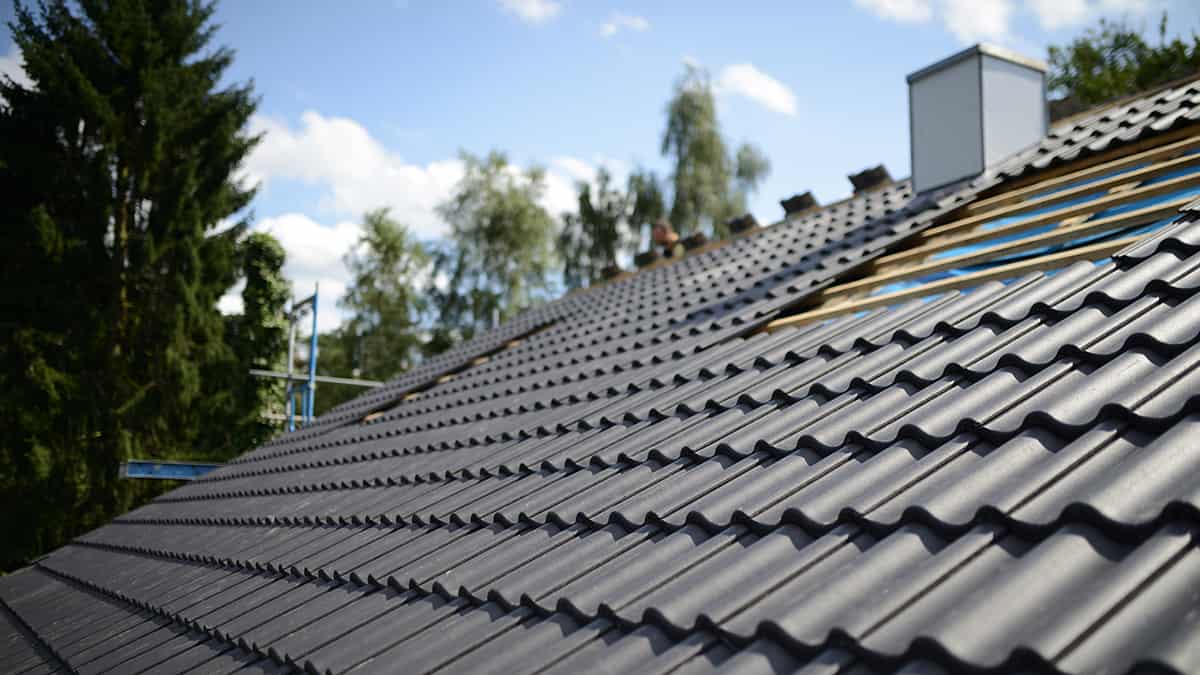
When it comes to roofing projects, understanding the roof pitch is essential for proper installation and planning. The roof pitch is the steepness or slope of the roof, and it is measured by the rise over the run. Knowing the roof pitch is crucial for determining the best roofing materials, estimating the amount of materials needed, and ensuring proper drainage.
In this article, we will guide you on how to find the roof pitch using a speed square and a plumb bob. These tools are commonly used by professionals and enthusiasts in the roofing industry to accurately measure the roof pitch. So, let’s dive in and learn how to find the roof pitch with a speed square and a plumb bob.
Key Takeaways:
- Accurately measuring roof pitch is crucial for proper installation and material estimation. Using a speed square and plumb bob ensures precise calculations and contributes to the overall structural integrity and aesthetic appeal of your property.
- The step-by-step process of using a speed square and plumb bob provides a thorough and accurate approach to determining roof pitch. This knowledge equips you to confidently tackle any roofing project with precision and confidence.
Read more: How To Determine Pitch Of Roof
Understanding Roof Pitch
Before we delve into the process of finding the roof pitch, it’s important to have a clear understanding of what roof pitch is and why it matters. The roof pitch refers to the steepness or slope of a roof, and it is expressed as a ratio of the vertical rise to the horizontal run.
Roof pitch is typically measured in two different ways: as a ratio or as an angle. The ratio is represented as the number of inches of vertical rise for every 12 inches of horizontal run. For example, a roof with a pitch of 4:12 means that for every 12 inches of horizontal distance, the roof rises 4 inches. The angle measurement is expressed in degrees and provides a visual representation of the roof slope.
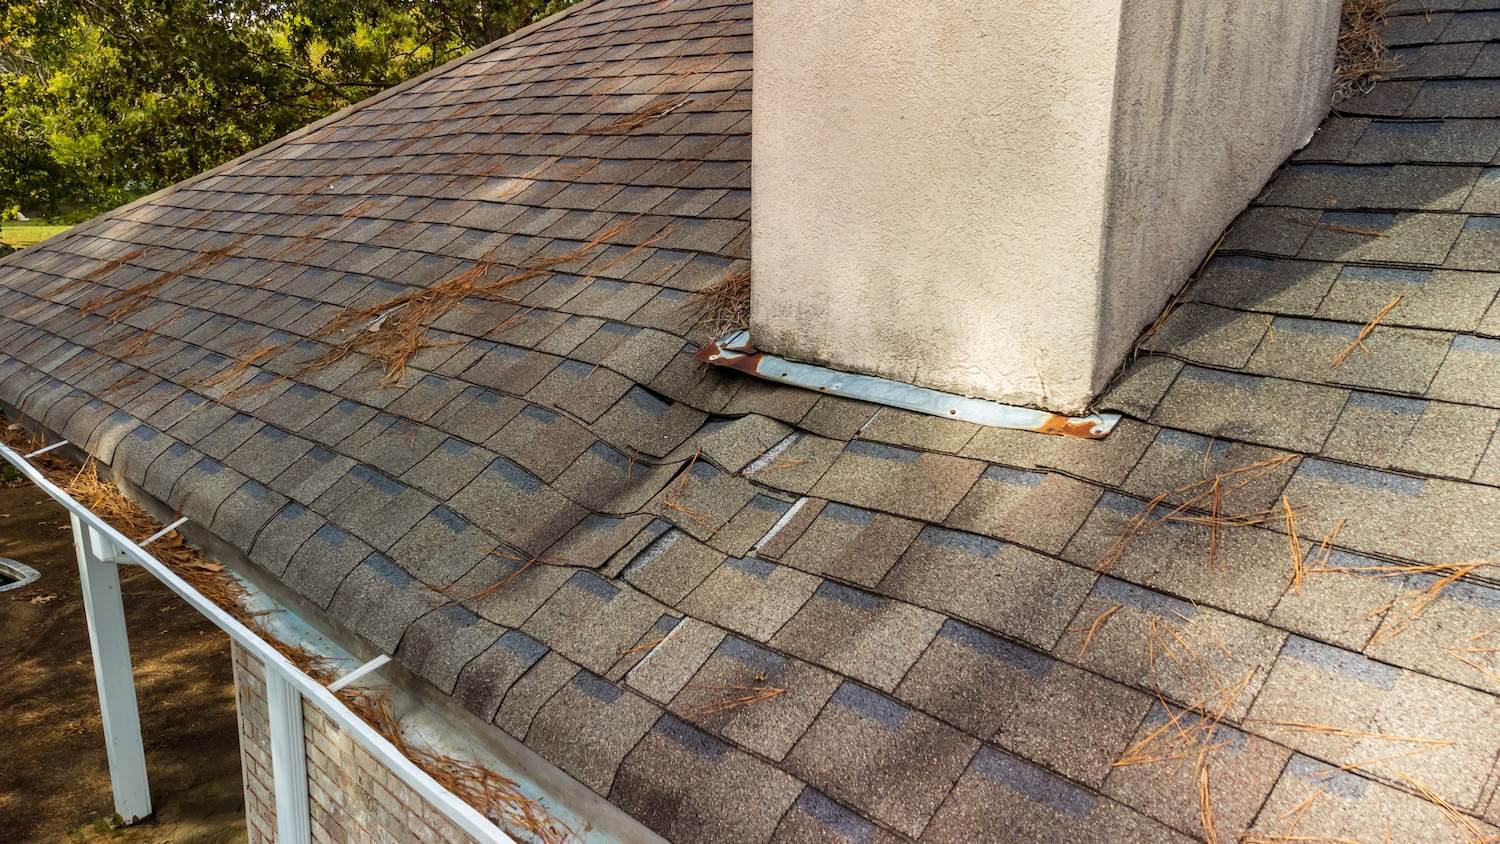
Understanding the roof pitch is important for several reasons. Firstly, it determines the type of roofing materials that can be used effectively. For example, low pitch roofs may require different roofing materials compared to steeply pitched roofs to ensure proper water drainage and prevent leaks.
Additionally, the roof pitch is crucial for estimating the amount of roofing materials needed for a project. With the knowledge of the roof pitch, you can calculate the total roof area and determine the number of shingles, underlayment, and other necessary materials.
Lastly, the roof pitch impacts the overall aesthetics and architectural design of a building. Roofs with steeper pitches are visually appealing and provide a sense of grandeur, while lower pitch roofs tend to have a more modern and contemporary look.
Now that we have a clear understanding of roof pitch and its significance, let’s move on to the tools you will need to find the roof pitch.
Tools You Will Need
Before you can begin finding the roof pitch, you will need a few essential tools. These tools will help you accurately measure and determine the pitch of your roof. Here’s a list of the tools you will need:
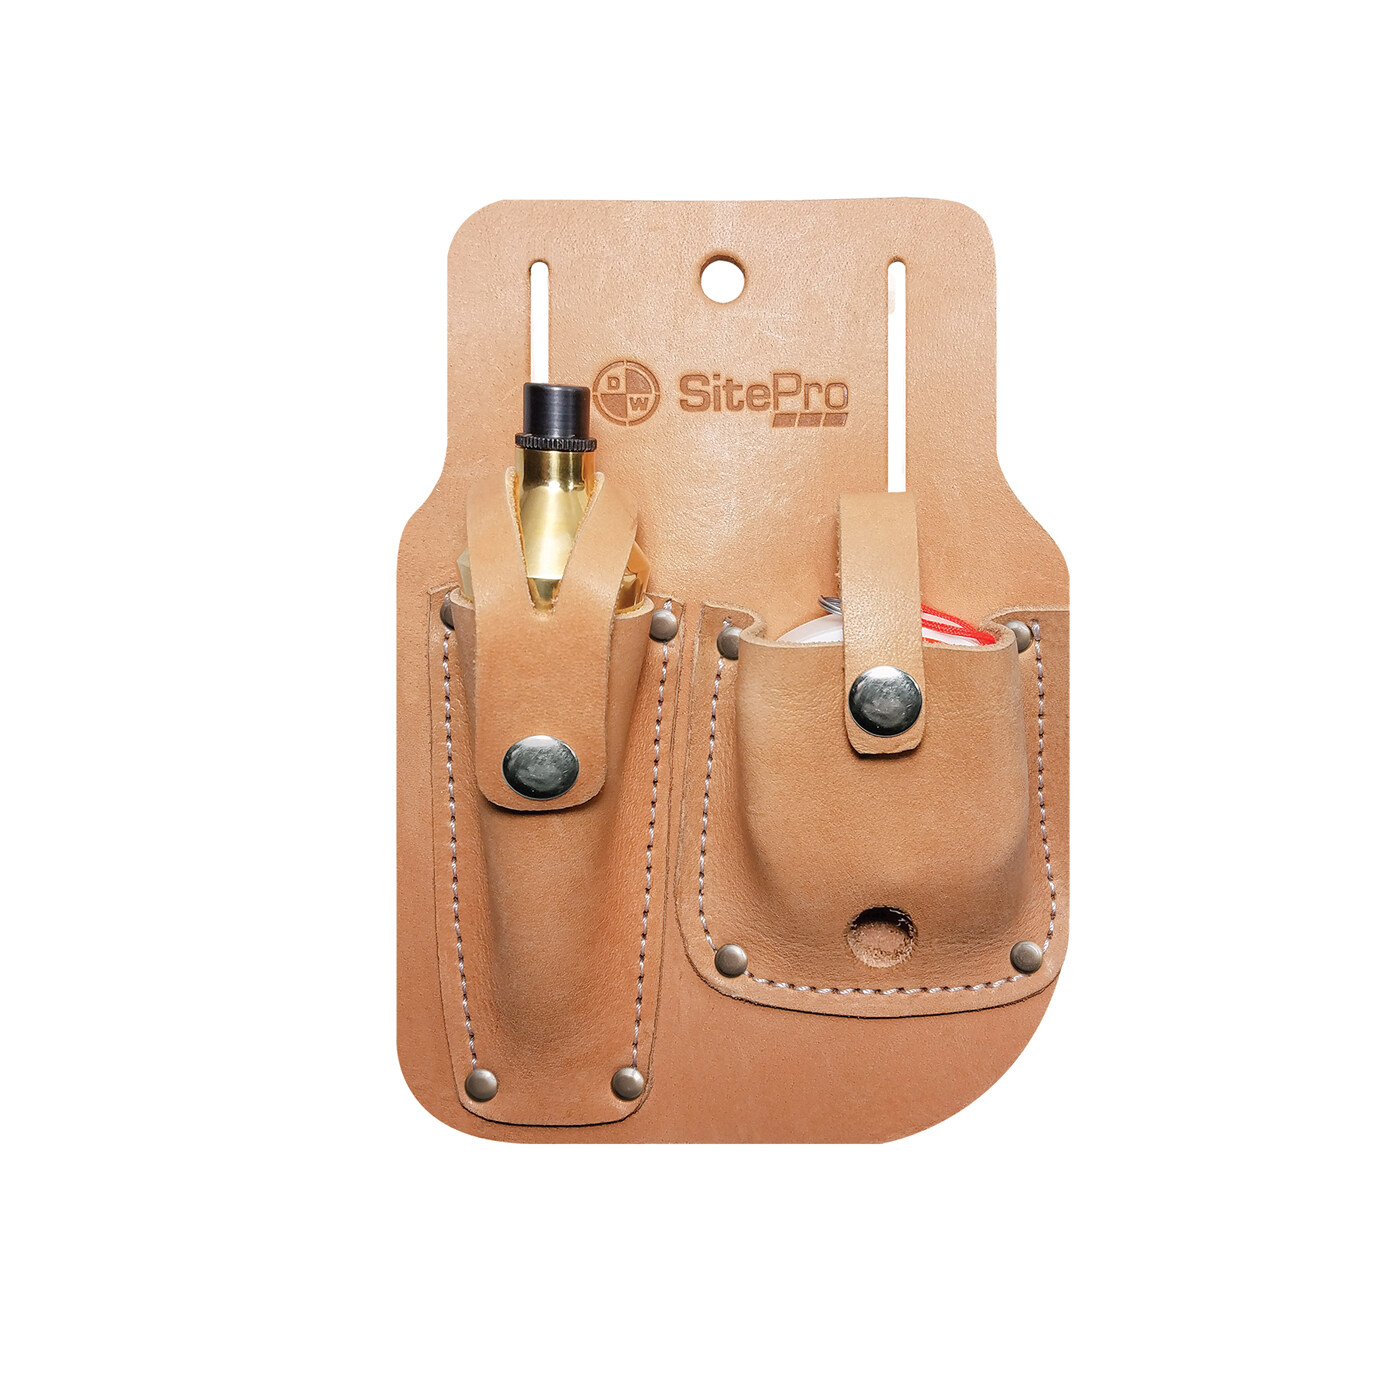
- Speed Square: A speed square, also known as a rafter square, is a versatile tool commonly used by carpenters and roofers. It has a triangular shape with various measurements and angles marked on its surface. The speed square will be the key tool in finding the roof pitch.
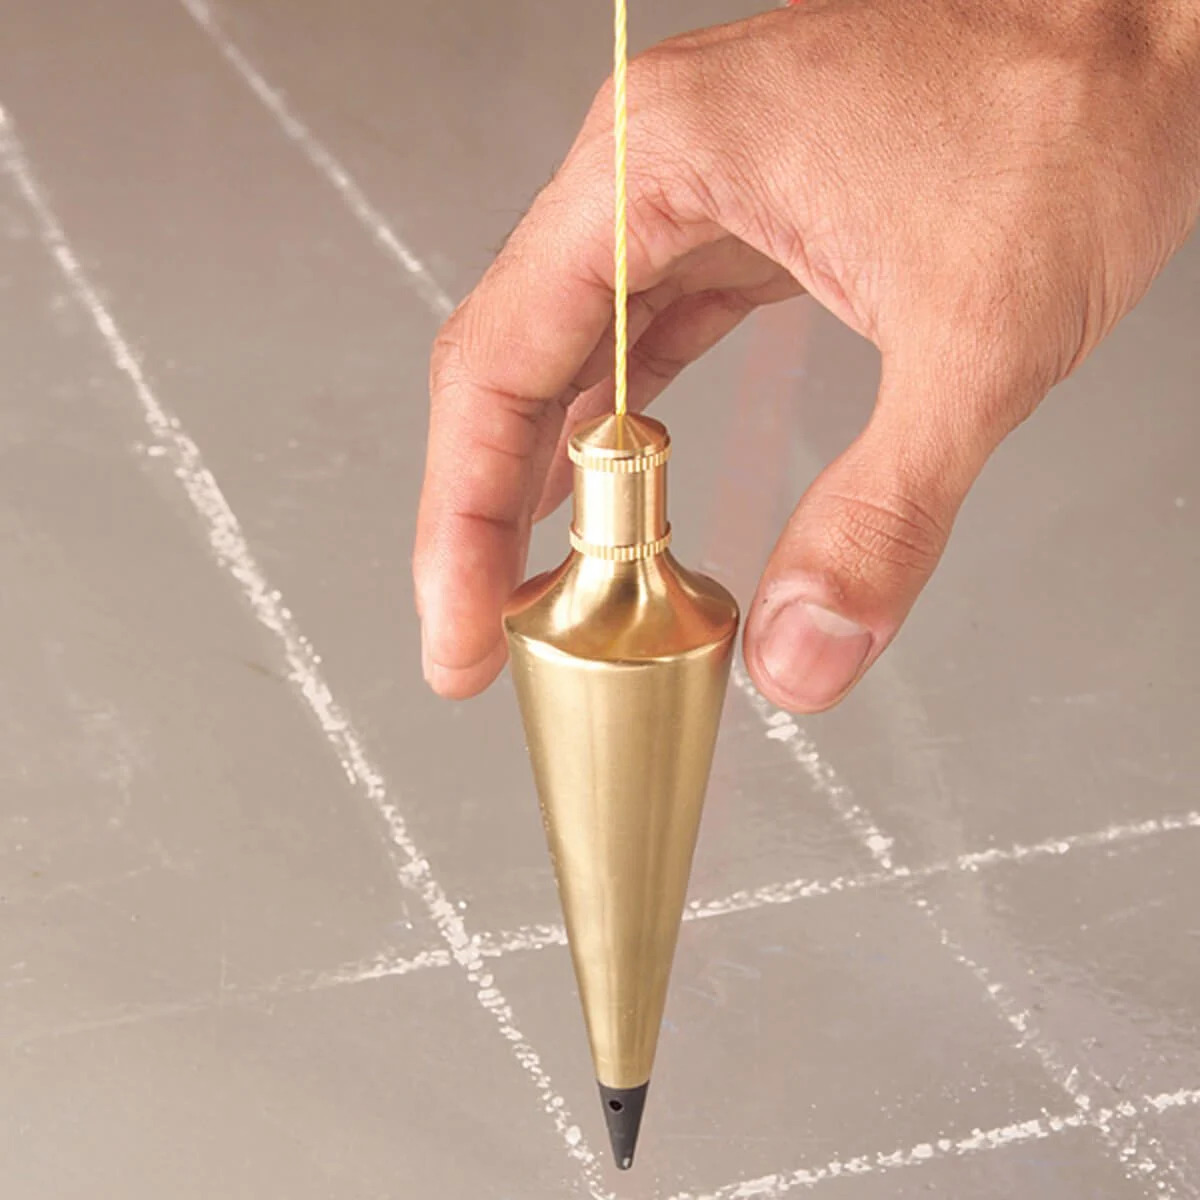
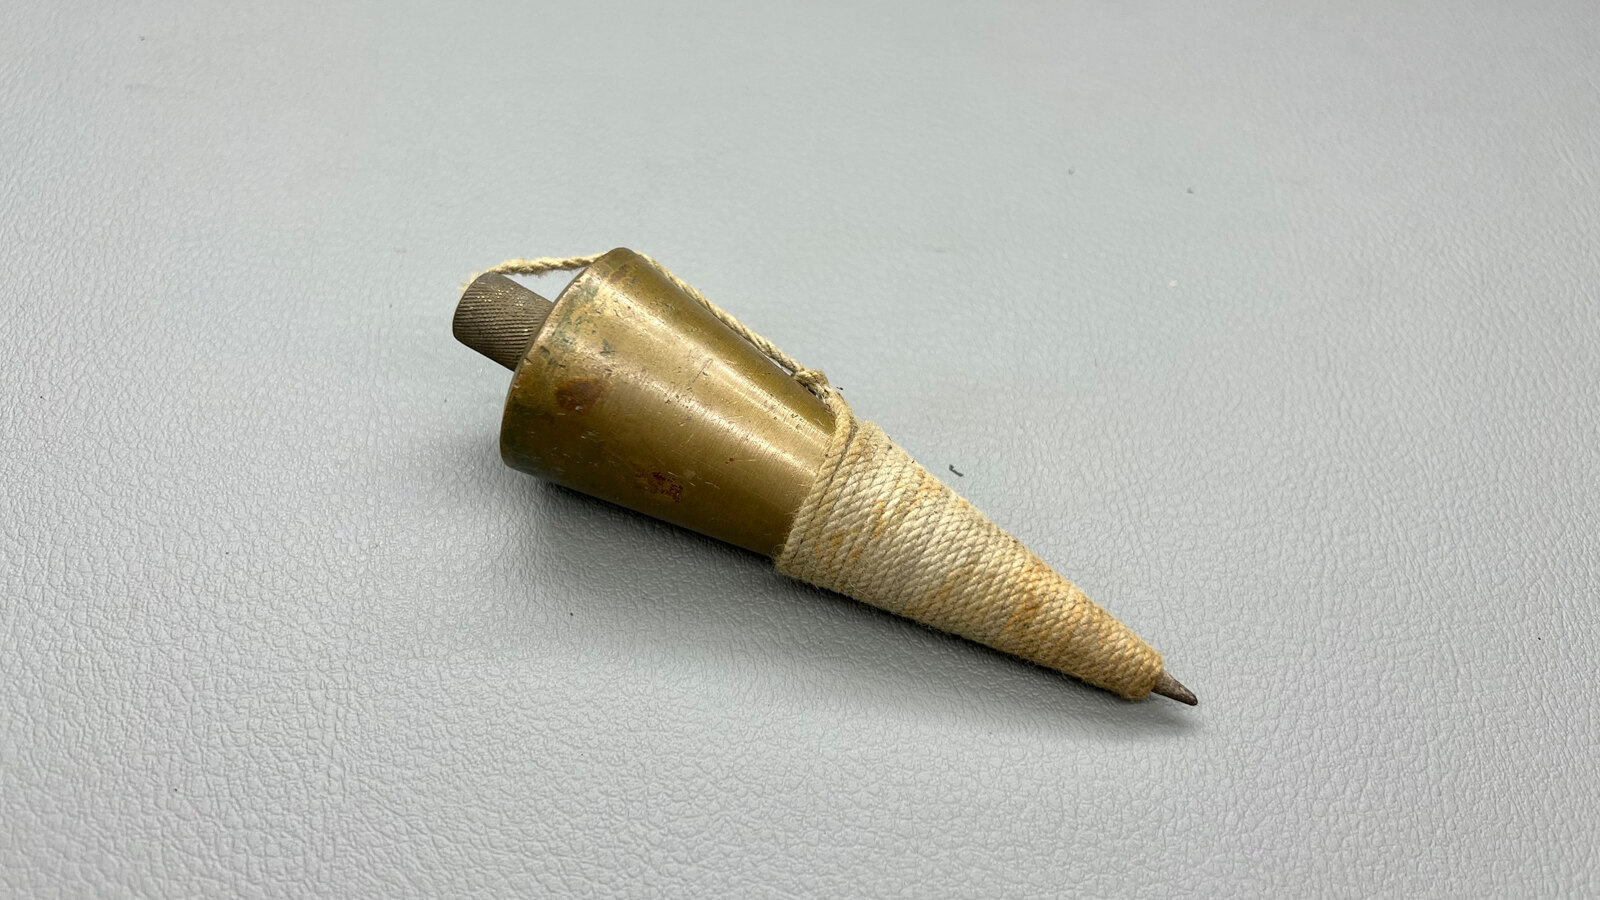
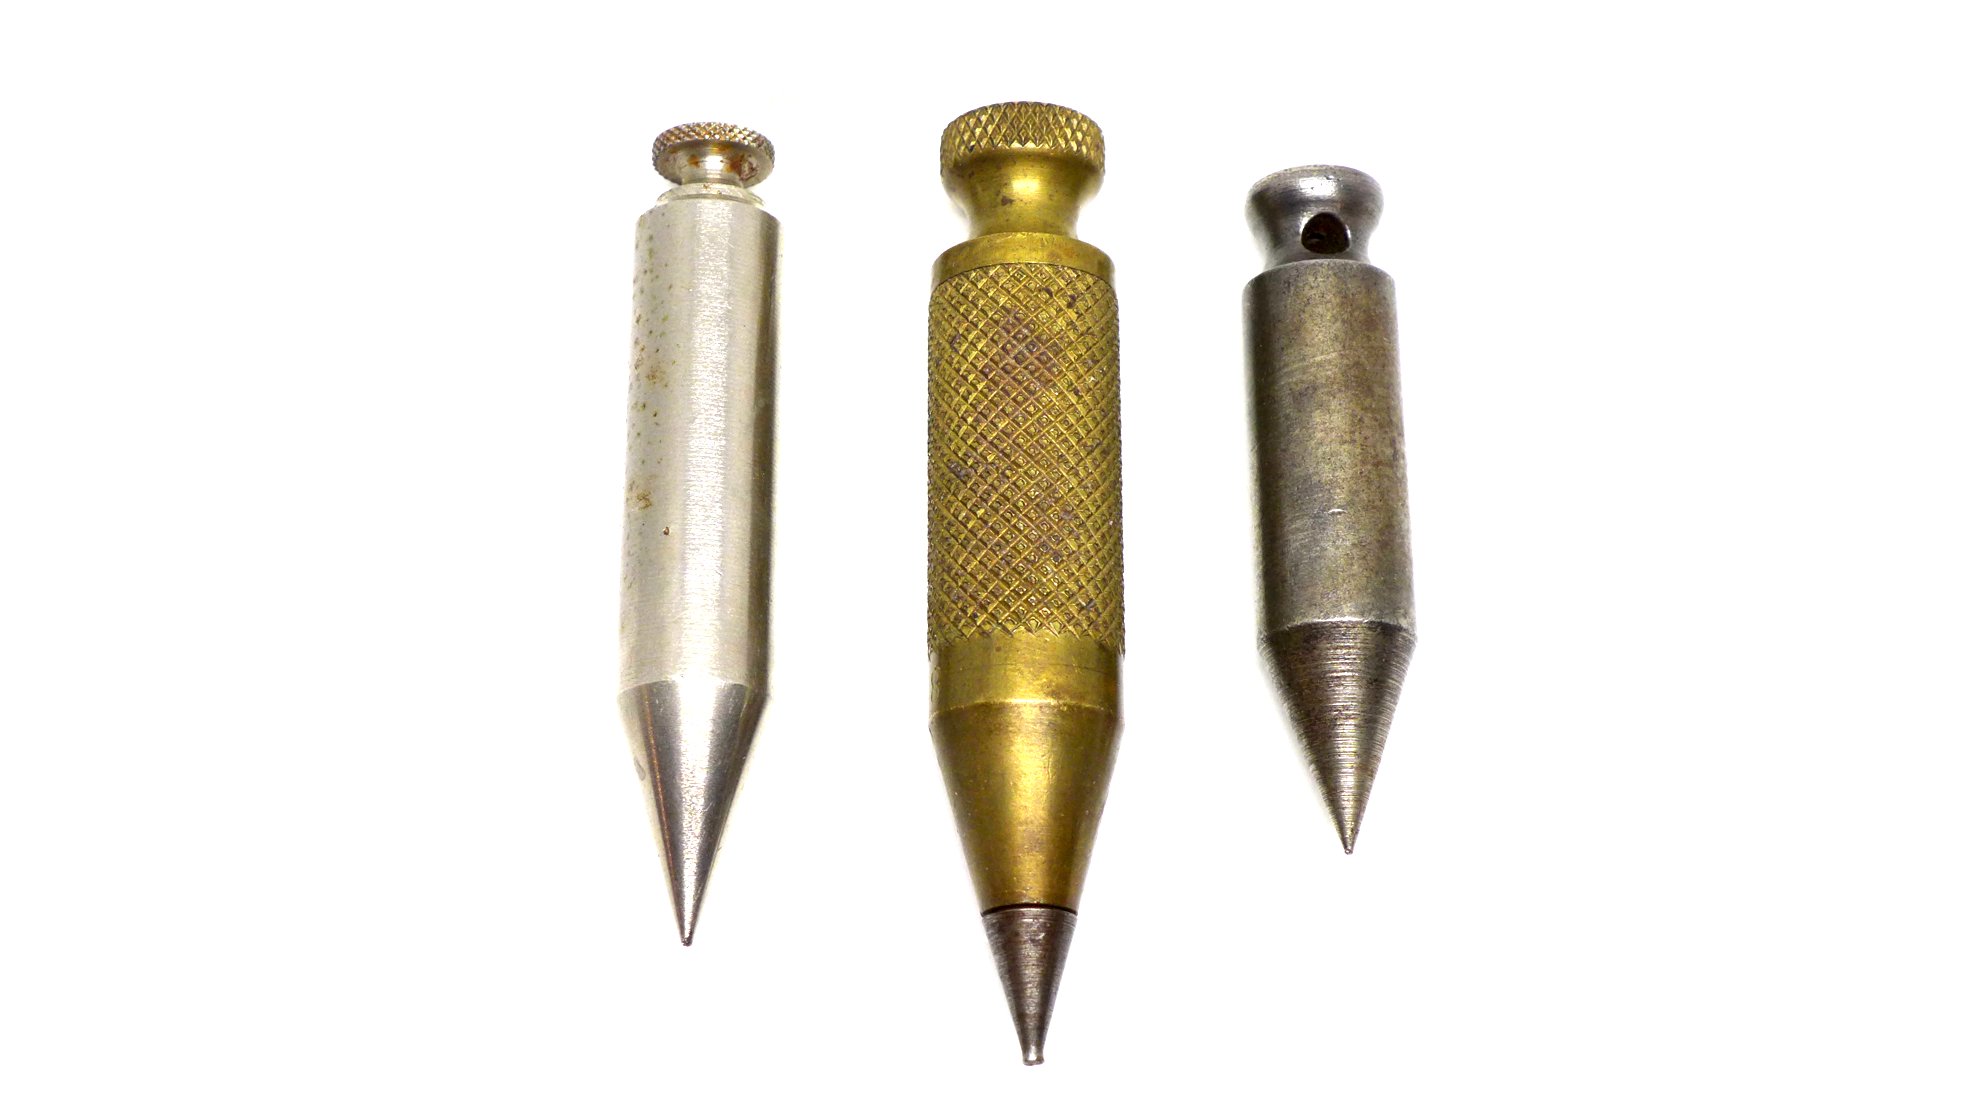
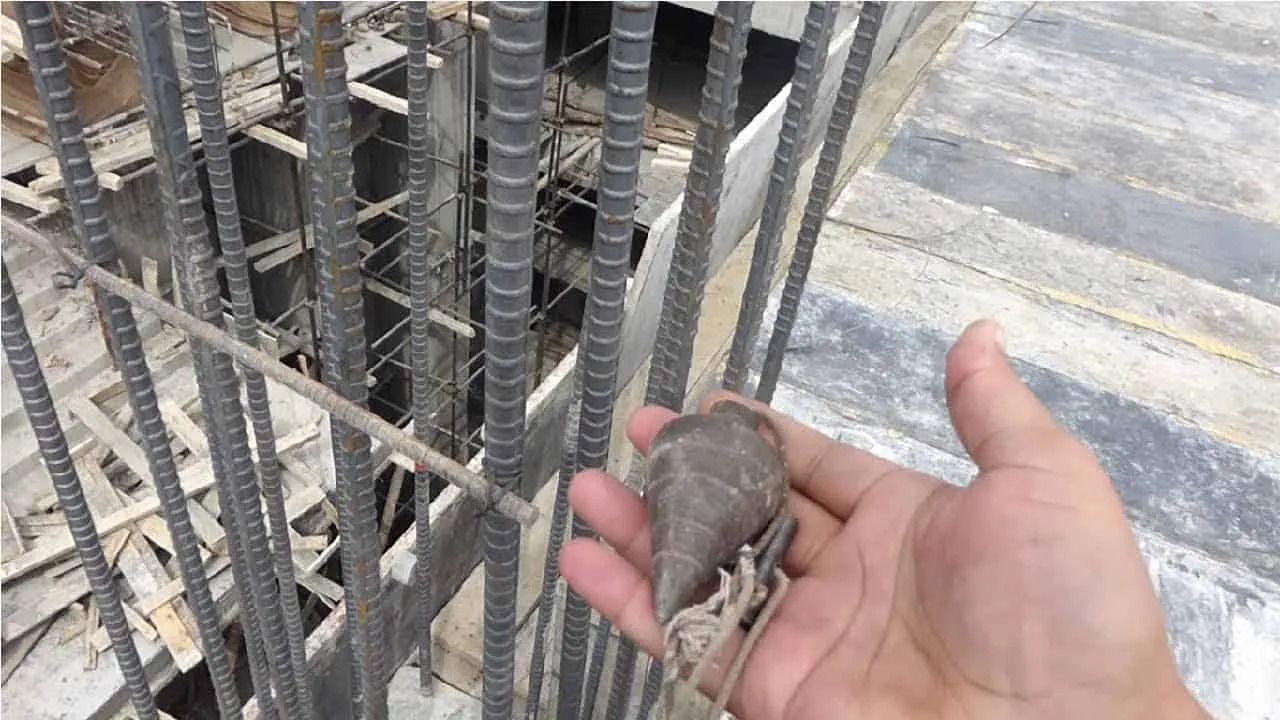
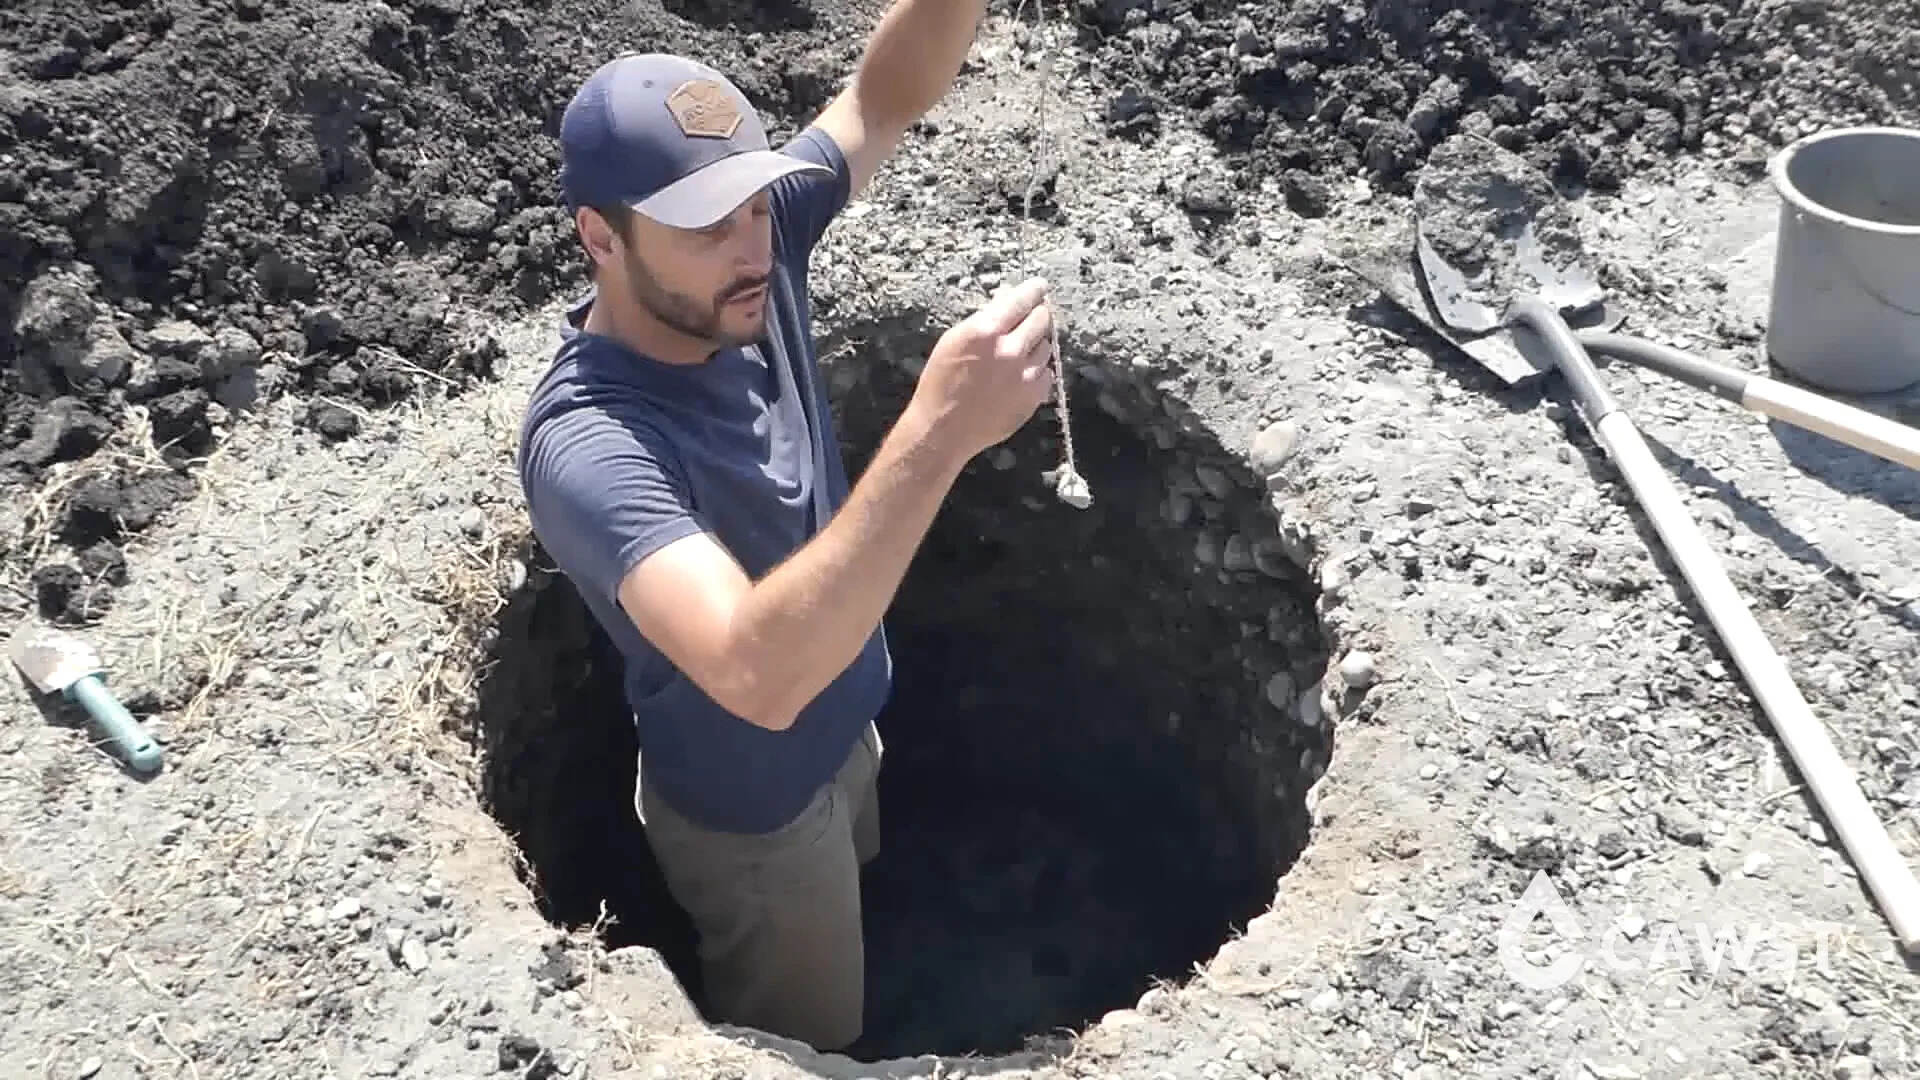
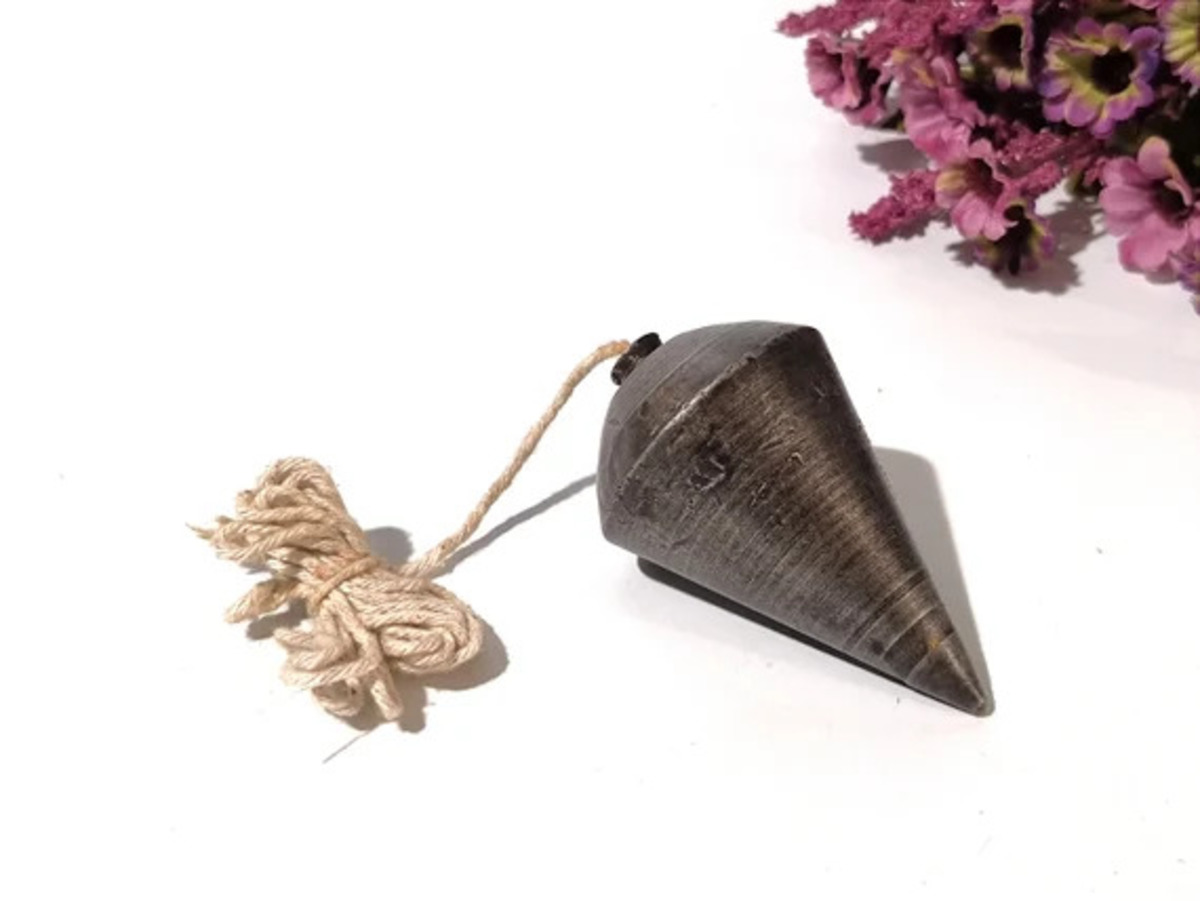
- Plumb Bob: A plumb bob is a small weight attached to a string. It is used to establish vertical lines or determine the true vertical alignment. The plumb bob is used to confirm the accuracy of the roof pitch measurement.
- Tape Measure: A tape measure is a flexible measuring tool that will help you measure the height and width of your roof accurately. It is essential for calculating the rise and run of the roof pitch.
- Pencil or Marker: You will need a pencil or marker to make markings on the roof or speed square to maintain accuracy throughout the process.
- Safety Equipment: Last but not least, prioritize your safety. Ensure you have appropriate safety equipment such as gloves, safety glasses, and sturdy footwear before working on the roof.
By having these tools ready, you will be well-prepared to find the roof pitch with ease. Now let’s move on to the step-by-step process of determining the roof pitch using a speed square.
Step 1: Set Up Your Speed Square
The first step in finding the roof pitch is to set up your speed square properly. The speed square will serve as your primary tool for measuring the angles and determining the pitch. Here’s how to set it up:
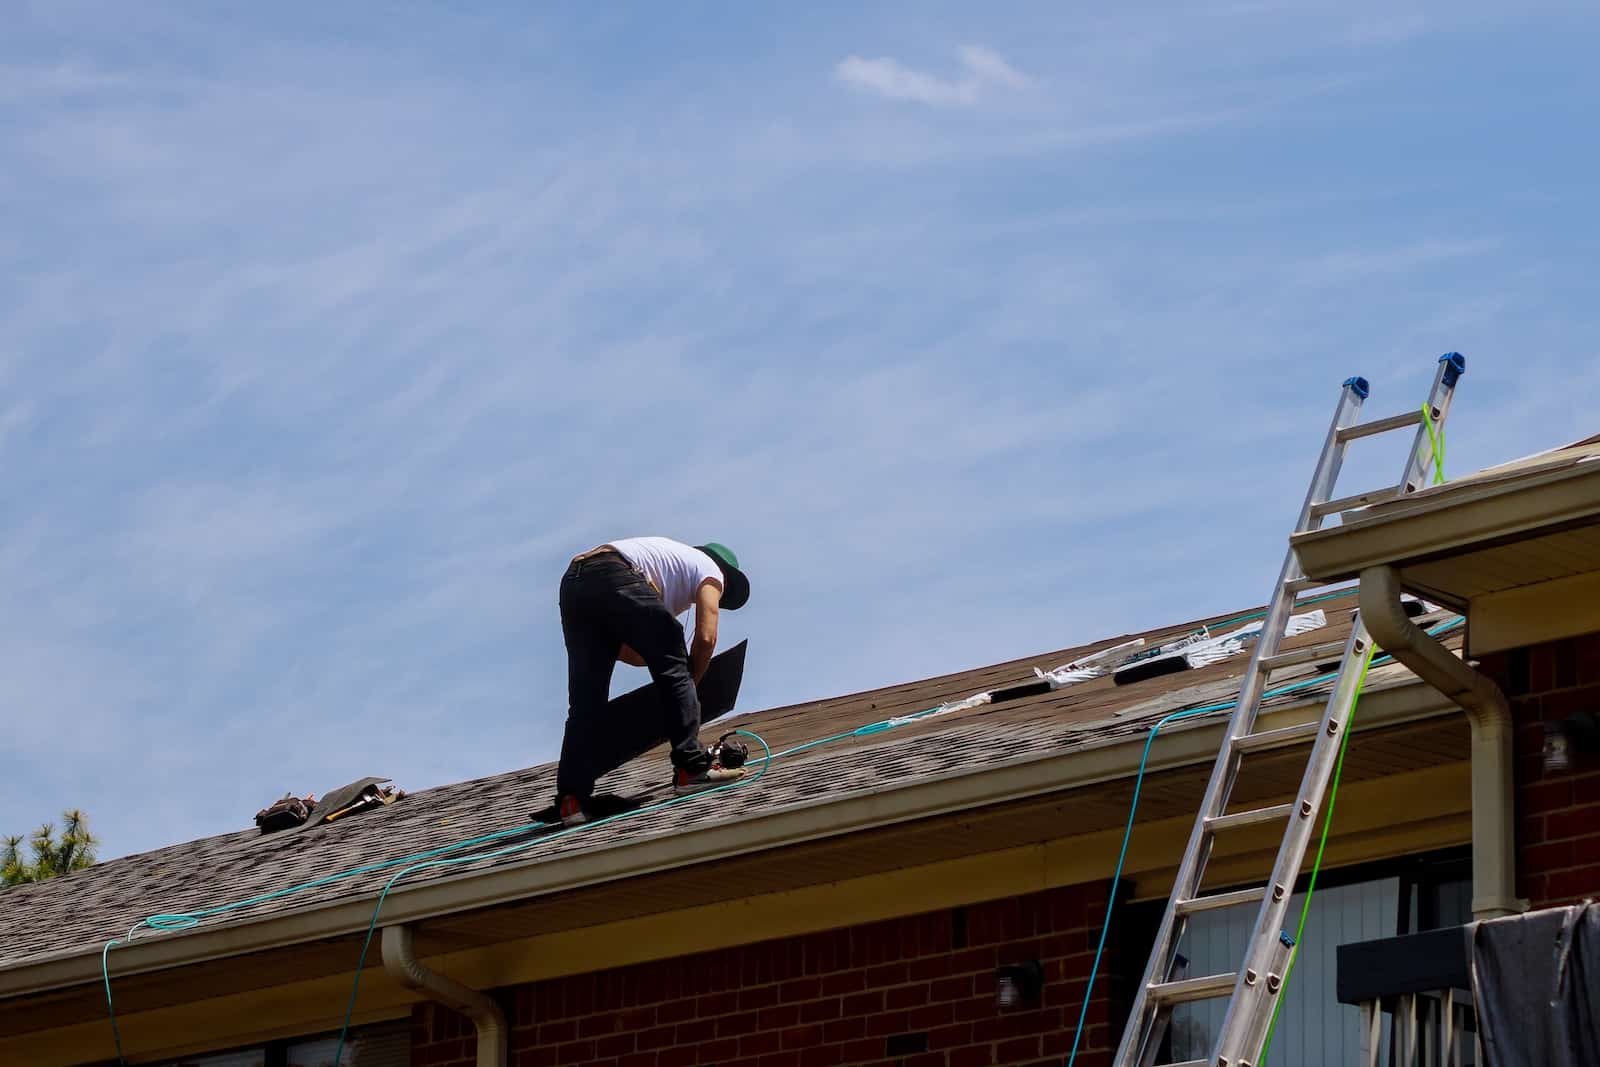
- Start by positioning yourself at the bottom edge of the roof, near the eaves. This will give you a clear view of the entire roof surface.
- Hold the speed square in your dominant hand, with the long edge (the hypotenuse) facing upwards and the shorter edge (the tongue) extending towards you.
- Align the tongue of the speed square with the bottom edge of the roof, making sure it is flush against the surface. You can use clamps or have a partner hold it in place to ensure stability.
- Make sure the speed square is level and flat against the roof’s surface. This is crucial to obtain accurate measurements.
- Use a pencil or marker to mark the position of the speed square along the bottom edge of the roof. This will help you maintain the correct alignment as you move along.
Now that your speed square is properly set up, you are ready to move on to the next step: determining the drop and run of the roof pitch.
When using a speed square and plumb bob to find roof pitch, make sure to securely anchor the plumb bob at the top of the roof and use the speed square to measure the angle of the plumb line. This will give you an accurate measurement of the roof pitch.
Step 2: Determine the Drop and Run
Now that your speed square is securely set up, it’s time to determine the drop and run of the roof pitch. The drop refers to the vertical distance from the bottom edge of the roof to the highest point, while the run is the horizontal distance from the bottom edge to the highest point. Here’s how to do it:
- With the speed square still in place, use a tape measure to measure the vertical distance from the bottom edge of the roof to the highest point. This is the drop of the roof pitch. Note down the measurement.
- Next, measure the horizontal distance from the bottom edge to the highest point. This is the run of the roof pitch. Note down the measurement as well.
- For accuracy, it’s best to take multiple measurements along the slope of the roof and calculate the average drop and run. This will give you the most precise results.
By determining the drop and run, you now have the necessary measurements to calculate the roof pitch using the speed square. Let’s move on to the next step: finding the pitch with the speed square itself.
Read more: How To Build A Pitched Roof Pergola
Step 3: Find the Pitch with the Speed Square
With the drop and run measurements in hand, you can now use the speed square to find the pitch of the roof. The speed square has built-in markings that allow you to easily determine the pitch. Here’s how to do it:
- Locate the pivot point on the speed square, which is the corner where the tongue and the body of the square meet.
- Position the pivot point at the mark you made on the bottom edge of the roof. Ensure that the body of the speed square is parallel to the roof surface.
- Look for the corresponding pitch measurement on the body of the speed square. It is usually marked in inches for every 12 inches of run. For example, a 4:12 pitch means that for every 12 inches of run, the roof rises 4 inches.
- Align the edge of the speed square with the pitch measurement. This will give you a visual representation of the roof pitch.
- Double-check the alignment to ensure accuracy. Make any necessary adjustments to the positioning of the speed square if needed.
By following these steps, you can effectively use the speed square to find the pitch of your roof. However, it’s always a good idea to confirm the measurement using a plumb bob, which we will cover in the next step.
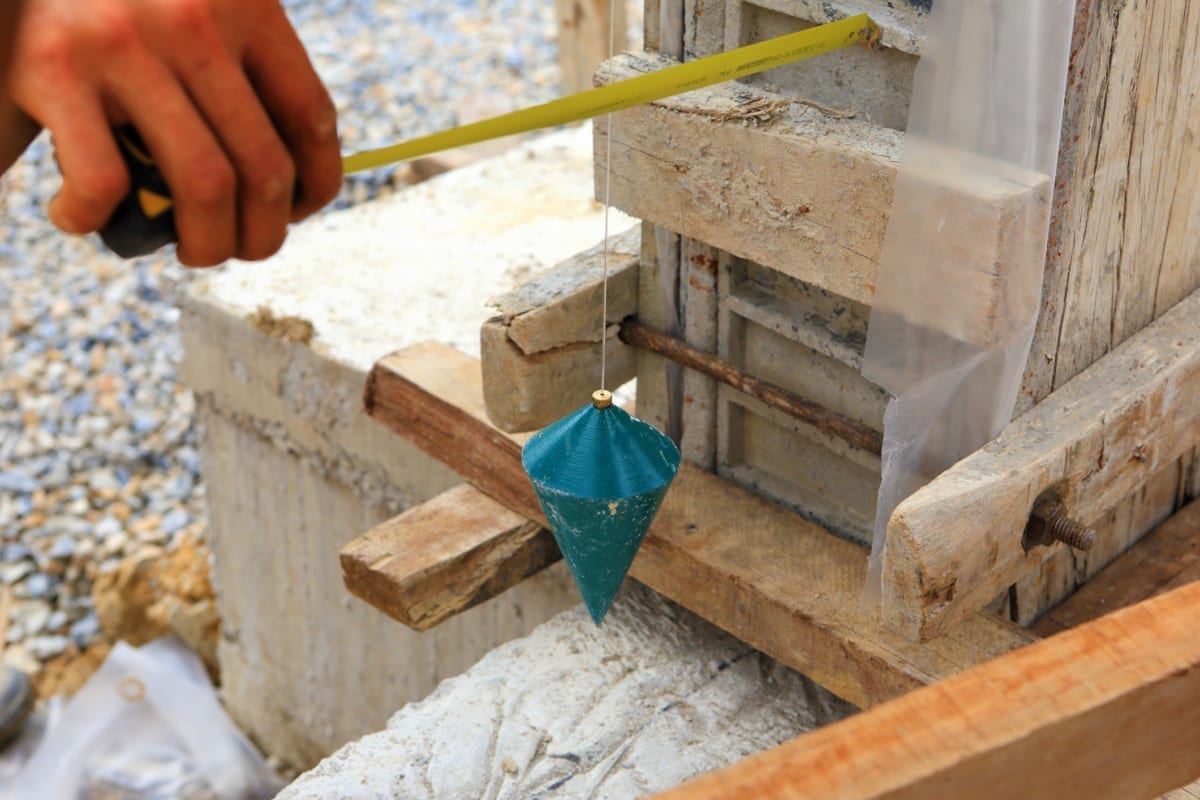
Step 4: Use a Plumb Bob to Confirm
To ensure the accuracy of the roof pitch measurement obtained using the speed square, it is recommended to use a plumb bob as a secondary confirmation tool. The plumb bob will help verify that the roof slope is truly vertical. Here’s how to use a plumb bob to confirm the roof pitch:
- Position yourself at the highest point of the roof, near the ridge or peak.
- Hold the plumb bob securely and allow it to hang freely.
- Observe the position of the plumb bob string. It should hang perpendicular to the roof surface, indicating a perfectly vertical line.
- Verify that the plumb bob string aligns with the calculated pitch measurement obtained with the speed square.
- If the plumb bob confirms the pitch measurement, then your initial calculation using the speed square is accurate.
- If there is any discrepancy, recheck your measurements and make sure the speed square is correctly aligned before recalculating the pitch.
Using a plumb bob as a confirmation tool adds an extra layer of accuracy to your roof pitch measurement. It ensures that your calculations are precise, which is crucial for proper roof installation and planning.
With the confirmation of the roof pitch using the plumb bob, you can now confidently proceed with any roofing project, knowing that you have accurate measurements.
Conclusion
Understanding the roof pitch is essential for all roofing projects. Whether you are a professional or a DIY enthusiast, being able to accurately measure the roof pitch is crucial for proper installation, material estimation, and ensuring proper water drainage.
In this article, we have explained how to find the roof pitch using a speed square and a plumb bob. These tools, when used correctly, can provide precise measurements and ensure the accuracy of your calculations.
By following the step-by-step process outlined in this article, you can confidently determine the roof pitch of your building. Remember to set up your speed square properly, calculate the drop and run, use the speed square to find the pitch, and confirm the measurement with a plumb bob. This thorough approach will help you achieve accurate results.
Having the correct roof pitch measurement will not only aid in selecting the right roofing materials but will also contribute to the overall structural integrity and aesthetic appeal of your property. So, take the time to measure the roof pitch correctly before embarking on any roofing project.
Now that you have learned how to find the roof pitch with a speed square and a plumb bob, you are equipped with the knowledge and tools necessary to tackle any roofing project with confidence and precision. Happy roofing!
Frequently Asked Questions about How To Find Roof Pitch With A Speed Square In A Plumb Bob
Was this page helpful?
At Storables.com, we guarantee accurate and reliable information. Our content, validated by Expert Board Contributors, is crafted following stringent Editorial Policies. We're committed to providing you with well-researched, expert-backed insights for all your informational needs.


0 thoughts on “How To Find Roof Pitch With A Speed Square In A Plumb Bob”