Articles
How To Find A Leak In Pool Plumbing
Modified: August 27, 2024
Learn how to find a leak in your pool plumbing with these informative articles. Fixing leaks is crucial for maintaining a well-functioning pool.
(Many of the links in this article redirect to a specific reviewed product. Your purchase of these products through affiliate links helps to generate commission for Storables.com, at no extra cost. Learn more)
Introduction
Welcome to the world of pool ownership! Having a pool in your backyard is a dream come true for many homeowners. It offers a refreshing oasis for relaxation, entertainment, and exercise. However, one common issue that pool owners face is plumbing leaks. A leaking pool not only leads to water loss but can also cause damage to the surrounding areas and increase utility bills.
Identifying and fixing a leak in pool plumbing can seem like a daunting task, but with the right knowledge and tools, it can be done effectively. In this article, we will guide you through the process of finding a leak in pool plumbing and offer step-by-step instructions on how to fix it.
Before we dive into the details, it’s essential to understand the importance of identifying pool plumbing leaks and why it should be a priority for pool owners.
Key Takeaways:
- Promptly identifying and fixing leaks in pool plumbing is crucial for conserving water, saving on utility bills, preventing damage, and maintaining water quality and equipment longevity.
- The step-by-step process of finding and fixing a leak involves visual inspection, dye testing, pressure testing, digging, and pipe inspection, followed by careful repair and regular maintenance to ensure a leak-free pool.
Read more: How To Find Swimming Pool Leaks
Importance of Identifying Pool Plumbing Leaks
Identifying and addressing pool plumbing leaks is crucial for several reasons. Let’s explore why it is important to take immediate action when you suspect a leak in your pool plumbing:
- Water Conservation: A leaking pool can waste a significant amount of water. As responsible homeowners, it is our duty to conserve water and prevent unnecessary wastage. By promptly identifying and repairing leaks, you can minimize water loss and contribute to water conservation efforts.
- Cost Savings: A leak in your pool plumbing can lead to increased water bills. Additionally, ongoing water loss can put a strain on your pool’s filtration and heating systems, leading to higher utility costs. By addressing leaks promptly, you can avoid unnecessary expenses and maintain a more cost-effective pool operation.
- Preventing Further Damage: Over time, a small leak can gradually worsen, causing significant damage to your pool and surrounding structures. Water can seep into the ground, causing erosion and instability. It can also damage the pool’s foundation, walls, and decking materials. By identifying and fixing leaks early on, you can prevent more extensive and costly damage in the future.
- Maintaining Water Quality: Pool plumbing leaks can allow contaminants to enter the water, compromising its quality and safety. Leaks provide an entry point for dirt, debris, and even harmful bacteria, negatively impacting the health of swimmers. By promptly addressing leaks, you can help ensure that your pool water remains clean, clear, and safe for everyone to enjoy.
- Prolonging Equipment Lifespan: A leak in the plumbing system can put extra stress on your pool equipment, such as pumps, filters, and heaters. This can lead to premature wear and tear, reducing their lifespan and requiring expensive repairs or replacements sooner than expected. By fixing leaks promptly, you can protect your equipment and extend its longevity.
Now that we understand the importance of identifying pool plumbing leaks, let’s move on to the next section and learn about the signs that indicate a possible leak in your pool.
Signs of a Pool Plumbing Leak
It’s crucial to be able to recognize the signs of a pool plumbing leak to take necessary action promptly. Here are some common signs that indicate a possible leak in your pool:
- Unexplained Water Loss: If you notice that your pool water level is consistently dropping despite regular use and evaporation, it may be a sign of a plumbing leak. Keep track of your pool’s water level and monitor any unexplained water loss.
- Increased Utility Bills: A leaking pool can lead to higher water bills and increased energy consumption. If you notice a significant spike in your utility bills without any other apparent cause, it could be due to a plumbing leak in your pool.
- Wet or Soggy Areas: Puddles of water or consistently damp areas near your pool equipment, the pool deck, or other parts of the yard could indicate an underground plumbing leak. Pay attention to any unusual moisture or wetness in these areas.
- Cracks or Shifts in the Pool Structure: Plumbing leaks can cause the soil beneath the pool to shift or erode, leading to cracks or shifts in the pool’s structure. Look for any visible cracks or signs of movement in the pool shell or surrounding areas.
- Algae Growth: Excessive algae growth, especially in a well-maintained pool, can be a sign of a plumbing leak. When water escapes from the plumbing system, it can introduce excess nutrients that promote algae growth. If you’re struggling to keep algae under control despite regular maintenance, it’s worth investigating for a possible leak.
It’s important to note that these signs can also be indicators of other pool issues. Therefore, it’s recommended to perform a thorough leak detection process to confirm the presence of a plumbing leak. In the next section, we will discuss the tools needed for leak detection.
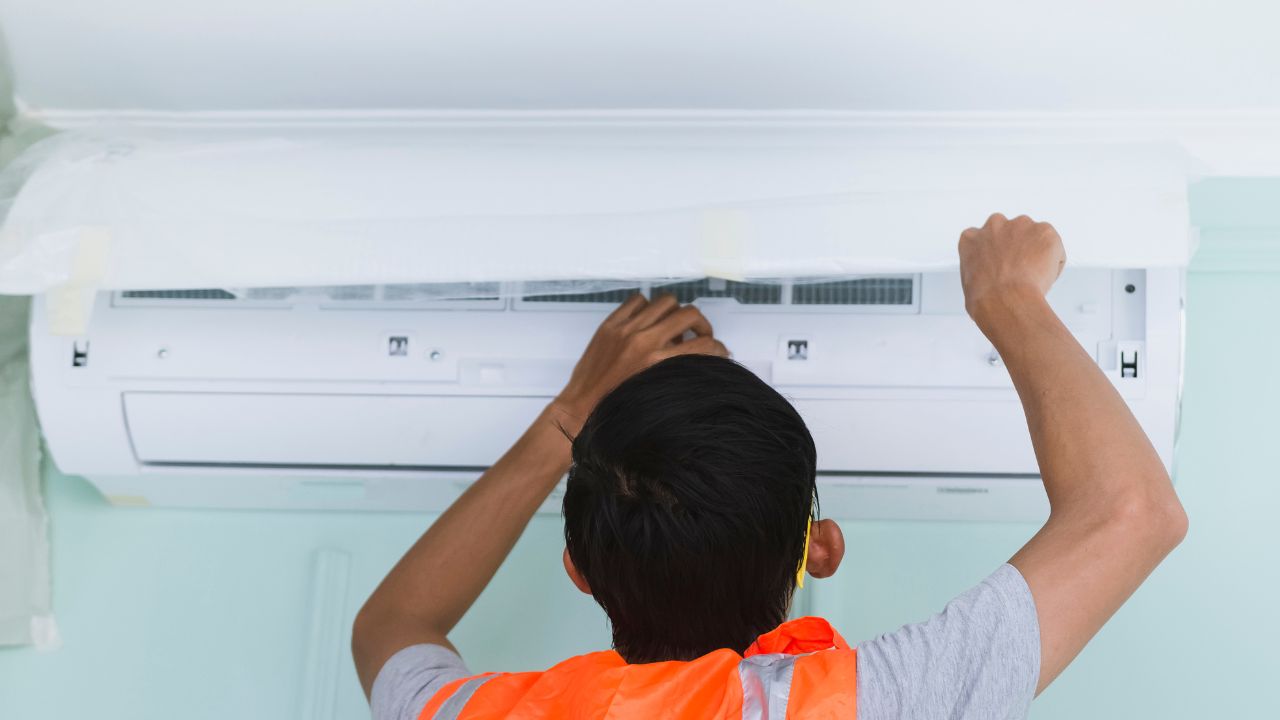
Tools Needed for Leak Detection
Proper leak detection requires the use of specific tools to accurately identify the source of the leak. Here are some essential tools you will need:
- Pool Leak Detection Kit: A pool leak detection kit typically includes tools such as dye testers, pressure gauges, and listening devices. These kits are designed specifically for pool leak detection and come with detailed instructions on how to use them effectively.
- Dye Testing Kit: Dye testing is a common method used to detect leaks. It involves adding dye to the water and observing if it gets sucked into any cracks or fittings, indicating a leak. A dye testing kit usually contains a dye solution and an applicator.
- Pressure Testing Kit: Pressure testing helps identify leaks in the plumbing system by pressurizing the pipes and checking for any drop in pressure. A pressure testing kit typically includes a pressure gauge, plugs, and adapters to seal off various parts of the plumbing system during testing.
- Listening Device: A listening device, such as a pool leak detection microphone, can help pinpoint the exact location of an underground leak by detecting the sound of escaping water. This tool is particularly useful when the leak is not visible or difficult to access.
- Shovel and Digging Tools: In some cases, you may need to dig around the pool or plumbing lines to visually inspect for leaks. Basic gardening tools like a shovel, trowel, and pickaxe will be necessary for this part of the leak detection process.
- Waterproof Camera or Endoscope: For hard-to-reach areas, a waterproof camera or endoscope can be helpful in visually inspecting the plumbing lines and fittings. These devices allow you to see inside pipes and identify any signs of leakage.
Having these tools on hand will facilitate a more accurate and efficient leak detection process. Before beginning the leak detection process, familiarize yourself with the instructions provided with the tools and ensure that they are in proper working condition.
Now that you’re equipped with the necessary tools, let’s move on to the steps involved in finding and fixing a leak in your pool plumbing.
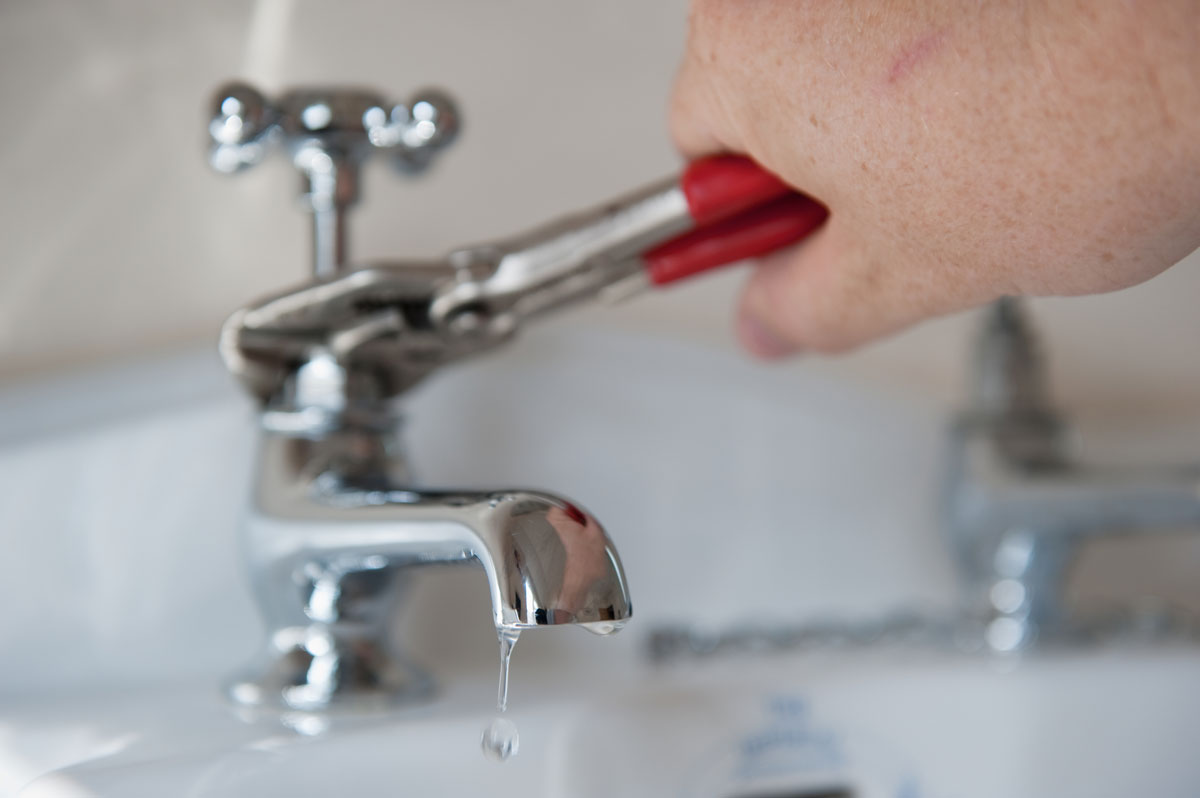
Step 1: Visual Inspection
The first step in finding a leak in your pool plumbing is conducting a thorough visual inspection. This initial inspection can help you identify any obvious signs of leakage and narrow down the potential areas to focus on during further testing.
Here are the key components to inspect during the visual inspection:
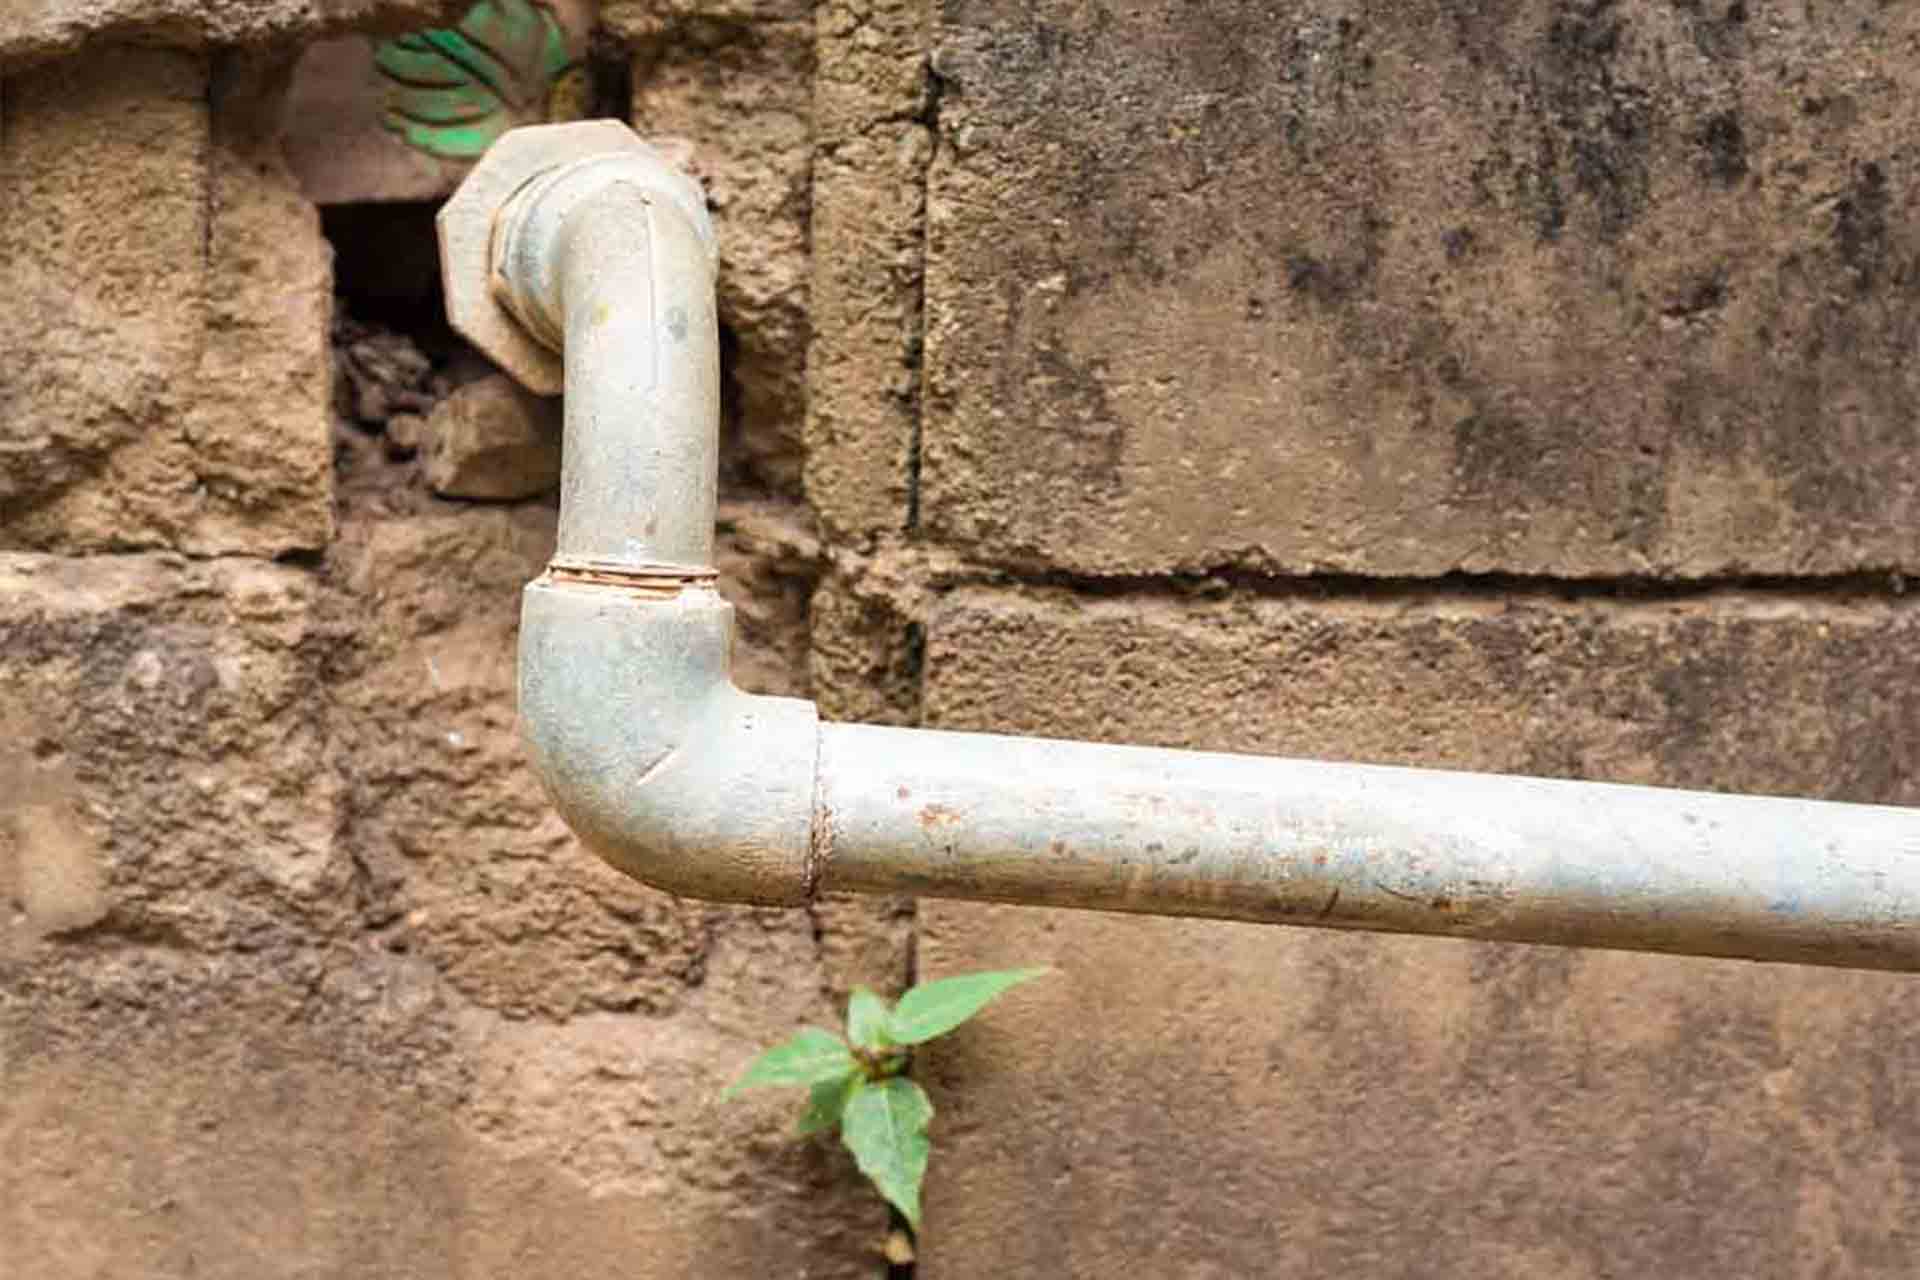
- Pump and Filter System: Check the pump and filter system for any signs of water leakage. Look for wet spots, drips, or pooling water around the equipment. Examine the connections and fittings for any visible cracks or damage.
- Pool Plumbing Lines: Carefully examine the visible plumbing lines around the pool. Look for any signs of water leakage, such as wet areas, moisture, or algae growth. Inspect the connections, valves, and fittings for any signs of damage.
- Joints and Seals: Inspect the joints and seals in the plumbing system. Look for signs of deterioration, cracks, or gaps in the seals. Pay attention to areas where pipes are connected or sealed with fittings and check for any leaks or water seepage.
- Skimmer and Return Lines: Check the skimmer and return lines for any signs of leakage. Look for drips, wet areas, or discoloration around the skimmer and return fittings. Inspect the connections and seals for any visible damage.
- Pool Shell and Decking: Examine the pool shell and decking for any signs of cracks, shifts, or damage. While these issues may not directly indicate a plumbing leak, they can be a result of soil erosion caused by water leakage.
During the visual inspection, take note of any suspicious areas or potential signs of leakage. Document your findings and areas that require further investigation.
While visual inspection is a critical first step, it’s important to note that not all leaks are easily visible. Some leaks may be hidden underground or within the plumbing lines. In the next step, we will discuss how to perform a dye test to identify hidden leaks.
One tip for finding a leak in pool plumbing is to inspect the area around the pool equipment for any signs of water or dampness, as this can indicate a potential leak in the plumbing.
Read more: How To Find A Leak In A Swimming Pool Liner
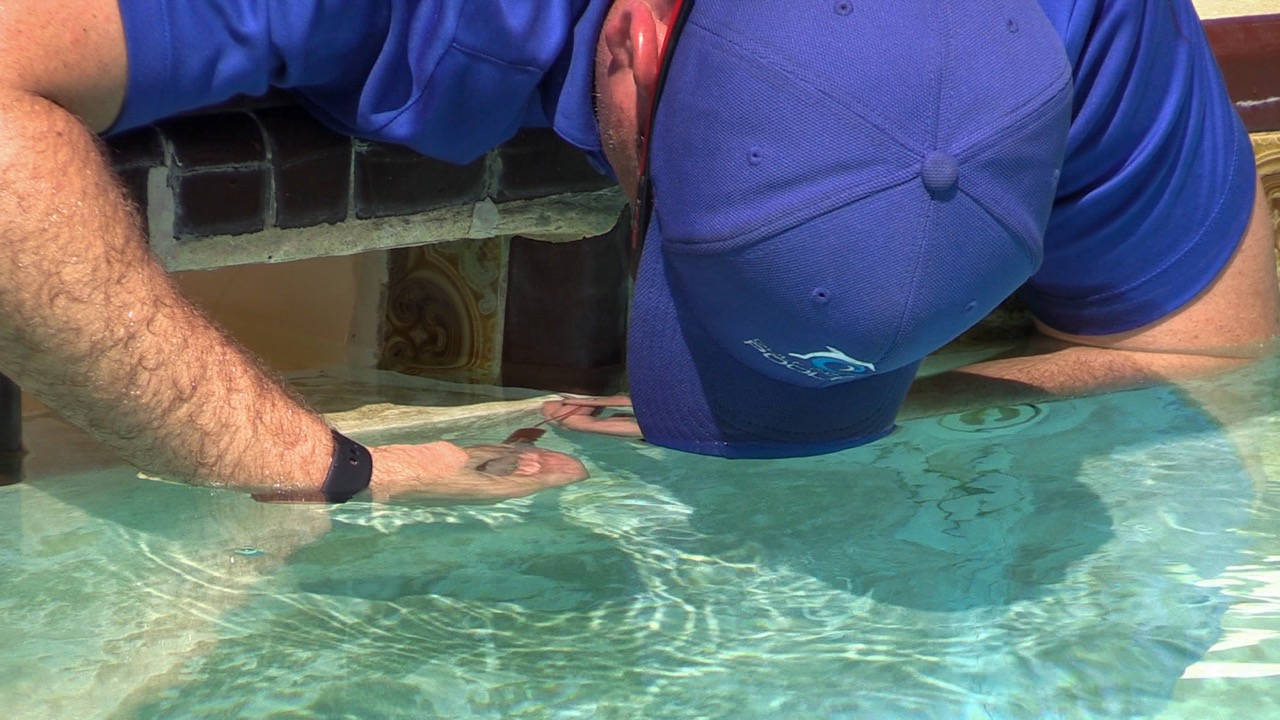
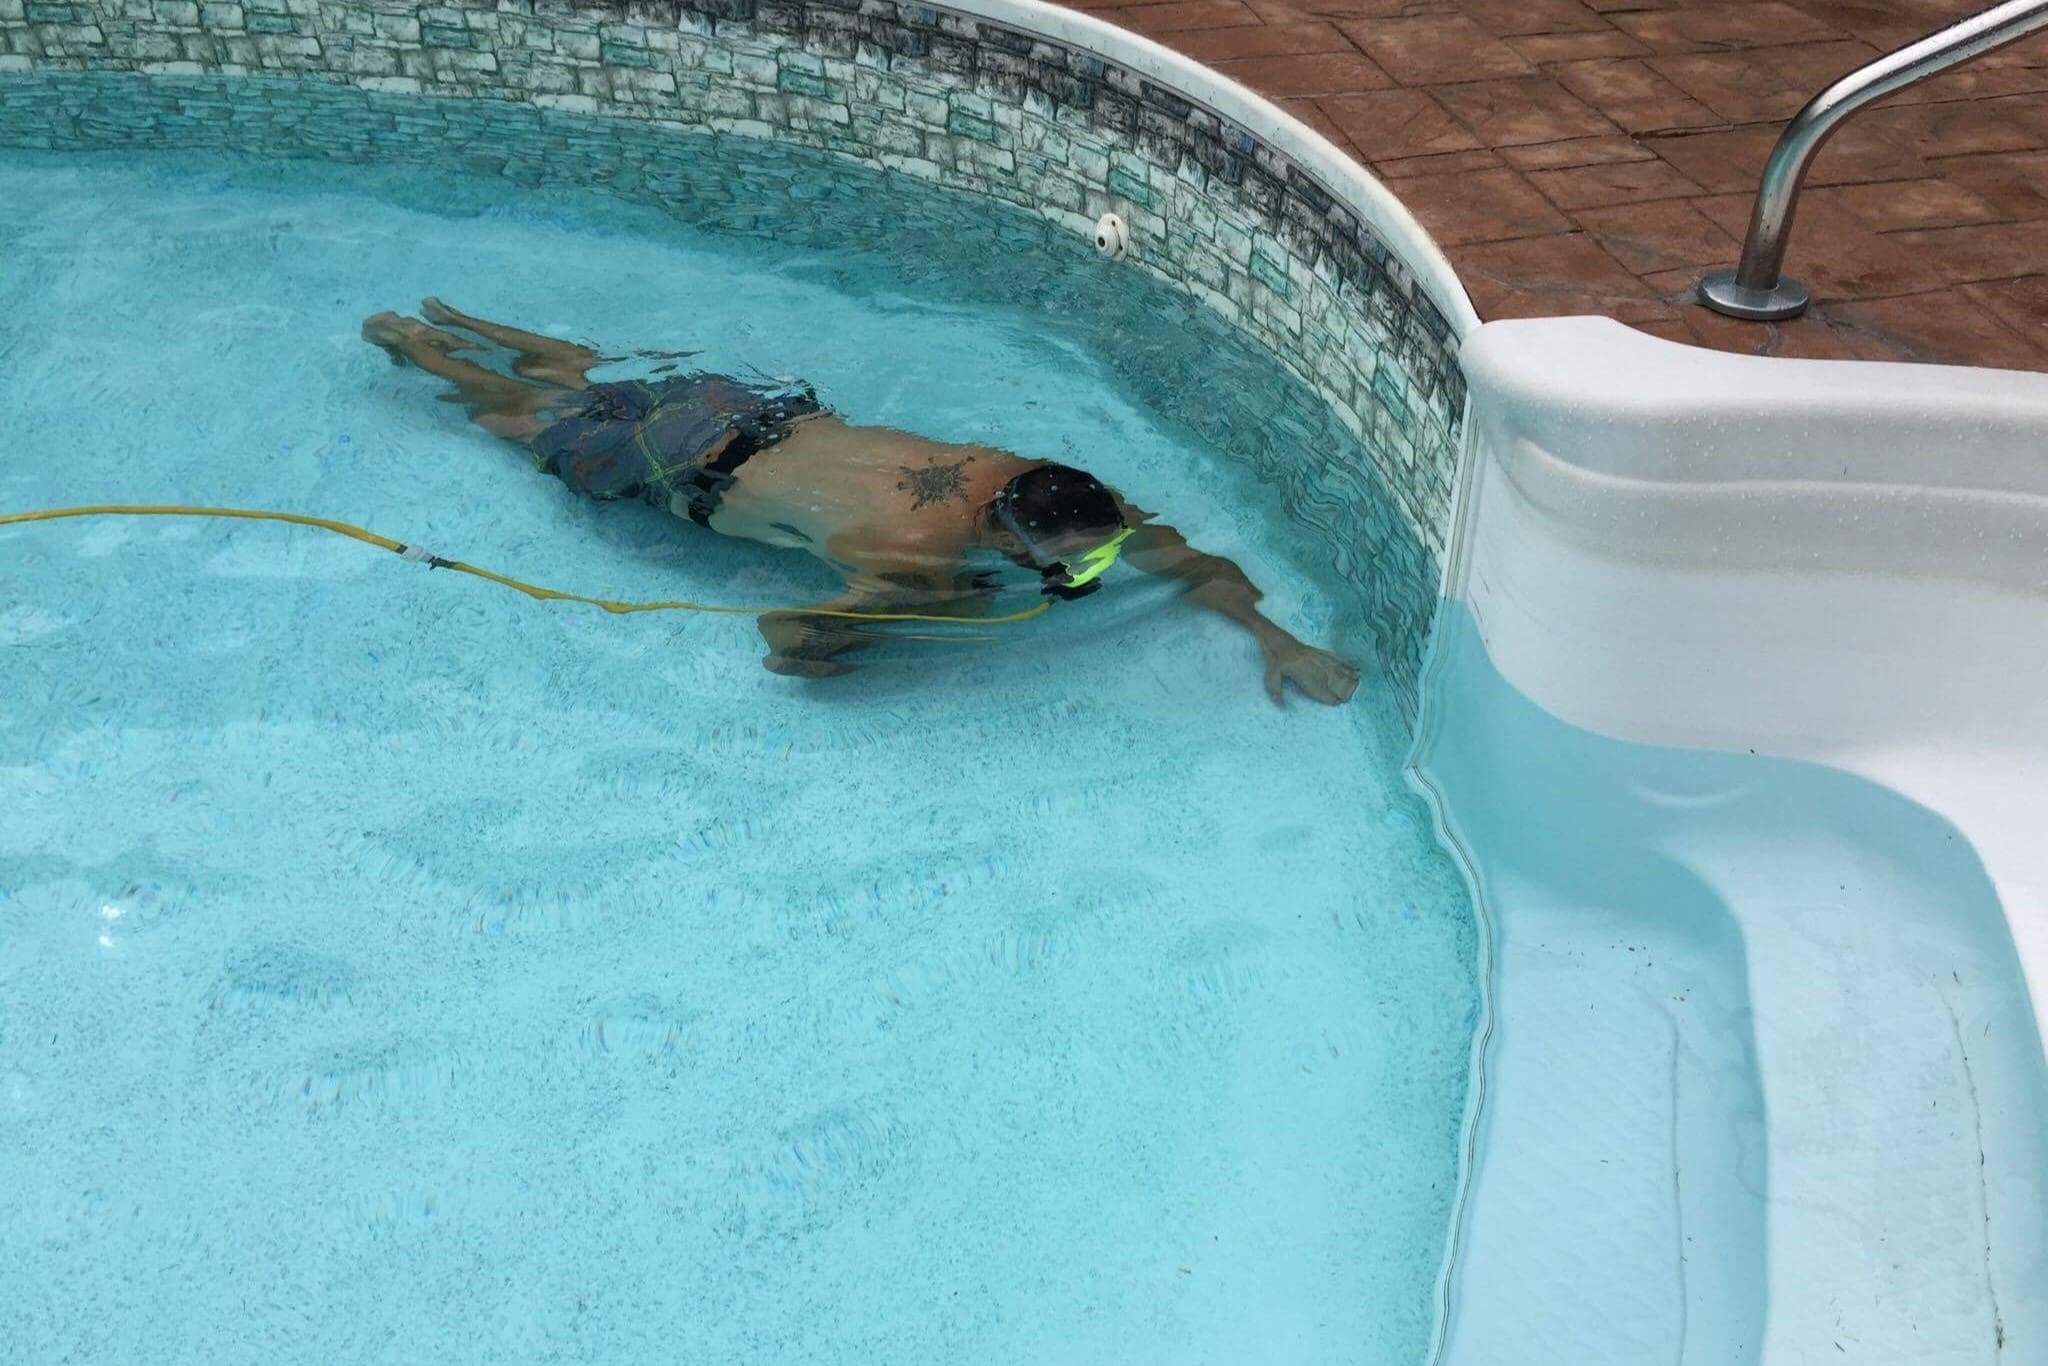
Step 2: Dye Test
Performing a dye test is a simple yet effective method to identify hidden leaks in your pool plumbing. This test involves adding dye to the water and observing if it gets pulled into any cracks, fittings, or areas of the pool where leakage may be occurring.
Here’s how to conduct a dye test:
- Choose the Right Dye: Select a dye that is specifically designed for pool leak detection. These dyes are non-toxic and available in various colors to enhance visibility. Follow the instructions on the dye packaging for the correct amount to use.
- Turn Off Pool Equipment: Before adding the dye, turn off the pool equipment, including the pump and filter system. This will prevent the dye from being diluted or dispersed too quickly in the water.
- Apply the Dye: Carefully add the dye to the pool water near areas of interest, such as skimmers, returns, or suspected leak points. Allow the dye to disperse naturally in the water. Avoid splashing or disturbing the water excessively to ensure accurate results.
- Observe the Dye: Watch for any movement or concentration of dye in specific areas. If there is a leak, the water will draw the dye through the crack, fitting, or gap, indicating the location of the leak. Take note of any areas where the dye appears to be pulled in or concentrated.
- Document the Results: Document the areas where the dye is observed to be pulled in or concentrated. This will help in the subsequent steps of leak detection and repair.
It’s important to remember that a dye test can only identify visible leaks and may not detect leaks that are deep underground or within the plumbing lines. If you don’t observe any clear signs of a leak during the dye test, move on to the next step: pressure testing.
Now that you have completed the dye test, we will move on to the next step: pressure testing, which will help further pinpoint the location of the leak in your pool plumbing.
Step 3: Pressure Testing
Pressure testing is a crucial step in identifying and isolating the location of a leak in your pool plumbing. This method involves pressurizing the plumbing system to check for any drop in pressure, which can indicate the presence of a leak.
Here’s how to perform a pressure test:
- Gather the Required Tools: You will need a pressure testing kit, which usually includes a pressure gauge, plugs, and adapters. Follow the instructions provided with the kit to ensure you are using the tools correctly.
- Close All Valves and Skimmers: Close all valves and block the skimmers to isolate the plumbing lines that connect to the pool. This will ensure that the pressure test focuses specifically on the plumbing system and not the entire pool.
- Choose a Test Point: Select a test point in the plumbing system where you can connect the pressure testing kit. This can be a designated plug or an adapter that fits into a pipe fitting. Refer to the instructions provided with the kit for the recommended test point.
- Attach the Pressure Gauge: Attach the pressure gauge to the test point, ensuring a secure connection. Make sure all other connections in the plumbing system are sealed, including pool returns, skimmers, and drains.
- Pressurize the Plumbing System: Use a pump or compressor to slowly pressurize the plumbing system to the recommended pressure specified by the manufacturer. Monitor the pressure gauge closely and look for any significant drops in pressure, which may indicate the presence of a leak.
- Inspect and Isolate Leaks: Once the system is pressurized, visually inspect all visible plumbing lines, joints, fittings, and valves for any signs of leakage or drops in pressure. Pay close attention to areas where leaks were previously detected during the visual inspection or dye test.
- Document and Repair: Document any areas where leaks are found or where pressure drops occur. These areas will require further investigation and repair. Depending on the severity and location of the leak, you may be able to proceed directly to step 5 (fixing the leak).
Pressure testing will help you narrow down the location of the leak and provide valuable information for the next steps. If pressure testing does not reveal any clear leaks, you may need to move on to step 4, which involves digging and inspecting the pipes directly.
Now that you have completed the pressure testing, we will move on to step 4: digging and inspecting the pipes to locate the leak in more detail.
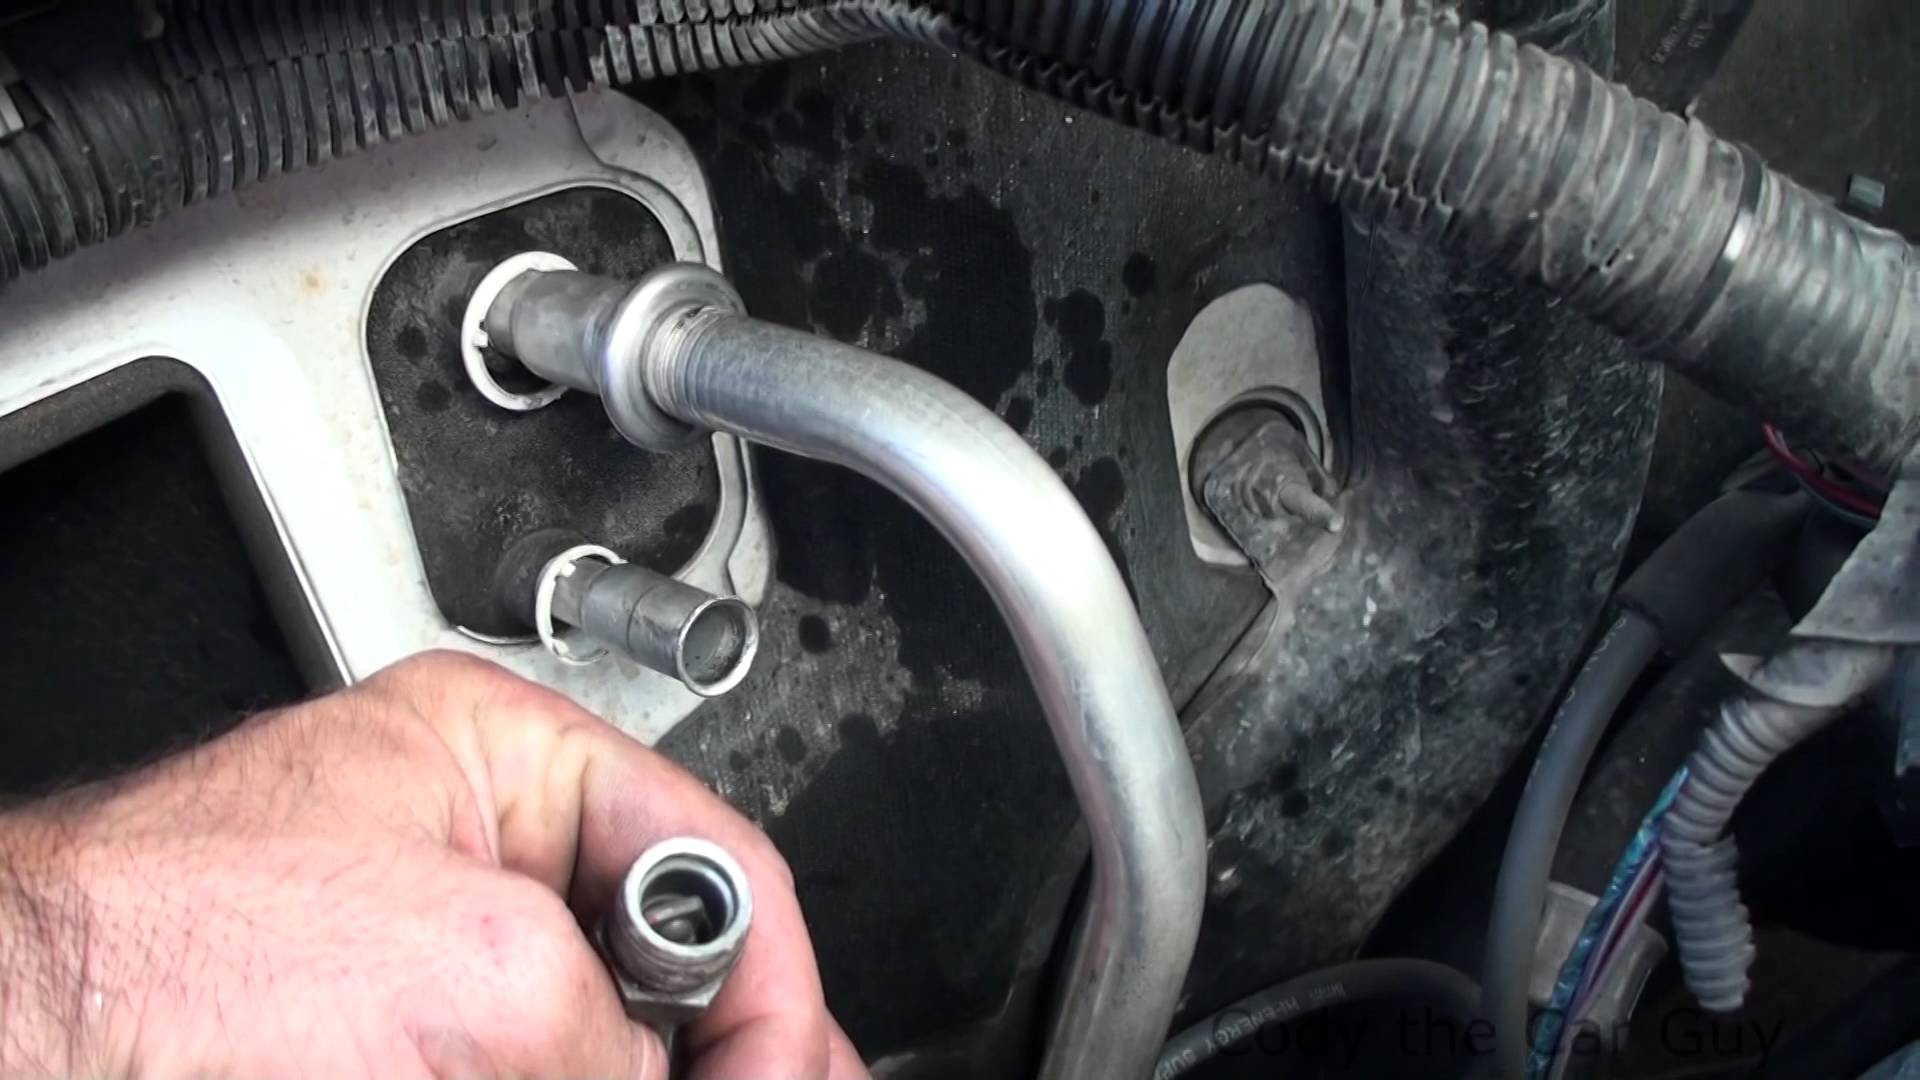
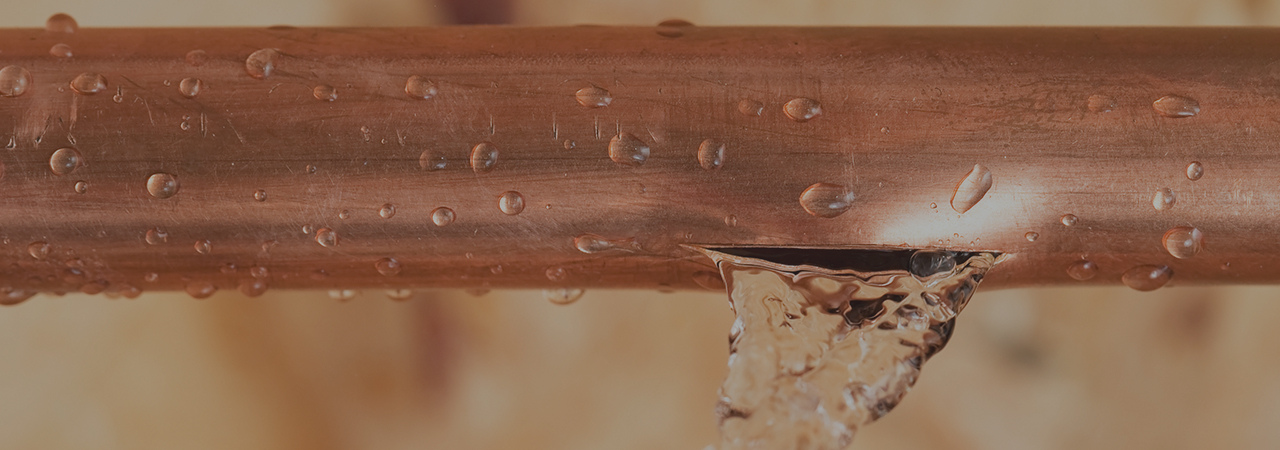
Step 4: Digging and Pipe Inspection
If previous steps haven’t revealed the exact location of the pool plumbing leak, it’s time to move on to a more in-depth investigation by digging and inspecting the pipes.
Here’s how to proceed with digging and pipe inspection:
- Plan and Prepare: Before digging, plan the area you need to excavate based on the information gathered from previous steps. Ensure you have the necessary tools for digging, such as a shovel, trowel, and pickaxe. Also, take safety precautions and check for any underground utilities before digging.
- Excavate the Area: Begin digging around the suspected area of the leak. Focus on the plumbing lines and fittings identified during the previous steps. Dig carefully, removing soil a little at a time to avoid damaging any pipes or fittings.
- Inspect the Pipes: Once you have exposed the plumbing pipes, carefully inspect them for any signs of leakage. Look for visible cracks, corrosion, or damage in the pipes, joints, and fittings. Pay attention to any areas where there is moisture or visible water seepage.
- Repair the Leak: If you locate the leak during the inspection, mark the area and proceed with the necessary repair. The method of repair will depend on the type and severity of the leak. It may involve patching a small crack, replacing a damaged pipe segment, or tightening a loose fitting.
- Re-test for Leaks: After the repair is complete, it’s essential to re-test the plumbing system to ensure the leak has been fixed. Perform a pressure test or dye test again, following the respective steps, to verify that the repair was successful and no other leaks are present.
- Fill and Restore: Once the repair has been verified, fill the excavated area with soil and restore the surrounding landscape. Ensure that the area is properly compacted and leveled to avoid any safety hazards or potential water pooling around the repaired section.
Remember to document the location and details of the repair for future reference. Regularly monitor the repaired area and surrounding plumbing for any signs of recurring leaks or issues to address them promptly.
Now that you have completed the digging and pipe inspection, we can move on to the final step: fixing the leak in your pool plumbing.
Step 5: Fixing the Leak
After successfully identifying the location of the pool plumbing leak, the next step is to fix it. The method of repair will depend on the type and severity of the leak, as well as the specific components involved. Here are some general steps to follow for fixing the leak in your pool plumbing:
- Gather the Necessary Materials: Determine the materials required for the repair based on the type of leak and the components involved. This may include pipe fittings, sealants, adhesives, or replacement pipes. Consult with a professional or refer to the manufacturer’s instructions to ensure you use the appropriate materials.
- Prepare the Area: Before proceeding with the repair, ensure that the area around the leak is clean and free of moisture. Wipe away any dirt or debris to ensure a proper bond or seal between the components being repaired or replaced.
- Repair the Leak: Follow the manufacturer’s instructions or consult with a professional to carry out the repair effectively. This may involve techniques such as patching a crack with epoxy, replacing a damaged pipe segment, tightening a loose fitting, or applying sealant to a leaking joint. Adhere to proper installation methods and guidelines for a reliable and long-lasting repair.
- Monitor the Repair: Once the repair is complete, carefully monitor the area for any signs of recurring leaks. Conduct a pressure test or dye test again to ensure the repair was successful and no additional leaks are present. Address any issues promptly to avoid further damage or complications.
- Maintain Regular Inspections and Maintenance: To prevent future leaks in your pool plumbing, it is essential to practice regular inspections and maintenance. Keep an eye out for any signs of leakage, such as water loss, wet spots, or unusual water chemistry. Address any concerns as soon as they arise to prevent further damage and maintain the integrity of your pool plumbing system.
Remember, if you are unsure about the repair process or if the leak is complex, it is best to seek assistance from a professional pool technician or plumber. They will have the expertise and experience to properly diagnose and fix the issue, ensuring a reliable and long-lasting repair.
By following these steps and promptly addressing leaks in your pool plumbing, you can maintain a well-functioning and efficient pool system while protecting your investment.
Now that you have a comprehensive understanding of how to find and fix leaks in pool plumbing, you can confidently tackle any plumbing issues that may arise and enjoy a leak-free pool for years to come.
Remember to regularly maintain your pool plumbing system, perform inspections, and address any potential leaks promptly to ensure your pool remains in optimal condition.
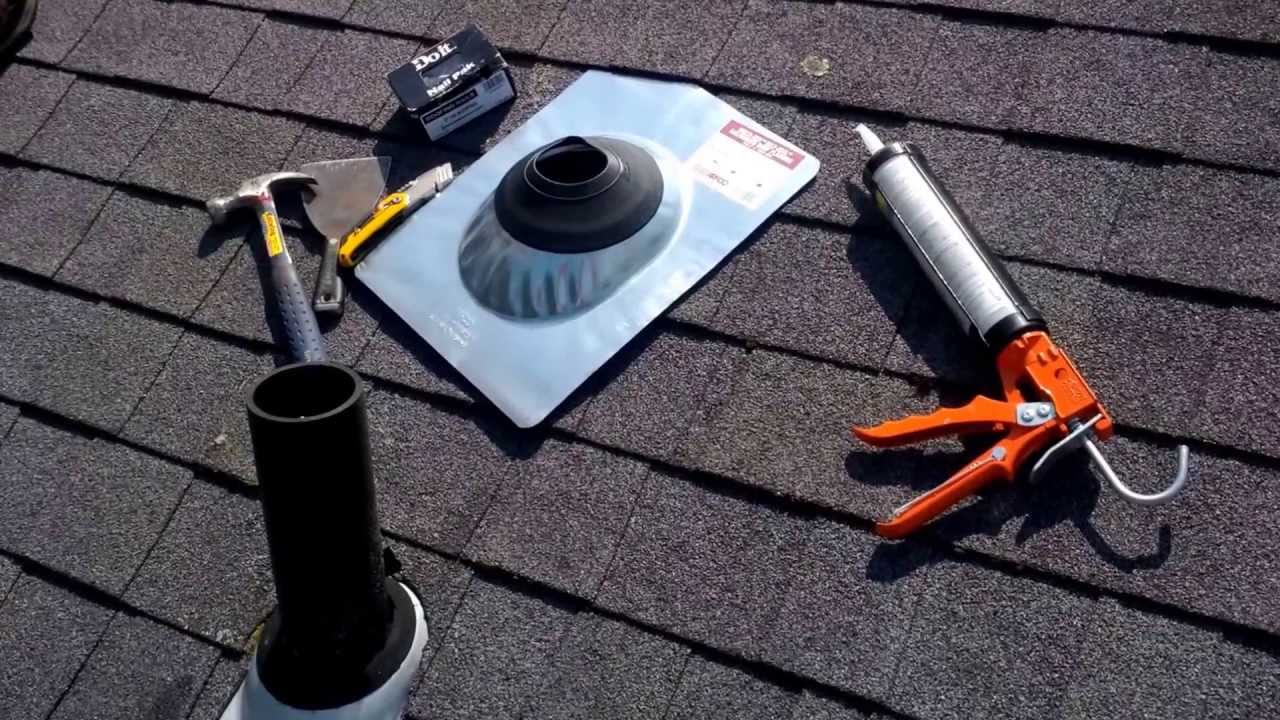
Read more: How To Find Roof Leak
Conclusion
Identifying and fixing leaks in your pool plumbing is crucial for maintaining a well-functioning and efficient pool system. By promptly addressing leaks, you can conserve water, save on utility bills, prevent further damage, and maintain the integrity of your pool and surrounding areas.
In this article, we discussed the importance of identifying pool plumbing leaks and highlighted the signs that may indicate a leak. We also explored the tools needed for leak detection, including dye testers, pressure gauges, and listening devices.
We then covered the step-by-step process of finding a leak in pool plumbing, which includes visual inspection, dye testing, pressure testing, digging, and pipe inspection. Each step plays a critical role in narrowing down the location of the leak and providing valuable information for repair.
Finally, we discussed the importance of fixing the leak and provided general steps to guide you through the repair process. From gathering the necessary materials to monitoring the repair and performing regular maintenance, these steps will help you successfully fix the leak and maintain the integrity of your pool plumbing system.
Remember, if you are unsure about the repair process or if the leak is complex, it is always recommended to seek assistance from a professional pool technician or plumber. They possess the expertise and experience to accurately diagnose and solve any plumbing issues you may encounter.
By following these guidelines and staying vigilant about pool maintenance, you can enjoy a leak-free pool, minimize water loss, and ensure the longevity of your pool plumbing system. So, don’t delay, tackle those leaks, and get back to enjoying the refreshing oasis of your own backyard pool!
Frequently Asked Questions about How To Find A Leak In Pool Plumbing
Was this page helpful?
At Storables.com, we guarantee accurate and reliable information. Our content, validated by Expert Board Contributors, is crafted following stringent Editorial Policies. We're committed to providing you with well-researched, expert-backed insights for all your informational needs.

0 thoughts on “How To Find A Leak In Pool Plumbing”